
Broccoli Cheese Stuffed Turkey Breast
intro
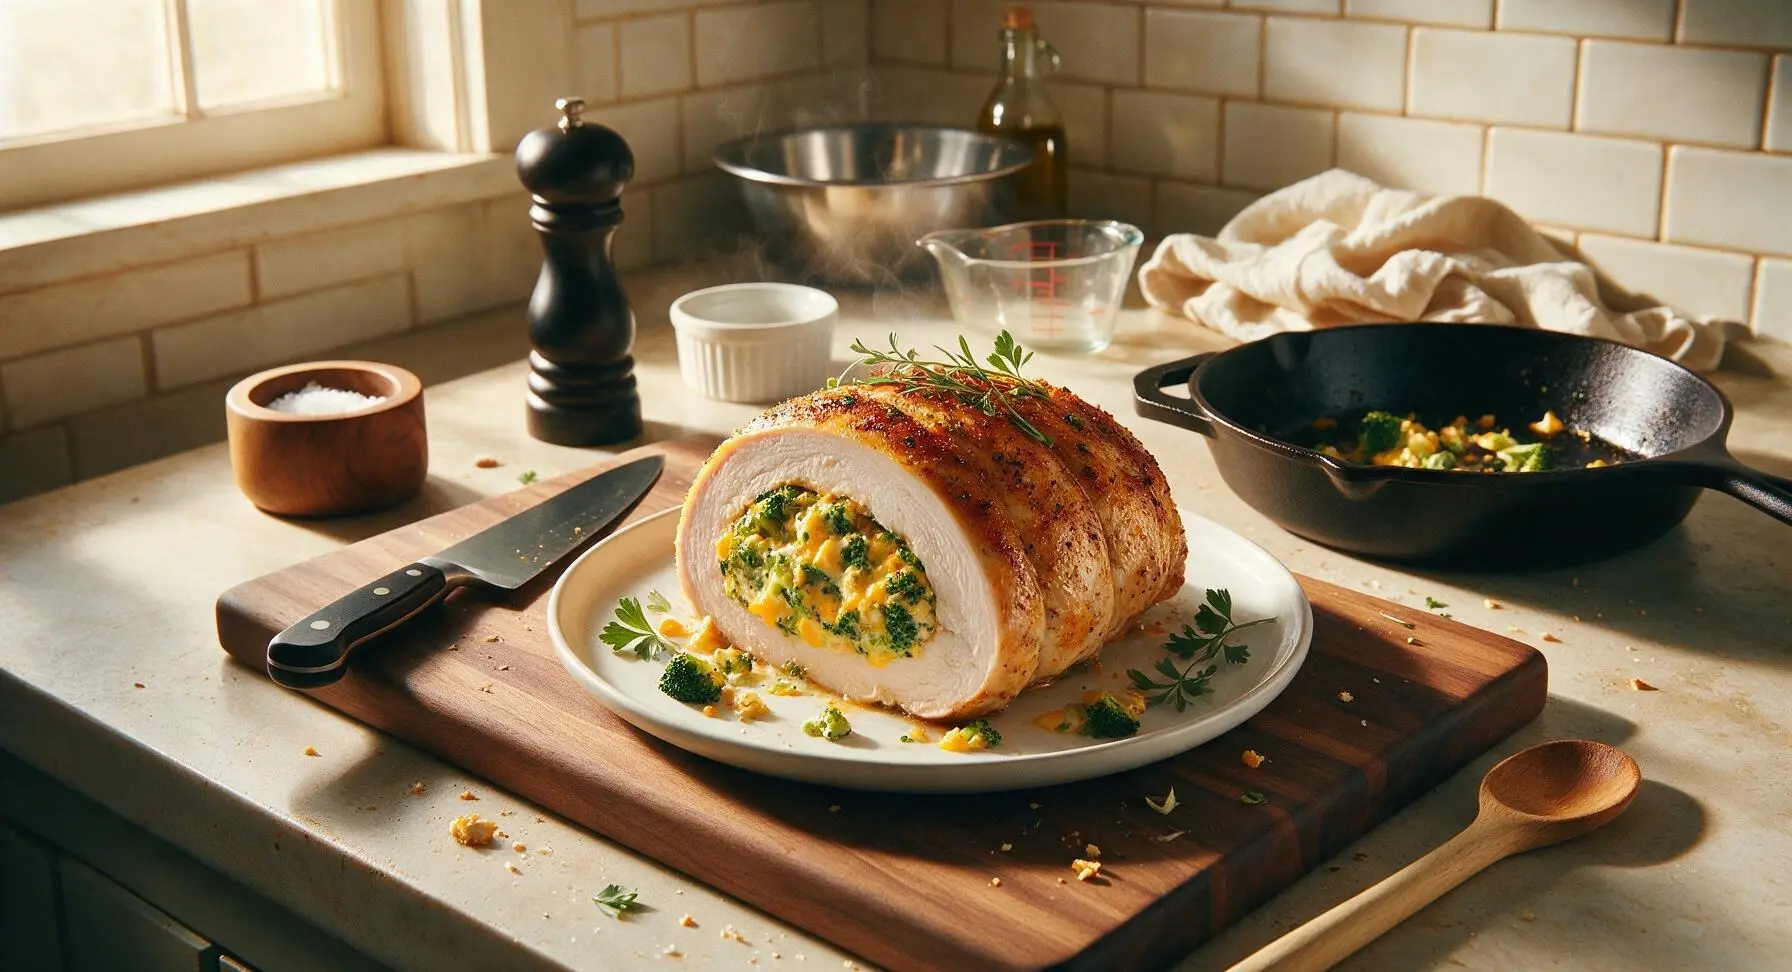
Juicy tender turkey breast rolled around a savory broccoli-cheddar filling, roasted to golden crisp perfection for a cozy, protein-packed family meal.
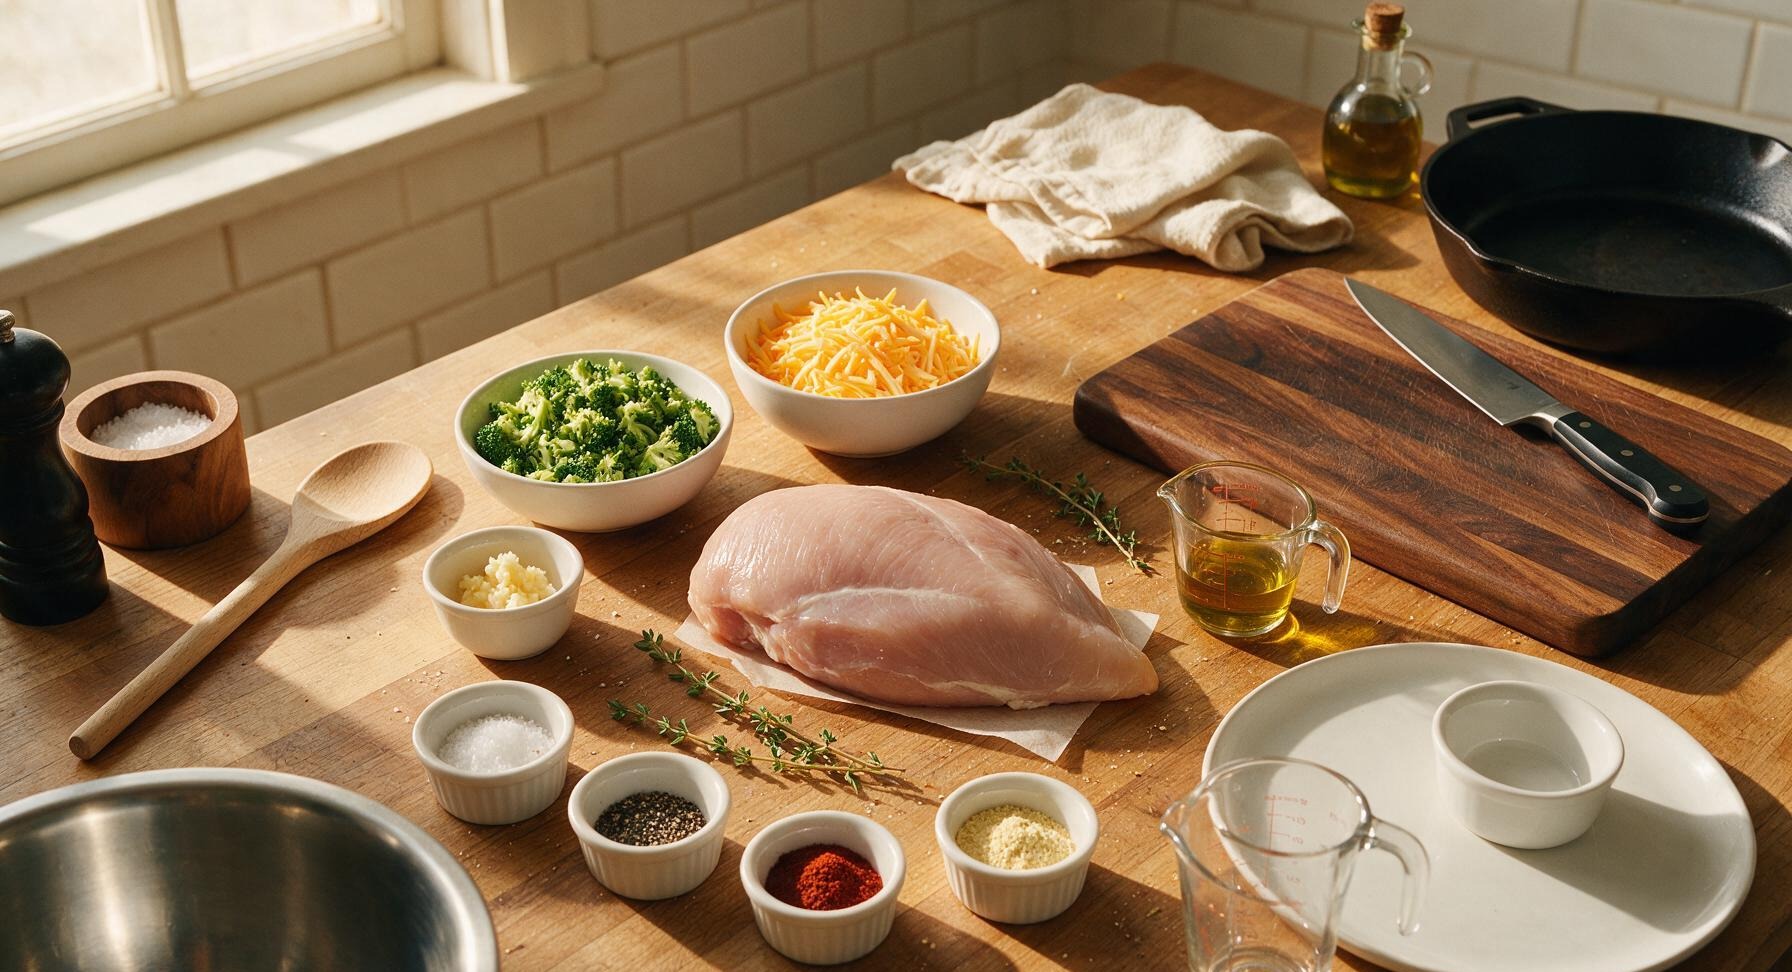
Ingredients
Steps
Butterfly Turkey Breast
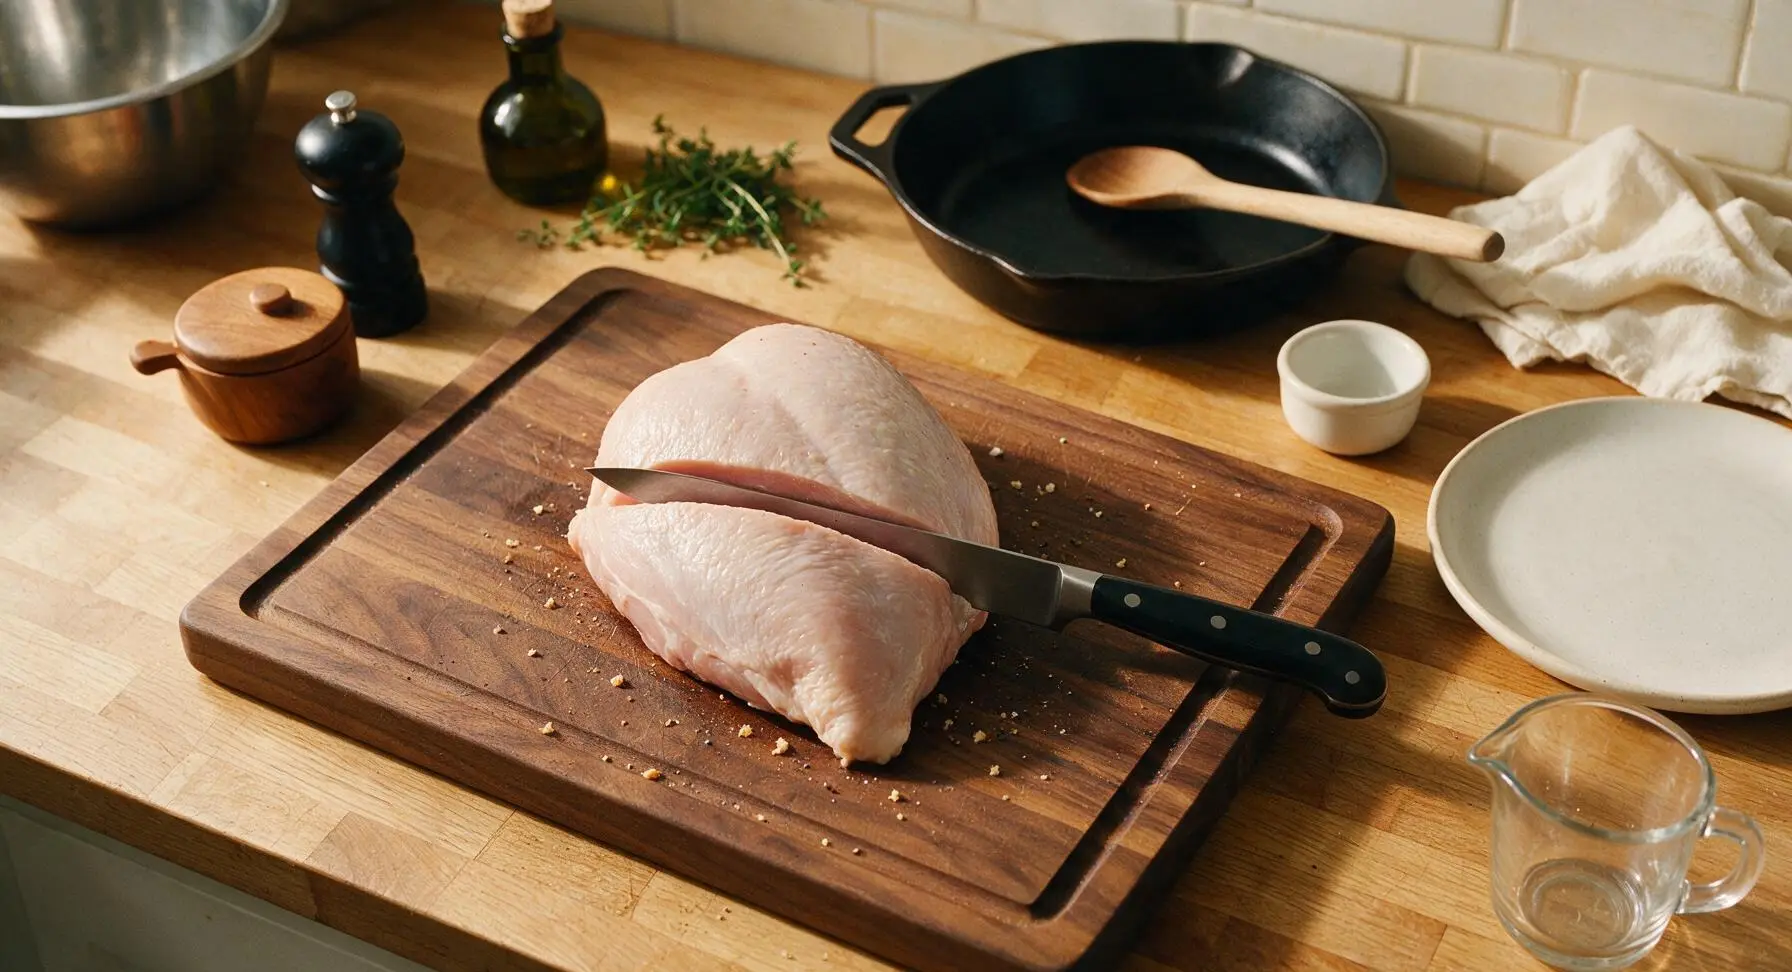
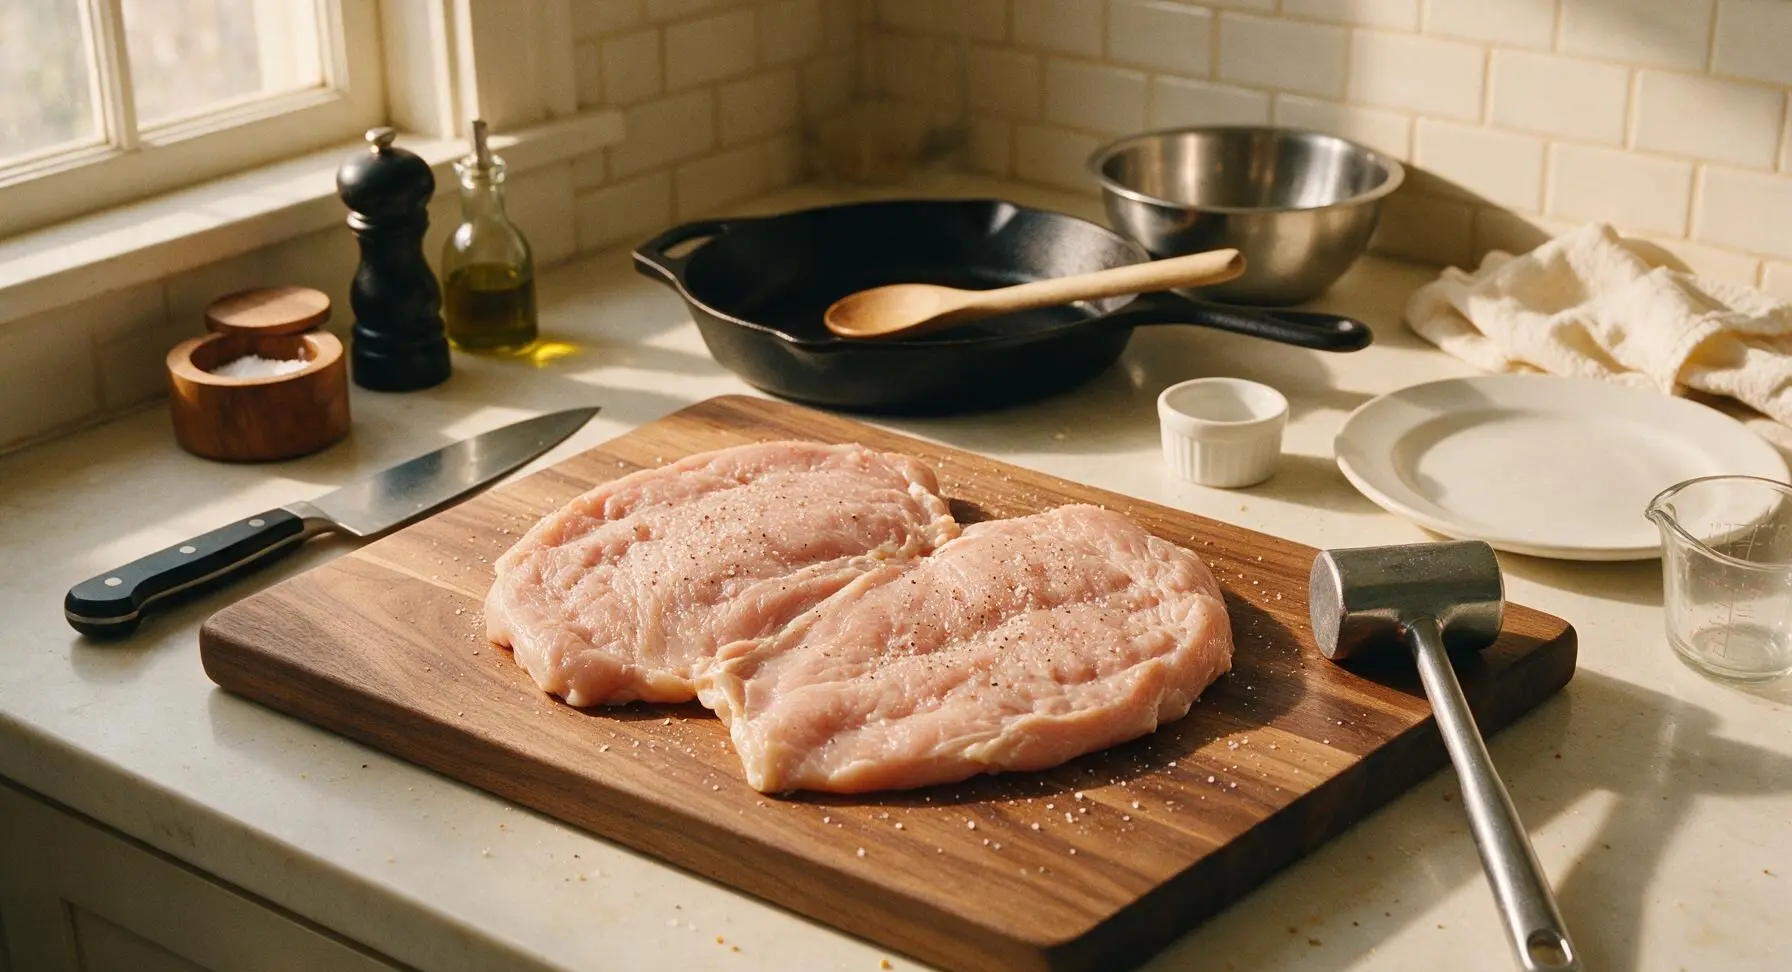
Place the 2lb boneless skinless turkey breast on the acacia wood cutting board. Hold the 8-inch chef knife parallel to the cutting surface, slicing horizontally through the thickest center section of the breast, stopping ½ inch from the opposite edge to keep the two halves attached. Open the breast flat like a book, then use the flat side of the stainless steel meat mallet to pound the meat to a uniform 1-inch thickness across the entire surface. Season the cut side lightly with ¼ tsp kosher salt and ⅛ tsp black pepper. The finished butterflied breast should lay completely flat with no thick raised spots that would cause uneven rolling.
Mix Cheese Filling
In the medium brushed stainless steel mixing bowl, combine 1 cup finely chopped broccoli florets, 1.5 cups shredded sharp cheddar cheese, 2 minced garlic cloves, ½ tsp kosher salt, ¼ tsp black pepper, and leaves picked from 1 sprig of fresh thyme. Stir with the matte sage green silicone spatula until all ingredients are evenly distributed, with no large clumps of cheese or uncoated broccoli pieces visible.
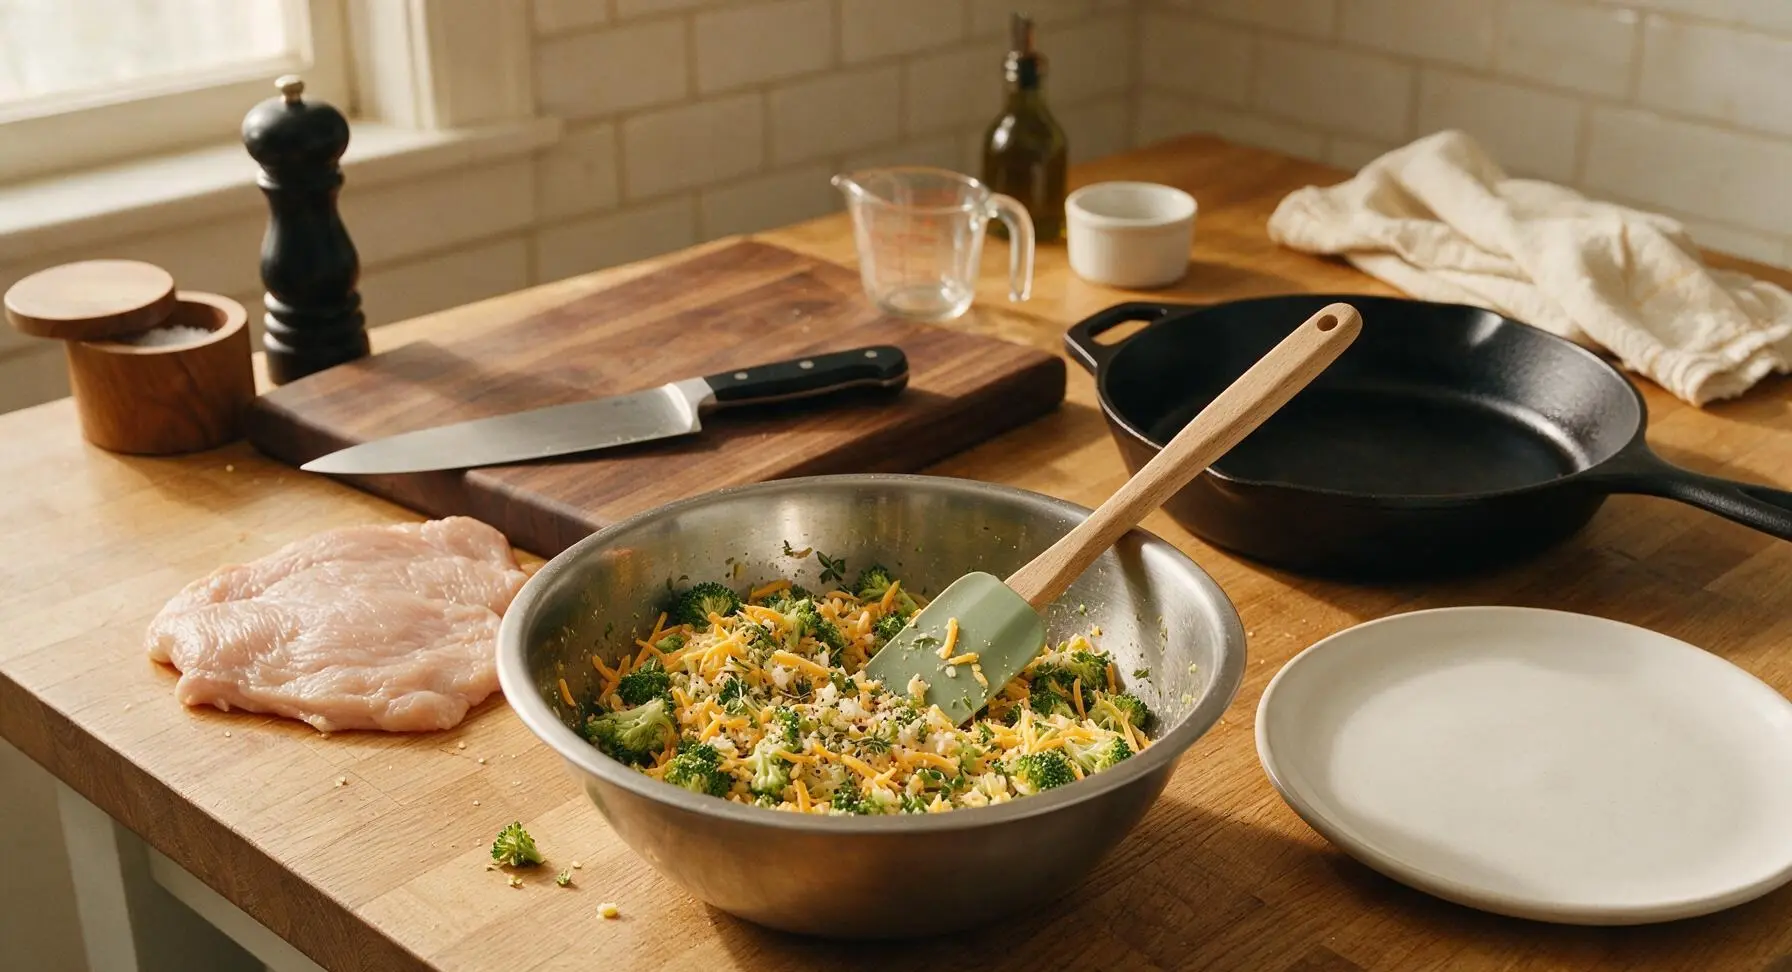
Stuff Turkey Evenly
Spoon the broccoli-cheese mixture evenly across the center of the butterflied turkey breast, leaving a clear 1-inch border of bare turkey around all edges to prevent filling from leaking out during roasting. Press the filling down lightly into a compact, even ½-inch thick layer so it stays anchored in place when rolled.
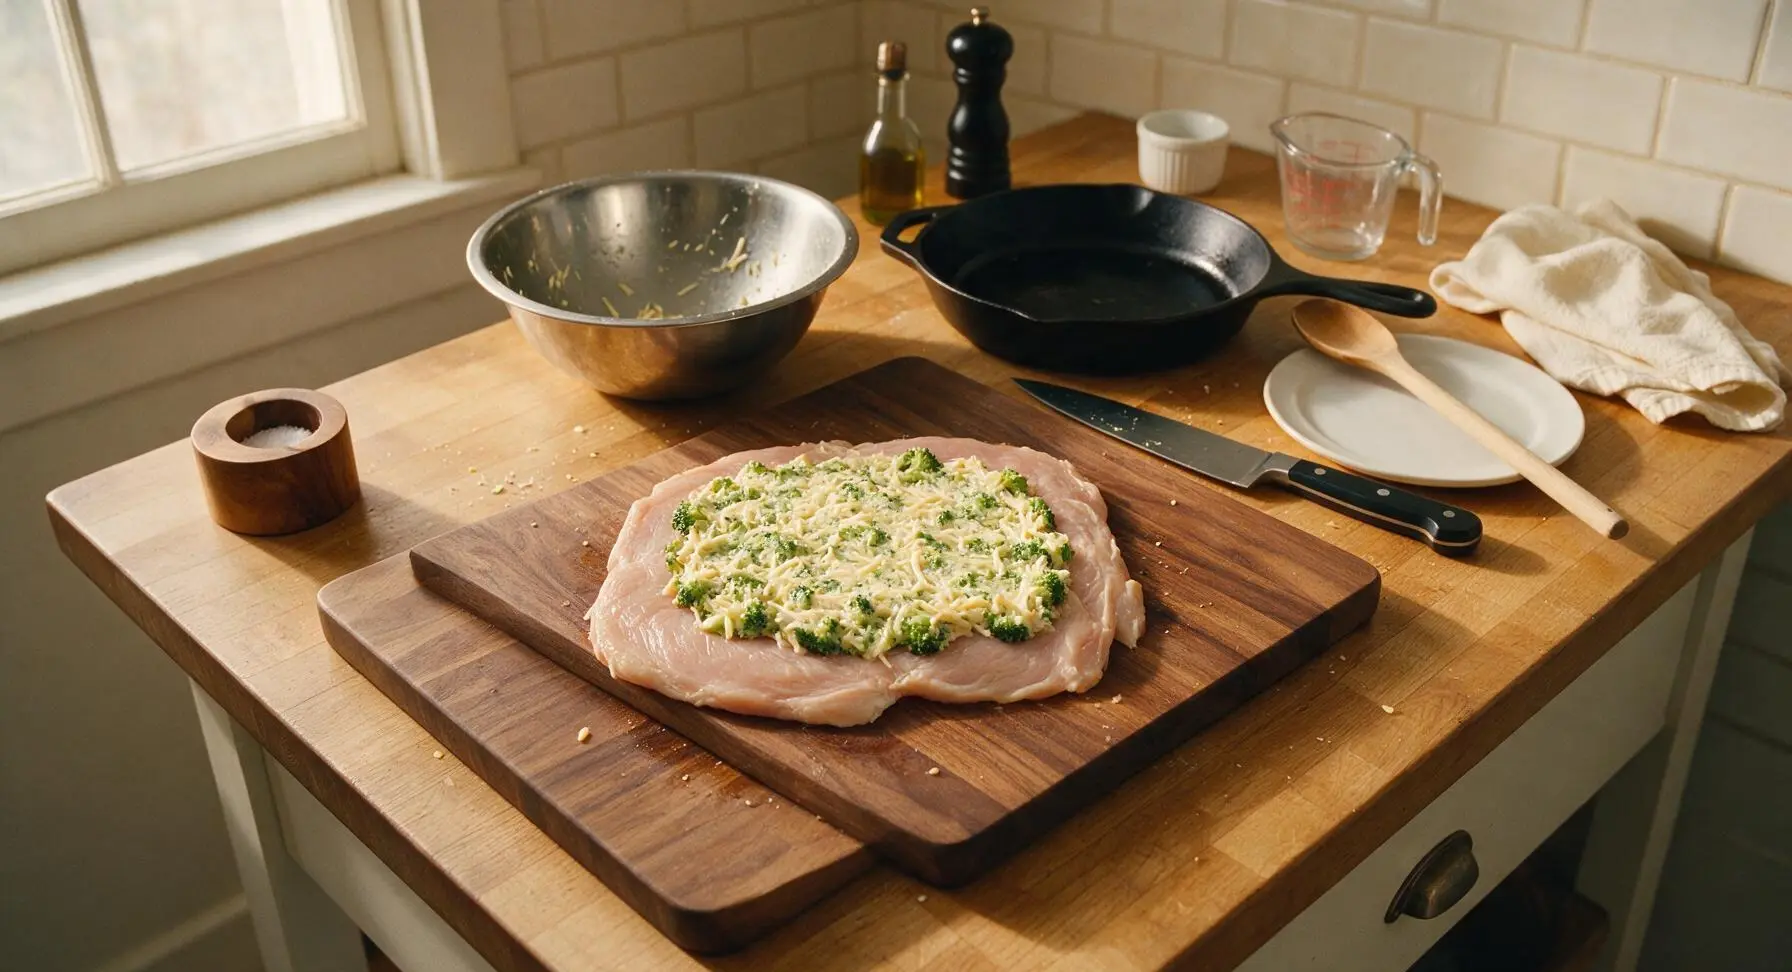
Roll and Secure Turkey
Starting with the long edge of the turkey closest to you, roll the breast tightly into a firm, even log shape. Cut 4 pieces of unbleached cotton kitchen twine, each 8 inches long, and tie them snugly around the rolled turkey log at 2-inch intervals to hold its shape during roasting. Take care not to tie the twine so tight that filling squeezes out from the ends; tuck any displaced filling back into the open ends of the roll with your finger. The finished roll should hold its cylindrical shape without unrolling when lifted.
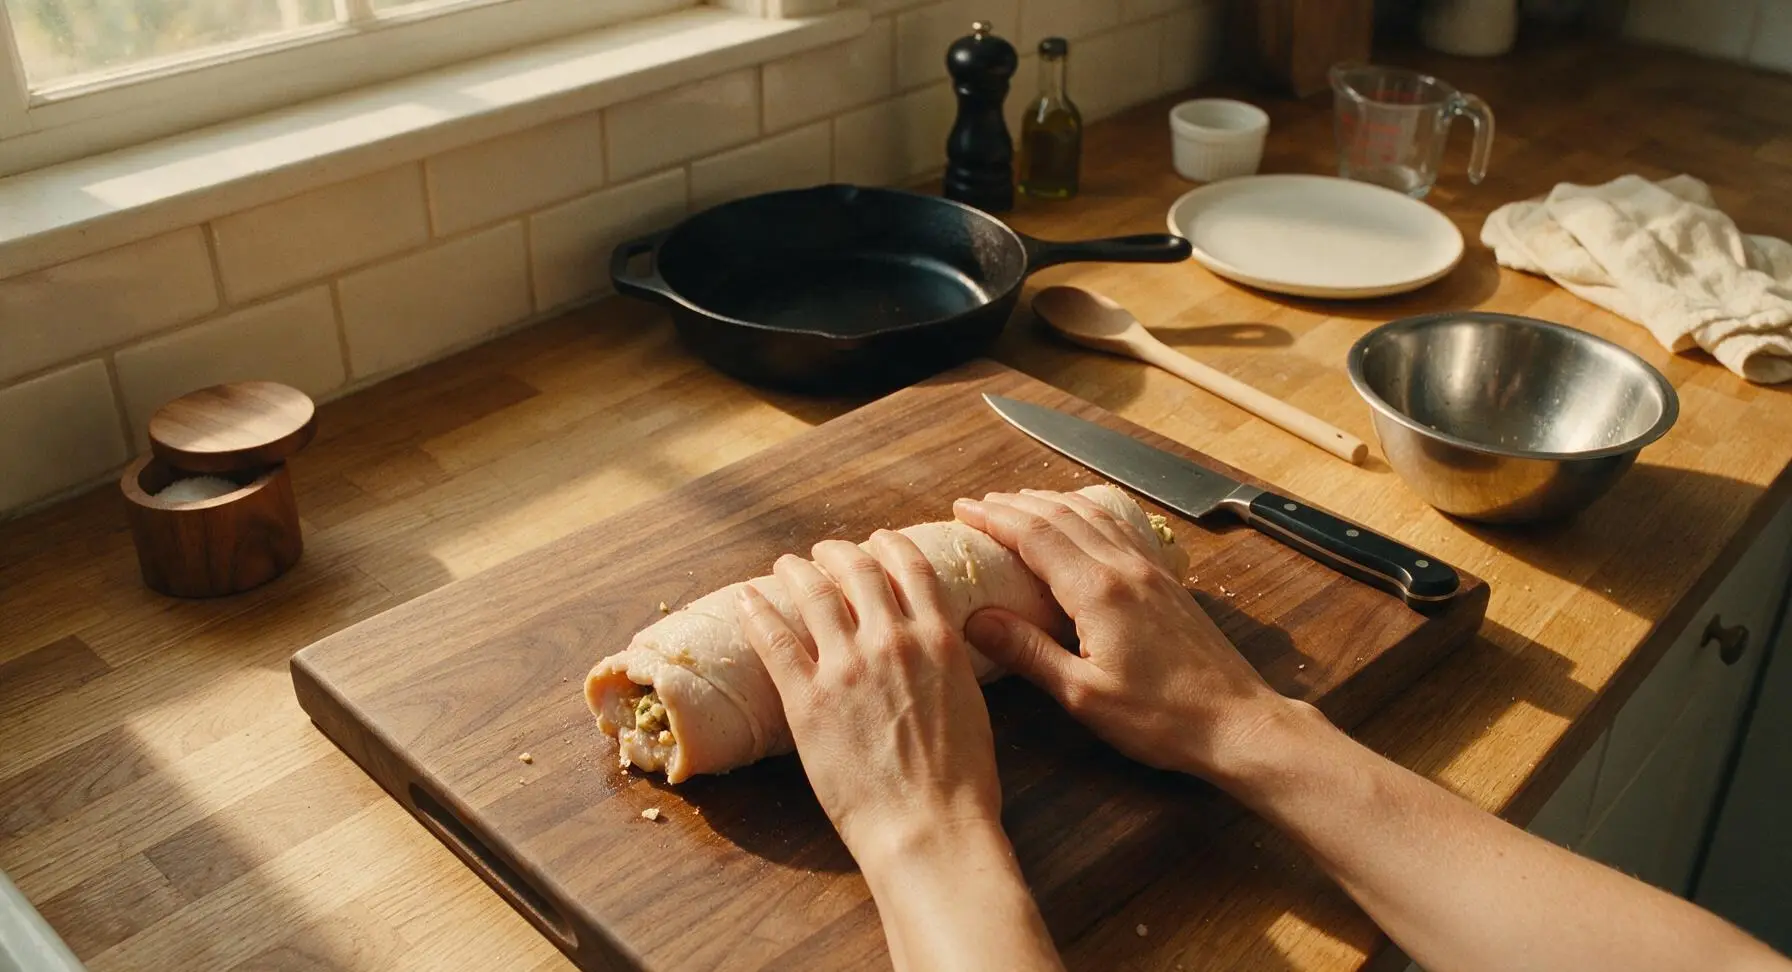
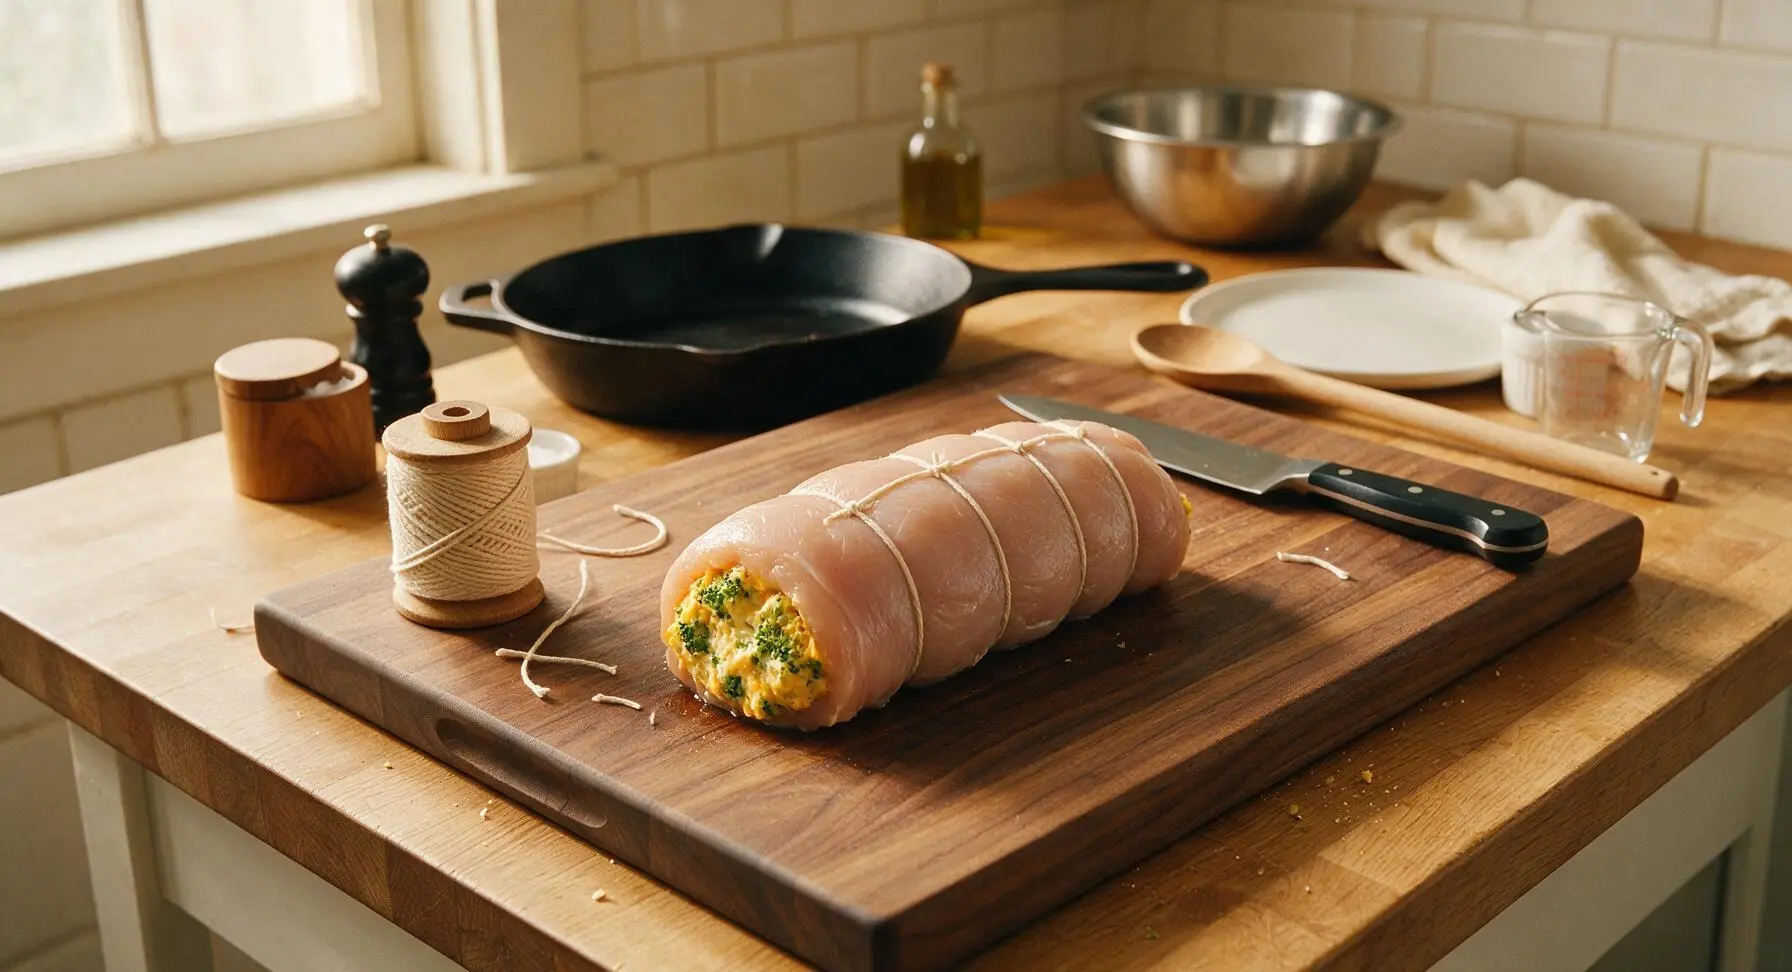
Season Turkey Exterior
Pat the outside of the tied turkey roll dry with a corner of the striped linen towel (kept in its fixed top-left position). Rub the entire exterior surface with 1 tablespoon extra virgin olive oil. Mix the remaining ¼ tsp kosher salt, ⅛ tsp black pepper, 1 tsp smoked paprika, and 1 tsp garlic powder in one of the small clear glass prep bowls. Sprinkle the spice rub evenly across all sides of the turkey log, pressing lightly so the spices adhere to the oiled surface. The finished seasoned turkey should have a uniform reddish-gold coating with no bare spots.
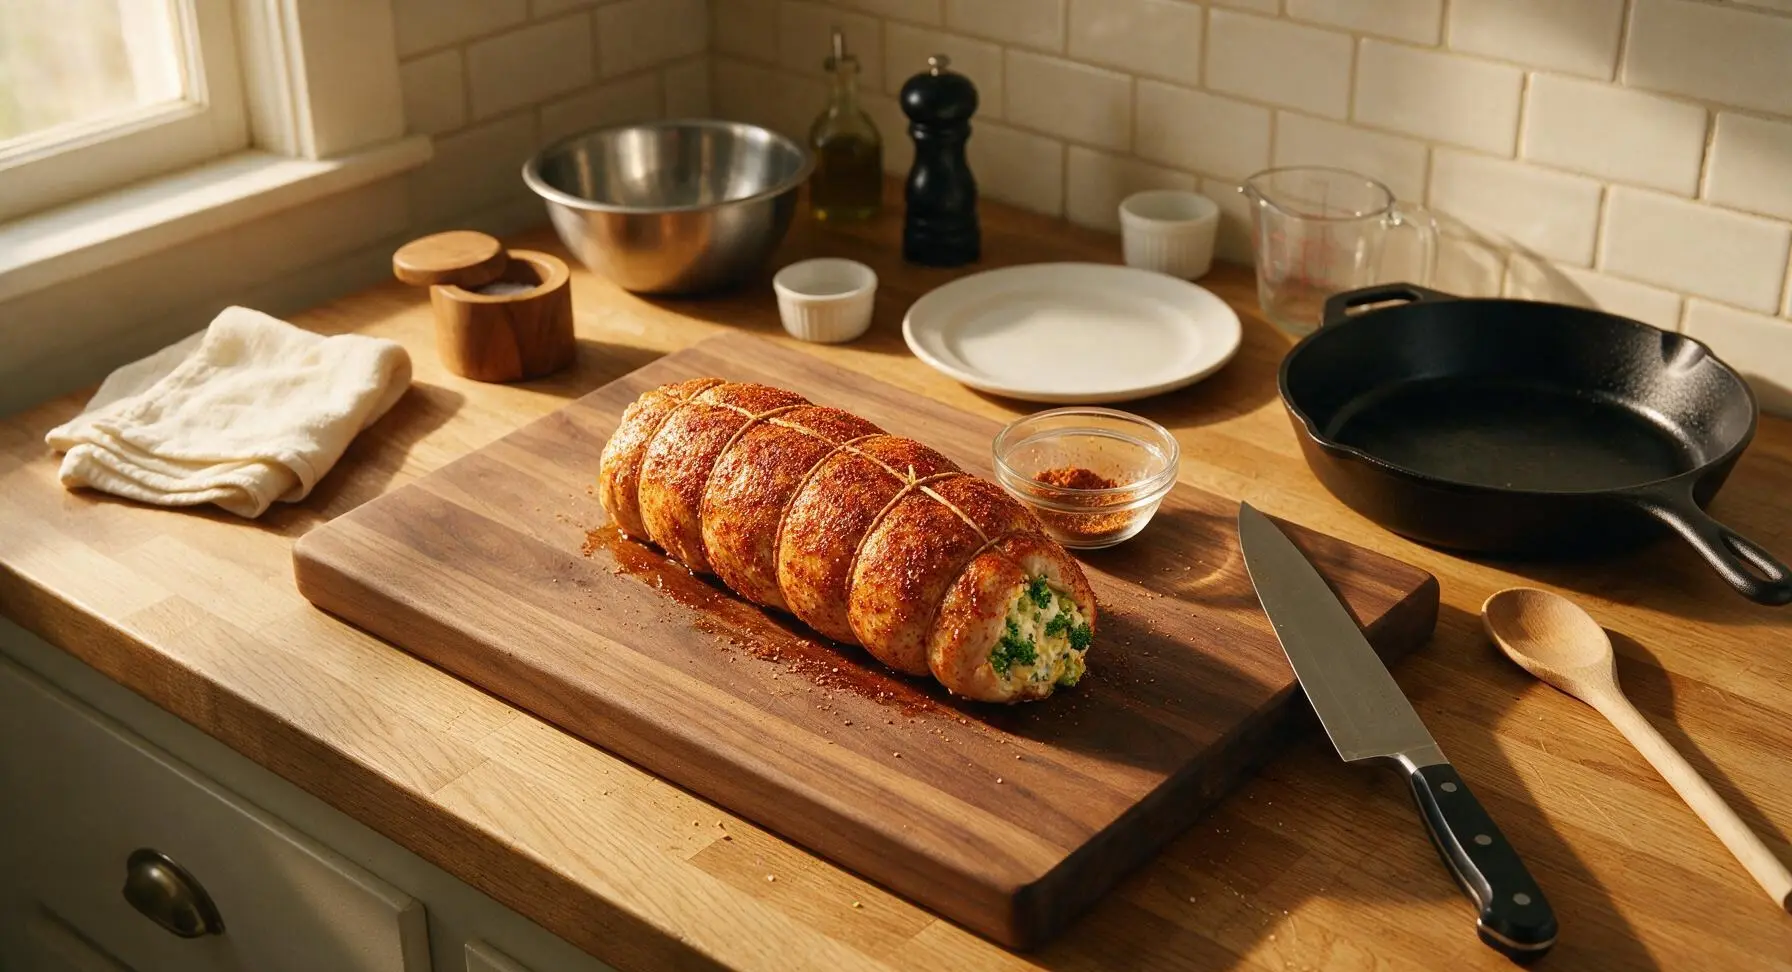
Roast Stuffed Turkey
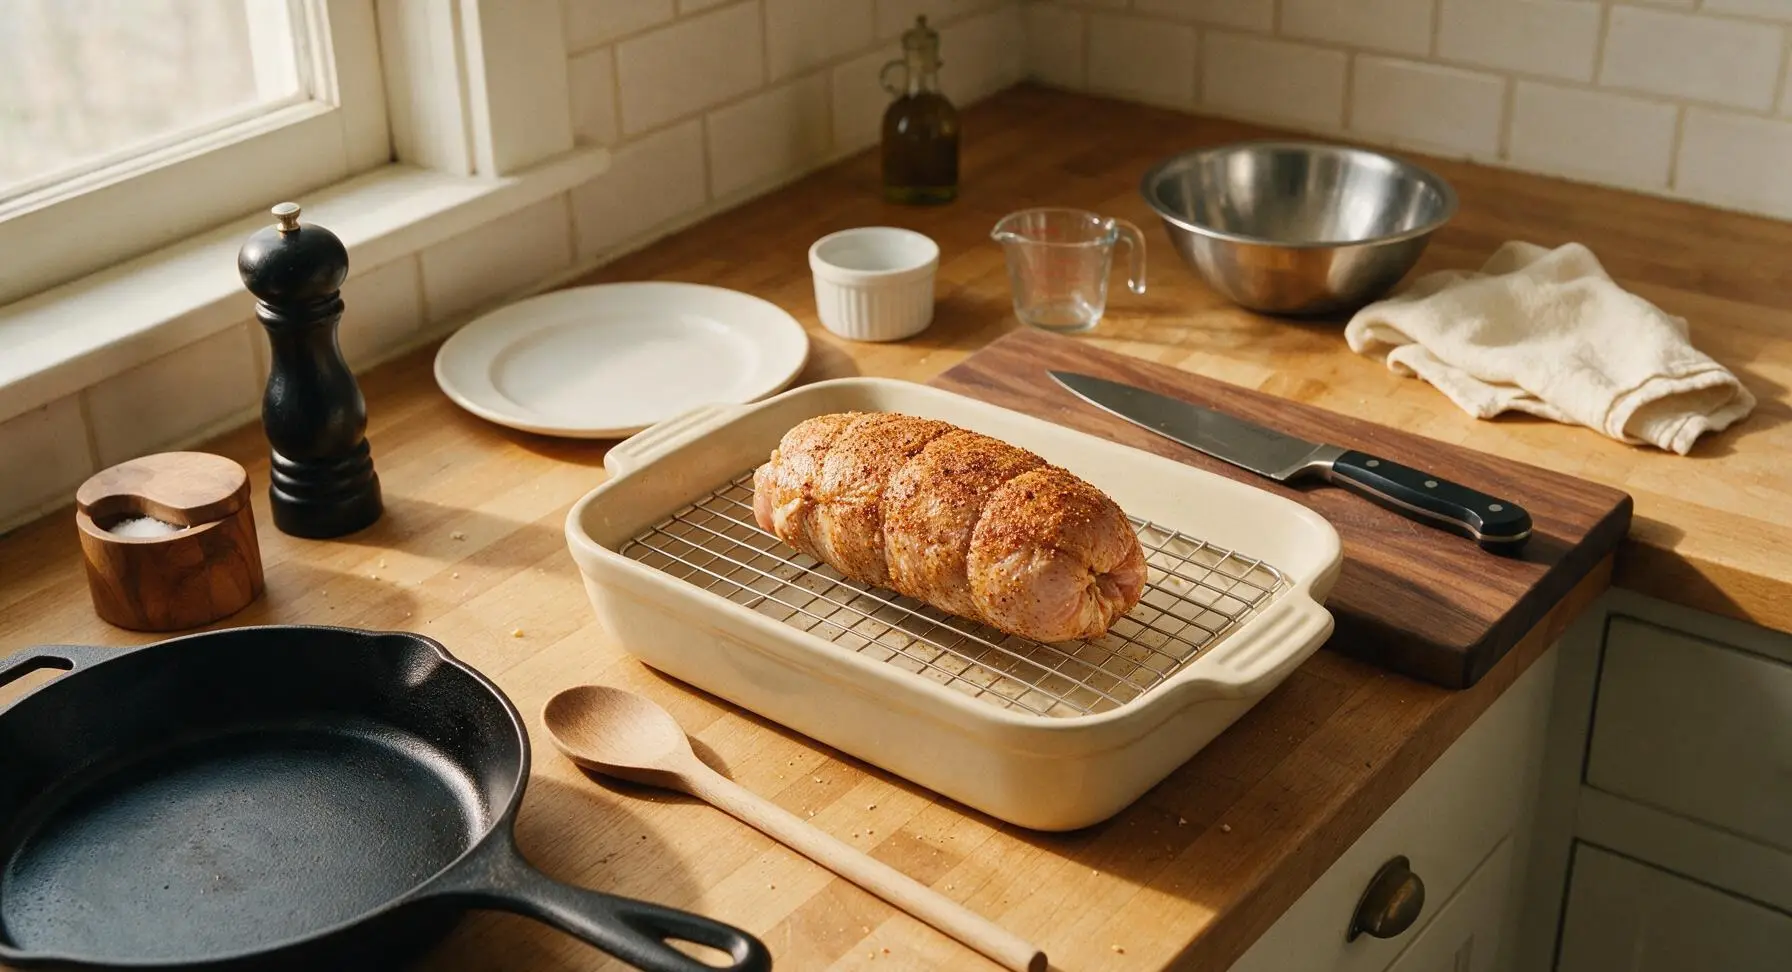
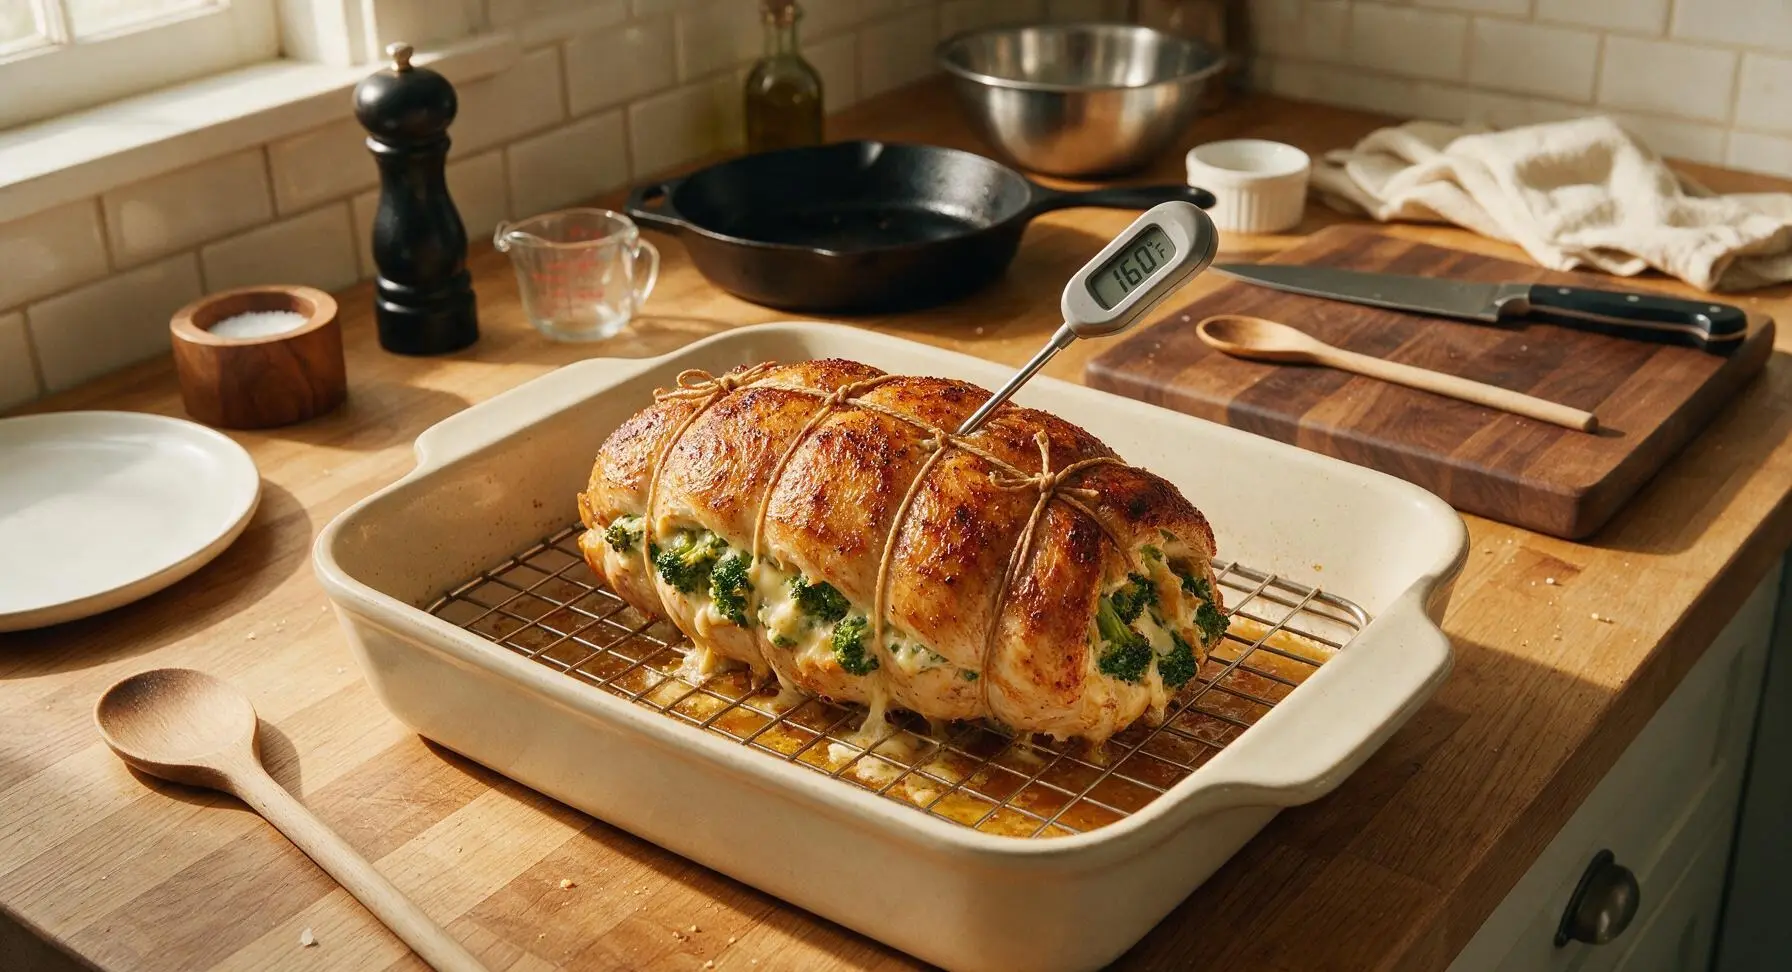
Place the stainless steel wire cooling rack inside the 9x13 inch matte cream ceramic baking dish, then set the seasoned turkey log seam-side down on the rack. Roast in a preheated 375°F (190°C) oven for 40-45 minutes, until the internal temperature measured at the thickest part of the roll (probing the turkey meat, not the cheese filling) reaches 160°F (71°C). The finished roasted turkey will have a deep golden brown exterior, with small bubbles of melted cheese leaking out around the twine ties and clear, golden pan juices collecting in the base of the baking dish.
Rest Roasted Turkey
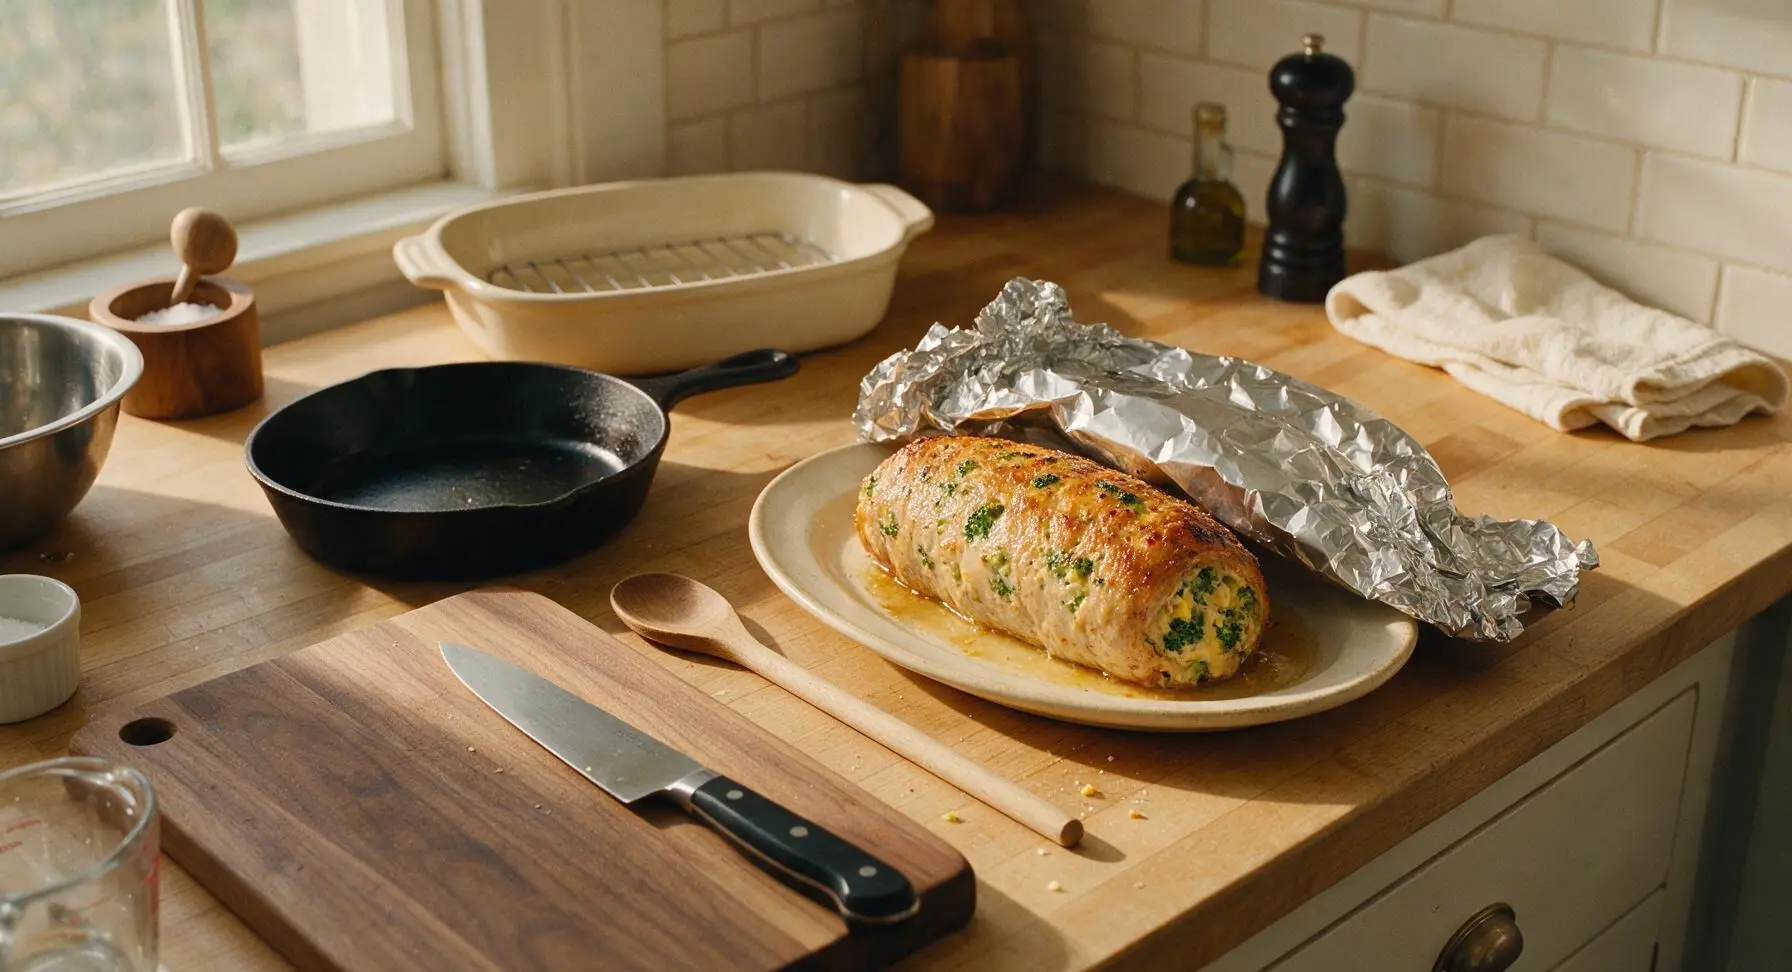
Carefully lift the roasted turkey log from the wire rack to the oval cream stoneware dinner plate, then tent loosely with a sheet of heavy duty aluminum foil. Let rest for 10 minutes at room temperature to allow muscle fibers to reabsorb juices; during this time, carryover cooking will raise the internal temperature to the food-safe 165°F (74°C). Do not wrap the foil tightly, as this will steam the crispy exterior.
Slice and Plate Turkey
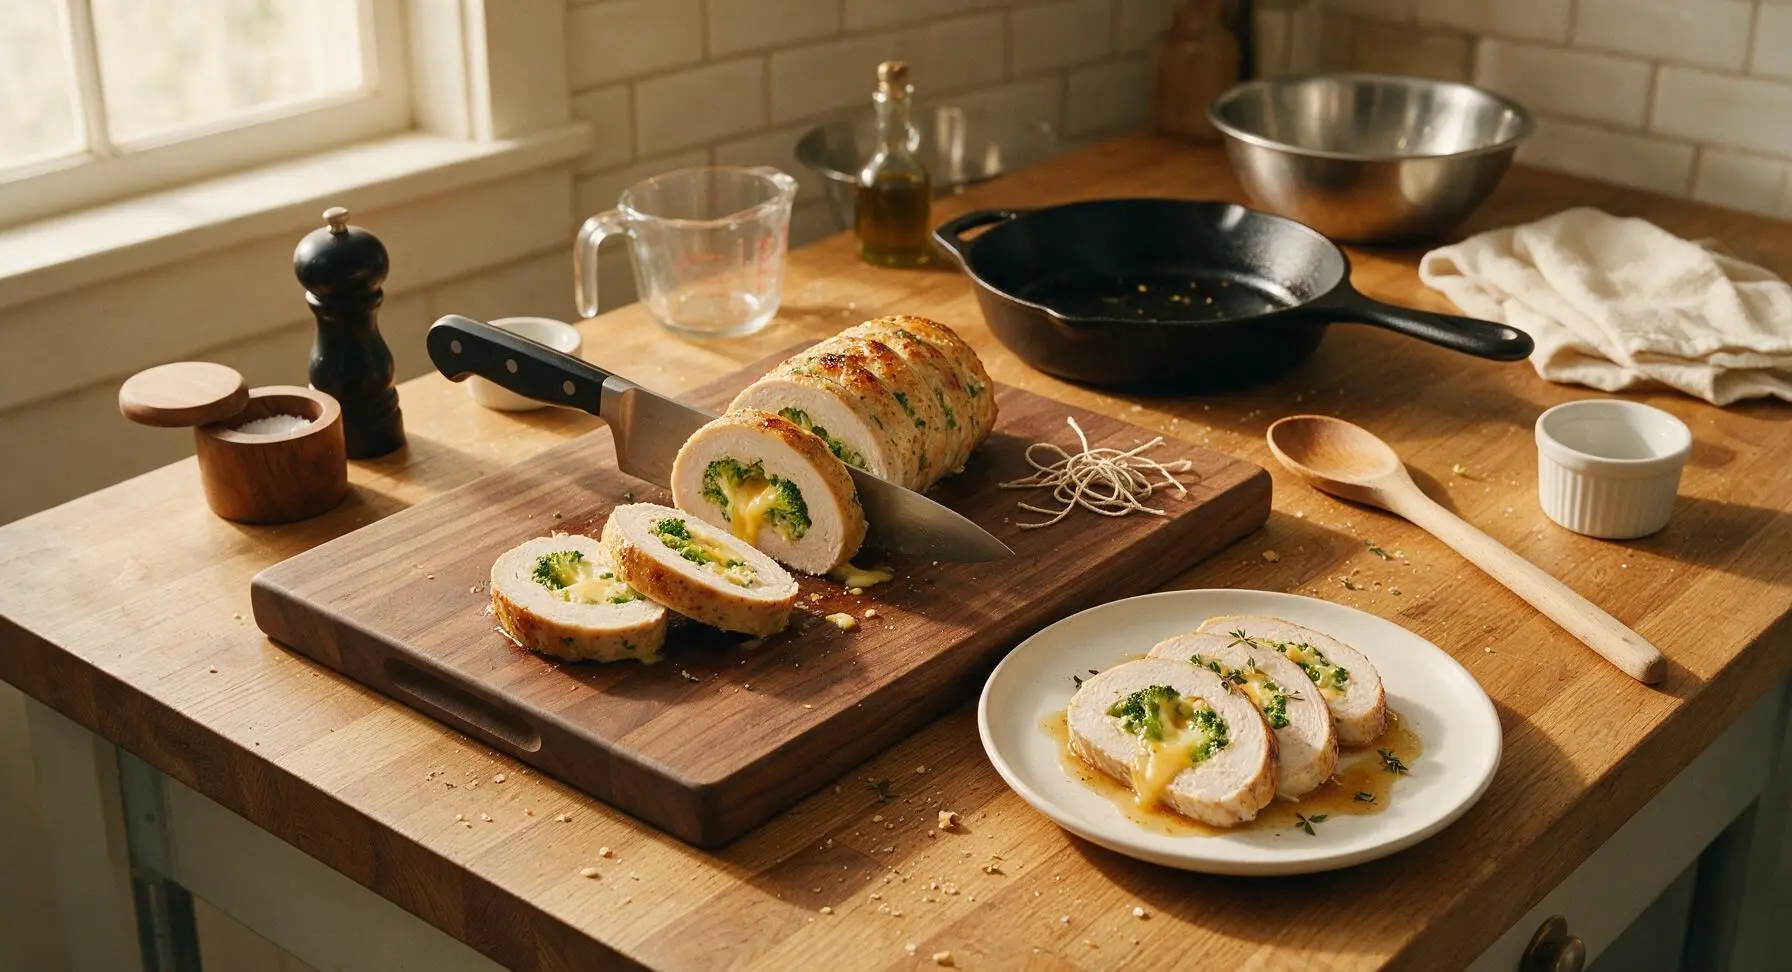
After resting, snip and remove all pieces of kitchen twine from the turkey log. Use the 8-inch chef knife to slice the roll into 1-inch thick rounds, applying slow, even downward pressure to avoid squeezing the soft cheese filling out of the slices. Arrange the slices in a slightly overlapping fan on the dinner plate, drizzle with 1 tablespoon of collected pan juices from the baking dish, and garnish with leaves picked from the remaining fresh thyme sprig.
Tips
2.Pound the butterflied turkey to an even 1-inch thickness: uneven thickness leads to overcooked, dry thin edges and undercooked thick sections that won’t reach a safe internal temperature without ruining the rest of the breast.
3.Always rest the roasted turkey for 10 minutes before slicing: cutting into hot turkey right out of the oven causes all the juicy internal moisture to run out onto the plate, resulting in dry meat. Resting lets muscle fibers reabsorb juices for tender, moist slices.






OMG this was the star of our Sunday family dinner last night! I was worried the cheese would leak out while cooking but I followed the tip to secure the rolls with toothpicks and it worked perfectly. My picky 7 year old asked for seconds, which never happens. SO good, will be adding this to our monthly rotation!
Total game changer for my weekly meal prep! I made this on Sunday, sliced it up, and paired it with roasted sweet potatoes and green beans for 4 days of lunches. It stayed juicy the whole time, no dry turkey at all — I was shocked because turkey breast usually gets so tough when I reheat it. 10/10
I brought this to my neighborhood potluck last weekend and people were hounding me for the recipe before I even set the platter down! I added a little extra garlic powder and a pinch of red pepper flakes to the cheese filling for a tiny kick, and it was chef’s kiss. Only complaint is I didn’t make enough — it was gone in 10 minutes flat.
Full transparency, I’m a total newbie in the kitchen and I was intimidated by the medium difficulty rating, but this turned out way better than I expected! I did accidentally cut a little too deep when butterflying the breast so a tiny bit of cheese oozed out while it baked, but it still tasted incredible. Even my roommate who swears he hates broccoli went back for a second piece.
Made this for my anniversary dinner with my partner last night and they said it was better than the fancy steak dinner we got for our last anniversary! I served it with a side of garlic mashed potatoes and roasted asparagus, and the whole meal felt super fancy but was way easier than I thought it would be. 10/10, will make again for special occasions.
This is such a perfect low-carb, high protein weeknight meal! I’ve been getting so bored of plain grilled chicken and dry turkey, so this hit exactly the spot I was craving. No weird processed ingredients, just whole foods, and it’s so satisfying. I’ll be making this at least twice a month for sure.
Wait, I used extra sharp cheddar for the filling and it was *chef’s kiss* — the sharpness cuts through the mild turkey and earthy broccoli so well. My only note is I wish I’d made more of the broccoli cheese filling because I had a little extra turkey breast left and not enough stuffing! Next time I’m doubling the filling no question.
I usually only cook on the grill so I was skeptical about making this in the oven, but it was pouring rain last weekend so I gave it a shot. Ended up being so juicy! I did rub the outside with a little smoked paprika and garlic salt to give it that smoky grill-adjacent flavor, and my whole family raved. Might even make this when the weather is nice, no grill required.
Made this in my tiny apartment oven on a budget! I got the turkey breast on sale, used frozen broccoli, and pre-shredded cheese from the grocery store, and it still came out amazing. Way better than the frozen dinners I’ve been living on lately, and it made enough leftovers for 3 days. Total win for a broke college kid.
So happy this recipe is naturally gluten free! I’ve been looking for more hearty weeknight meals that don’t require a ton of weird substitute ingredients, and this checks every box. I didn’t have to change a single thing to make it work for my GF diet, which is such a rarity. My non-GF husband didn’t even notice it was “diet food” lmao
Full transparency, I’ve always thought turkey breast was boring, dry, and totally flavorless, but my partner begged me to make this with them. I’m eating my words right now — this is so flavorful, the cheese and broccoli keep the meat so moist, and I’d voluntarily make this again. Who knew?
Wait, 45 minutes cook time? I was able to throw this together even on a busy weeknight when I got home from work! I prepped the filling the night before so all I had to do was stuff the turkey, pop it in the oven, and toss a quick salad while it cooked. Perfect for busy schedules, no fancy prep required.
It tasted good, but I found butterflying the turkey breast to be way trickier than the recipe made it sound. I ended up yelling for my partner to come help because I was nervous I’d cut all the way through the whole breast. Maybe add a quick photo tutorial for the butterflying step for people who’ve never done that before? Flavor was great though, just a way more stressful prep than I expected for a weeknight meal.
I made this after Thanksgiving when I found a random extra turkey breast I’d stashed in the freezer, and it was the best leftover repurpose I’ve ever pulled off. The leftovers from this were even better the next day, eaten cold on a crusty sandwich for lunch. Don’t sleep on cold leftover stuffed turkey, trust me, it slaps.