1.Why does the recipe call for 80/20 ground beef instead of a leaner blend?
▾
That 20% fat content delivers rich, savory beef flavor and keeps the filling perfectly moist, with no dry, crumbly texture. If you only have leaner ground beef on hand, stir in 1 tablespoon of olive oil while browning to mimic that richness, and always drain excess grease after cooking to avoid soggy tortillas.
2.Can I use a different size of flour tortilla if I don’t have 10-inch ones?
▾
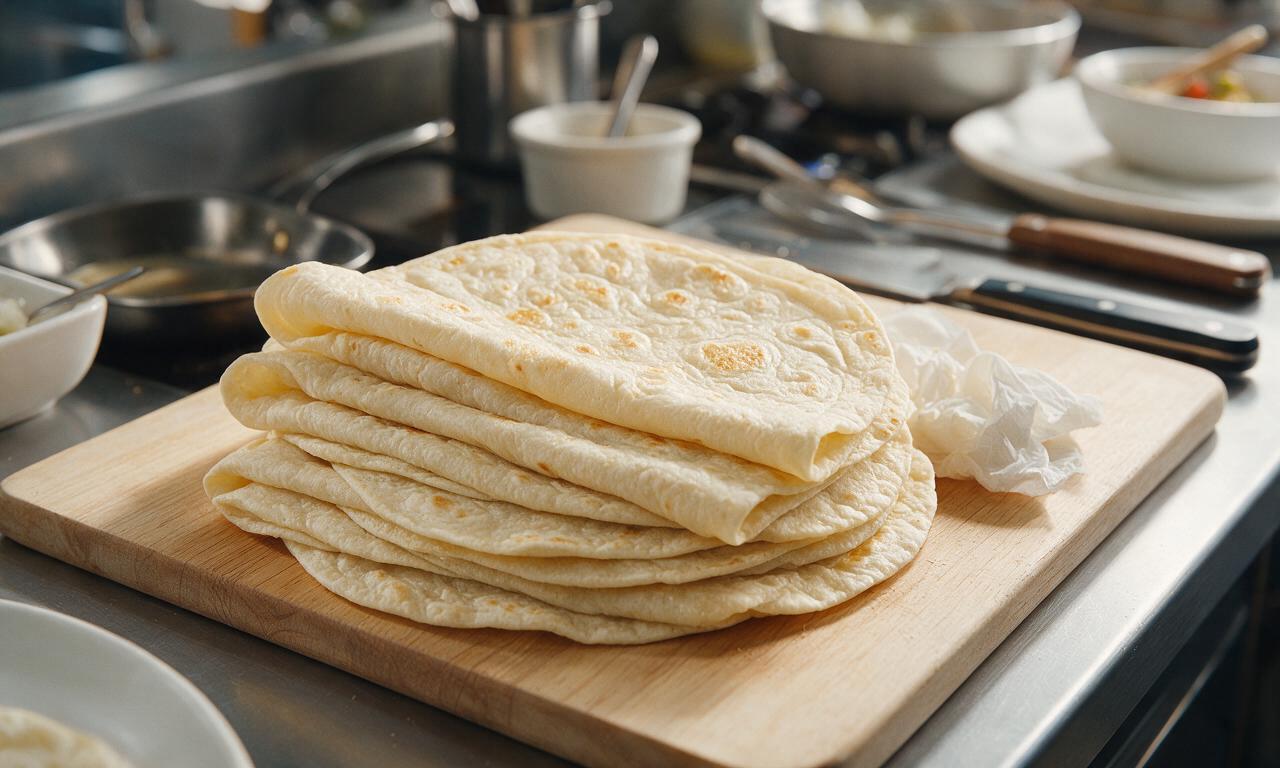
You absolutely can! Smaller 8-inch tortillas work great for kid-sized portions, though you’ll need to scale back filling per burrito to avoid tearing when rolling. Larger 12-inch burrito-style tortillas are perfect for extra-stuffed servings, just note they may take a minute longer to warm through for flexible, crack-free rolling.
3.Do I have to use plain long-grain white rice, or can I swap in another rice variety?
▾
Long-grain white rice stays light and fluffy with separate grains, so it won’t get mushy mixed into the filling. You can swap in cilantro-lime rice, brown rice, or Spanish rice for extra flavor, just let any rice you use cool slightly before adding it to prevent tortillas from getting soggy from trapped steam.
4.Why do I need to rinse and drain canned black beans before adding them to the filling?
▾
Rinsing and draining black beans washes away the starchy, salty canning liquid that would make your burrito filling watery and overly briny. It also removes that faint metallic canned bean aftertaste, so the earthy bean flavor shines through. Give them a good shake in a colander to shed excess water before mixing them in.
5.Can I use a different cheese instead of mild cheddar?
▾
Of course! Mild cheddar melts smoothly and has a crowd-pleasing, mellow flavor that doesn’t overpower other fillings, but you can swap in pepper jack for a spicy kick, Colby Jack for extra creaminess, or a pre-shredded Mexican cheese blend for classic Tex-Mex flavor. Stick to melting cheeses for that perfect gooey pull.
6.How do I keep my flour tortillas from cracking when I roll the burritos?
▾
Cracked tortillas are almost always caused by cold, stiff tortillas! Warm them first: wrap a stack in damp paper towels and microwave for 30 to 45 seconds, or heat them one at a time on a dry skillet for 10 seconds per side. Warm tortillas are flexible, stretch easily around fillings, and won’t split open as you tuck and roll.
7.How much filling should I add to each burrito to avoid messy blowouts while rolling?
▾
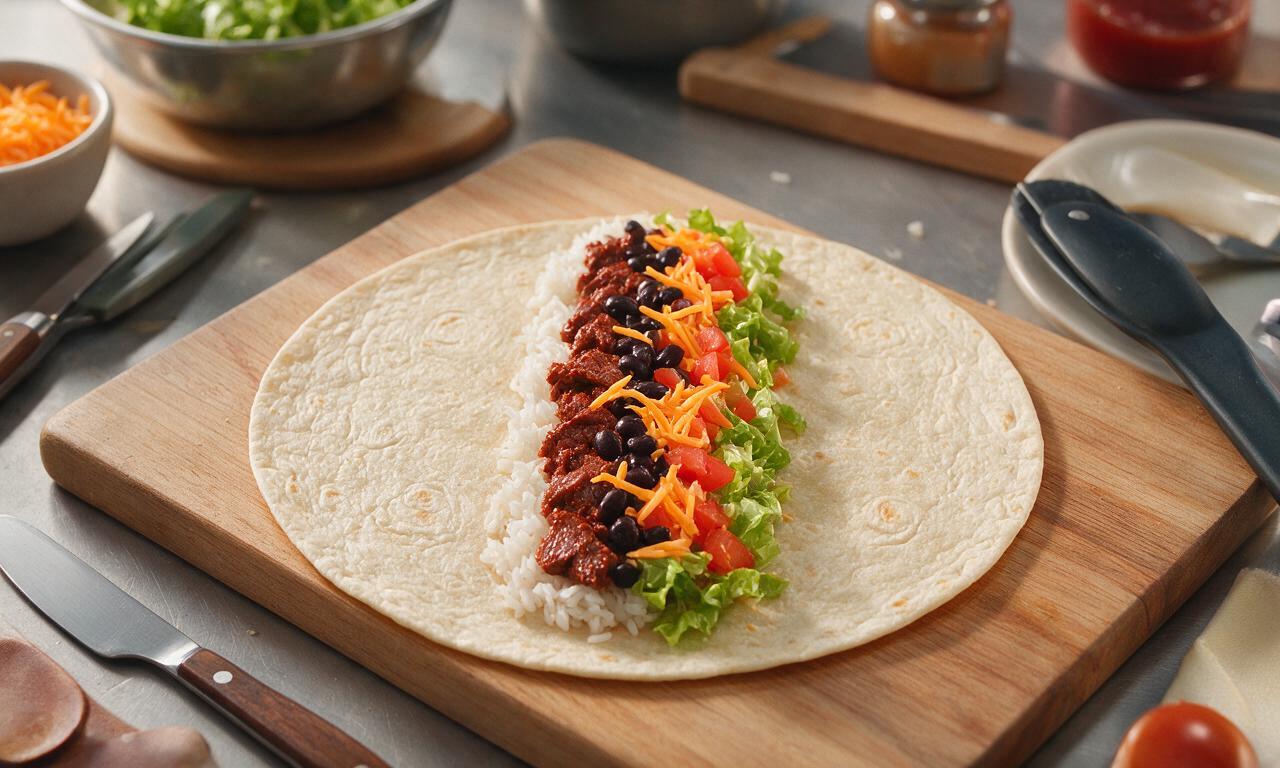
Stick to roughly ½ cup of combined filling per 10-inch tortilla to prevent overstuffing. Pile the filling in a straight line down the center of the tortilla, leaving a 1.5-inch border on the top and bottom. Overfilling is the number one cause of burst, leaky burritos, so hold off on extra fillings until you nail the rolling motion.
8.What’s the best way to roll a burrito so it doesn’t leak when I eat it?
▾
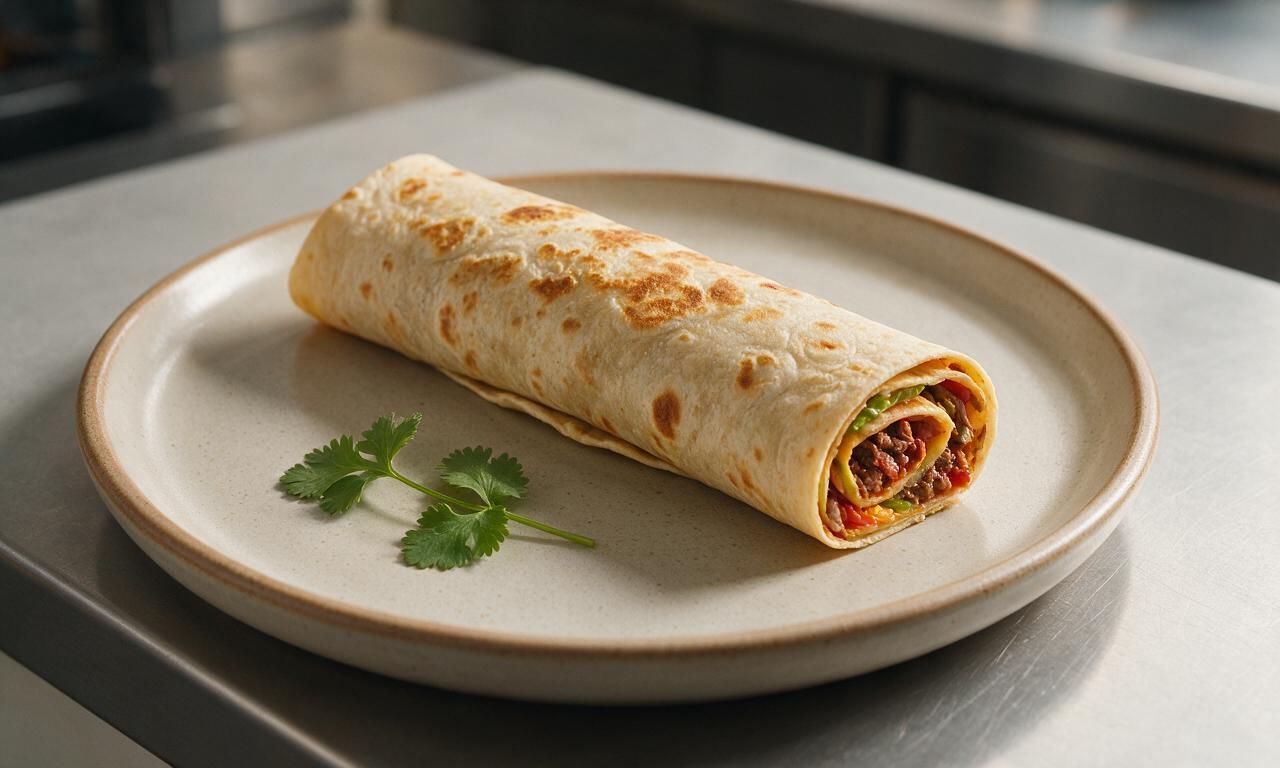
Start by folding the top and bottom 1.5-inch borders in over the ends of the filling line first. Then, tuck one long side of the tortilla tightly over the filling, rolling it firmly toward the other long edge to seal it completely. Keep the roll tight as you go, and set the burrito seam-side down to hold the seal while you work.
9.Can I make these burritos ahead of time for weekly meal prep?
▾
Absolutely! These burritos are meal prep superstars. Assemble and roll them tightly, then wrap each individual burrito in plastic wrap or aluminum foil and store them in the fridge for up to 4 days. You can also freeze them for longer storage, just let frozen burritos thaw in the fridge overnight before reheating for the best texture.
10.What’s the best way to reheat a refrigerated burrito so it stays crisp outside and melty inside?
▾
For the best texture, unwrap the burrito and place it seam-side down in a dry skillet over medium heat, cooking for 2 to 3 minutes per side until the tortilla is slightly crisp and the filling is heated through. If you’re short on time, microwave it for 1 minute, then finish it in the skillet for 30 seconds per side to avoid sogginess.
11.My burrito filling came out watery—what did I do wrong?
▾
Watery filling almost always traces back to a skipped draining step: you either didn’t drain excess grease from cooked ground beef, didn’t rinse and drain black beans fully, or added hot, steaming rice straight to the tortilla without letting it cool a few minutes. Blot excess moisture from fillings with a paper towel before assembling to fix this next time.
12.What easy add-ins can I use to customize these burritos for my family’s tastes?
▾
The customizable options are endless! Stir in sautéed bell peppers and onions for a fajita twist, add a dollop of sour cream inside for extra creaminess, toss in pickled jalapeños for heat, or mix in roasted corn or diced fire-roasted tomatoes. Just pat any wet add-ins dry first to avoid making the tortilla soggy.
13.Can I make these burritos vegetarian without losing that hearty, filling texture?
▾
You sure can! Swap the 80/20 ground beef for plant-based ground crumbles seasoned with the same Tex-Mex spice blend, or use extra beans and cooked quinoa to bulk up the filling. You won’t lose that satisfying, hearty bite, and the melted cheese and fluffy rice will keep the flavor just as rich and comforting as the beef version.
14.Do I need to sear the burritos on a skillet after rolling, or can I eat them right after assembling?
▾
You can absolutely eat them right after assembling if you’re in a rush! A quick 1 to 2 minute sear on all sides in a dry skillet after rolling is totally optional, but it melts the cheese fully, toasts the tortilla for extra depth of flavor, and helps the burrito hold its shape so it doesn’t unroll while you eat.
15.What simple seasoning blend works best for the ground beef in these Tex-Mex burritos?
▾
A quick homemade blend works perfectly: mix 1 tablespoon chili powder, 1 teaspoon ground cumin, ½ teaspoon garlic powder, ½ teaspoon onion powder, ¼ teaspoon smoked paprika, and a pinch of salt and black pepper per pound of beef. Skip store-bought blends with added sugar or preservatives for brighter, fresher flavor.
16.Why is my cheese staying clumpy instead of melting smoothly inside the burritos?
▾
Clumpy, unmelted cheese usually happens if you use ice-cold cheese straight from the fridge, or if you layer cheese between cold fillings. Let shredded cheese sit at room temperature for 10 minutes before assembling, and layer it directly against the warm cooked beef so residual heat melts it into that perfect gooey texture.
17.What easy, classic sides pair well with these beef burritos for a full family meal?
▾
Stick to classic Tex-Mex pairings like tortilla chips and fresh salsa, a simple side salad tossed with lime vinaigrette, roasted street corn, or a small bowl of tortilla soup. For a kid-friendly spread, add a side of queso for dipping or a scoop of creamy guacamole to round out the meal with bright, fresh flavors.

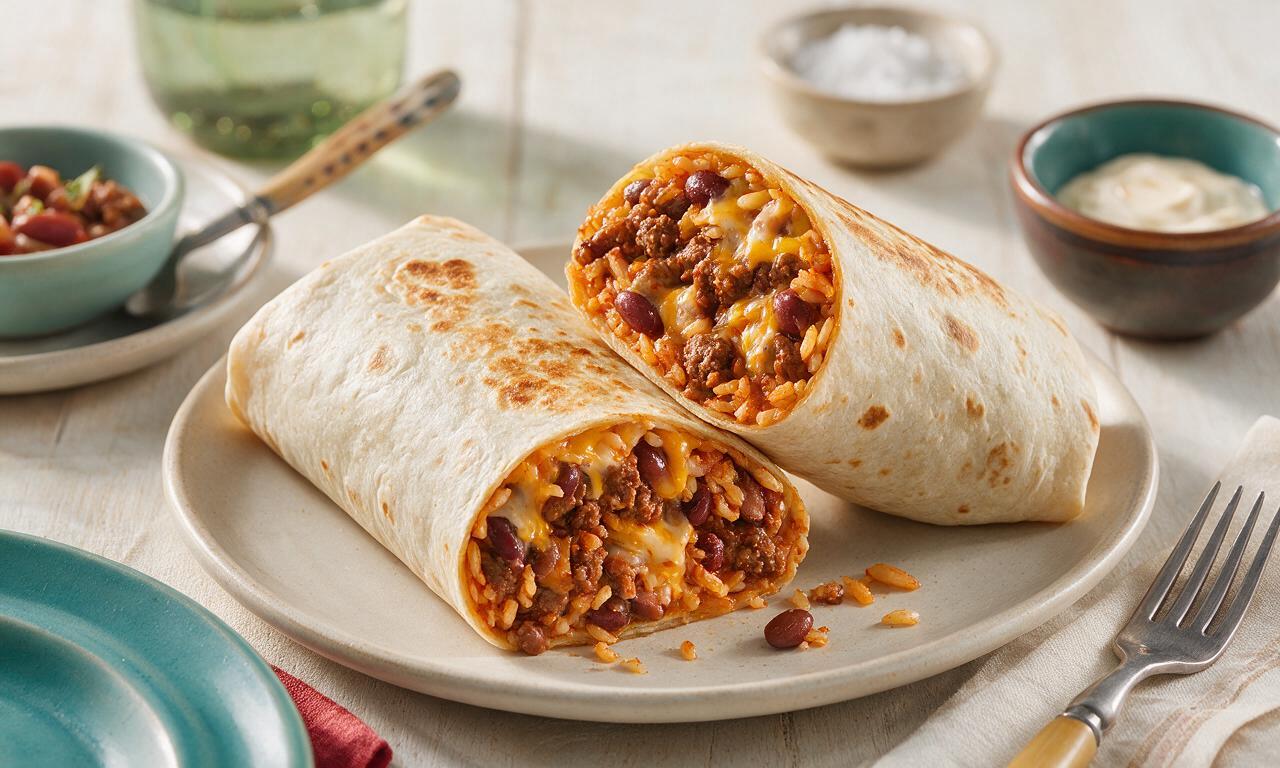






OMG these burritos were a total game changer for our weeknight family dinner! I was scrambling to get something on the table in 30 minutes after soccer practice, and this recipe was so easy even my 10 year old helped assemble them. All three boys went back for seconds, no complaints about veggies hidden in the beef mix. SO good!
I make a batch of these every Sunday for my work lunches for the week! They reheat perfectly in the microwave, and I love that I can customize each one with extra salsa, sour cream, or guac when I’m ready to eat. Way better than the sad frozen burritos I used to buy, and just as fast!
Took me a minute to find the right chili powder blend in my pantry, but otherwise this was super straightforward. Tastes exactly like the burritos I get from my favorite local Tex-Mex spot, minus the $12 price tag. Will be making again.
Made these for our college football watch party yesterday, added a little extra pickled jalapeño to the beef for a kick. My roommates demolished the whole platter by halftime. 10/10, will be in the regular rotation for game days.
Full transparency: I can barely boil water without messing it up, so I was nervous to try this. But the instructions were so clear, it only took 30 minutes like it said, and my wife said it was the best thing I’ve ever cooked. Win for me!
I swapped half the ground beef for black beans and corn to stretch the meal a little further, and it still tasted amazing! Super versatile recipe, great for when you’re trying to cut down on grocery costs.
Brought these to our neighborhood block party last weekend, and I had three neighbors stop by my house later to ask for the recipe. I added a side of homemade queso to dip them in, and it was chef’s kiss.
Bro, this recipe saved my dorm life. I only have a tiny hot plate and a skillet, and I made this in under 30 minutes for me and my two roommates. Way cheaper than ordering Uber Eats, and tastes 10x better. No cap.
I added a tablespoon of hot sauce and a sprinkle of cayenne to the beef mix because I love extra heat, and it was perfect. The base seasoning is really well balanced so it doesn’t get overpowered even when you add extra spice.
I’ve been making Tex-Mex burritos for 40 years, and this recipe is a solid, easy, no-fuss take on the classic. The ratio of spices to beef is spot on, and the 30 minute cook time is totally accurate even for brand new home cooks. Nice work.
I used gluten-free flour tortillas for this and it worked perfectly! No weird texture or falling apart like some gluten-free wraps do when you fill them up. Finally a burrito recipe I don’t have to tweak a million ways to fit my diet.
Wait, I forgot to add the diced tomatoes the first time I made this and it was still so good? I realized it halfway through assembling and panicked, but my family didn’t even notice. Can’t wait to make it again the right way to see how much better it is!
I wrapped these up in foil and took them on a day hike last weekend, and they were the perfect trail food. No mess, filling, tasted great even when they were room temp. Will be packing these for all my outdoor trips from now on.
My 7 year old turns her nose up at almost everything, but she ate a whole burrito without complaining and said it was her new favorite food – my kids loved it so much she asked if we could have it for her birthday dinner. I almost cried. This recipe is going in the permanent weekly rotation.
All the ingredients for this cost me under $15 total, and it made 6 huge burritos. That’s less than $3 a serving, which is way cheaper than takeout, and the portions are big enough that I was full for hours. Great value.
I hosted my first ever friend dinner at my new apartment last night and made these burritos, and everyone thought I was a cooking genius. Little do they know it was the easiest recipe I’ve ever followed, and the whole thing came together in half an hour. 10/10, confidence boosted.