
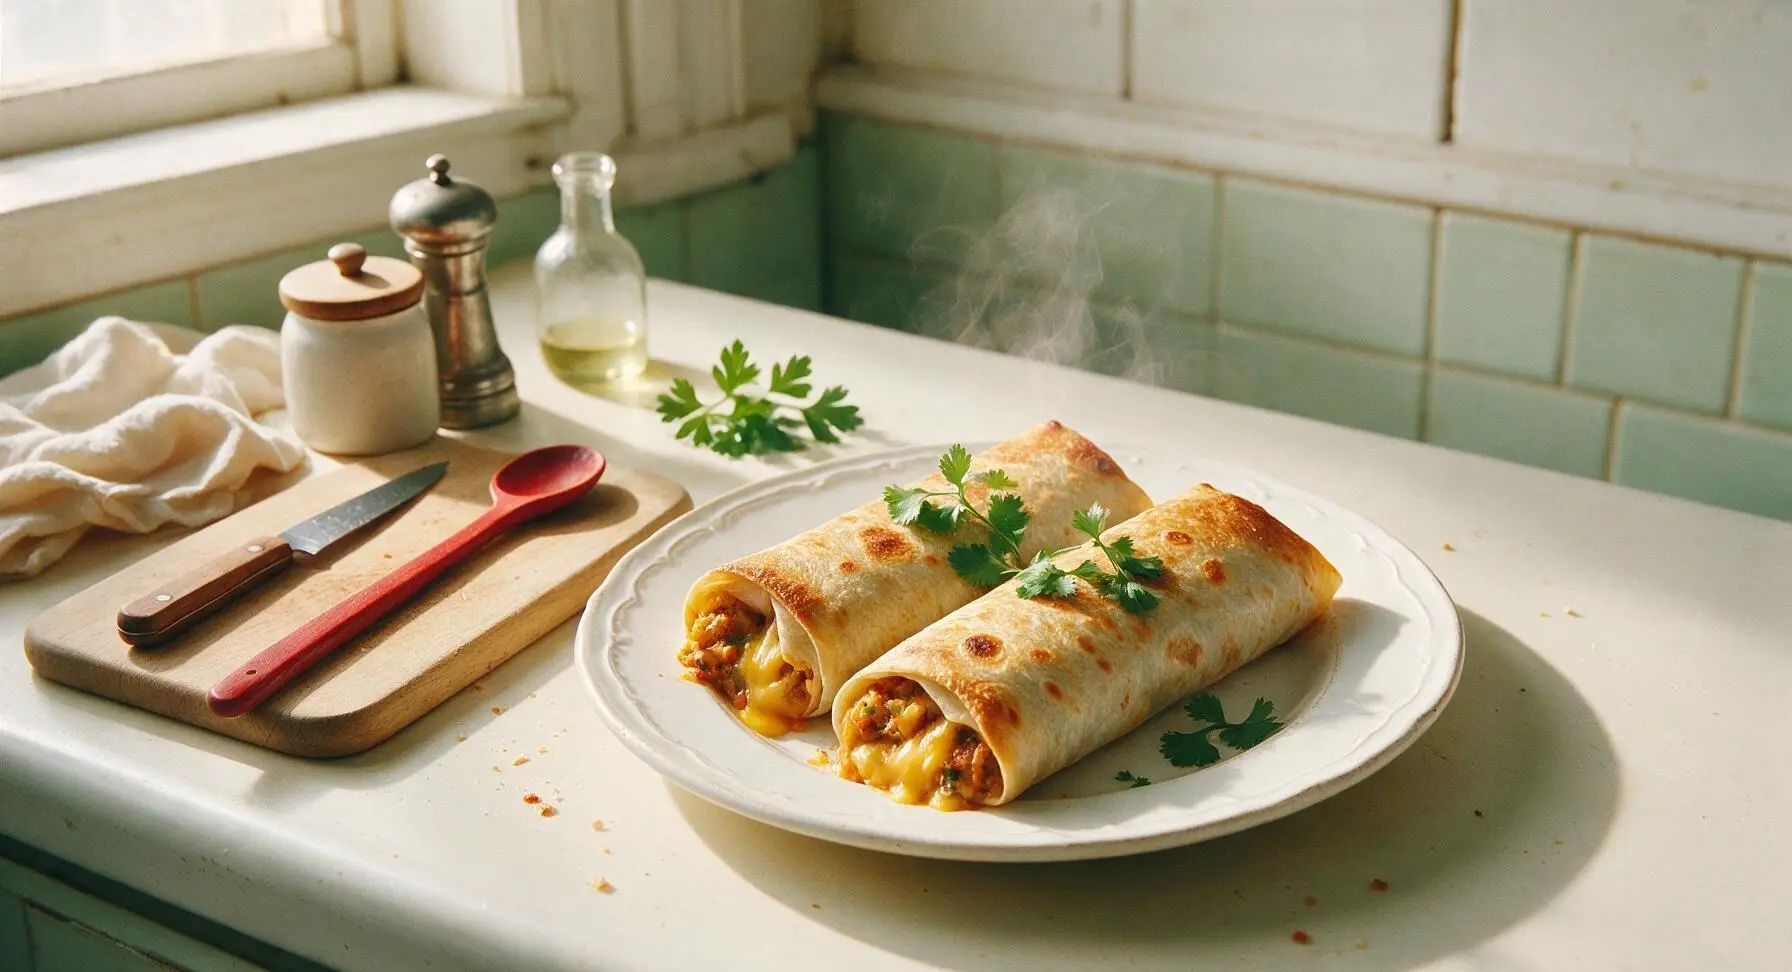
burrito air fryer

title 1
burrito air fryer
⏱️ cook time 10 minutes
🍽️ servings 4
⚡ Difficulty easy

intro

Crispy golden tortillas wrapped around savory, melty Tex-Mex fillings, cooked in 10 minutes in the air fryer for a satisfying, mess-free weeknight meal with zero deep-frying.

Ingredients
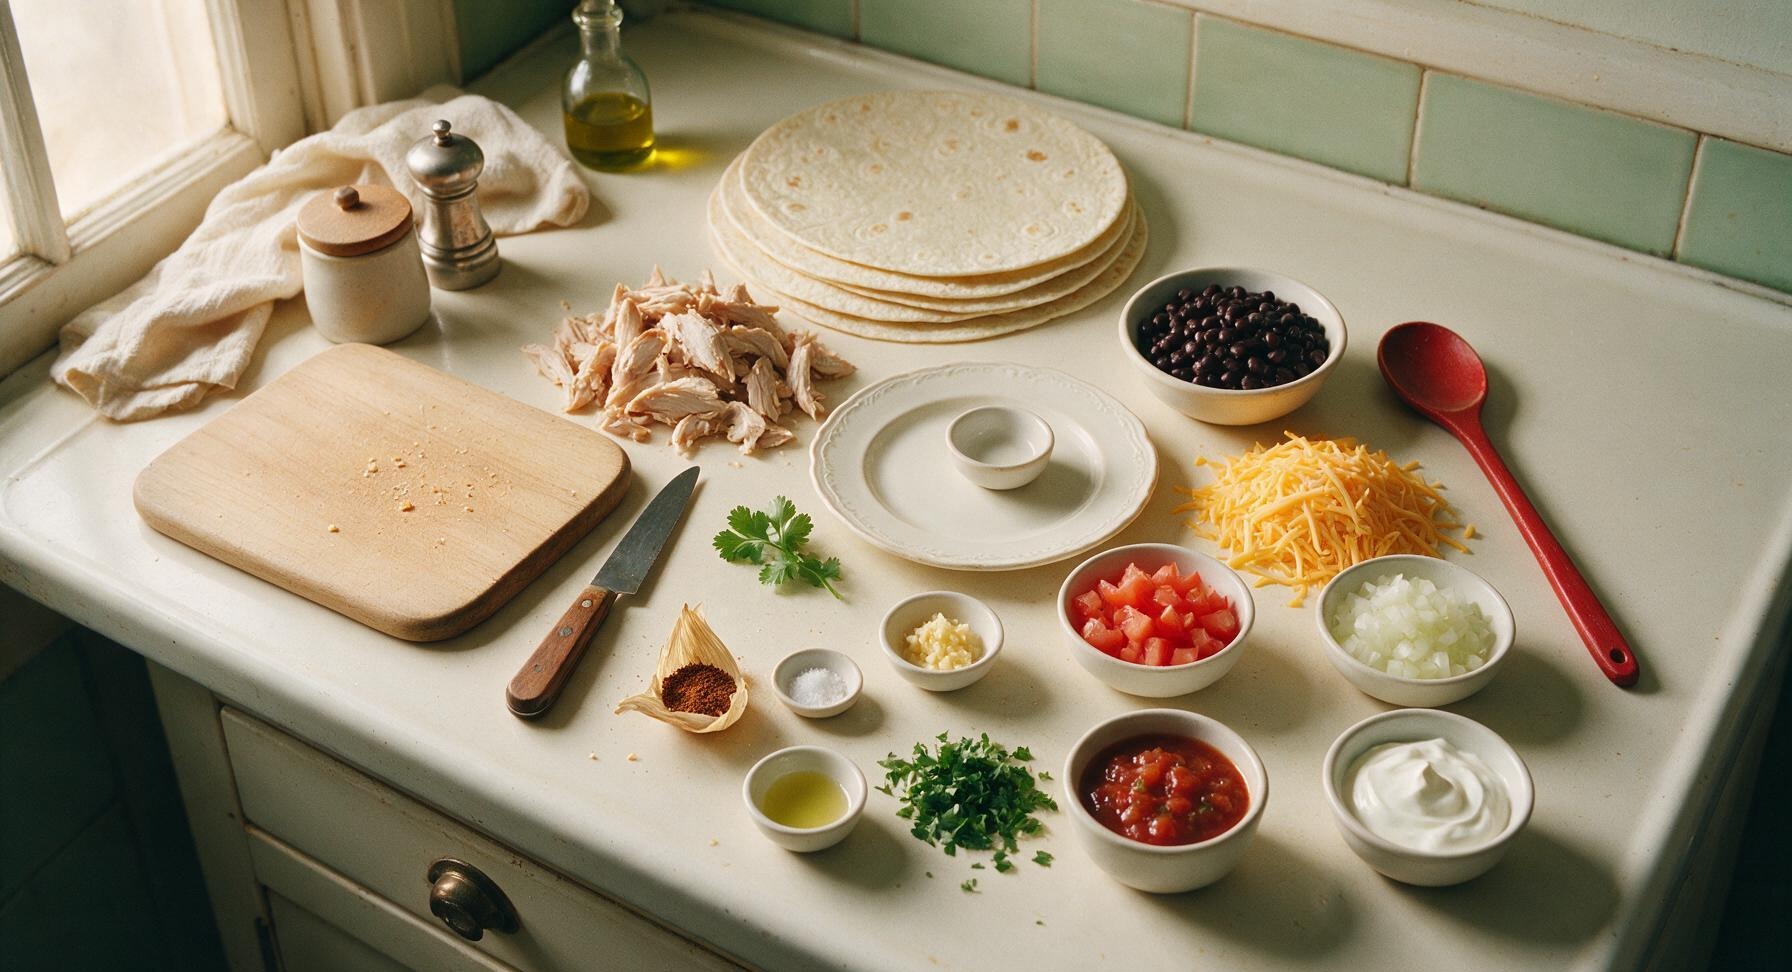
10-inch large flour tortillas 4 each
Shredded cooked rotisserie chicken 2 cups
Rinsed drained black beans 1 cup
Shredded sharp cheddar cheese 1.5 cups
Diced Roma tomato 1/2 cup
Finely diced yellow onion 1/4 cup
Minced garlic 1 teaspoon
Taco seasoning blend 2 tablespoons
Olive oil 1 teaspoon
Kosher salt 1/2 teaspoon
Fresh lime juice 1 tablespoon
Fresh cilantro 2 tablespoons, chopped
Salsa (for serving) 1/2 cup
Sour cream (for serving) 1/2 cup

Steps

1

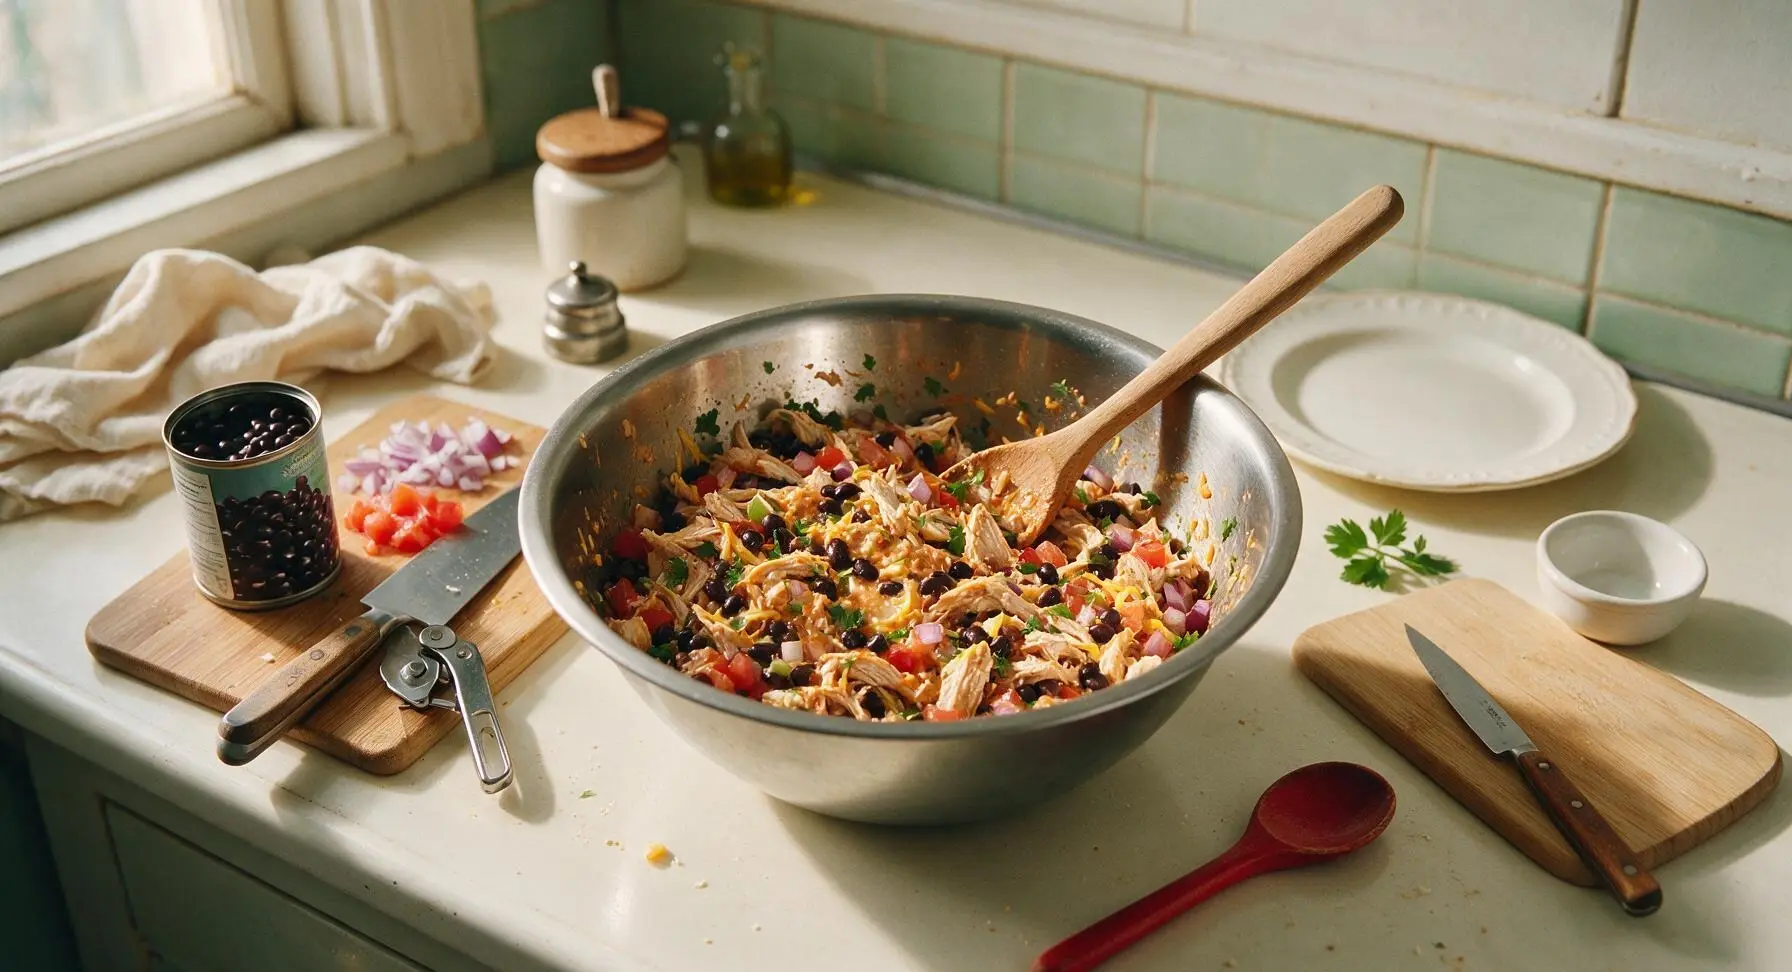
Mix Savory Filling

In the medium stainless steel mixing bowl, combine shredded chicken, rinsed black beans, diced tomato, diced onion, minced garlic, taco seasoning, fresh lime juice, 1 tablespoon of chopped cilantro, and 1/2 teaspoon kosher salt. Stir thoroughly with the beech wood mixing spoon until all ingredients are evenly coated in seasoning, then fold in 1 cup of the shredded cheddar cheese, reserving the remaining 1/2 cup for topping. The finished filling should be evenly combined, with no dry pockets of seasoning visible.
Step 1
step1:Mix Savory Filling
2

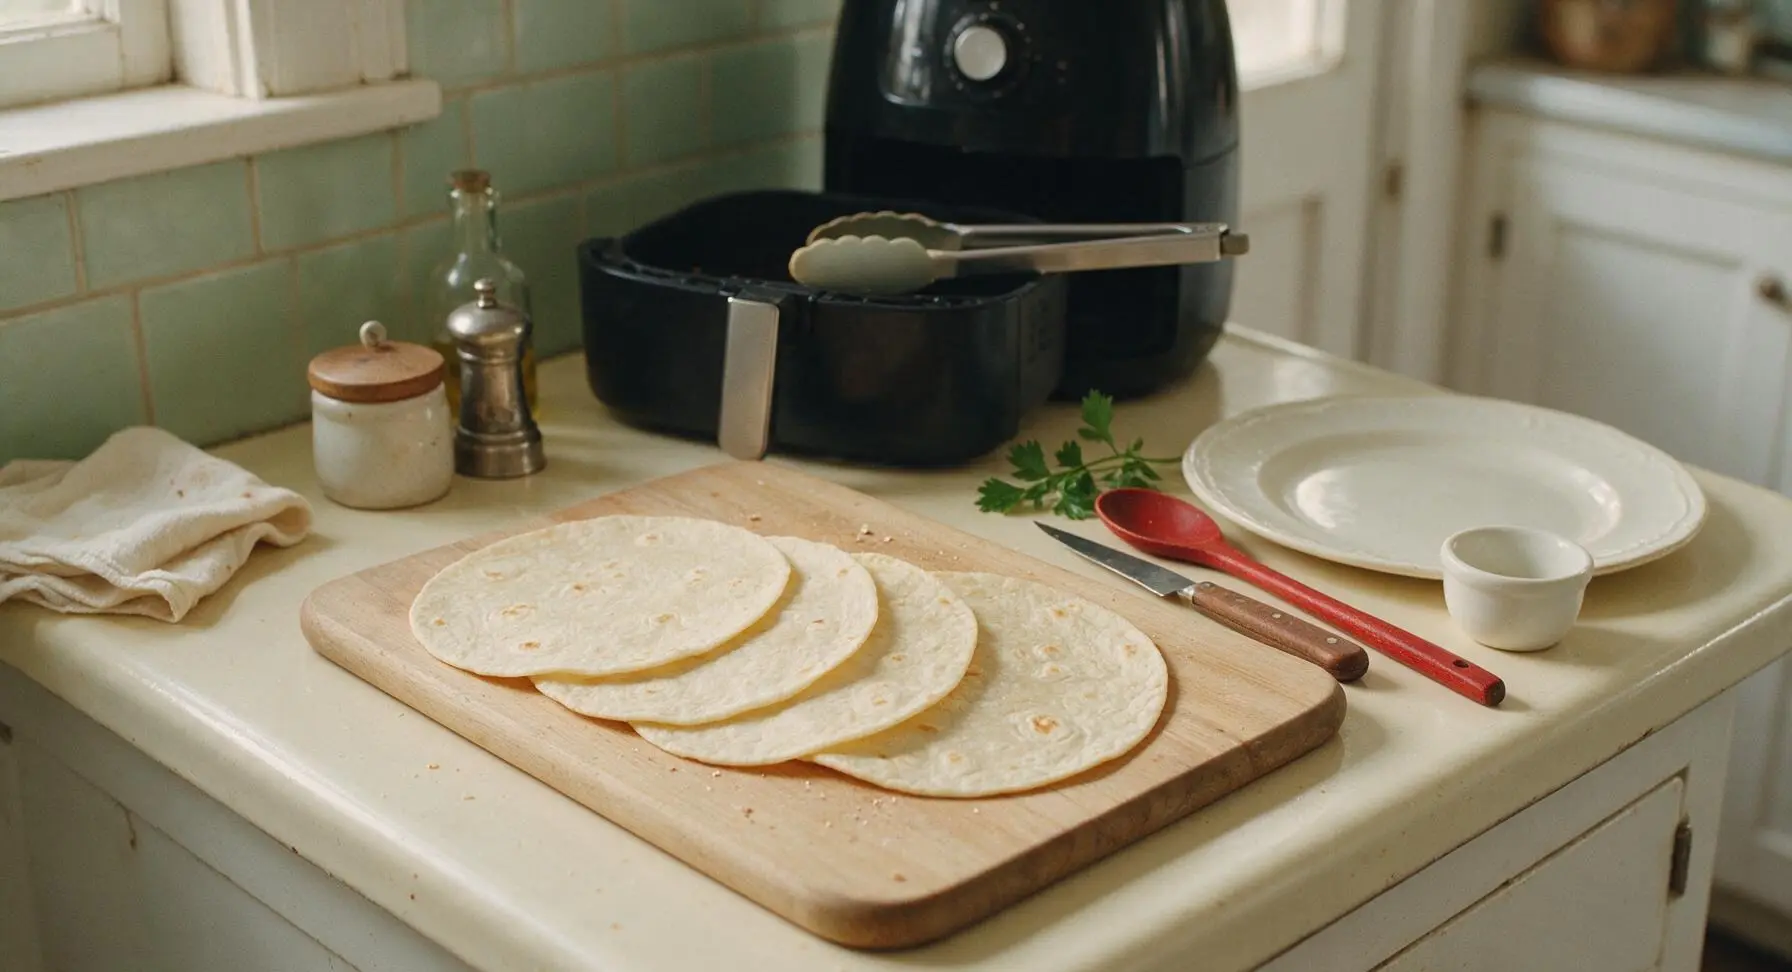
Warm Tortillas for Rolling

Stack the four flour tortillas in the air fryer basket and warm for 1 minute at 300°F to make them soft and pliable, which prevents cracking during rolling. Carefully remove the warm tortillas with the silicone-tipped tongs, and lay them in a single flat layer across the bamboo cutting board.
Step 2
step2:Warm Tortillas for Rolling
3

Fill and Roll Burritos

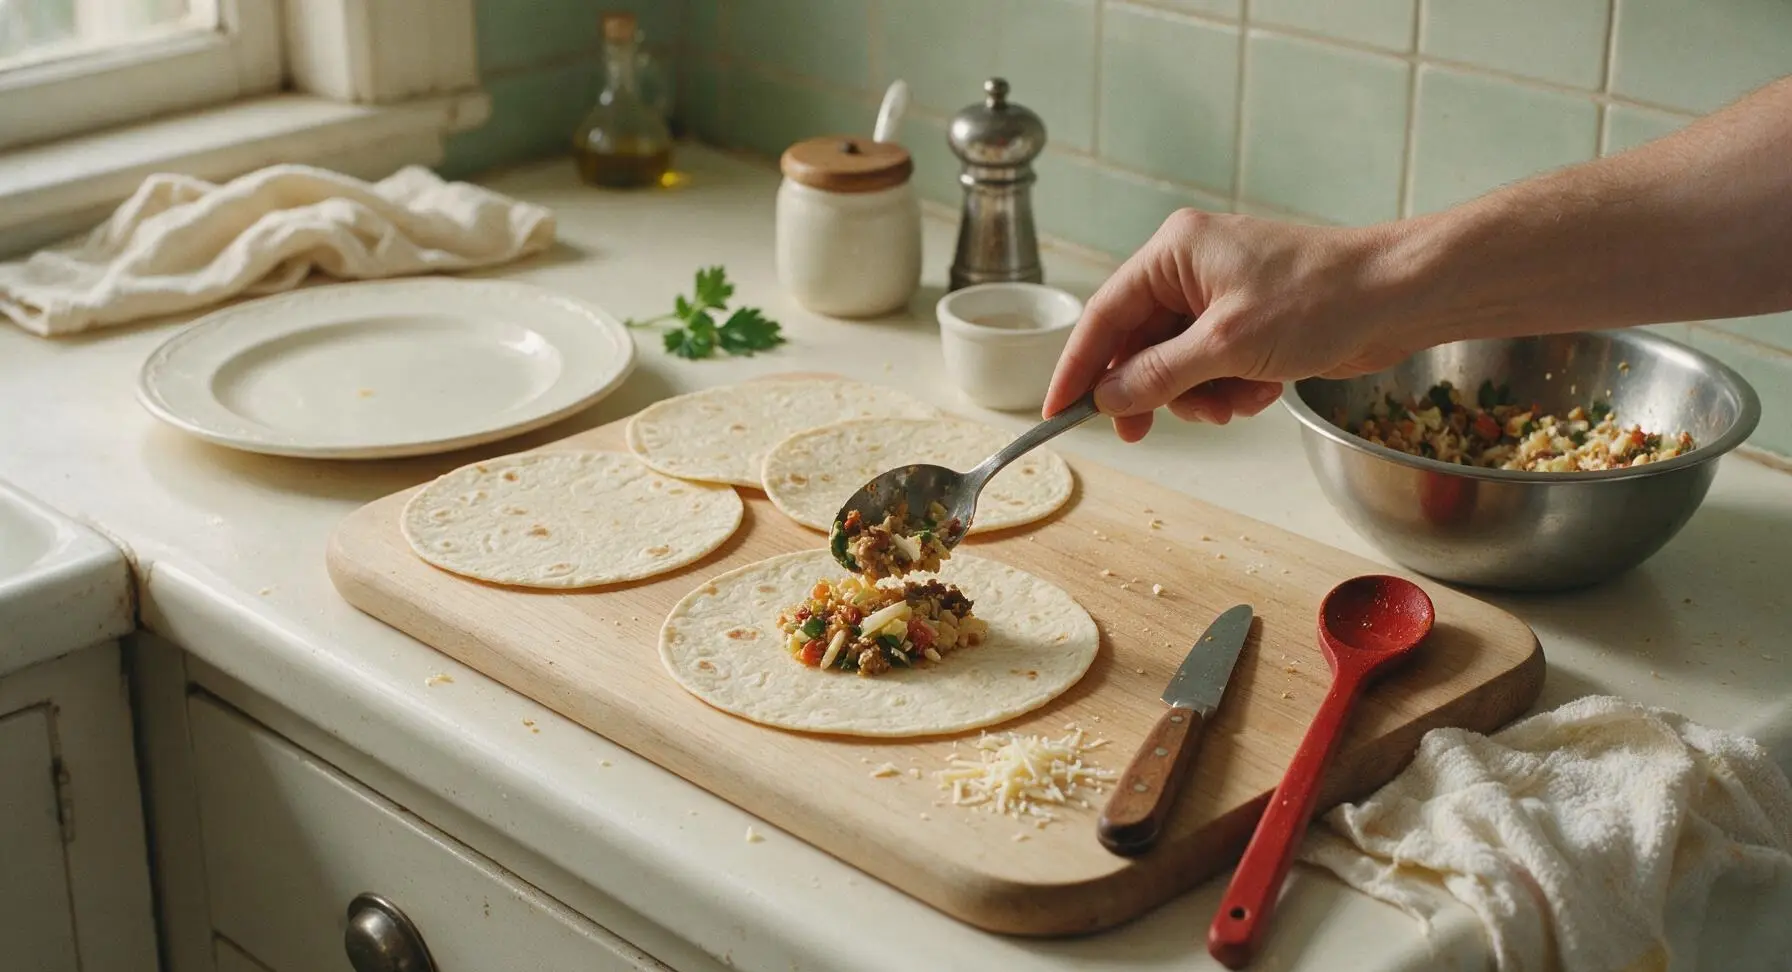
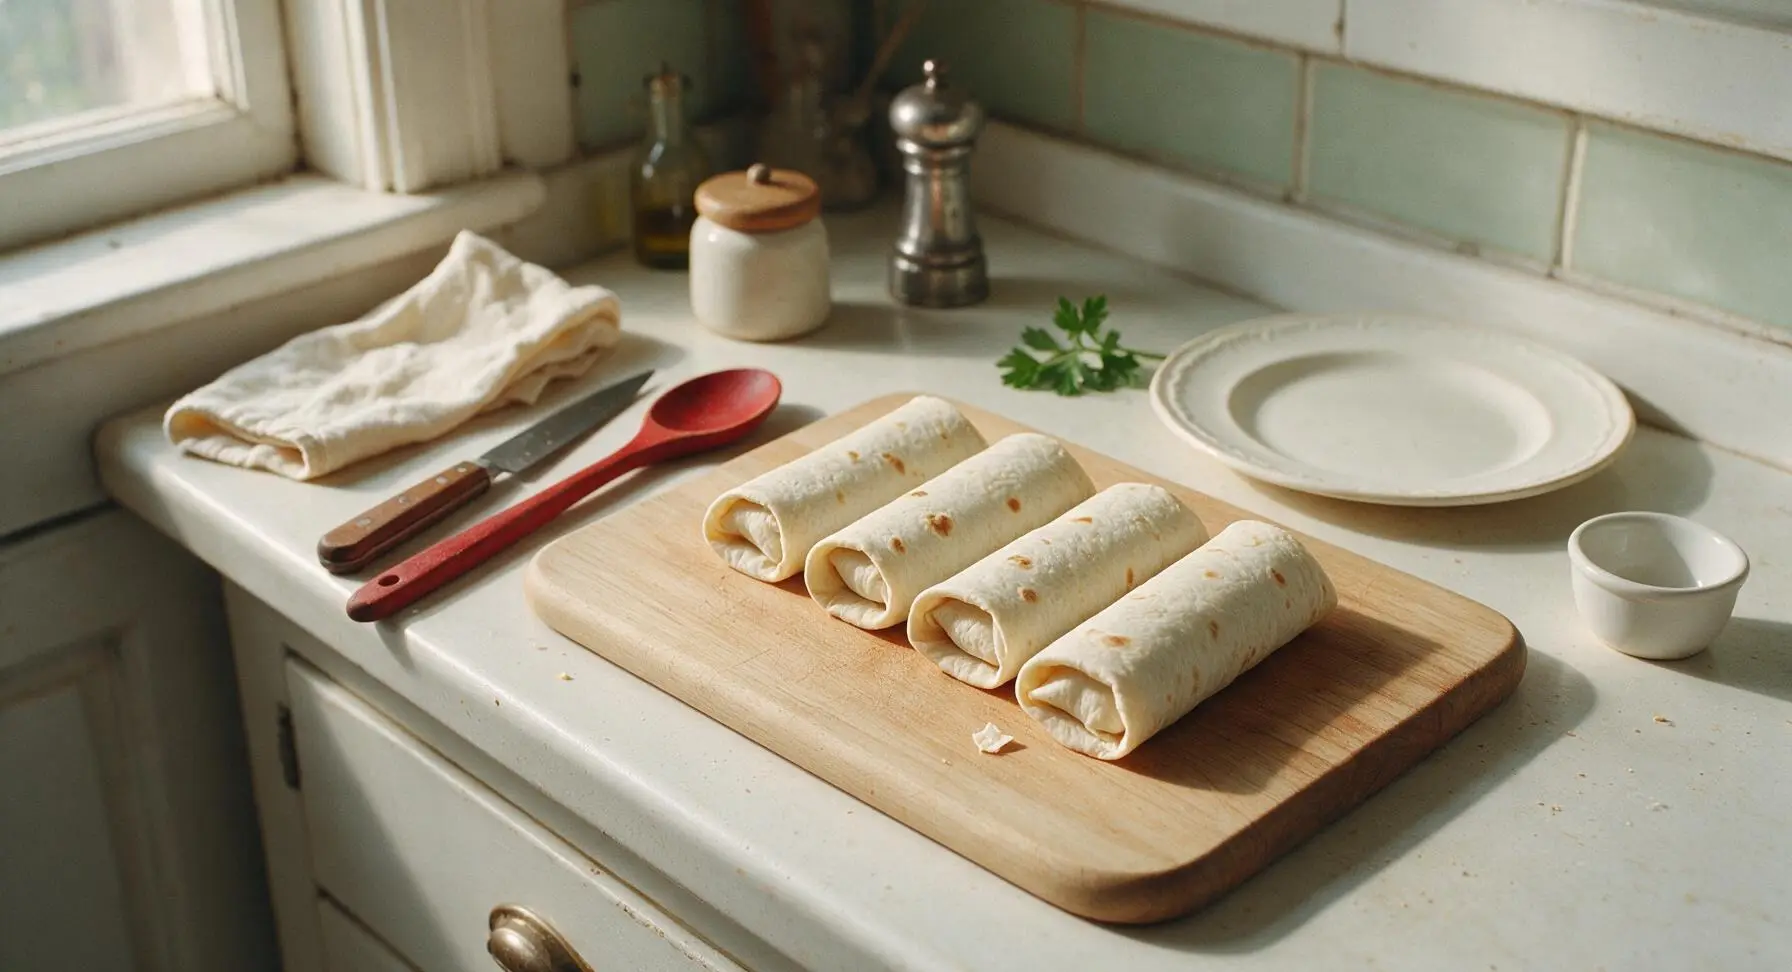
Scoop 3/4 cup of the filling mixture into the center of each warm tortilla, leaving a 2-inch border on all sides. Sprinkle 1 tablespoon of the reserved shredded cheddar over the top of each filling mound. Fold the left and right tortilla edges in over the filling, then roll tightly from the bottom edge up to create a sealed log shape, ensuring no filling peeks out of the ends to prevent burnt messes in the air fryer.
Step 3
step3:Fill and Roll Burritos
Step 3
step3:Fill and Roll Burritos
4

Prep and Preheat Air Fryer

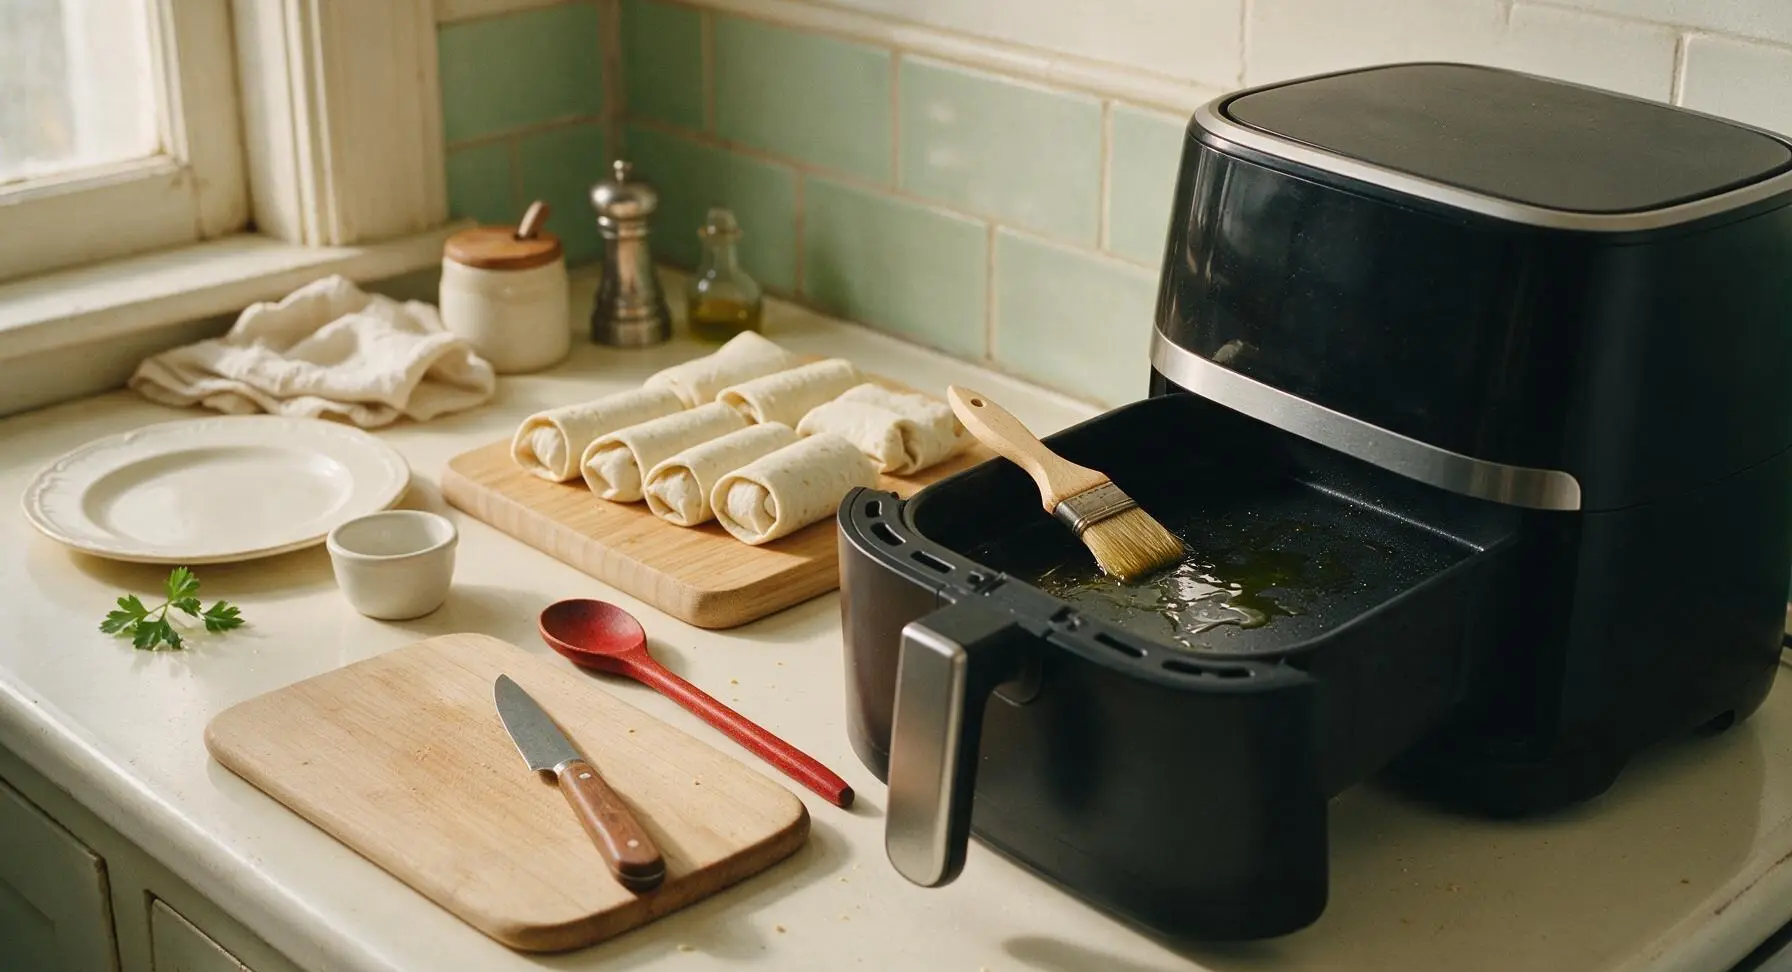
Use the natural bristle pastry brush to coat the air fryer basket with a thin layer of olive oil to prevent sticking. Preheat the air fryer to 400°F for 2 minutes, until the basket feels warm when held 1 inch above the surface. Avoid aerosol non-stick spray, as it can damage the air fryer’s non-stick coating over time.
Step 4
step4:Prep and Preheat Air Fryer
5

Air Fry Until Crispy

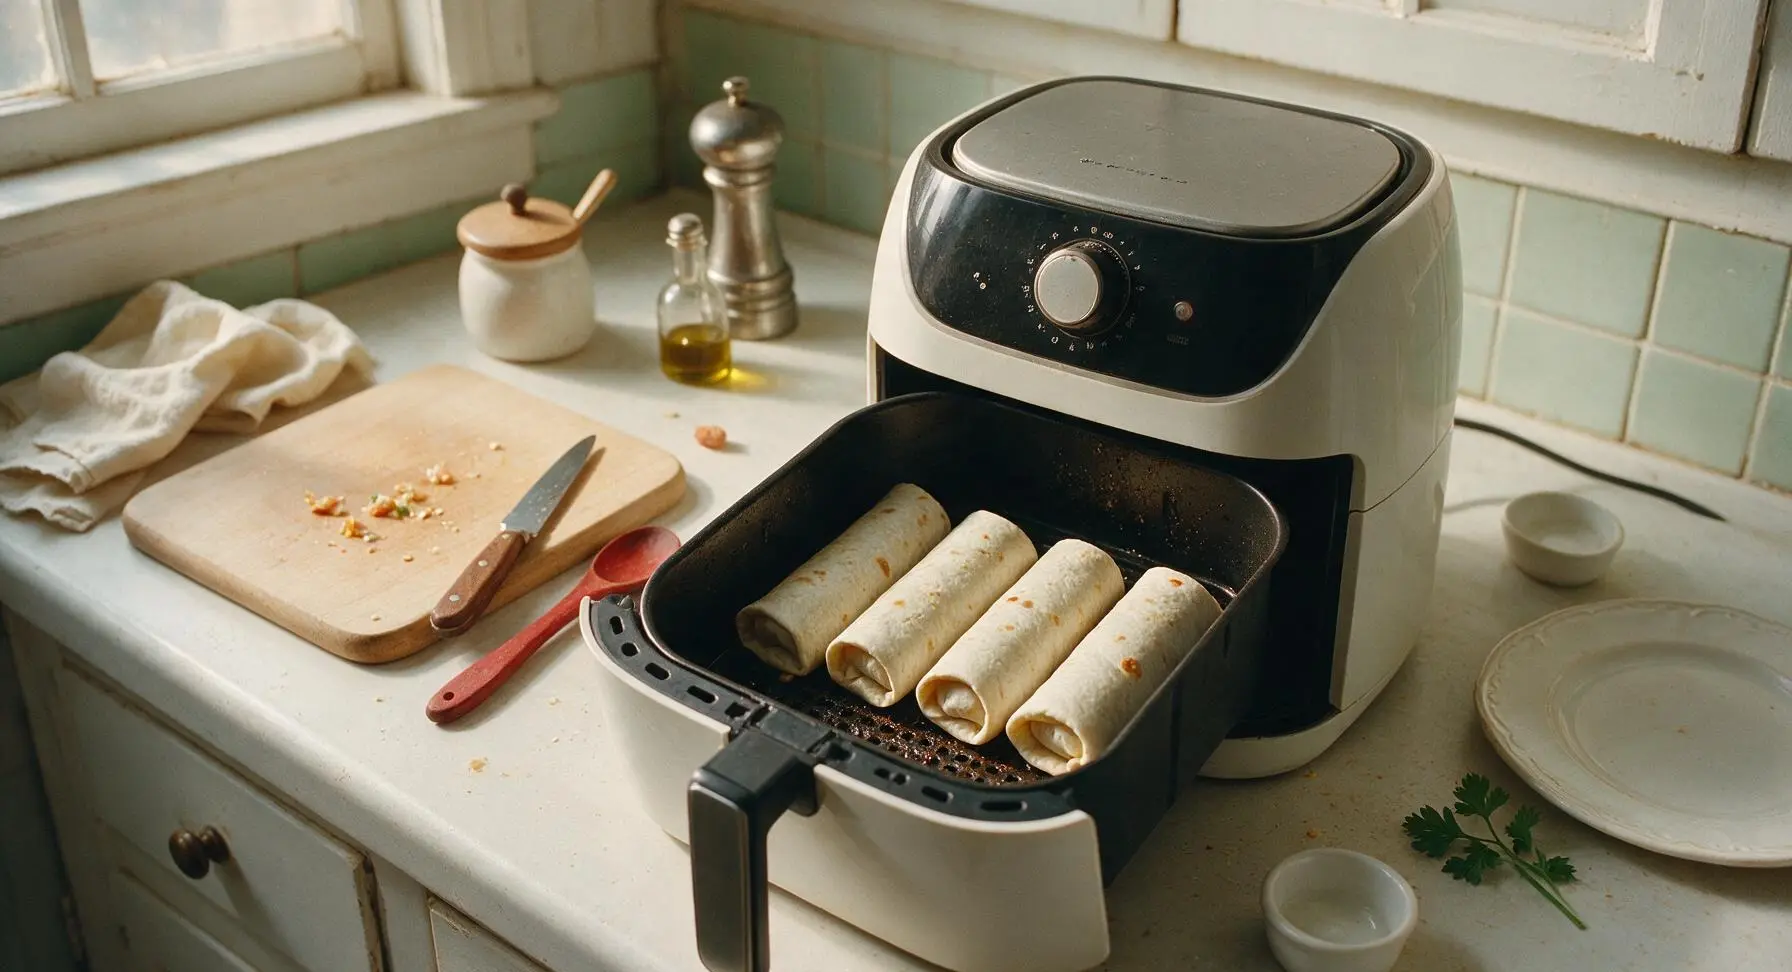
Arrange the rolled burritos in the preheated air fryer basket in a single layer, seam-side down, leaving 1/2 inch of space between each to allow hot air to circulate evenly. Cook for 10 minutes total, pausing at the 5-minute mark to gently flip the burritos with the silicone-tipped tongs. The burritos are done when the tortilla exterior is deep golden brown, slightly blistered, and crispy to the touch, with no pale raw dough spots remaining.
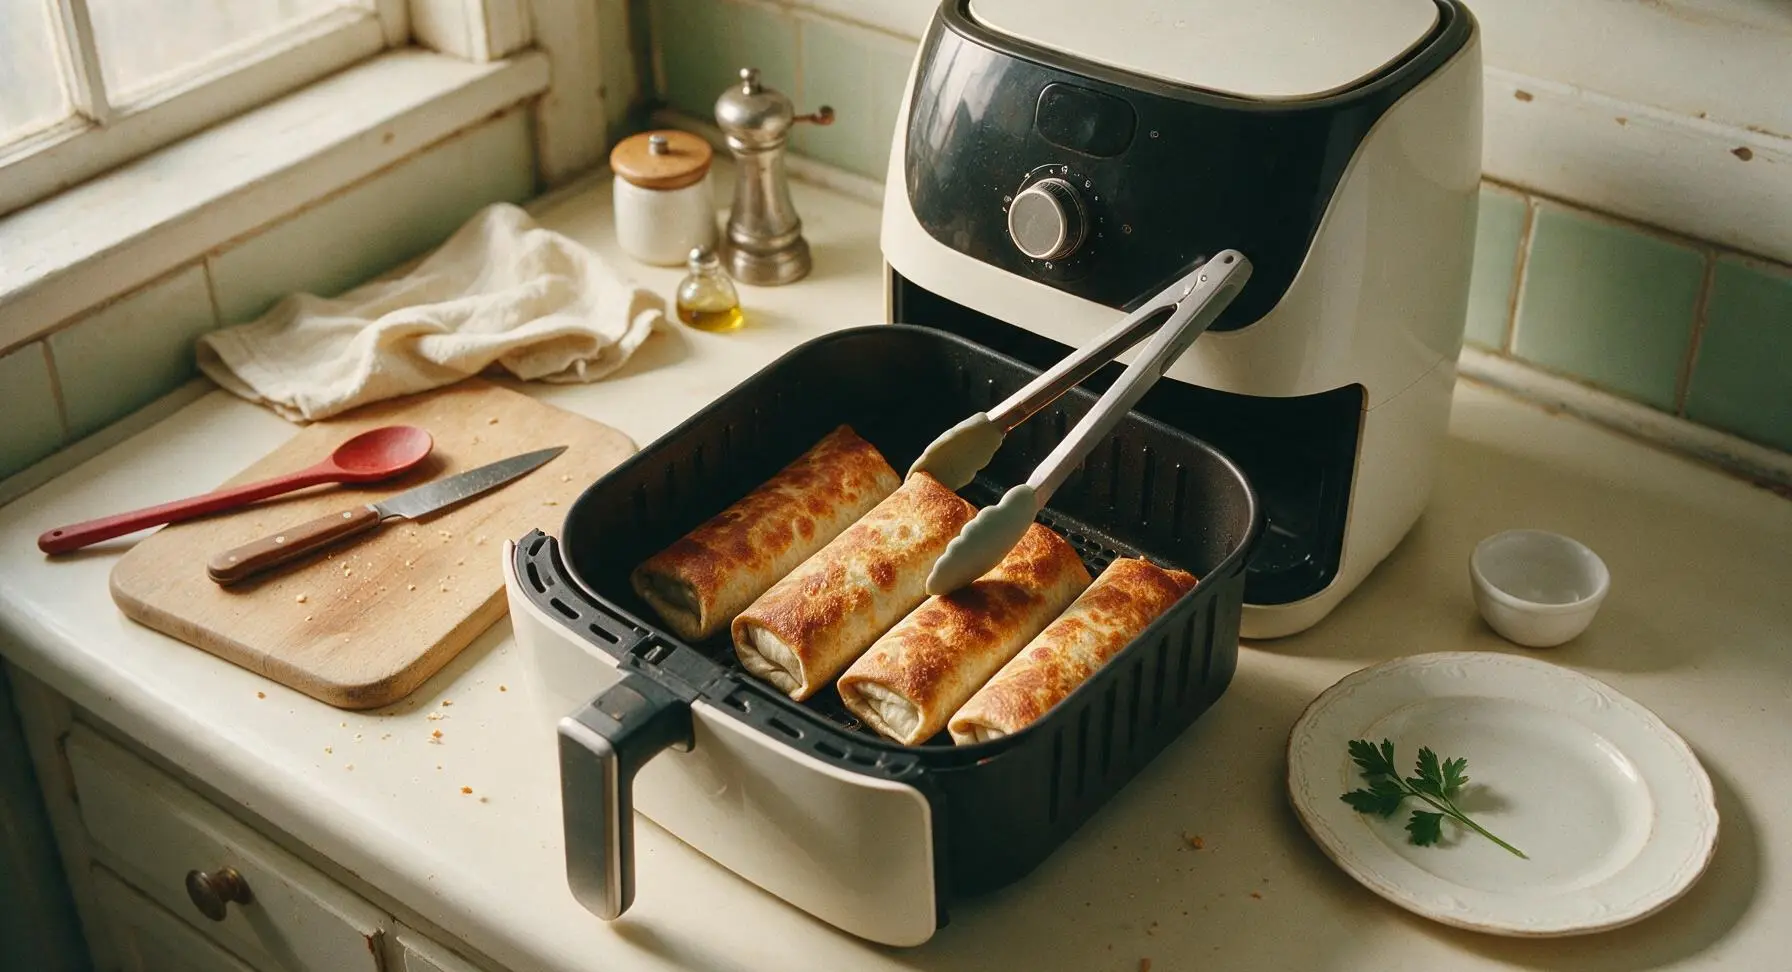
Step 5
step5:Air Fry Until Crispy
Step 5
step5:Air Fry Until Crispy
6

Rest and Serve Burritos

Use the silicone-tipped tongs to transfer the cooked burritos to the matte cream ceramic dinner plate. Let them rest for 2 minutes to allow the melted cheese to set slightly, so filling does not gush out when cut. Cut two burritos on a sharp diagonal, then serve with salsa and sour cream in the small glass ramekins, garnished with a sprig of fresh cilantro.
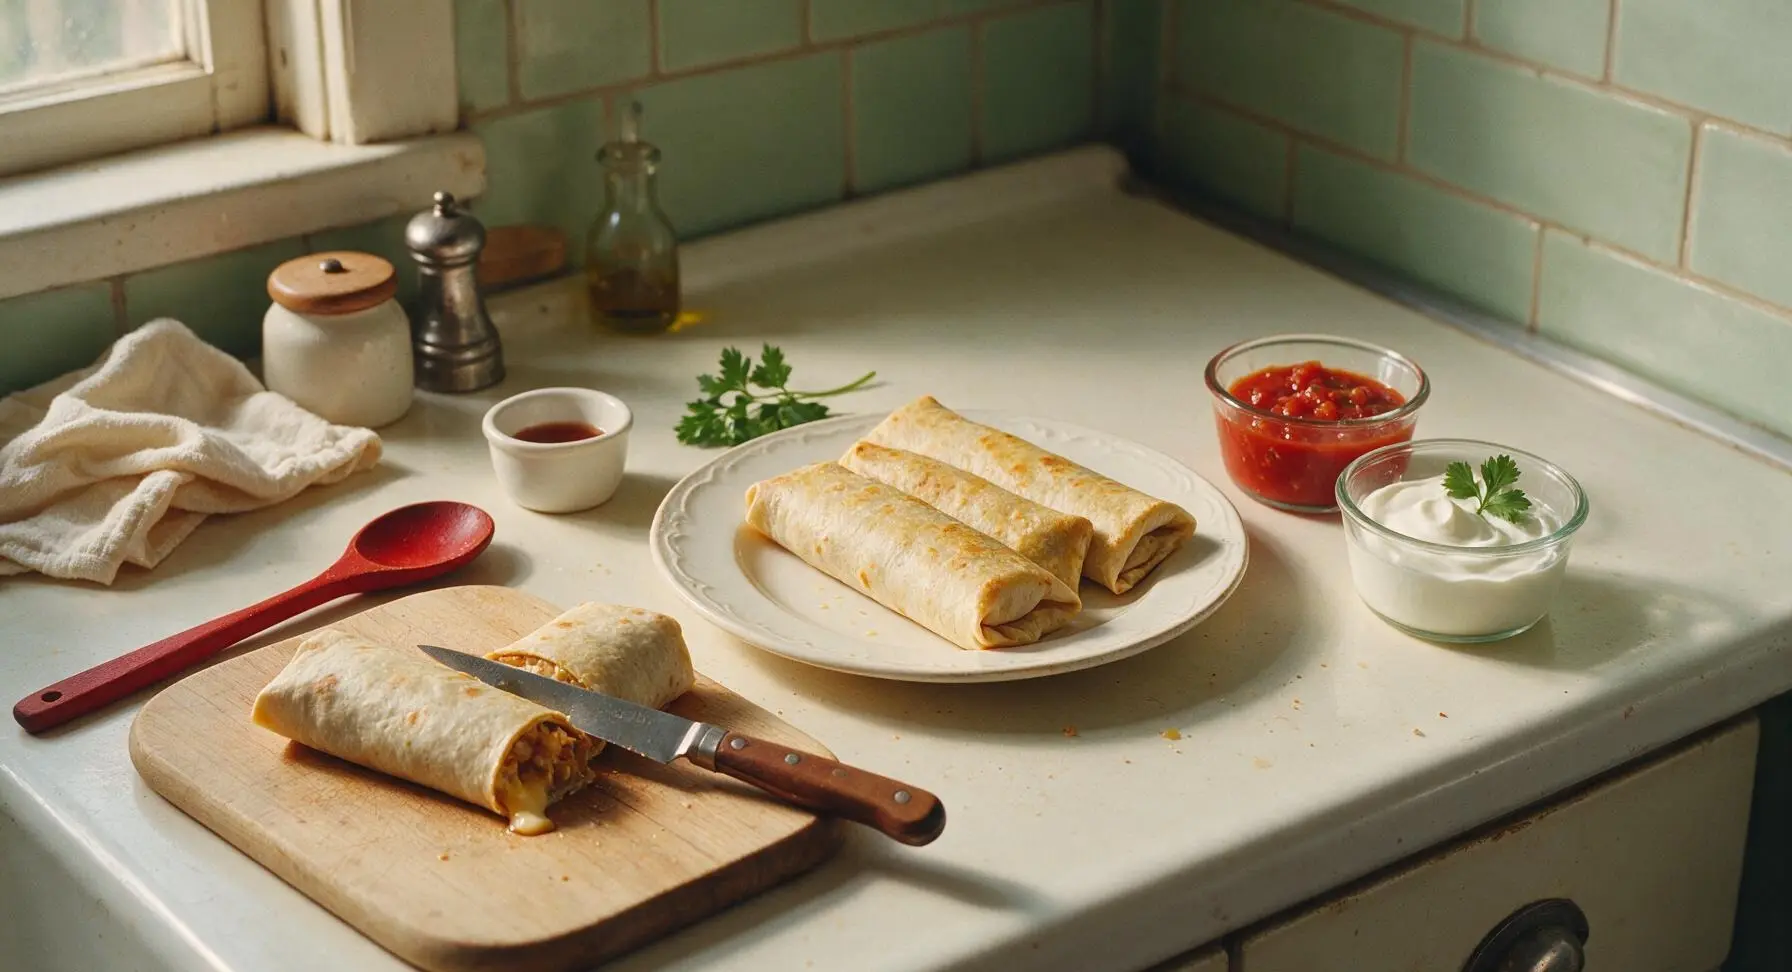
Step 6
step6:Rest and Serve Burritos

Tips

1.Warm tortillas before rolling to prevent cracks: Cold tortillas are brittle and will split when folded, allowing filling to leak into the air fryer basket and create burnt, hard-to-clean messes.
2.Leave 1/2 inch of space between burritos in the air fryer basket: Overcrowding blocks hot air circulation, leading to unevenly cooked, soggy tortilla patches instead of a uniform, shatteringly crisp exterior.
3.Skip aerosol cooking sprays for your air fryer: The propellants in most commercial sprays break down non-stick basket coatings over time, causing permanent discoloration and sticking; a thin brush of olive oil prevents sticking just as effectively without damage.


✨ You May Also Like

Main Course
🍜 United Kingdom

A showstopping classic of tender seared beef, savory mushroom duxelles, and crisp prosciutto wrapped in flaky golden puff pastry, baked to juicy perfection.

⏱️ 2 hours 1Main Course ★ 4.7
Main Course
🍜 India

Tender charred marinated chicken simmered in a rich, spiced creamy tomato sauce, this iconic Anglo-Indian curry pairs perfectly with basmati rice or warm naan.

⏱️ 50 minuteMain Course ★ 4.6
Main Course
🍜 Thailand

Classic tangy, sweet, and savory Thai stir-fried rice noodles with shrimp, tofu, and crunchy garnishes, balancing all five core Thai flavor profiles.

⏱️ 30 minuteMain Course ★ 4.5
Main Course
🍜 United Kingdom

Crispy golden beer-battered cod and fluffy double-fried chips, served with tangy tartar sauce and malt vinegar: the timeless, beloved British pub comfort classic.

⏱️ 45 minuteMain Course ★ 4.7
Main Course
🍜 Mexico

Smoky, chile-marinated pork tacos with caramelized pineapple, fresh cilantro, and lime: a beloved classic Mexican street food perfect for casual summer gatherings.

⏱️ 1 hour 45Main Course ★ 4.8
Main Course
🍜 United States

Crunchy Fritos corn chips layered with savory beef chili and melted cheddar, topped with cool, zesty fixings for a beloved, cozy Tex-Mex comfort food.

⏱️ 35 minuteMain Course ★ 4.8

burrito air fryer:Frequently Asked Questions

1.Why aren’t my burritos getting that signature crispy golden exterior in the air fryer? ▾
This usually traces back to three easy-to-fix issues: you skipped a light mist of neutral oil on the tortilla exteriors and basket, overcrowded the basket so hot air can’t circulate evenly, or forgot to flip them halfway through cooking. Leave 1 inch of space between burritos for even, shatteringly crisp golden results every time.
2.Can I assemble these burritos ahead of time and freeze them for quick weeknight meals? ▾
Absolutely! Assemble the burritos fully, wrap each tightly in plastic wrap followed by a layer of aluminum foil, and freeze for up to 3 months. When ready to cook, skip thawing—unwrap them, place in the air fryer at 350°F for 18 to 20 minutes, flipping halfway, until the center is hot and the outside is crisp.
3.How do I stop fillings and melted cheese from leaking out while the burritos cook? ▾
First, avoid overstuffing: stick to roughly ½ cup of total filling per 10-inch flour tortilla to leave enough room to seal. Tuck the side edges in tightly before rolling from the bottom up, and place burritos seam-side down in the basket so the weight of the burrito seals the edge as it cooks.
4.Can I make these vegetarian by swapping out the rotisserie chicken? ▾
Definitely, this recipe is extremely flexible. Swap the chicken for extra drained black beans, seasoned roasted corn, sautéed bell peppers and onions, or crumbled cooked sofritas. Just make sure any very wet add-ins (like extra salsa or undrained diced tomato) are thoroughly drained so they don’t turn the crispy tortilla soggy as it cooks.
5.What temperature and cook time should I use to avoid burning the tortillas? ▾
Set your air fryer to 375°F for a total of 10 minutes, flipping burritos gently at the 5-minute mark. You don’t need to preheat for most standard models, but if you have a small, high-wattage air fryer, drop the temperature to 360°F and check for doneness at 8 minutes to avoid charred edges.
6.Can I use corn tortillas instead of the large 10-inch flour tortillas called for? ▾
You can, but keep a few adjustments in mind. Corn tortillas are smaller and more brittle, so warm them for 10 to 15 seconds wrapped in a damp paper towel in the microwave first to prevent cracking when rolling. Cut cook time by 2 to 3 minutes, since corn tortillas crisp up much faster than thick flour ones.
7.Do I need to pre-cook or warm my fillings before rolling the burritos? ▾
Since the recipe uses pre-cooked ingredients like rotisserie chicken, rinsed black beans, and shredded sharp cheddar, no pre-warming is needed for the standard 10-minute cook time. If you’re using ice-cold fillings straight from the fridge, warm them for 30 seconds in the microwave first to ensure the center is hot and cheese is fully melted.
8.What toppings pair best with these crispy air fryer burritos? ▾
Let burritos rest for 2 minutes after cooking so the melted cheese sets, then serve with classic Tex-Mex toppings like cool sour cream, fresh guacamole, zesty red or green salsa, a squeeze of lime, pickled jalapeños, or chopped cilantro. Skip adding very wet toppings inside the burrito to keep the tortilla crisp.

Comments (8)

3 days ago

OMG these are a total game changer!!! I was so tired of soggy microwaved burritos for quick lunches, and these come out perfectly crispy in 10 minutes flat. I stuffed mine with leftover rice, black beans, shredded chicken and a little pepper jack, and even my super picky 7 year old asked for seconds. Already added this to our weekly weeknight dinner rotation!!

2 days ago

Wait did you spray them with oil first? I tried air fryer burritos once and they came out kind of dry on the outside :(

2 days ago

Great question! A light spritz of olive oil or cooking spray on the outside of the burritos before air frying helps them get that perfect golden crispy crust without drying out! Make sure you’re also not overcrowding the air fryer basket so air can circulate around each one.

1 week ago

Made these for my football watch party last weekend and they were gone in 10 minutes! I set out a little topping bar with guac, sour cream, salsa and queso so people could customize theirs. So easy to throw together last minute, way better than the frozen taquitos I usually serve. 10/10 will make again for the next game day.

5 days ago

Love the topping bar idea! That’s such a fun way to serve these for parties, I’m definitely stealing that for my next get-together. So glad they were a hit with your crew!

5 days ago

Perfect for meal prep! I made a big batch on Sunday, wrapped them up, and just popped one in the air fryer each day for lunch this week. They reheat so well and stay crispy, no sogginess at all. I did a veggie version with roasted peppers, corn, and black beans for my vegetarian roommate and she was obsessed too.

3 days ago

How do you store them for meal prep? Fridge or freezer? I’ve been looking for easy work lunch ideas that don’t get mushy!

2 days ago

Great question! You can store assembled, uncooked burritos in the fridge for up to 4 days, or freeze them for up to 3 months. When cooking from frozen, just add 3-4 extra minutes to the cook time, no need to thaw first!

yesterday

Wait, 10 minutes total cook time? I was skeptical because my air fryer always seems to take longer for frozen stuff, but these were perfectly crispy and heated all the way through right at 10 mins on 400. No more waiting for my oven to preheat for burrito nights! SO good.

2 hours ago

Wait do you flip them halfway through? I always forget to flip stuff in my air fryer and one side gets way crispier than the other lmao

2 hours ago

Took these to a neighborhood potluck last night and so many people asked for the recipe! I used ground beef seasoned with taco seasoning, lots of melted cheese, and even added a little pickled jalapeño inside each one for a kick. So easy to make, even for someone who’s terrible at cooking like me lol.

30 minutes ago

Omg the pickled jalapeño addition sounds chef’s kiss, I’m definitely adding those next time I make these! How much did you put in each burrito?

5 minutes ago

Love the pickled jalapeño twist! That adds such a bright, tangy kick that pairs so well with the melty cheese and savory beef. So glad the recipe worked out for you even as a beginner cook, that’s what we love to hear!

30 minutes ago

I’ve been making air fryer burritos for months but mine always burst open and all the cheese oozes out. Followed the folding tip in this recipe and not a single one leaked! Game changer, no more scrubbing burnt cheese off the bottom of my air fryer basket lmao.

just now

So happy the folding tip worked for you! That little trick of tucking the ends in tight before rolling makes all the difference for no leaks. Quick pro tip: if you have a burrito that feels extra full, you can secure it with a toothpick while cooking to be extra safe (just remember to remove it before eating!)

2 weeks ago

My twins are obsessed with these! I let them pick their own fillings last night and they had so much fun building their own burritos before I popped them in the air fryer. Way less mess than regular taco night too, since everything is wrapped up tight. Will be making these at least twice a month from now on.

5 minutes ago

Solid easy recipe, perfect for when I don’t feel like putting a ton of effort into dinner. I used frozen burritos from the grocery store instead of making my own filling, and they came out so much crispier than the package directions for the microwave or oven. Saved me so much time on a busy work night.



