
burrito bowl casserole

title 1
burrito bowl casserole
⏱️ cook time 30 minutes
🍽️ servings 6
⚡ Difficulty easy

intro

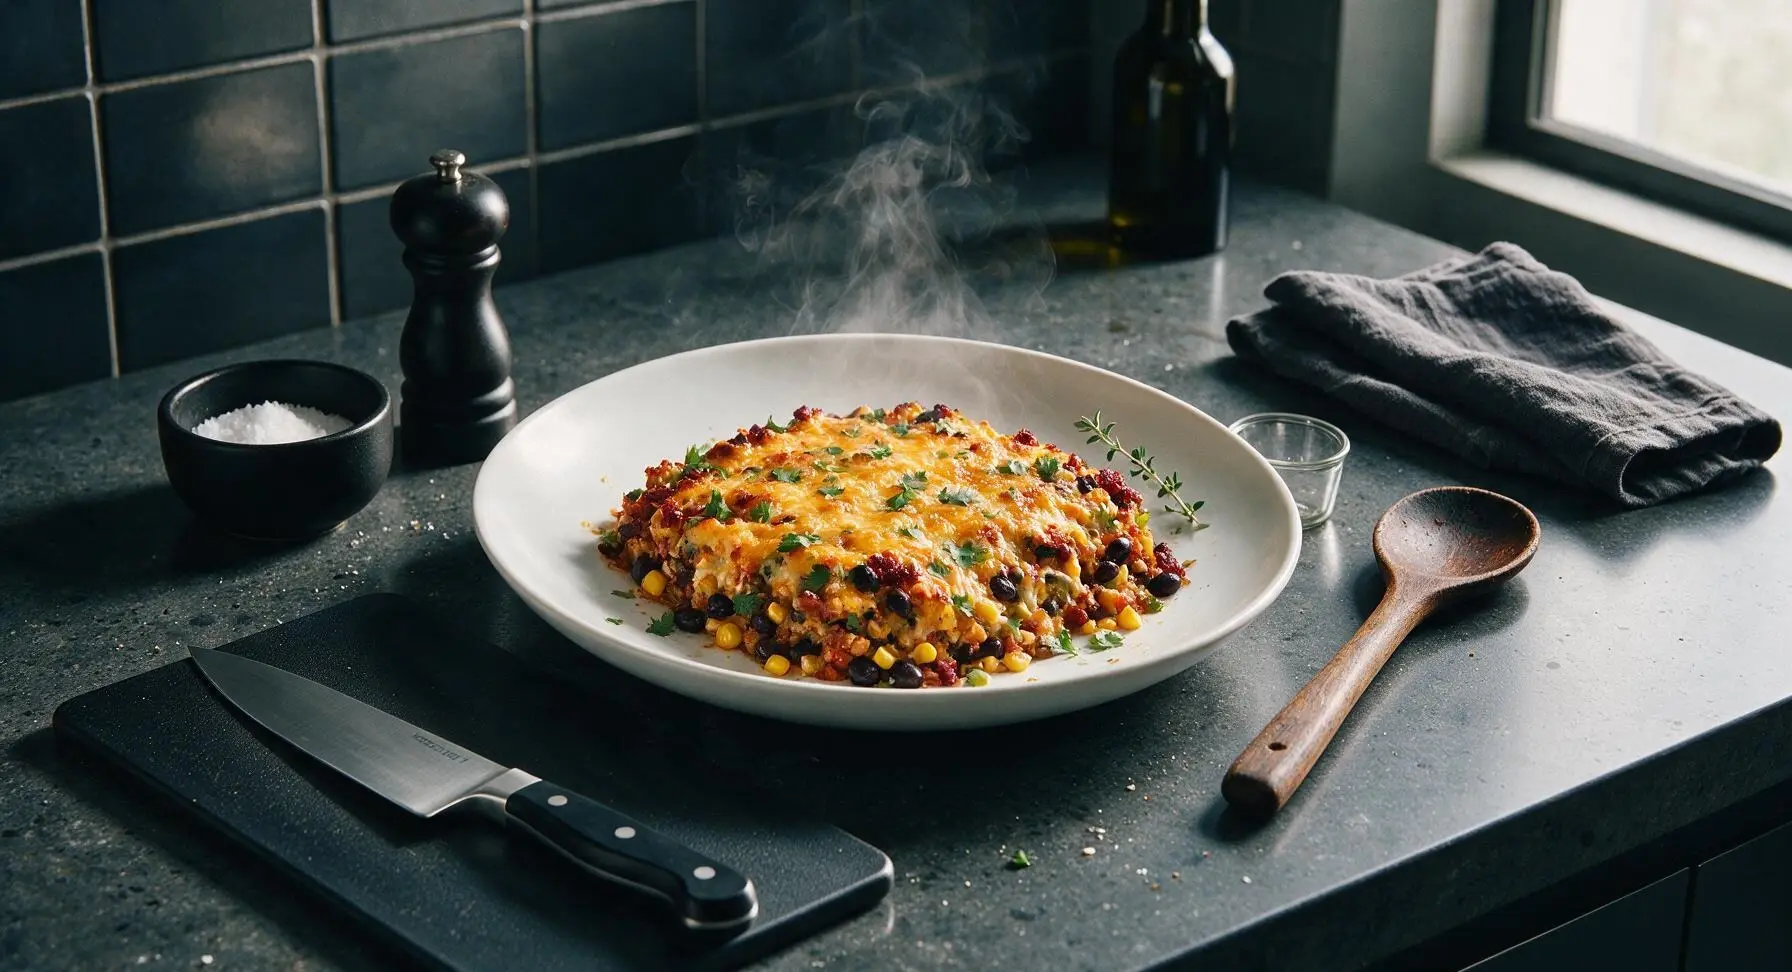
All the bold, zesty flavors of a loaded burrito bowl baked into a cheesy, hearty one-pan casserole—perfect for fast, satisfying weeknight meals with minimal cleanup.

Ingredients
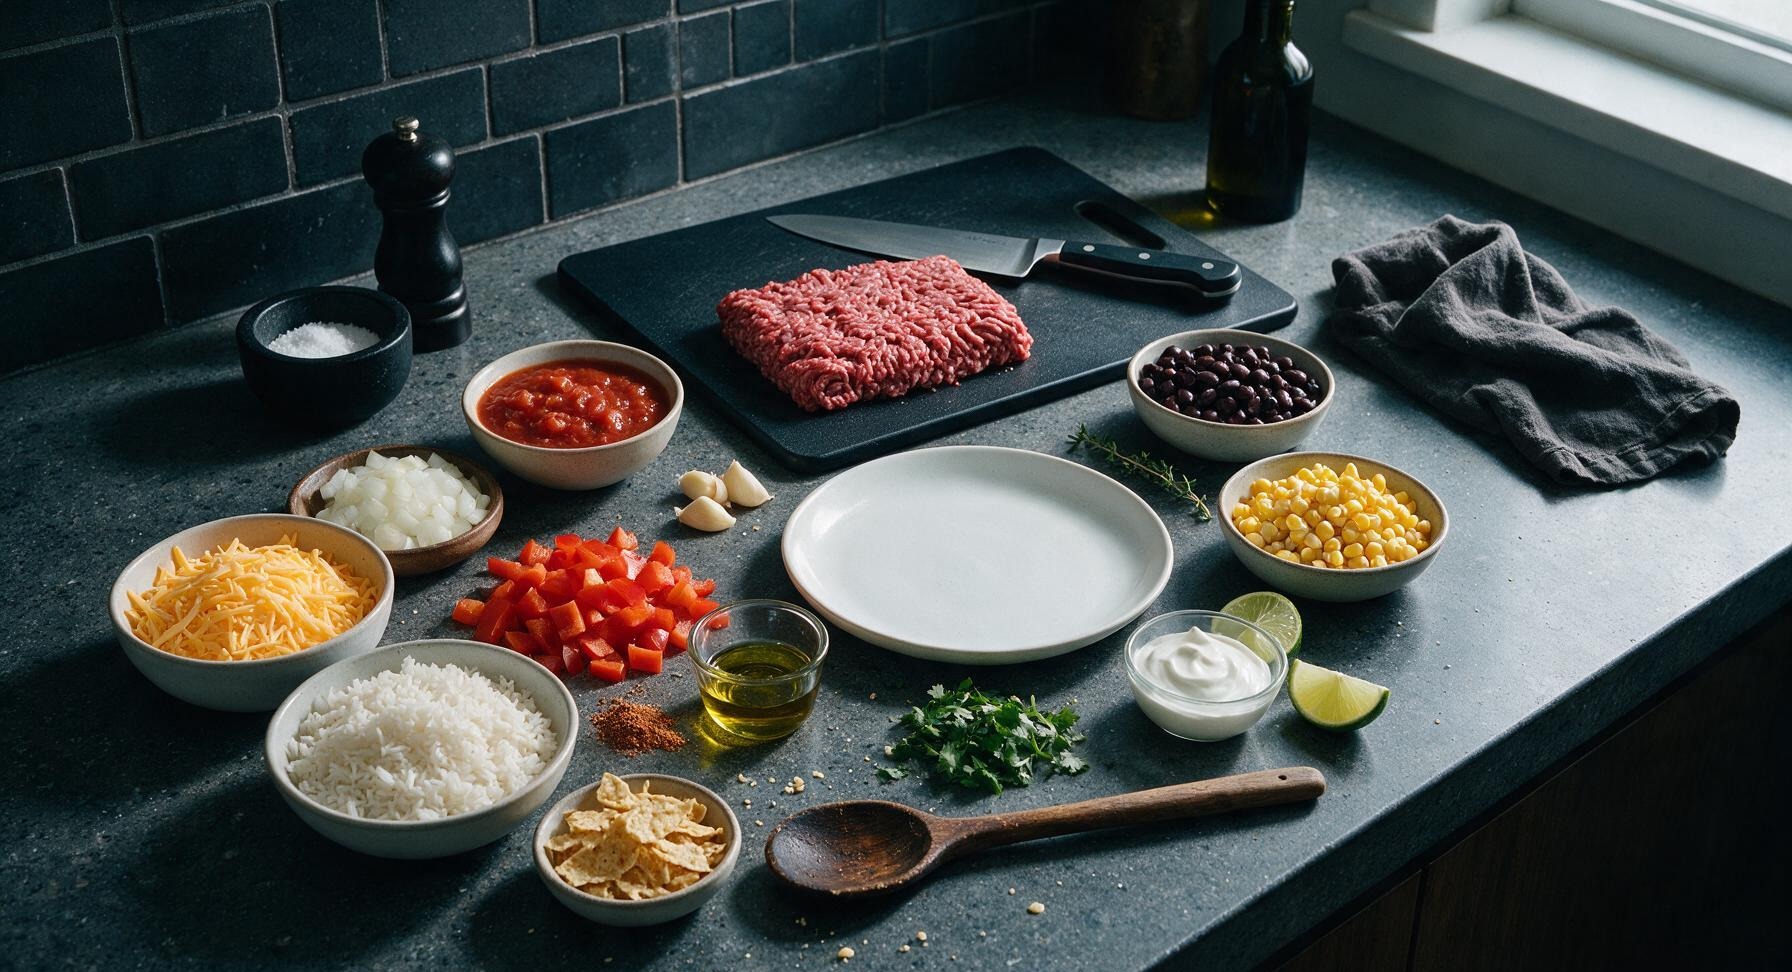
Lean ground beef (90/10) 450g (1 lb)
Cooked long-grain white rice 3 cups (450g)
Sharp cheddar cheese, shredded 2 cups (220g)
Mild red restaurant-style salsa 1 cup (240ml)
Yellow onion, diced 1 medium (150g)
Red bell pepper, diced 1 medium (120g)
Garlic cloves, minced 3 (10g)
Canned black beans, rinsed and drained 1 can (425g)
Canned sweet corn, drained 1 can (340g)
Taco seasoning blend 2 tbsp (20g)
Extra-virgin olive oil 1 tbsp (15ml)
Crushed plain tortilla chips ½ cup (50g)
Fresh cilantro, chopped ¼ cup (10g)
Sour cream ½ cup (120g)
Fresh lime, cut into wedges 2 whole (60g)

Steps

1

Prep Veggies, Preheat Oven

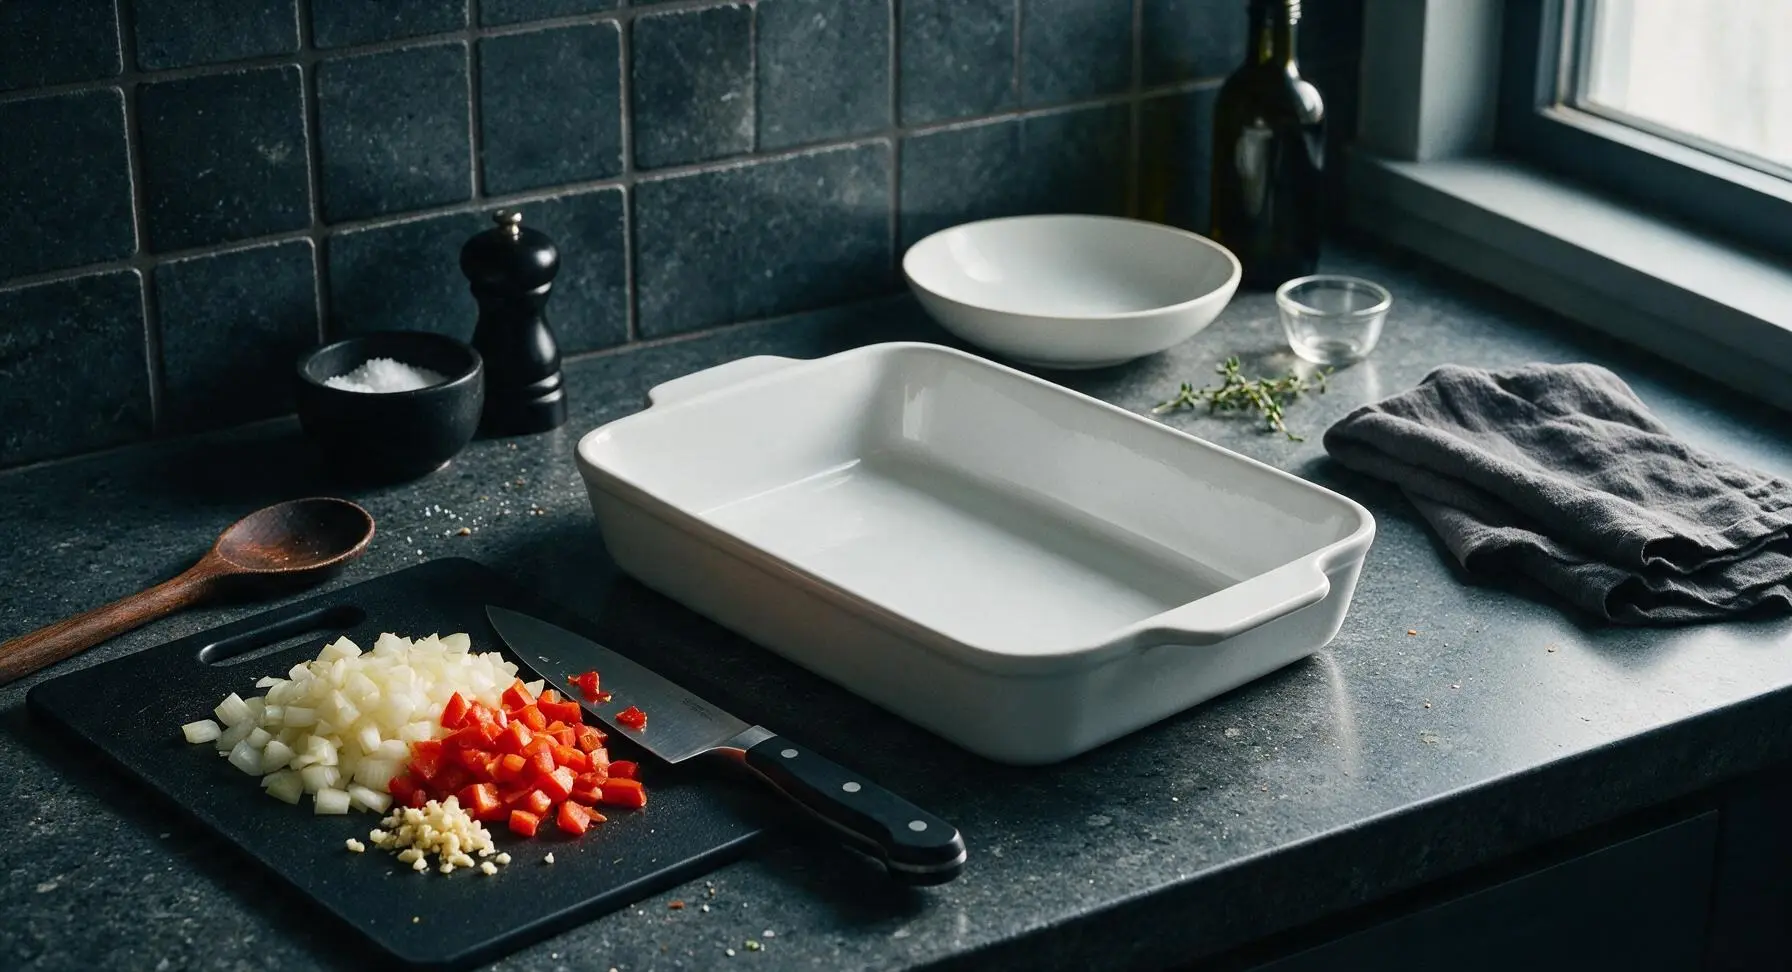
Preheat your oven to 190°C (375°F). Place the yellow onion and red bell pepper on the acacia wood cutting board. Using the 8-inch stainless steel chef knife, dice the onion and bell pepper into uniform ½-inch pieces, then mince the garlic cloves finely. Pile prepped vegetables at the edge of the cutting board; even chopping ensures vegetables cook at the same rate with no raw crunchy bites.
Step 1
step1:Prep Veggies, Preheat Oven
2

Sauté Beef and Veggies

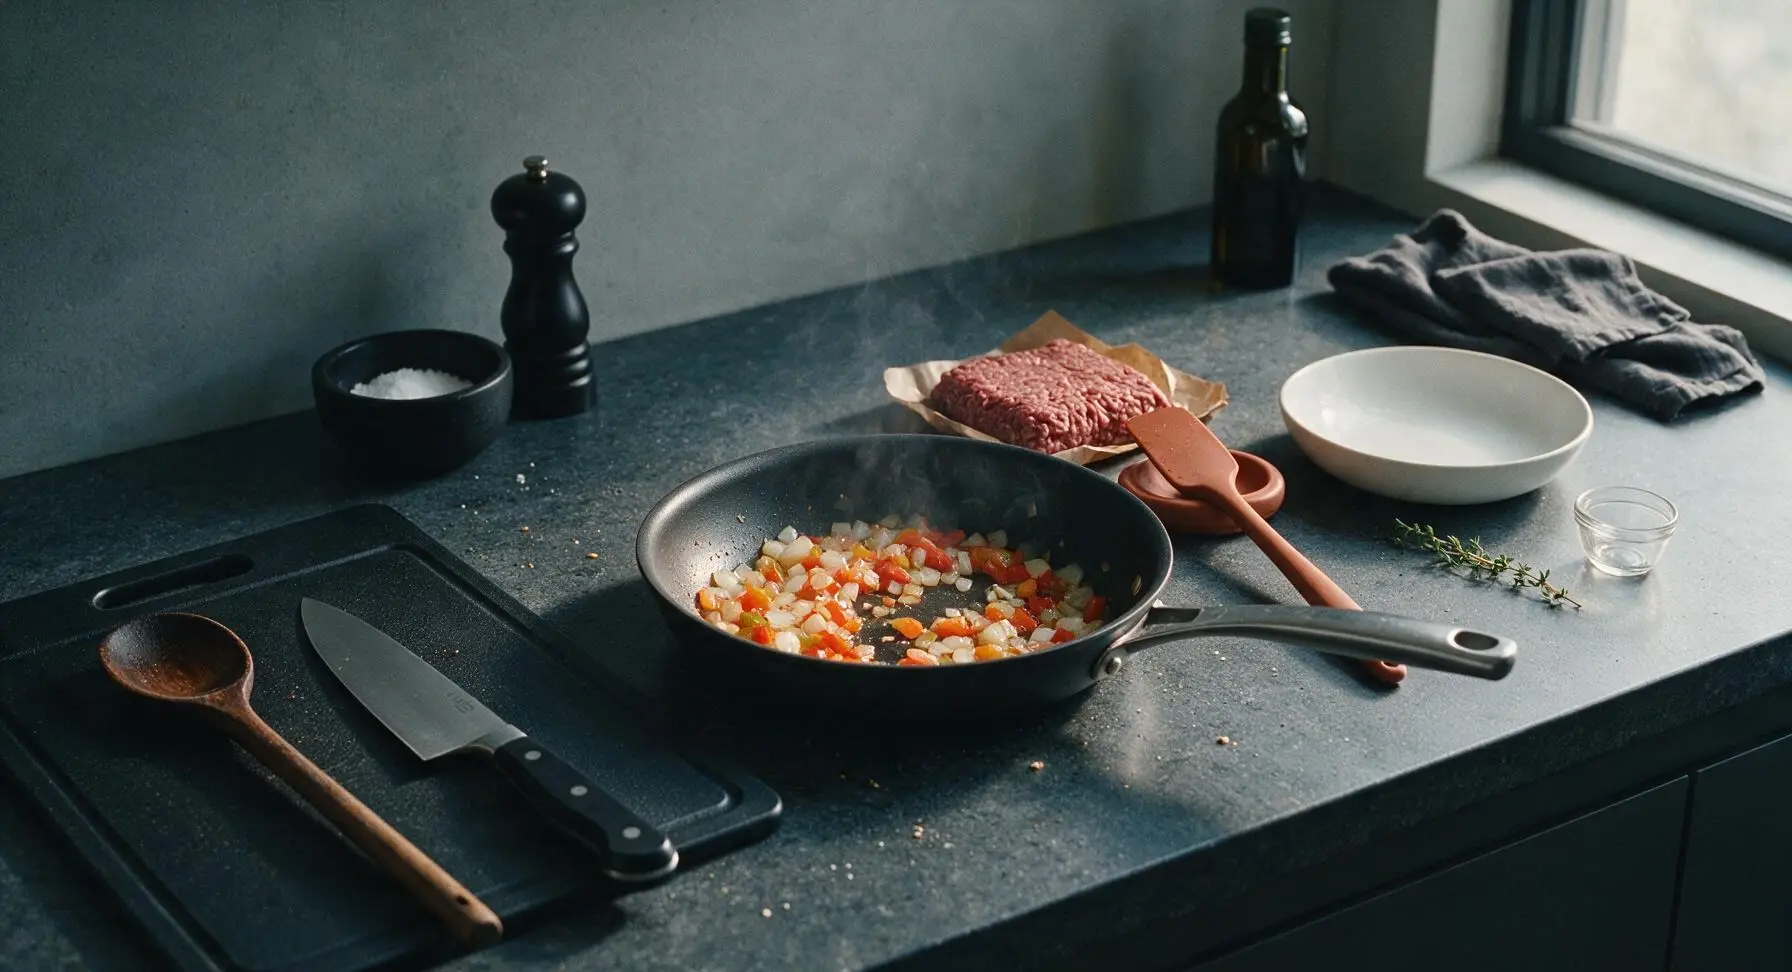
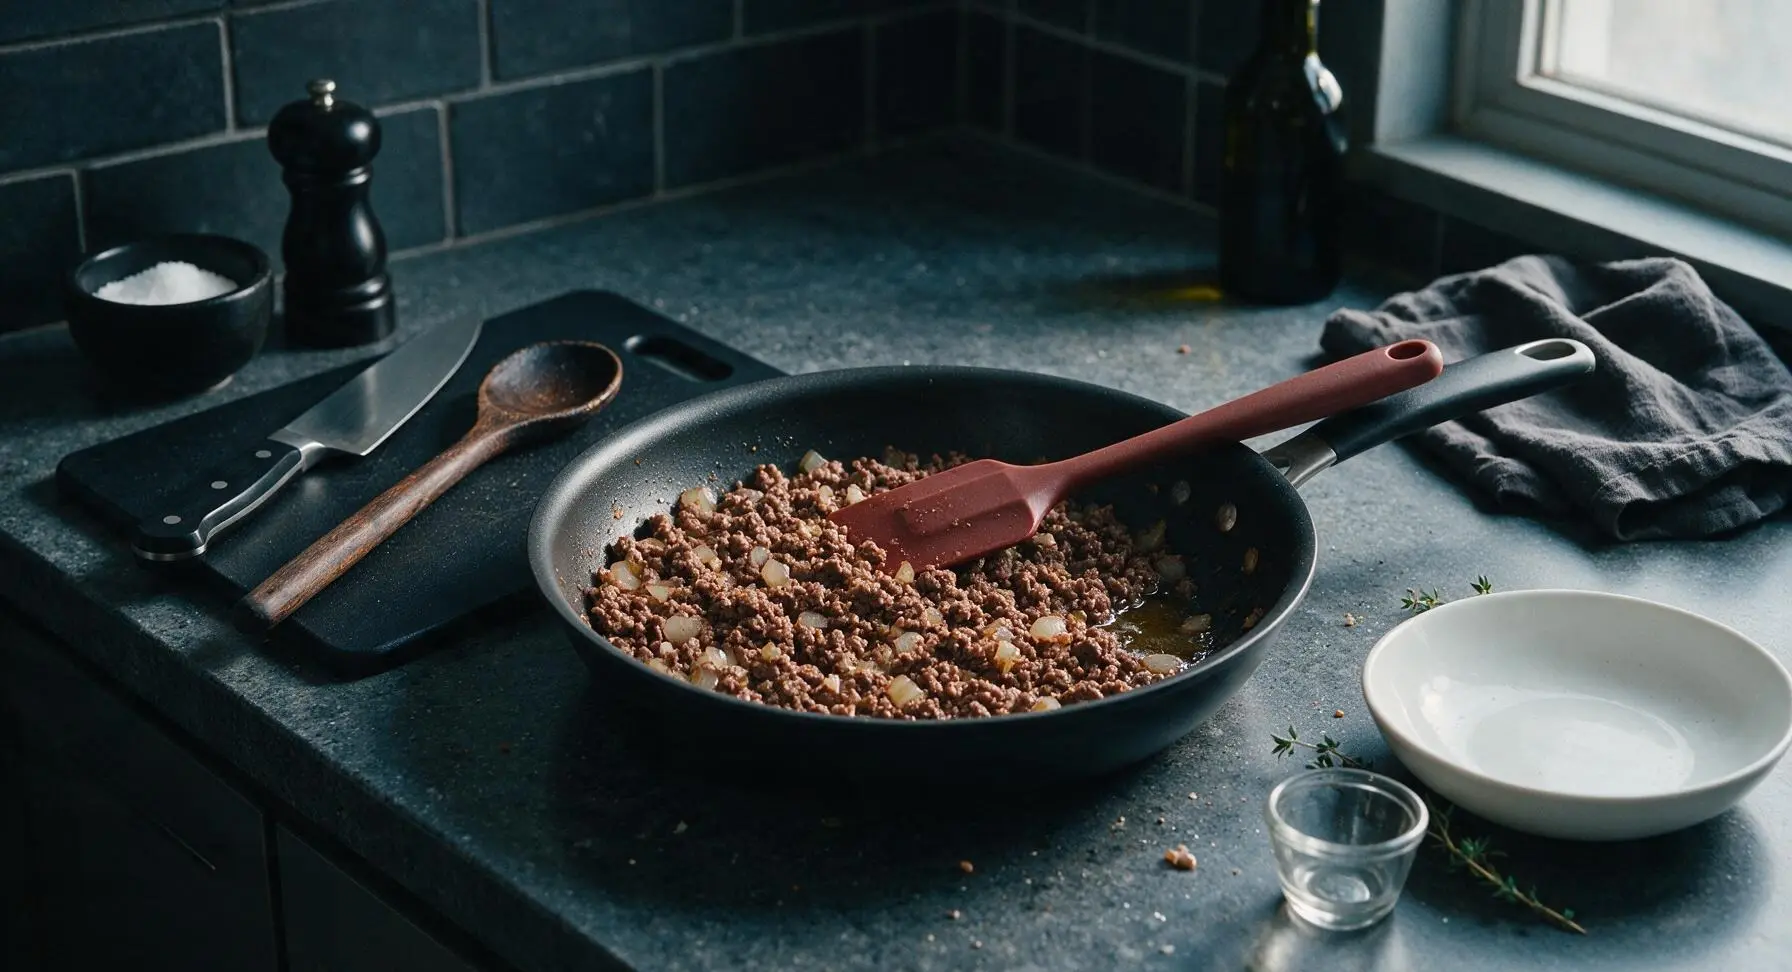
Heat 1 tablespoon olive oil in the 10-inch matte black non-stick skillet over medium stovetop heat. Add the diced onion and bell pepper, sauté for 3 minutes until soft and slightly translucent. Add the minced garlic and cook for 30 seconds until fragrant, then add the ground beef, breaking it apart into fine crumbles with the deep terracotta silicone spatula as it cooks. Cook for 5-6 minutes until the beef is fully browned with no pink remaining, then carefully drain any excess grease from the skillet.
Step 2
step2:Sauté Beef and Veggies
Step 2
step2:Sauté Beef and Veggies
3

Combine Casserole Filling

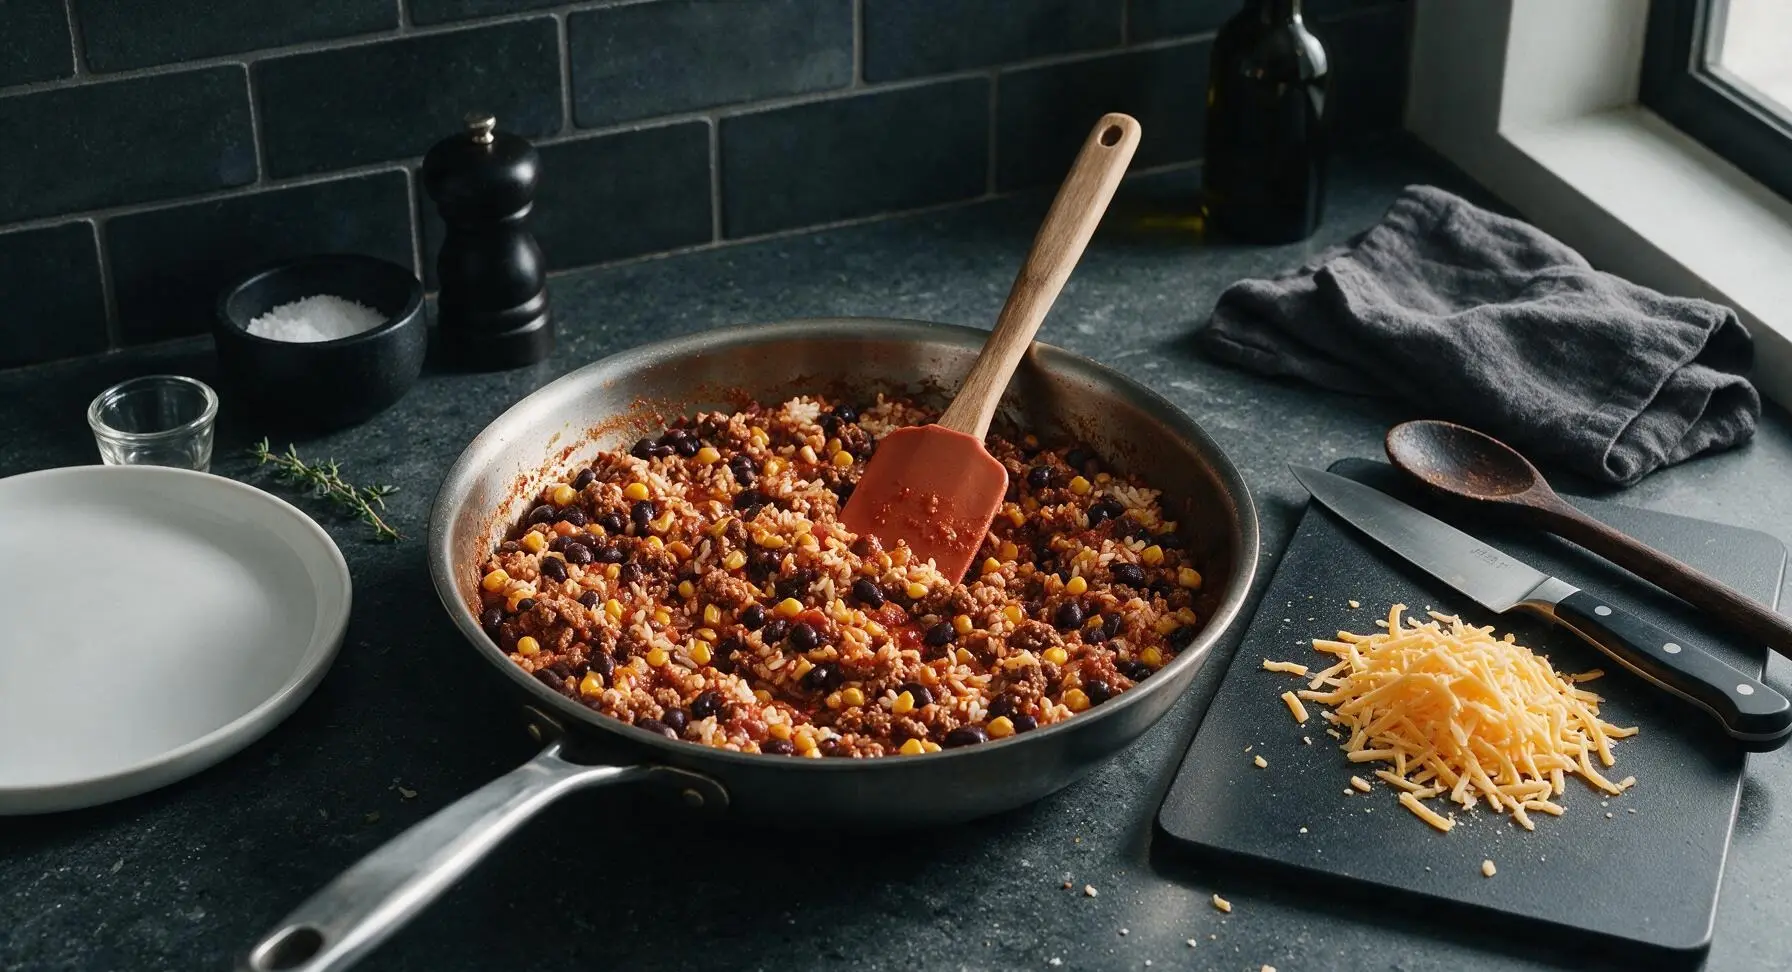
To the skillet with browned beef, add the rinsed black beans, drained sweet corn, taco seasoning, ¾ cup of the salsa, and 1.5 cups of the cooked rice. Stir thoroughly with the terracotta silicone spatula until all ingredients are evenly coated in seasoning, about 1 minute. The finished filling should have a uniform warm reddish-brown color, with no dry, uncoated patches of rice visible.
Step 3
step3:Combine Casserole Filling
4

Layer Casserole Components

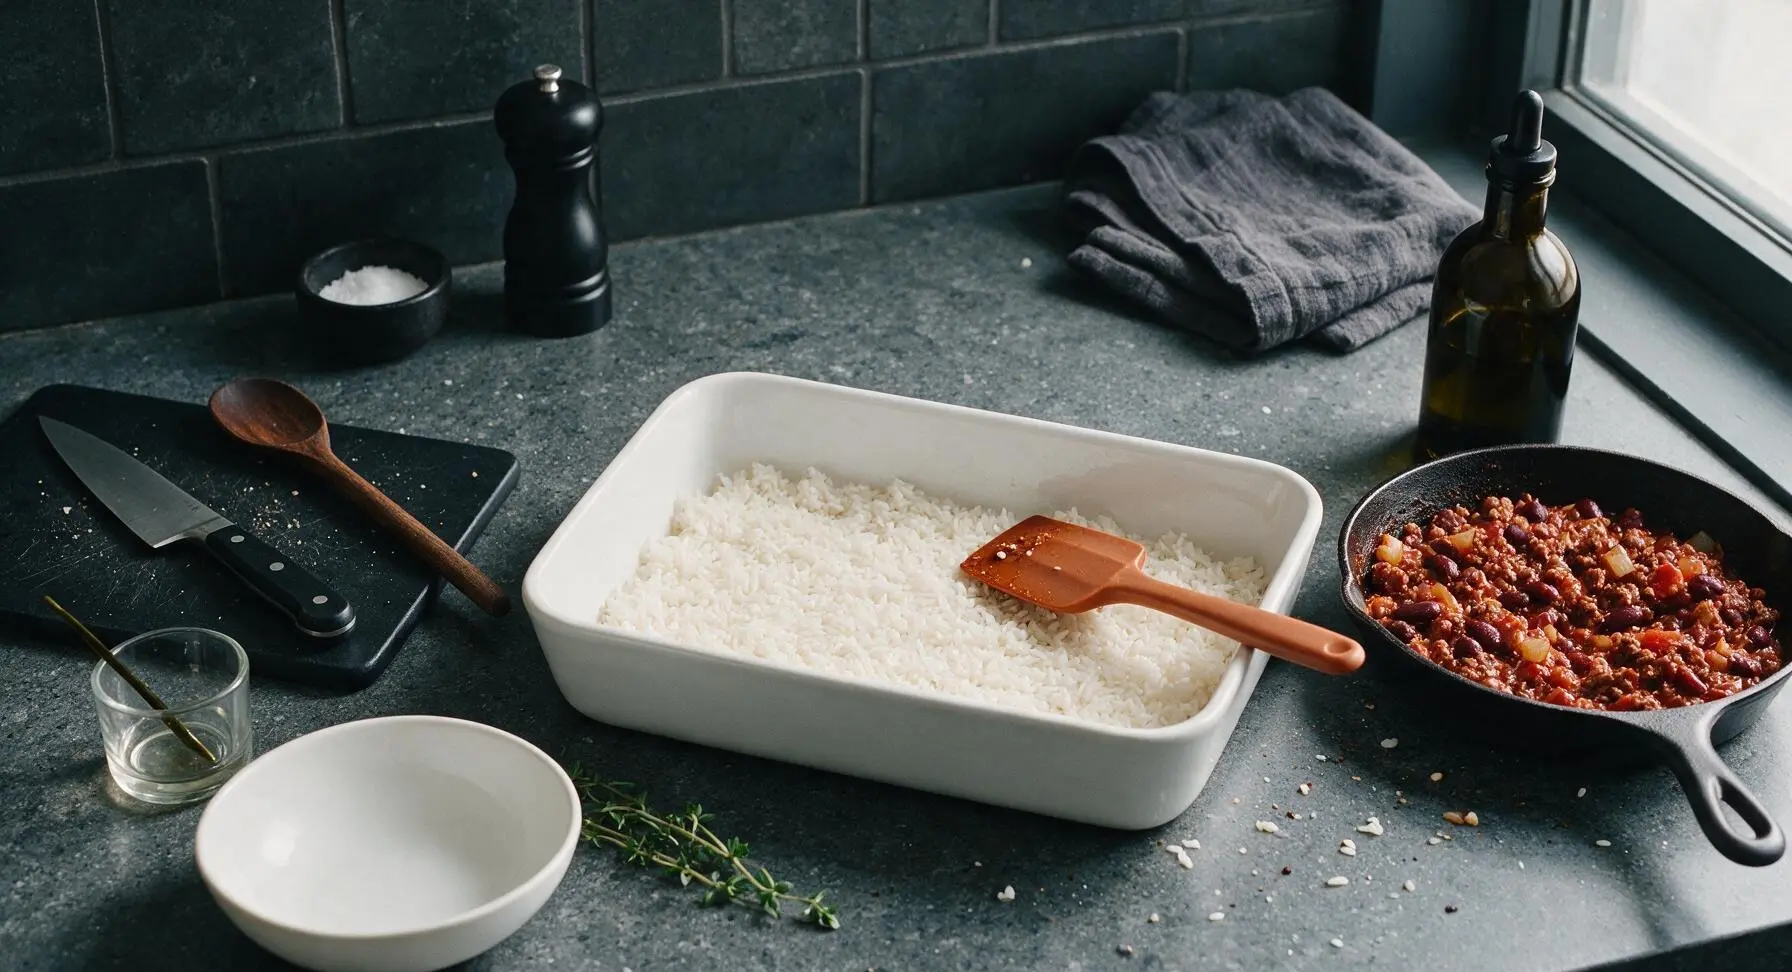
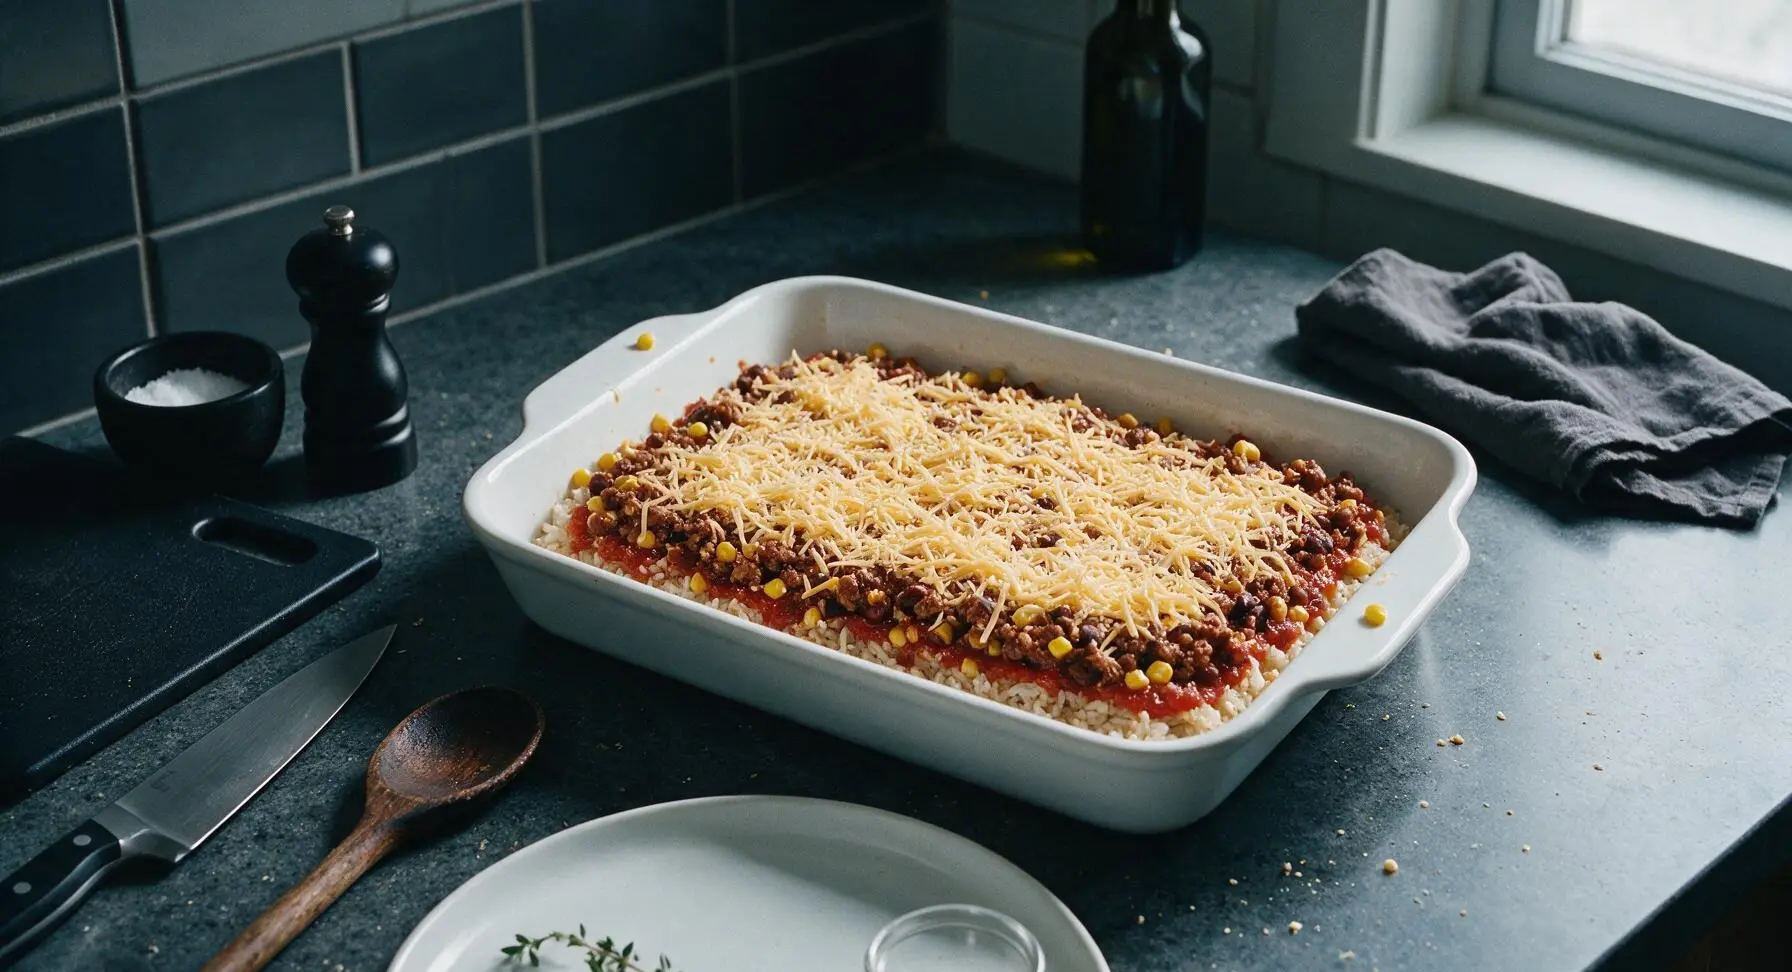
Spread the remaining 1.5 cups of cooked rice in an even, compact layer across the bottom of the 9x13 inch matte white ceramic baking dish. Top the rice layer with the remaining ¼ cup salsa, spreading it thinly across the rice surface. Pour the entire beef and bean filling over the rice, spreading it into a flat, even layer with the silicone spatula. Sprinkle half of the shredded cheddar cheese evenly over the top of the filling.
Step 4
step4:Layer Casserole Components
Step 4
step4:Layer Casserole Components
5

Top and Bake Casserole

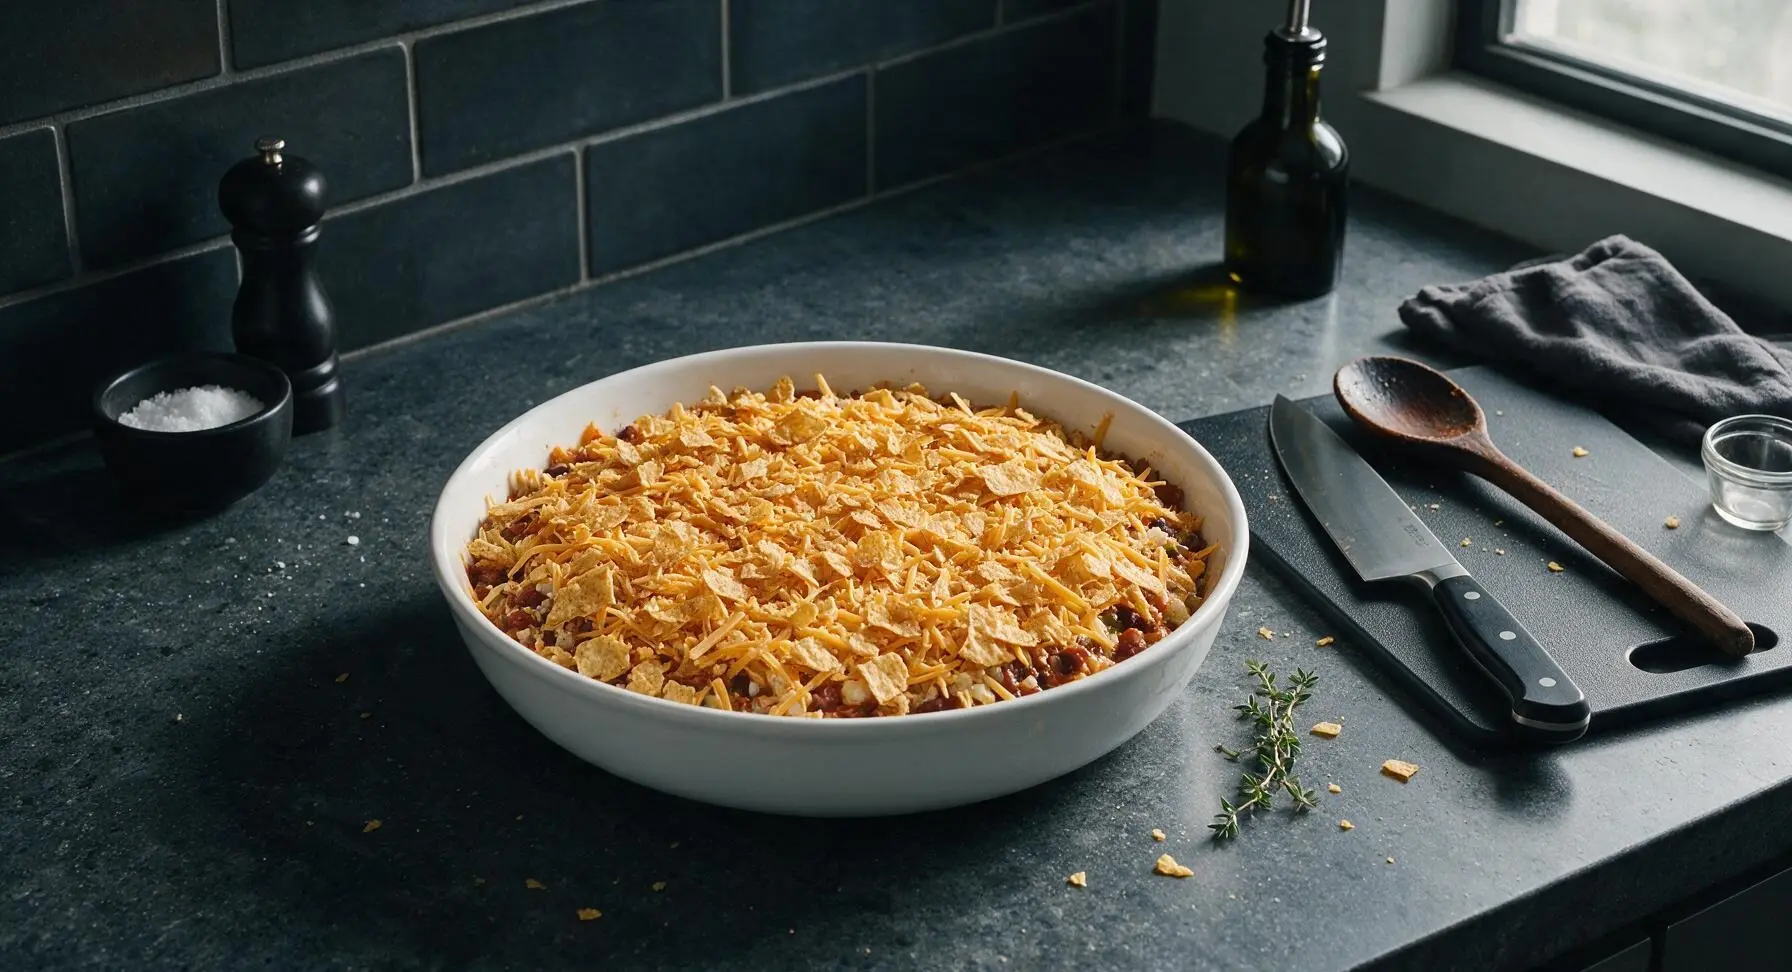
Sprinkle the crushed tortilla chips evenly over the first cheese layer, then top with the remaining shredded cheddar cheese to cover the chips completely. Place the baking dish in the preheated 190°C (375°F) oven, uncovered, and bake for 20 minutes. The casserole is done when the cheese is fully melted and bubbly around the edges, and the tortilla chip topping is lightly golden brown.
Step 5
step5:Top and Bake Casserole
6

Rest After Baking

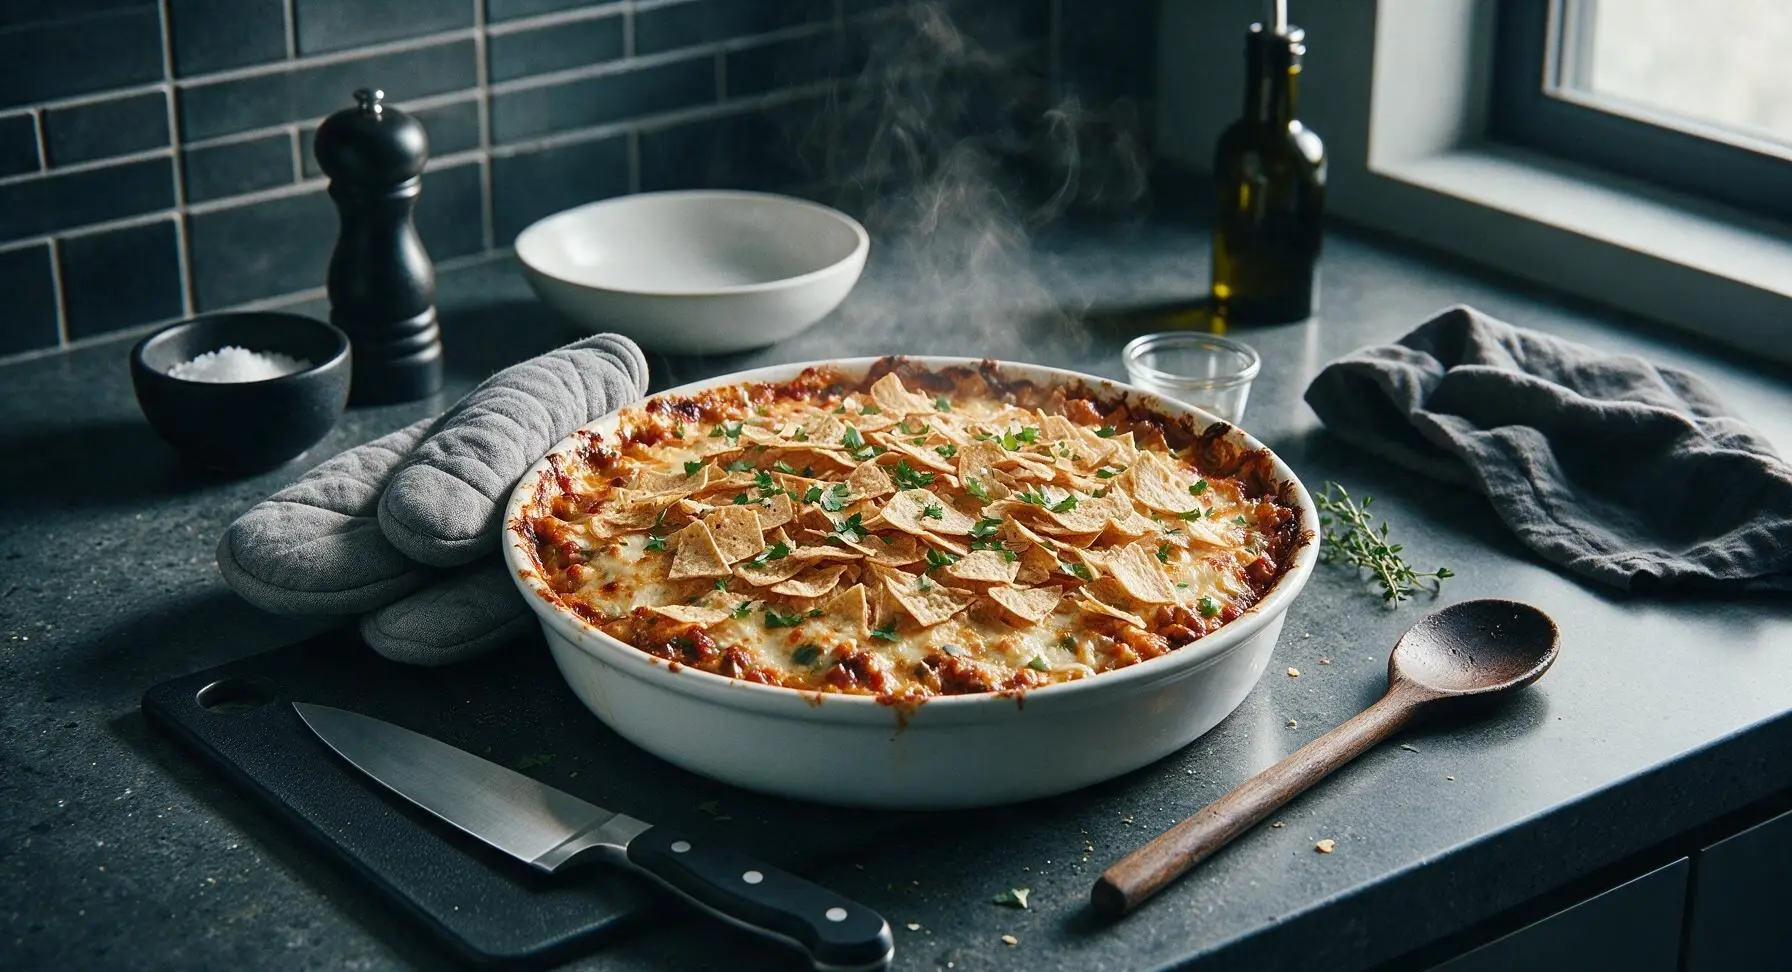
Carefully remove the hot baking dish from the oven using heat-resistant oven mitts, and let the casserole rest for 5 minutes at room temperature on the counter. This short rest allows the layers to set so portions hold their shape when scooped. Sprinkle half of the chopped fresh cilantro over the top of the hot casserole as it rests.
Step 6
step6:Rest After Baking
7

Plate and Serve

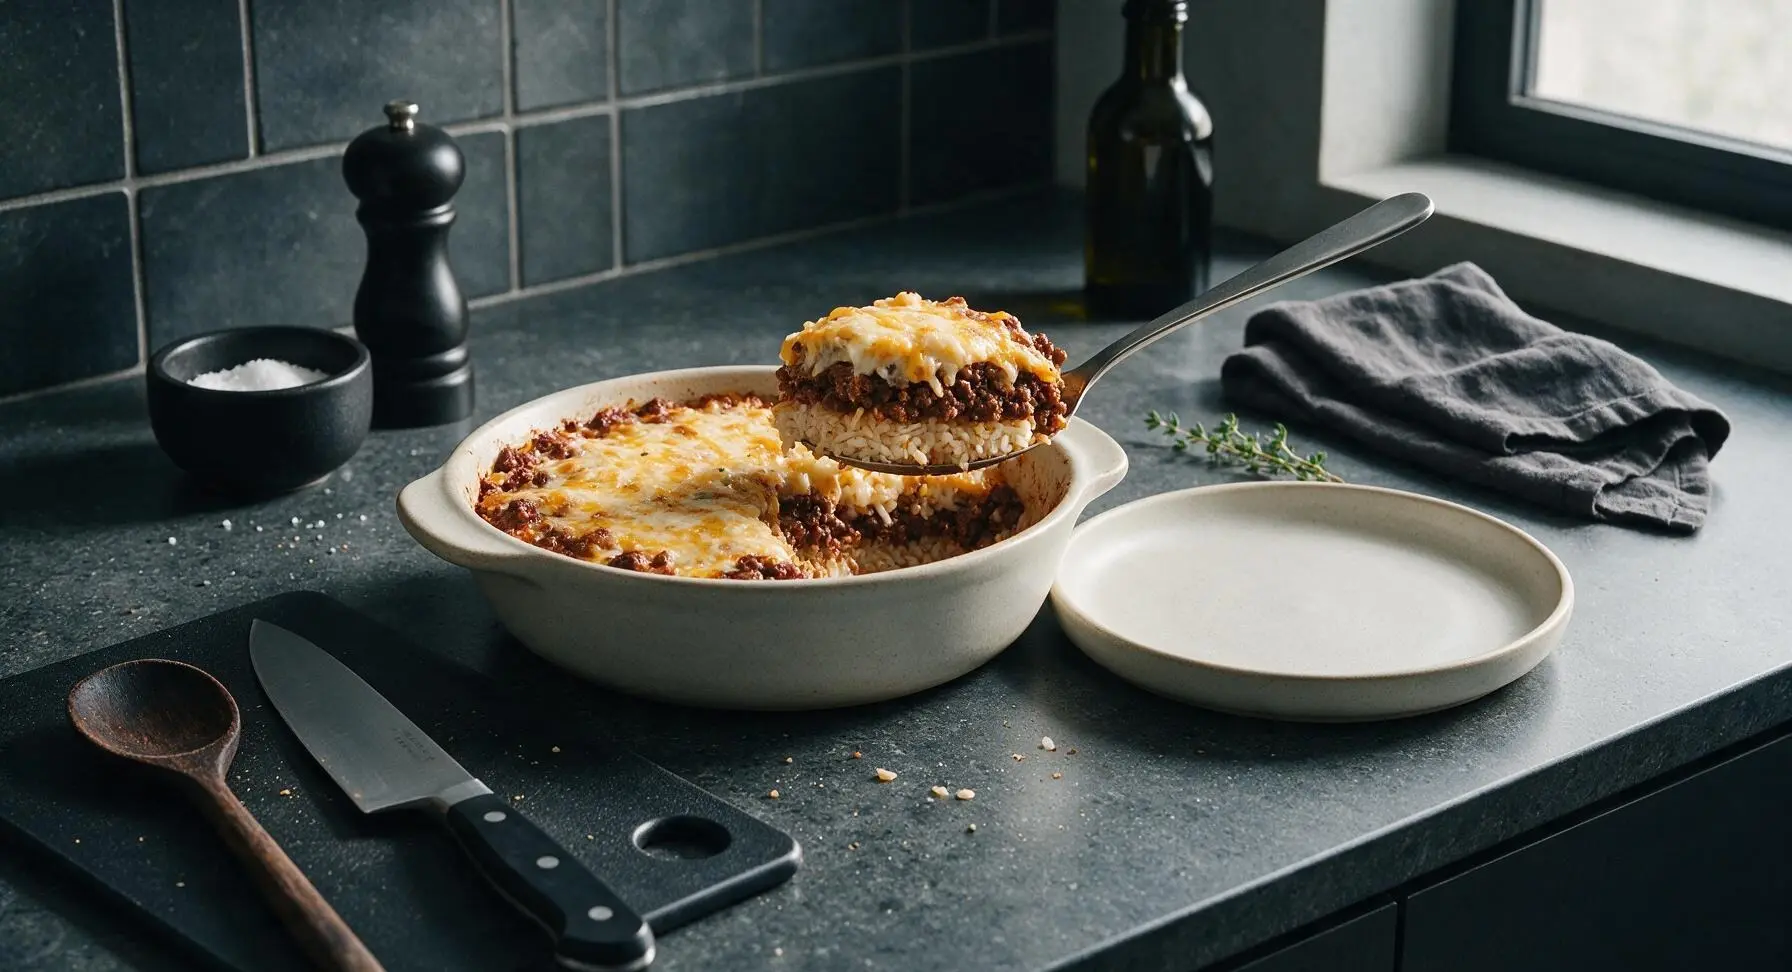
Scoop a generous 1.5-cup portion of the set casserole onto the matte off-white stoneware dinner plate. Top each serving with a dollop of sour cream, a sprinkle of the remaining chopped cilantro, and a lime wedge on the side. Serve immediately while warm, with extra salsa on the side if desired.
Step 7
step7:Plate and Serve

Tips

1.Use day-old chilled cooked rice if possible: cold, firm rice holds its shape better during layering and doesn’t turn mushy when baked, unlike freshly cooked rice that retains extra moisture and can become gummy.
2.Drain all excess grease from the browned beef before adding beans and seasonings: leftover rendered grease will pool at the bottom of the baking dish, making the casserole oily and preventing layers from setting into neat portions.
3.Wait the full 5 minutes after baking before scooping: cutting into the casserole immediately will cause hot, runny cheese and filling to spill out, while the short rest allows starches from the rice and melted cheese to set for clean, holdable servings.


✨ You May Also Like

Main Course
🍜 United Kingdom

A showstopping classic of tender seared beef, savory mushroom duxelles, and crisp prosciutto wrapped in flaky golden puff pastry, baked to juicy perfection.

⏱️ 2 hours 1Main Course ★ 4.7
Main Course
🍜 India

Tender charred marinated chicken simmered in a rich, spiced creamy tomato sauce, this iconic Anglo-Indian curry pairs perfectly with basmati rice or warm naan.

⏱️ 50 minuteMain Course ★ 4.6
Main Course
🍜 Thailand

Classic tangy, sweet, and savory Thai stir-fried rice noodles with shrimp, tofu, and crunchy garnishes, balancing all five core Thai flavor profiles.

⏱️ 30 minuteMain Course ★ 4.5
Main Course
🍜 United Kingdom

Crispy golden beer-battered cod and fluffy double-fried chips, served with tangy tartar sauce and malt vinegar: the timeless, beloved British pub comfort classic.

⏱️ 45 minuteMain Course ★ 4.7
Main Course
🍜 Mexico

Smoky, chile-marinated pork tacos with caramelized pineapple, fresh cilantro, and lime: a beloved classic Mexican street food perfect for casual summer gatherings.

⏱️ 1 hour 45Main Course ★ 4.8
Main Course
🍜 United States

Crunchy Fritos corn chips layered with savory beef chili and melted cheddar, topped with cool, zesty fixings for a beloved, cozy Tex-Mex comfort food.

⏱️ 35 minuteMain Course ★ 4.8

burrito bowl casserole:Frequently Asked Questions

1.Can I prep this Burrito Bowl Casserole ahead of time for busy weeknights? ▾
Absolutely! You can brown the ground beef and diced onion, cook the rice, and mix all non-cheese ingredients 2–3 days in advance, stored tightly covered in the fridge. When you’re ready to bake, top with the shredded sharp cheddar, and add 5–7 minutes to the standard bake time to account for cold ingredients, until the dish is bubbly and cheese is fully melted.
2.What can I substitute for the 90/10 lean ground beef if I don’t eat red meat? ▾
You can swap it 1:1 for ground turkey, ground chicken, or drained, rinsed black beans for a hearty vegetarian version. If using poultry, keep an eye on it while browning to avoid drying it out, and add a pinch of extra cumin and chili powder to match the deep, savory flavor you’d get from the beef.
3.How do I keep my Burrito Bowl Casserole from turning out soggy, like similar baked dishes I’ve made before? ▾
Excess moisture is the main culprit here! First, fully drain any rendered fat from your browned ground beef and onion, and stick to thick restaurant-style mild salsa instead of thin, watery jarred options. If your cooked rice is damp, fluff it well and let it steam off extra moisture for 5 minutes before mixing it into the base.
4.Can I freeze leftover Burrito Bowl Casserole for quick future meals? ▾
Definitely! Let the fully baked casserole cool completely to room temperature first, then portion it into airtight freezer-safe containers, or wrap the whole pan tightly in a double layer of plastic wrap and foil. It will keep well for up to 3 months. Thaw overnight in the fridge before reheating in a 350°F oven for 15–20 minutes until warmed through.
5.What easy toppings work well to make this casserole feel like a loaded burrito bowl? ▾
Stick to fresh, classic burrito bowl add-ons you love! Top individual servings with a dollop of sour cream, sliced avocado, a squeeze of fresh lime, chopped cilantro, pickled jalapeños for a little heat, or crushed tortilla chips for crunch. Add these right before serving instead of baking them in to keep their texture bright and fresh.

Comments (6)

2 days ago

OMG this burrito bowl casserole was a total game changer for our weeknight dinner rotation! It was so easy to throw together after work, took literally 30 minutes just like the recipe says, and my husband and two kids devoured it. I added a little extra corn and a dollop of sour cream on top, 10/10 will make again for our next potluck too!

yesterday

So glad it was a hit with your family, Sarah! The extra corn addition sounds delicious — that’s such a great pop of sweetness against the savory spices. Thanks for sharing!

1 week ago

Perfect for my Sunday meal prep! I made a big pan last night, divided it into containers for lunches all week, and it reheats so well. I swapped the white rice for cauliflower rice to cut down on carbs and it still tastes SO good. Only thing I wish I’d done is add a can of black olives next time!

5 days ago

The cauliflower rice swap is such a smart call! I’ve been trying to lighten up my go-to lunches without sacrificing flavor, so I’m stealing that. Did you find the cauliflower rice made the casserole watery at all when reheated?

3 days ago

Not watery at all! I made sure to squeeze any excess moisture out of the cauliflower rice before layering it in, which I think is the trick. Already grabbed a can of black olives for my next batch this weekend!

yesterday

Made this for my roommate and I before the football game yesterday and we crushed half the pan in one sitting. Super straightforward, no weird fancy ingredients, and the flavor is way better than the takeout burrito bowls I usually order. I dumped a whole bag of tortilla strips on top for crunch and it slapped.

3 days ago

Wait this is too easy?? I was stressing about what to make for my kid’s soccer team dinner last minute and threw this together in 10 minutes, popped it in the oven, and it was done by the time we had to leave. All the kids asked for seconds, even the picky ones! Will absolutely be adding this to my go-to easy dinner list.

2 days ago

That makes us so happy to hear, Liz! There’s nothing better than a crowd-pleasing recipe that comes together fast when you’re crunched for time. We love that it worked for the soccer team — what a win!

2 weeks ago

As a vegetarian, I was so happy this recipe was easy to modify! I swapped the ground beef for lentils, used vegetable broth instead of beef, and it came out incredible. I was worried it would be bland but the taco seasoning and layer of melted cheese on top makes it so satisfying. My only tiny note is that I’d cut back a little on the taco seasoning next time since it was a touch salty for my taste, but overall it’s such a great cozy casserole for veggie and meat eaters alike!

1 week ago

Thank you for the lentil swap tip! I’ve been looking for a veggie version of this and wasn’t sure if lentils would hold up texture-wise. Did you cook the lentils first before adding them to the layers?

5 days ago

Thanks so much for the feedback about the taco seasoning, Mia! We appreciate you sharing your lentil swap — that’s such a hearty, protein-packed alternative for folks who don’t eat meat. And to answer Pat’s question: definitely cook the lentils until just tender before layering them in, so they don’t get mushy while the casserole bakes!

5 days ago

I brought this to our neighborhood potluck last weekend and people were coming up to me asking for the recipe all night! I added a layer of guac and pickled red onions on top before serving and it was chef’s kiss. Even my cousin who hates casseroles went back for a second helping. So good, will make again and again.



