
burrito bowl tortilla

title 1
burrito bowl tortilla
⏱️ cook time 12 minutes
🍽️ servings 4
⚡ Difficulty easy

intro

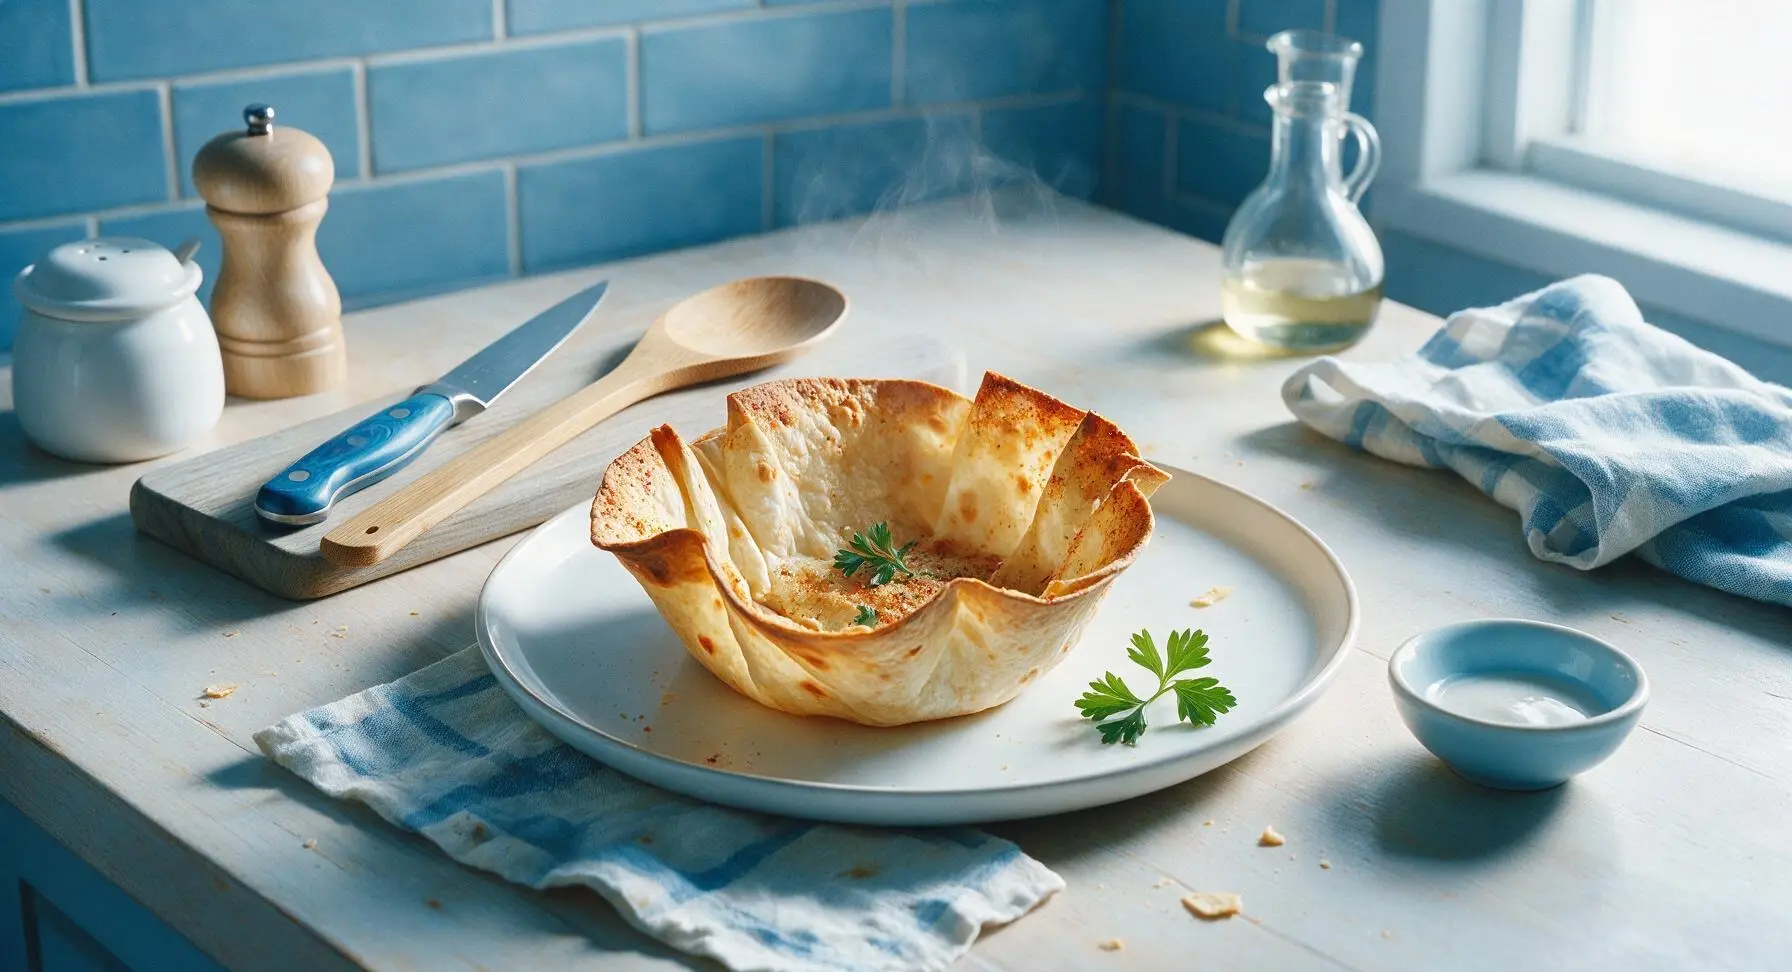
Crispy, golden oven-baked flour tortilla bowls seasoned with warm spices, perfect for piling high with burrito fillings for a fun, mess-free, customizable meal.

Ingredients
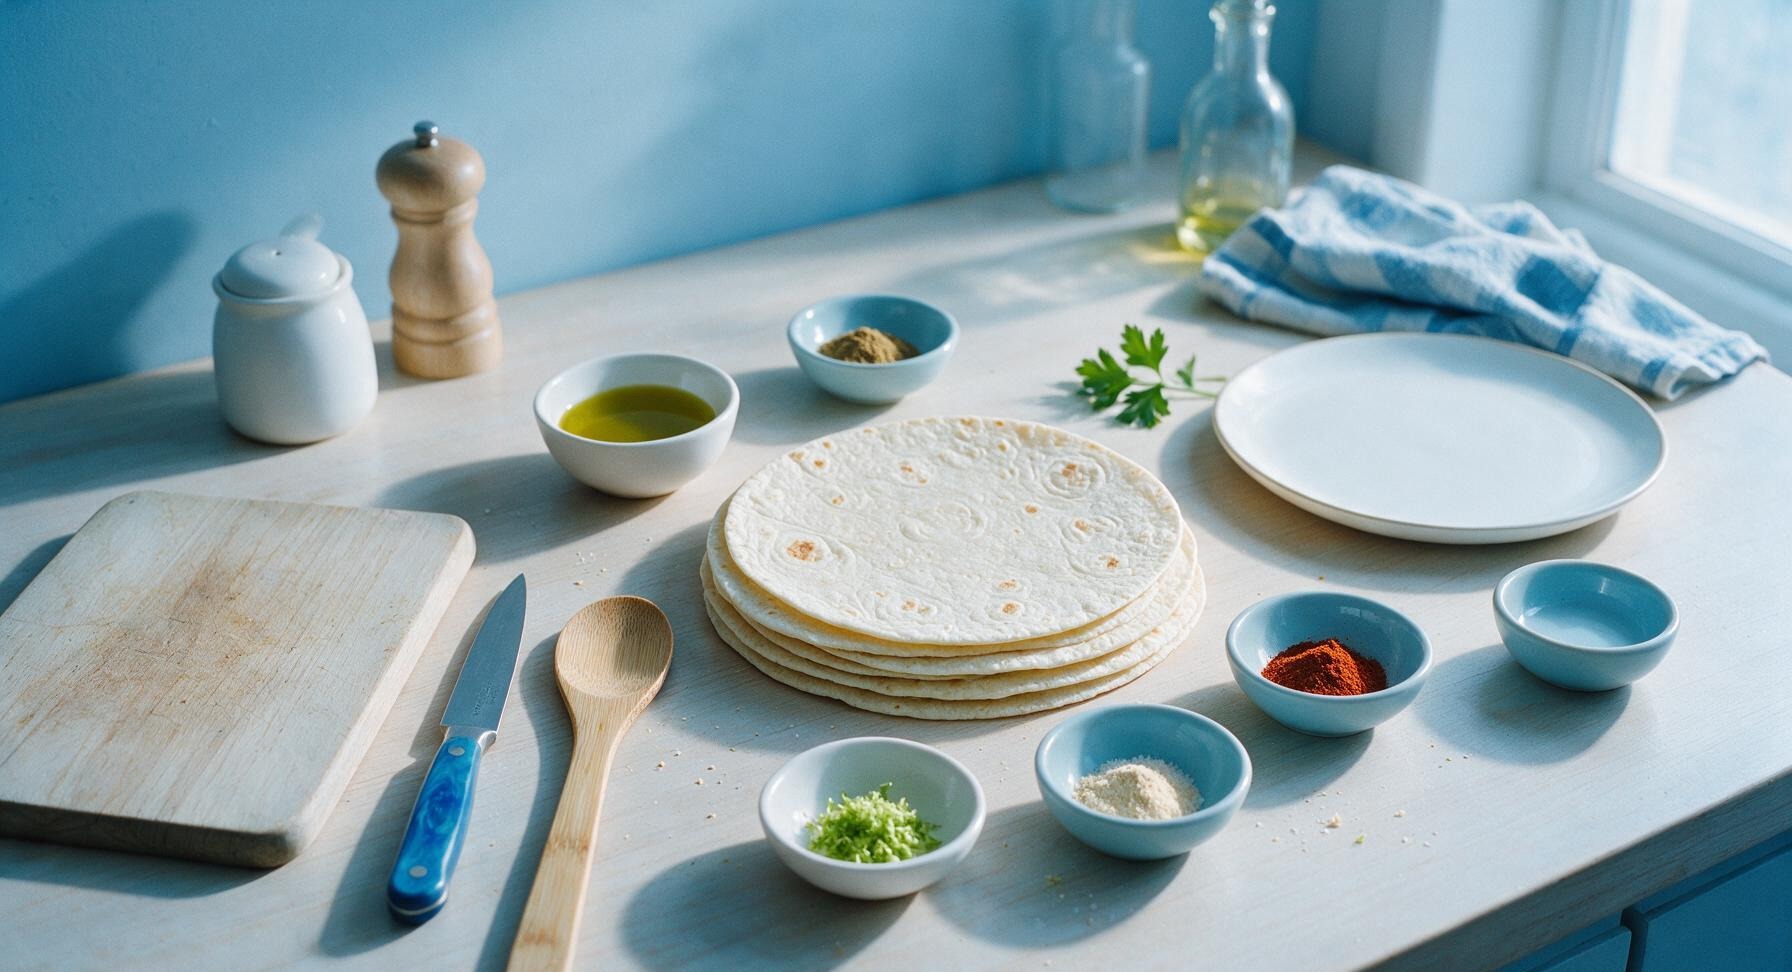
Large (10-inch) flour tortillas 4 each
Extra-virgin olive oil 2 tbsp
Ground cumin 1 tsp
Chili powder 1/2 tsp
Garlic powder 1/2 tsp
Fine sea salt 1/4 tsp
Fresh lime zest 1 tsp

Steps

1

Preheat and Mix Spices

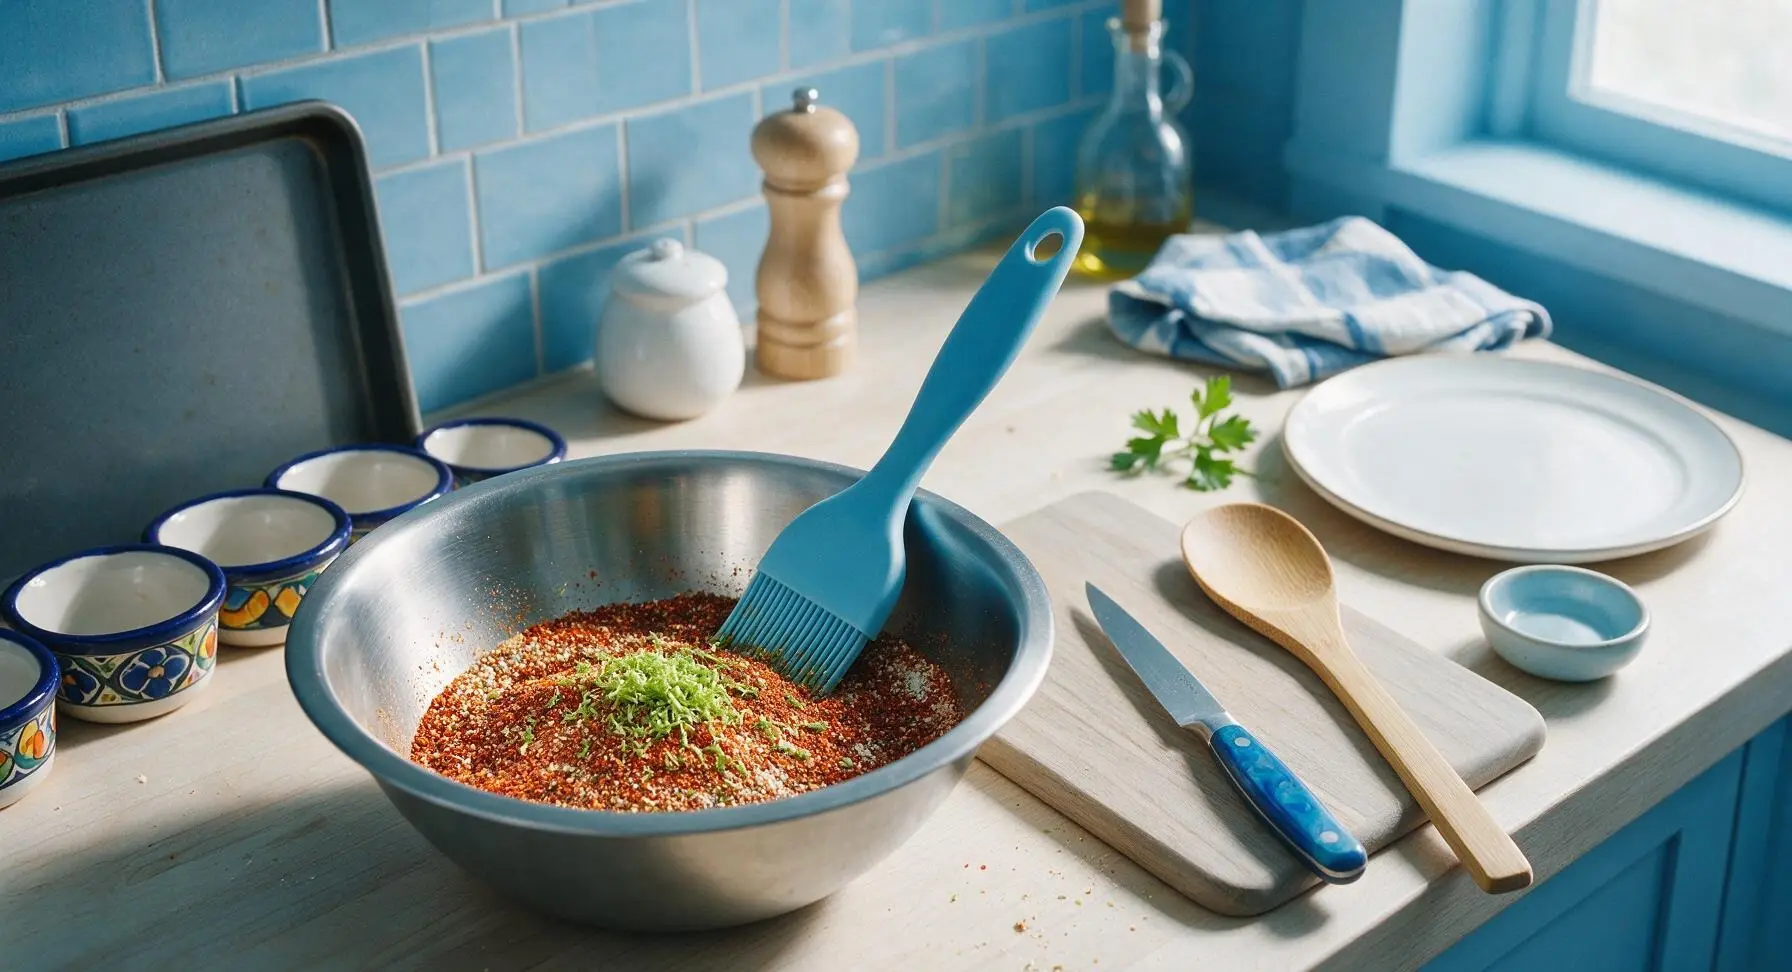
Adjust oven rack to the middle position, preheat oven to 400°F (200°C). In the 10-inch brushed stainless steel mixing bowl, combine 1 tsp ground cumin, 1/2 tsp chili powder, 1/2 tsp garlic powder, 1/4 tsp fine sea salt, and 1 tsp fresh lime zest. Stir with the handle end of the silicone basting brush until spices are evenly blended, with no clumps of chili powder remaining.
Step 1
step1:Preheat and Mix Spices
2

Warm Tortillas to Soften

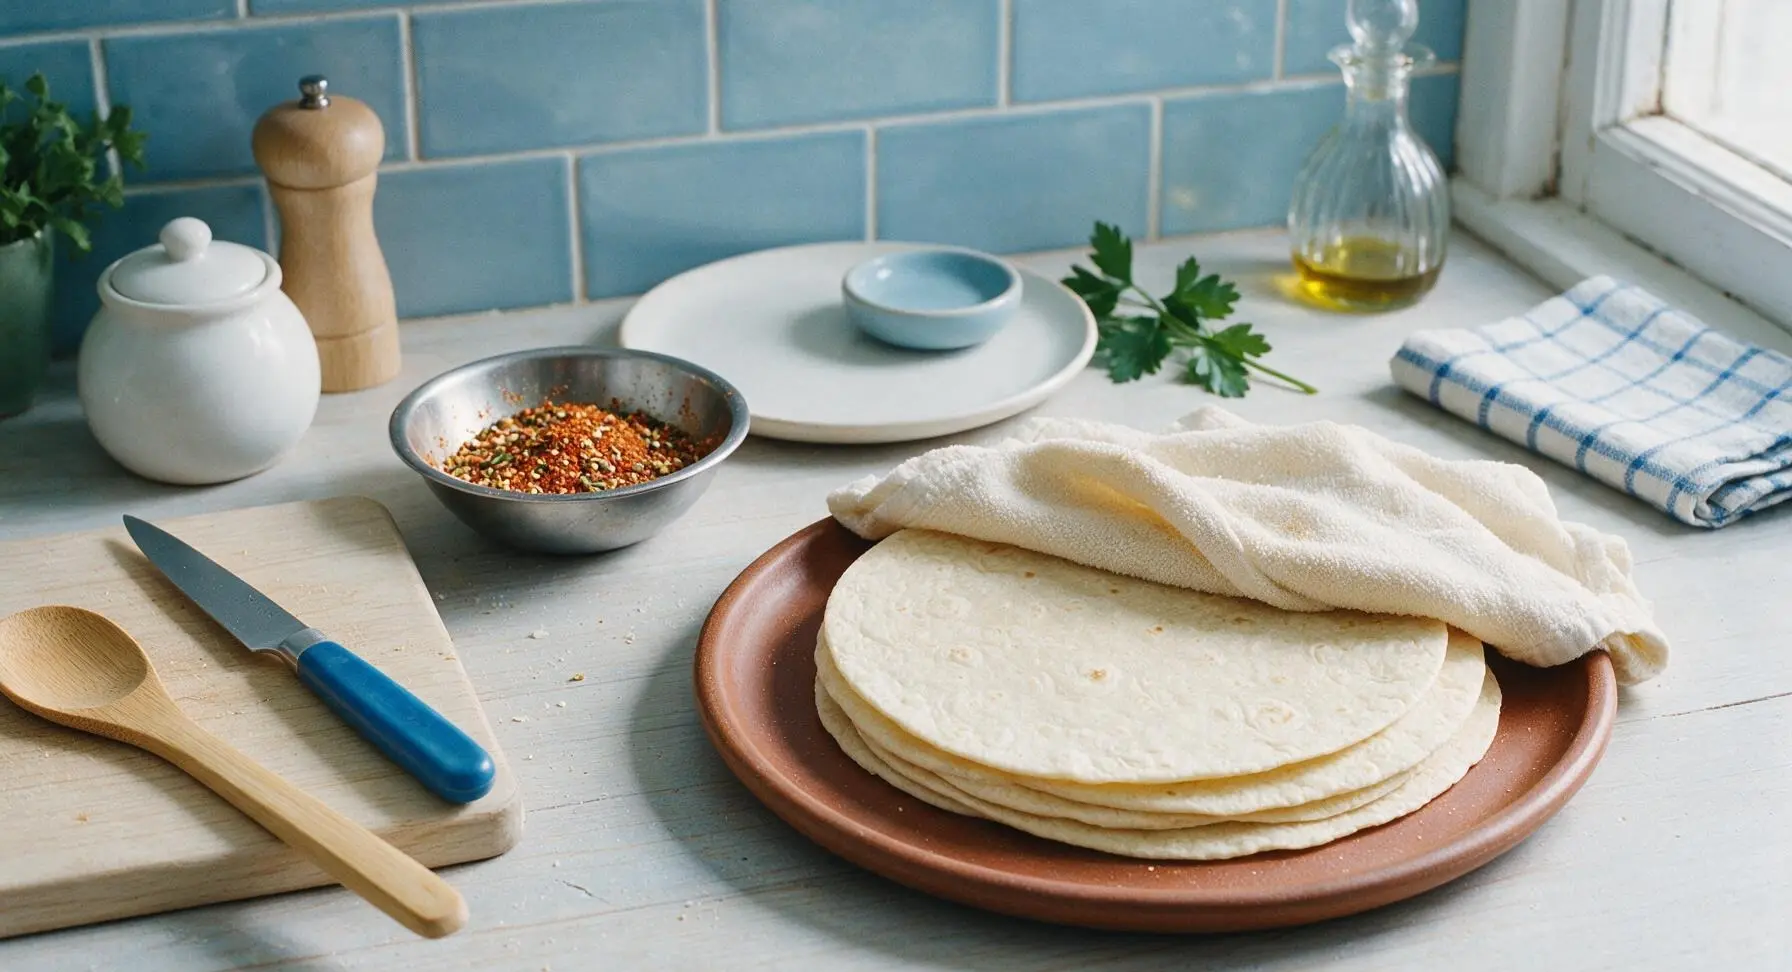
Stack the 4 large flour tortillas on the matte terracotta serving platter, dampen the corner of the folded cream cotton towel and drape it over the tortilla stack. Place the platter in the preheating oven for 1 minute until tortillas are soft and pliable. If edges feel stiff after 1 minute, warm for an additional 30 seconds to prevent cracking during shaping.
Step 2
step2:Warm Tortillas to Soften
3

Brush Tortillas with Spiced Oil

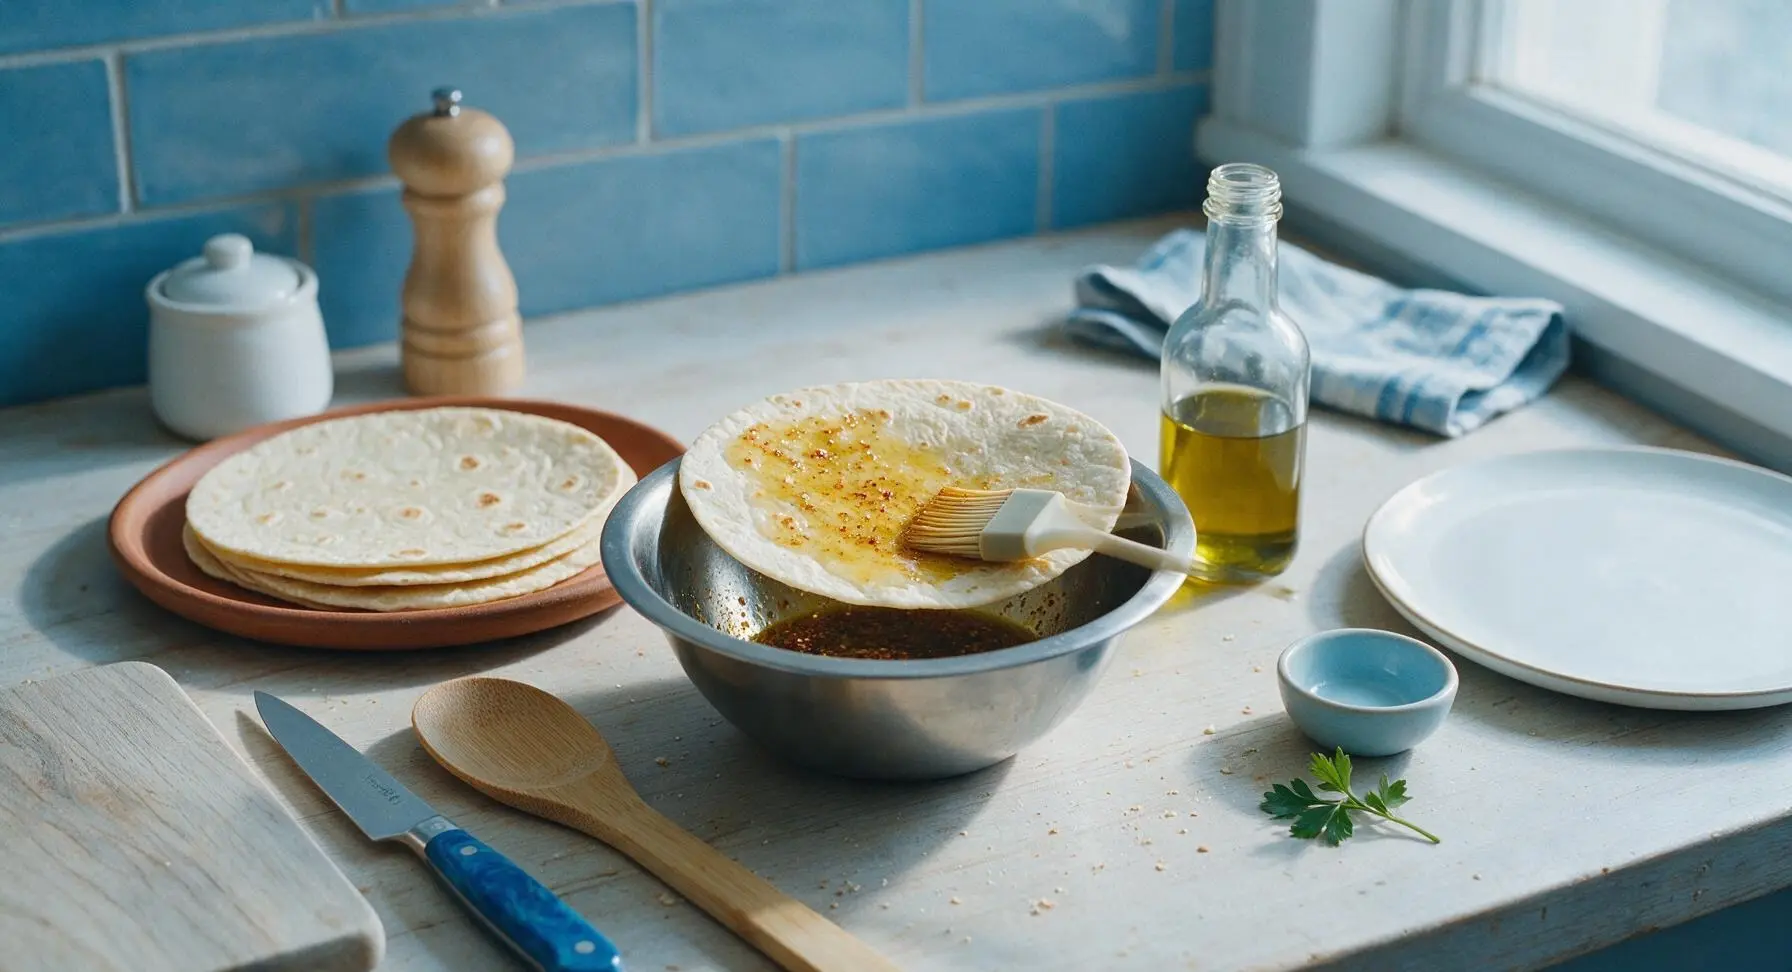
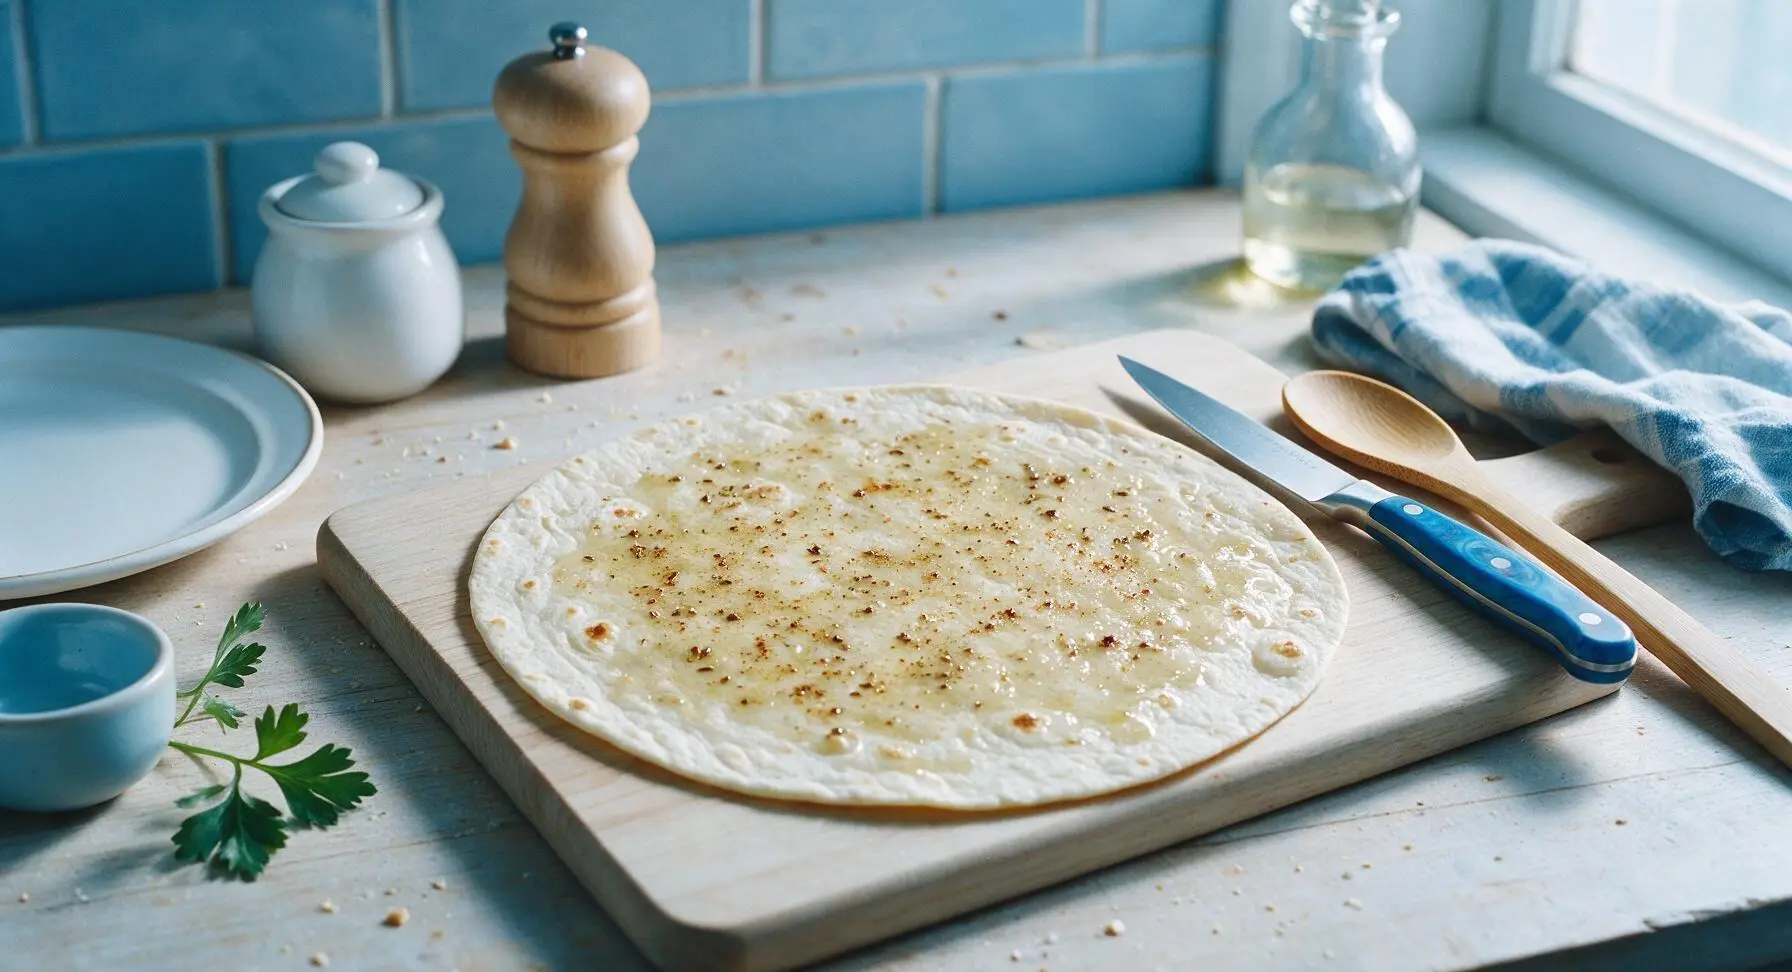
Remove warmed tortillas from the oven, uncover. Pour 2 tbsp extra-virgin olive oil into the spice mixture in the mixing bowl, stir to combine. Working one tortilla at a time, use the silicone basting brush to coat both sides of each tortilla lightly with the spiced oil, taking care to cover the edges fully so they crisp evenly. Avoid over-saturating tortillas with oil, as this will lead to soggy bowl bases.
Step 3
step3:Brush Tortillas with Spiced Oil
Step 3
step3:Brush Tortillas with Spiced Oil
4

Shape Tortillas in Molds

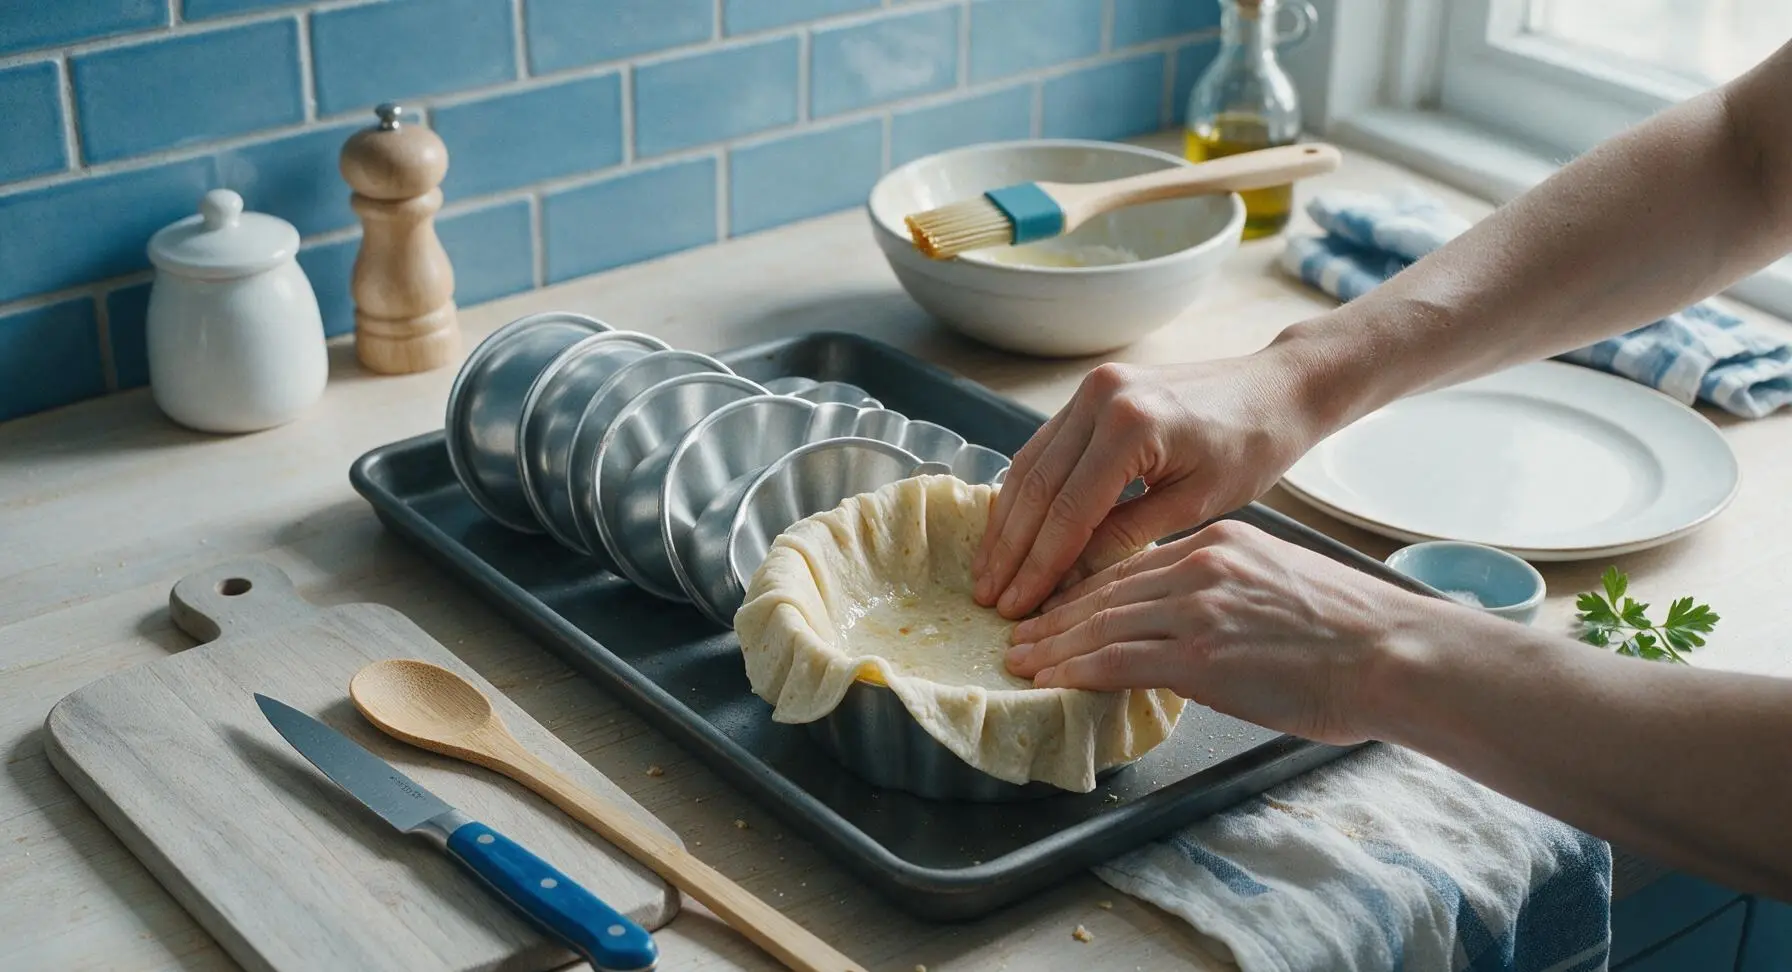
Retrieve the stacked metal tortilla bowl molds from the back-right counter, unstack them, and arrange evenly on the dark gray baking sheet (pulled from its stored position against the left backsplash to the center of the counter). Gently press each oiled tortilla into a 6-inch mold, pressing the bottom flat against the mold base and pleating the sides in 4-5 evenly spaced folds to form a cup shape. Leave a 1-inch tortilla overhang around the mold rim for a rustic, crispy edge, and adjust tortillas so they sit evenly without sliding.
Step 4
step4:Shape Tortillas in Molds
5

Bake Until Golden Crisp

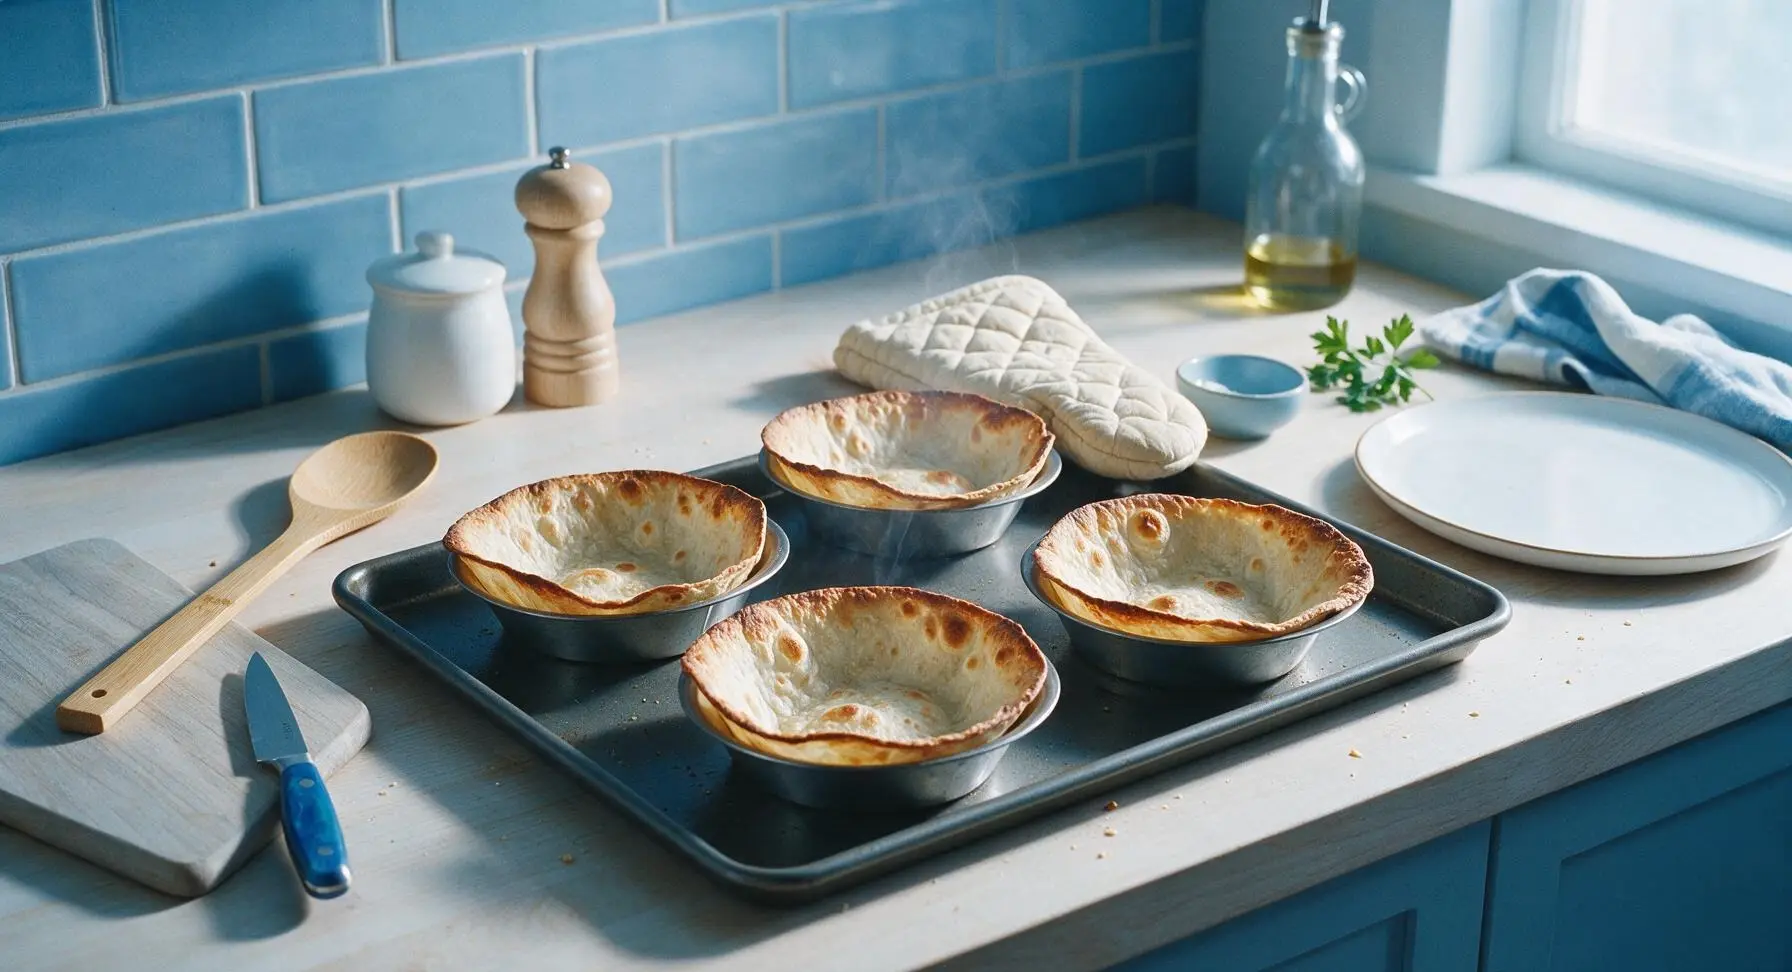
Carefully lift the baking sheet and slide it onto the middle oven rack. Bake for 10-12 minutes at 400°F (200°C), until tortilla edges are deep golden brown, small bubbled blisters form across the surface, and the tortillas feel firm to the touch. Check at the 10-minute mark to avoid burning thin edges, which darken quickly at high heat.
Step 5
step5:Bake Until Golden Crisp
6

Cool to Set Shape

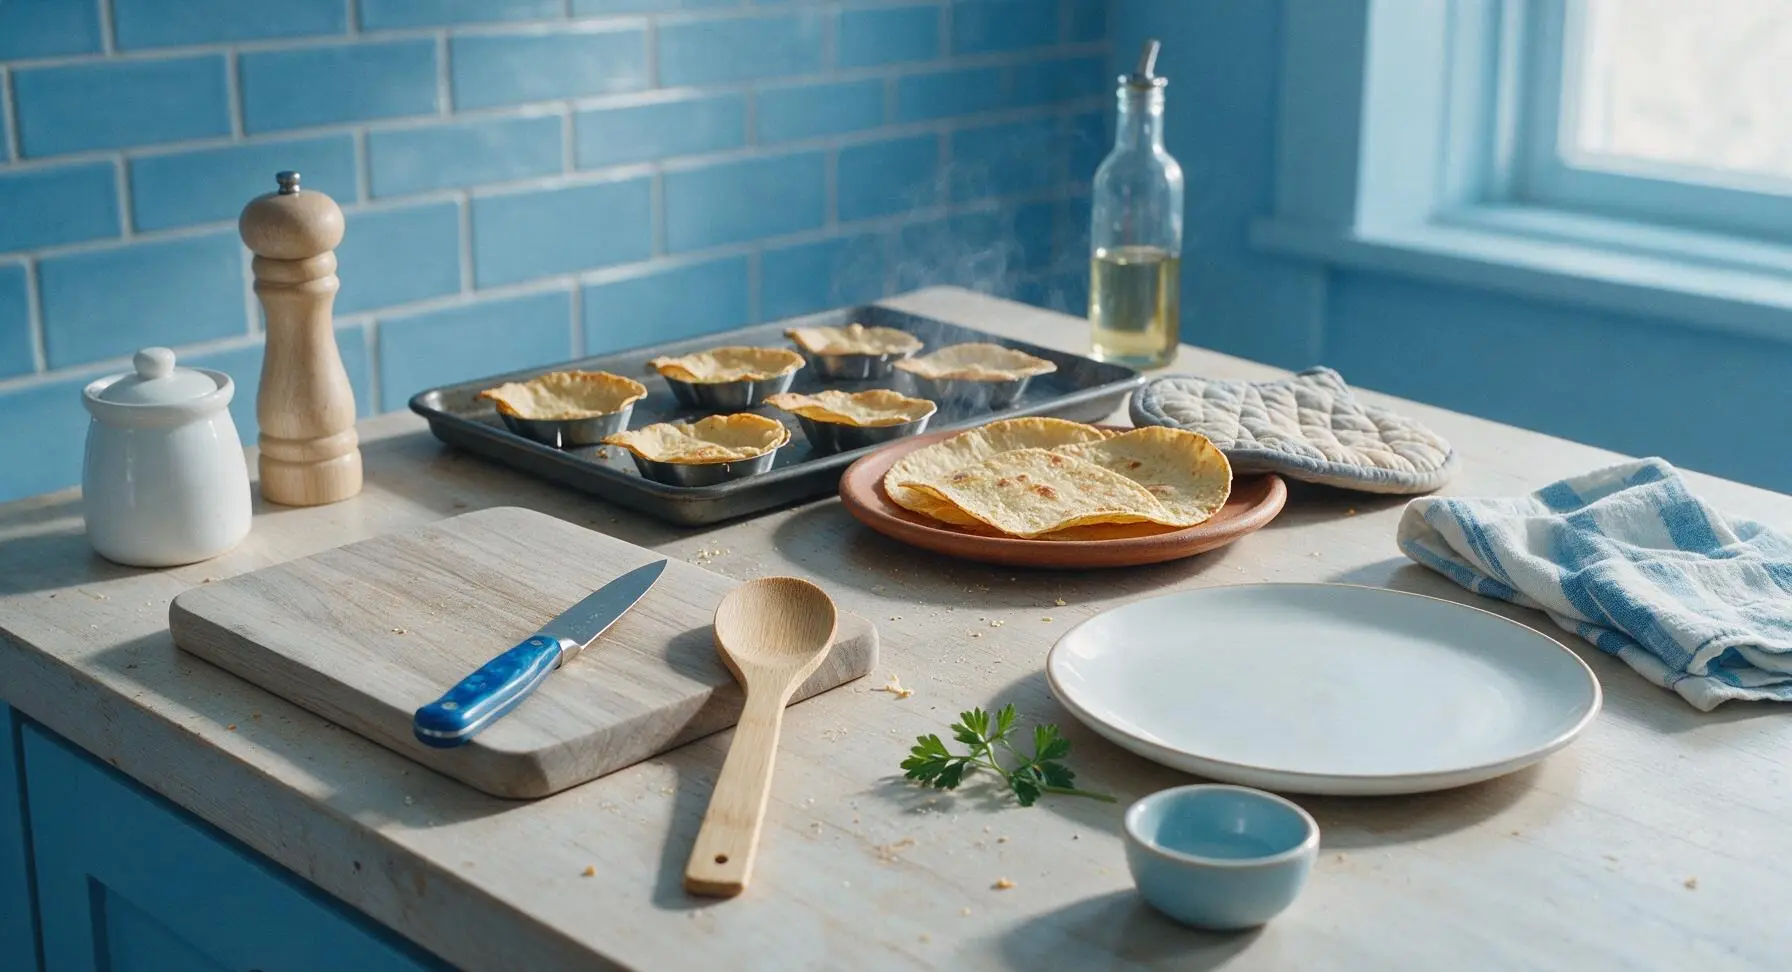
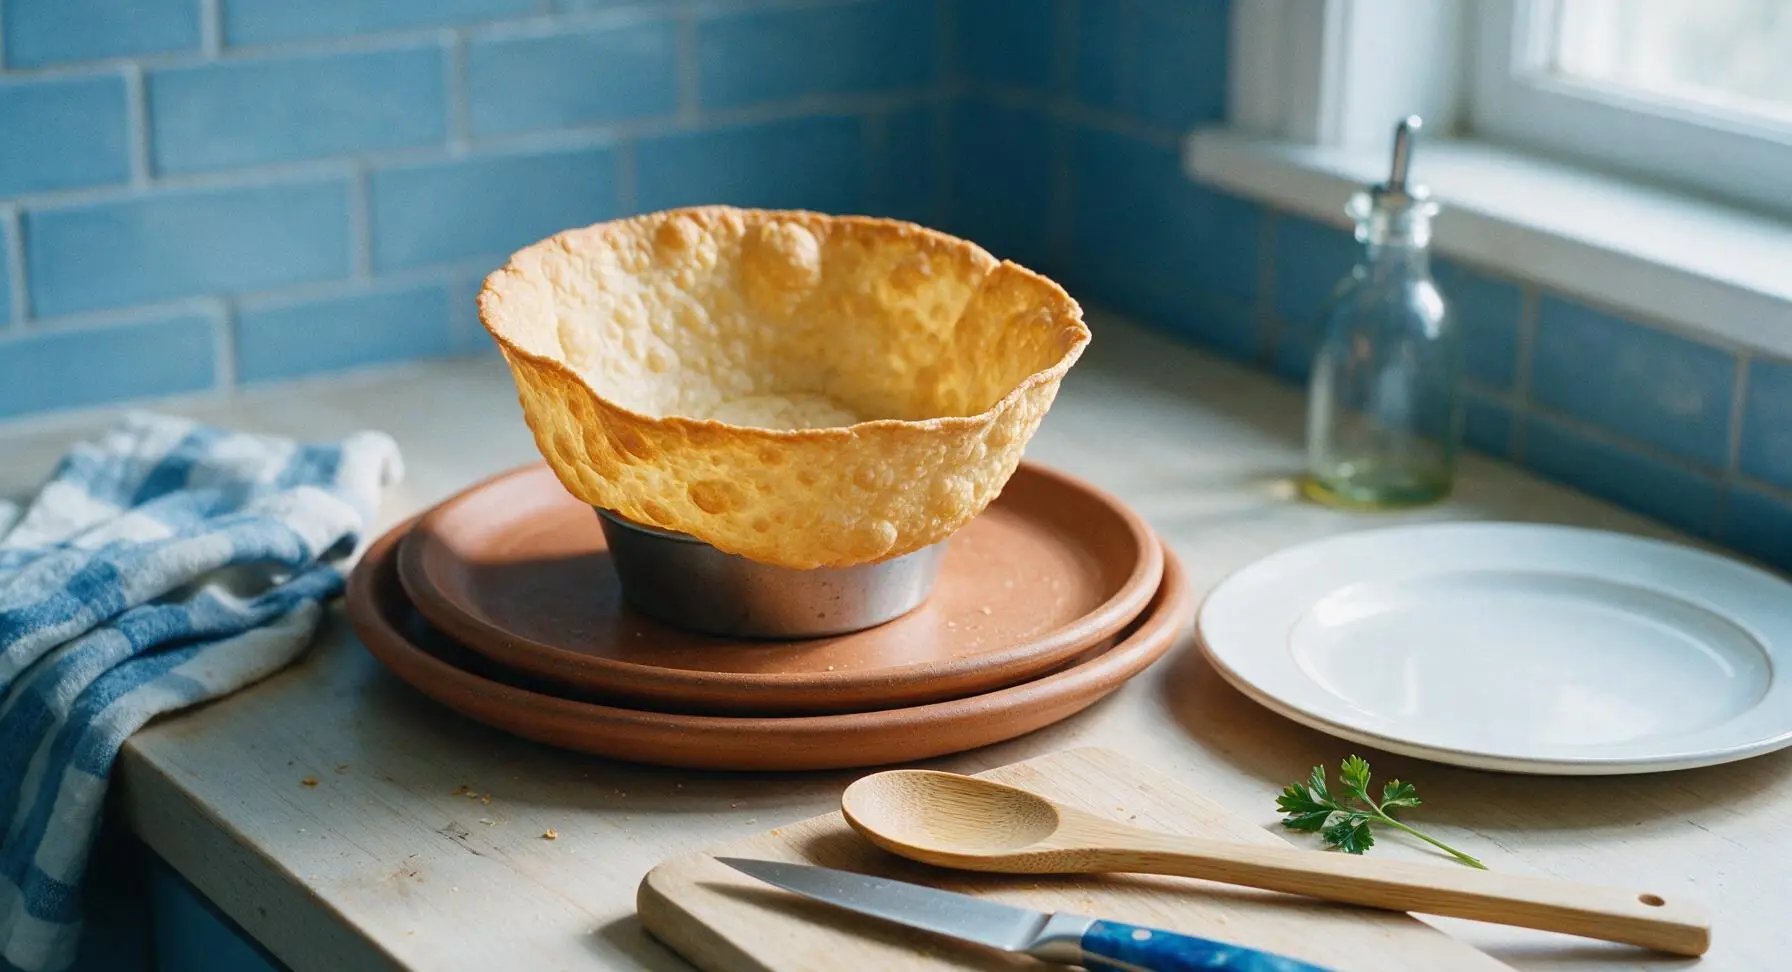
Use the oven mitts to remove the hot baking sheet from the oven after 12 minutes. Transfer the tortilla-filled molds to the terracotta serving platter, and let cool for 3 minutes in the molds to set their crisp shape. Carefully lift tortilla bowls out of the molds and place them directly on the platter to cool for 2 more minutes; bowls will crisp further as they cool, so avoid filling them immediately.
Step 6
step6:Cool to Set Shape
Step 6
step6:Cool to Set Shape
7

Finish with Flaky Salt

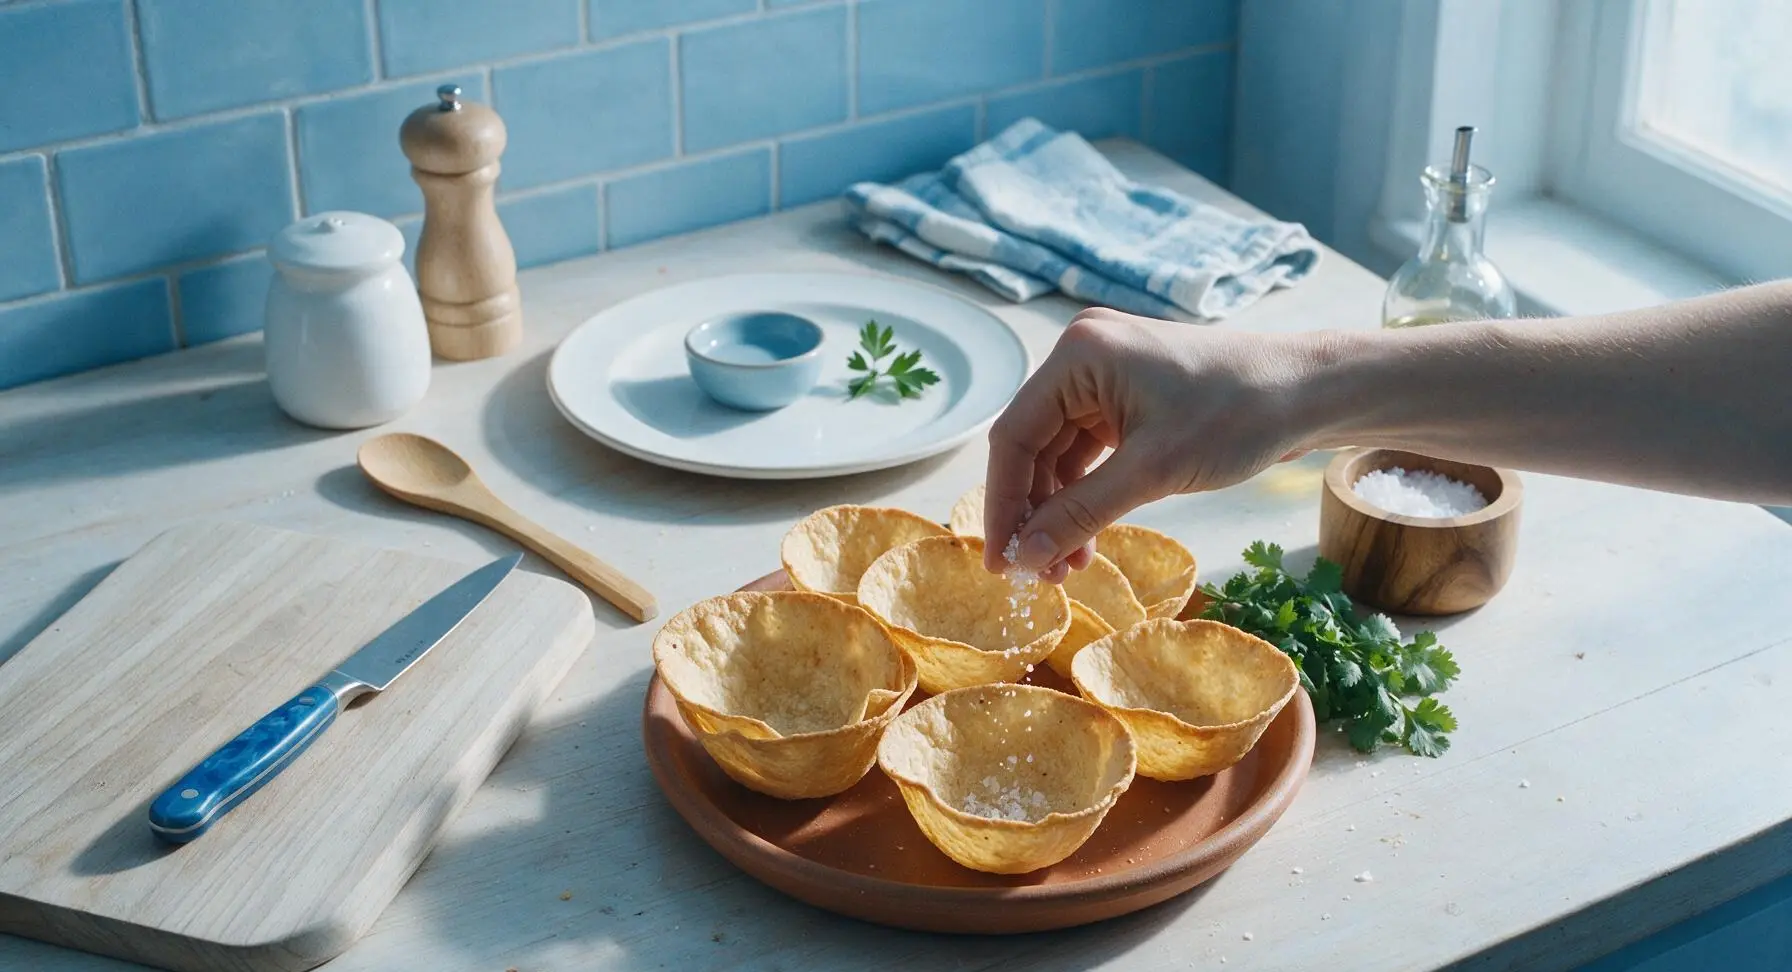
Lightly sprinkle the warm tortilla bowls with a pinch of flaky sea salt from the acacia wood salt cellar. The bowls are now ready to fill with favorite burrito ingredients: cilantro-lime rice, black beans, grilled protein, fresh salsa, guacamole, sour cream, or roasted vegetables.
Step 7
step7:Finish with Flaky Salt

Tips

1.Always warm tortillas before shaping: Cold, room-temperature tortillas will crack along the pleats when pressed into molds, leading to leaky bowls that spill fillings while you eat.
2.Avoid over-saturating tortillas with oil: Excess oil will pool in the bottom of the molds during baking, leaving the base of your tortilla bowl soggy instead of crisp, even if you bake it for the full recommended time. A light, even coat on both sides is all you need for uniform crunch.
3.No specialty tortilla molds? Use upside-down 8-oz oven-safe ramekins or a jumbo muffin tin instead: Drape the oiled tortilla over the top of the inverted ramekin, and bake for the same 10-12 minutes for equally crispy, free-standing bowls with no extra equipment needed.


✨ You May Also Like

Main Course
🍜 United Kingdom

A showstopping classic of tender seared beef, savory mushroom duxelles, and crisp prosciutto wrapped in flaky golden puff pastry, baked to juicy perfection.

⏱️ 2 hours 1Main Course ★ 4.7
Main Course
🍜 India

Tender charred marinated chicken simmered in a rich, spiced creamy tomato sauce, this iconic Anglo-Indian curry pairs perfectly with basmati rice or warm naan.

⏱️ 50 minuteMain Course ★ 4.6
Main Course
🍜 Thailand

Classic tangy, sweet, and savory Thai stir-fried rice noodles with shrimp, tofu, and crunchy garnishes, balancing all five core Thai flavor profiles.

⏱️ 30 minuteMain Course ★ 4.5
Main Course
🍜 United Kingdom

Crispy golden beer-battered cod and fluffy double-fried chips, served with tangy tartar sauce and malt vinegar: the timeless, beloved British pub comfort classic.

⏱️ 45 minuteMain Course ★ 4.7
Main Course
🍜 Mexico

Smoky, chile-marinated pork tacos with caramelized pineapple, fresh cilantro, and lime: a beloved classic Mexican street food perfect for casual summer gatherings.

⏱️ 1 hour 45Main Course ★ 4.8
Main Course
🍜 United States

Crunchy Fritos corn chips layered with savory beef chili and melted cheddar, topped with cool, zesty fixings for a beloved, cozy Tex-Mex comfort food.

⏱️ 35 minuteMain Course ★ 4.8

burrito bowl tortilla:Frequently Asked Questions

1.What size tortillas work best for these baked burrito bowls? ▾
10-inch large flour tortillas are the perfect fit for standard burrito bowl portions, as they drape neatly over standard 10-oz oven-safe ramekins or the wide cups of a jumbo muffin tin without tearing or sagging too much during baking. If you only have 8-inch tortillas, use smaller 6-oz ramekins for mini, taco-sized bowls instead.
2.Do I have to warm the tortillas before shaping them into bowls? ▾
Yes, a quick warm-up makes tortillas pliable and prevents cracking when you press them into your molds. You can microwave a stack of 3-4 tortillas wrapped in damp paper towels for 20-30 seconds, or warm them one at a time in a dry skillet for 10 seconds per side right before shaping to keep them flexible.
3.Can I use corn tortillas instead of flour for this recipe? ▾
You can swap in 10-inch corn tortillas if you prefer, but note they will be more prone to cracking if not warmed very thoroughly first, and will have a firmer, more brittle crisp than the chewy-crisp texture you get from flour. Add 10 extra seconds of microwave time for corn tortillas before shaping to reduce tears.
4.What kind of mold do I need to make these bowls without special equipment? ▾
No specialty tortilla bowl pan is required! Oven-safe 10-oz ramekins, the inverted cups of a jumbo muffin tin, or even small upside-down oven-safe cereal bowls work perfectly. Just drape the oiled, seasoned tortilla over the upside-down mold, press the sides down gently, and bake right on the oven rack.
5.How do I keep the tortilla bowls from getting soggy once I add fillings? ▾
Two easy tricks prevent sogginess: First, make sure you bake them until they are fully golden and crisp all over, with no pale, soft spots on the bottom or sides. Second, let them cool for 2-3 minutes after baking before adding fillings, and add a thin layer of refried beans or shredded cheese to the bottom as a moisture barrier for juicy fillings like salsa.
6.Can I adjust the spice blend to match my taste preferences? ▾
Absolutely! The base blend of ground cumin, chili powder, and garlic powder is warm and mild, but you can tweak it however you like. Add a pinch of smoked paprika for smokiness, a dash of cayenne for heat, a sprinkle of dried oregano for classic burrito flavor, or even a pinch of cinnamon for warm depth that pairs great with pork or sweet potato fillings.
7.How much olive oil do I need per tortilla to get perfectly crispy results? ▾
You only need about ½ teaspoon of extra-virgin olive oil per tortilla to get that perfect golden crisp. Brush it in a thin, even layer across both sides of the tortilla before adding seasonings—too much oil will make bowls greasy and heavy, while too little will leave them dry, pale, and tough instead of crisp.
8.What oven temperature and baking time gives the crispiest tortilla bowls? ▾
Bake the shaped tortilla bowls at 375°F for 12-15 minutes, rotating your baking sheet halfway through for even browning. You’ll know they’re done when the edges are deep golden brown and the center feels firm to the touch, not soft or squishy. Let them cool 2 minutes on the mold before lifting off to set their shape.
9.My tortilla bowls keep puffing up while they bake—how do I stop that? ▾
Minor puffing is totally normal, but if large air bubbles form and warp your bowl shape, just prick the bubbled spot gently with the tip of a sharp paring knife 2-3 minutes into baking to release the steam. You can also place a small, oven-safe ceramic weight on the center of each draped tortilla for the first 5 minutes of baking to prevent excessive puffing.
10.Can I make these tortilla bowls ahead of time for meal prep? ▾
Yes, these bowls hold up really well for advance prep! Once baked, let them cool completely to room temperature, then store them in an airtight container lined with paper towels at room temperature for up to 3 days. Crisp them back up for 3-4 minutes in a 350°F oven right before serving to refresh their crunchy texture.
11.Are these baked bowls a lighter alternative to deep-fried restaurant tortilla bowls? ▾
Definitely! Unlike deep-fried restaurant tortilla bowls that can pack 300+ calories and 20+ grams of fat each, these baked versions use just a light brush of olive oil, clocking in at roughly 150 calories per bowl with only 4 grams of fat, while still delivering that same satisfying, crunchy texture you love.
12.Can I make these bowls gluten-free for guests with dietary restrictions? ▾
Absolutely! Just swap the regular wheat flour tortillas for your favorite certified gluten-free large flour tortillas (look for ones made with rice flour or a flexible gluten-free blend that doesn’t crack when warmed). Follow the exact same shaping, oiling, seasoning, and baking steps for equally crisp, delicious bowls.
13.Why do my tortilla bowls crack when I try to remove them from the mold? ▾
Cracking usually happens for one of two reasons: either you didn’t warm the tortilla enough before shaping, so it developed small tears that set as it baked, or you tried to remove it from the mold too soon after baking. Let bowls rest on their molds for 2 full minutes after baking to set their structure before gently lifting them off.
14.What fillings work best in these crispy baked tortilla bowls? ▾
These sturdy, crisp bowls work with all your favorite burrito fillings! Try seasoned ground beef or turkey, cilantro-lime rice, black beans, roasted veggies, shredded cheese, fresh pico de gallo, guacamole, and sour cream. They even work for brunch, holding scrambled eggs, chorizo, and hash browns—just avoid overloading with extra-wet fillings that can seep through.
15.Can I freeze these baked tortilla bowls for later use? ▾
You can freeze fully cooled, baked tortilla bowls for up to 1 month! Stack them between sheets of parchment paper to prevent sticking, seal them in a freezer-safe zip-top bag, and squeeze out as much air as possible. When you’re ready to use them, reheat straight from frozen on a baking sheet at 350°F for 5-6 minutes until crisp again.
16.How do I get the seasonings to stick evenly to every tortilla? ▾
The key to even, stuck-on seasoning is to brush the thin layer of olive oil on both sides of the tortilla first, before sprinkling your spice blend. Hold your hand 6-8 inches above the tortilla when sprinkling the cumin, chili powder, and garlic powder to distribute spices evenly, instead of dumping them in one spot where they’ll clump.

Comments (3)

2 hours ago

OMG these are such a game changer! I’ve been buying those pre-made crispy tortilla bowls from the grocery store forever and they’re always stale, crumbly, and wildly overpriced. These took exactly 12 minutes like the recipe said, came out perfectly golden and crispy, and my kids went absolutely nuts for taco night last night. I sprinkled a little chili lime taco seasoning on the tortillas before baking and *chef’s kiss* — SO good, we didn’t have a single leftover bowl.

1 hour ago

That makes me so happy to hear, Mia! The chili lime seasoning sprinkle is such a good hack — I do that all the time too when I’m making these for loaded taco nights, it adds the best little zing. Thanks so much for sharing your twist!

3 days ago

Super easy recipe, perfect for my weekly Sunday meal prep! I bake up a batch of these at the start of the week and load them up with cilantro lime rice, black beans, grilled chicken, and roasted corn for quick, no-mess work lunches all week. Only knocking off one star because my first batch got a little too charred around the edges when I left them in for 13 minutes — definitely keep a close eye on them if your oven runs hot, the 12 minute cook time is spot on for a properly calibrated oven. Such a great versatile base for any burrito bowl filling!

1 week ago

I brought these to our neighborhood block party potluck last weekend stuffed with cilantro lime rice, slow-cooked carnitas, roasted corn salsa, and a drizzle of lime crema and people were hounding me for the recipe all night! No one could believe they were baked instead of deep fried — they had that perfect shatteringly crisp crunch everyone expects from a restaurant-style tortilla bowl. I will 100% be making these for every backyard gathering from now on, total crowd pleaser!

5 days ago

Wait quick question! Do you use regular taco-sized flour tortillas for these or the extra large burrito size? I tried a similar baked tortilla recipe last month and mine kept shrinking up in the oven so they were way too tiny to hold all my fillings, total bummer.

4 days ago

Great question! I recommend using 10-inch burrito-size flour tortillas for the sturdiest, most generously sized bowls. If you press them firmly into the bottom and up the sides of your oven-safe ramekins before baking, they hold their shape perfectly with barely any shrinkage. So stoked these were such a hit at your block party, Liz!



