
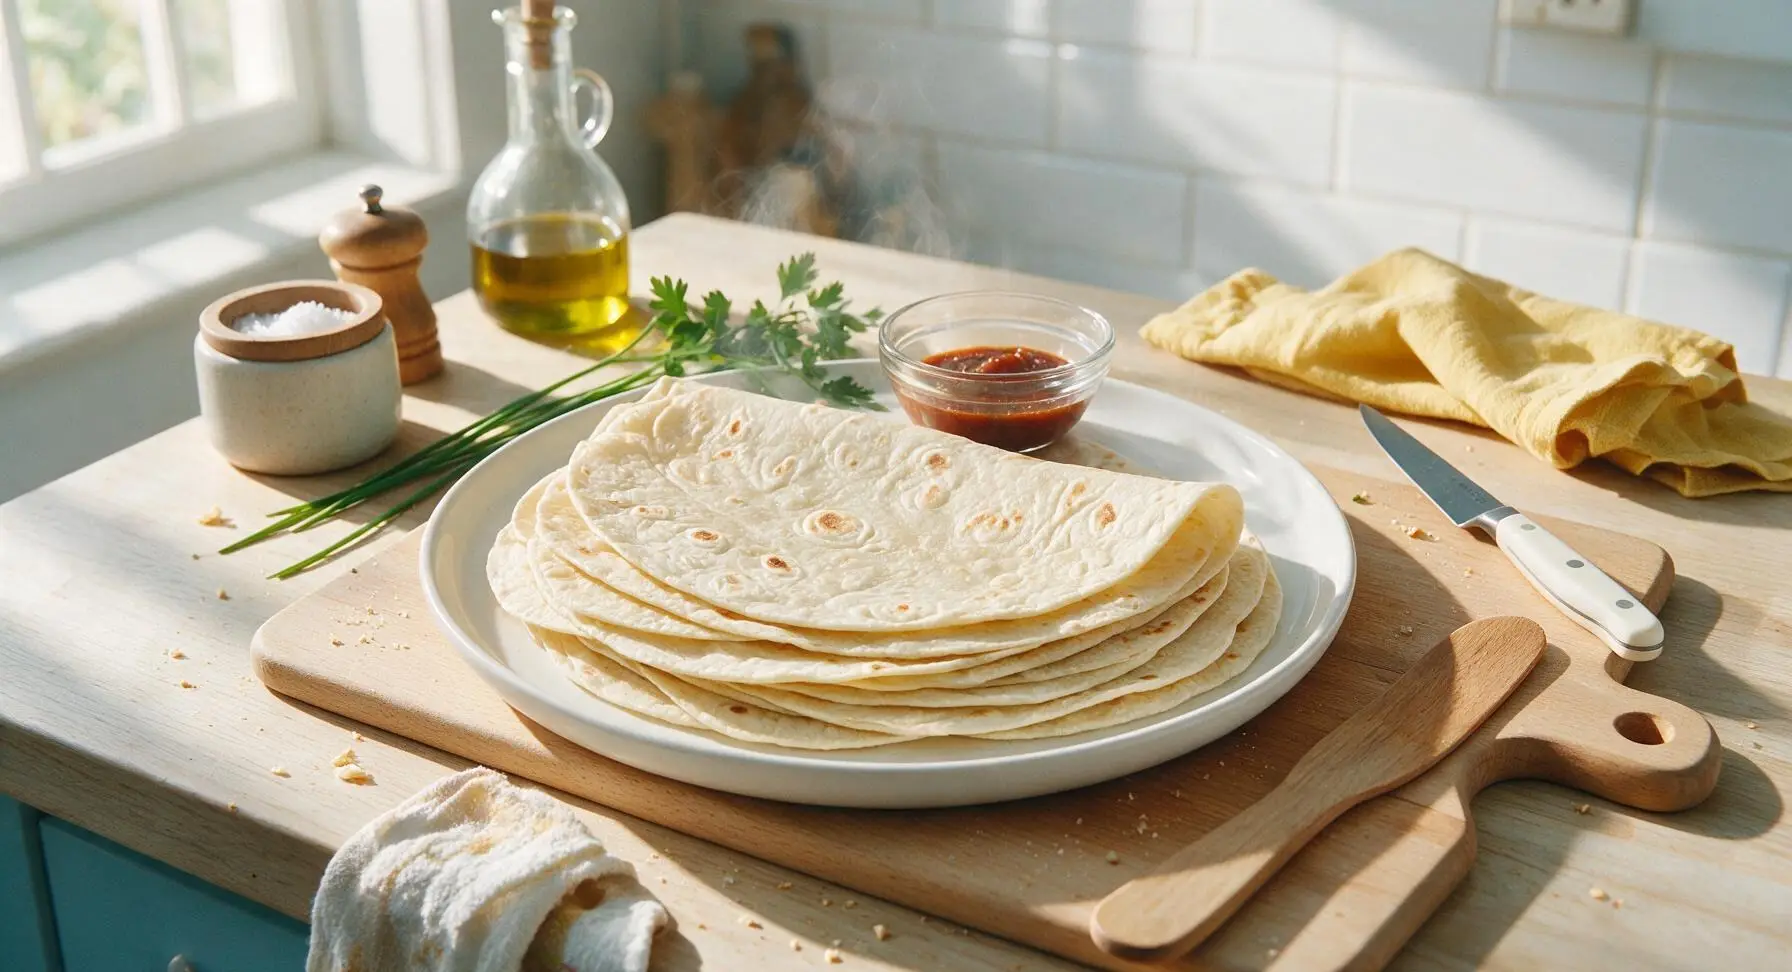
burrito dough

title 1
burrito dough
⏱️ cook time 15 minutes
🍽️ servings 8
⚡ Difficulty easy

intro

Soft, pliable homemade burrito-sized flour tortillas with a subtle toasty wheat flavor, sturdy enough to hold hearty fillings without splitting, far fresher than store-bought.

Ingredients
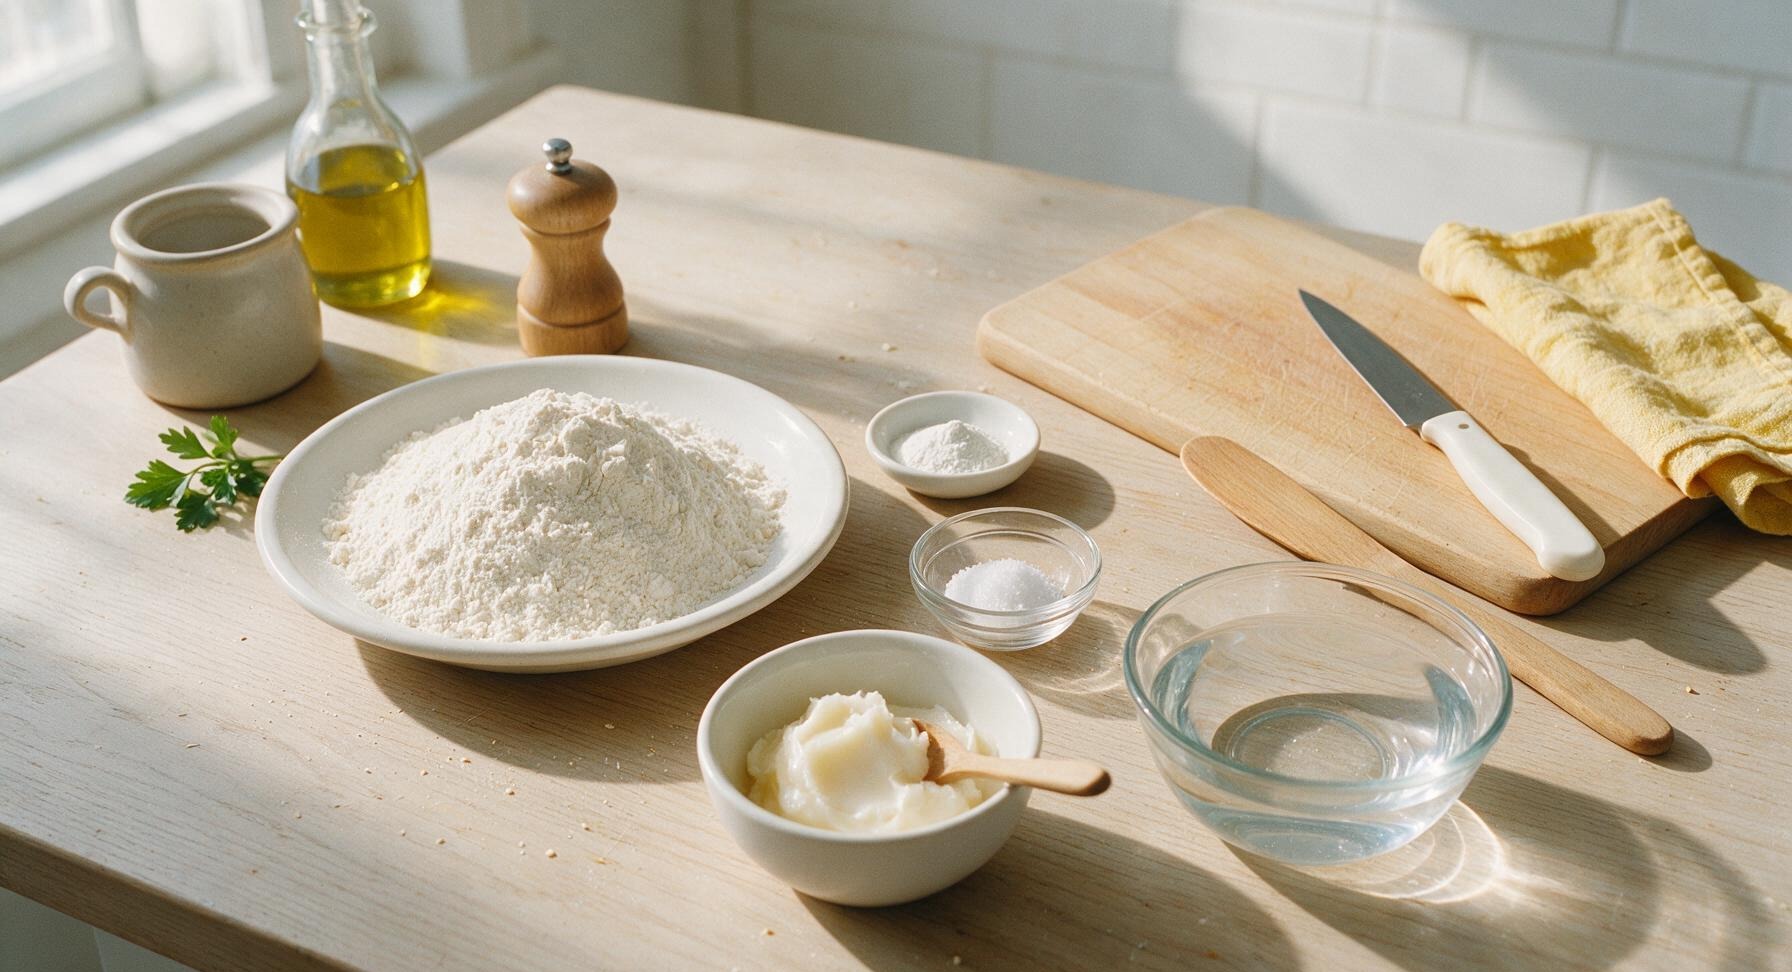
Unbleached all-purpose flour 4 cups (480g)
Fine sea salt 1 teaspoon
Baking powder 1 teaspoon
Rendered lard (softened, vegetable shortening works for vegan swap) 1/3 cup (75g)
Warm water (105°F/40°C) 1.25 cups (300ml)

Steps

1

Whisk Dry Ingredients

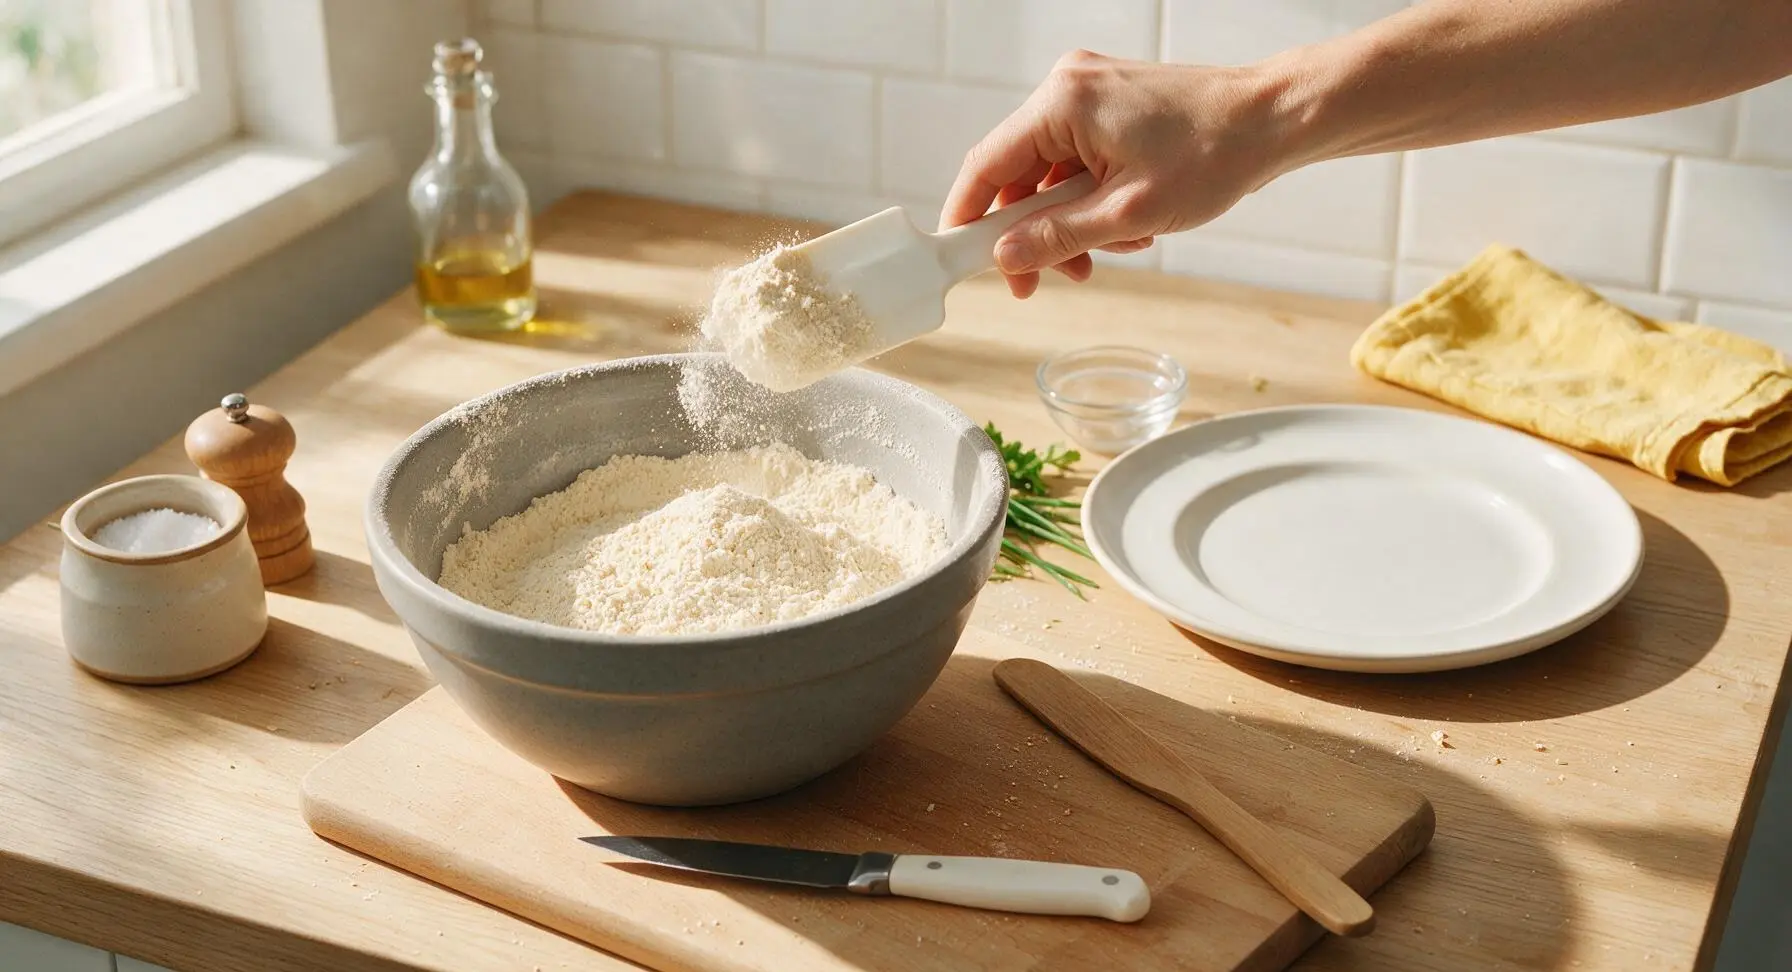
Add 4 cups (480g) unbleached all-purpose flour, 1 teaspoon fine sea salt, and 1 teaspoon baking powder to the large matte gray stoneware mixing bowl. Use the silicone dough scraper to whisk the ingredients together for 30 seconds until fully combined, with no clumps of baking powder or salt visible. The mixture should be a uniform pale cream color.
Step 1
step1:Whisk Dry Ingredients
2

Cut in Softened Fat

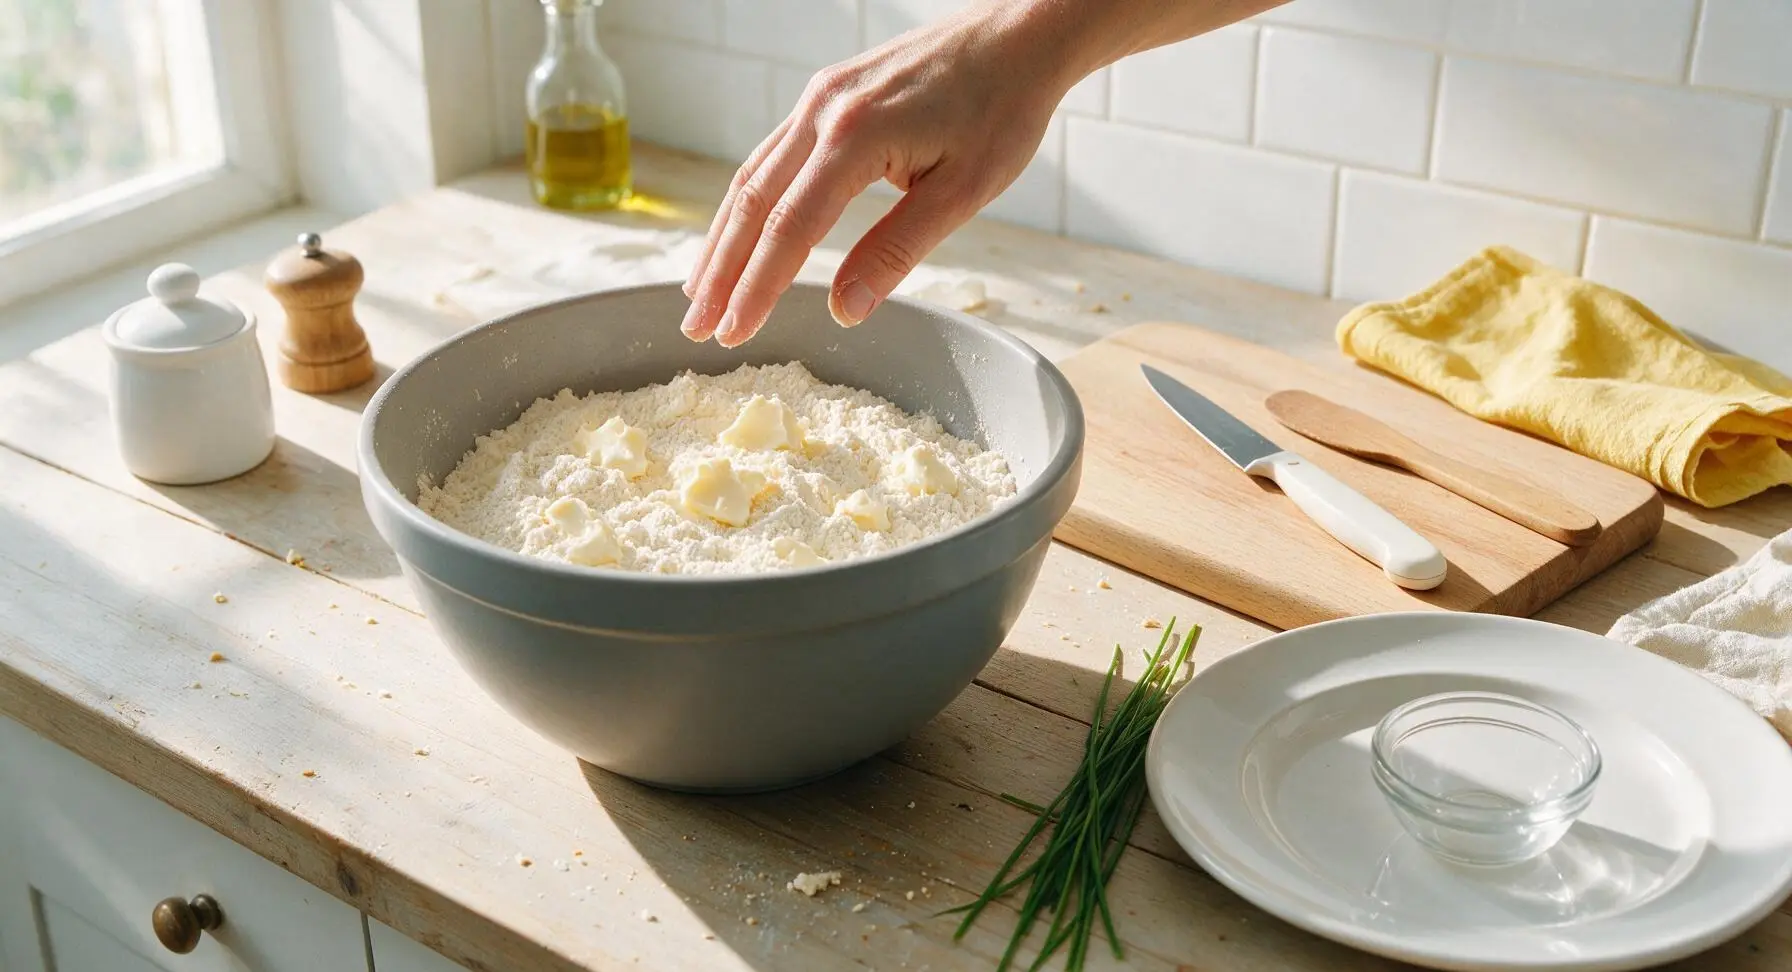
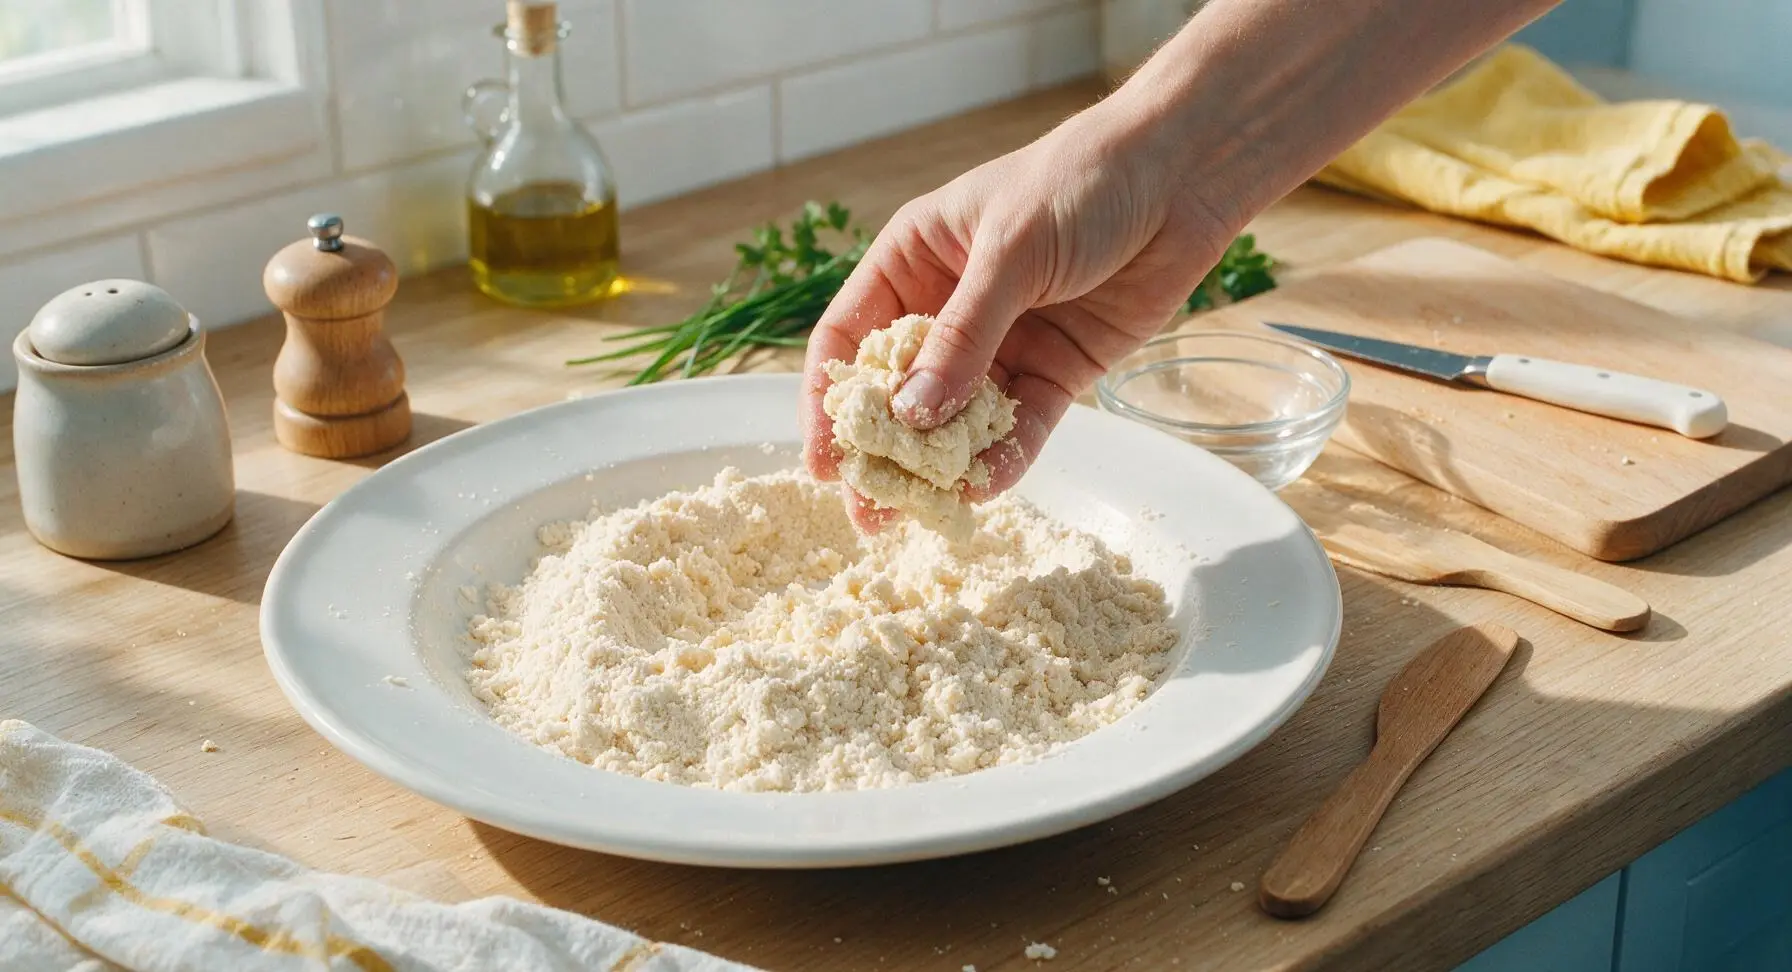
Add 1/3 cup (75g) softened room-temperature lard to the dry ingredient mixture. Use your fingertips to rub the lard into the flour, working quickly for 2-3 minutes until the mixture resembles coarse, damp sand, with no lumps of lard larger than a pea remaining. When squeezed in your palm, a handful of the mixture should hold together loosely before crumbling.
Step 2
step2:Cut in Softened Fat
Step 2
step2:Cut in Softened Fat
3

Form Shaggy Dough

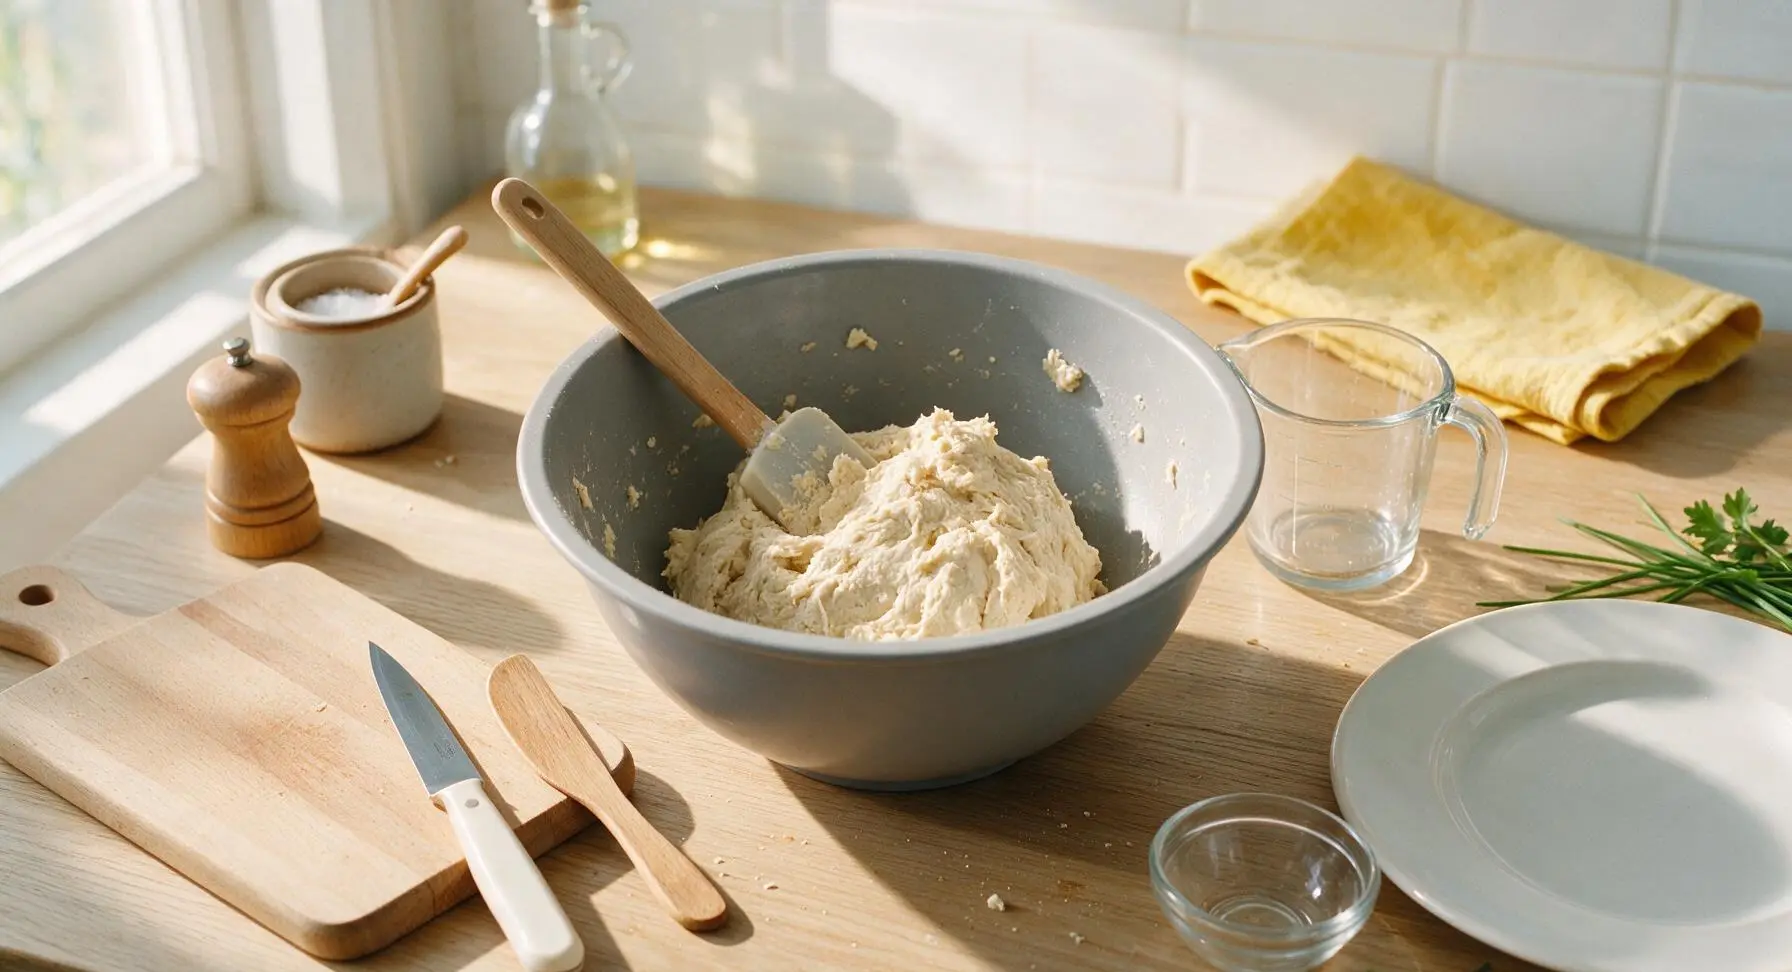
Slowly pour 1.25 cups (300ml) of 105°F (40°C) warm water into the flour mixture while stirring with the silicone scraper. Continue stirring for 1 minute until all dry flour is incorporated, forming a shaggy, slightly sticky mass that pulls away from the sides of the bowl. The dough should not be so sticky that it leaves thick residue on your fingers when touched.
Step 3
step3:Form Shaggy Dough
4

Knead Until Smooth

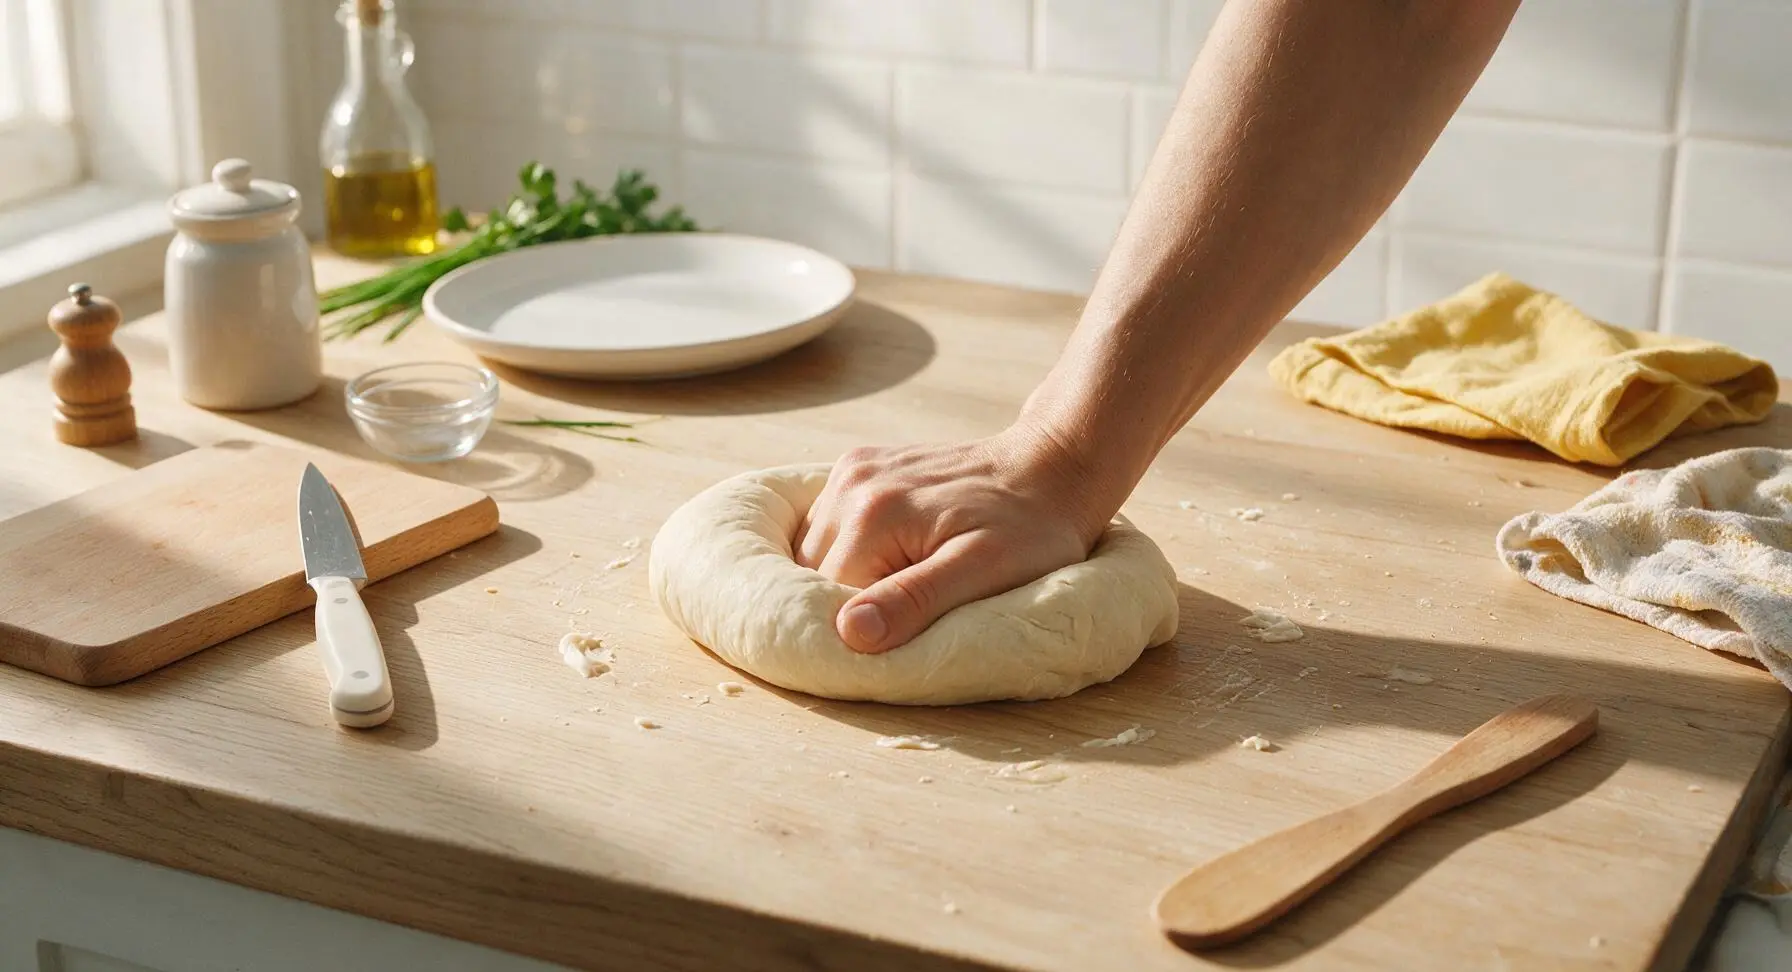
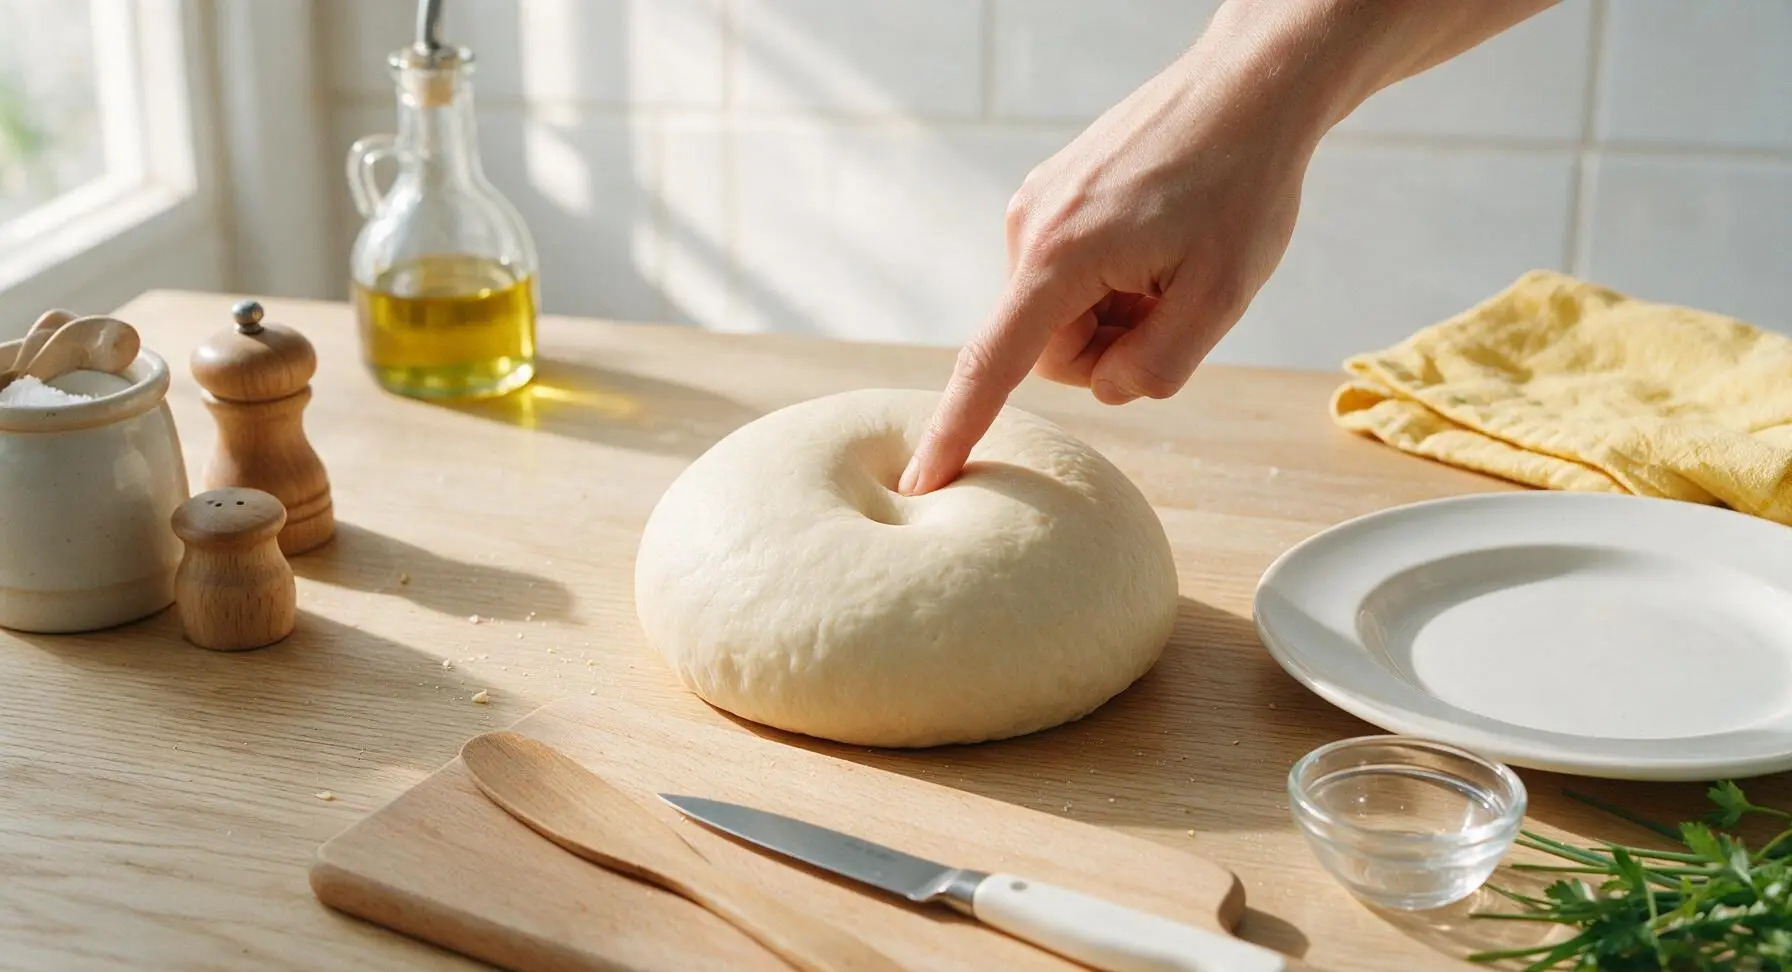
Turn the shaggy dough out directly onto the clean countertop (no extra flour needed, to avoid tough tortillas). Knead the dough with the heels of your hands for 4-5 minutes, folding it over itself and turning a quarter turn after each press, until the dough is perfectly smooth, elastic, and springs back slightly when poked with a finger. The surface will be soft and satiny, with no rough cracks.
Step 4
step4:Knead Until Smooth
Step 4
step4:Knead Until Smooth
5

Rest Dough Portions

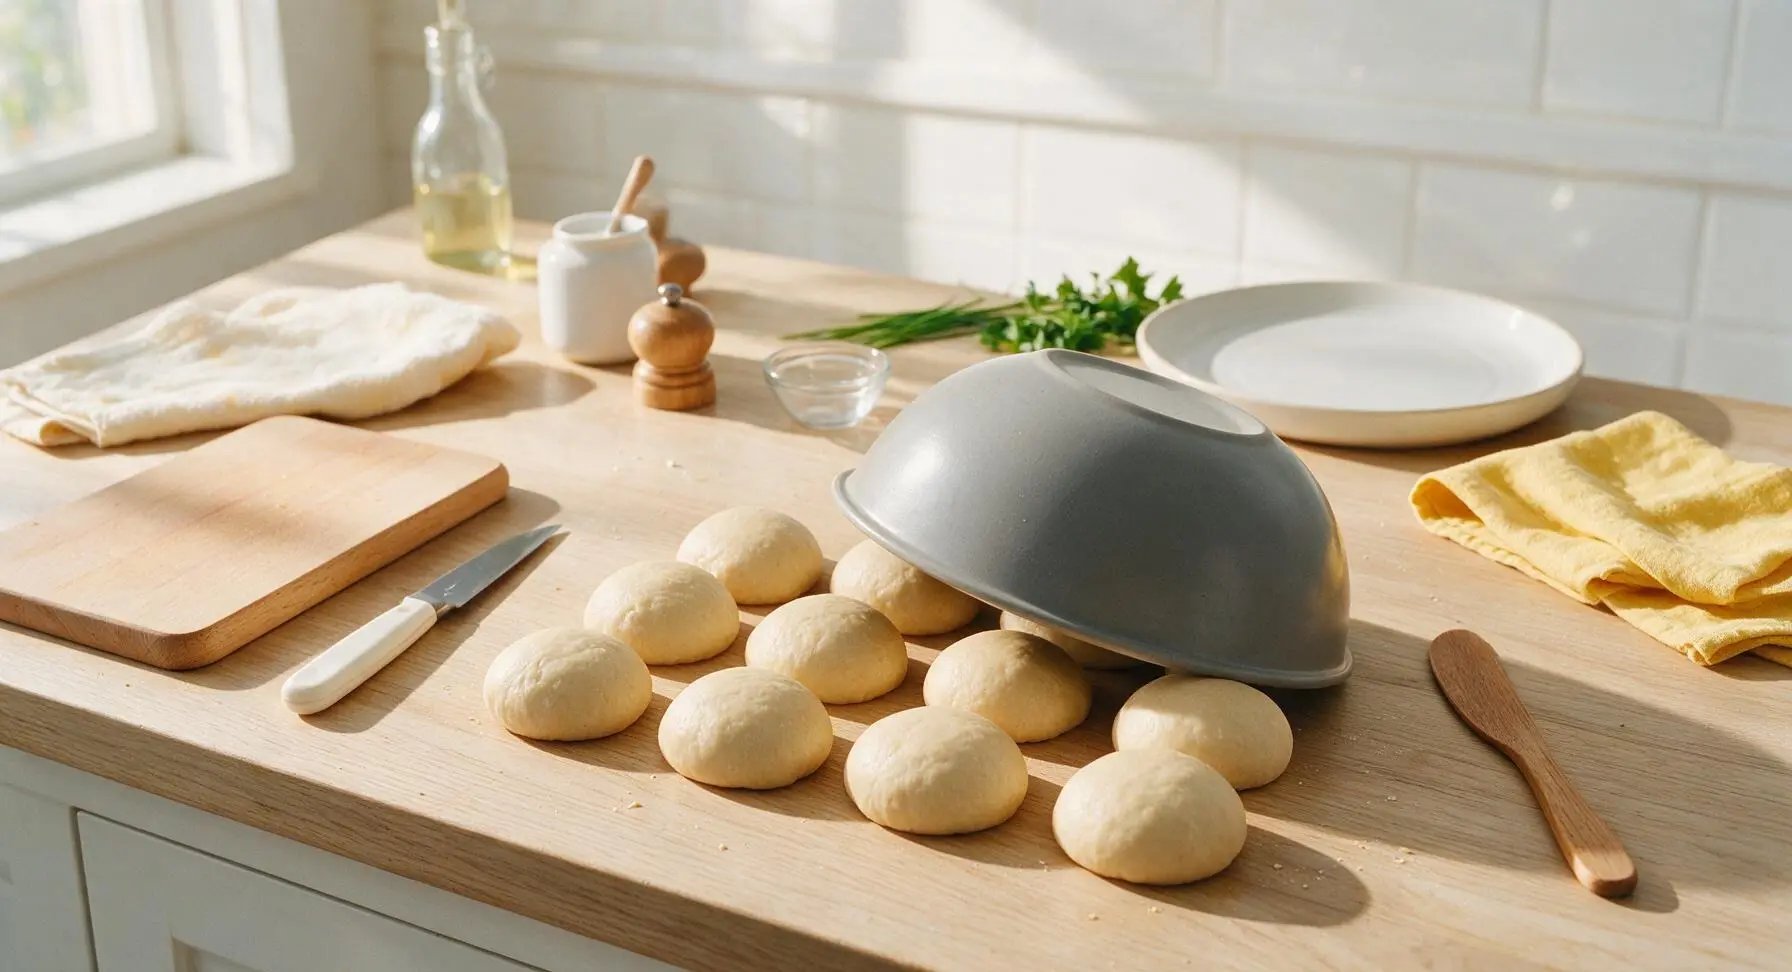
Use the dough scraper to divide the smooth dough ball into 8 equal portions (each ~105g, about the size of a golf ball). Roll each portion between your palms to form a tight, smooth ball. Arrange the dough balls on the counter 2 inches apart, cover loosely with the inverted large gray mixing bowl, and let rest for 15 minutes at room temperature. This rest relaxes the gluten so the dough rolls easily without shrinking back.
Step 5
step5:Rest Dough Portions
6

Roll Thin Rounds

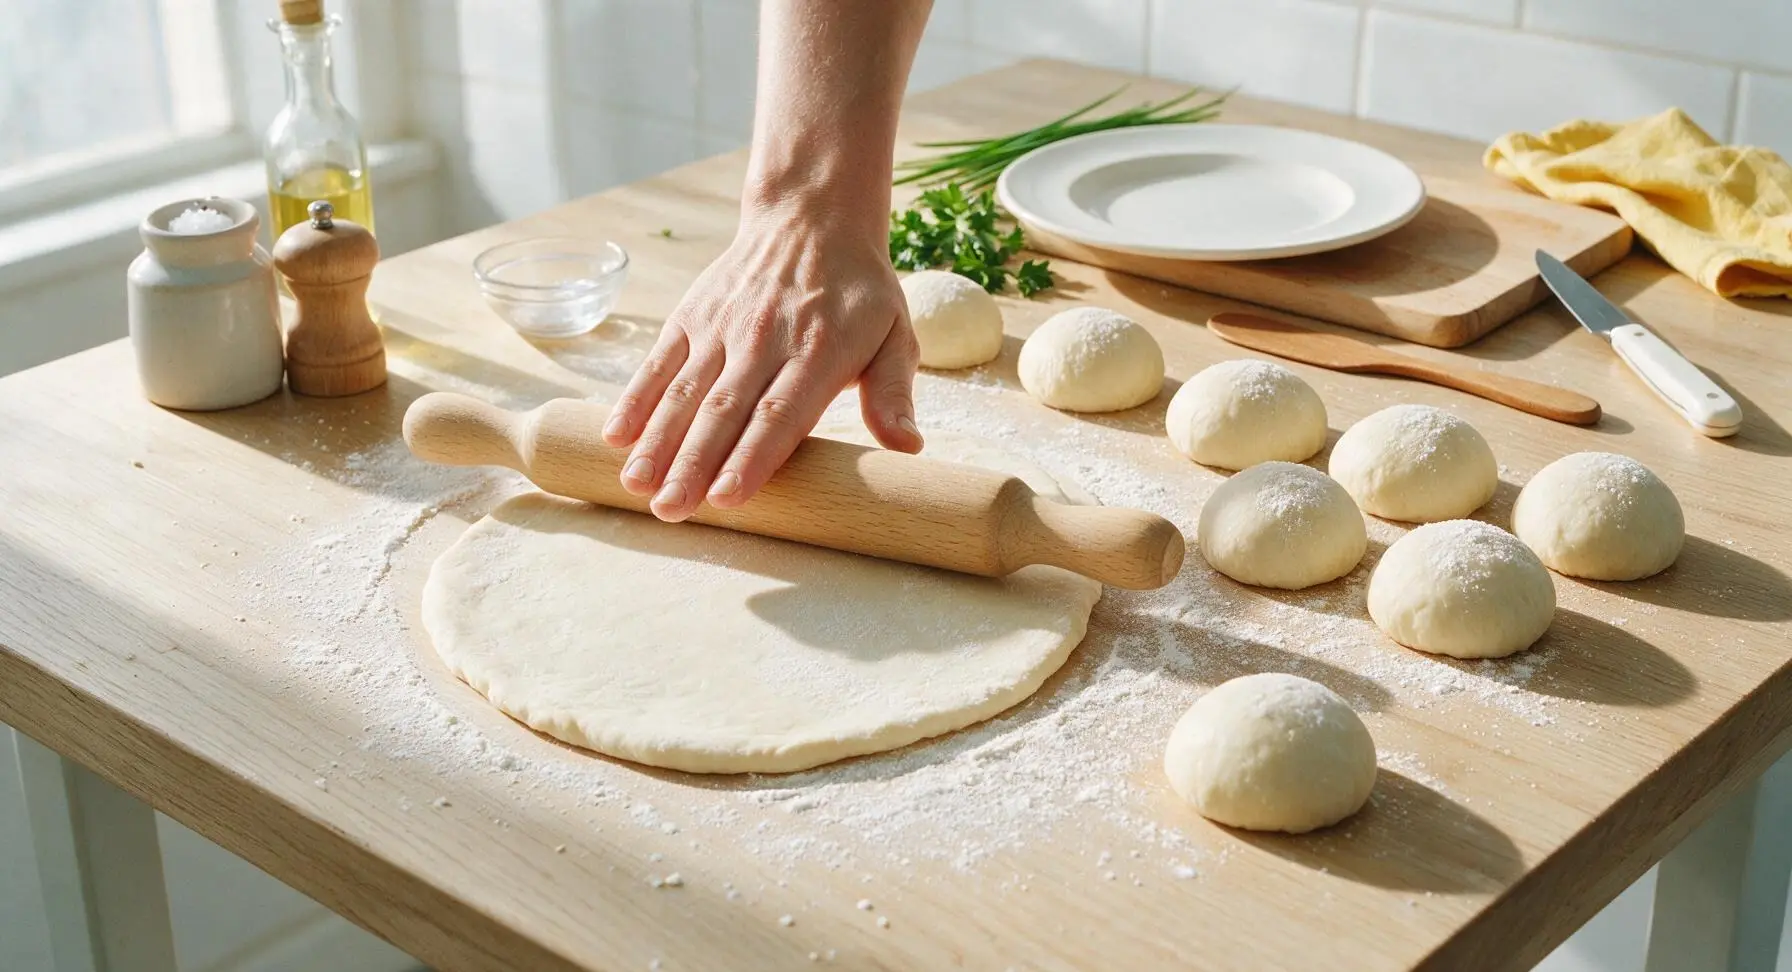
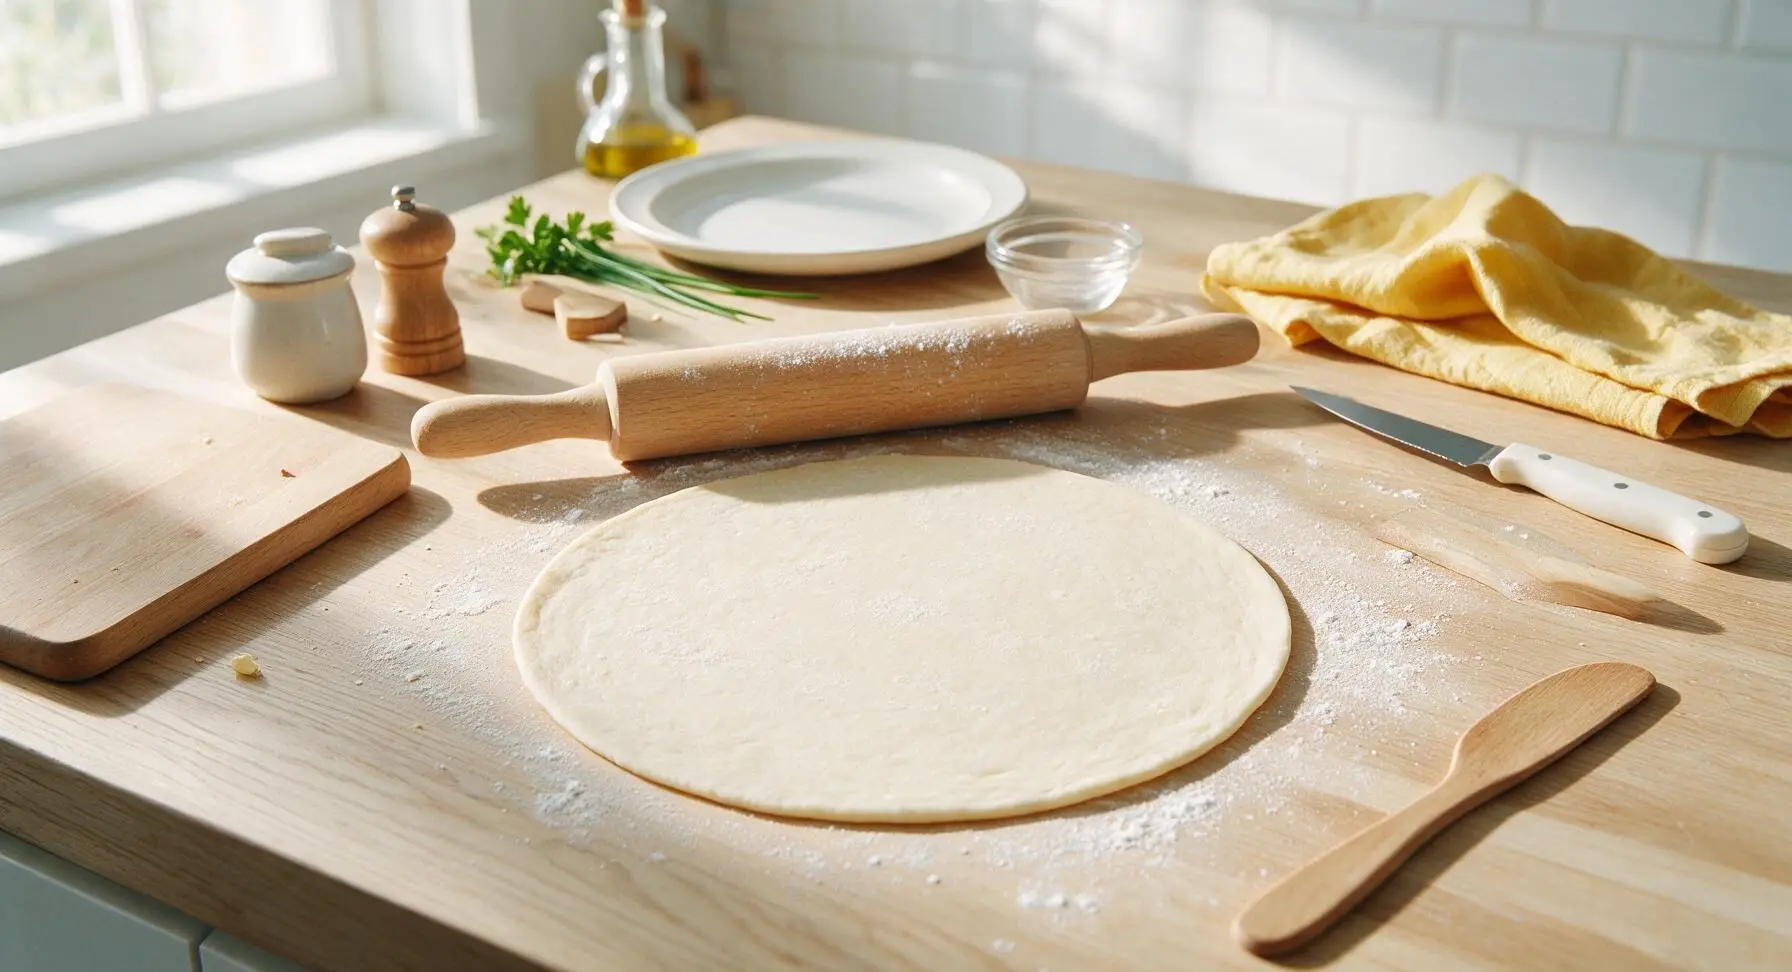
After resting, place the beech wood rolling pin to the right of the dough balls. Working one dough ball at a time (keep remaining balls covered under the inverted bowl when not rolling), press a ball flat with your palm, then roll from the center outward in all directions, turning the dough a quarter turn after each roll, to form a 10-inch wide, 1/8-inch thick even round. The dough should not stick to the pin or counter; if it does, add a tiny pinch of flour to the surface. Do not roll over the edges too hard, to avoid thin spots that will burn during cooking.
Step 6
step6:Roll Thin Rounds
Step 6
step6:Roll Thin Rounds
7

Cook on Hot Comal

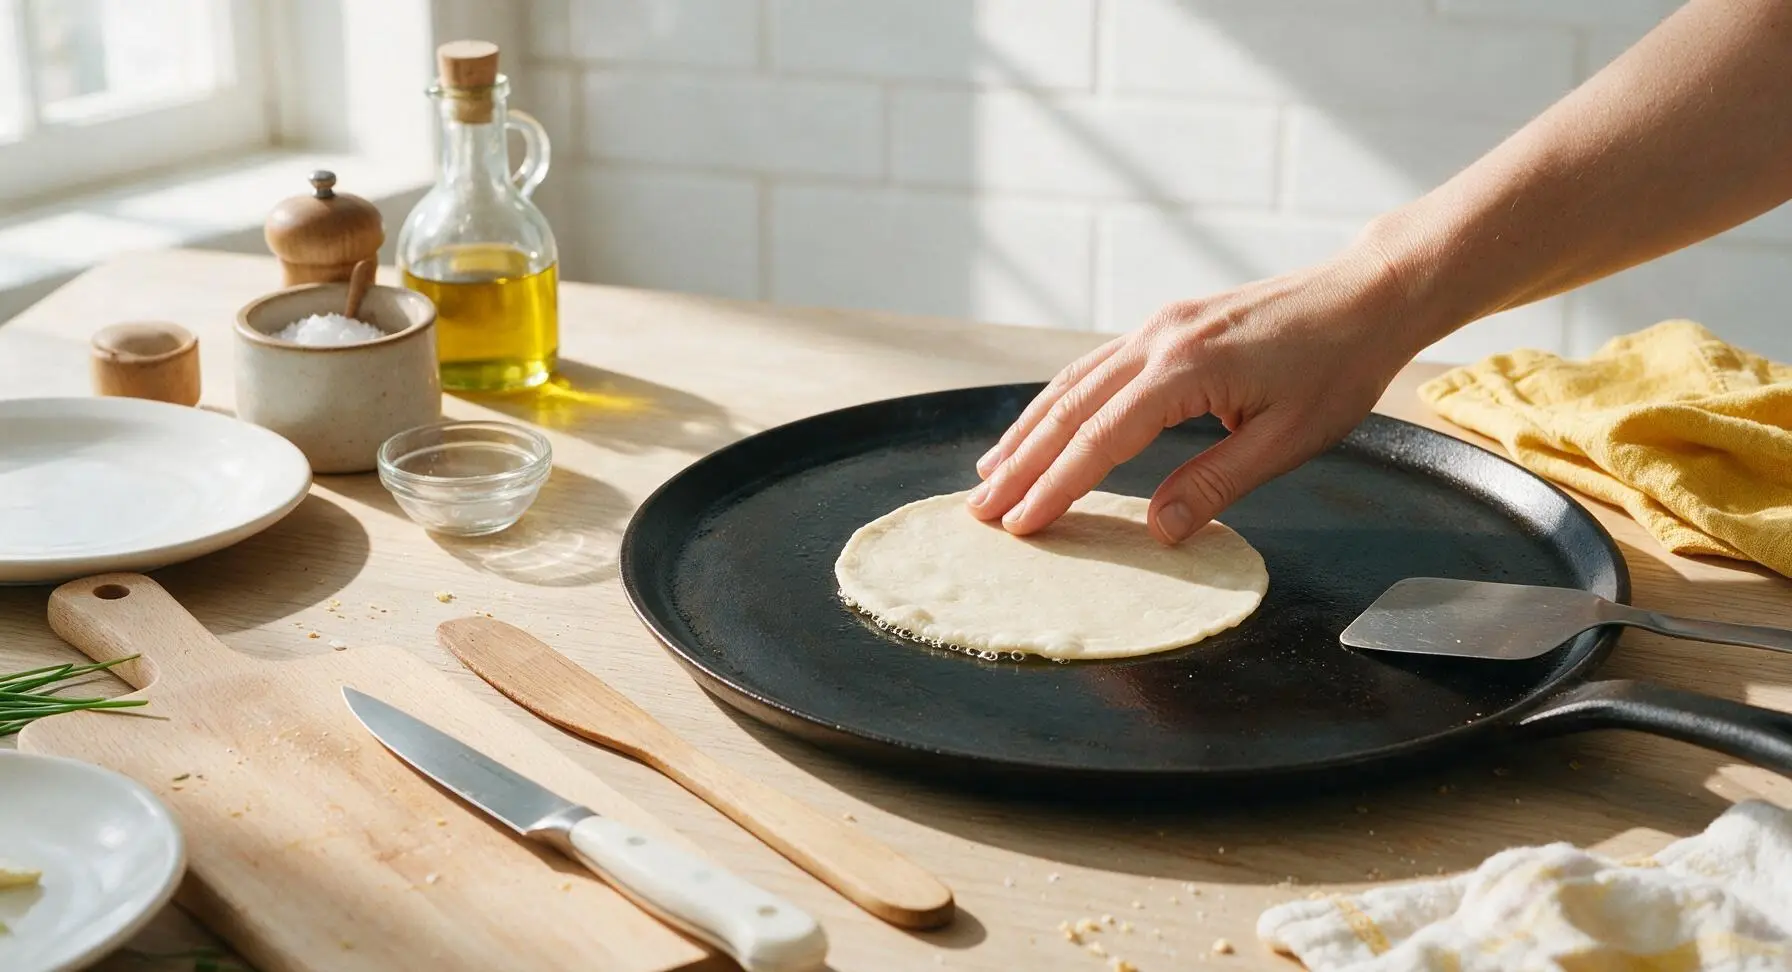
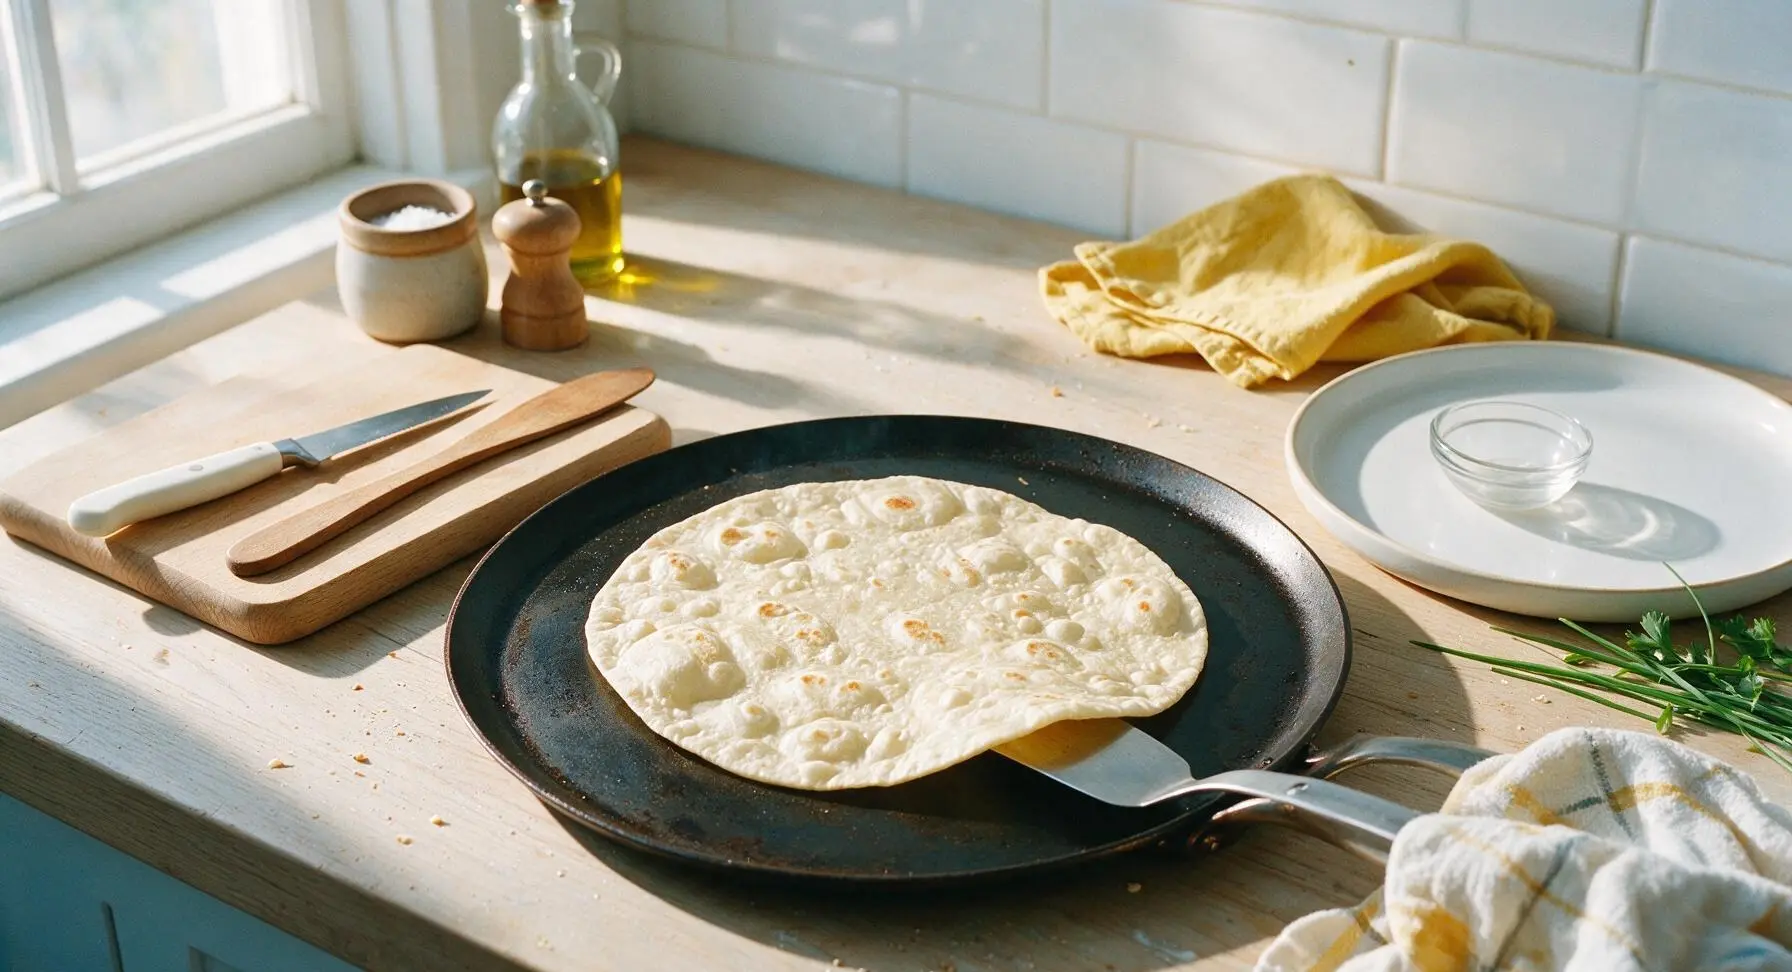
Place the 12-inch carbon steel comal on the burner over medium-high heat, preheating for 3 minutes until a drop of water dances and evaporates in 1-2 seconds when flicked onto the surface. Lay one rolled dough round flat on the hot comal, and cook for 30-45 seconds until the top surface develops small air bubbles and faint pale golden spots on the bottom. Use the thin stainless steel spatula to flip the tortilla, then cook for another 20-30 seconds on the second side until light golden spots form. Do not overcook, or tortillas will turn stiff instead of pliable.
Step 7
step7:Cook on Hot Comal
Step 7
step7:Cook on Hot Comal
8

Keep Tortillas Warm

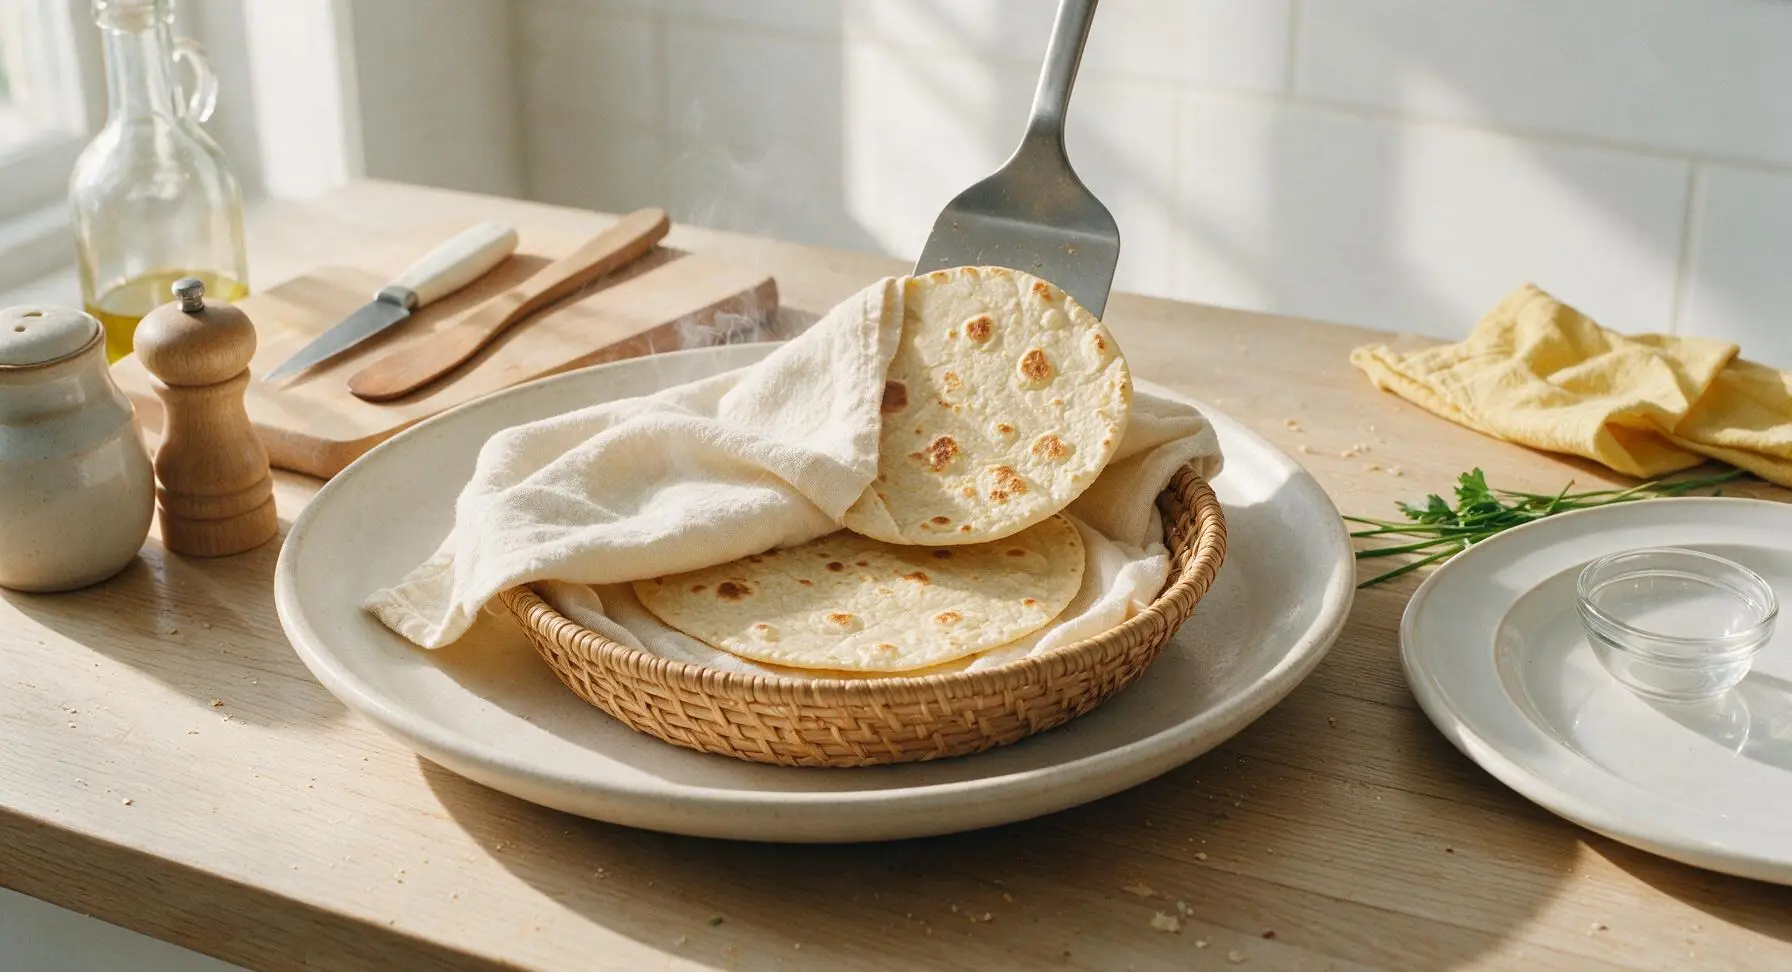
As each tortilla finishes cooking, transfer it immediately to the linen-lined rattan basket sitting on the off-white stoneware platter, and fold the linen napkin over the top to trap steam. This trapped steam keeps tortillas soft and pliable, perfect for folding into burritos without cracking. Repeat rolling and cooking the remaining dough balls, stacking cooked tortillas in the basket as you go.
Step 8
step8:Keep Tortillas Warm

Tips

1.Use room-temperature softened fat (not melted or cold) for the best texture: melted fat will make tortillas greasy and stiff when cool, while cold fat leaves hard lumps that create uneven, burnt spots during cooking.
2.Do not skip the 15-minute covered dough rest: rolling immediately after kneading will cause tight gluten to shrink the dough back, leading to thick, small tortillas that crack when folded around burrito fillings.
3.Keep cooked tortillas tightly wrapped in the linen-lined basket for 5 minutes after cooking finishes: trapped steam softens any crisp, dry edges, creating the flexible, foldable texture needed to hold heavy fillings without splitting.


✨ You May Also Like

Main Course
🍜 United Kingdom

A showstopping classic of tender seared beef, savory mushroom duxelles, and crisp prosciutto wrapped in flaky golden puff pastry, baked to juicy perfection.

⏱️ 2 hours 1Main Course ★ 4.7
Main Course
🍜 India

Tender charred marinated chicken simmered in a rich, spiced creamy tomato sauce, this iconic Anglo-Indian curry pairs perfectly with basmati rice or warm naan.

⏱️ 50 minuteMain Course ★ 4.6
Main Course
🍜 Thailand

Classic tangy, sweet, and savory Thai stir-fried rice noodles with shrimp, tofu, and crunchy garnishes, balancing all five core Thai flavor profiles.

⏱️ 30 minuteMain Course ★ 4.5
Main Course
🍜 United Kingdom

Crispy golden beer-battered cod and fluffy double-fried chips, served with tangy tartar sauce and malt vinegar: the timeless, beloved British pub comfort classic.

⏱️ 45 minuteMain Course ★ 4.7
Main Course
🍜 Mexico

Smoky, chile-marinated pork tacos with caramelized pineapple, fresh cilantro, and lime: a beloved classic Mexican street food perfect for casual summer gatherings.

⏱️ 1 hour 45Main Course ★ 4.8
Main Course
🍜 United States

Crunchy Fritos corn chips layered with savory beef chili and melted cheddar, topped with cool, zesty fixings for a beloved, cozy Tex-Mex comfort food.

⏱️ 35 minuteMain Course ★ 4.8

burrito dough:Frequently Asked Questions

1.Why do my homemade flour tortillas come out stiff instead of soft and pliable enough for burritos? ▾
Stiff tortillas almost always trace back to three easy-to-fix missteps: over-kneading the dough (which develops excess tough gluten), skipping the 30-minute post-knead rest to relax that gluten, or cooking too long over low heat that dries the dough out. Aim for a just-combined smooth dough, full rest, and 30–45 seconds per side on a medium-hot dry skillet to lock in softness.
2.Can I make these tortillas vegan, or do I have to use rendered lard? ▾
You absolutely can make a perfect vegan version with a simple swap! Replace the rendered lard 1:1 with softened, room-temperature vegetable shortening for the closest soft, stretchy, sturdy texture. I don’t recommend liquid vegetable oil here—it creates a denser, less flexible dough that tears easily when you roll it out or load it up with heavy burrito fillings.
3.How large should I roll these tortillas to hold hearty burrito fillings without splitting? ▾
Aim for 12-inch diameter rounds, roughly the thickness of a thin sheet of printer paper, to get that classic large burrito size. Roll from the center outward, turning the dough a quarter turn after every roll to keep an even shape, so there are no thin, weak spots that will split when you tuck and roll a fully loaded burrito.
4.My tortillas don’t puff up when I cook them—did I do something wrong? ▾
A lack of puff usually means your skillet isn’t hot enough, or your rolled dough is too thick. Your dry cast iron or nonstick skillet should hit 400–425°F before you lay a tortilla down; at the right temp, bubbles form across the surface in 15 seconds, and the tortilla puffs fully after a flip to create that soft, layered texture.
5.What’s the best way to store leftover tortillas so they stay soft instead of turning hard and brittle? ▾
Let cooked tortillas cool for 2 minutes, then stack them in an airtight zip-top bag or tightly sealed container lined with a paper towel to absorb excess condensation. Stored at room temperature, they’ll stay soft for 3–4 days; you can also freeze them for up to 3 months, separated by small parchment squares to prevent sticking.
6.The recipe specifies 105°F warm water—why does water temperature matter for this dough? ▾
Water that’s too cold slows gluten relaxation, making the dough shrink back constantly when you try to roll it out and leading to denser finished tortillas. Water hotter than 115°F can deactivate the small amount of baking powder in the mix, so you won’t get that light, tender crumb. 105°F is just warm enough for a smooth, easy-to-roll dough.
7.Can I swap some of the all-purpose flour for whole wheat flour for a nuttier, more wholesome tortilla? ▾
You can swap up to 1/3 of the all-purpose flour for whole wheat flour without making tortillas too dense or prone to splitting. Swapping more than that creates a drier, stiffer dough that cracks easily when rolled or folded around fillings—add an extra tablespoon of warm water if you use whole wheat to keep the dough nice and pliable.

Comments (8)

2 hours ago

OMG this dough is a total game changer! I’ve been buying store-bought large tortillas for years for our weekly family taco night and they always tear when I stuff them full of rice and beans. These rolled out perfectly, held every single filling, and tasted way fresher than anything from the grocery store. My kids loved them so much they devoured three burritos each no joke. 10/10 will make every week from now on!

30 minutes ago

Wait how thin do you roll them? I tried last week and mine came out a little too thick, more like small taco size instead of big burrito size!

5 minutes ago

Great question! Make sure to let the dough rest for the full 30 minutes after dividing into balls before rolling – that relaxes the gluten so you can roll them super thin without them springing back. Aim for about 12 inches across for perfect large burrito size!

yesterday

Made these for our weekend cookout when we had a crew over for carne asada burritos. Everyone was asking where I got the tortillas because they thought I picked them up from that fancy Mexican bakery across town! Cook time was super quick too, I knocked out a whole batch while the steak was resting. Only note is I added a tiny pinch of garlic powder to the dough for extra flavor, chef’s kiss.

2 hours ago

So glad they were a hit at your cookout! The garlic powder addition sounds incredible – I’ll have to try that next time I make a batch for taco night. Love when folks add their own little twists to the recipe!

3 days ago

As someone who can barely boil water without messing it up, I was shocked how easy these were! No fancy equipment needed, just a bowl and a rolling pin (I even used a clean wine bottle when I couldn’t find my rolling pin oops). Made breakfast burritos for my roommates and none of them believed I made the tortillas from scratch. SO good.

1 week ago

Game changer for my Sunday meal prep! I make a dozen of these at a time, wrap them up tight in parchment, and keep them in the fridge for quick lunch burritos all week. They reheat perfectly in the microwave for 30 seconds, no weird rubbery texture like the store-bought ones get. 10/10, adding this to my permanent recipe rotation.

5 days ago

Do they freeze well too? I like to stock up for busy weeks when I don’t have time to cook on Sundays!

3 days ago

They freeze beautifully! Just separate each tortilla with a small square of parchment paper before stacking in a freezer bag so they don’t stick together. They’ll keep for up to 3 months in the freezer, just reheat straight from frozen on a warm skillet for 10 seconds per side.

2 weeks ago

Brought these to our neighborhood potluck last week along with a build-your-own burrito bar, and they were the first thing to disappear! People kept coming back for seconds just to eat the tortillas plain even, that’s how good they are. Super easy to make even when you’re crunched for time before an event.

1 week ago

Wait was that your burrito bar last Saturday?? I was there! Those tortillas were insane, I had three, no shame. I’ve been looking for the recipe ever since, can’t wait to try making them myself!

5 days ago

Made these with my 7 year old after school yesterday as a fun cooking project, and it was so easy she could do most of the steps herself! She loved pressing the dough balls and rolling them out, and was so proud to serve her homemade tortillas at dinner. We filled them with scrambled eggs, cheese, and avocado for breakfast for dinner, total hit.

30 minutes ago

Tasted great but my first batch puffed up way too much like pita bread when I cooked them? Did I do something wrong? They still tasted good but weren’t quite the soft foldable tortillas I was expecting for burritos.

just now

Hi Jake! The puffing is totally normal, that means your heat is at a good level! As soon as you take them off the skillet, pop them into a clean kitchen towel-lined basket to steam for a minute – that softens them right up and makes them perfectly foldable, no pita texture left. Give it a try next time!

2 days ago

Wow, I can’t believe how cheap this is to make compared to buying the specialty large tortillas from the grocery store! I calculated it’s less than $1 for a whole batch of 8 huge tortillas. I filled mine with roasted veggies, black beans, and quinoa for a quick vegan burrito night, and my omnivore boyfriend said they were better than any restaurant tortilla he’s ever had. Obsessed.

yesterday

Wait that cost breakdown is wild! I spend like $5 a pack on the big burrito tortillas at the store, no wonder they’re marked up so much. Can’t wait to make a double batch this weekend to save some cash.

2 hours ago

So glad you love the budget-friendly aspect! Homemade staples like this save so much money over time, and you get to control exactly what goes into them – no weird preservatives or additives. Total win win!



