
burrito enchilada casserole
intro
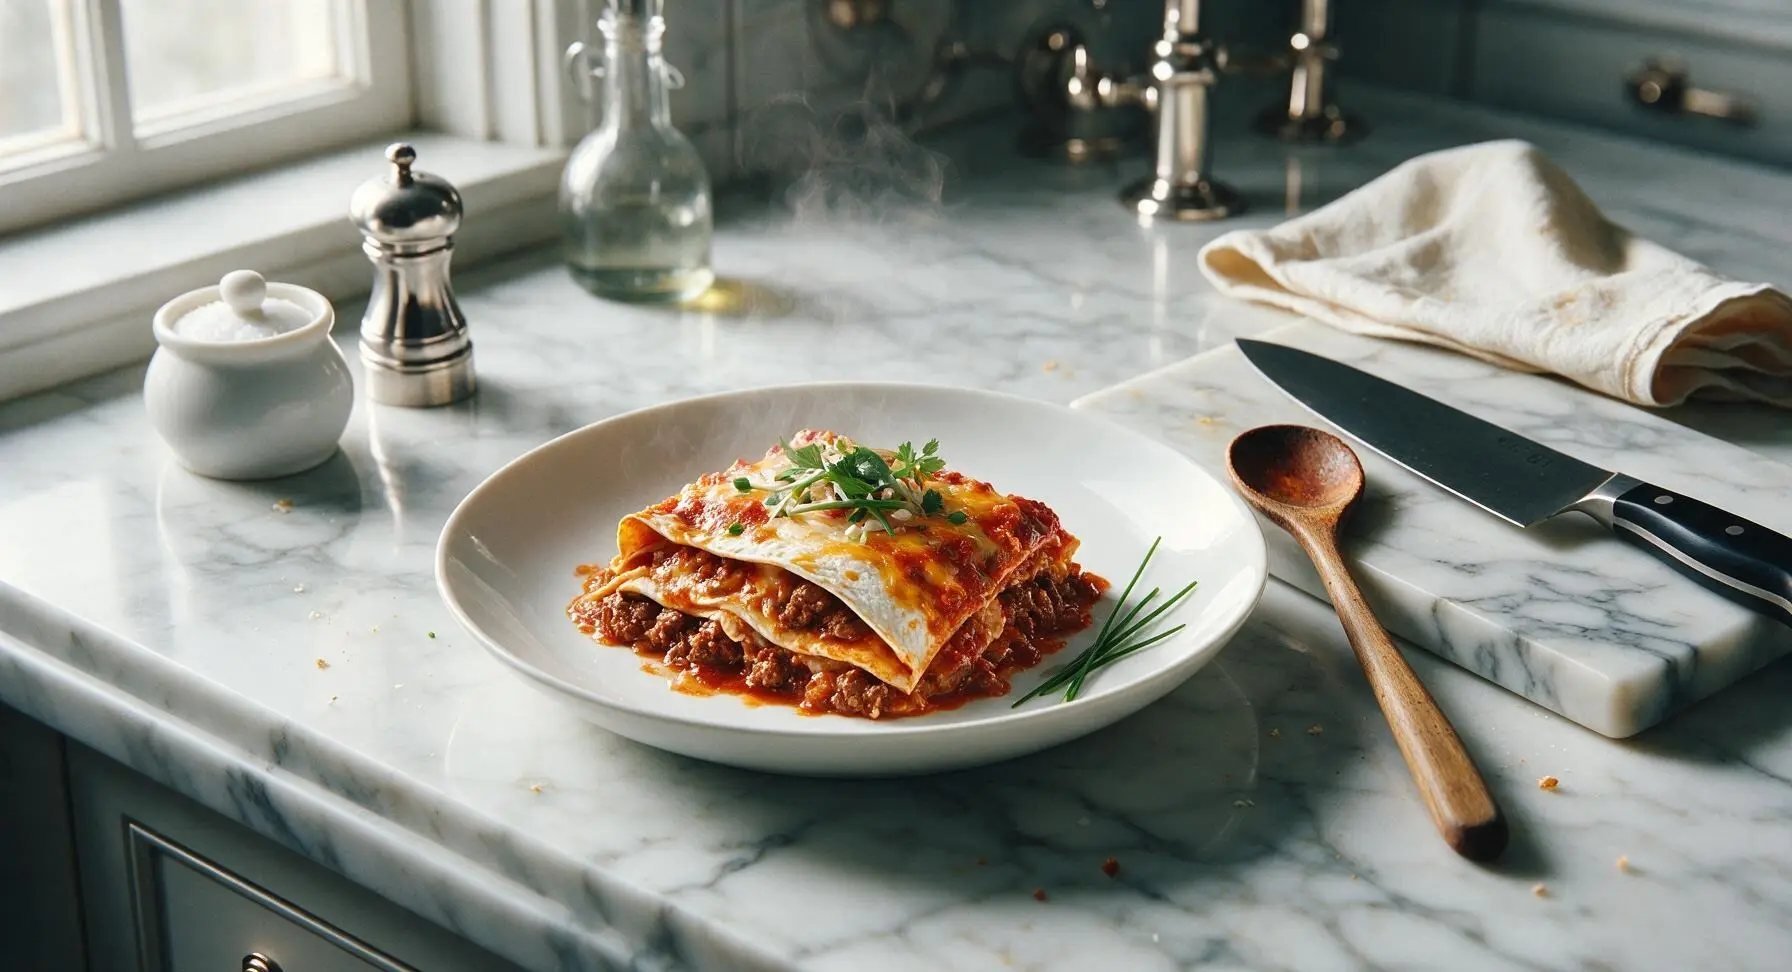
Layers of soft flour tortillas, savory seasoned beef, melty cheese, and zesty red enchilada sauce baked until bubbly—cozy, crowd-pleasing Tex-Mex comfort.
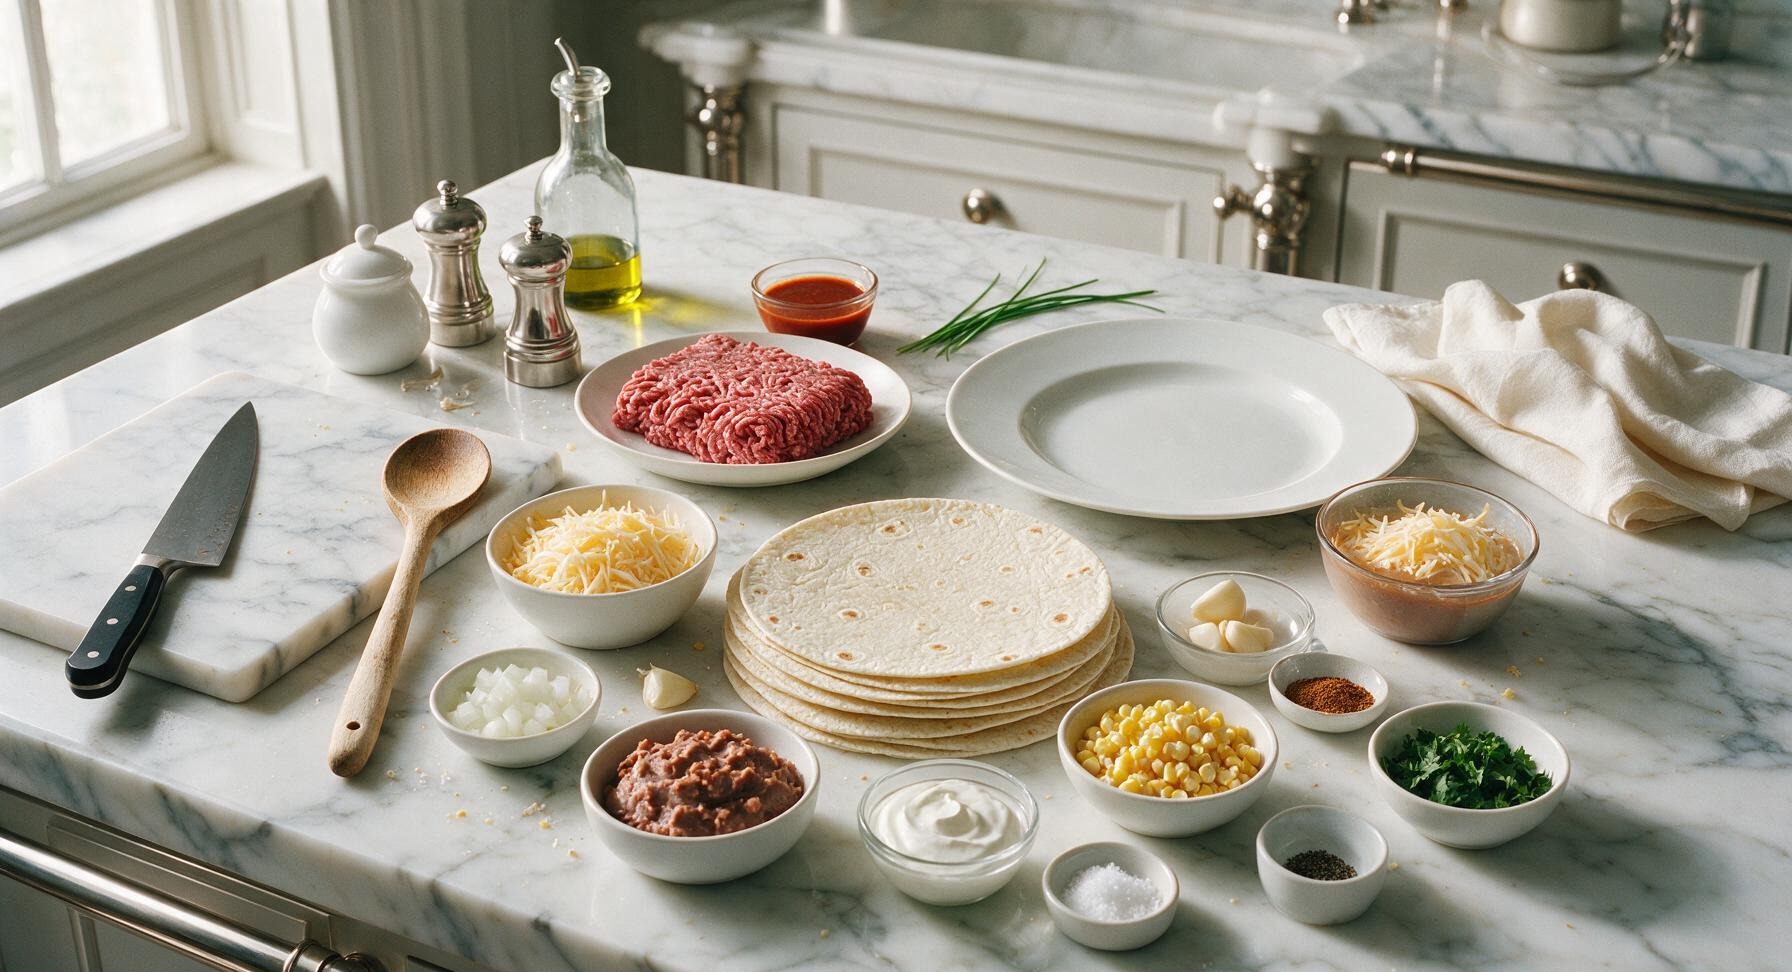
Ingredients
Steps
Cook Aromatic Base
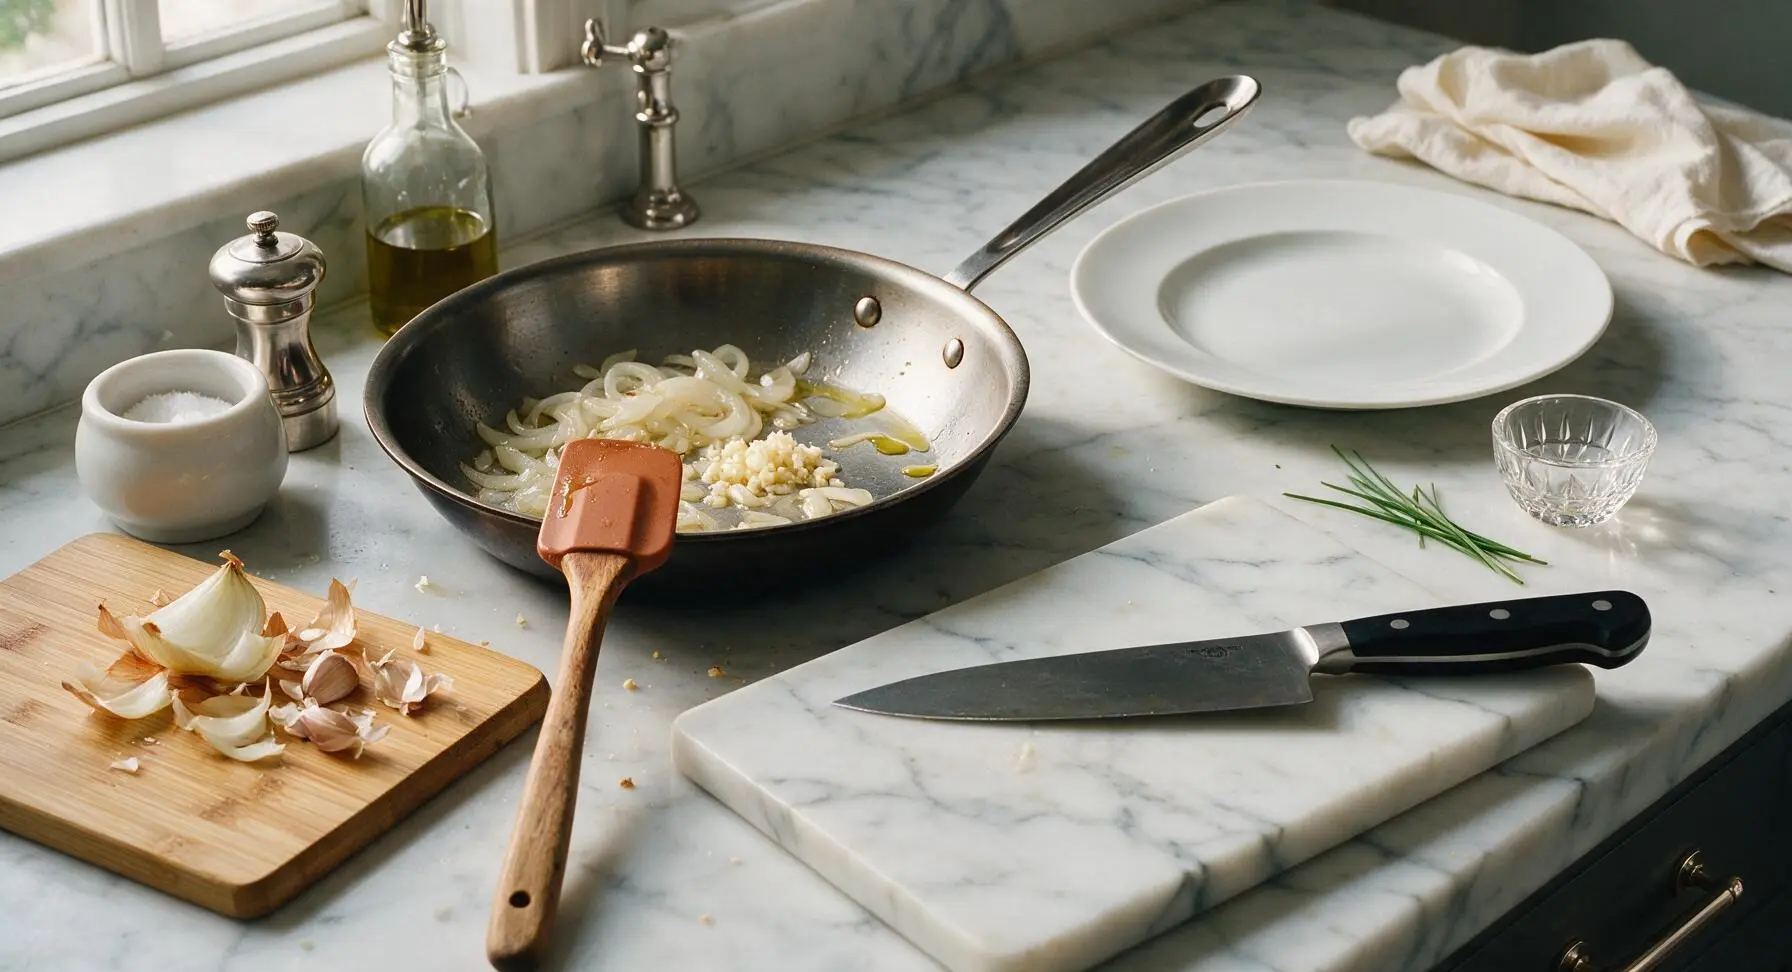
Preheat your oven to 375°F (190°C). Heat 1 tablespoon olive oil in the 10-inch carbon steel skillet over medium heat. Add diced medium yellow onion and cook for 3 minutes, stirring occasionally with the silicone spatula, until soft and translucent. Add 3 minced garlic cloves and cook for 30 seconds, stirring constantly, until fragrant—do not let the garlic turn brown, as it will develop a bitter flavor.
Brown Seasoned Ground Beef
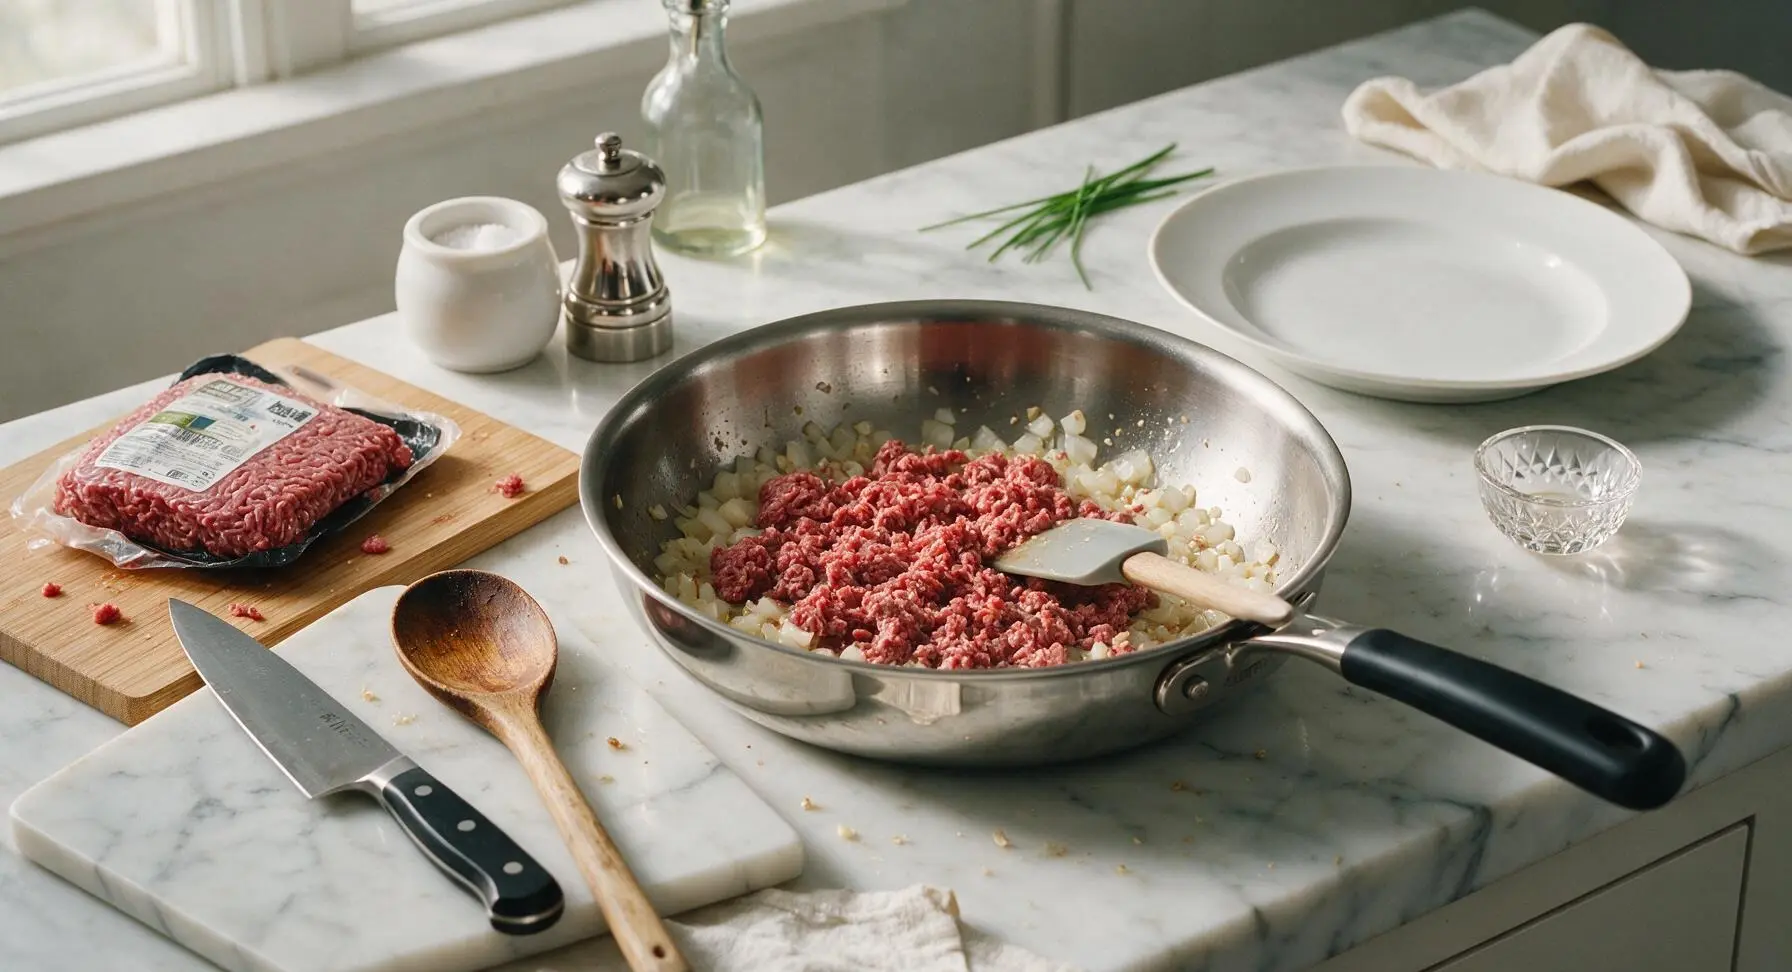
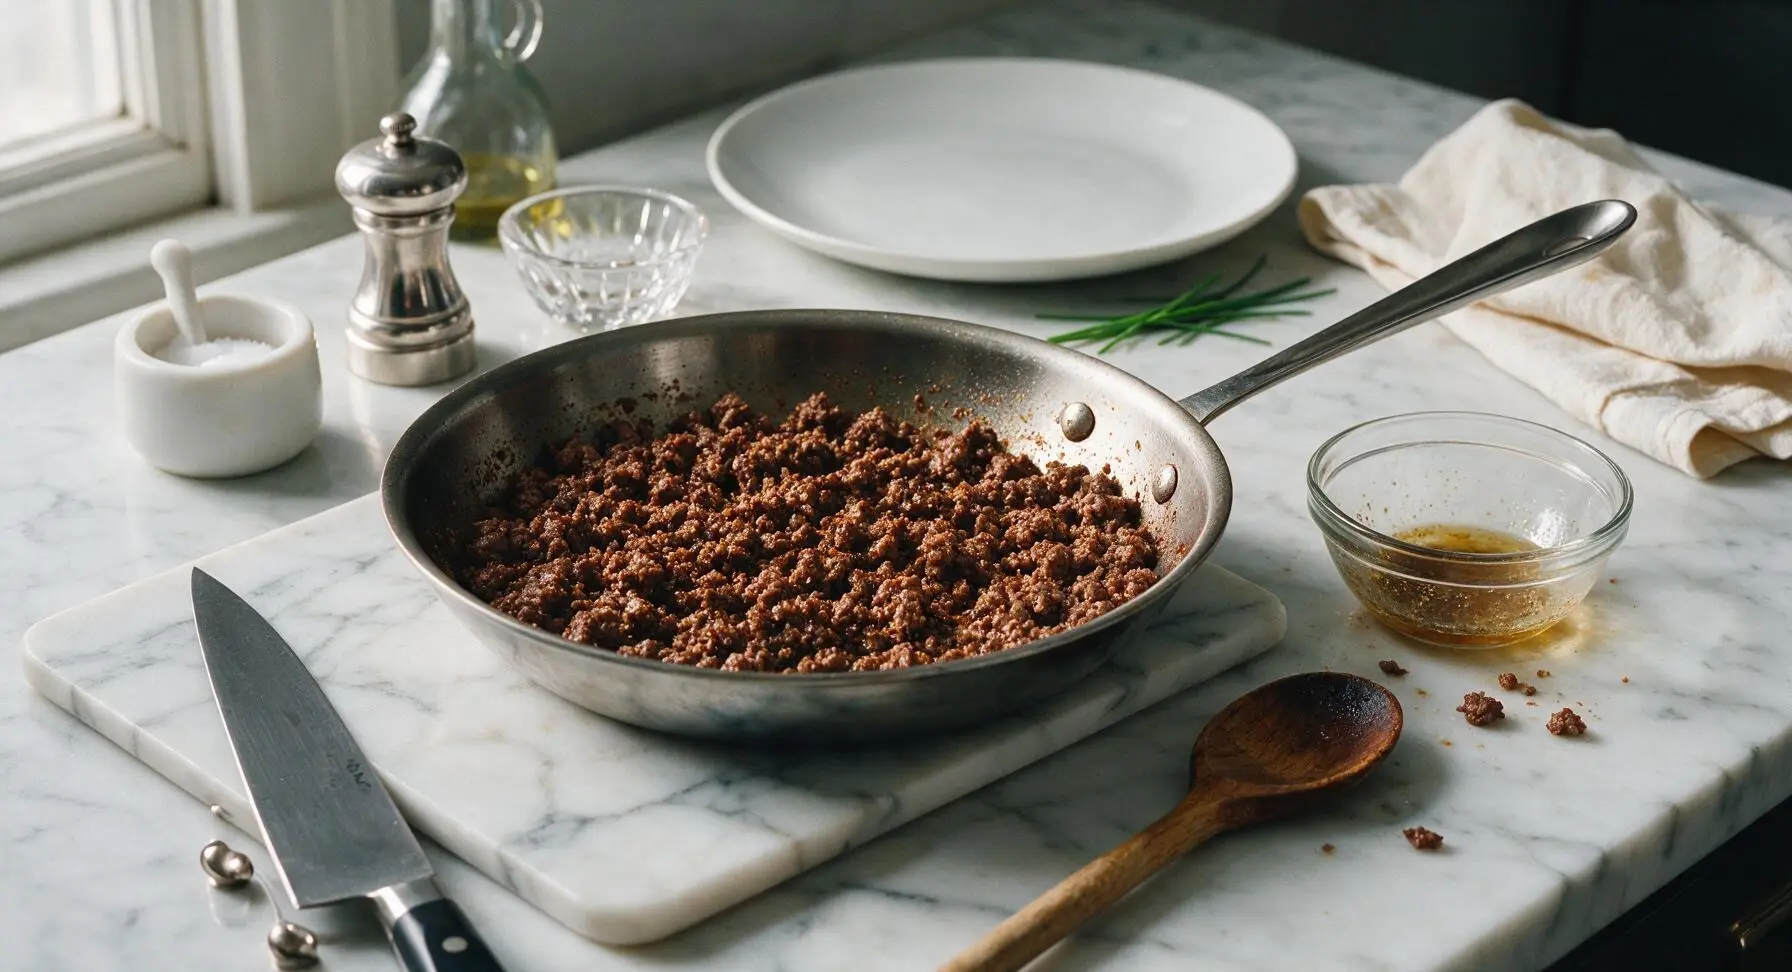
Add 500g 80/20 ground beef to the skillet with the cooked aromatics. Use the silicone spatula to break the beef into small crumbles as it cooks, stirring every 1-2 minutes for 5-7 minutes, until no pink color remains in the meat. Sprinkle in 2 tablespoons taco seasoning, 1 teaspoon kosher salt, and 1/2 teaspoon ground black pepper, stirring to coat every crumble evenly. Tilt the skillet and spoon out any excess rendered grease into a small heatproof bowl before proceeding.
Grate Cheese and Prep Fillings
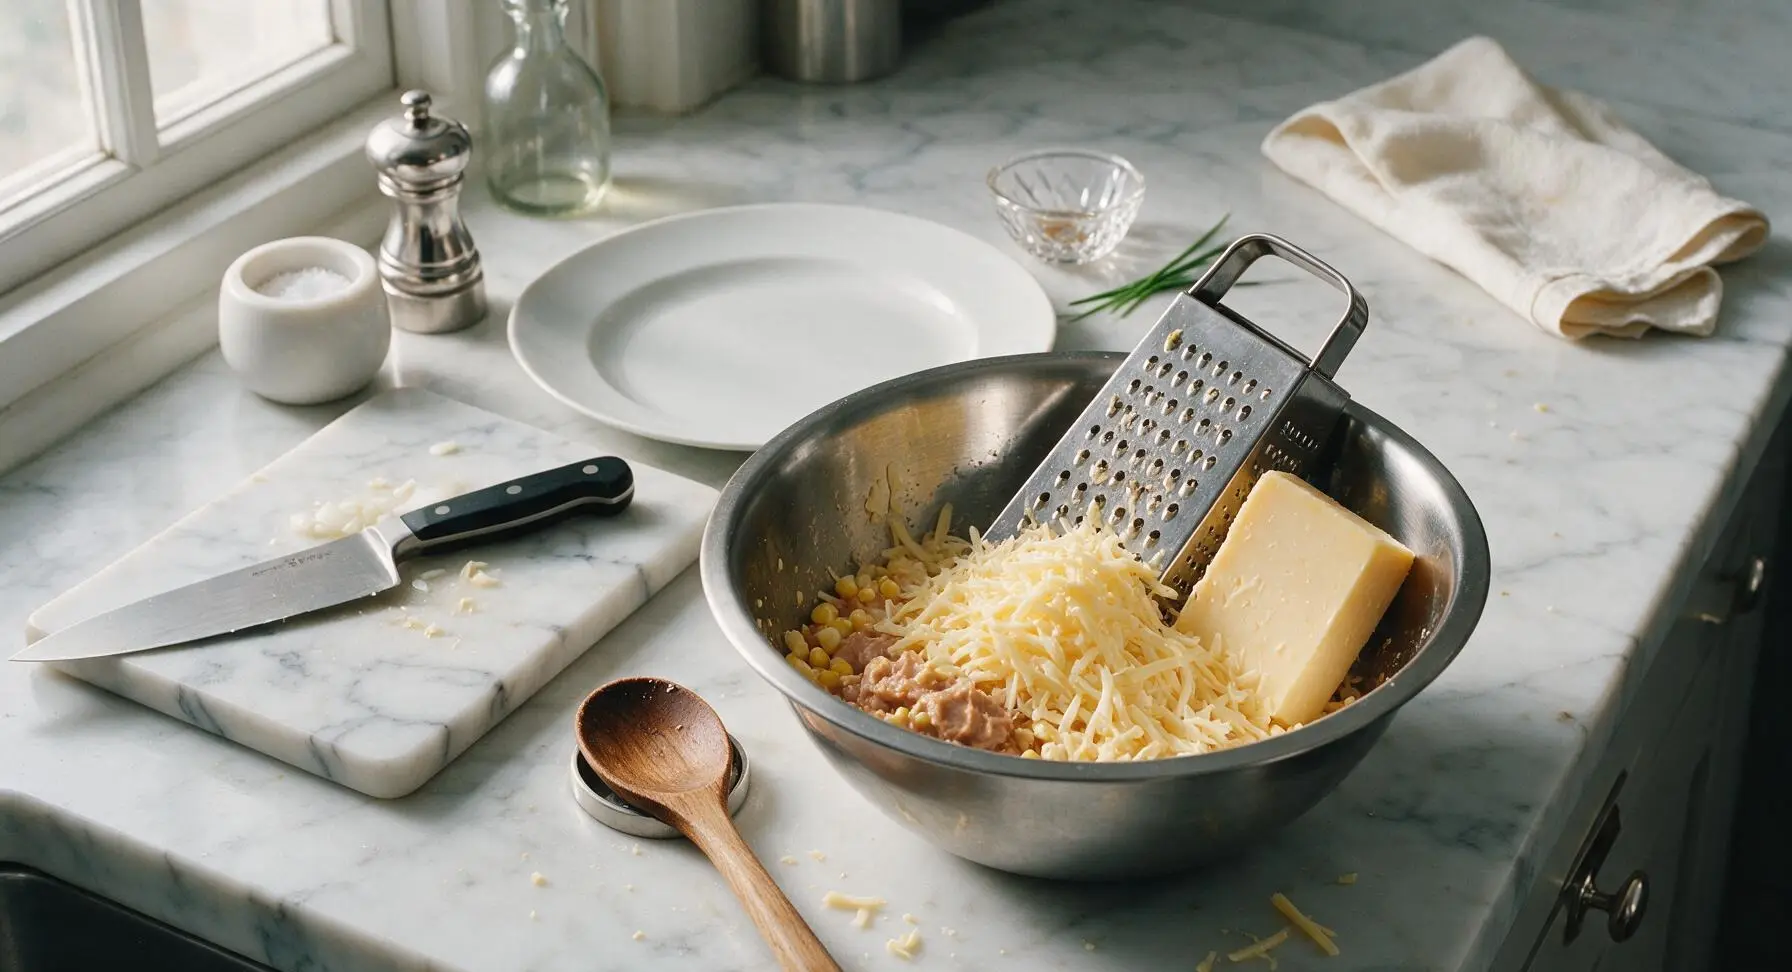
Set the stainless steel box grater inside the 22cm stainless steel mixing bowl. Grate the block of Monterey Jack cheese to yield 2 full cups, applying firm, even pressure against the large holes of the grater. Measure out 1 cup of the shredded cheese and set it aside for the top layer. Add 1 cup refried beans and 1 cup thawed corn kernels to the mixing bowl with the remaining cheese, stirring lightly with the spatula to combine into a chunky filling mixture.
Layer Casserole Ingredients
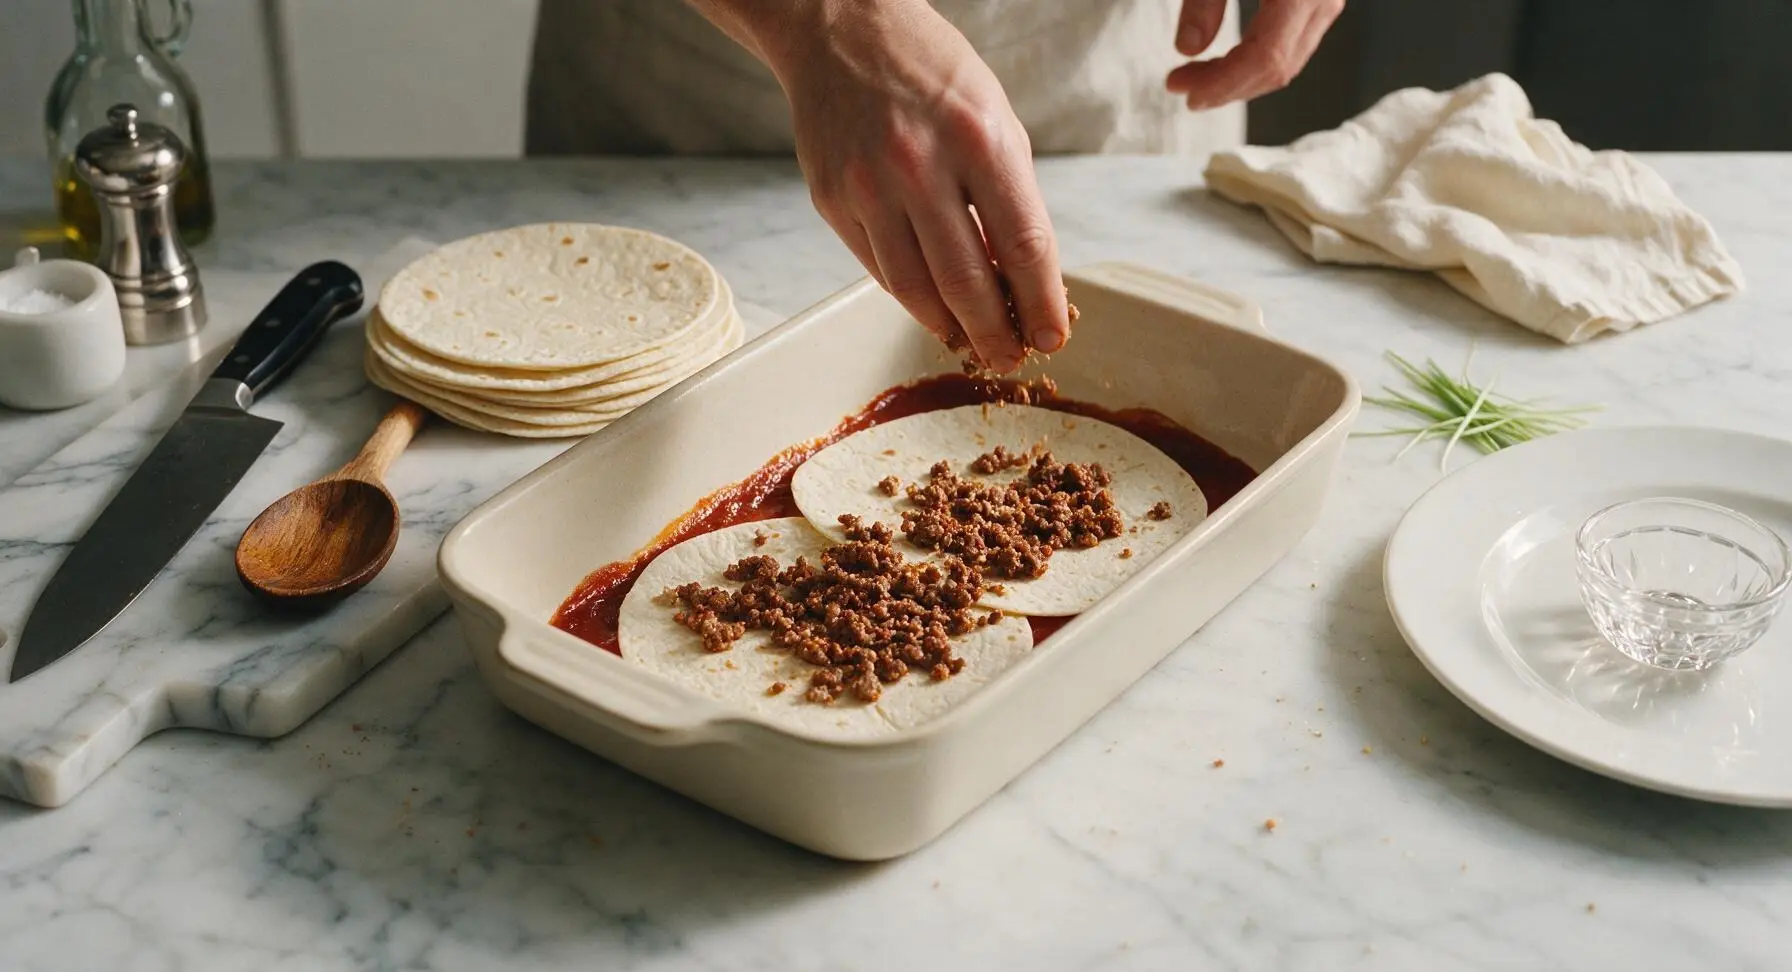
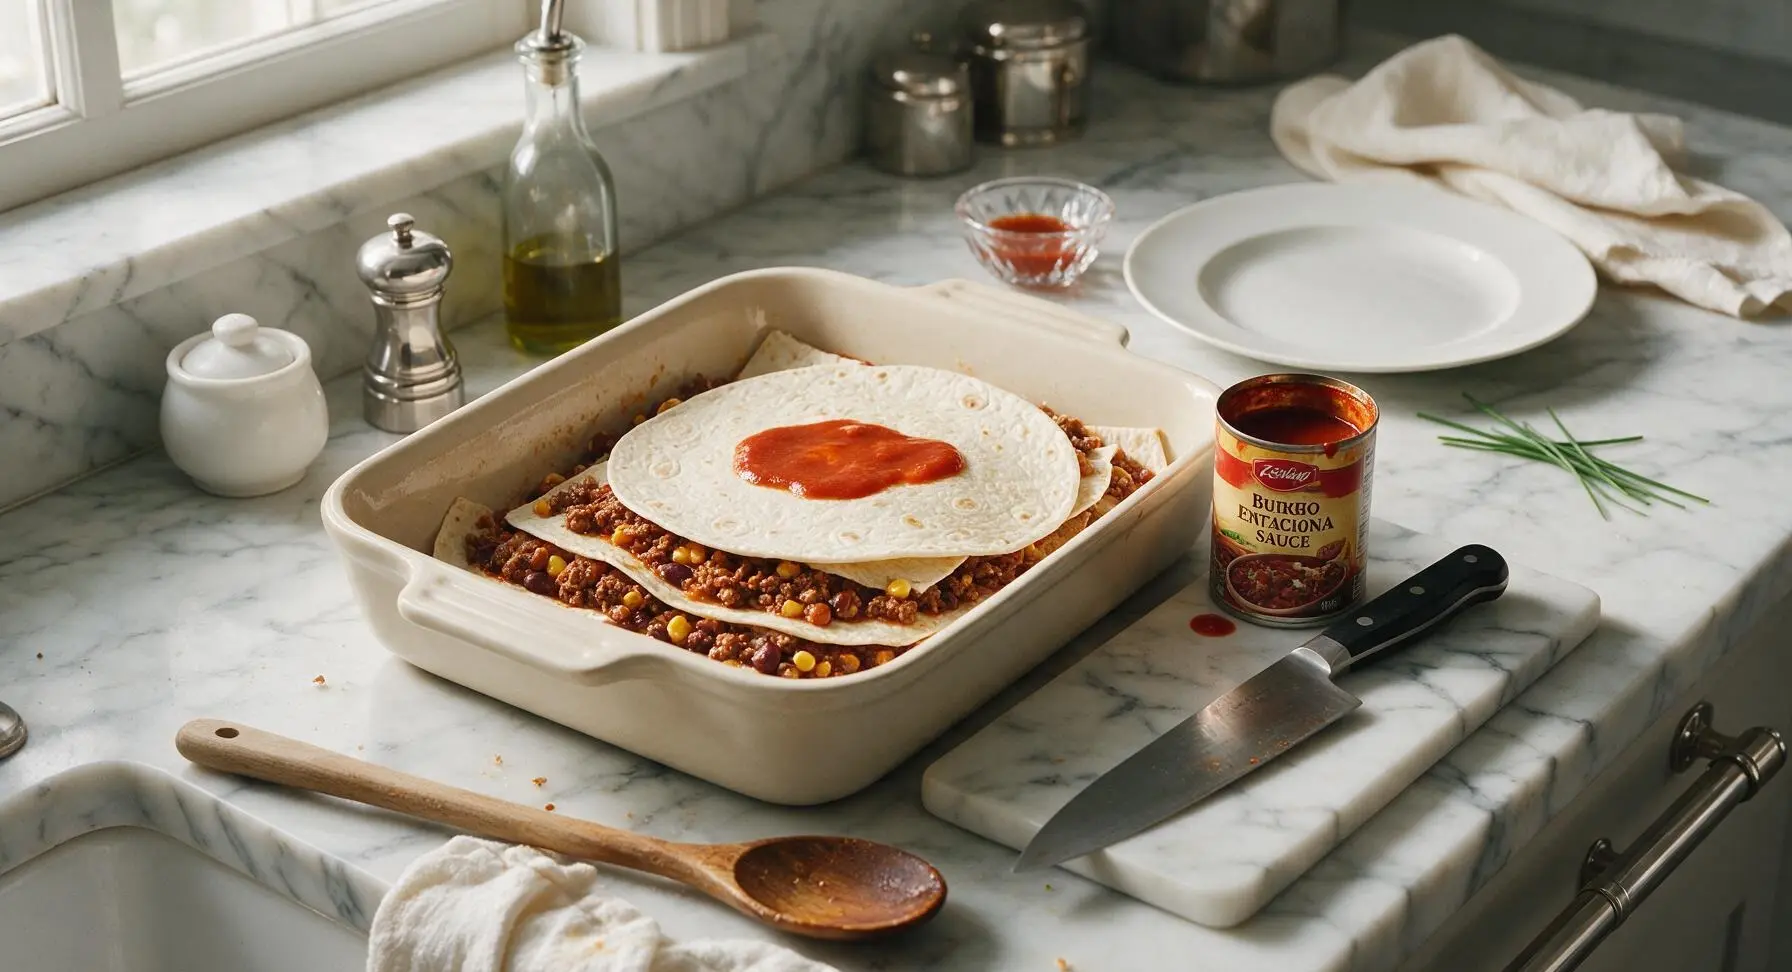
Pour 1/2 cup red enchilada sauce into the bottom of the 9x13 inch matte cream ceramic baking dish, spreading it into an even thin layer with the spatula. Arrange 2 burrito-sized flour tortillas over the sauce, tearing tortilla edges as needed to fully cover the dish bottom. Spread half of the seasoned ground beef over the tortillas in an even layer, then top with half of the bean-corn-cheese filling, and drizzle with 1/2 cup enchilada sauce. Repeat the layering sequence: 2 tortillas, remaining beef, remaining bean filling, 1/2 cup enchilada sauce, then a final top layer of 2 tortillas to cover.
Top and Bake Casserole
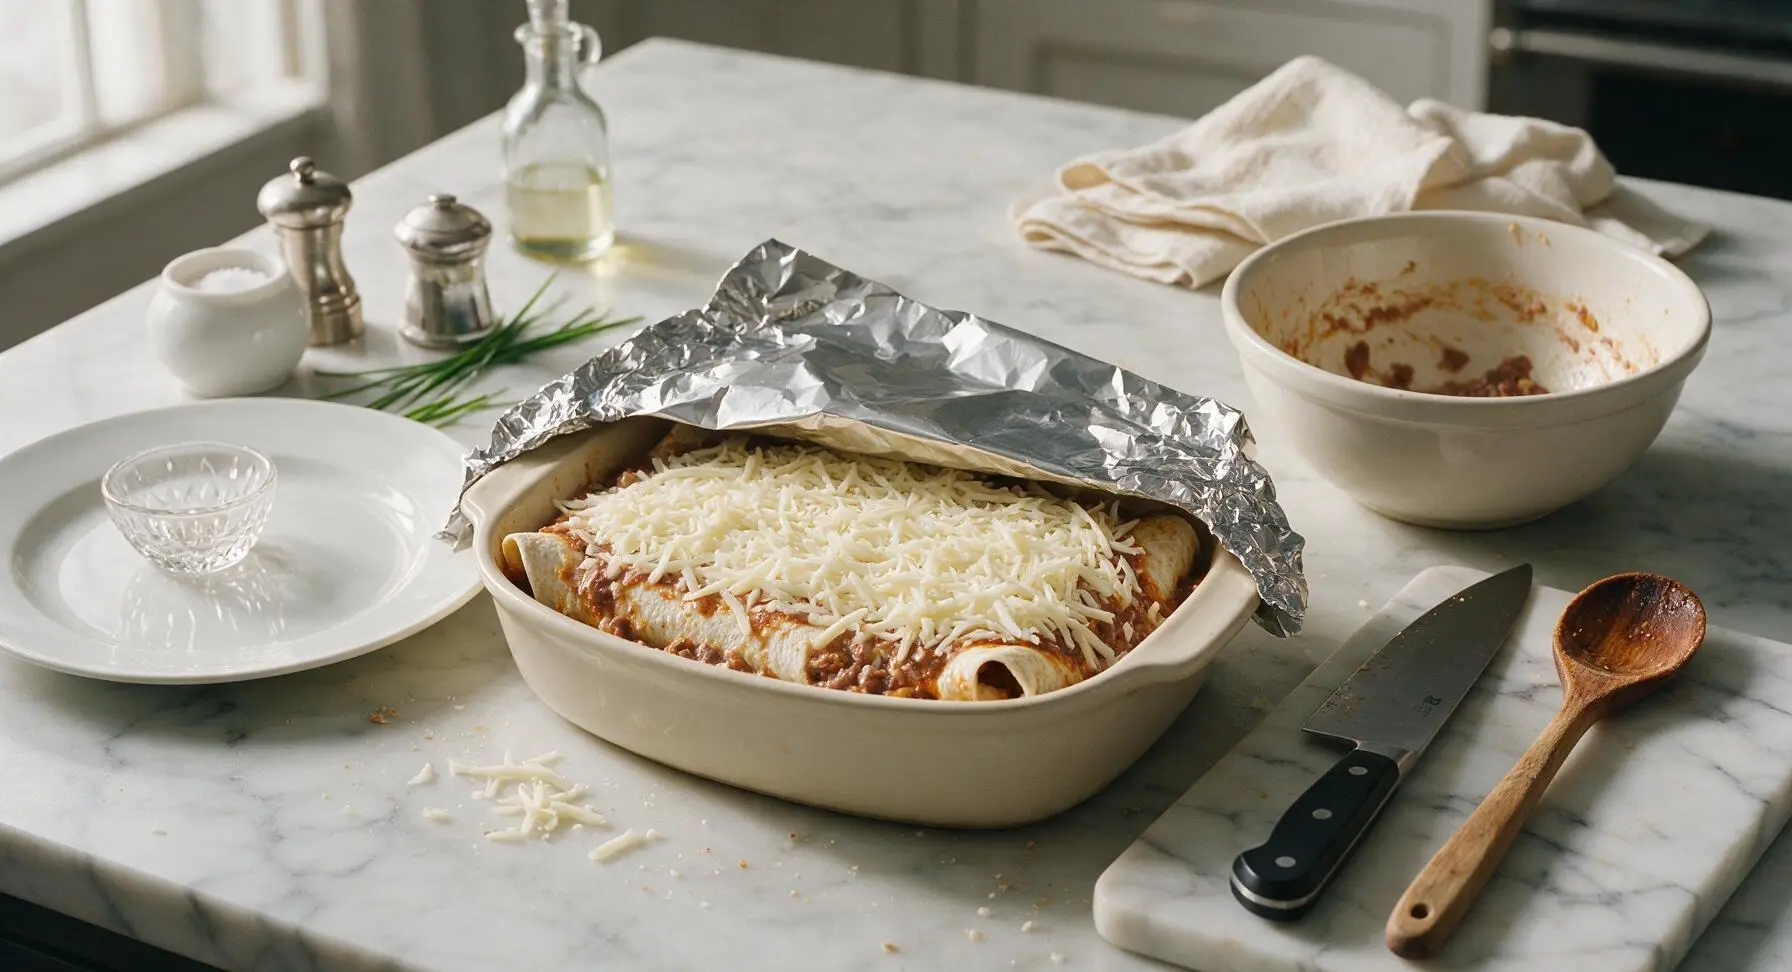
Pour the final 1/2 cup of red enchilada sauce over the top tortilla layer, spreading it evenly to ensure no dry tortilla spots are exposed (dry tortillas will turn hard and crispy during baking). Sprinkle the reserved 1 cup of shredded Monterey Jack cheese evenly over the sauced top, covering the entire surface. Tightly cover the baking dish with aluminum foil, crimping the edges to seal in steam. Bake for 25 minutes covered, then remove the foil and bake for 10 additional minutes, until the cheese is fully melted, sauce is bubbling around the dish edges, and cheese has light golden brown spots in places.
Rest and Serve Casserole
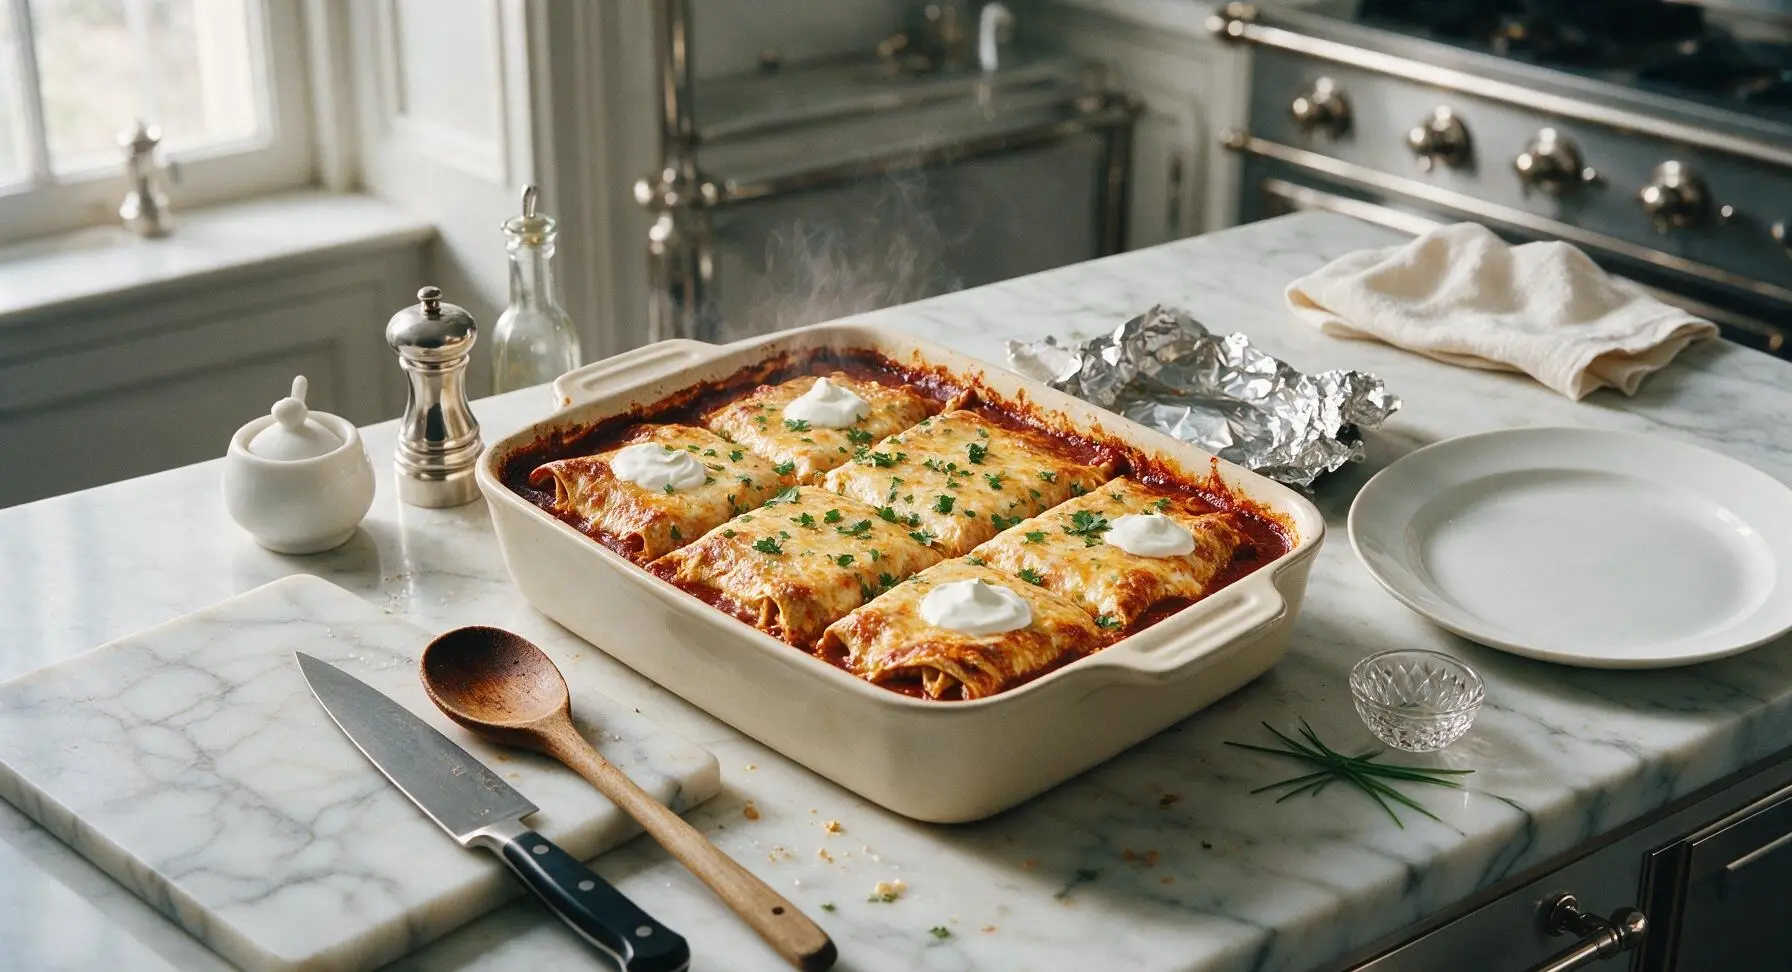
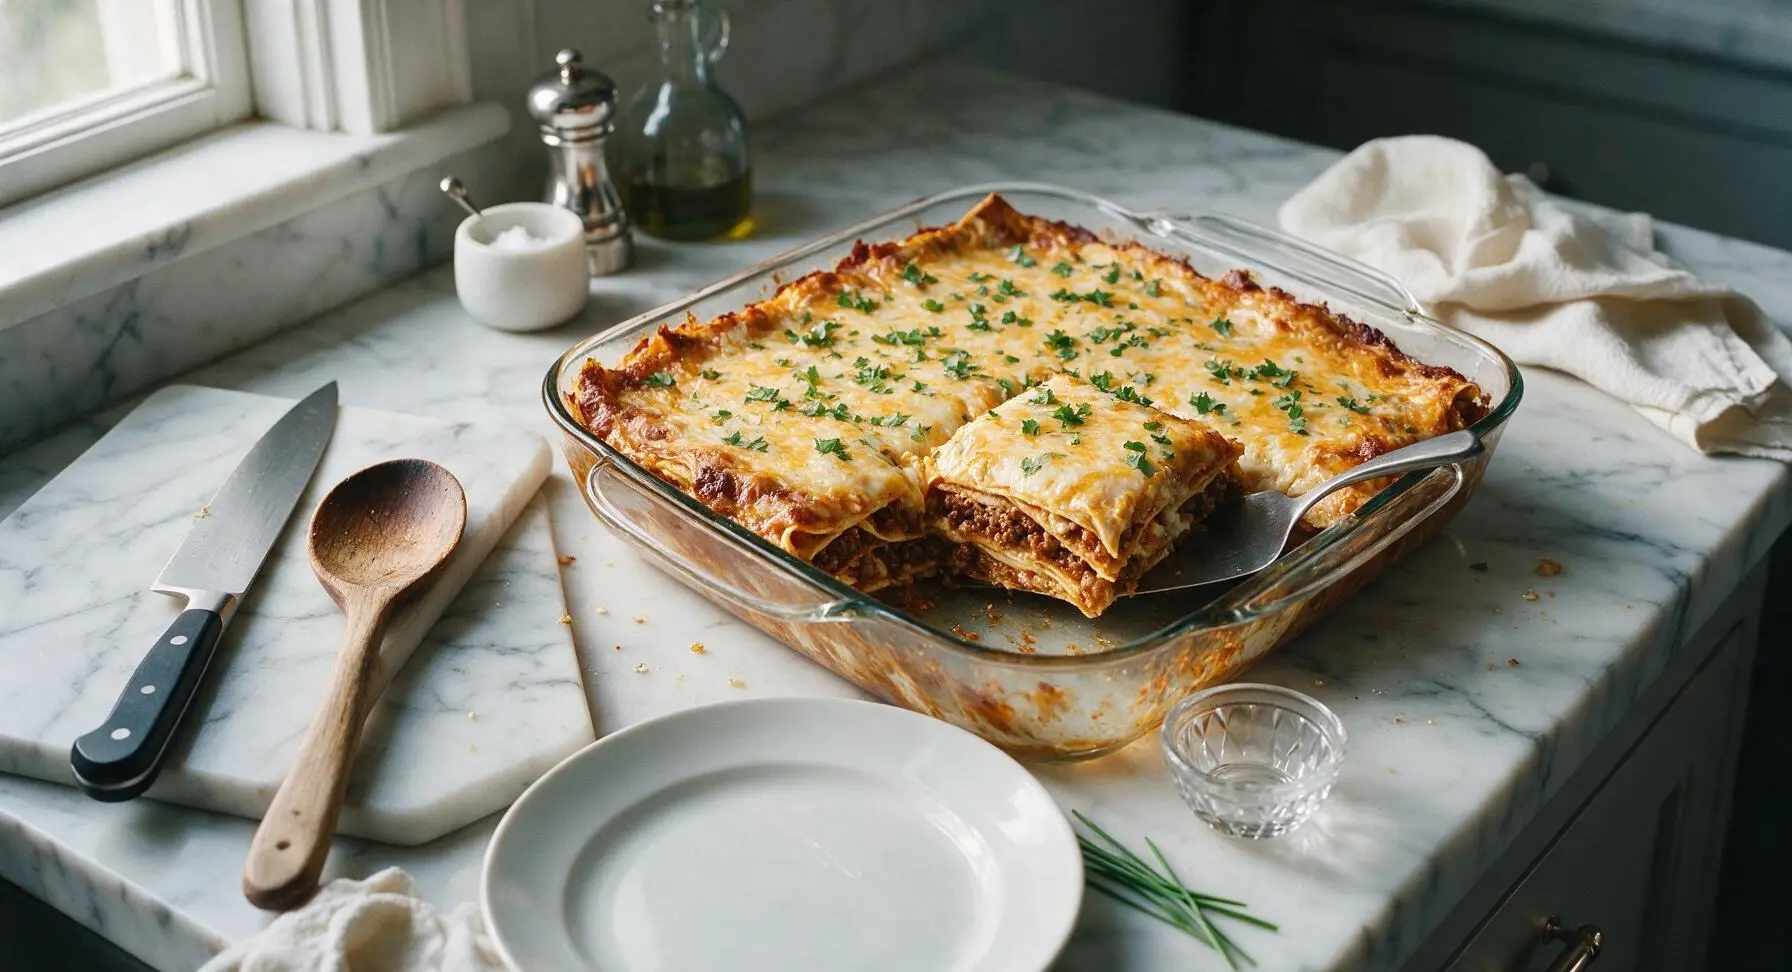
Carefully remove the hot baking dish from the oven and transfer it to the counter to rest for 10 full minutes. This resting period allows the layers to set, so slices will hold their shape instead of falling apart when served. Sprinkle 1/4 cup chopped fresh cilantro evenly over the warm cheese top. Slice the casserole into 6 equal square portions, serving each slice with a dollop of sour cream on the side.
Tips
2.Tear flour tortillas as needed to fully cover every layer, leaving no gaps. Exposed tortilla edges will dry out and turn hard and crispy during baking instead of softening in the enchilada sauce.
3.This casserole is perfect for meal prep: assemble it fully 1-2 days in advance, keep it tightly covered in the refrigerator, and add 8-10 minutes to the covered bake time when cooking cold, until the center reaches 165°F (74°C) for food safety.






OMG this casserole is a total weeknight game changer! I threw it together after work last night in 15 minutes flat, popped it in the oven, and my whole family devoured it. Even my super picky 7 year old asked for seconds! I used ground turkey instead of beef and it was still SO good. 10/10 adding to the regular meal rotation.
Made this for my football watch party over the weekend and every single person asked for the recipe. I added a can of black beans and a little extra cheese on top (obviously) and it was chef’s kiss. Super easy to make ahead too, which was perfect so I didn’t miss kickoff.
I prepped this on Sunday for my weekday lunches and it held up perfectly all week! It reheats like a dream in the microwave, no soggy tortillas or weird texture. I portioned it out with a little side of tortilla chips and it made boring work lunches so much better.
Wait, has anyone tried this with flour tortillas instead of corn? I have a pack of flour sitting in my fridge I need to use up and I’m curious if it’ll work, or if the corn holds up better to the enchilada sauce.
This was so good but I felt like it was missing a little kick for my taste! Next time I’m adding a can of diced green chiles and a sprinkle of cayenne to the meat mixture to give it a little heat. Even without that, my partner ate three servings in one sitting lmao
I brought this to our neighborhood potluck last week and people were coming back for thirds. A couple people asked if I made it from scratch and I almost lied and said I spent hours on it, because no one believes how quick and easy it is! Only thing I’ll do different next time is make a double batch, it was gone in 10 minutes flat.
As someone who can barely boil water without burning it, this recipe was foolproof. I had all the ingredients except the enchilada sauce so I used a jar of salsa I had in my dorm fridge and it still banged. 10/10 for broke college students who don’t want to eat ramen every night.
So happy this recipe is super easy to make gluten free! I just used corn tortillas and gluten free enchilada sauce, and no one at my table even noticed it was GF. Perfect for when my celiac cousin comes over for dinner, I don’t have to make a separate meal for her.
My kids loved it! I let them help layer the tortillas, cheese, and meat, and they were so proud to eat something they “made” themselves. Only messy part was the cheese they kept sneaking while we were building the layers, but that’s half the fun of cooking with kids tbh.
Wait is the 35 minute cook time accurate? I’ve tried similar casseroles that take an hour plus in the oven, and I’m trying to time this for when I get home from the gym tonight so dinner is ready when my partner gets home. I’m all for leftovers but I don’t want to eat at 9pm lmao
I swapped the ground beef for lentils to make this vegetarian, and it was so hearty and filling even my meat-obsessed brother didn’t notice there was no beef. I added a little extra taco seasoning to the lentils to amp up the flavor, and it worked like a charm.
I added a layer of queso fundido in between the tortilla layers and I’m not exaggerating when I say it was the best meal I’ve made all month. The cheese pull when I served it was insane. 10/10, no notes.
Has anyone tried freezing this after baking? I love making freezer meals for when my new baby arrives in a month, and this seems like it would freeze really well, but I don’t want the tortillas to get mushy when I thaw it.
I topped mine with hot sauce, pickled jalapeños, sour cream, and a handful of crushed tortilla chips for crunch. Tasted exactly like the smothered burrito I get from my local Mexican spot but for a fraction of the cost. Will be making this at least twice a month from now on.
Wait, do I need to cover the casserole with foil while it bakes? I’m making this for my in-laws tonight and I don’t want the cheese to burn before the middle is warmed through. Super nervous to mess this up!
This recipe was so cheap to make! I already had tortillas and cheese at home, picked up the ground beef, enchilada sauce, and a can of beans for like $8 total, and it fed my roommate and I for two nights. Perfect for when we’re tight on cash at the end of the month.
Made this for our weekly Sunday family dinner and it was a huge hit. I served it with cilantro lime rice and a side of corn salad, and everyone cleaned their plates. My grandma even asked for the recipe, which is the highest possible compliment I can get.
I may or may not have eaten the last leftover slice cold straight out of the fridge at 2am last night. No regrets, it was even better cold than it was fresh out of the oven. Don’t judge me lmao