
burrito joshua weissman
intro
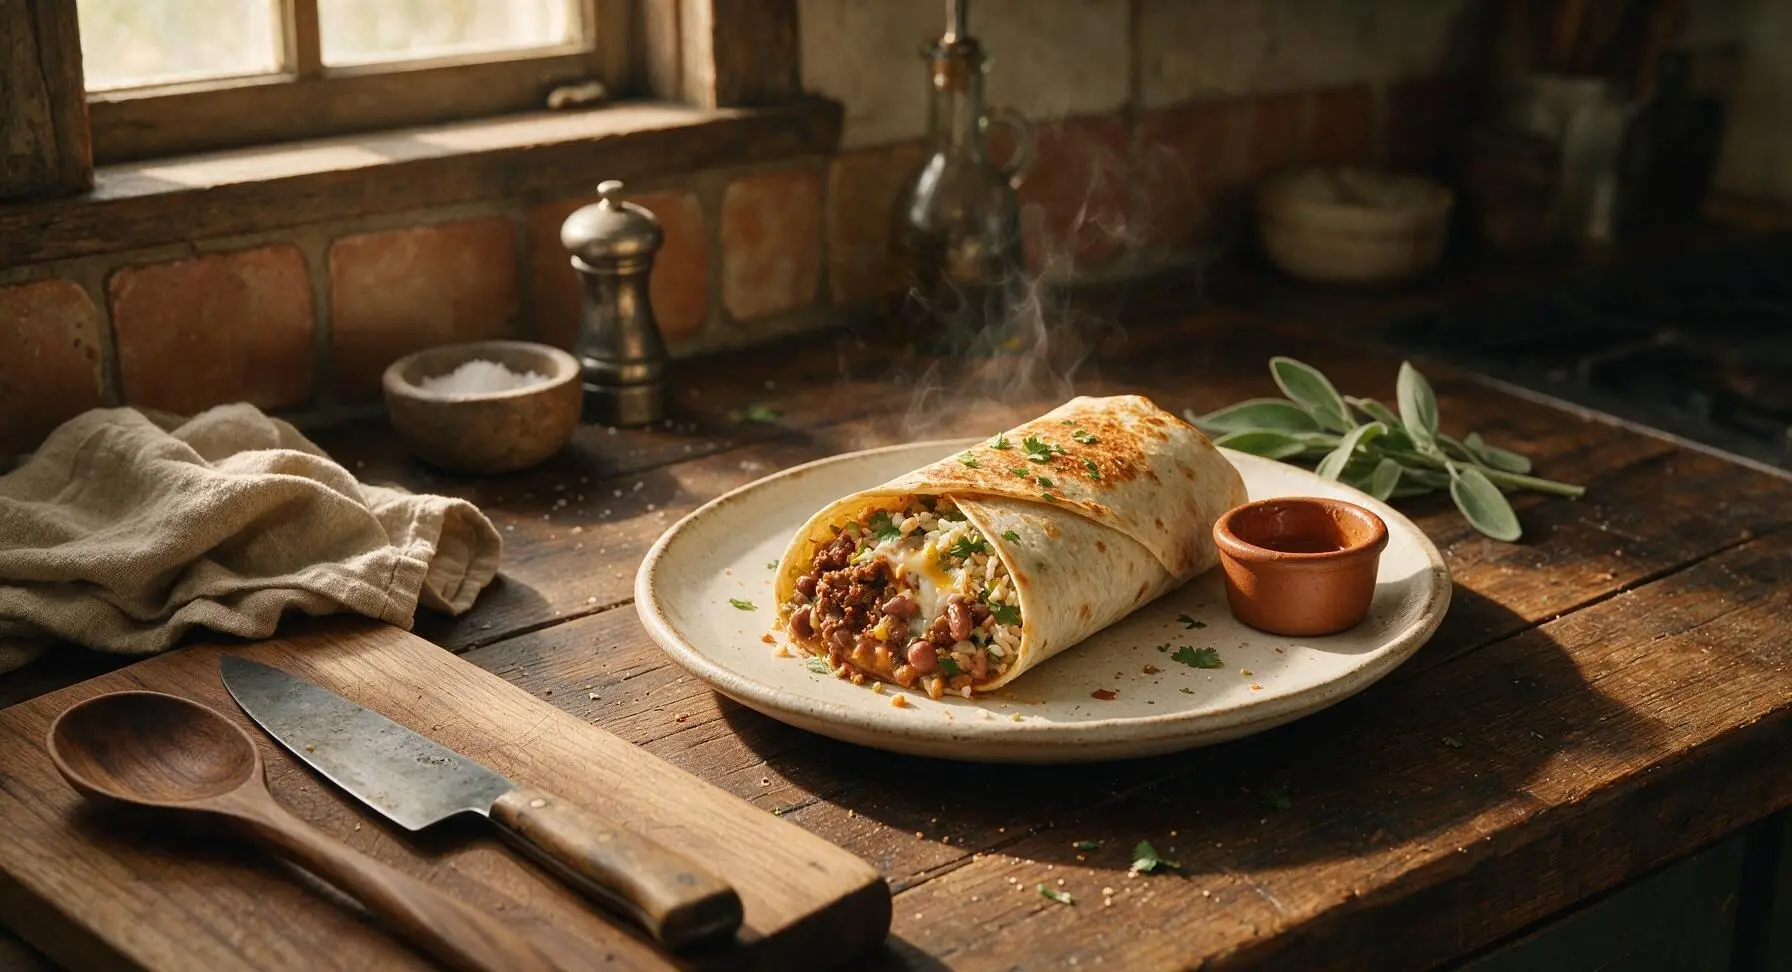
Joshua Weissman’s iconic loaded Tex-Mex burrito: crispy-edged seasoned beef, creamy beans, melty cheese, and cilantro-lime rice wrapped tight in a toasted flour tortilla for unbeatable texture.
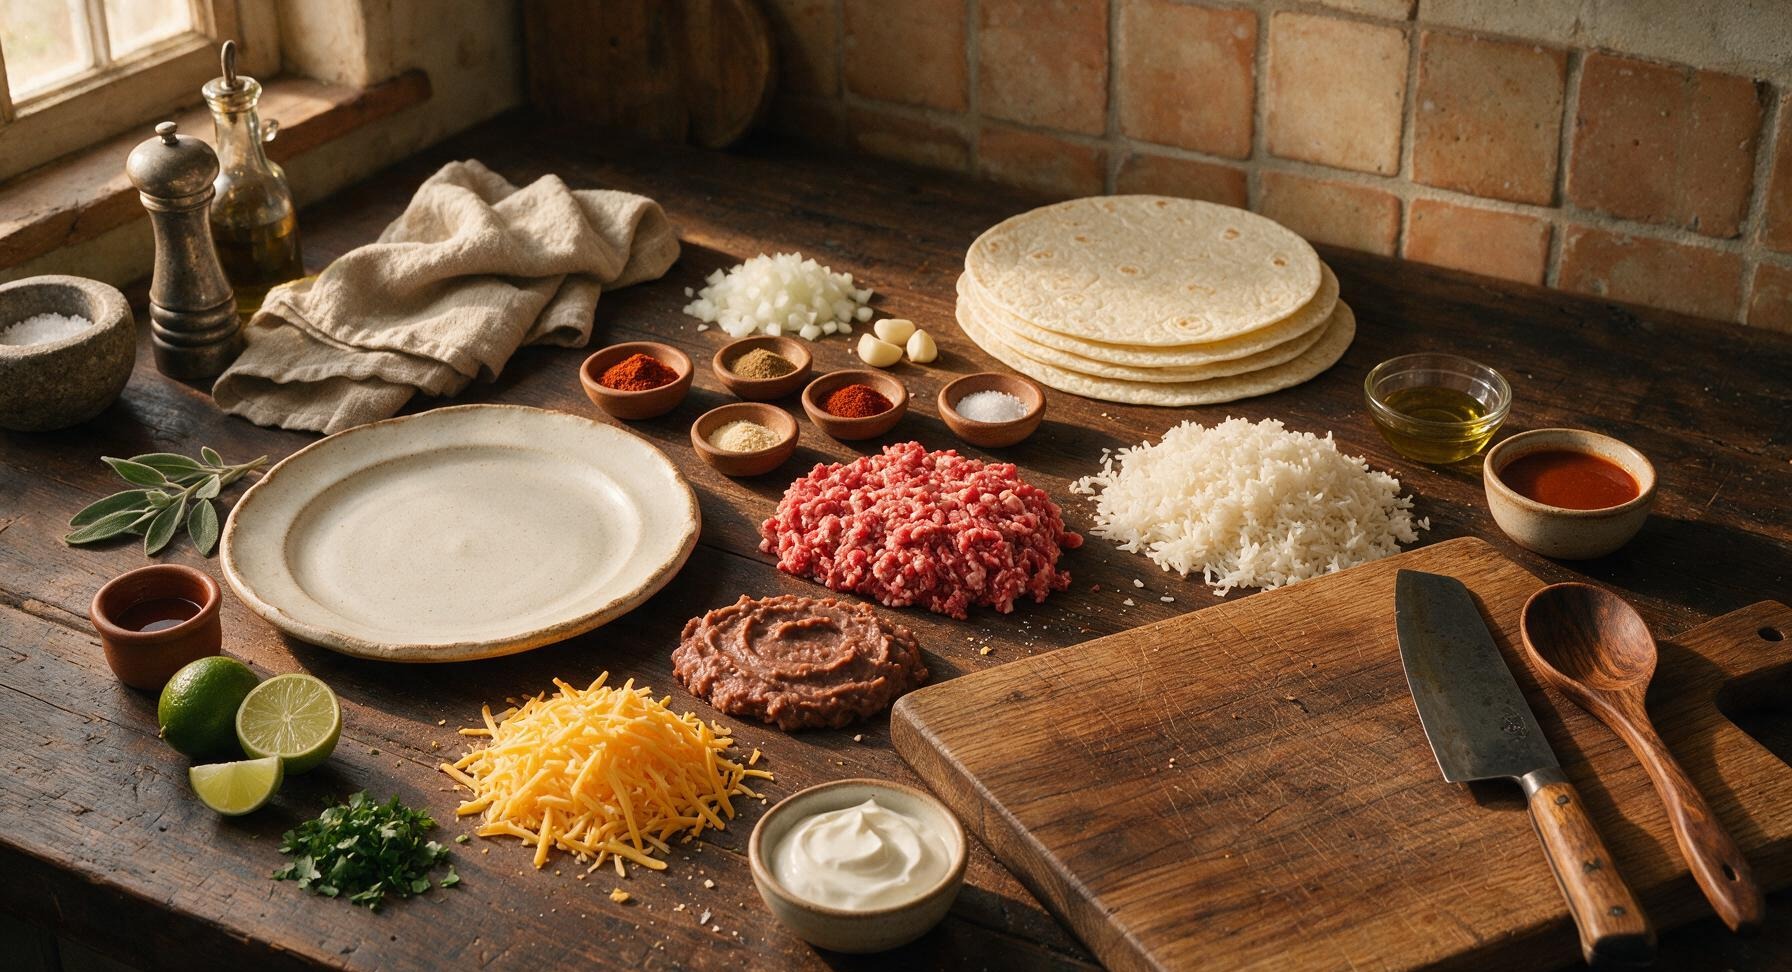
Ingredients
Steps
Prep Cilantro-Lime Rice
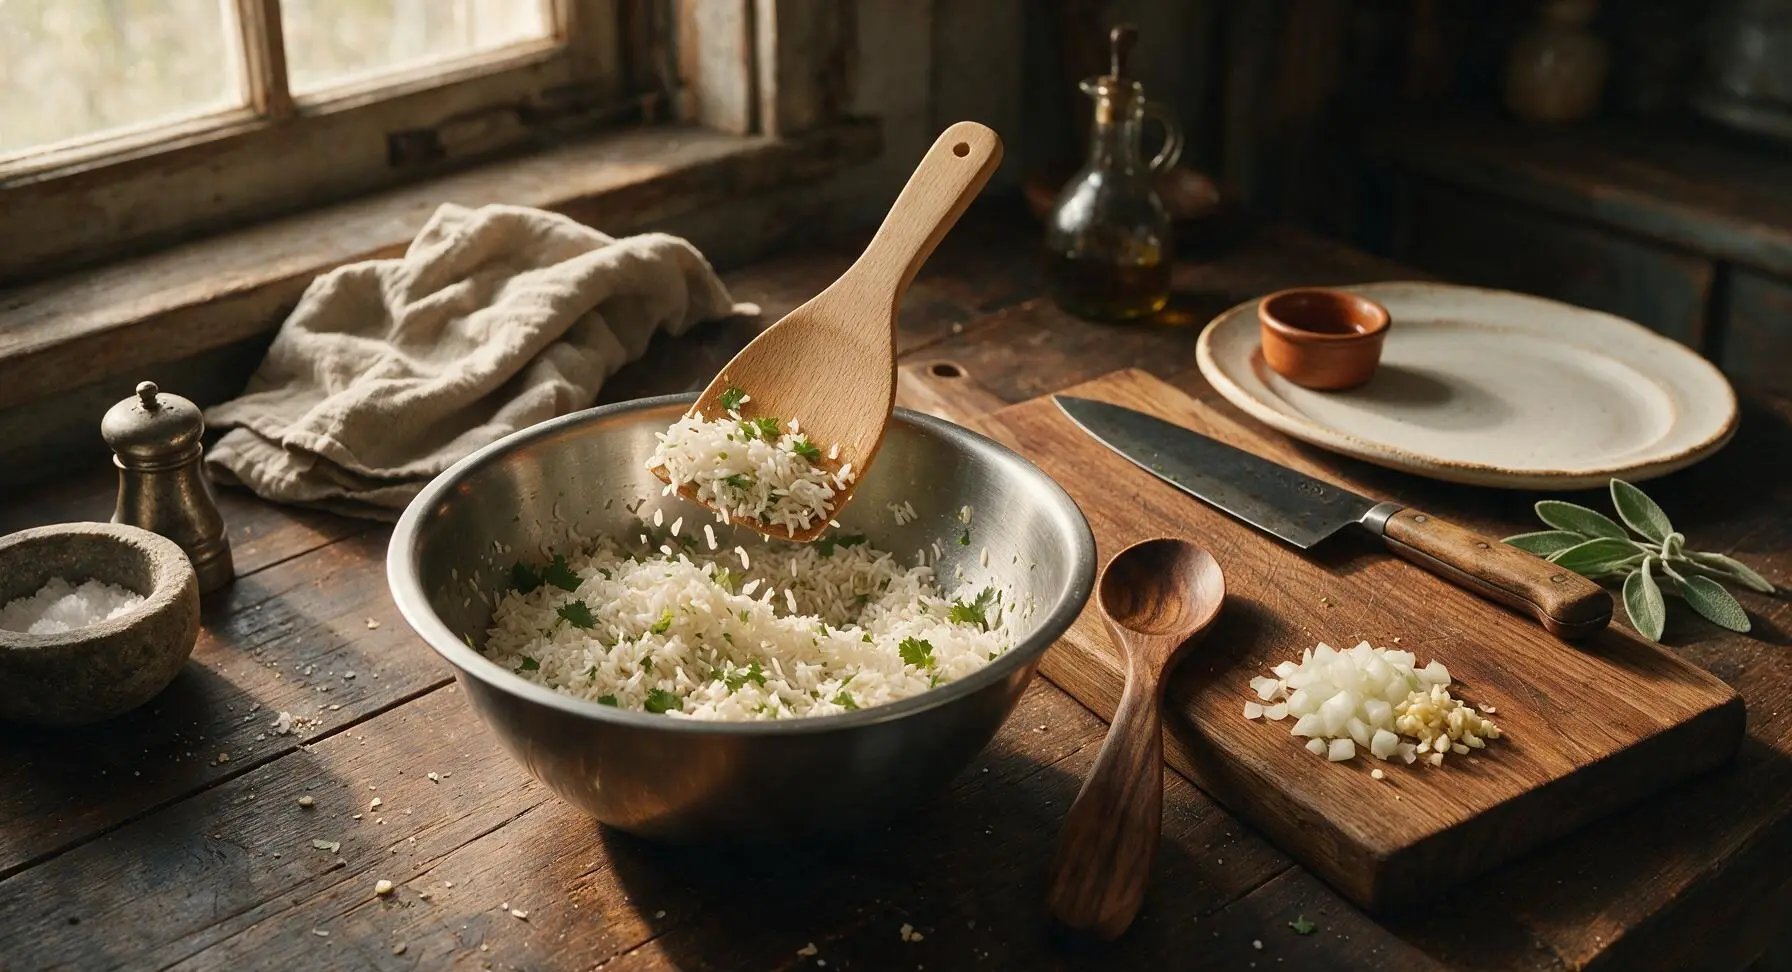
Place the 2 cups of warm cooked long-grain white rice in the brushed stainless steel mixing bowl. Add 1 tablespoon of chopped cilantro, 1 tablespoon of fresh lime juice, and 1/4 teaspoon of kosher salt. Toss gently with the light beechwood rice paddle until evenly combined, taking care not to mash the tender rice grains. Set the bowl aside at room temperature while you prepare the beef filling.
Sear Ground Beef
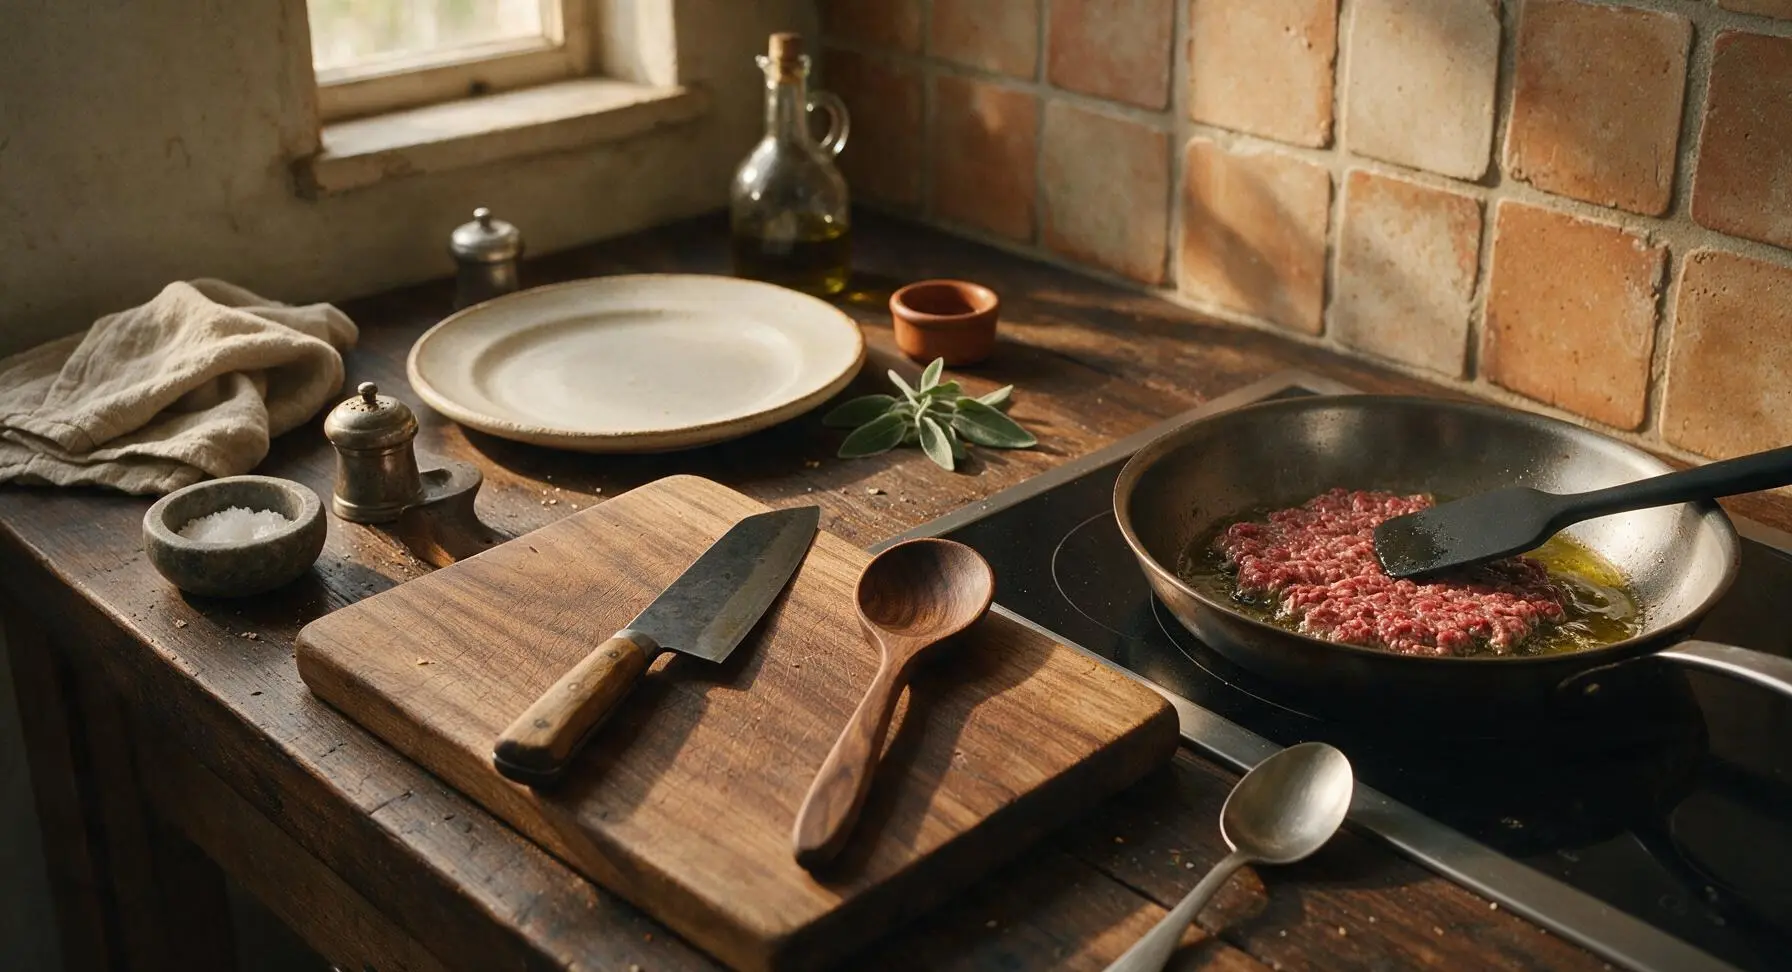
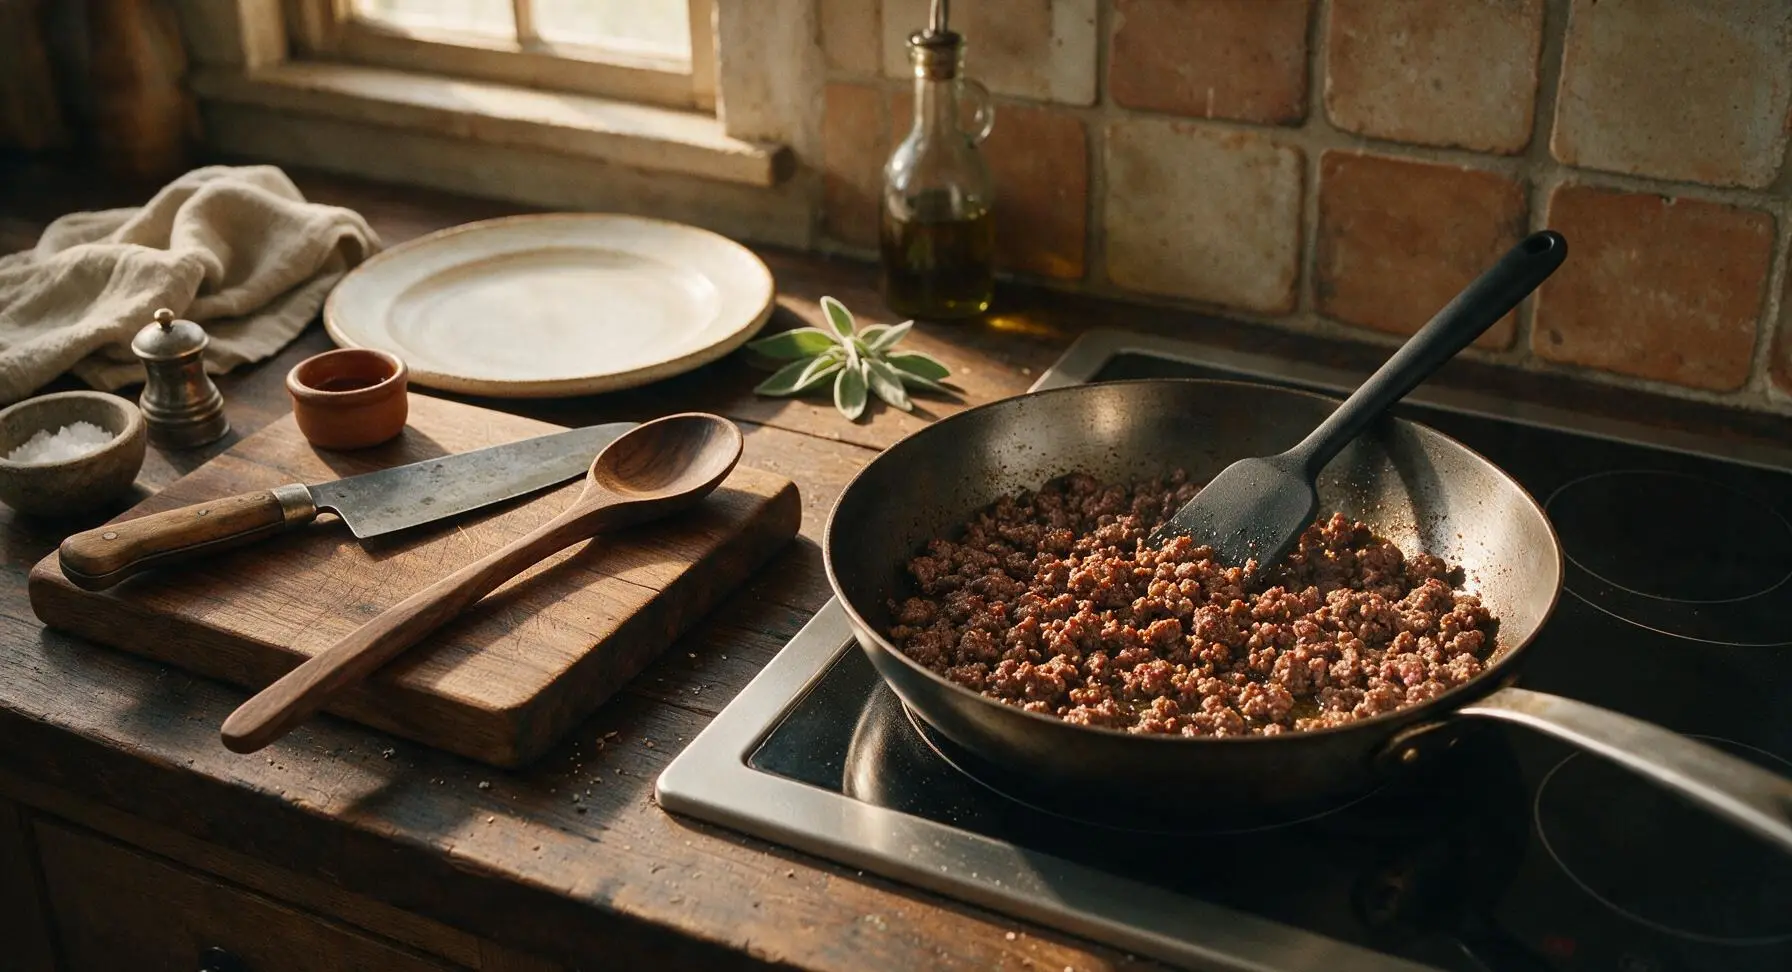
Place the seasoned carbon steel skillet on the back-right induction cooktop zone, heat to medium-high, and add 1 tablespoon of extra-virgin olive oil. Once the oil shimmers (about 2 minutes), add the 500g 80/20 ground beef, breaking it apart into small, pea-sized crumbles with the matte black silicone spatula. Cook for 6-7 minutes, stirring occasionally, until beef is deeply browned with crispy edges and no pink remains. Tilt the pan and drain excess rendered fat, leaving 1 tablespoon of fat in the pan to carry the spice flavor.
Sauté Aromatics and Spices
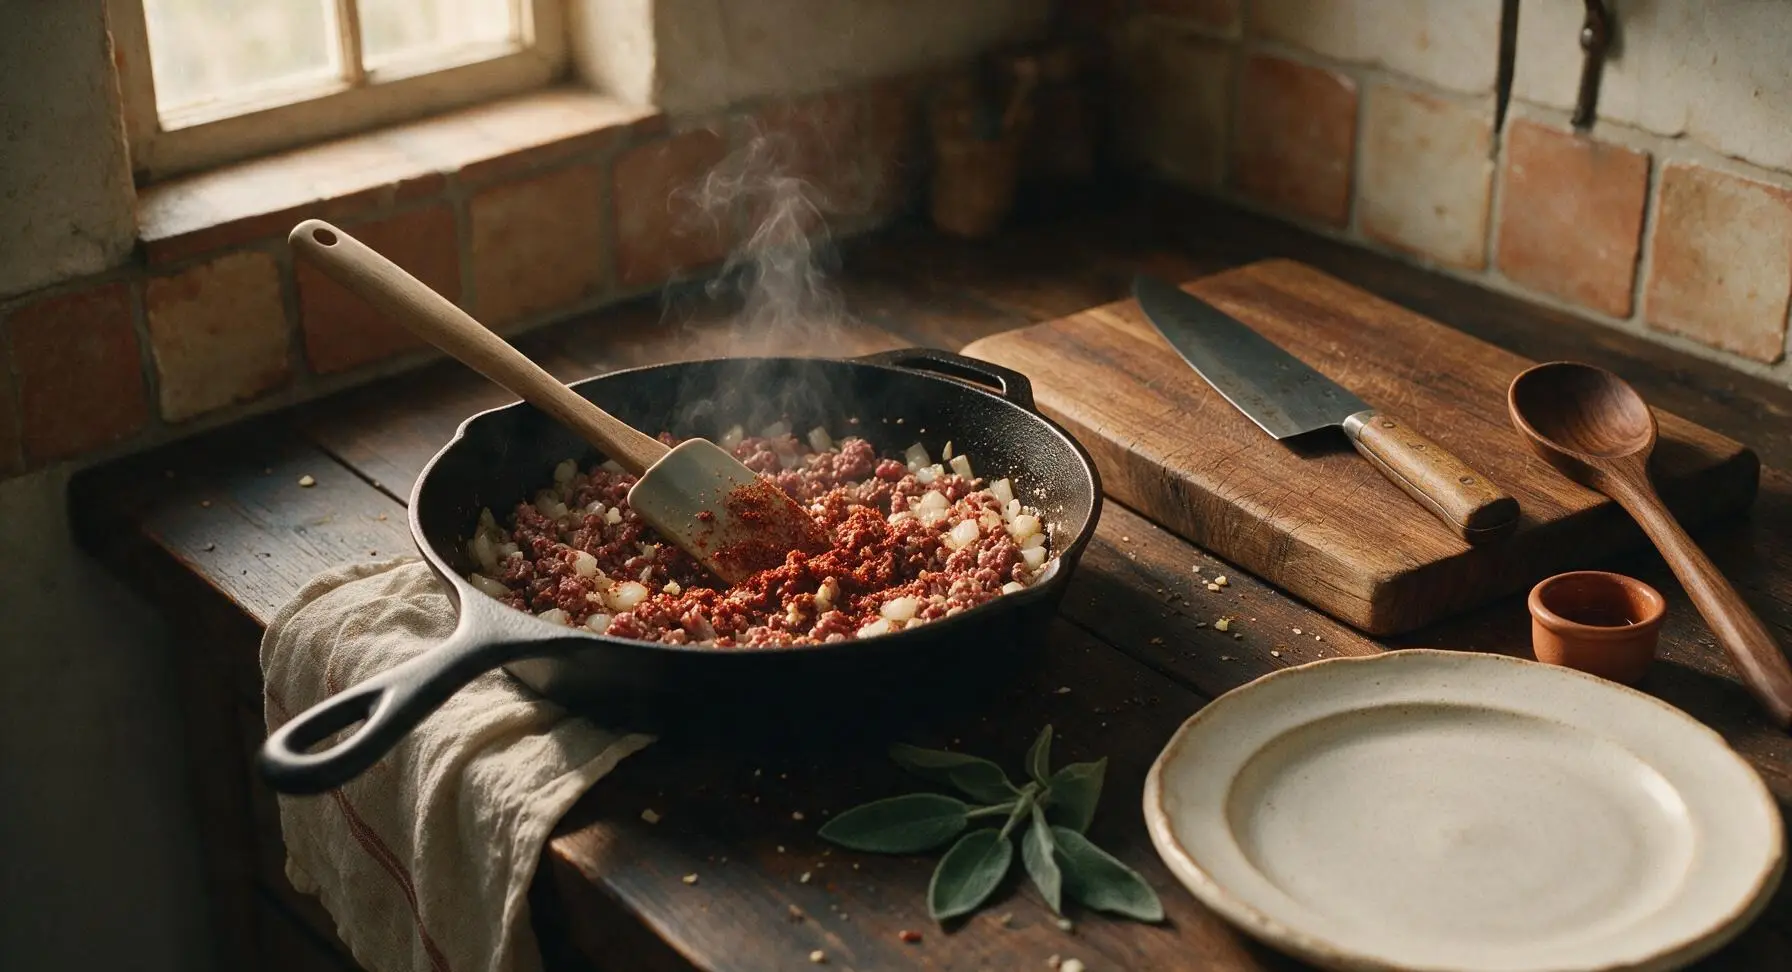
Reduce stovetop heat to medium, add the diced white onion to the skillet with the beef, and cook for 3 minutes, stirring occasionally, until onion is soft and translucent. Add the minced garlic, 1 tablespoon chili powder, 1 teaspoon ground cumin, 1 teaspoon smoked paprika, 1/2 teaspoon garlic powder, and remaining 3/4 teaspoon kosher salt. Stir constantly with the silicone spatula for 30 seconds until spices become deeply fragrant and fully coat every beef crumble, taking care not to burn the garlic.
Warm Beans and Tortillas
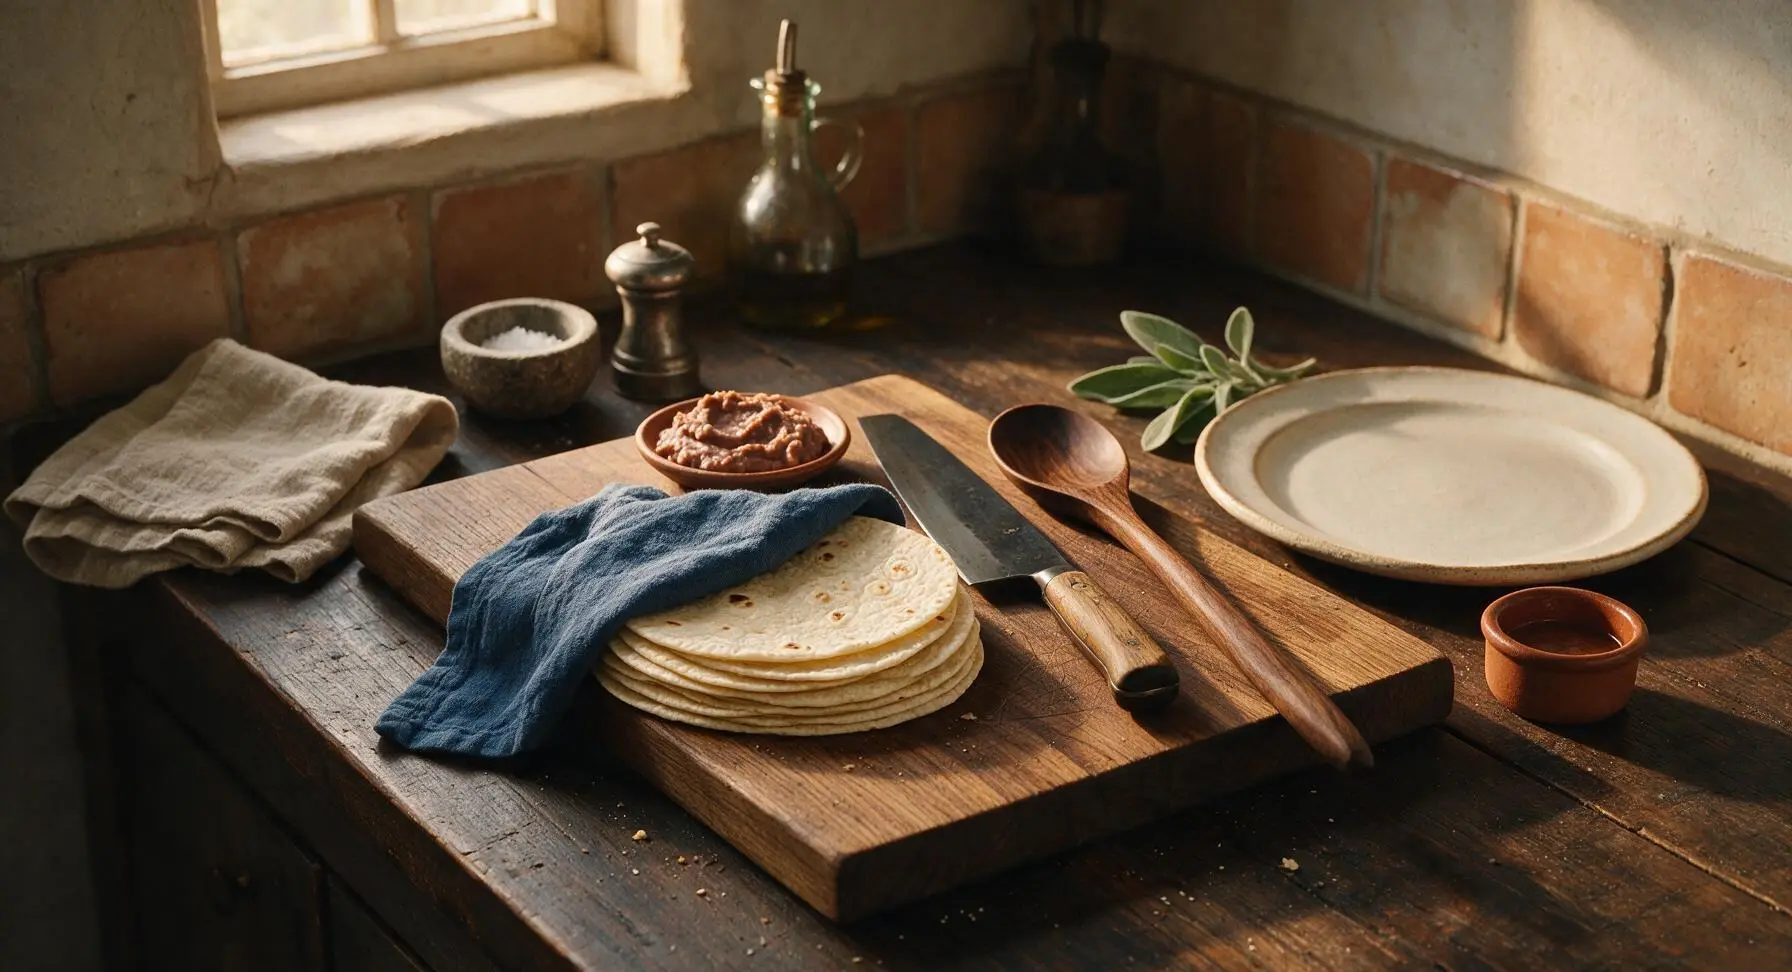
Scoop the 1 cup of refried beans into a small heatproof dish and warm for 1 minute in the microwave (or 2 minutes in a small pan) until smooth and easily spreadable. Heat each 12-inch flour tortilla directly over a low stovetop flame (or in a dry skillet) for 10 seconds per side until soft, pliable, and dotted with tiny light char spots. Stack warmed tortillas on the front edge of the acacia cutting board, draping a corner of the indigo linen towel over the stack to trap heat and keep them pliable.
Layer Fillings Evenly
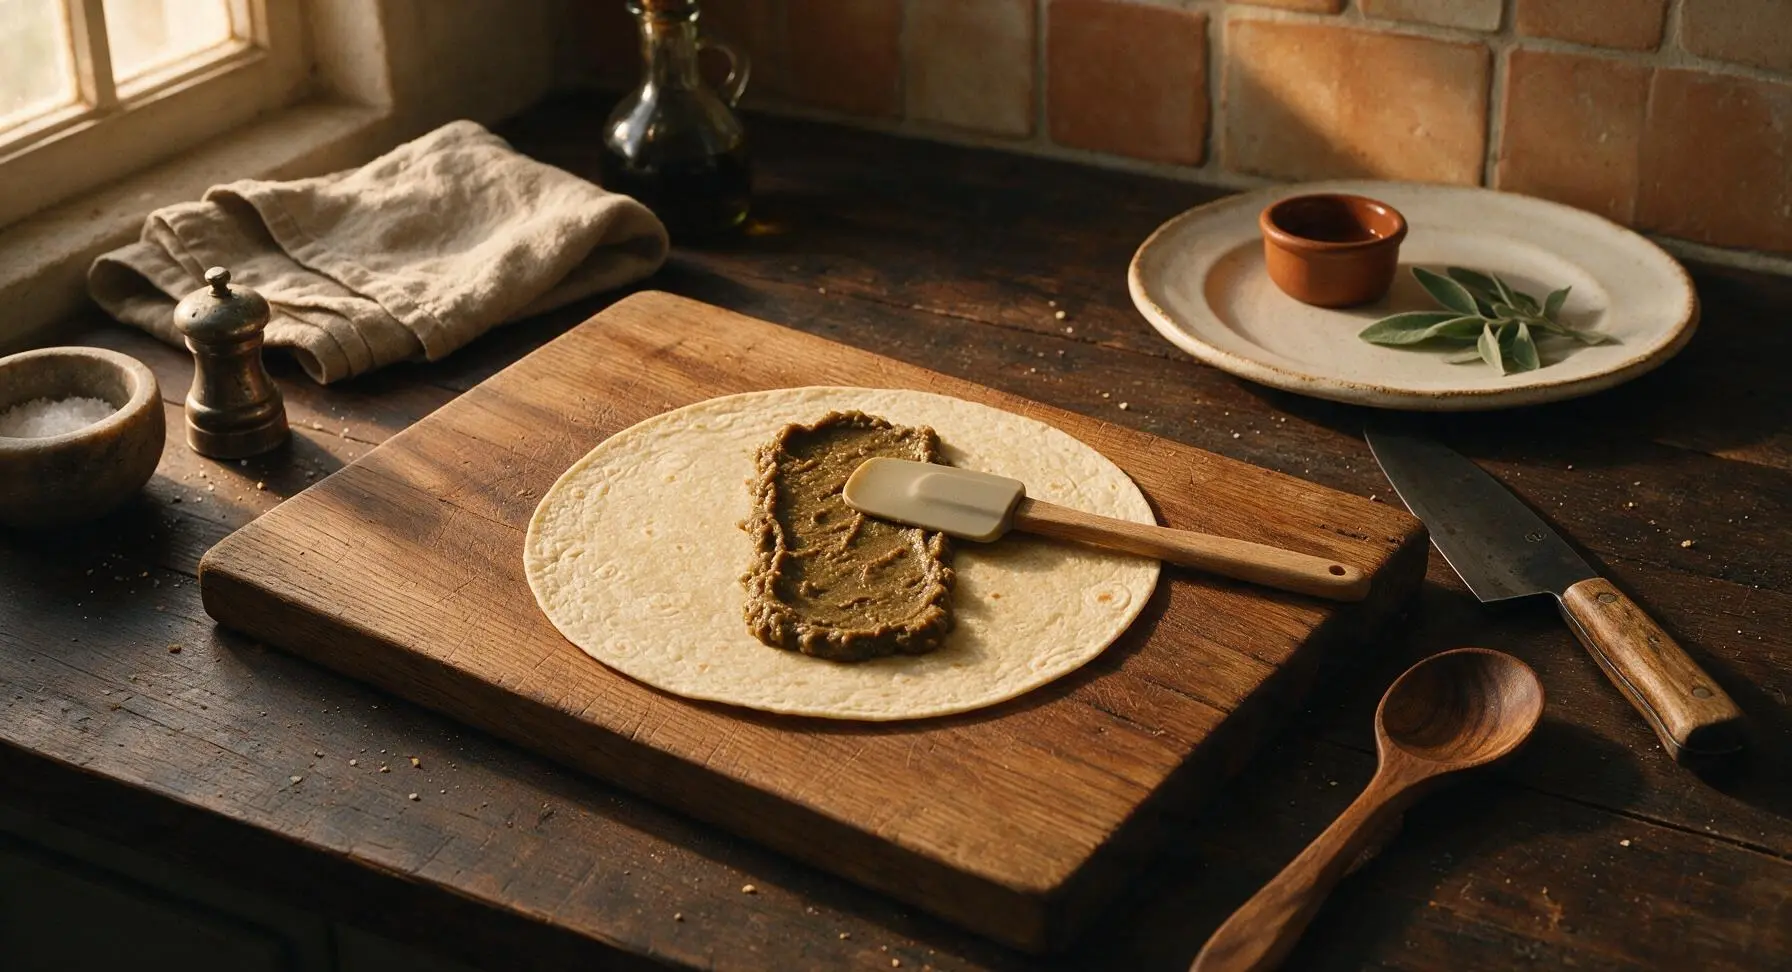
Lay one warmed tortilla flat in the center of the acacia cutting board. Use the silicone spatula to spread 2 tablespoons of refried beans in a 4-inch wide rectangle down the exact center of the tortilla, leaving 2 inches of clear tortilla space at the top and bottom edges. Top the beans with 1/2 cup of cilantro-lime rice, 1/4 of the seasoned beef crumbles, 1/3 cup shredded sharp cheddar, and 2 tablespoons of sour cream spread in a thin layer. Do not overfill, as this will cause the burrito to burst during rolling.
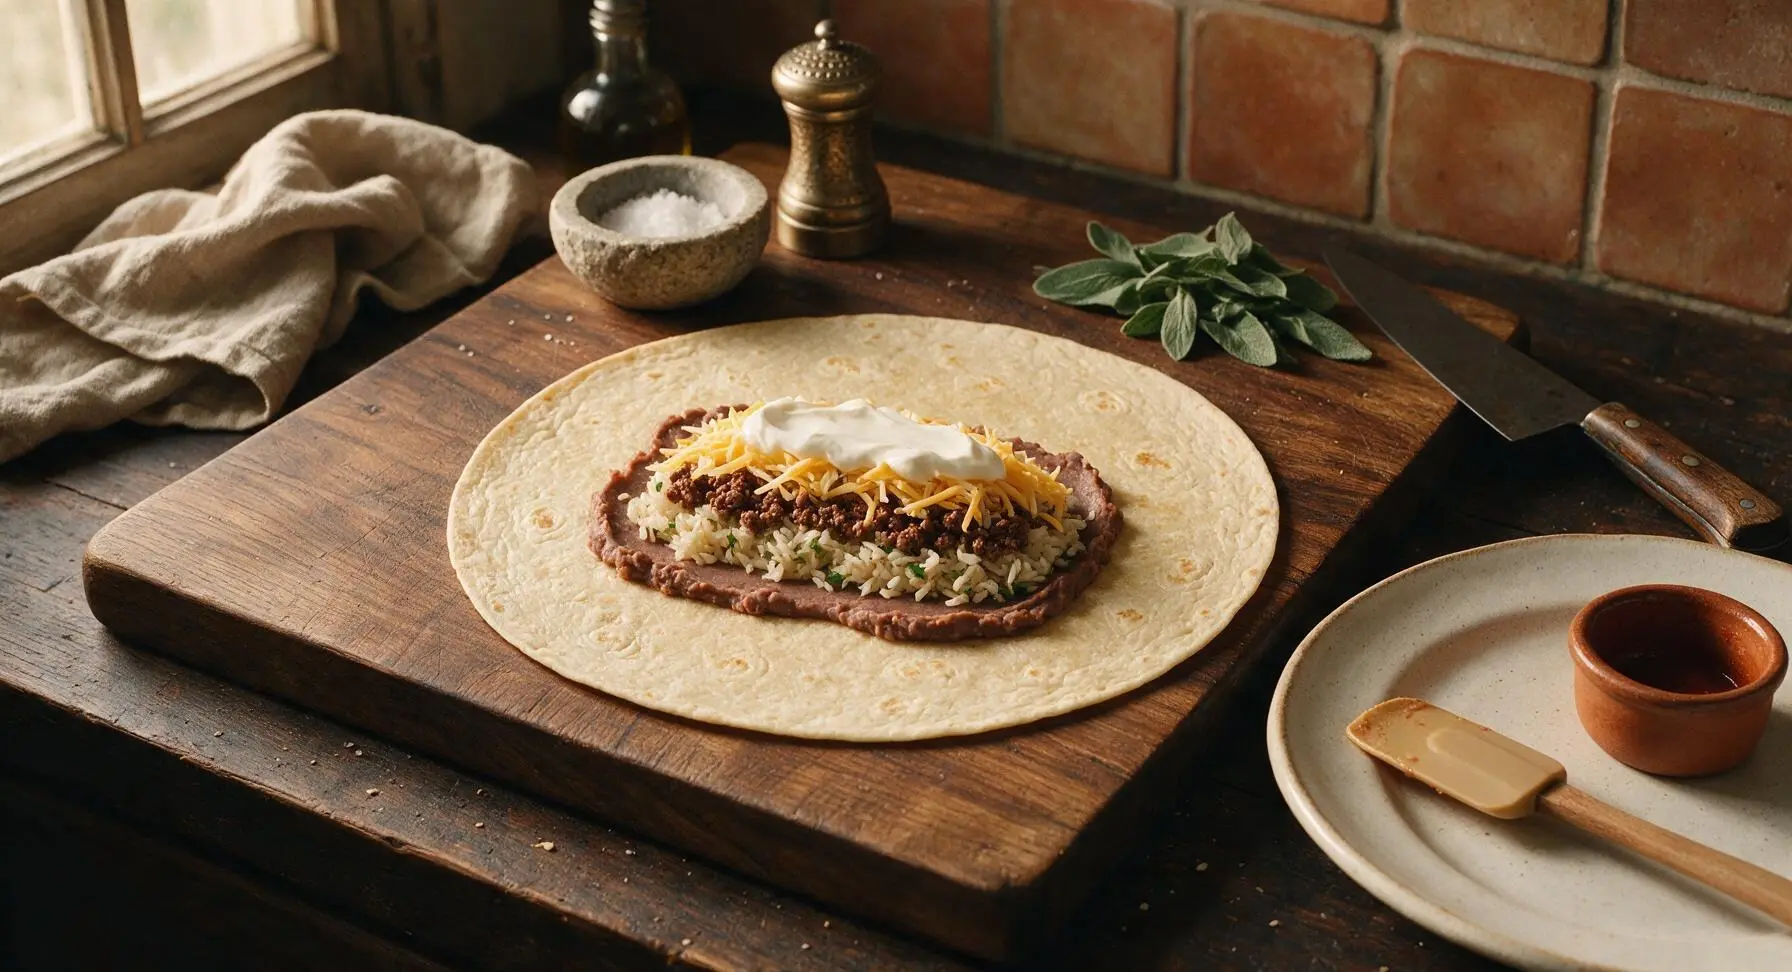
Fold and Toast Burritos
Fold the top and bottom 2-inch tortilla borders in over the ends of the filling rectangle, then roll the burrito tightly from one long side to the other to create a sealed, firm cylinder, tucking the edges in as you roll to prevent leaks. Return the folded burrito seam-side down to the dry, medium-heat carbon steel skillet, toasting for 1 minute per side until the tortilla is golden and crispy, and the cheese inside is fully melted. Repeat the filling, folding, and toasting process for all four burritos.
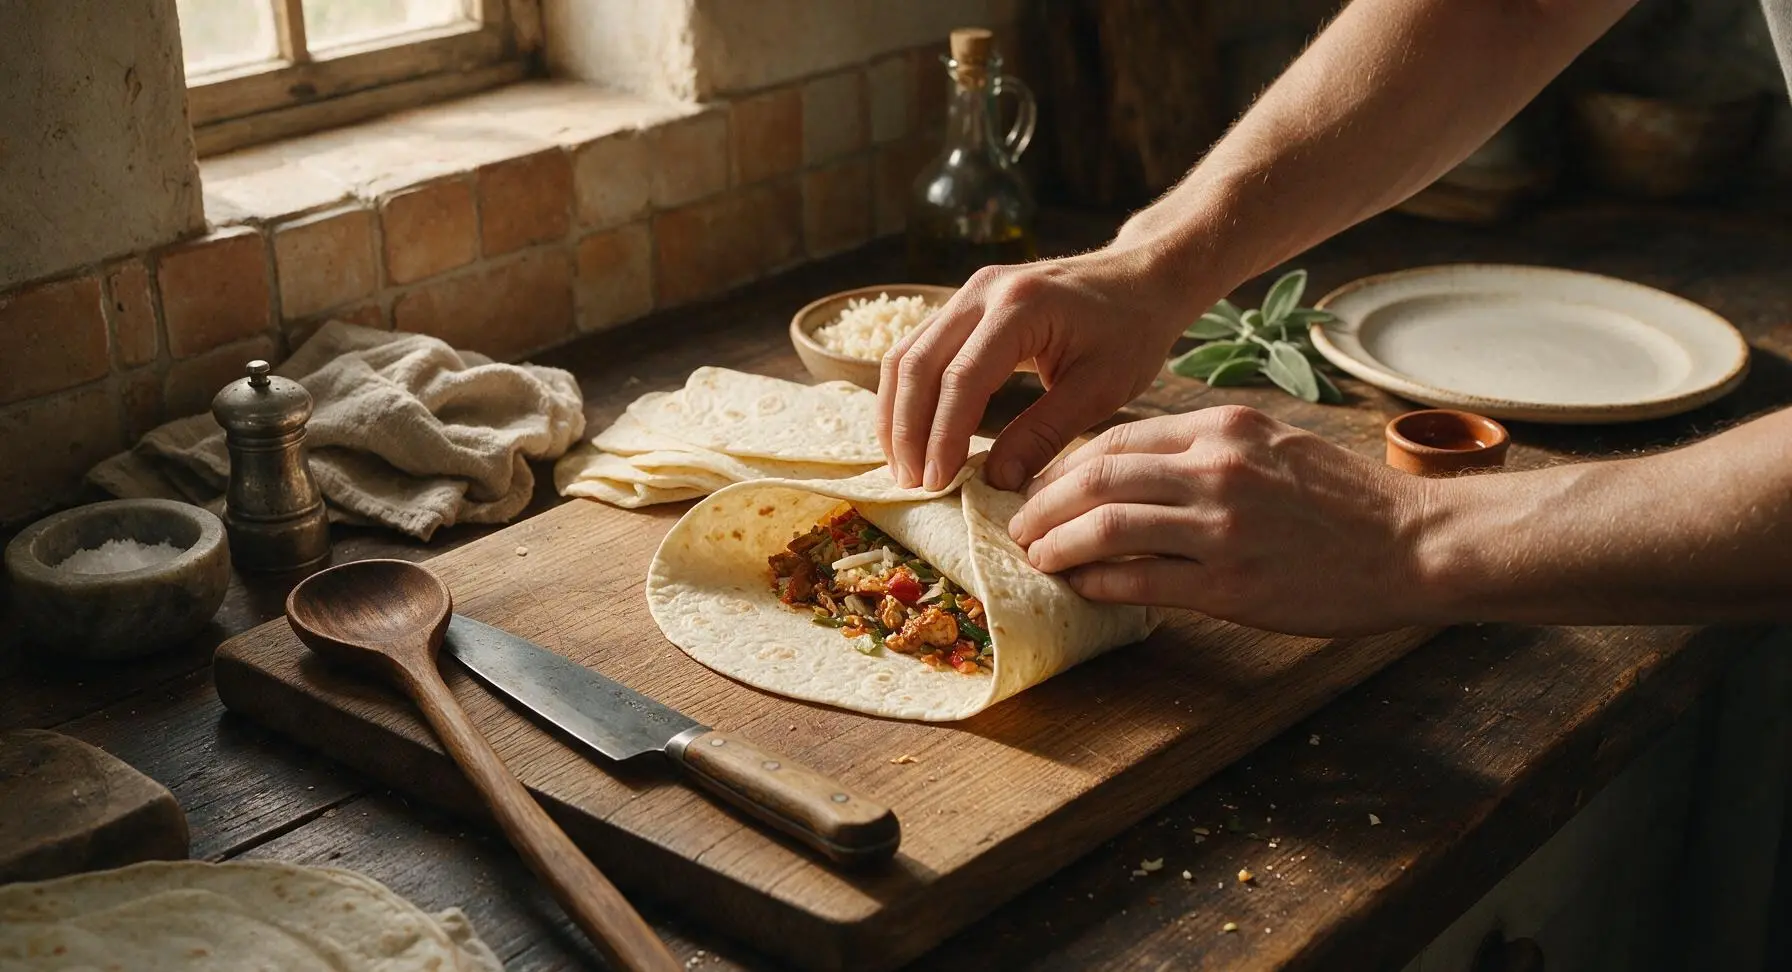
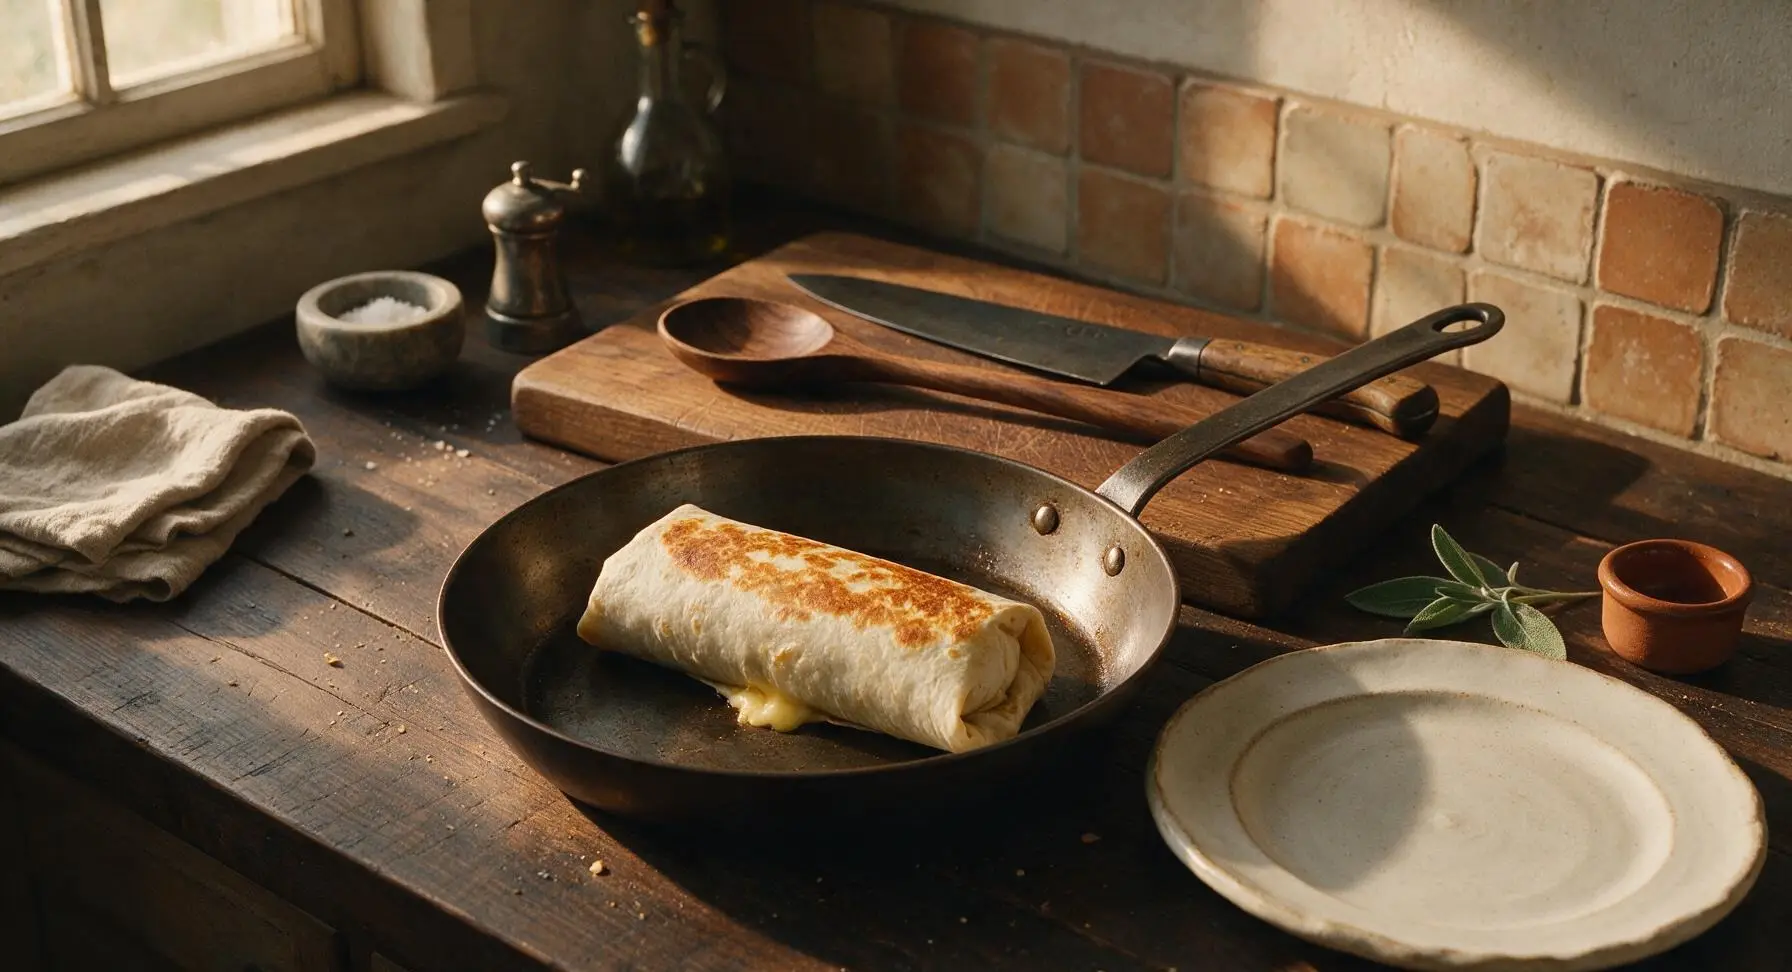
Plate and Serve
Remove toasted burritos from the skillet, transfer to the cream white matte ceramic dinner plate. Use the chef knife to cut each burrito diagonally in half, arranging the cut sides outward to showcase the layered filling cross-section. Serve immediately with a small ramekin of hot sauce on the side for drizzling, while the tortilla is crispy and the cheese is melted.
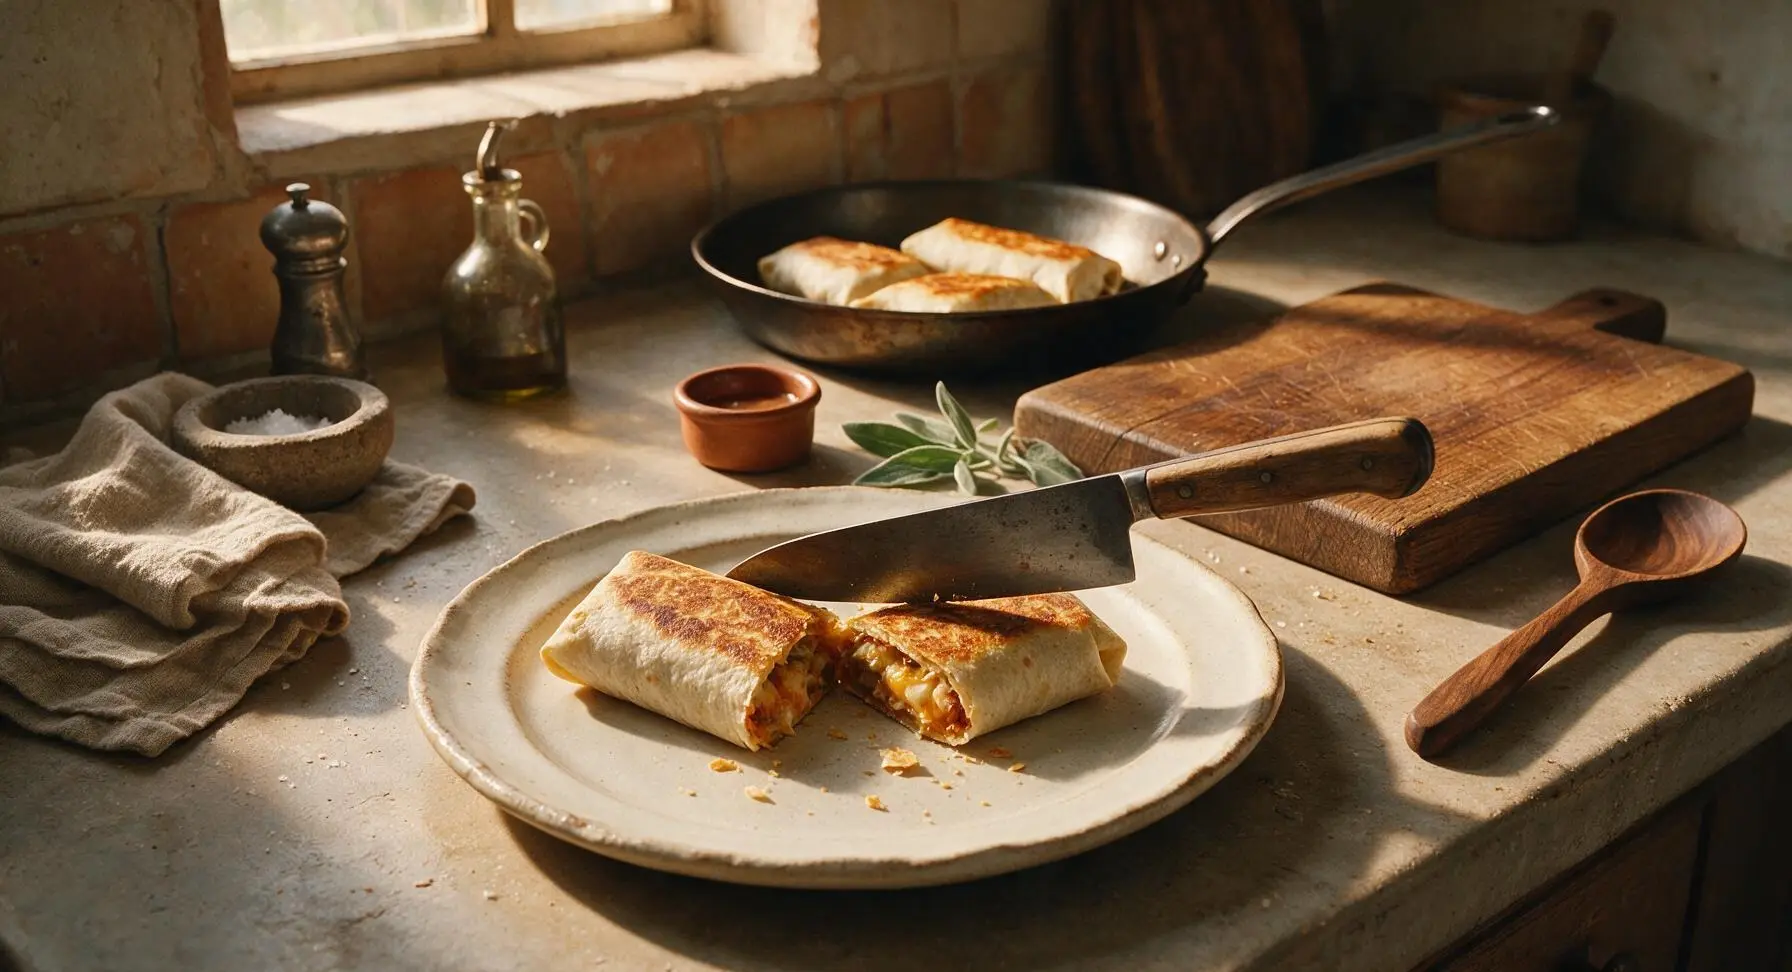
Tips
2.Warm tortillas before filling and toast after rolling: cold tortillas crack and tear when folded, but 10 seconds of heat makes them pliable enough for a tight wrap. Toasting the rolled burrito seam-side down creates a crispy, moisture-resistant outer layer that prevents sogginess from bean or rice moisture.
3.Stick to the measured filling amounts and leave clear borders: overfilling is the most common beginner mistake that causes burritos to burst and leak when picked up. The 2-inch top and bottom borders are non-negotiable for a tight, sealed wrap that holds together through every bite.






OMG this was such a game changer for our weekly Taco Tuesday! I swapped the regular rice for cilantro lime and the crisp on the tortilla was *chef’s kiss* My kids devoured two each, no leftovers whatsoever. Only thing I messed up was overstuffing the first one so filling oozed out when I seared it, oops. 10/10 will make again for our next potluck!
SO good! I made a big batch of these on Sunday for meal prep and they held up perfectly all week in the fridge – just 30 seconds in the microwave then a quick sear in the pan to get the crisp back and they tasted fresh. Saved me so much time on busy work nights. Already shared the recipe with my whole mom group!
Took me a minute longer than 25 minutes because I was chopping everything super slow while watching the game, but man was this worth it. The crispy cheese crust on the outside of the burrito? Unreal. Put a little extra hot sauce in mine and it hit every single craving I’ve had all week. No notes.
Went into this worried it’d be too heavy, but I swapped the ground beef for lentils and added extra roasted peppers and it worked perfectly! The crisping step is non-negotiable, I’ll never make a soggy burrito again. My roommate who’s a total meat-eater didn’t even notice the swap until I told him, lmao.
First time making burritos at home and I was so intimidated by the folding step, but the instructions were super easy to follow! Mine didn’t look as pretty as the photos but they tasted even better than the ones from our local takeout spot. Already told my roommate we’re making these every Friday now.
Added extra queso inside and sprinkled cotija on the outside before searing and I’m pretty sure I ascended when I took the first bite. These are dangerously good. Made them for my partner’s birthday dinner and he said it’s the best meal I’ve ever made for him. Win!
Brought these to our neighborhood block party last weekend and people were asking me for the recipe before I even finished my first one! I cut them into halves so they were easier to grab, and they were gone in 15 minutes flat. Definitely adding this to my regular potluck rotation.
Wait, I’ve always hated crispy burritos because I thought they were too dry, but this recipe converted me? The filling is so juicy and the crisp is just on the outside, not crunchy all the way through. I was so skeptical but my partner begged me to try it and I’m so glad I did. Only knock is I wish there was a tip for making a bigger batch for a crowd!
Threw in some pickled jalapeños and a drizzle of spicy crema and these hit so hard. The balance of textures is insane – crispy tortilla, creamy filling, bright tang from the jalapeños. I’ve made this three times in the last two weeks, no regrets.
Bro this is way cheaper and better than the $12 burritos I get from the food truck near campus. I used a cheap store brand tortilla, ground beef I got on sale, and shredded cheese from a bag and it still slapped. Perfect for broke college students who don’t want to eat ramen every night.
I was worried I wouldn’t be able to make these because I eat gluten free, but I used a gluten free flour tortilla and followed the steps exactly and it crisped up perfectly! No sogginess, no weird texture, just a perfect loaded crispy burrito. So happy I don’t have to miss out on this.
Made this last night for family dinner after soccer practice and it came together so fast! 25 minutes is no joke, I didn’t even have to rush to get it on the table before the kids had to do homework. The crispy texture was a huge hit with my teen who normally turns his nose up at anything I make that’s not takeout. Win for mom!
Used leftover smoked brisket from our weekend BBQ instead of ground beef and holy cow it was next level. The smoky brisket paired with the melted cheese and crispy tortilla was better than any restaurant burrito I’ve ever had. Great base recipe to use up random leftovers in the fridge, I’ll be experimenting with all sorts of fillings now.