
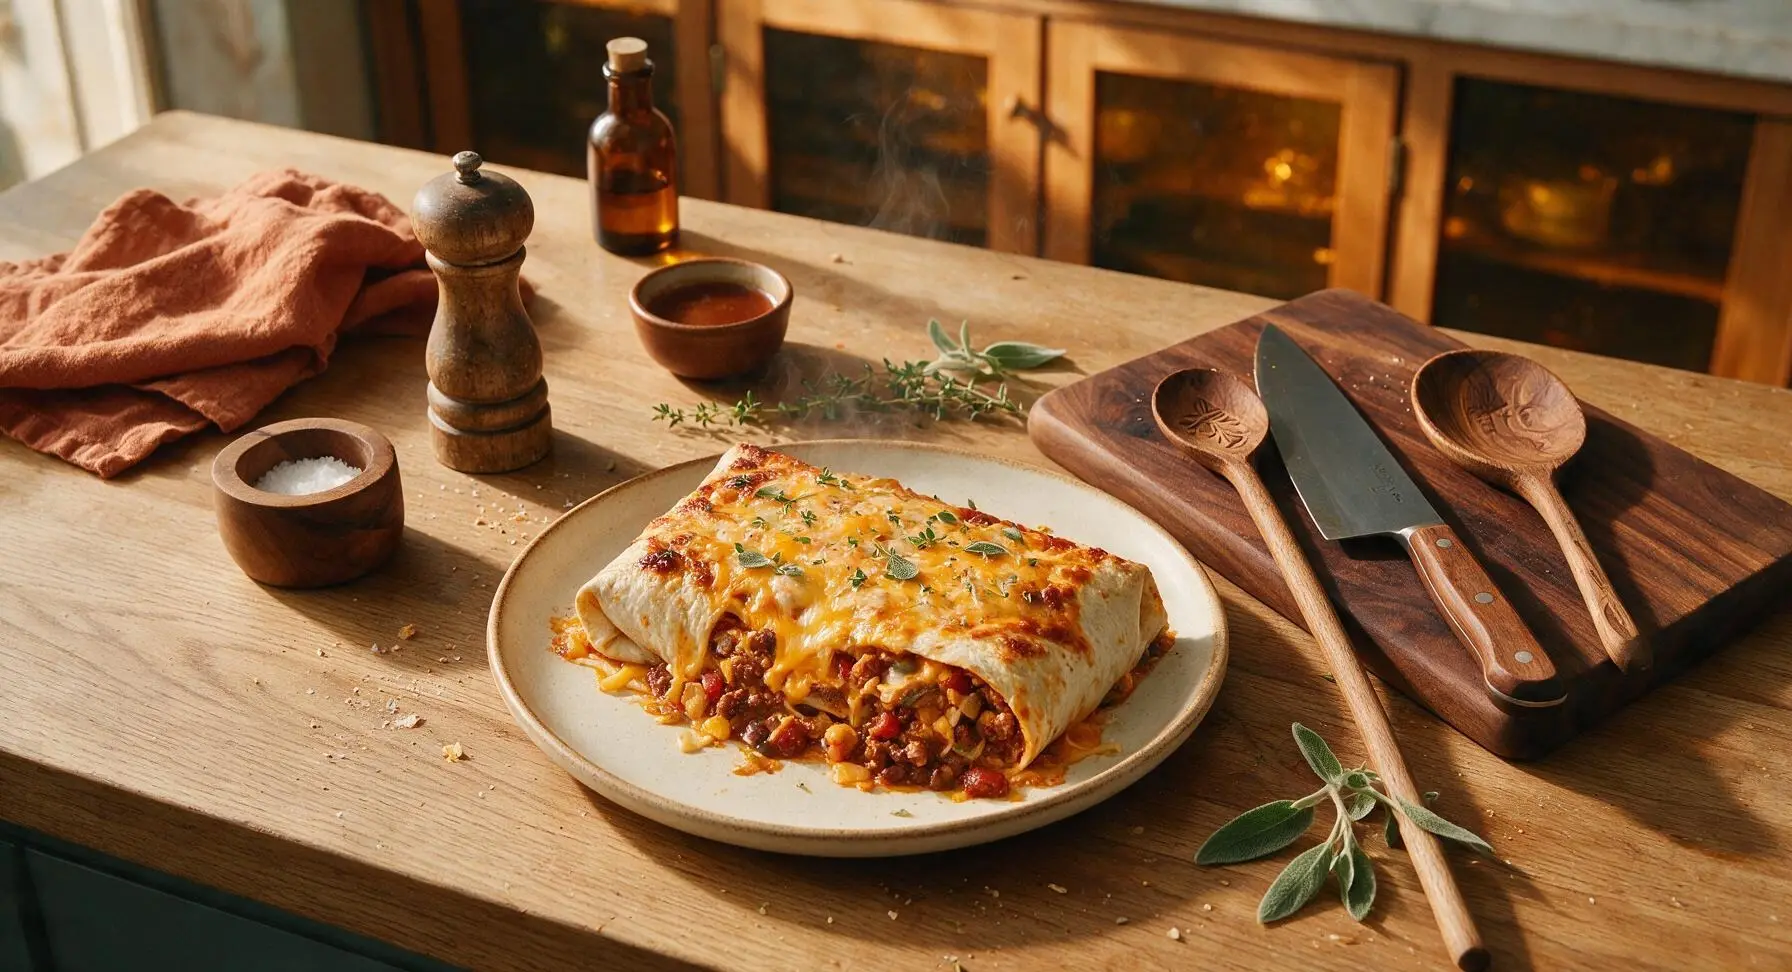
burrito pan

title 1
burrito pan
⏱️ cook time 30 minutes
🍽️ servings 4
⚡ Difficulty easy

intro

This cheesy, flavor-packed one-pan burrito bake layers all your favorite burrito fillings—no messy rolling required. Minimal cleanup, bold Tex-Mex flavor, and cozy comfort make it a perfect weeknight win.

Ingredients
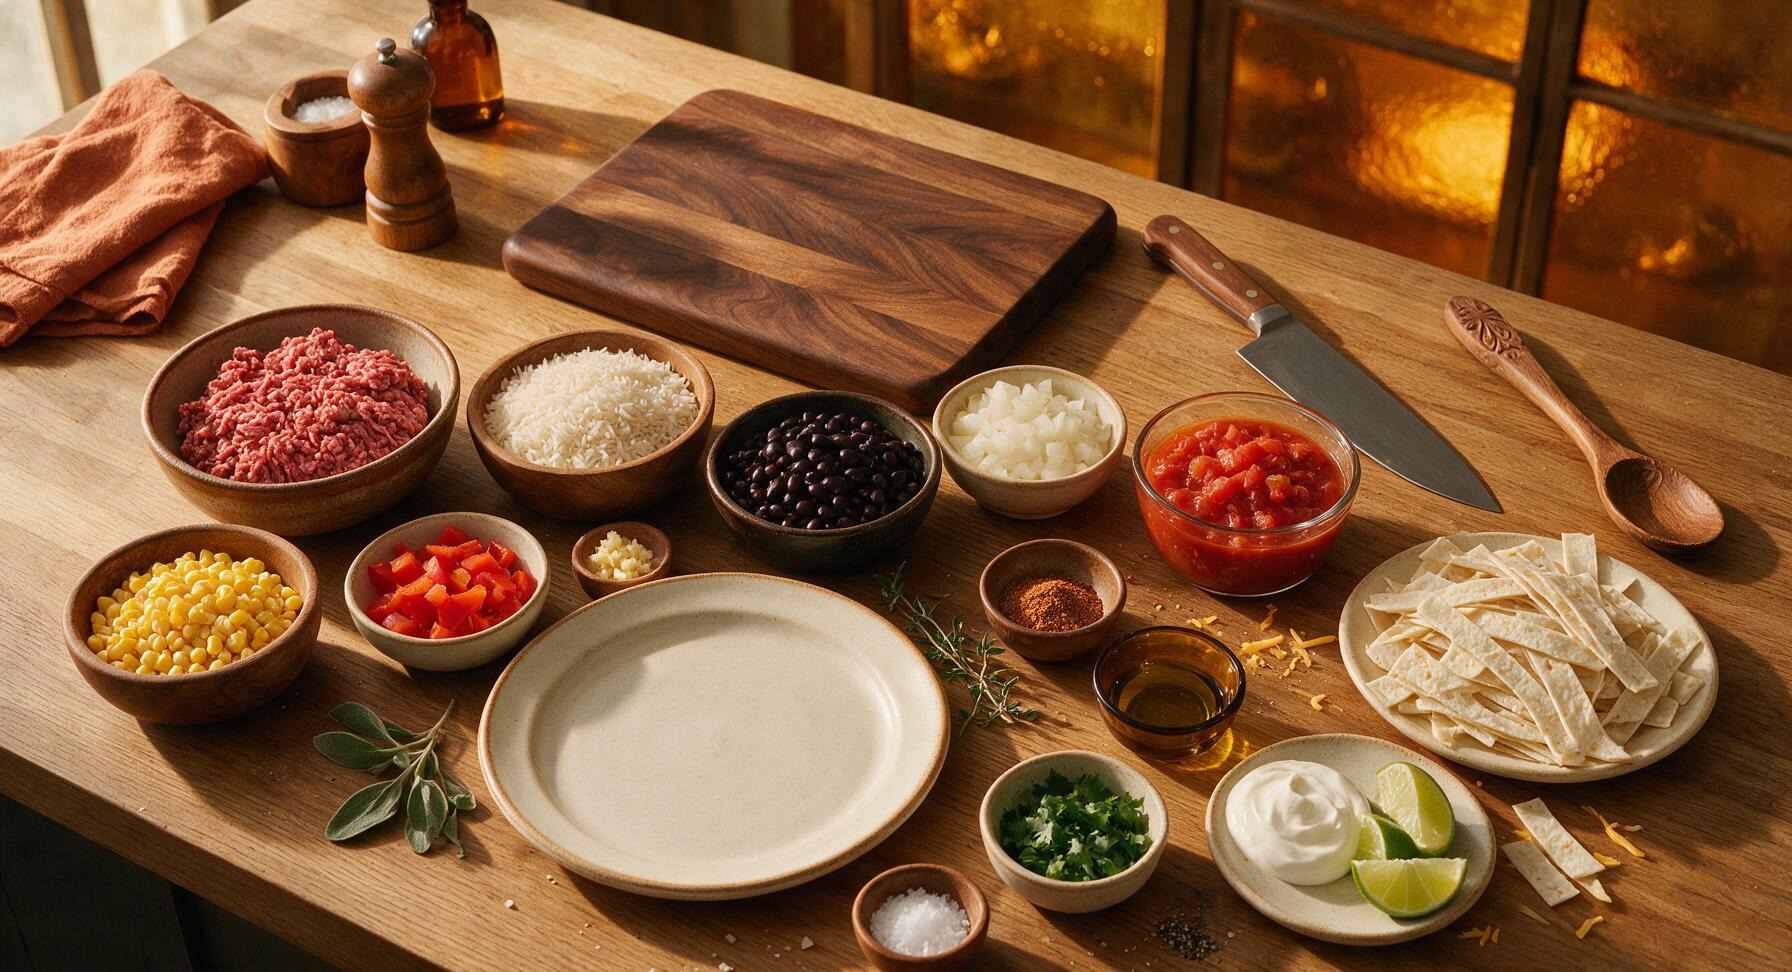
Lean ground beef (90/10) 500g
Long-grain white rice 1 cup (185g)
Canned black beans, rinsed and drained 1 can (400g)
Frozen sweet corn 1 cup (150g)
Yellow onion, diced 1 medium (150g)
Red bell pepper, diced 1 medium (120g)
Garlic cloves, minced 2 (6g)
Fire-roasted diced tomatoes (undrained) 1 can (400g)
Taco seasoning blend 2 tbsp
Shredded sharp cheddar cheese 2 cups (220g)
Large flour tortillas, cut into 2cm strips 4
Extra-virgin olive oil 1 tbsp
Fresh lime, cut into wedges 1 whole
Sour cream 1/4 cup (60g)
Fresh cilantro, chopped 1/4 cup (10g)
Coarse kosher salt 1 tsp
Freshly ground black pepper 1/2 tsp

Steps

1

Prep Veggies, Preheat Oven

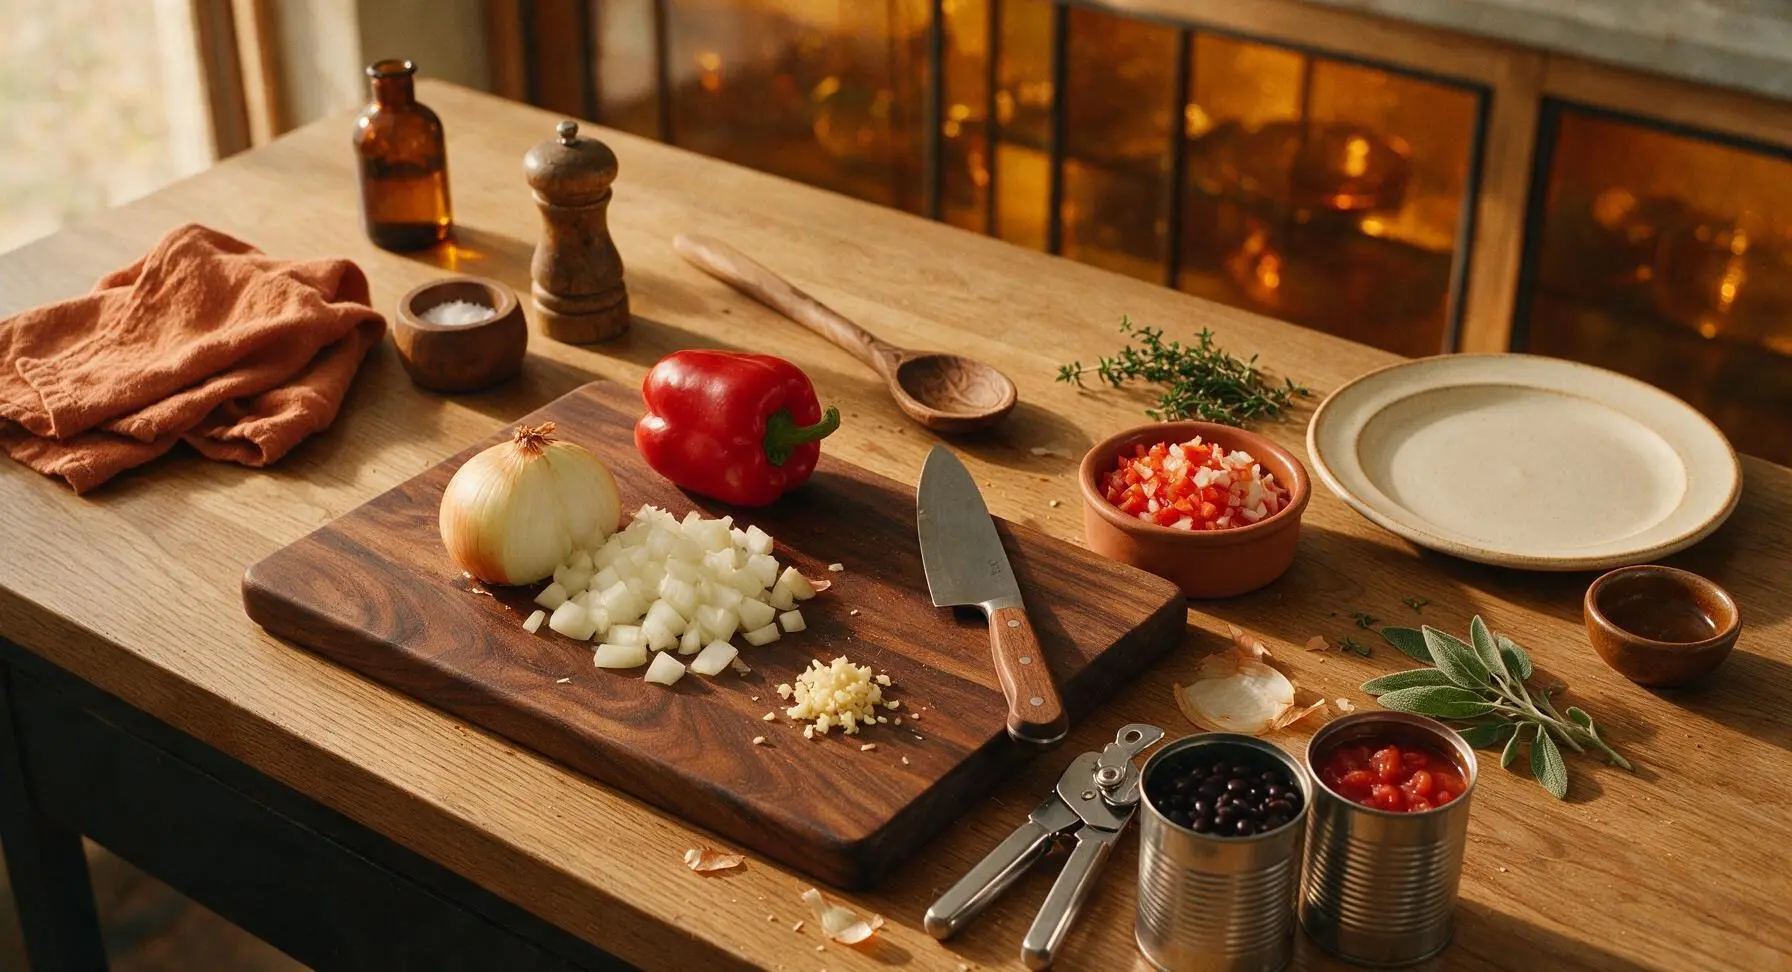
Preheat your oven to 190°C (375°F). Place the bamboo cutting board in its fixed center-left position, retrieve the chef knife from its magnetic wall strip. Dice the yellow onion and red bell pepper into 1cm pieces, mince the garlic cloves finely, and set prepped veggies in one of the terracotta ramekins. Use the stainless steel can opener to open the cans of black beans and fire-roasted tomatoes, draining and rinsing the black beans. Wipe any stray onion peels from the cutting board edge with the corner of the cream kitchen towel.
Step 1
step1:Prep Veggies, Preheat Oven
2

Sear Seasoned Ground Beef

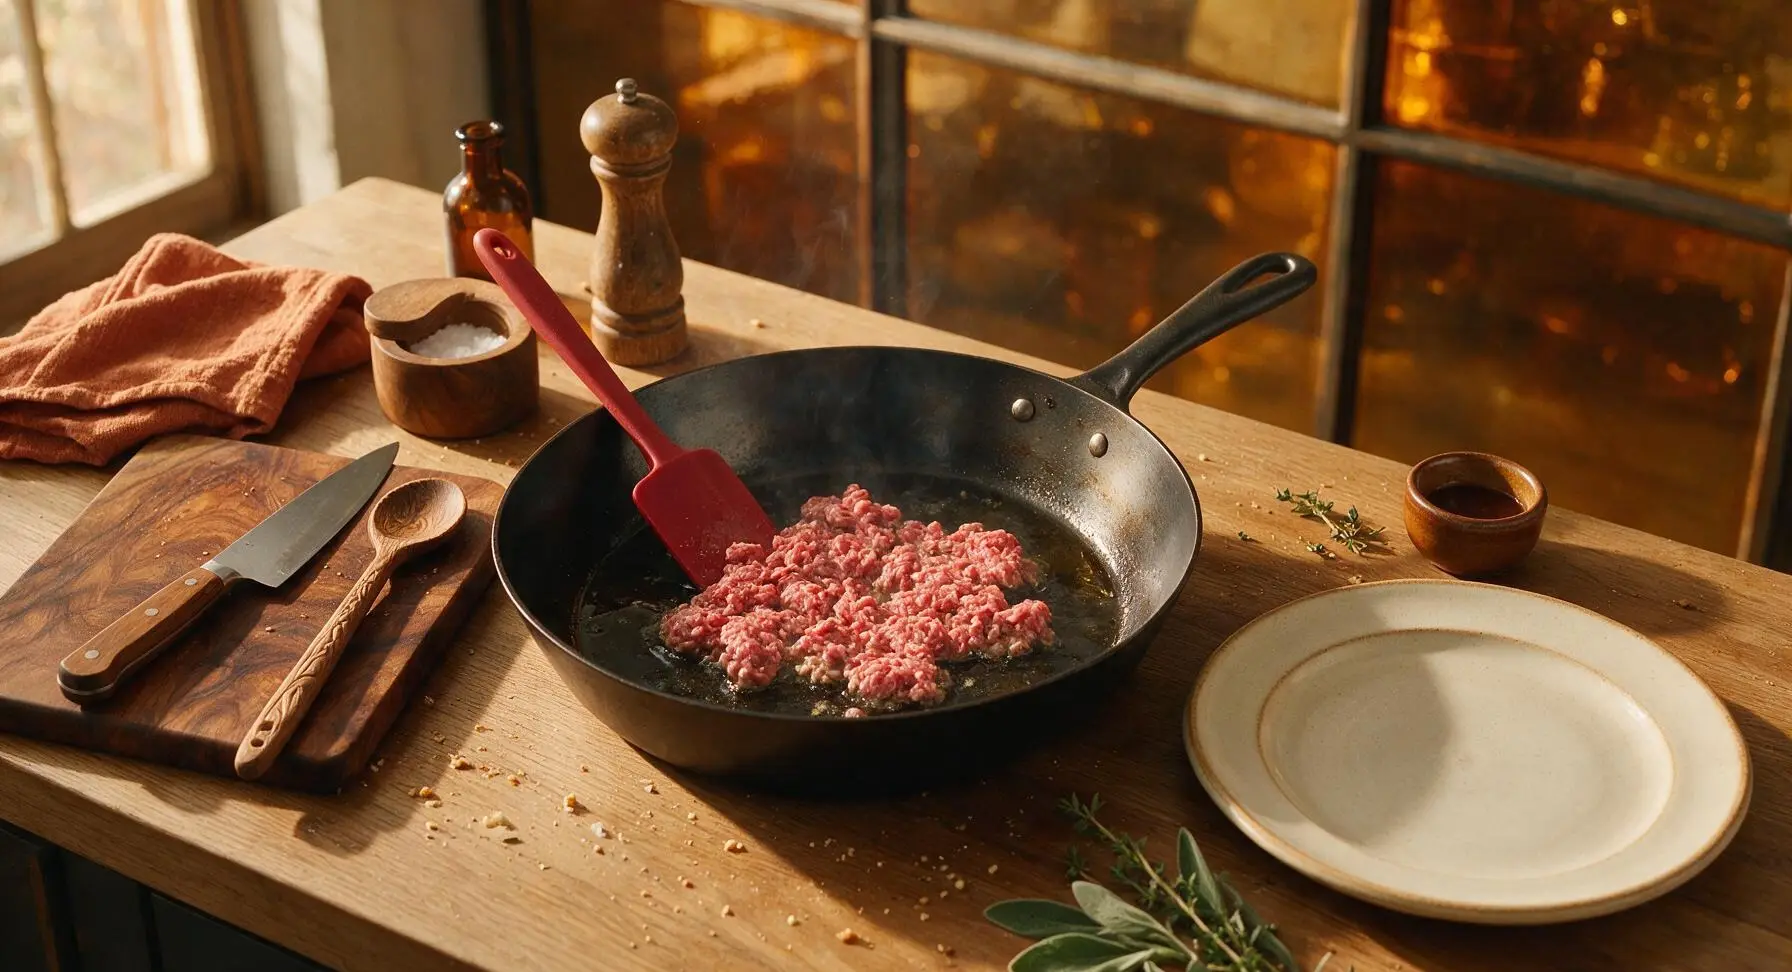
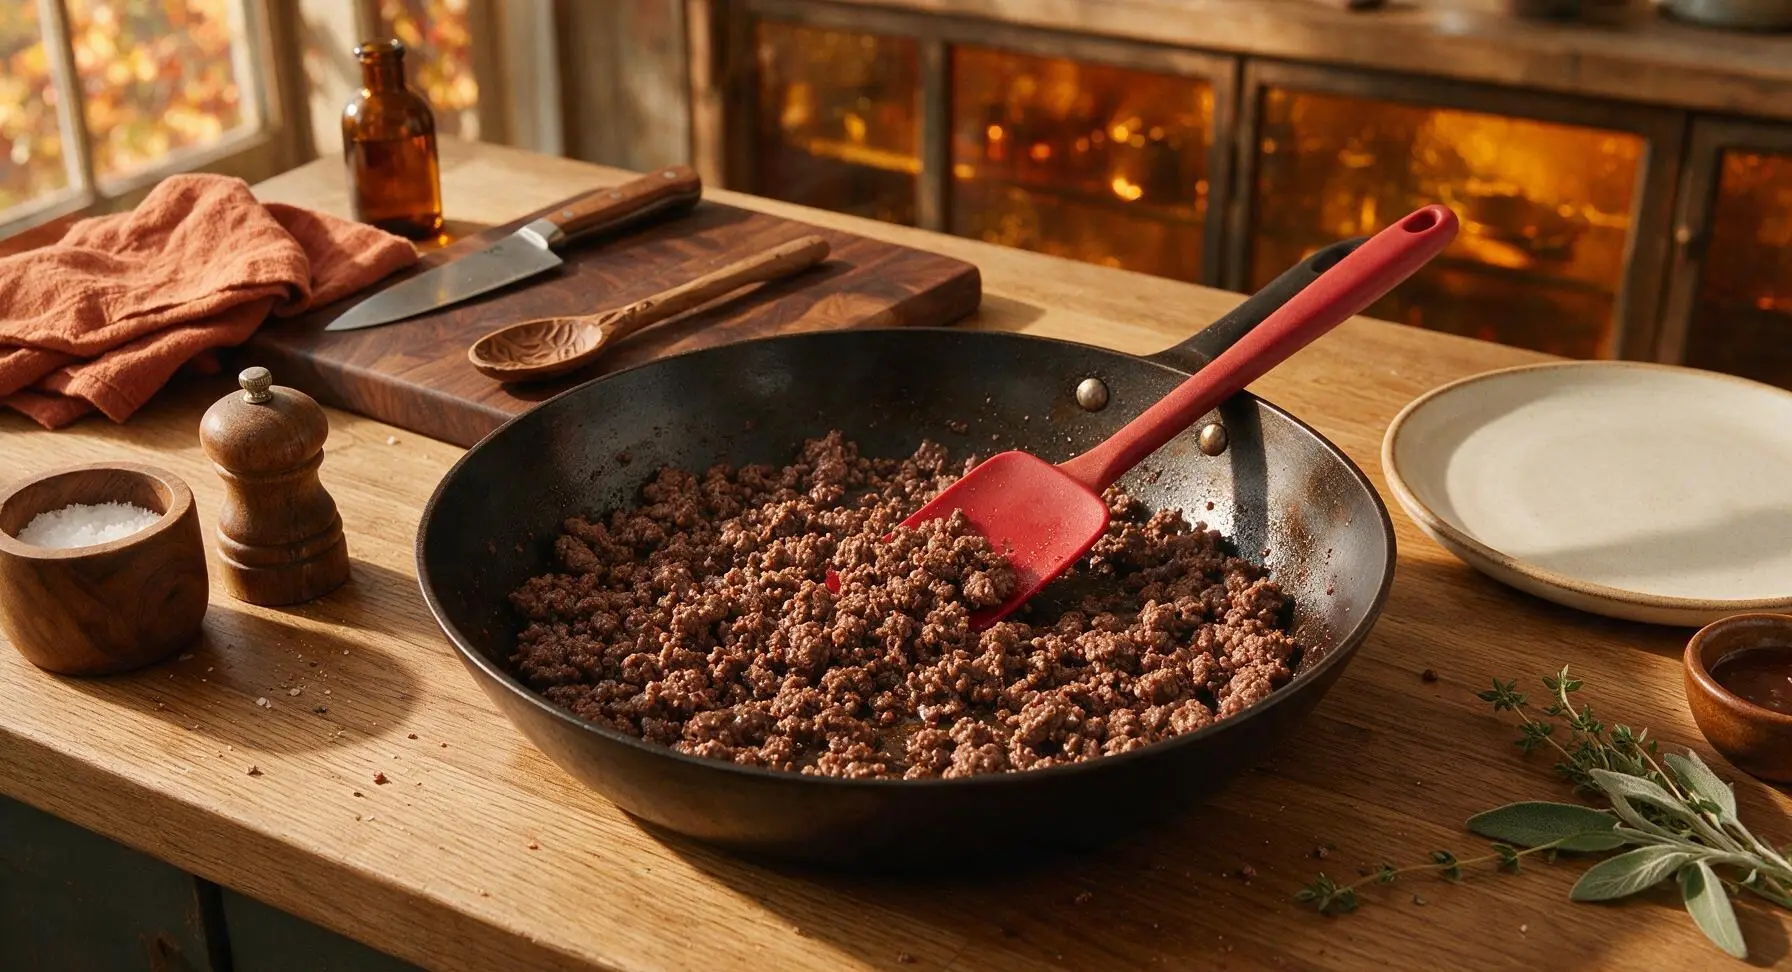
Place the 12-inch carbon steel skillet in the central work zone over medium stovetop heat, add 1 tablespoon olive oil and heat for 1 minute. Add the ground beef to the skillet, break it apart into small crumbles with the red silicone spatula, season with 1 teaspoon kosher salt, 1/2 teaspoon black pepper, and 1 tablespoon taco seasoning. Cook for 5 minutes, stirring occasionally, until the beef is fully browned with no pink remaining, and all excess rendered liquid has evaporated.
Step 2
step2:Sear Seasoned Ground Beef
Step 2
step2:Sear Seasoned Ground Beef
3

Sauté Aromatic Vegetables

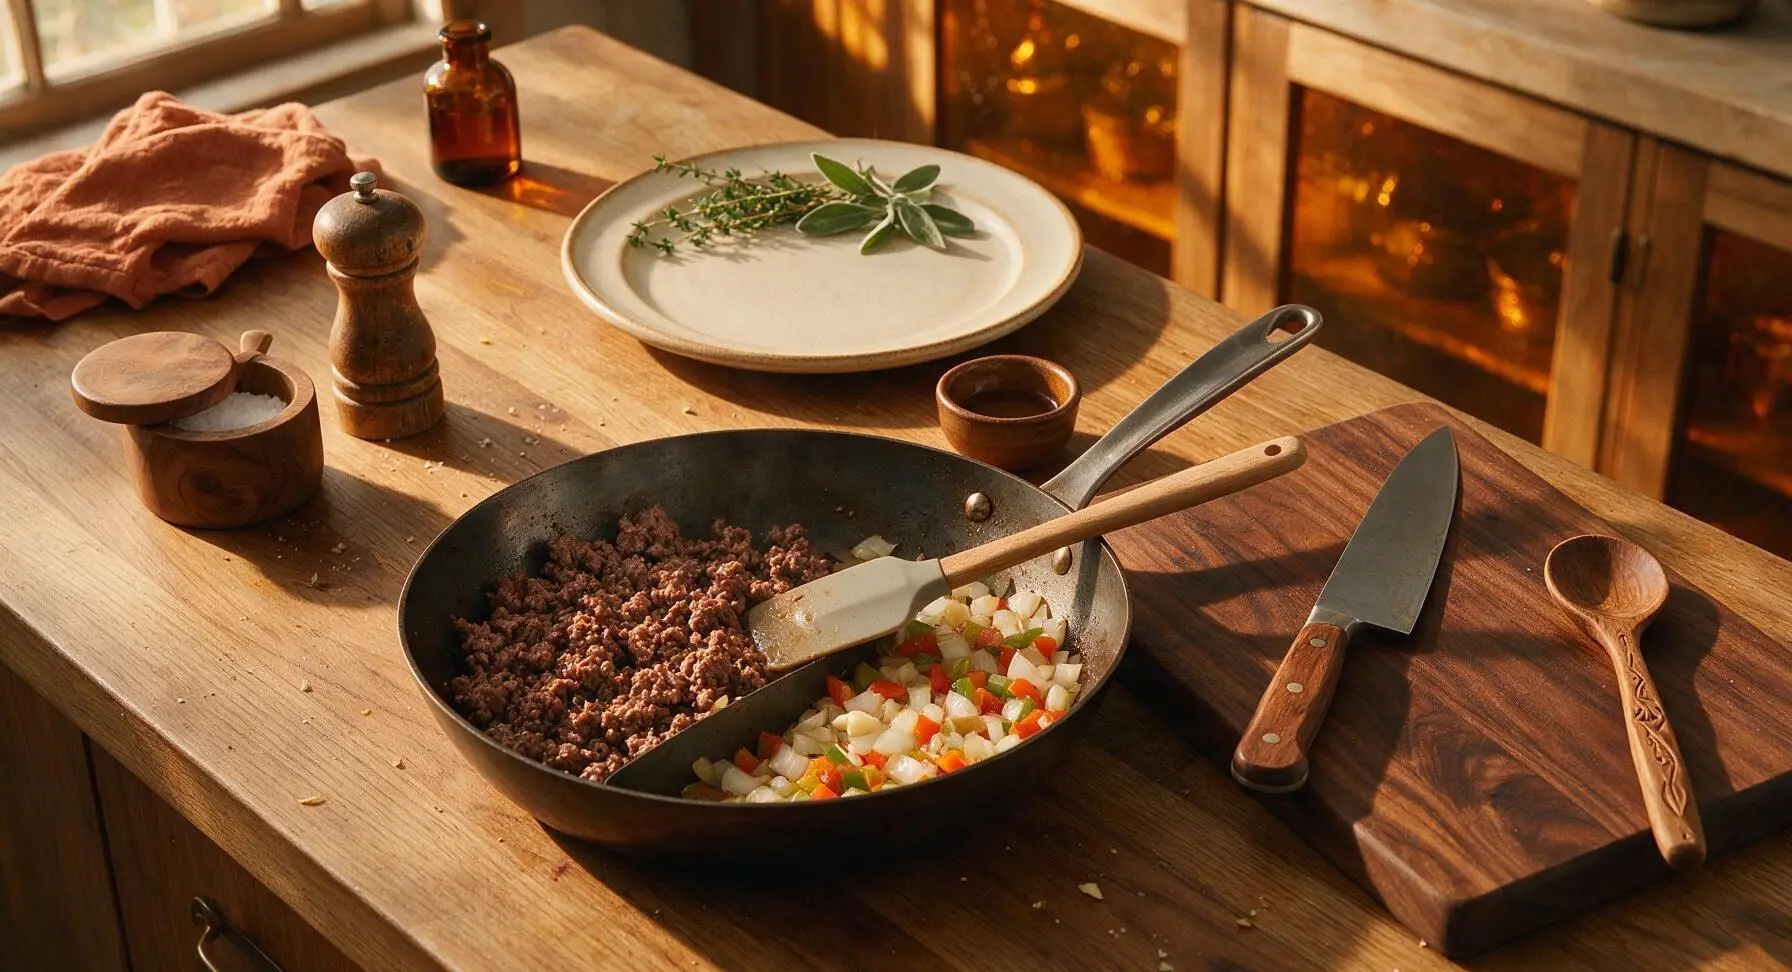
Push the browned ground beef to one side of the skillet using the silicone spatula. Add the diced onion, bell pepper, and garlic to the empty side of the pan, sauté for 3 minutes until the onion turns soft and translucent, and the garlic releases a warm, fragrant aroma. Stir the vegetables into the beef to combine, then add the remaining 1 tablespoon of taco seasoning, stirring constantly for 30 seconds to coat all ingredients evenly.
Step 3
step3:Sauté Aromatic Vegetables
4

Add Rice and Bean Filling

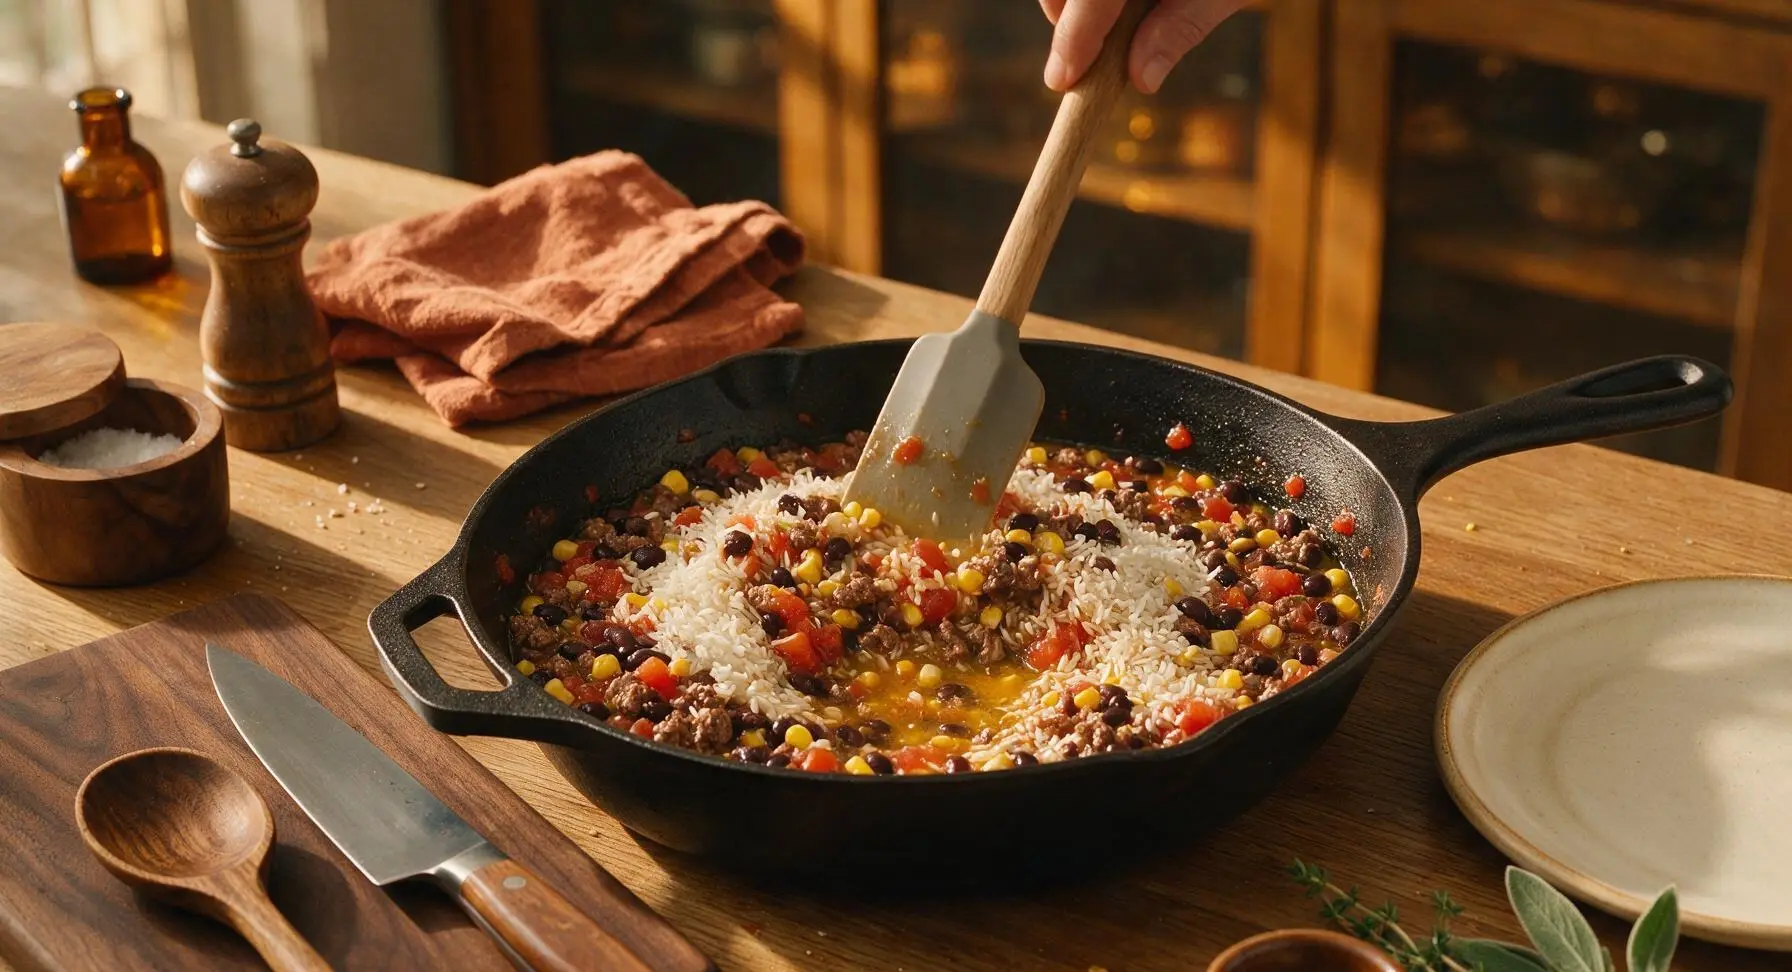
Pour the undrained fire-roasted diced tomatoes, rinsed black beans, frozen sweet corn, and uncooked long-grain white rice into the skillet. Stir thoroughly with the silicone spatula to combine all ingredients evenly, then pour in 2 cups (480ml) of cold water, stirring until the liquid comes to a gentle simmer. Press the entire mixture down into a flat, even layer across the bottom of the skillet.
Step 4
step4:Add Rice and Bean Filling
5

Layer Tortillas and Cheese

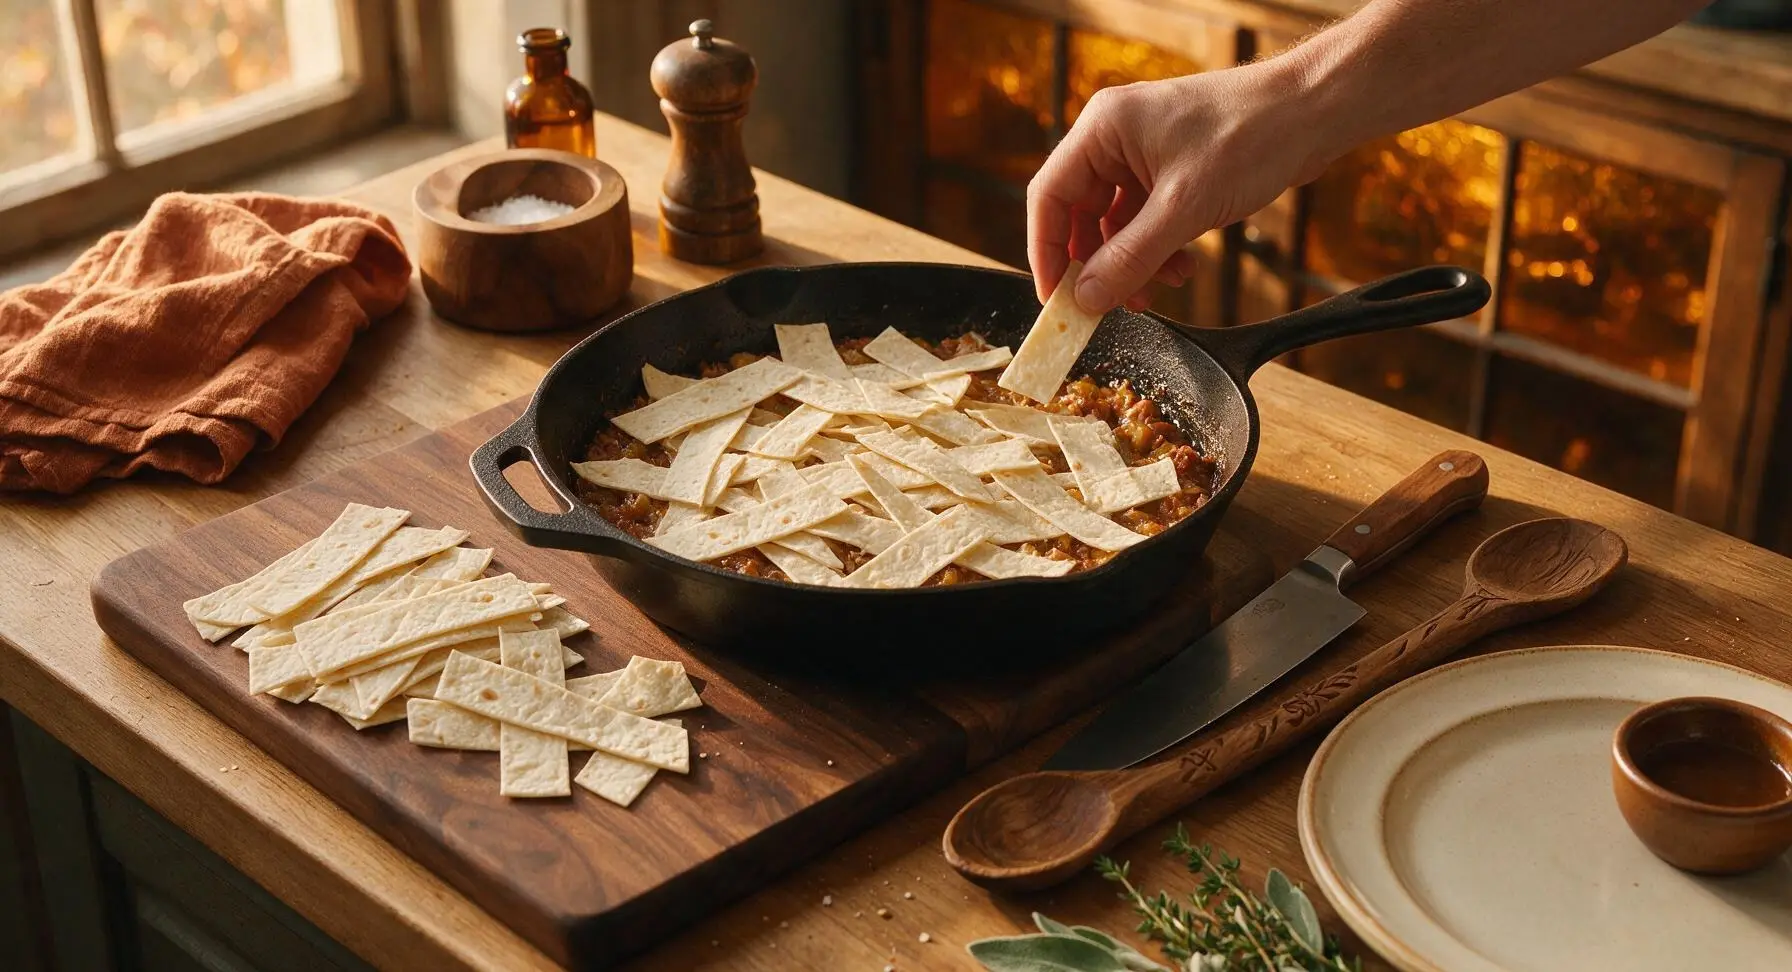
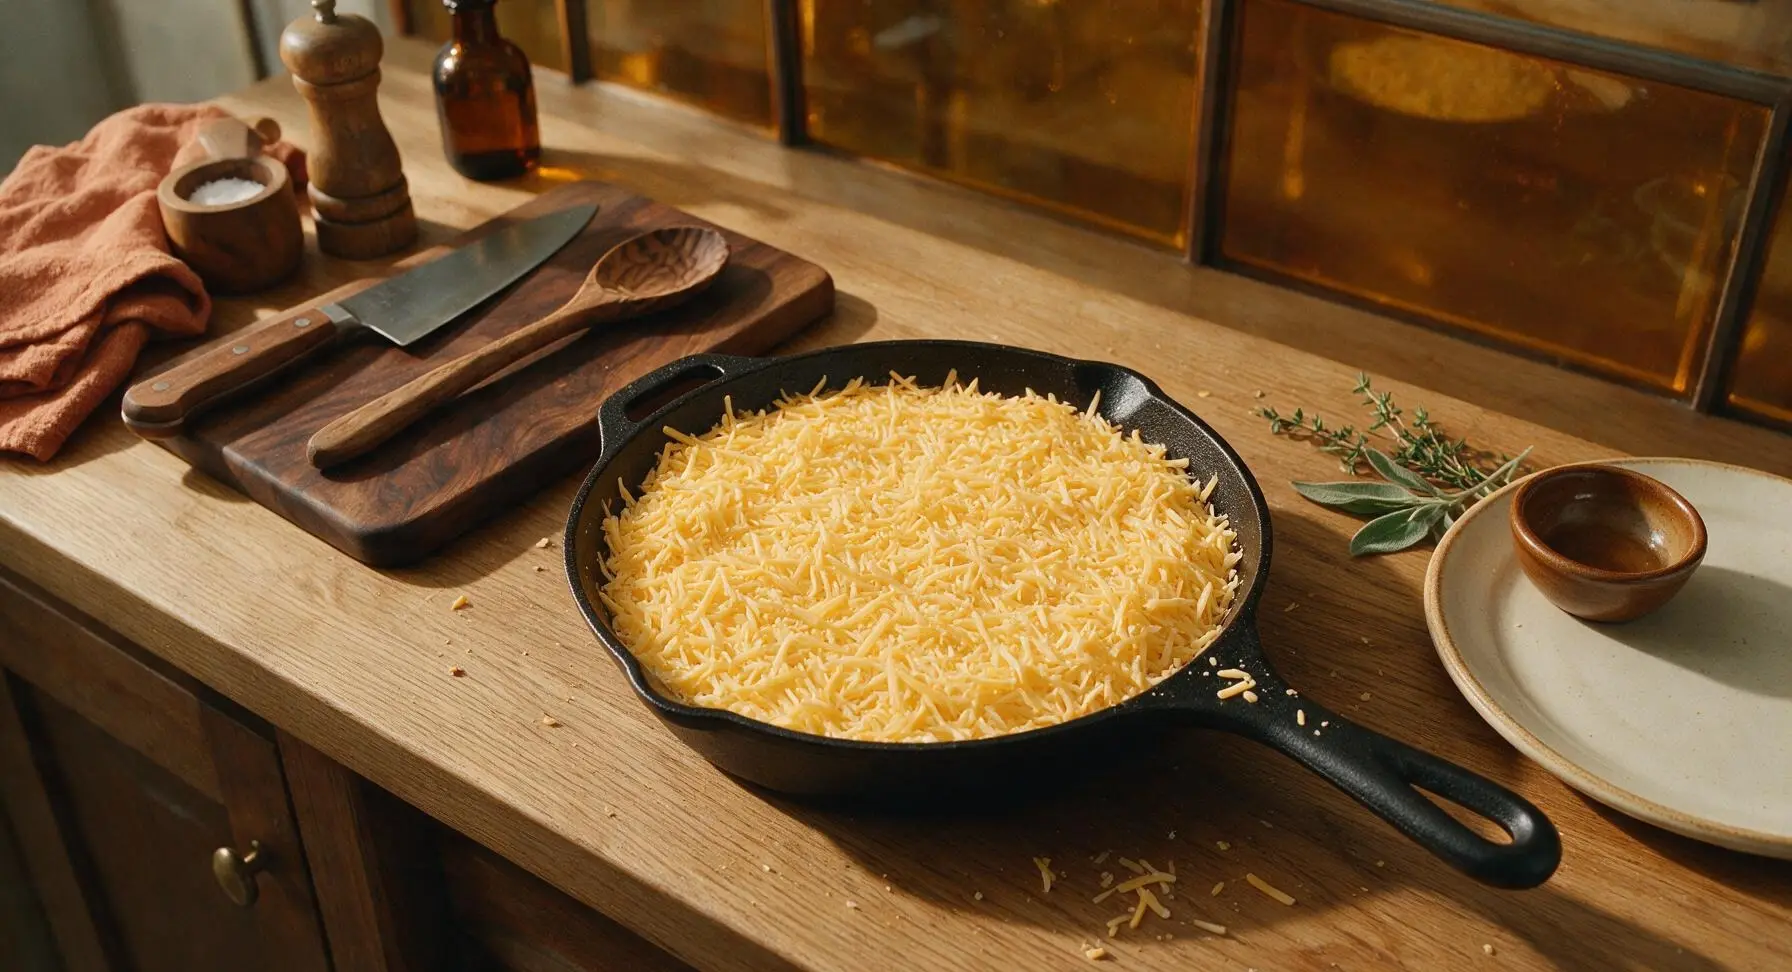
Arrange half of the cut flour tortilla strips in a loose, even layer over the top of the simmering filling, then sprinkle 1 cup of shredded sharp cheddar cheese over the tortilla strips. Repeat with a second layer of the remaining tortilla strips, then top with the last 1 cup of cheddar, spreading the shreds evenly to cover the entire pan surface.
Step 5
step5:Layer Tortillas and Cheese
Step 5
step5:Layer Tortillas and Cheese
6

Bake Until Golden Bubbly

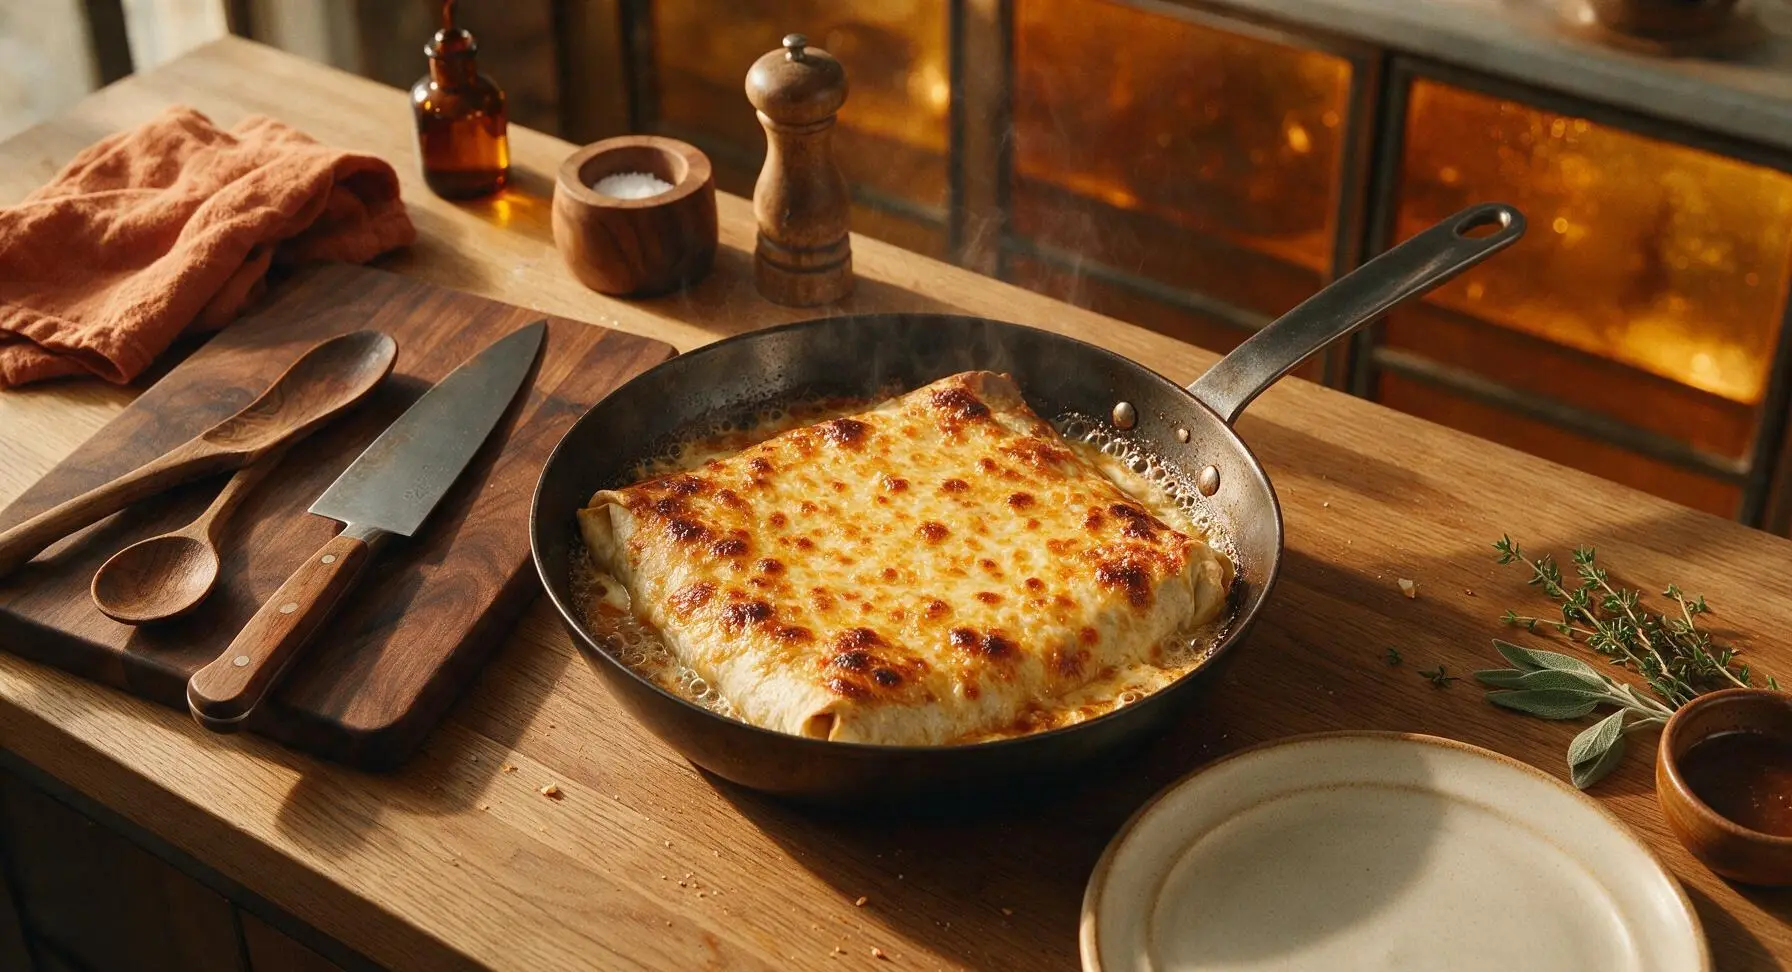
Carefully transfer the skillet to the preheated oven. Bake for 20 minutes, until the cheese is fully melted, bubbly around the pan edges, and dappled with light golden brown spots, and the rice is perfectly tender when poked with a fork. Remove the skillet from the oven using heat-resistant mitts, and let it rest for 5 minutes before serving.
Step 6
step6:Bake Until Golden Bubbly
7

Garnish and Plate Servings

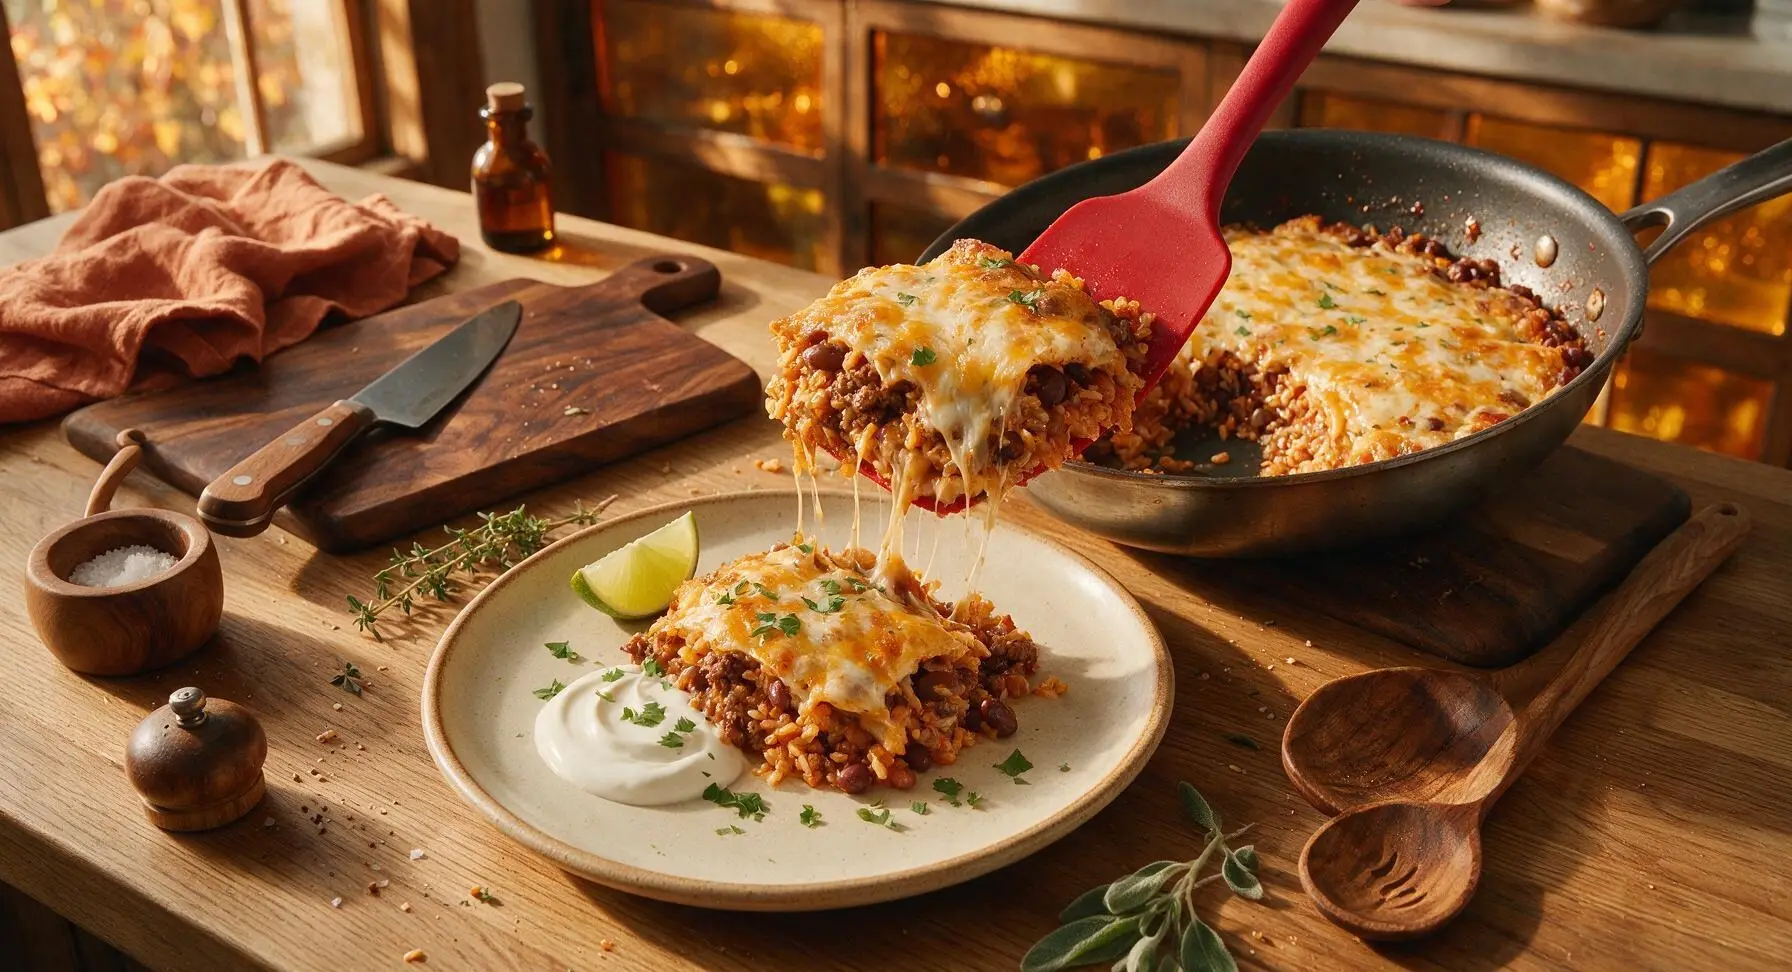
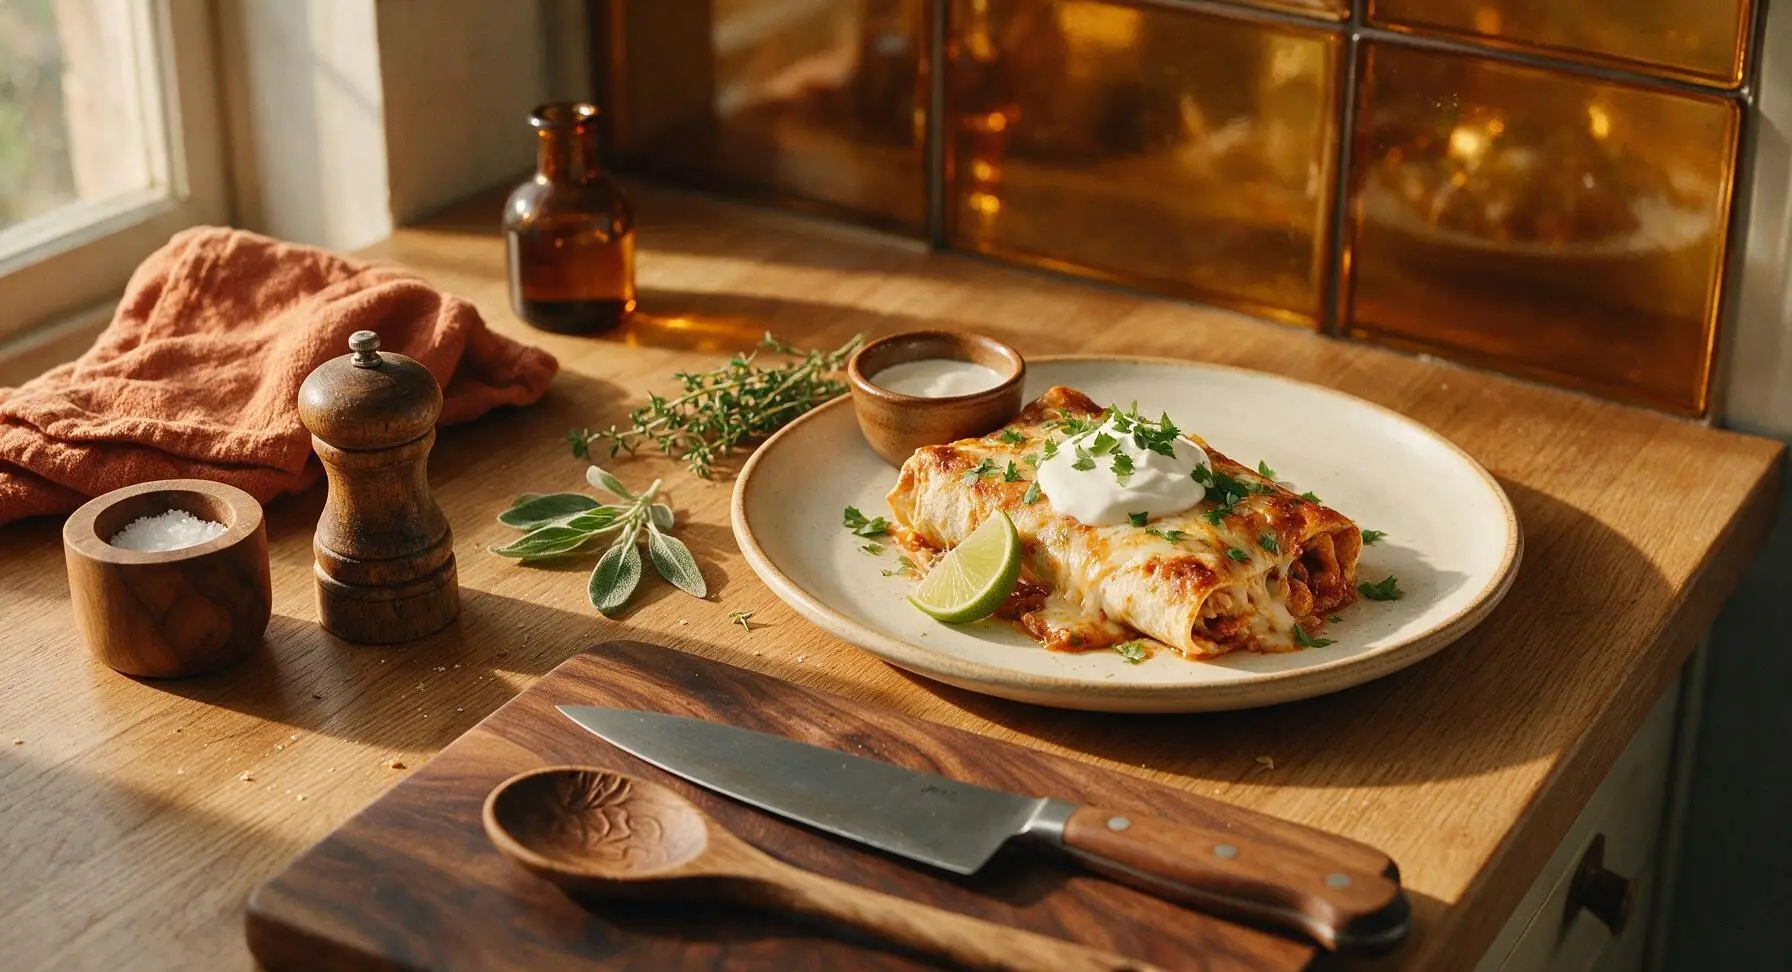
Use the silicone spatula to scoop a generous 1.5-cup portion of the burrito pan onto the matte warm white ceramic dinner plate. Top the serving with a smooth dollop of sour cream, a light sprinkle of chopped fresh cilantro, and a wedge of fresh lime for squeezing. Serve immediately while the cheese is still stretchy and hot.
Step 7
step7:Garnish and Plate Servings
Step 7
step7:Garnish and Plate Servings

Tips

1.Skip rinsing the uncooked rice before adding it to the skillet: the thin layer of surface starch helps thicken the tomato-based filling slightly, creating a cohesive texture that holds together when scooped, instead of turning out watery or separated.
2.Add 1/2 cup of crushed plain tortilla chips over the top cheese layer during the last 5 minutes of baking for extra crunch: the chips toast slightly without burning, adding a textural contrast that soft baked tortilla strips can’t match.
3.Let the baked skillet rest for the full 5 minutes after pulling it from the oven: this short rest lets the rice absorb any remaining free liquid and the melted cheese set slightly, so portions scoop cleanly onto plates instead of sliding apart into a loose mess.


✨ You May Also Like

Main Course
🍜 United Kingdom

A showstopping classic of tender seared beef, savory mushroom duxelles, and crisp prosciutto wrapped in flaky golden puff pastry, baked to juicy perfection.

⏱️ 2 hours 1Main Course ★ 4.7
Main Course
🍜 India

Tender charred marinated chicken simmered in a rich, spiced creamy tomato sauce, this iconic Anglo-Indian curry pairs perfectly with basmati rice or warm naan.

⏱️ 50 minuteMain Course ★ 4.6
Main Course
🍜 Thailand

Classic tangy, sweet, and savory Thai stir-fried rice noodles with shrimp, tofu, and crunchy garnishes, balancing all five core Thai flavor profiles.

⏱️ 30 minuteMain Course ★ 4.5
Main Course
🍜 United Kingdom

Crispy golden beer-battered cod and fluffy double-fried chips, served with tangy tartar sauce and malt vinegar: the timeless, beloved British pub comfort classic.

⏱️ 45 minuteMain Course ★ 4.7
Main Course
🍜 Mexico

Smoky, chile-marinated pork tacos with caramelized pineapple, fresh cilantro, and lime: a beloved classic Mexican street food perfect for casual summer gatherings.

⏱️ 1 hour 45Main Course ★ 4.8
Main Course
🍜 United States

Crunchy Fritos corn chips layered with savory beef chili and melted cheddar, topped with cool, zesty fixings for a beloved, cozy Tex-Mex comfort food.

⏱️ 35 minuteMain Course ★ 4.8

burrito pan:Frequently Asked Questions

1.Can I use a different ground meat instead of the 90/10 lean ground beef? ▾
Absolutely! 90/10 beef is ideal because it doesn’t leave excess grease that makes the pan soggy, but you can swap in ground turkey, ground chicken, or plant-based crumbles. If you use a fattier blend like 80/20, fully drain all rendered grease after browning before adding other ingredients to keep the final texture firm, not mushy.
2.Do I have to use long-grain white rice, or can I swap in another rice variety? ▾
Long-grain white rice is preferred because it cooks up light, fluffy, and doesn’t turn gummy as it bakes with other ingredients. You can use long-grain brown rice, but parboil it for 15 minutes first since it takes far longer to cook. Skip short-grain or sticky rice, as it will make the dish dense and clumpy instead of light and textured.
3.How do I keep this one-pan dish from getting soggy as it bakes? ▾
Sogginess almost always comes from excess moisture, so take a few quick steps to avoid it: fully rinse and drain your black beans, don’t thaw frozen corn ahead (it adds just the right amount of moisture as it cooks), and drain any grease from browned beef. Leave the pan uncovered for the last 10 minutes of baking to let the top crisp slightly instead of steaming.
4.Can I prep this burrito pan ahead of time for busy weeknights? ▾
Absolutely—this is one of the best meal prep-friendly weeknight dishes out there. You can chop the onion, brown the beef, rinse the beans, and measure out corn and rice up to 3 days ahead, stored separately in the fridge. You can even assemble the full unbaked pan 24 hours ahead, covered tightly, and pop it straight in the oven when you’re ready to eat.
5.What kind of cheese works best for that classic gooey burrito topping? ▾
For that signature stretchy, savory Tex-Mex melt, reach for a shredded blend of Monterey Jack and mild cheddar—it has the perfect creaminess and balanced, sharp, kid-friendly flavor. Pre-shredded cheese works for quick convenience, but shredding your own from a block melts smoother, since pre-shredded packs have anti-caking coatings that can make the topping slightly grainy.
6.I don’t have canned black beans—what’s a good substitute? ▾
No stress! You can swap black beans for an equal amount of rinsed, drained pinto beans, which have that same creamy, earthy profile that pairs perfectly with Tex-Mex flavors. If you don’t eat beans, swap in extra corn, diced bell pepper, or roasted cubed sweet potato to keep the dish hearty and add great textural contrast.
7.How do I know when the burrito pan is fully done baking? ▾
You’ll know it’s ready when the rice is completely tender (no crunchy, raw bits when you poke the center of the pan with a fork), the edges are bubbling slightly, and the cheese on top is fully melted and just starting to turn golden brown in spots. If your oven runs hot, start checking 5 minutes early to avoid burning the cheese or drying out the rice.
8.What toppings do you recommend serving with this burrito pan? ▾
This dish is made for customizing right before serving! My go-to toppings are a dollop of sour cream, fresh pico de gallo, sliced avocado, a squeeze of lime juice, chopped cilantro, or a dash of your favorite hot sauce for extra kick. Wait to add fresh, cold toppings until right before you serve so they don’t wilt or get mushy on the hot bake.
9.How should I store leftovers, and how long will they stay good? ▾
Let leftovers cool completely to room temperature within 2 hours of baking, then portion into airtight containers and stash in the fridge for up to 4 days. Reheat individual servings in the microwave for 1 to 2 minutes, or warm a larger batch in the oven at 350°F covered with foil for 15 minutes. Leftovers also freeze well for up to 3 months.

Comments (18)

2 hours ago

OMG this Classic Burrito Pan is a total game changer for weeknight dinners! I threw it together after work in 28 minutes flat, my two picky kids devoured it and asked for seconds. I added a dollop of sour cream on top and it was *chef’s kiss*.

30 minutes ago

Same! My kids are so picky too, I never thought they’d go for a one-pan meal but they ate every bite. I tossed in some extra black beans because we love them.

5 minutes ago

So happy to hear your family loved it, Sarah! Adding extra black beans is such a great call, it adds extra fiber and heartiness for not much extra work.

3 days ago

Perfect for Sunday meal prep! I made a big batch on Sunday, portioned it out into containers, and it reheated beautifully all week for lunches. Way better than the sad takeout burritos I usually grab on my lunch break.

2 days ago

Thrilled this works for your meal prep routine! Pro tip: add a little splash of water when reheating to keep the rice from drying out.

1 week ago

Made this for our neighborhood potluck last weekend and people were begging for the recipe! Super easy to scale up for a crowd, I added a little extra taco seasoning to give it a tiny kick and everyone raved. Will absolutely be making this again.

2 days ago

Pretty solid recipe! Cook time was exactly 30 minutes like it said, which was perfect for my busy weeknight. My only note is that I wish it had a little more flavor on its own, I ended up adding extra cumin and a squeeze of lime at the end to jazz it up.

yesterday

Thanks for the honest feedback! Adding extra cumin and lime is such a great flavor boost, we love that customization. We’re testing a version with a little extra built-in citrus for folks who love that bright taste!

5 days ago

My husband and three sons all went back for thirds??? I’ve never had a recipe go over that well at our house. It’s so easy I even let my 10 year old help chop the veggies for it, he thought he was a real chef. 10/10, adding this to our weekly rotation.

3 days ago

Wait that’s such a good idea to let the kids help! My 8 year old is always asking to help cook, this seems like the perfect low-mess recipe to let her participate.

2 days ago

That makes our day to hear! We love recipes that the whole family can get involved in making, especially ones that don’t leave a huge pile of dishes afterward.

30 minutes ago

Wait this is SO good! I added a diced jalapeño and a handful of pickled red onions on top and it tasted just like the burrito bowls I get at my favorite fast casual spot, but half the price. Saved me like $12 this week making it at home lmao.

5 minutes ago

Omg the pickled red onion addition sounds insane! I’m making this tonight, I have a jar in my fridge I’ve been looking for an excuse to use.

just now

Love that spicy swap! Pickled red onions add the perfect tangy crunch to cut through the savory flavors, we’re definitely going to try that next time we make it ourselves.

2 days ago

As someone who can barely make mac and cheese without burning it, this recipe was foolproof! I had all the ingredients already in my pantry and fridge, no fancy stuff required. My roommates thought I ordered takeout lmao.

yesterday

Same! I’m in a tiny dorm with just a hot plate and a skillet, and this still turned out perfect. No fancy equipment needed at all.

2 weeks ago

So happy I found this! It’s naturally gluten free if you use GF taco seasoning, which I did, and it didn’t taste “diet” at all. My non-gluten-free boyfriend didn’t even notice a difference, he just kept saying how good it was. Will make again for sure.

30 minutes ago

Made this last night with a side of tortilla chips and a cold margarita, and it was the perfect low-effort Friday night dinner. Didn’t have to run to the grocery store for anything, I just used the ground turkey I had in the freezer instead of beef and it worked great.

5 minutes ago

Ground turkey swap is genius! I’ve been trying to cut back on red meat, I would’ve never thought to use that here, definitely trying that next time.

just now

So glad the ground turkey swap worked for you! Ground chicken or even plant-based crumbles work great too for anyone looking to mix up their protein.

5 minutes ago

The leftovers are even better the next day, I’m not even kidding. The flavors meld together so much overnight, I ate a cold bowl straight out of the container for breakfast this morning no shame.

just now

No shame at all! We’re big fans of cold leftover burrito pan for breakfast too, sometimes we top it with a fried egg for a little extra protein.

yesterday

Made this for our football watch party yesterday instead of the usual nachos, and it was a total hit! I set out bowls of guac, salsa, sour cream, and shredded cheese so people could top their own portions, and everyone went back for seconds. Way less messy than nachos too.

2 hours ago

That’s such a good watch party idea! I’m hosting the next game at my house, I was trying to think of something that’s not the same old chips and dip, this is perfect.

30 minutes ago

What a fun game day spread! The build-your-own topping bar is such a great touch, it lets everyone customize their serving to exactly what they like.

1 week ago

I swapped the meat for extra bell peppers, corn, and black beans to make it vegetarian, and it was so hearty I didn’t even miss the beef! Super versatile recipe, love that you can tweak it to fit whatever diet you follow.

2 hours ago

I can already tell this is going to be 5 stars, quick question before I make it tonight! Do you cook the rice first before adding it to the pan? I’m super new to cooking and I don’t want to mess this up, it looks so good I really want to get it right on the first try.

30 minutes ago

Great question! We use pre-cooked rice (leftover or microwavable pouch rice works great!) to keep the cook time to 30 minutes. If you use uncooked rice, you’ll need to add extra broth and cook it for an extra 15-20 minutes until the rice is tender.

3 days ago

I added a whole extra cup of shredded Mexican blend cheese on top during the last 5 minutes of cooking and it got all bubbly and golden, I swear that made it taste like restaurant quality. So cheesy, so good, my mouth is watering just thinking about it.

2 days ago

OH the extra melted cheese on top is non-negotiable for me too! I use a mix of cheddar and pepper jack for a little kick, it’s so good.

yesterday

Bubbly melted cheese makes everything better! We love the pepper jack swap too, it adds just the right amount of heat without being overpowering.

2 weeks ago

30 minute cook time, one pan to clean? Sign me up. I’m so tired of recipes that say they’re “easy” but leave you with a sink full of dishes and an hour of prep. This one lives up to the easy label, no lie. Made it, ate it, cleaned up in 45 minutes total on a school night.

5 days ago

I thought this was good, but it was a little bland for my taste until I stirred in a half cup of my favorite chunky salsa at the end. That brought it up to a 10/10 for me, just thought I’d share the tip for anyone else who loves extra salsa flavor!

3 days ago

Just tried your salsa tip and you are so right! It adds so much moisture and flavor, I’ll never make this without stirring in salsa at the end again. Thanks for the hack!

1 week ago

Made this for my neighbor who just had a baby, and she texted me two days later saying it was the best meal they got the whole time, even their toddler ate it! It travels so well in a foil pan, no spills, reheats perfectly. Definitely my new go-to meal train recipe.

5 days ago

That is such a thoughtful thing to do for your neighbor! We love hearing that this recipe works for meal trains, it’s such a great way to take care of people without spending hours in the kitchen.

30 minutes ago

Tastes exactly like the inside of my favorite bean and cheese burrito, but without the mess of wrapping burritos. I ate it in a bowl with crushed tortilla chips on top for crunch, and I’m already planning to make it again next week. So easy, so flavorful, no complaints here.



