
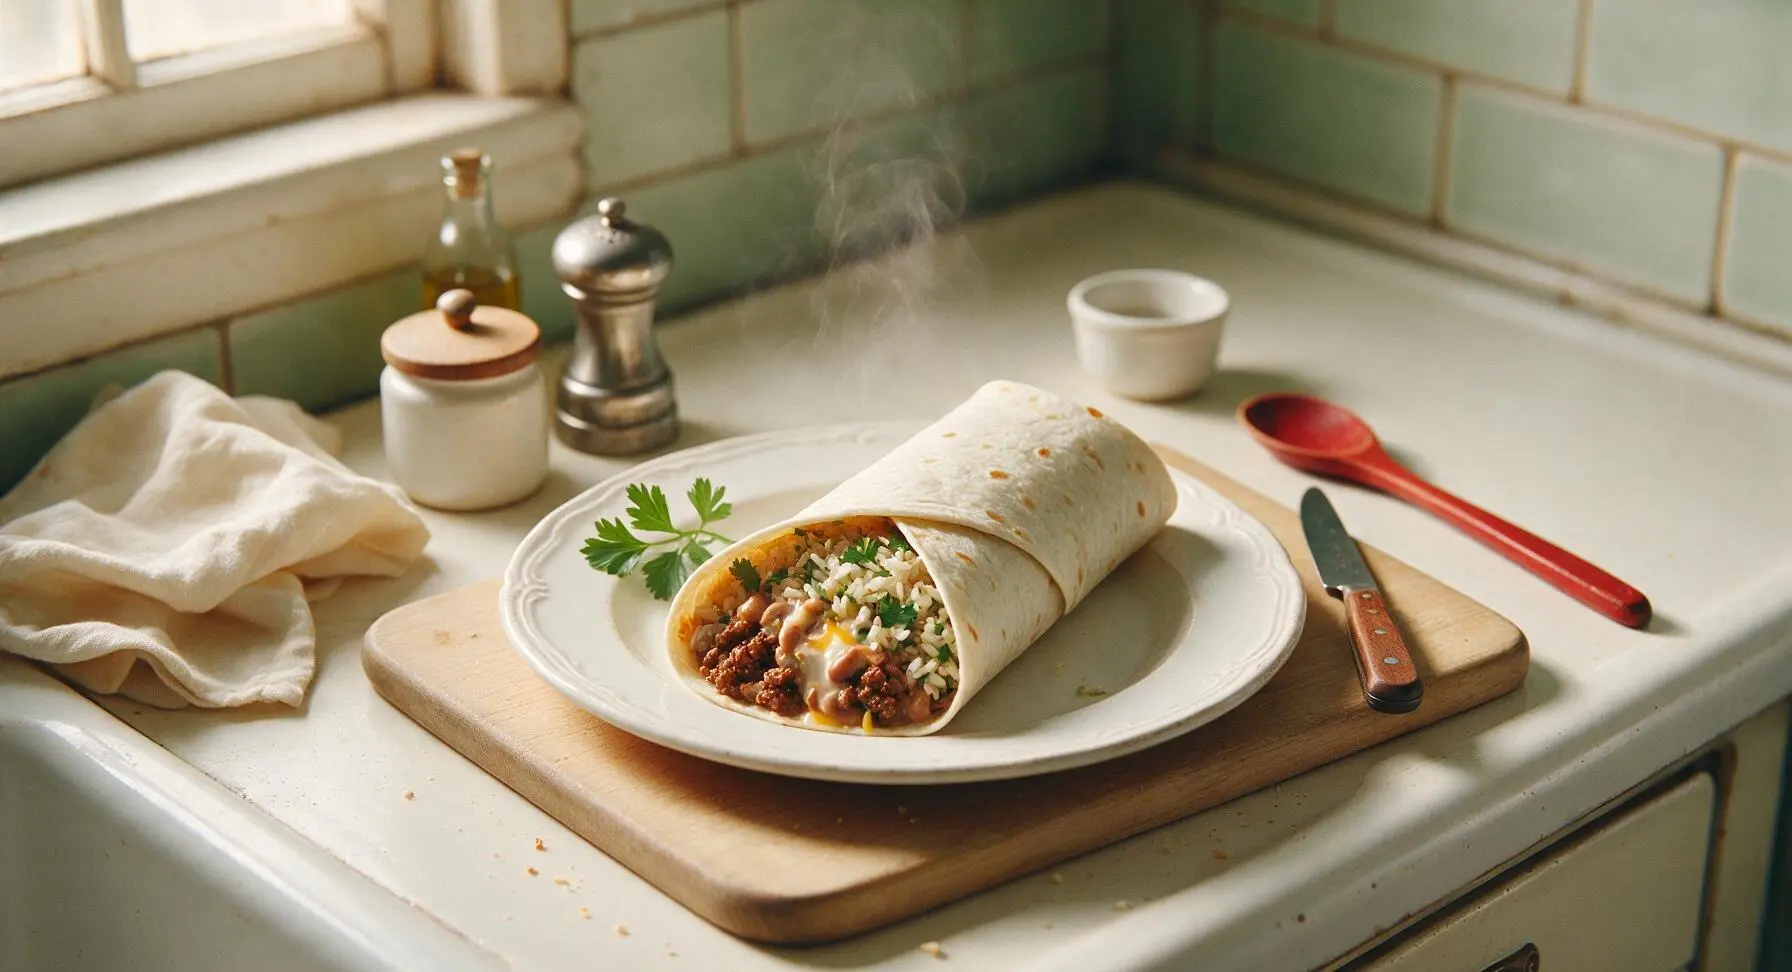
burrito wrap

title 1
burrito wrap
⏱️ cook time 20 minutes
🍽️ servings 4
⚡ Difficulty easy

intro

Warm, pliable flour tortillas stuffed with seasoned beef, cilantro-lime rice, creamy beans, and melted cheese—customizable, filling, and ready in 35 minutes for a no-fuss satisfying meal.

Ingredients
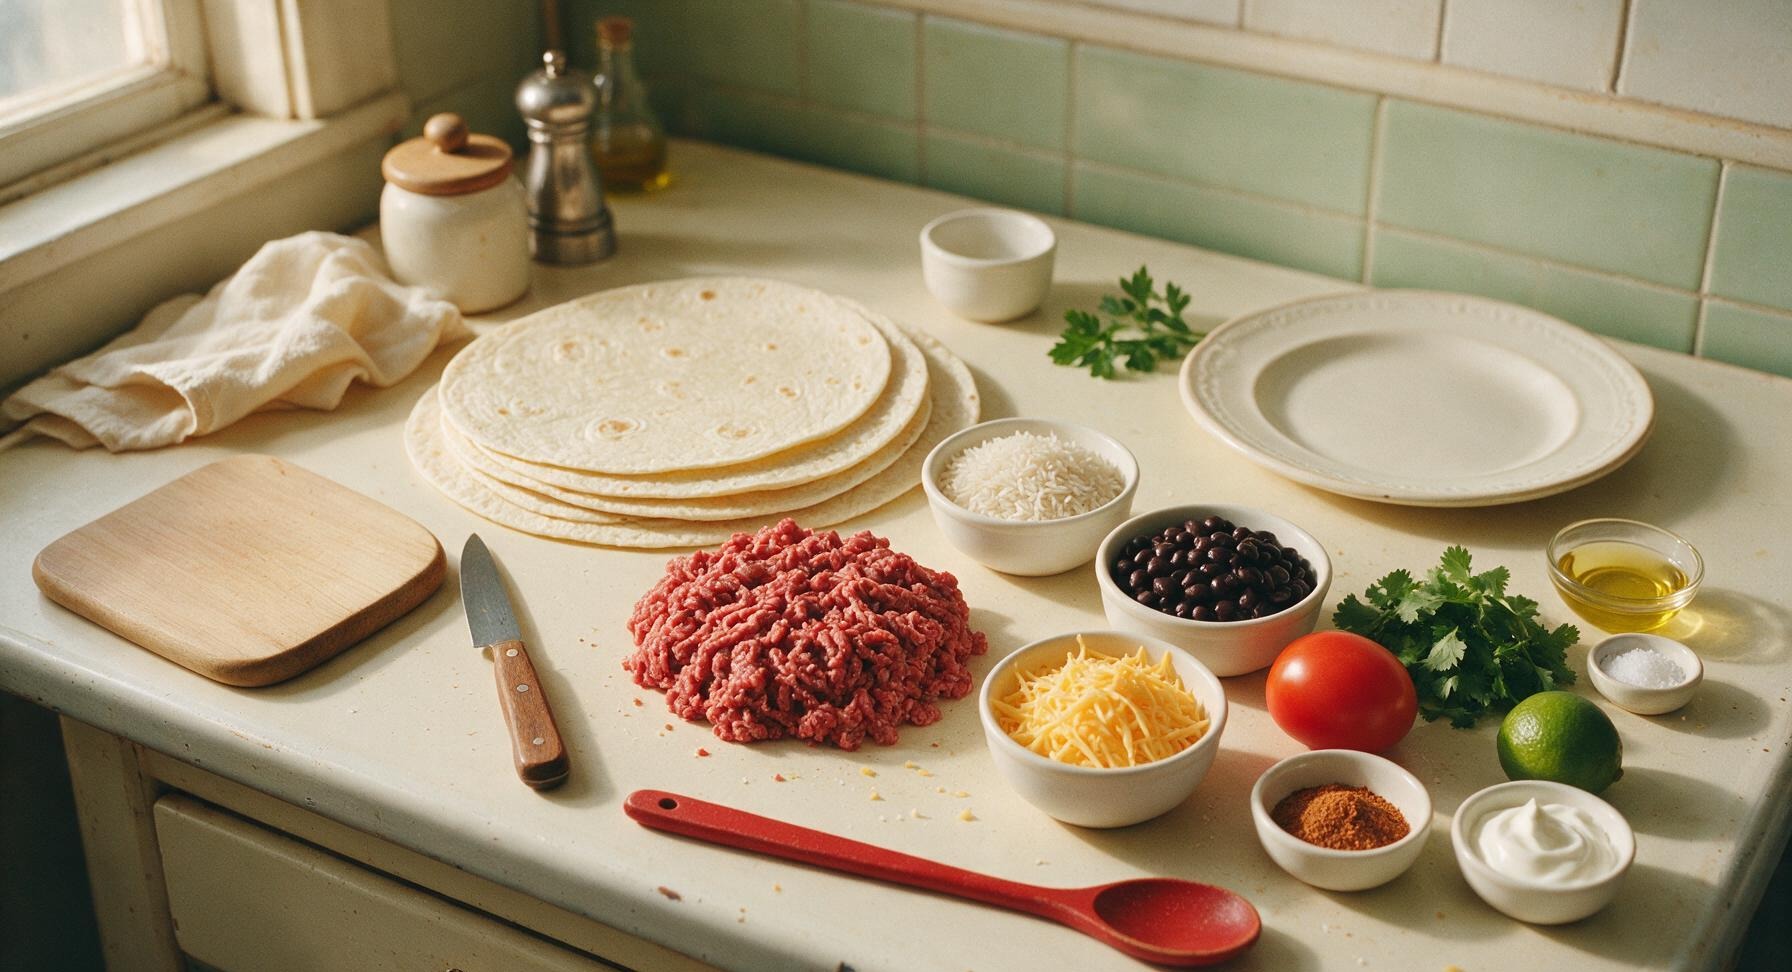
10-inch large flour tortillas 4 each
80/20 ground beef 450g (1 lb)
Uncooked long-grain white rice 150g (3/4 cup)
Canned black beans, drained and rinsed 400g (1 can)
Shredded mild cheddar cheese 100g (1 cup)
Roma tomato 1 medium (120g)
Fresh cilantro 15g (1/4 cup packed)
Fresh lime 1 whole
Taco seasoning mix 2 tablespoons
Sour cream 60g (1/4 cup)
Kosher salt 1 teaspoon
Sunflower oil 1 tablespoon

Steps

1

Cook Cilantro-Lime Rice

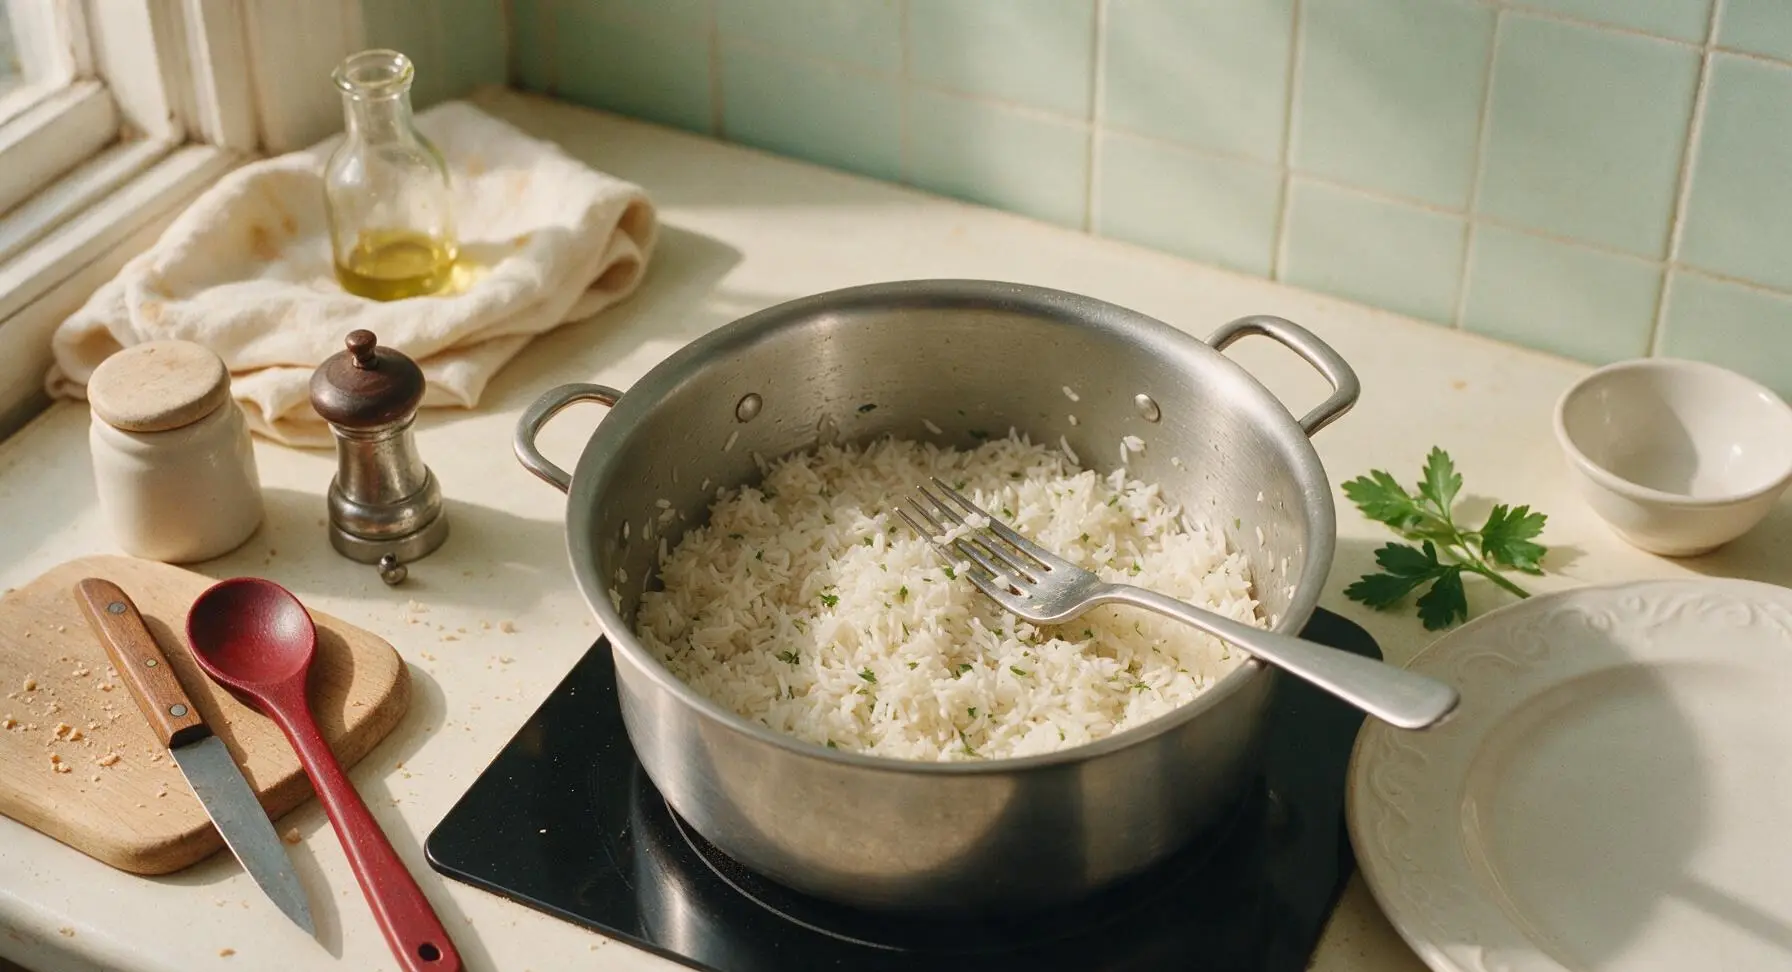
Place the 18cm stainless steel saucepan on the left induction burner, add 375ml (1.5 cups) water, and bring to a rolling boil over medium-high heat. Add 150g long-grain white rice and ½ teaspoon kosher salt, stir once with the off-white silicone spatula, reduce heat to low, cover with the glass lid, and simmer for 15 minutes until all water is fully absorbed and rice is tender. Remove from heat, fluff gently with a fork, then stir in 1 tablespoon chopped cilantro and 1 teaspoon fresh lime juice; cover and set aside to keep warm.
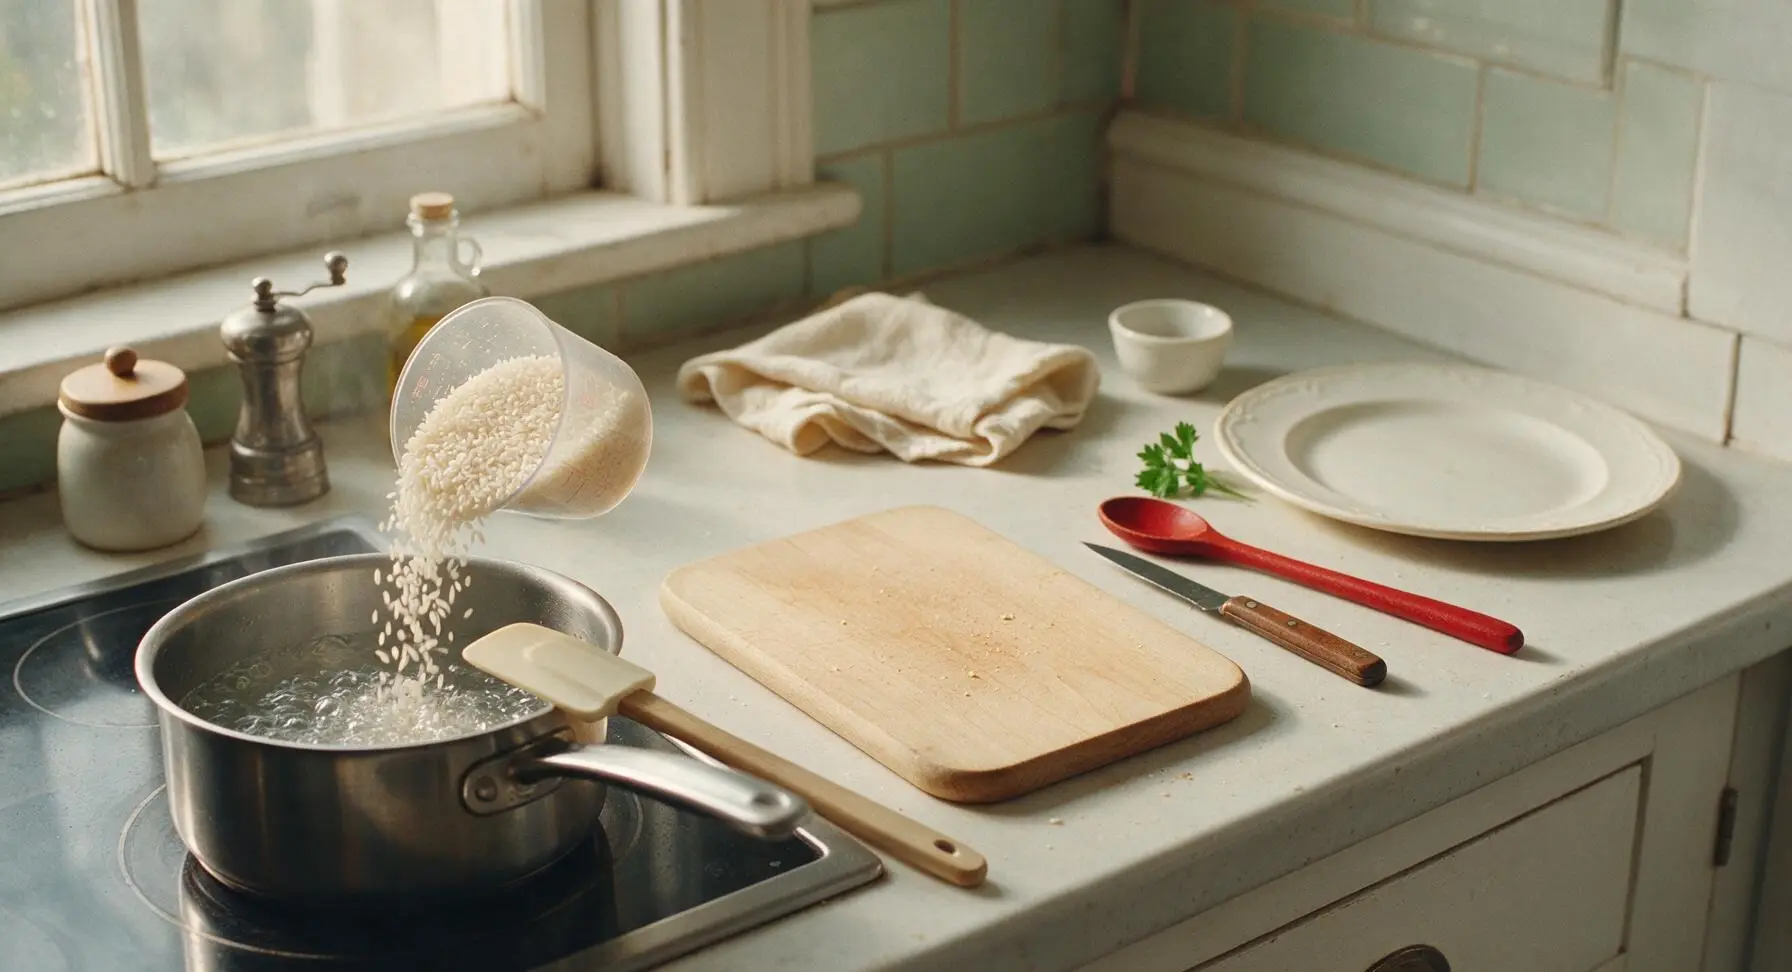
Step 1
step1:Cook Cilantro-Lime Rice
Step 1
step1:Cook Cilantro-Lime Rice
2

Cook Seasoned Ground Beef

Place the 24cm matte black carbon steel skillet on the right induction burner, heat 1 tablespoon sunflower oil over medium heat until shimmering (about 1 minute). Add 450g ground beef to the pan, break apart into small crumbles with the matte black silicone turner, and cook for 6-7 minutes until fully browned with no pink remaining. Drain excess grease from the pan, then stir in 2 tablespoons taco seasoning and 2 tablespoons water, simmer for 2 minutes until the sauce thickens and coats all beef crumbles evenly.
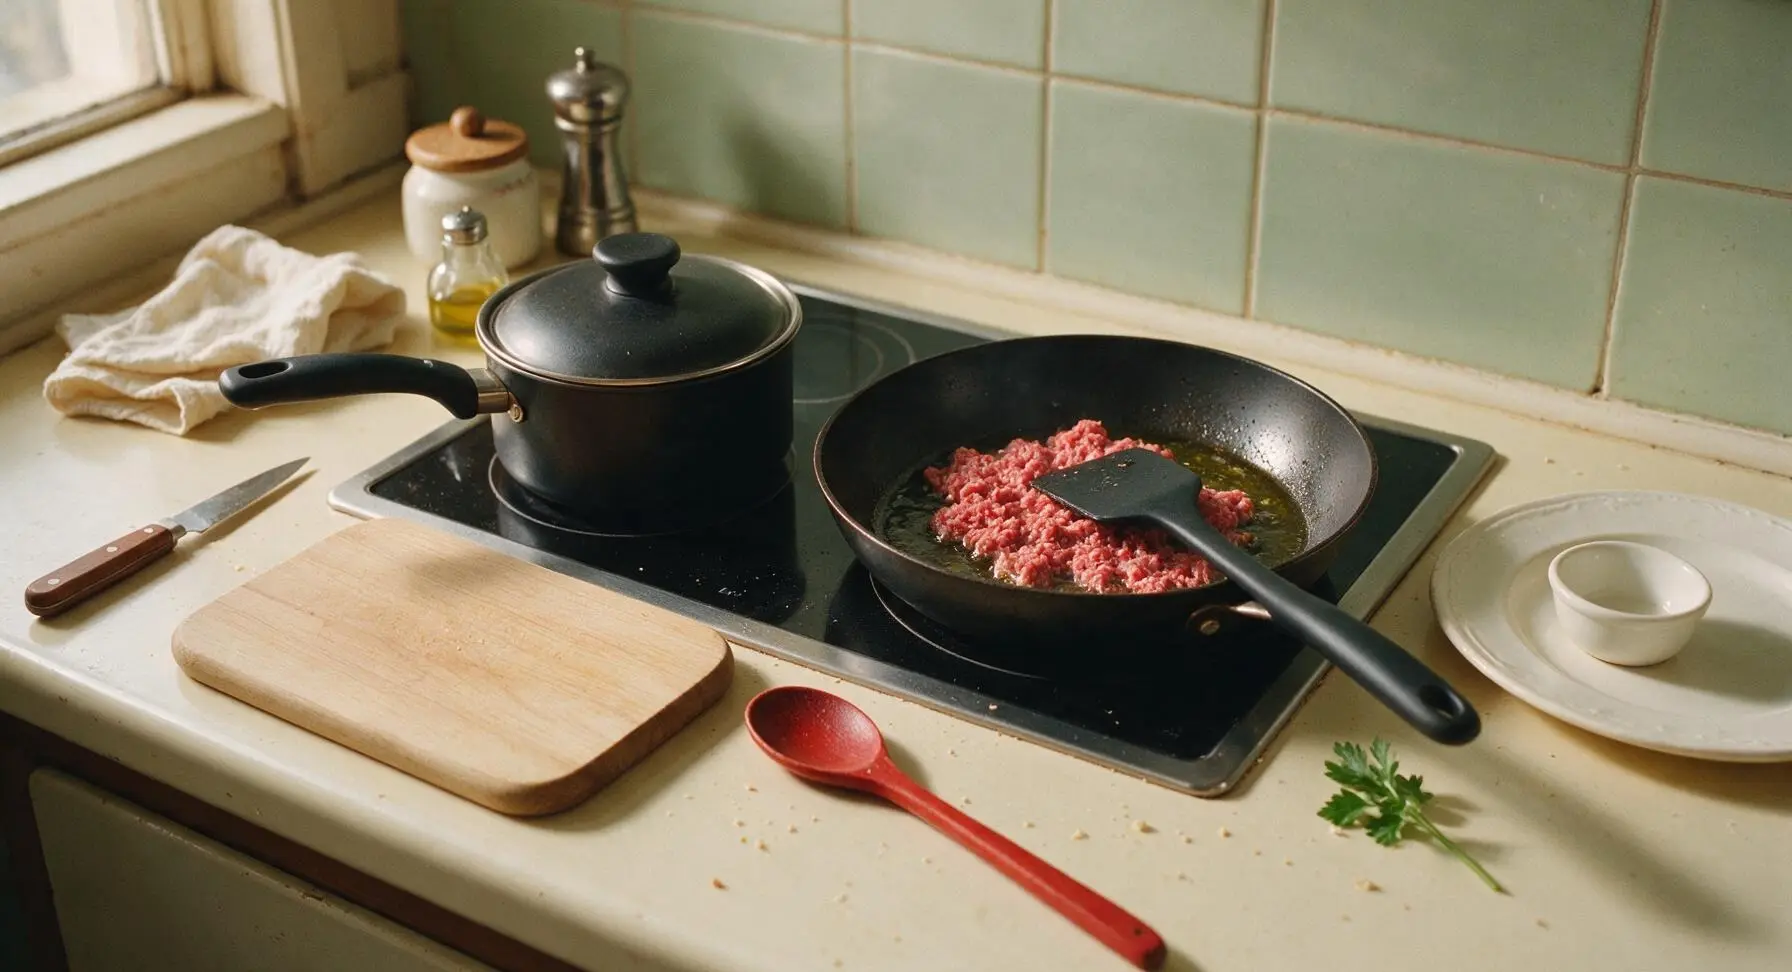
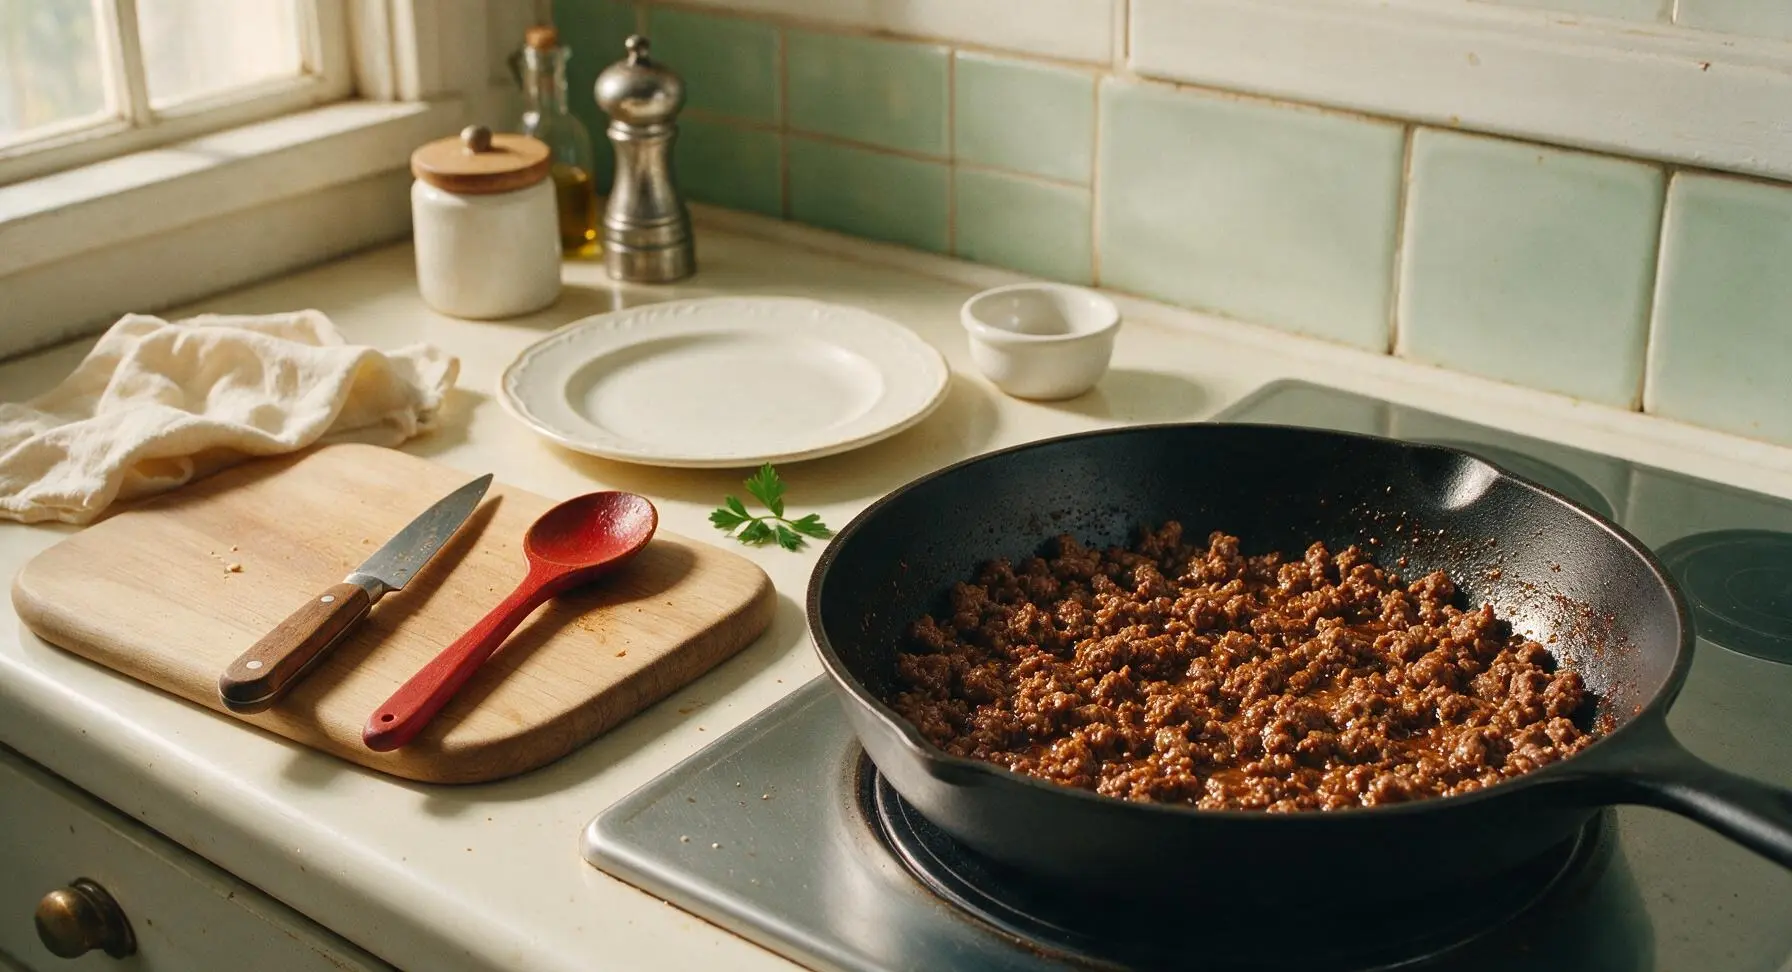
Step 2
step2:Cook Seasoned Ground Beef
Step 2
step2:Cook Seasoned Ground Beef
3

Prep Fresh Fillings

While the beef simmers, place the Roma tomato and remaining cilantro on the central birch cutting board. Use the 7-inch chef’s knife to dice the tomato into 1cm (½-inch) cubes, and roughly chop the remaining cilantro. Cut the lime into 4 wedges for serving, and transfer diced tomato, chopped cilantro, drained black beans, and shredded cheddar into separate small light grey ceramic ramekins lined up along the back counter edge.
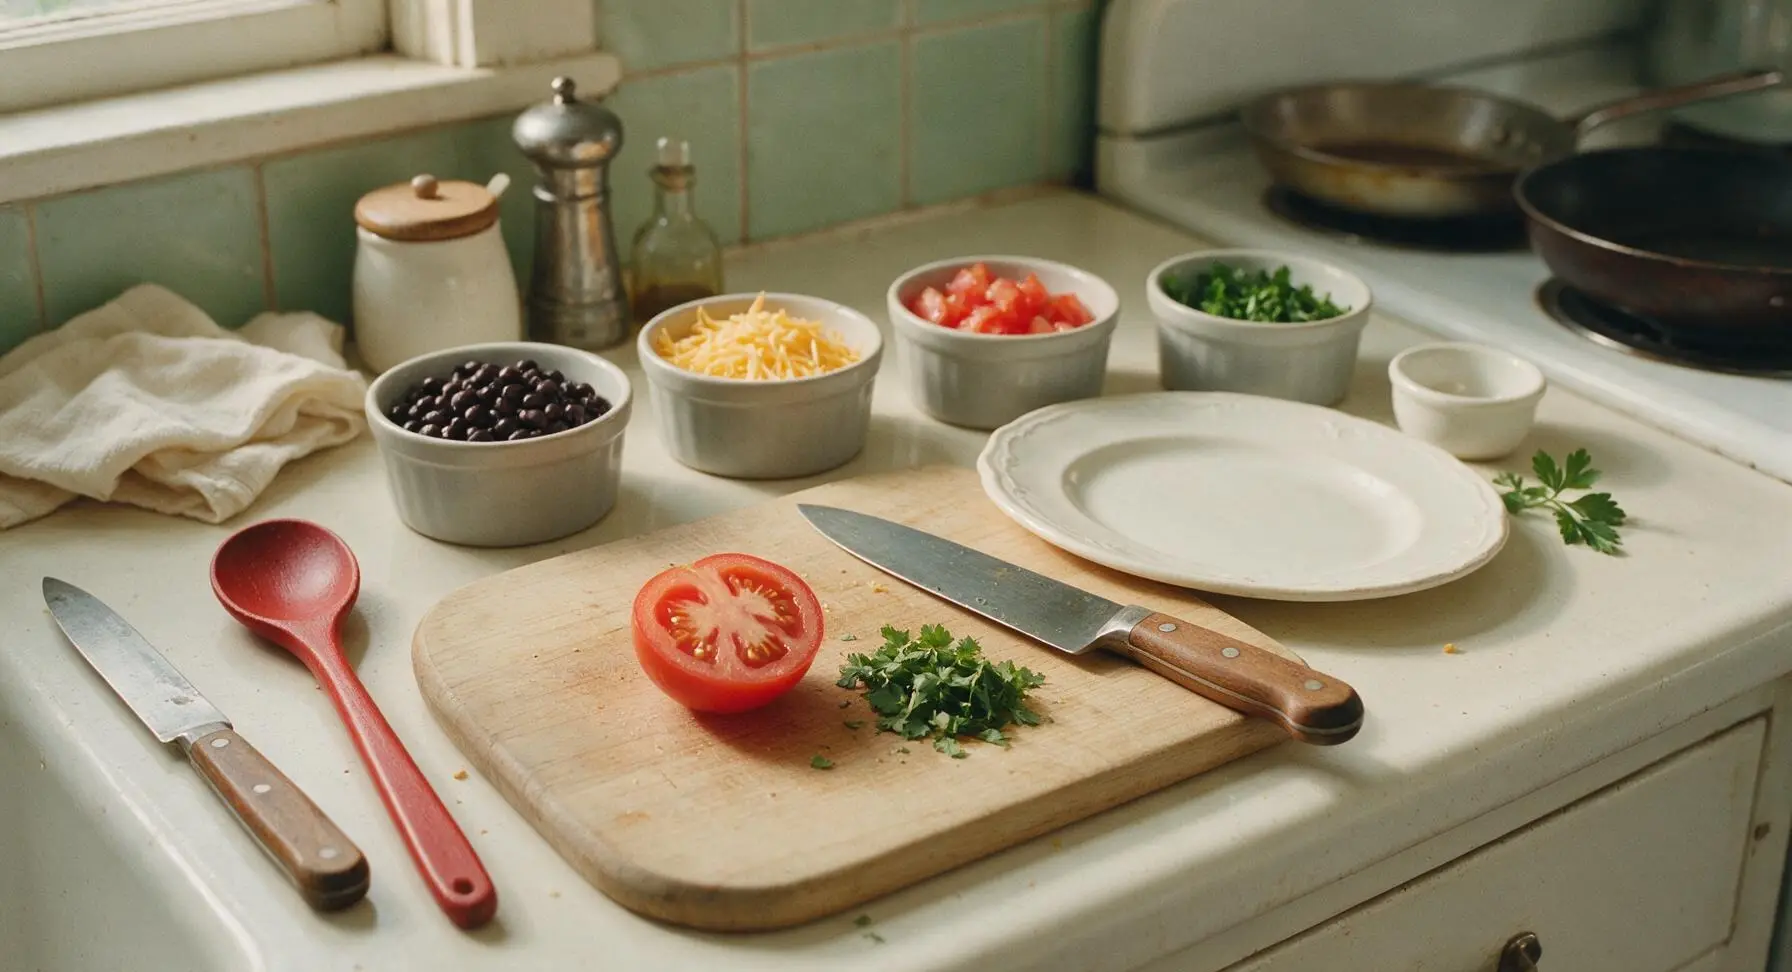
Step 3
step3:Prep Fresh Fillings
4

Warm Flour Tortillas

Reduce heat on the right induction burner to low. Working one at a time, place each flour tortilla in the dry carbon steel skillet for 15 seconds per side, until soft, pliable, and marked with faint light golden brown spots. Stack warmed tortillas on a small piece of aluminum foil and cover loosely to retain heat, as cold tortillas will crack during folding.
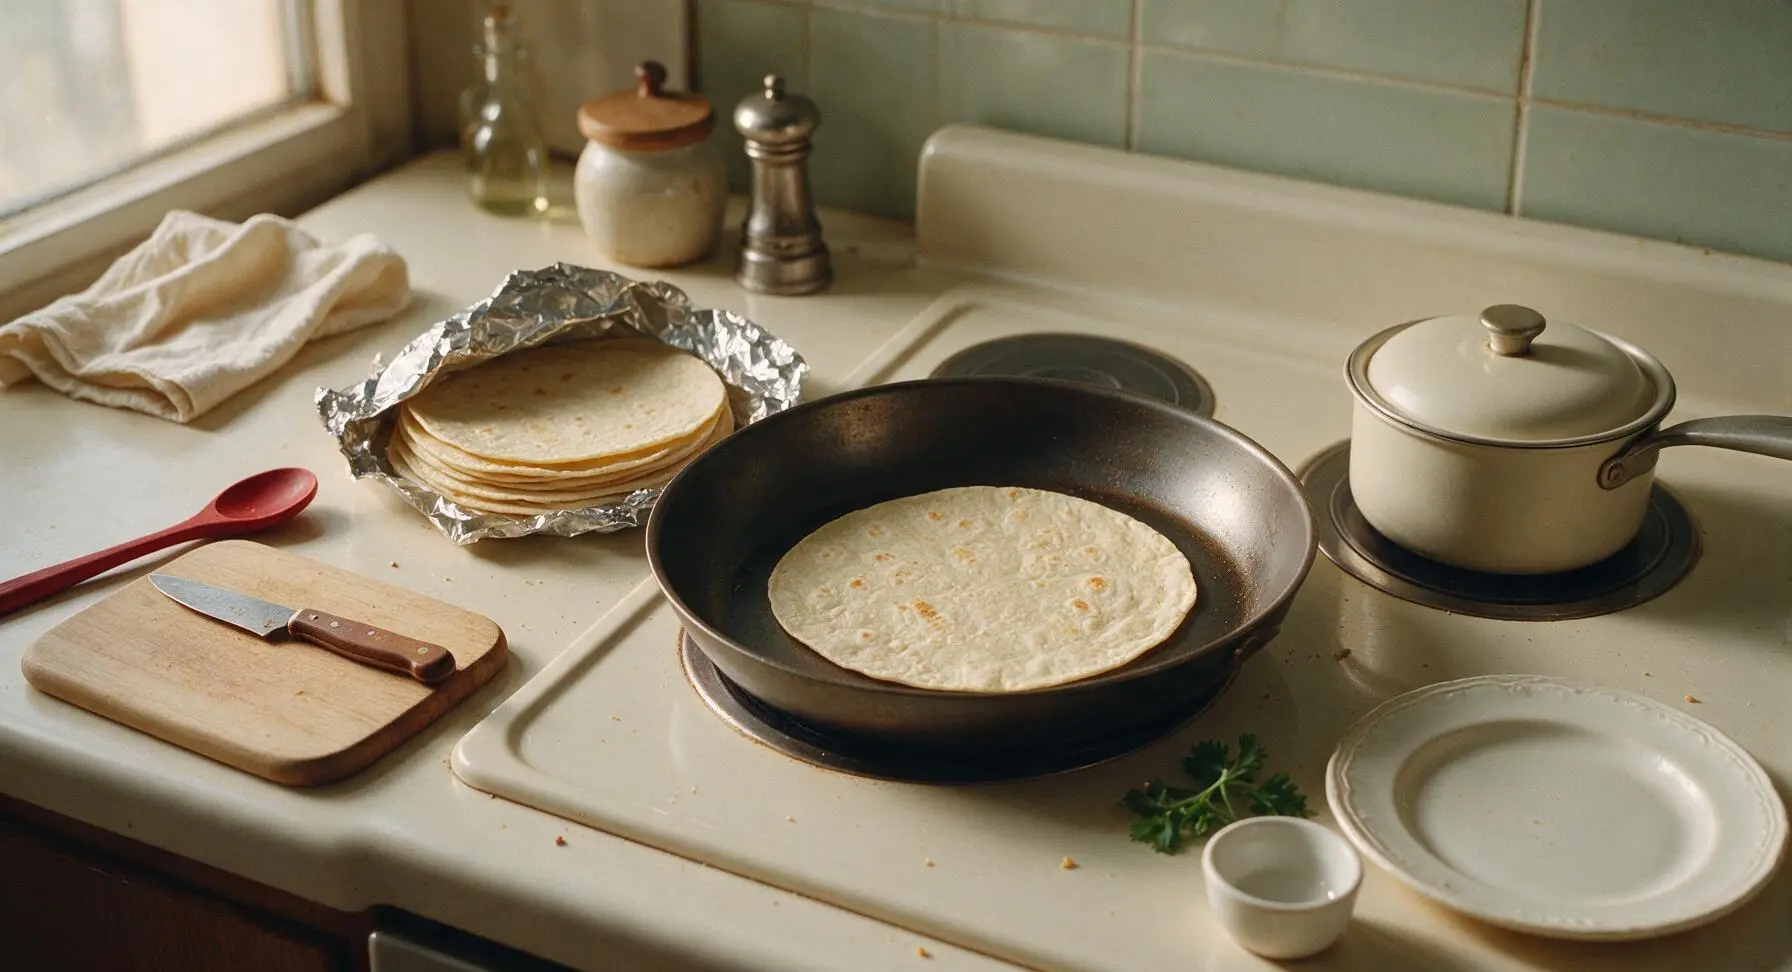
Step 4
step4:Warm Flour Tortillas
5

Layer Fillings Evenly

Lay one warmed tortilla flat on the central birch cutting board. Add ¼ of the cilantro-lime rice in a 10cm (4-inch) wide strip down the center of the tortilla, leaving a 5cm (2-inch) border at the top and bottom. Top the rice with ¼ of the seasoned ground beef, ¼ of the black beans, 2 tablespoons shredded cheddar, 1 tablespoon diced tomato, and a 1-teaspoon dollop of sour cream. Avoid overfilling, as this will cause the burrito to burst when rolled.
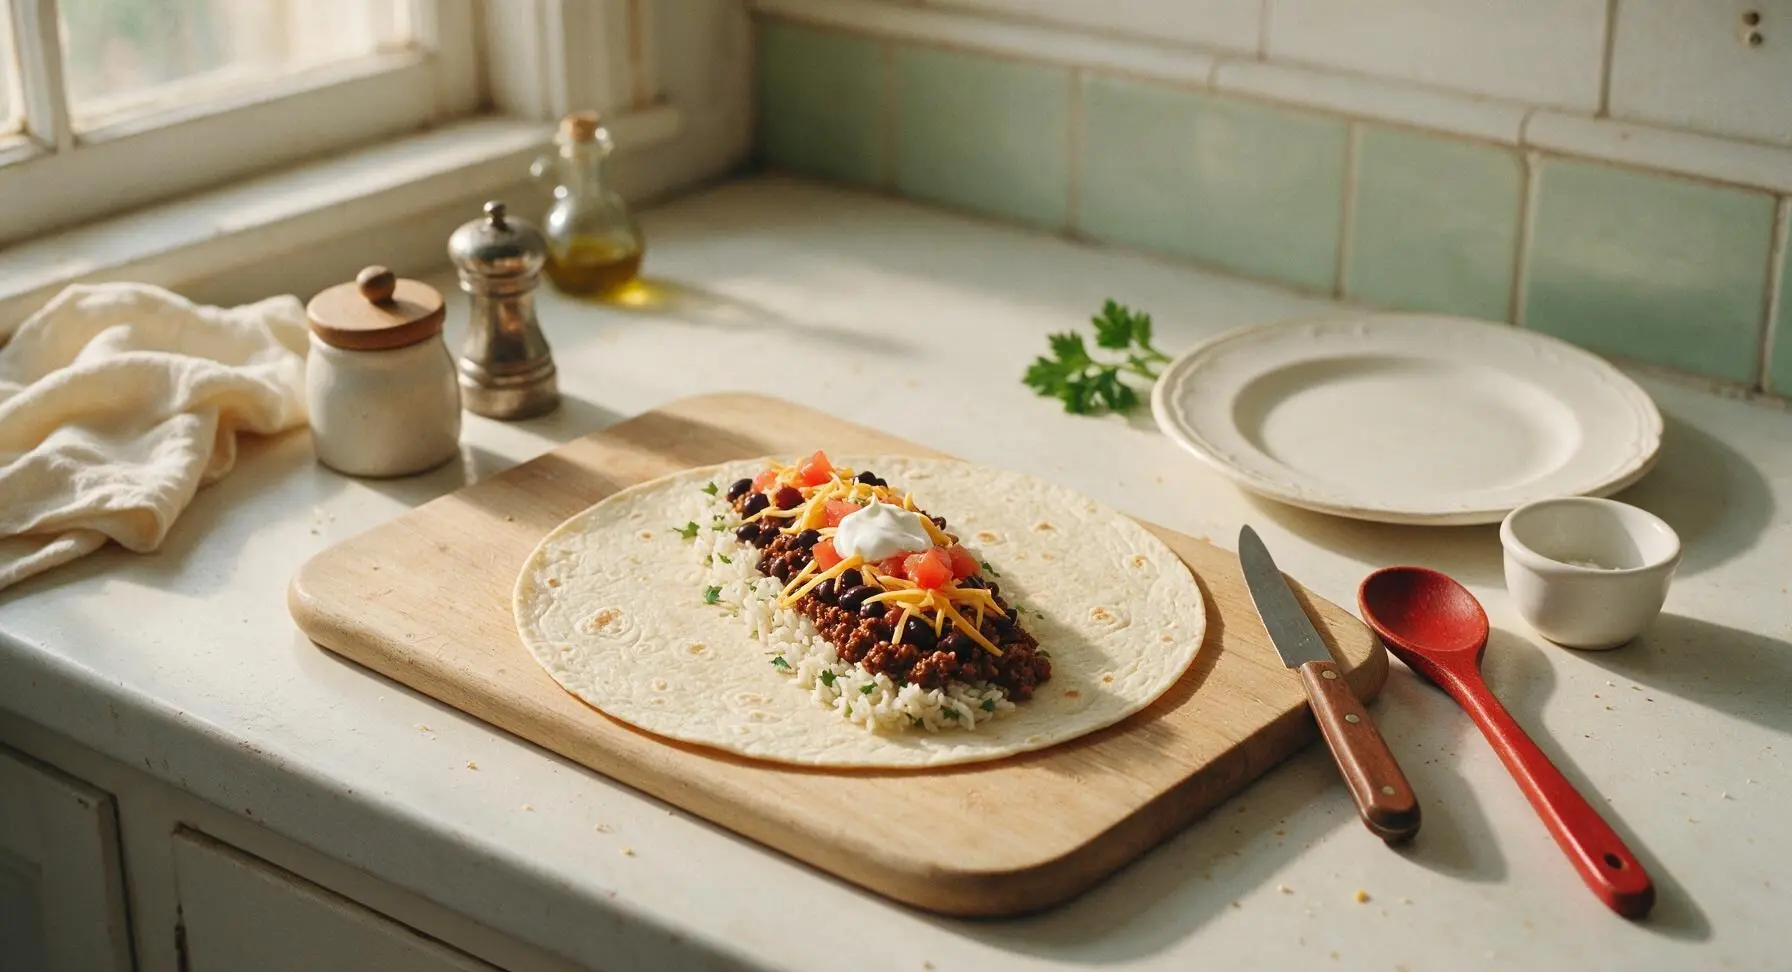
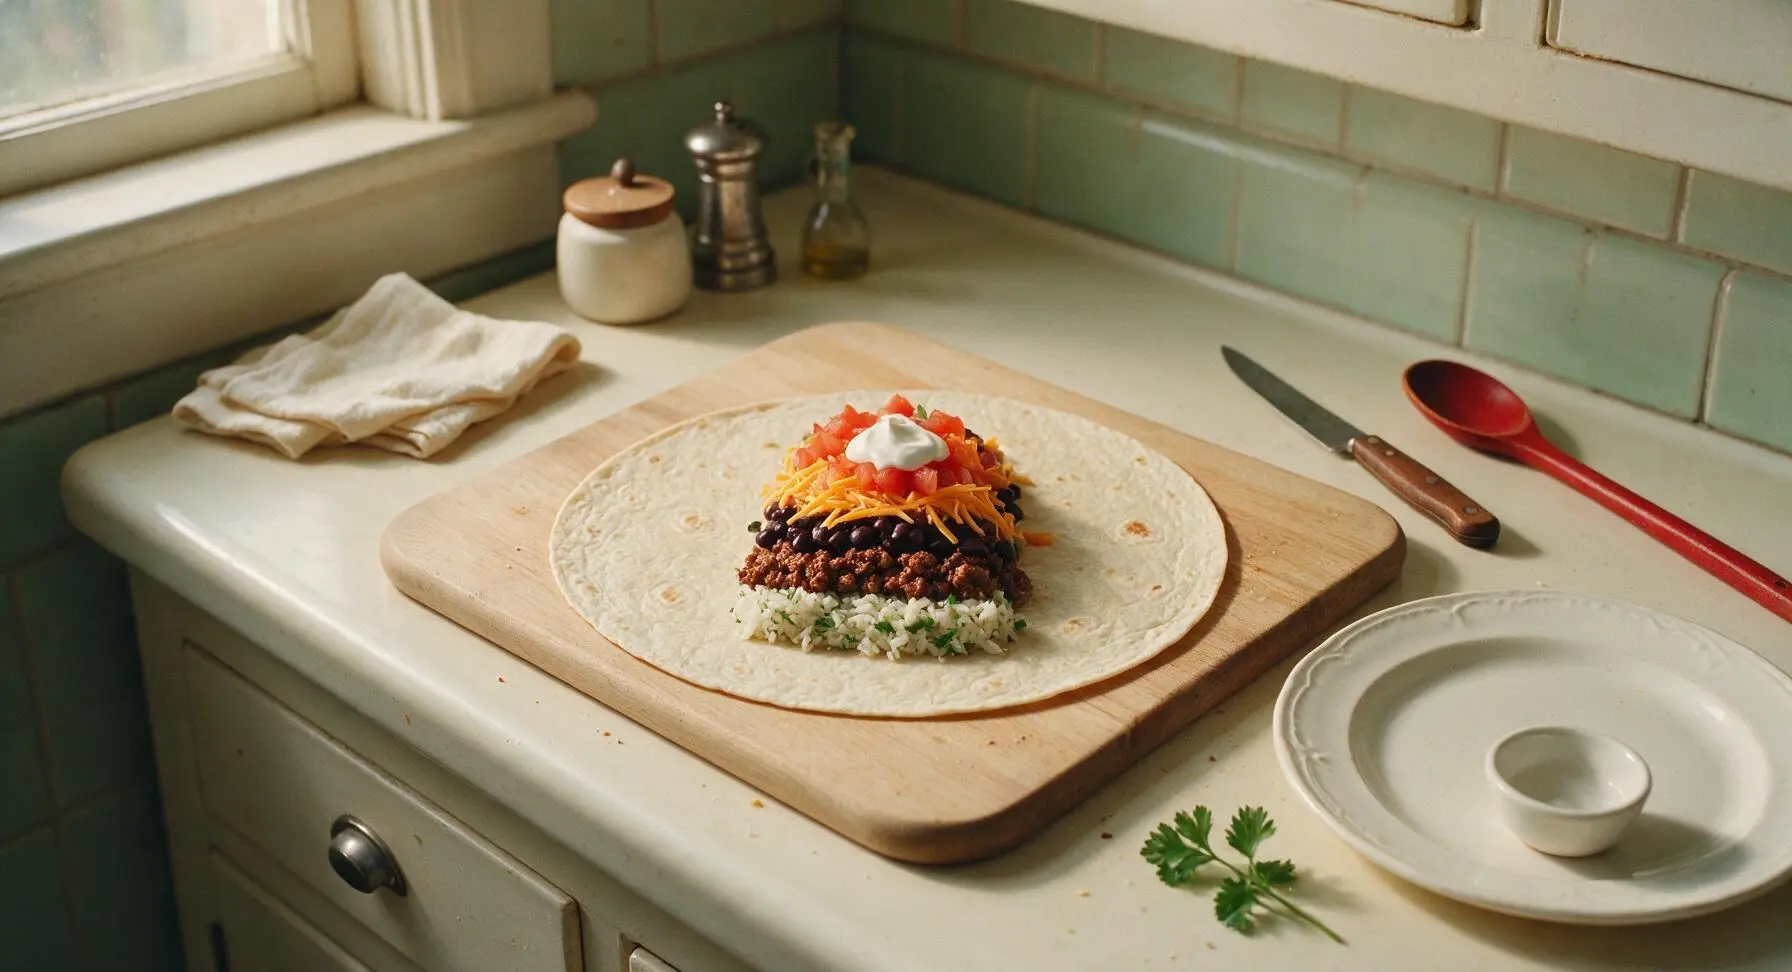
Step 5
step5:Layer Fillings Evenly
Step 5
step5:Layer Fillings Evenly
6

Fold and Roll Tightly

Fold the top and bottom 2-inch borders of the tortilla in over the ends of the filling strip. Hold the folded ends in place with one hand, then use your other hand to fold the left side of the tortilla tightly over the fillings, tucking it under the filling to create a tight seal. Continue rolling the burrito firmly toward the right edge of the tortilla until completely sealed, with the seam side facing down.
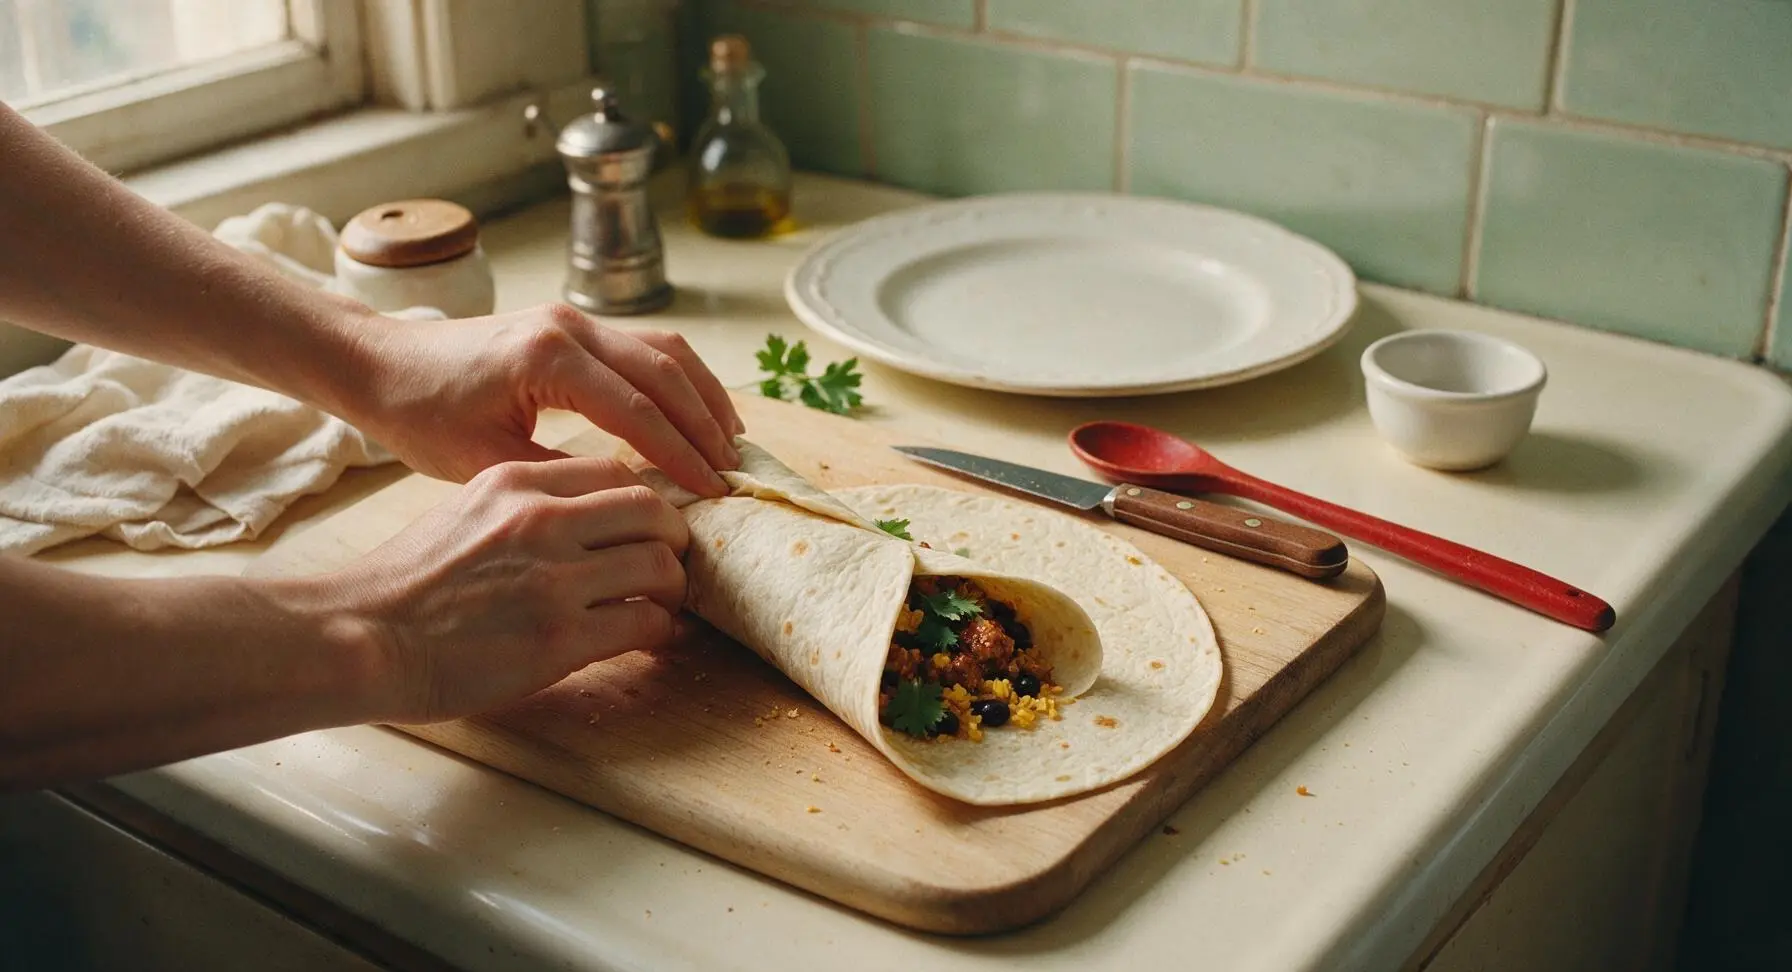
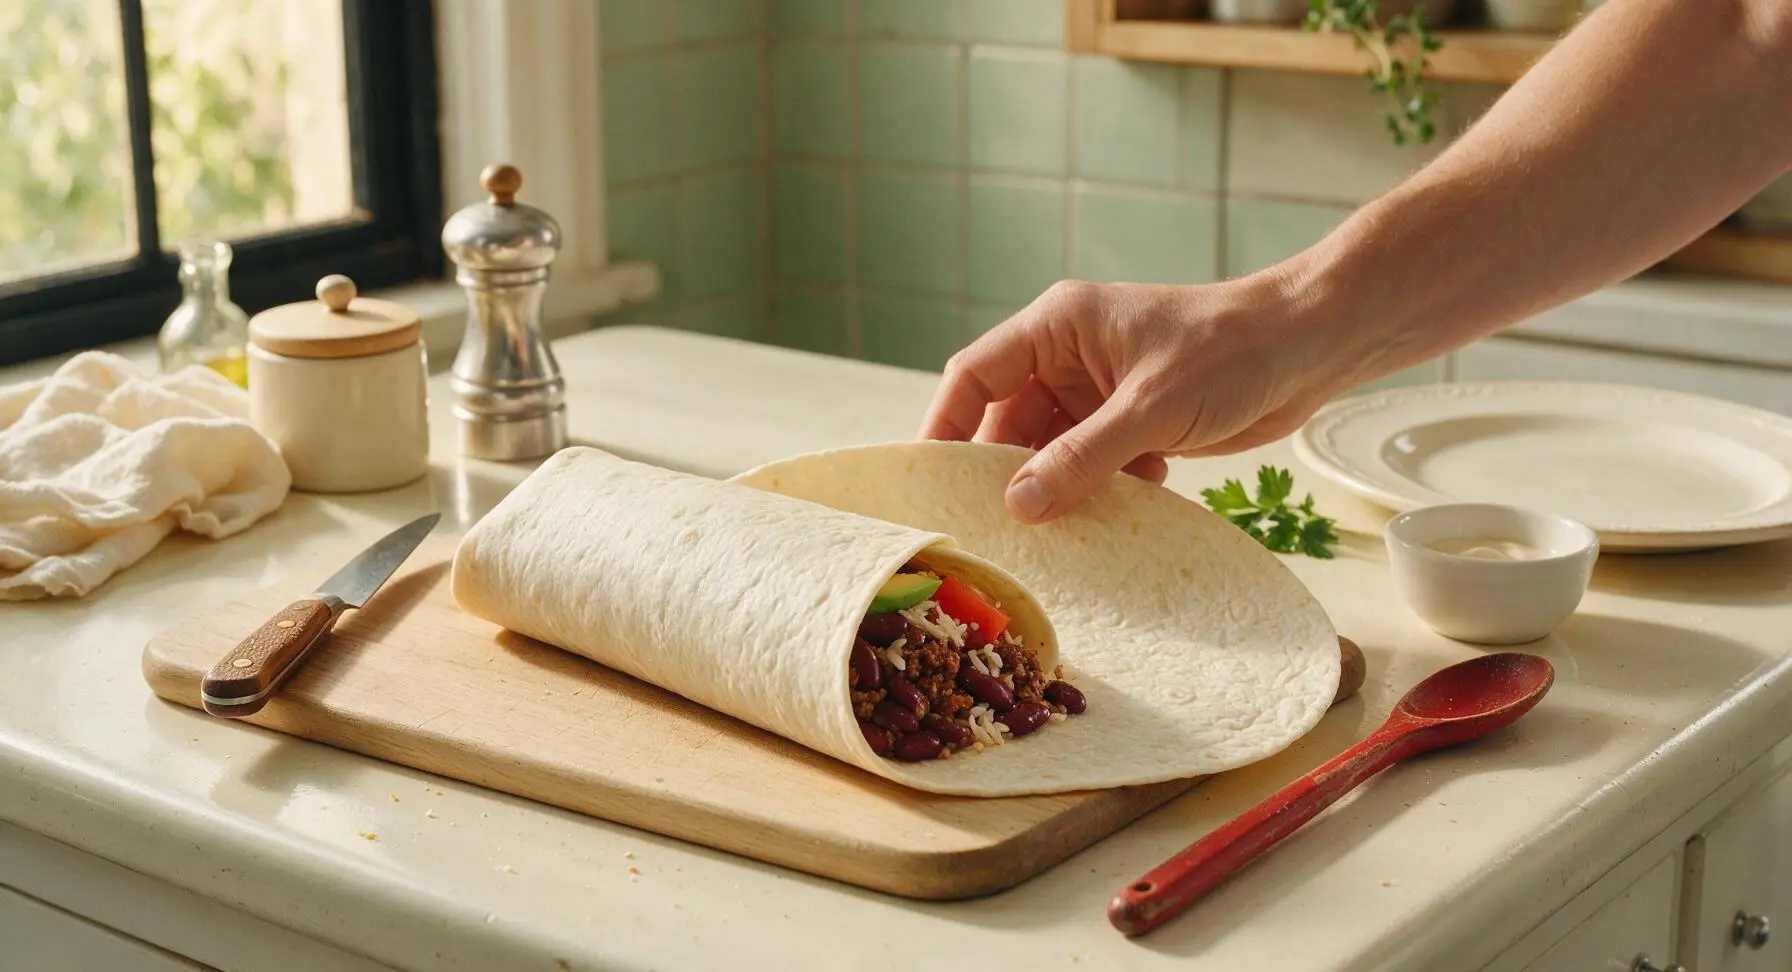
Step 6
step6:Fold and Roll Tightly
Step 6
step6:Fold and Roll Tightly
7

Toast Seam for Crispness

Place each rolled burrito seam-side down in the still-warm dry skillet over low heat for 30-45 seconds, until the seam is fully sealed and marked with a light golden brown crust. Flip once with the matte black silicone turner and toast the opposite side for another 30 seconds, until the entire tortilla exterior is slightly crisp and the shredded cheddar inside is fully melted. Repeat the rolling and toasting process with the remaining 3 tortillas and fillings.
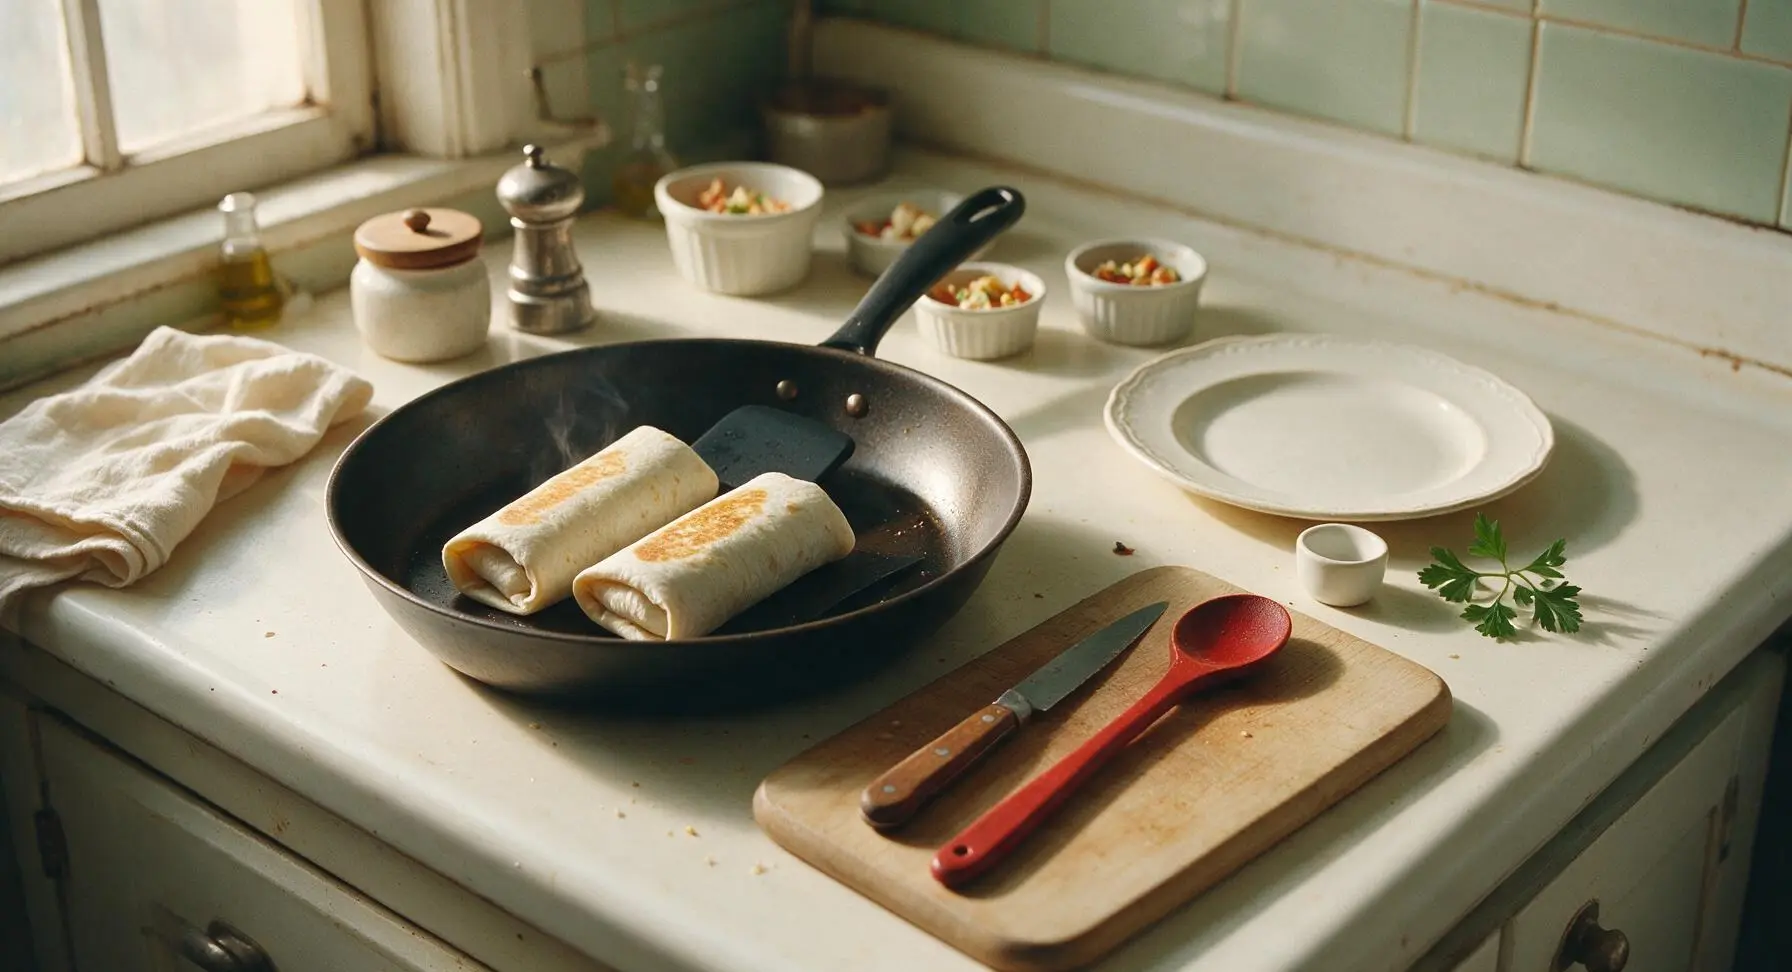
Step 7
step7:Toast Seam for Crispness

Tips

1.Warm tortillas fully before assembling: Cold or room-temperature tortillas are stiff and will crack or split when rolled, leading to filling falling out. The 15-second per side dry-skillet method creates the most pliable, flexible wrap without making it soggy.
2.Avoid overfilling tortillas: Stick to the narrow 4-inch filling strip down the center, leaving 2-inch borders at the top and bottom. Overfilling is the most common beginner mistake, causing burritos to burst during rolling or eating and making a tight seal impossible.
3.Toast burritos seam-side down first: The low heat from the pan melts the tortilla at the seam to create a natural, secure seal that won’t unroll while you eat, and adds a subtle crisp texture that contrasts perfectly with the soft, creamy fillings inside.


✨ You May Also Like

Main Course
🍜 United Kingdom

A showstopping classic of tender seared beef, savory mushroom duxelles, and crisp prosciutto wrapped in flaky golden puff pastry, baked to juicy perfection.

⏱️ 2 hours 1Main Course ★ 4.7
Main Course
🍜 India

Tender charred marinated chicken simmered in a rich, spiced creamy tomato sauce, this iconic Anglo-Indian curry pairs perfectly with basmati rice or warm naan.

⏱️ 50 minuteMain Course ★ 4.6
Main Course
🍜 Thailand

Classic tangy, sweet, and savory Thai stir-fried rice noodles with shrimp, tofu, and crunchy garnishes, balancing all five core Thai flavor profiles.

⏱️ 30 minuteMain Course ★ 4.5
Main Course
🍜 United Kingdom

Crispy golden beer-battered cod and fluffy double-fried chips, served with tangy tartar sauce and malt vinegar: the timeless, beloved British pub comfort classic.

⏱️ 45 minuteMain Course ★ 4.7
Main Course
🍜 Mexico

Smoky, chile-marinated pork tacos with caramelized pineapple, fresh cilantro, and lime: a beloved classic Mexican street food perfect for casual summer gatherings.

⏱️ 1 hour 45Main Course ★ 4.8
Main Course
🍜 United States

Crunchy Fritos corn chips layered with savory beef chili and melted cheddar, topped with cool, zesty fixings for a beloved, cozy Tex-Mex comfort food.

⏱️ 35 minuteMain Course ★ 4.8

burrito wrap:Frequently Asked Questions

1.Why do my flour tortillas crack when I try to roll my burritos? ▾
That almost always happens because your tortillas are too cold! Warm 10-inch flour tortillas for 10 seconds per side on a dry medium-heat skillet, or wrap a stack in a damp paper towel and microwave for 30 seconds right before assembling. Warming softens the gluten, so tortillas stay pliable, won’t crack mid-roll, and hold fillings without leaking.
2.Can I use leaner ground beef instead of the recommended 80/20 blend? ▾
You absolutely can, but 80/20 ground beef is ideal because its natural fat content keeps the filling juicy, carries seasoning beautifully, and doesn’t require extra added oil. If you use a leaner blend like 90/10, add 1 tablespoon of olive oil while browning, drain only excess grease lightly, and avoid overcooking to prevent dry, crumbly filling.
3.How do I keep my cilantro-lime rice from turning out mushy? ▾
Start by rinsing your uncooked long-grain white rice under cold water until the water runs clear to remove excess surface starch, the biggest culprit for mushy rice. Use a 2:1 water to rice ratio, bring to a simmer, cover, and cook on low for 18 minutes without lifting the lid, then fluff with a fork before tossing in lime juice and cilantro.
4.Do I need to cook canned black beans before adding them to my burrito? ▾
Canned black beans are fully cooked right out of the can, so you don’t have to boil them, but I recommend a quick 2-minute sauté with a pinch of cumin, garlic powder, and salt after draining and rinsing. This bumps up their flavor, cuts that flat canned taste, and warms them so they don’t cool down your other fillings.
5.What’s the trick to rolling a burrito so no filling falls out while I eat? ▾
First, don’t overstuff the tortilla—stick to roughly 1 cup of total filling centered slightly below the middle. Fold the left and right sides in over the filling first, then tuck the bottom tortilla flap tight over the fillings, roll forward firmly to seal, and set it seam-side down for a minute to help it hold its shape.
6.Can I make these burritos ahead of time for weekly meal prep? ▾
Absolutely! Assemble and roll burritos tightly in plastic wrap, then store them in an airtight container in the fridge for up to 4 days, or freeze for up to 3 months. For best results, leave out cold, wet toppings like sour cream or salsa until you reheat, and warm in a skillet or microwave until the cheese is fully melted.
7.Why doesn’t my shredded cheddar cheese melt fully inside the burrito? ▾
That usually happens if your fillings are too cool when you assemble the burrito. Add shredded mild cheddar right on top of hot, freshly cooked beef and rice as you build—residual heat from those warm components will melt the cheese into that perfect gooey texture. If fillings have cooled, toast the rolled burrito on a skillet for 1 minute per side to finish.
8.Can I swap the long-grain white rice for brown rice or cauliflower rice? ▾
Of course—this recipe is designed to be super customizable! If using brown rice, add 10 minutes to cook time and use a 2.5:1 water to rice ratio for tender, separate grains. If using cauliflower rice, sauté it for 5 minutes over medium heat first, and squeeze out excess moisture with a paper towel to avoid soggy tortillas.
9.What seasoning should I use for the beef if I don’t have pre-made burrito spice mix? ▾
You don’t need a store-bought blend! Mix 1 teaspoon each of chili powder, ground cumin, garlic powder, onion powder, plus a pinch of smoked paprika, salt, and black pepper per pound of 80/20 ground beef. Add spices right as the beef finishes browning, stir 30 seconds to toast them, and add a splash of water if the mix looks too dry.
10.How do I keep my burritos from getting soggy as I assemble a whole batch? ▾
Sogginess almost always comes from excess moisture in fillings. Make sure you fully drain your rinsed black beans, don’t douse rice in too much lime juice, and drain excess grease from cooked ground beef before assembling. It also helps to build burritos one at a time instead of letting fillings sit on warm tortillas for too long.
11.Can I toast my rolled burrito on a griddle or panini press for a crispy outside? ▾
Absolutely! After rolling your burrito seam-side down, place it on a medium-heat griddle or panini press for 1 to 2 minutes per side, until the tortilla is lightly golden and crispy and the shredded cheddar inside is fully melted. Just don’t press too hard on a panini press, or you’ll squeeze filling out the sides as the tortilla compresses.
12.What simple add-ins work with the core fillings for a classic burrito vibe? ▾
Stick to simple, complementary add-ins to keep that classic, balanced flavor: a spoonful of mild red salsa, a dollop of sour cream, a handful of shredded iceberg lettuce, or a thin slice of avocado work beautifully. Add these right before rolling, and go light on wet toppings to avoid soggy tortillas that overpower the core beef, rice, bean, and cheese taste.

Comments (8)

2 days ago

OMG this was SO good! I made these for my family’s taco night last minute since we ran out of hard shells, and even my super picky 7 year old asked for seconds. The 20 minute cook time is no joke — I threw everything together while the rice was cooking and it was done faster than takeout. Total game changer for weeknights!

yesterday

Wait did you use regular white rice or the cilantro lime variation people mention? I’m making these for my kid’s soccer potluck this weekend and want to make sure they’re a hit!

yesterday

So glad your family loved them! For potlucks, cilantro lime rice adds such a bright, fresh kick, but plain white rice works perfectly too if you’re short on time. Pro tip: wrap them in foil to keep them warm for serving!

3 days ago

I’ve been looking for an easy burrito recipe to add to my Sunday meal prep rotation and this checks every box! They wrap up perfectly without tearing, hold up great in the fridge for 4 days, and reheat like a dream. I added a little extra black bean and corn mix and it was chef’s kiss.

2 days ago

That makes us so happy to hear! So many fans love adding extra corn and black beans too — it adds such a nice texture contrast. Thanks for giving the recipe a try!

5 days ago

Super easy to make in my tiny dorm kitchen! I didn’t have all the fancy seasonings so I just used a taco seasoning packet I had lying around, and it still turned out fire. Way cheaper than buying burritos from the campus food truck every day.

yesterday

Made these for dinner last night after my kid’s baseball practice and everyone cleaned their plates! Only thing I will say is I wish I’d warmed the tortillas a little first before stuffing them — my first one split open when I tried to fold it. Flavor was 10/10 though, will definitely make again.

2 hours ago

Oh that’s such a good call! I warm mine for 10 seconds on each side in a dry skillet and they’re totally pliable, no splits at all. Game changer for folding!

30 minutes ago

Great tip from Linda! Warming tortillas for a few seconds (either in the microwave wrapped in a damp paper towel or on a dry skillet) makes them so much easier to fold without tearing. We’re glad the flavor was a hit despite the first wrap mishap!

1 week ago

Brought these to my office potluck today and they were the first thing gone! People kept coming up to ask me for the recipe, I felt like a total rockstar. I made a batch with shredded chicken and a veggie batch for our plant-based coworkers and both were huge hits. 10/10 would make again for any gathering.

5 days ago

What did you put in the veggie batch to make it filling? I’ve tried veggie burritos before and they always feel like they’re missing something!

30 minutes ago

Okay I was skeptical that an easy 20 minute burrito could actually taste good, but wow. I added a dash of hot sauce and a little extra shredded cheese to mine, and my boyfriend said it’s better than the local Mexican spot we go to every Friday. Will absolutely be adding this to our regular dinner rotation!

5 minutes ago

We love hearing that! A little extra cheese and hot sauce is never a bad call in our book. So glad you and your boyfriend enjoyed it!

2 weeks ago

Perfect post-hike meal! I made a batch before our weekend trip to the mountains and wrapped them in foil to toss in the cooler. They were filling, didn’t get soggy, and gave us all the energy we needed for our long trail day. Even my friend who’s a super picky eater loved hers.

5 minutes ago

First time ever making burritos from scratch and I didn’t mess them up! The folding instructions were super easy to follow, even for a total kitchen newbie like me. Mine were a little light on seasoning because I was scared to add too much chili powder, but next time I’ll add a little more. So excited to keep practicing!

just now

Same! I’m also a total beginner and the step-by-step folding tips saved me from making a huge mess. I added a tiny extra pinch of cumin and garlic powder and it was perfect without being too spicy!

just now

That’s what we love to hear! Cooking should be fun and approachable, even for new cooks. Don’t be afraid to play around with the seasonings to match your taste — that’s the best part of homemade cooking!



