
burritos mexican
intro
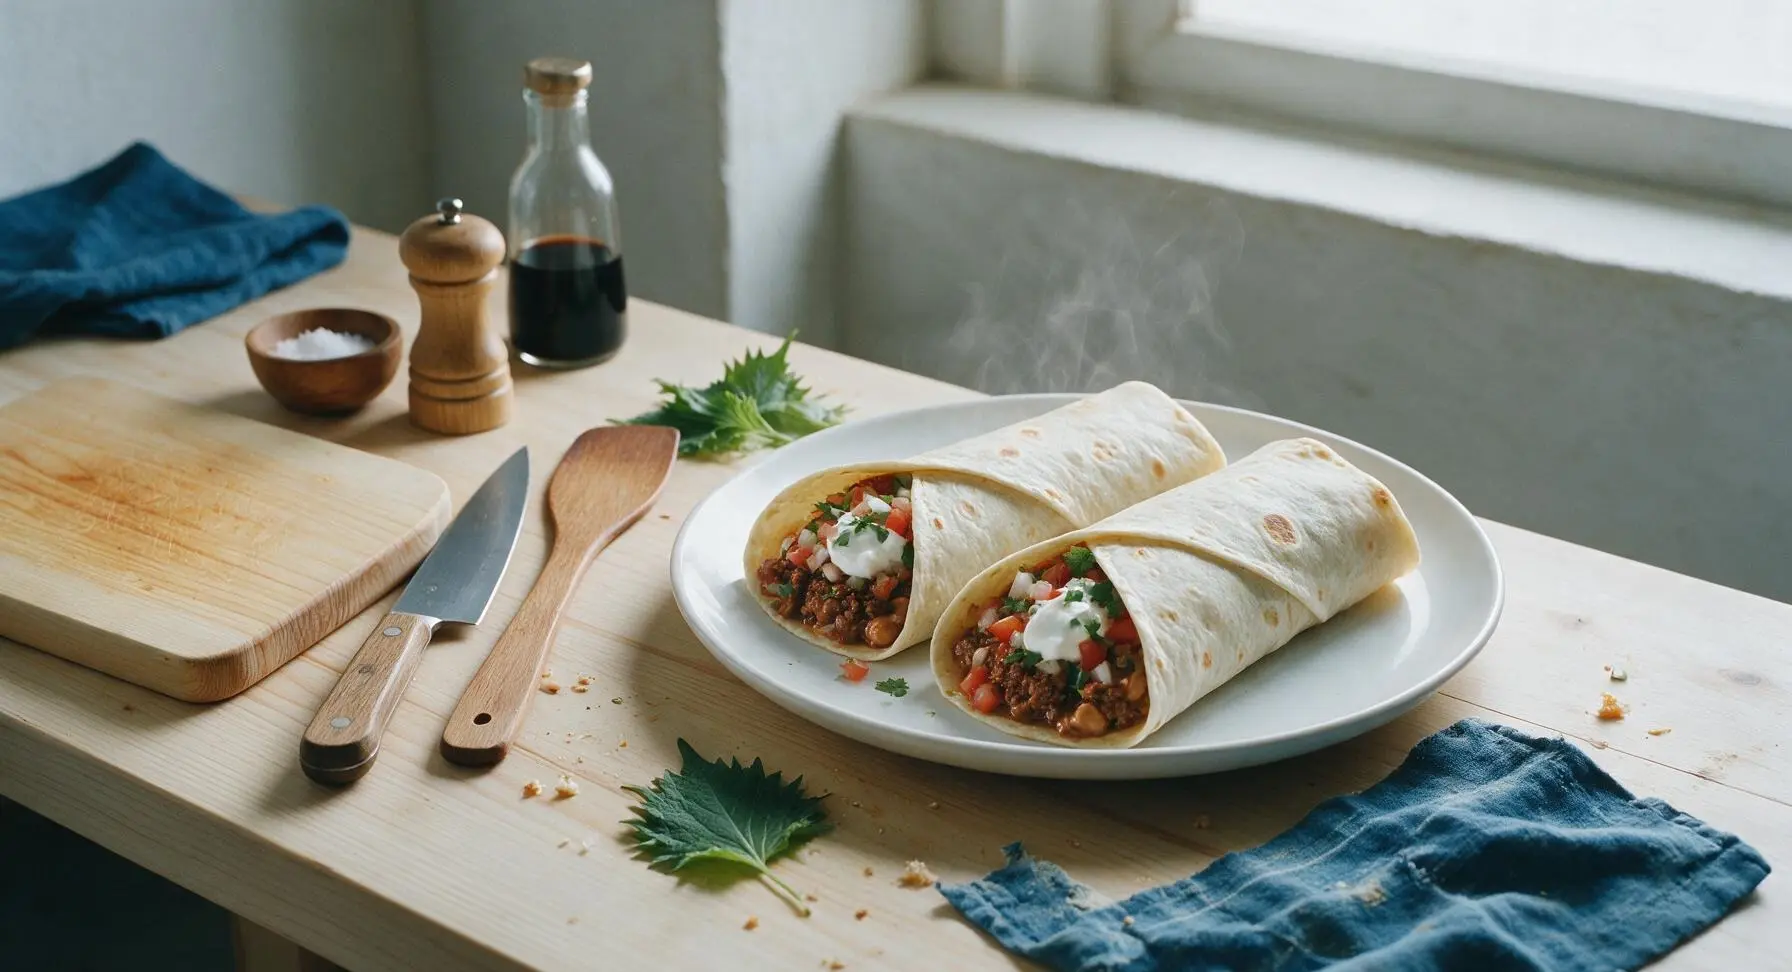
Warm, pliable flour tortillas wrapped around savory spiced beef, creamy beans, and fresh toppings—hearty, portable, and ready in under 45 minutes for a satisfying weeknight meal.
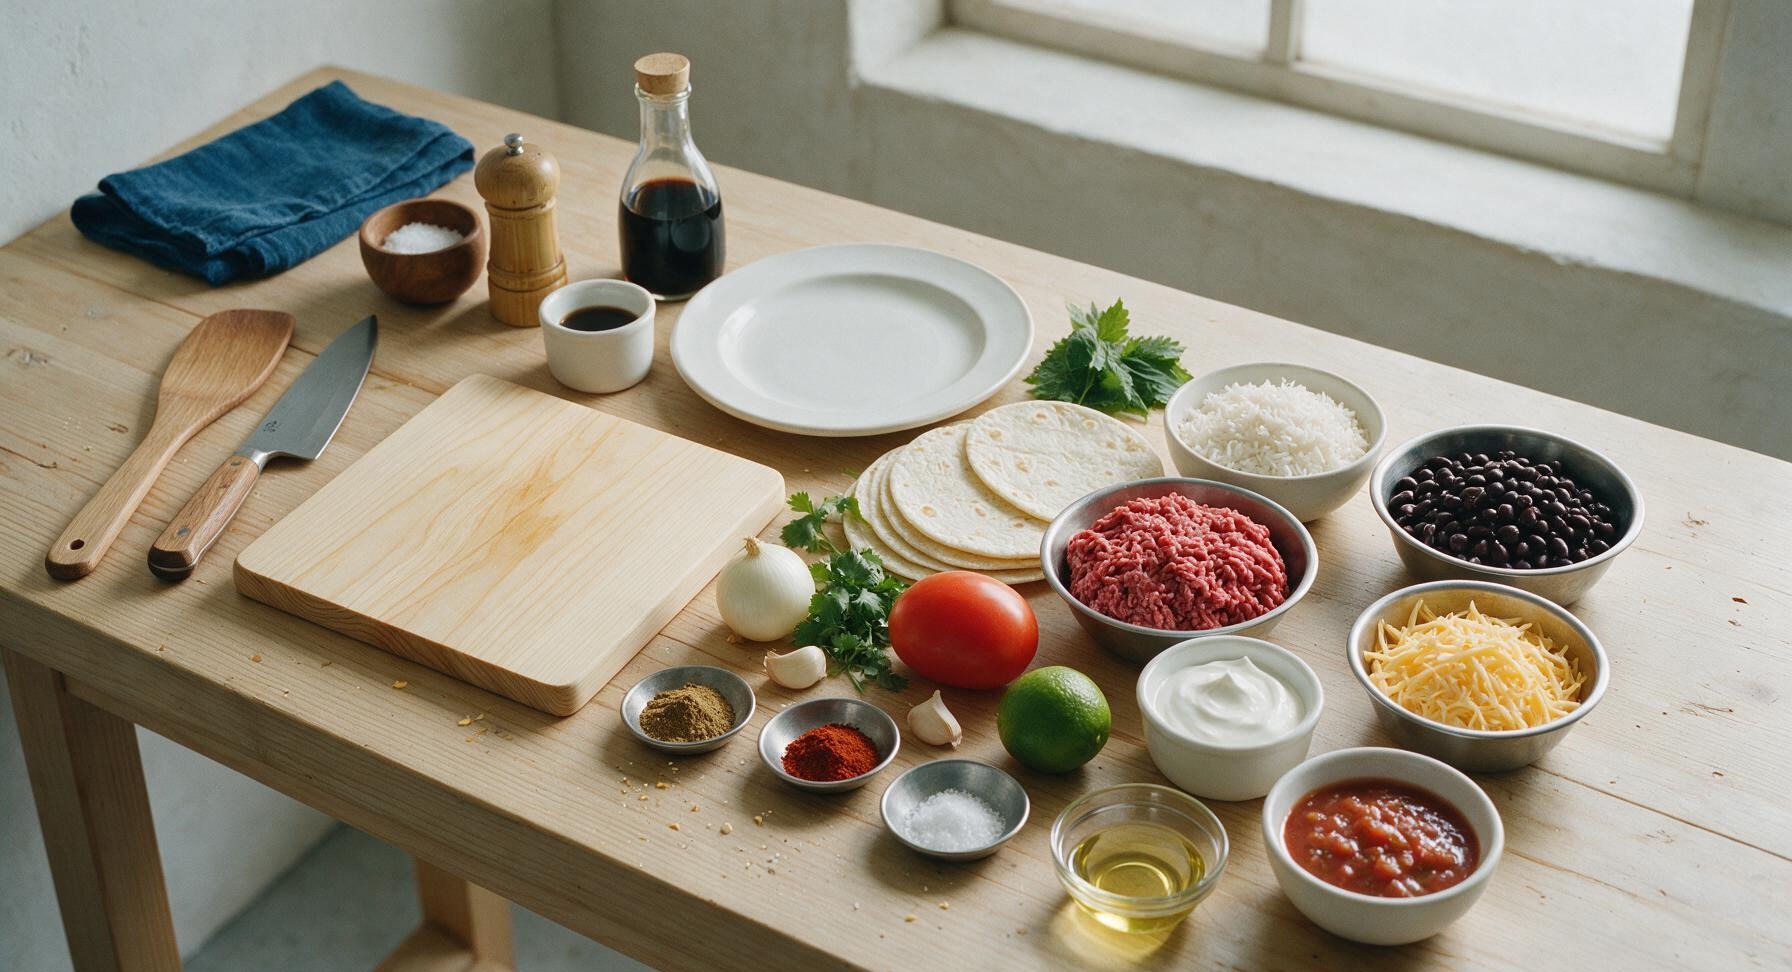
Ingredients
Steps
Prep Base Aromatics
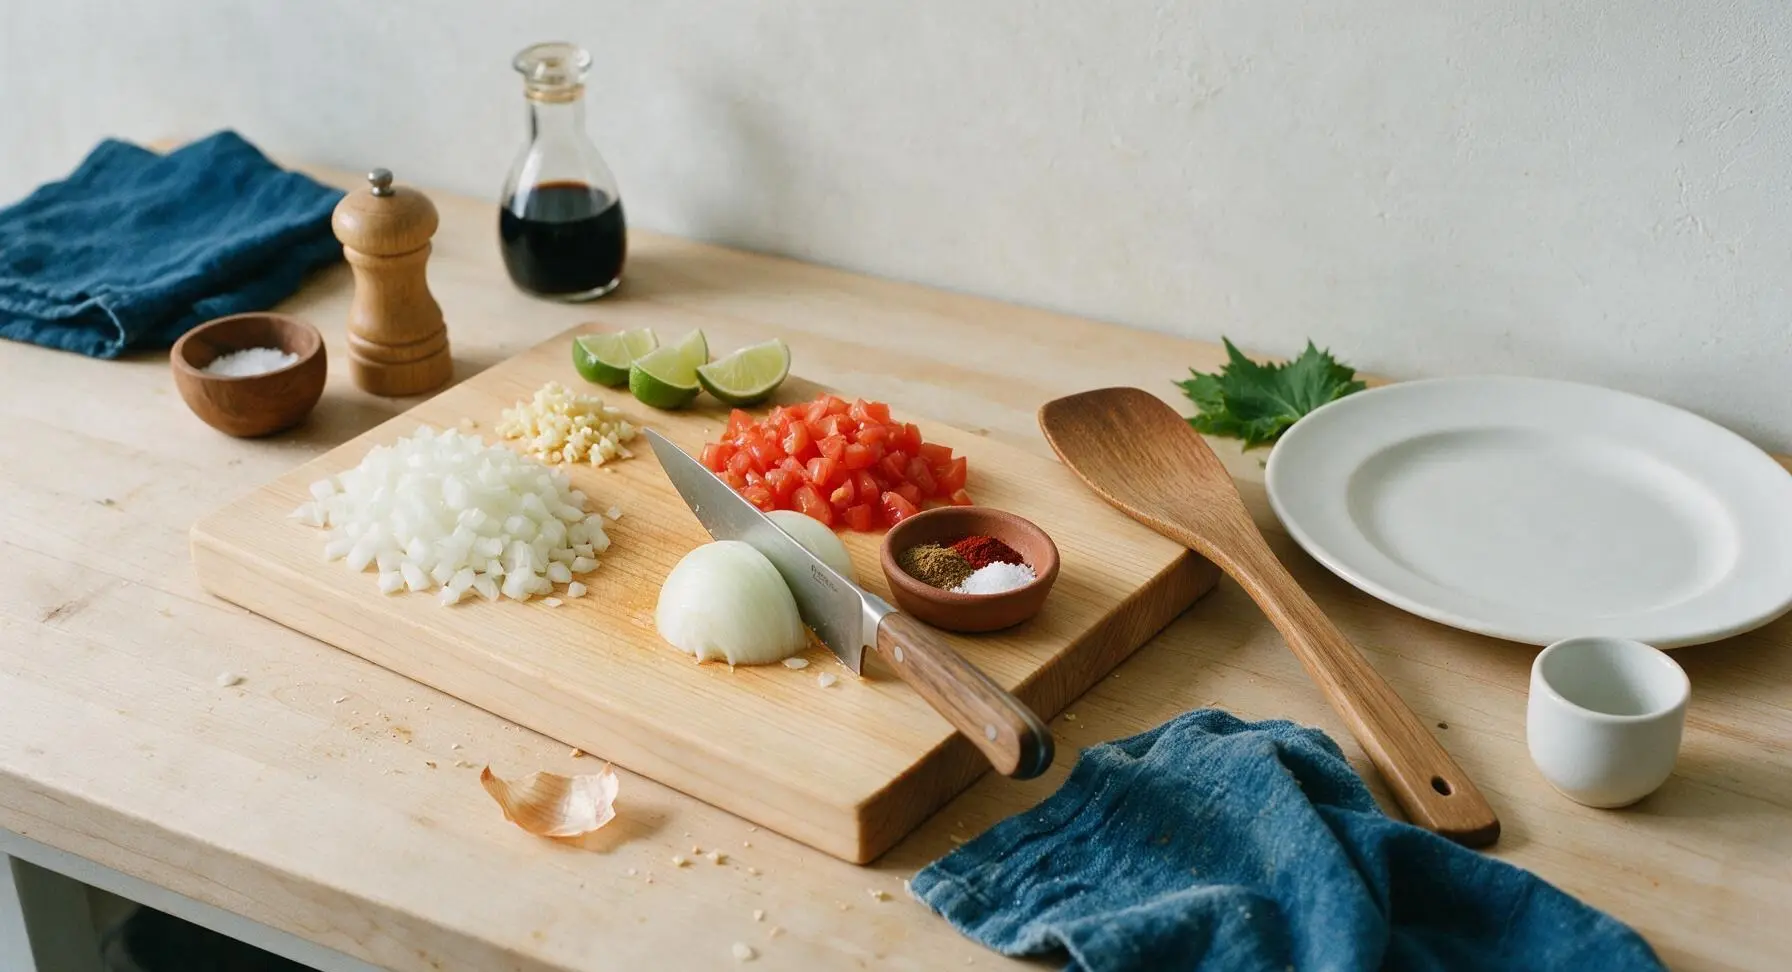
Place the honey acacia wood cutting board in its fixed center-left position on the counter. Using the 8-inch stainless steel chef’s knife, finely dice the small white onion, mince the 3 garlic cloves, and dice the Roma tomato, keeping each ingredient in a separate small pile on the edge of the cutting board. Measure 1 tsp ground cumin, 1 tsp chili powder, and 1/2 tsp kosher salt into one of the small terracotta ramekins. Cut the lime into 4 wedges and set aside. Cut vegetables into uniform 5mm pieces to ensure even cooking; total prep time for this step is approximately 8 minutes.
Sear Seasoned Ground Beef
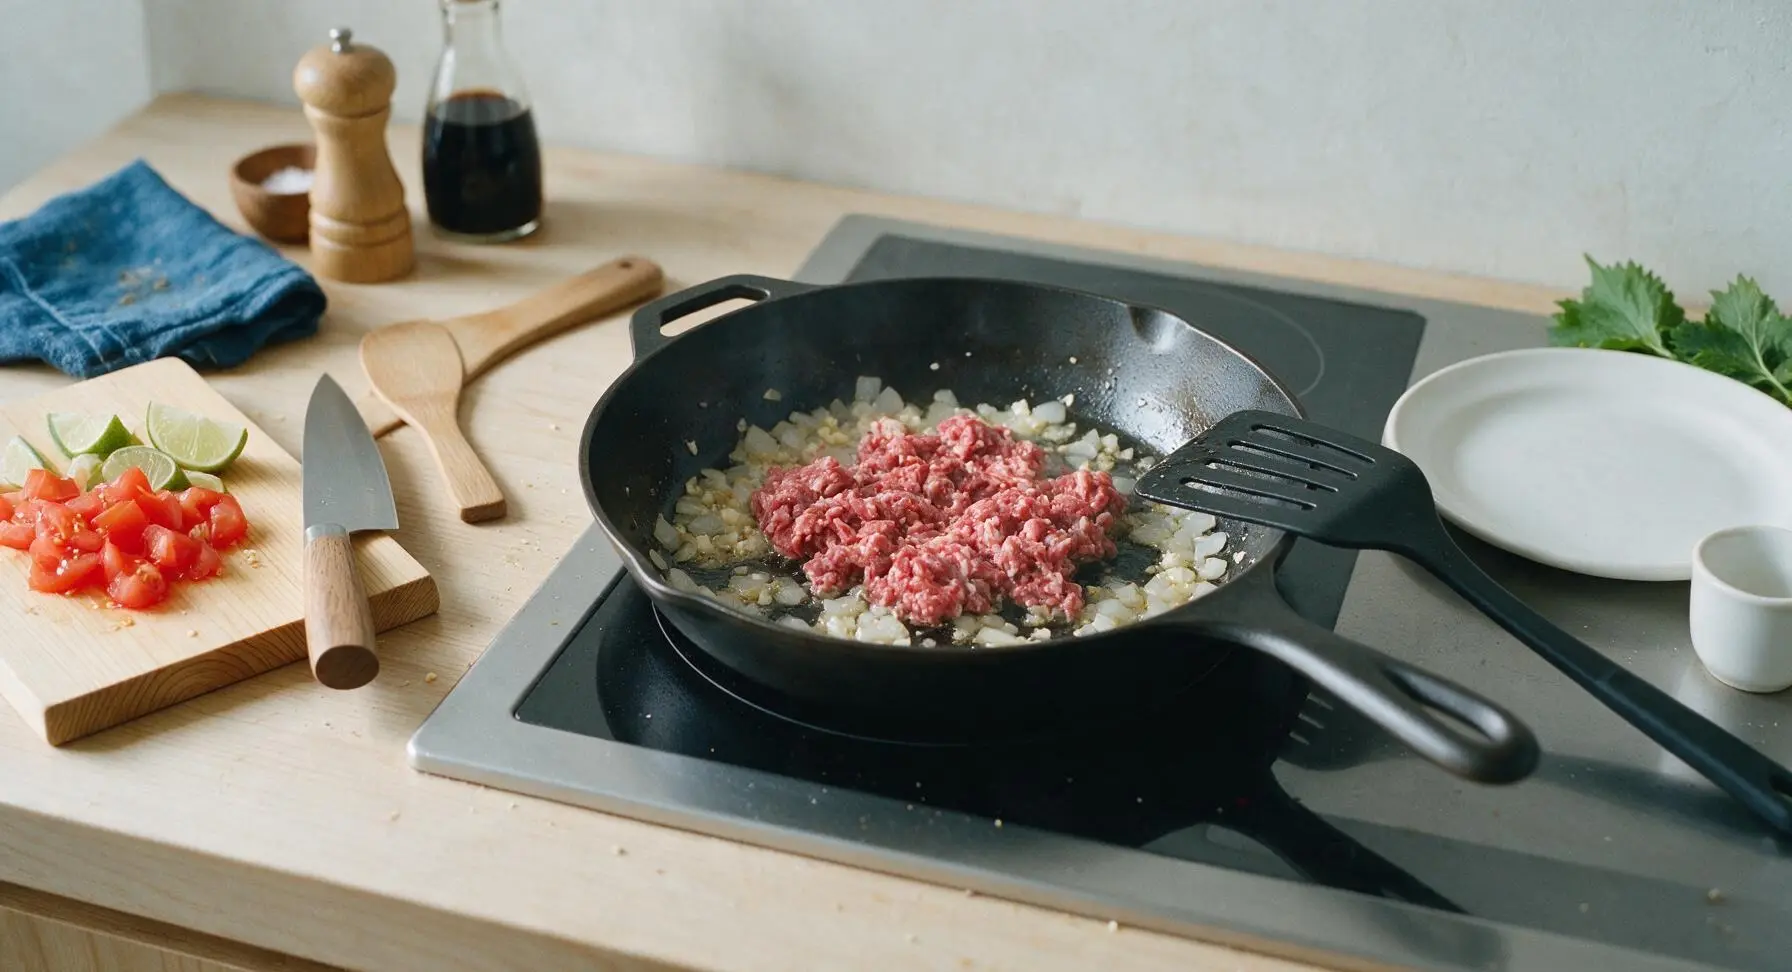
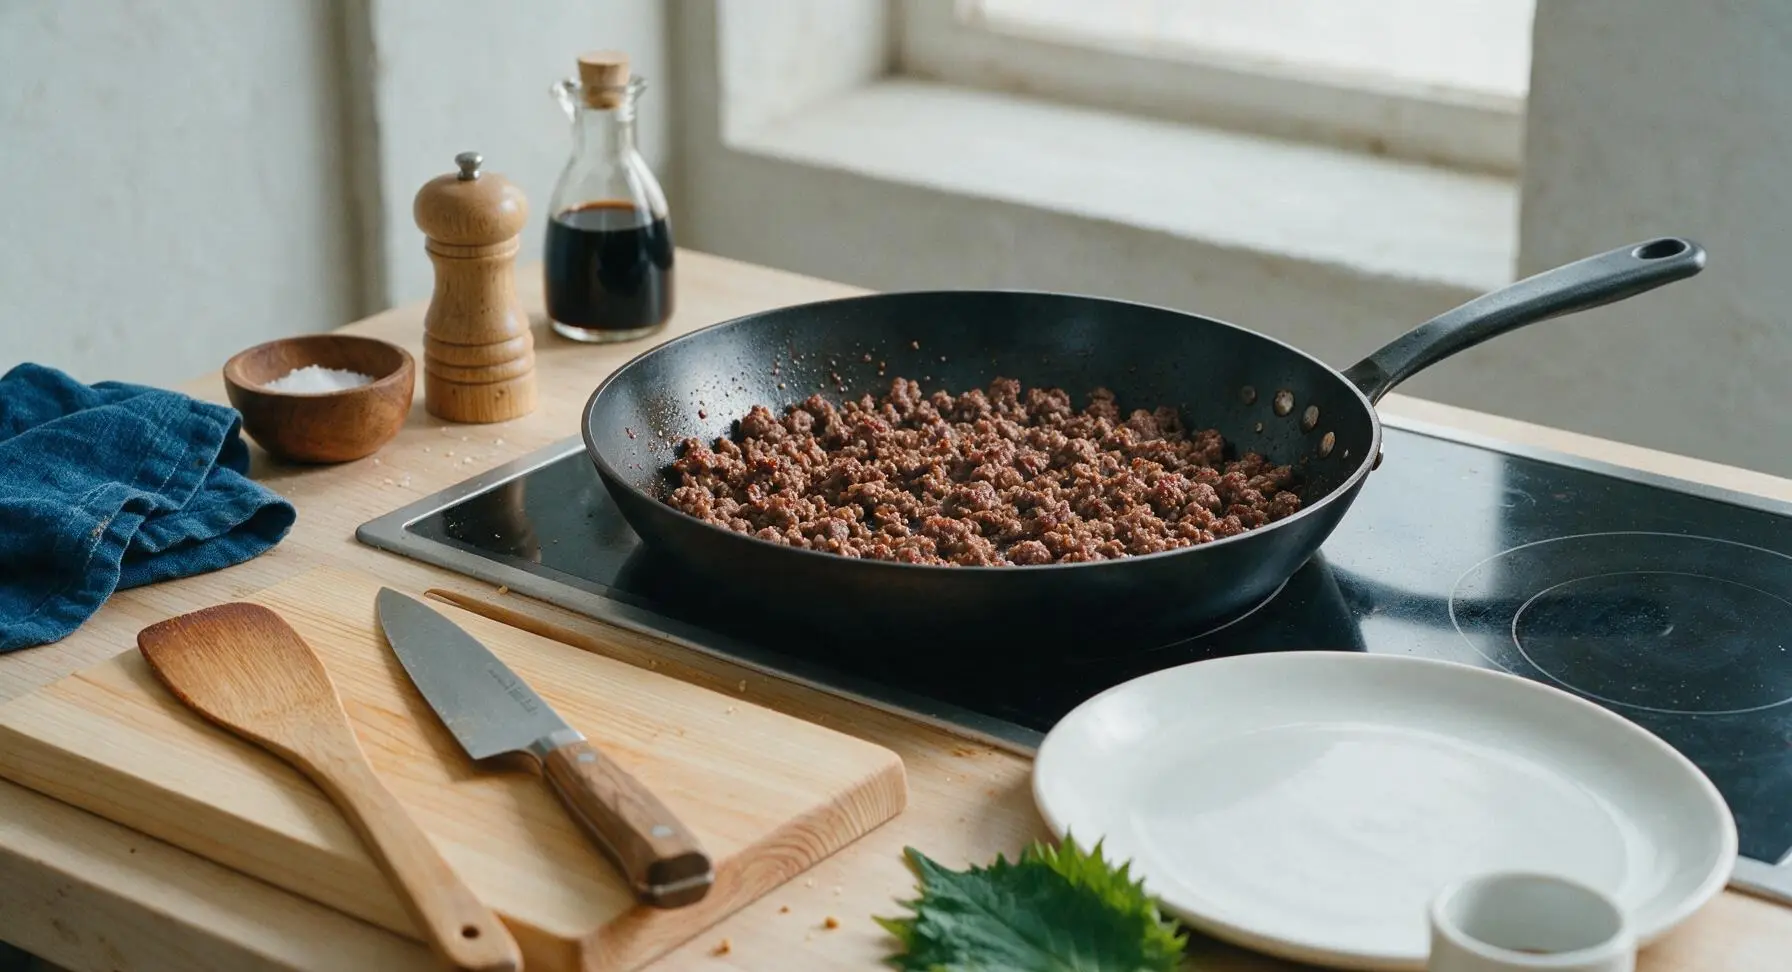
Place the 10-inch matte black carbon steel skillet on the back center induction burner, heat 1 tbsp neutral cooking oil over medium-high heat (175C/350F) for 1 minute until the oil shimmers. Add the diced onion to the skillet, sauté for 2 minutes until soft and translucent, then add the minced garlic and cook for 30 seconds until fragrant (do not burn the garlic, as it will turn bitter). Add the 450g ground beef to the skillet, breaking it apart into small, even crumbles with the slotted matte black turner as it cooks. Sear for 5 minutes until the beef is fully browned with no pink remaining, and small crispy golden edges form on the crumbles.
Simmer Filling Mixture
Reduce stovetop heat to medium (150C/300F). Add the measured spice mix from the terracotta ramekin to the browned beef, stirring for 30 seconds until the spices are fragrant and evenly coat all beef crumbles. Add the drained, rinsed black beans and cooked white rice to the skillet, stirring gently with the slotted turner to combine all ingredients evenly. Pour in 2 tbsp of water, reduce heat to low, cover, and simmer for 5 minutes to let flavors meld. The finished filling should be moist but not soupy, with no standing liquid left in the pan. Stir in 1 tbsp fresh lime juice, then remove the skillet from heat.
Warm Flour Tortillas
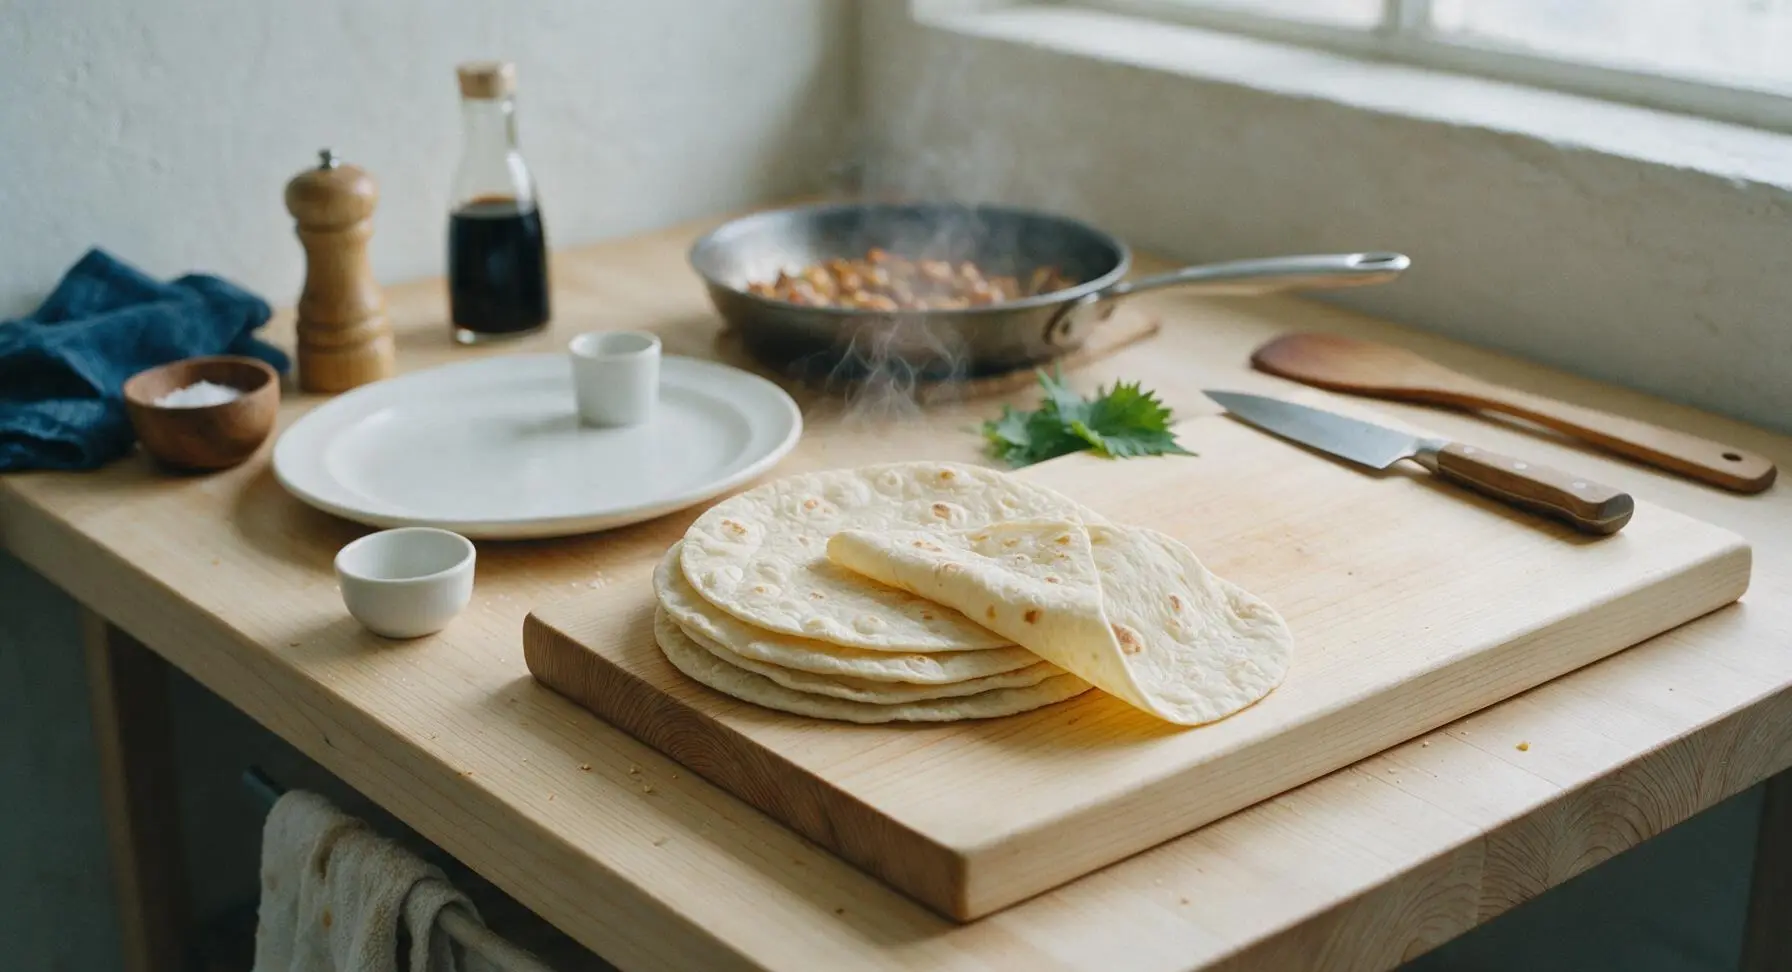
While the filling simmers, stack the 4 flour tortillas on a clean paper towel, and warm them in the microwave for 30 seconds until soft and pliable. For extra flavor, warm each tortilla directly on a low stovetop flame for 10 seconds per side, until small light brown char spots appear. Warm tortillas will not crack when folded, which is critical for tight, well-sealed burritos. Keep warmed tortillas wrapped in a clean cloth to retain heat until ready to fill.
Layer Burrito Fillings
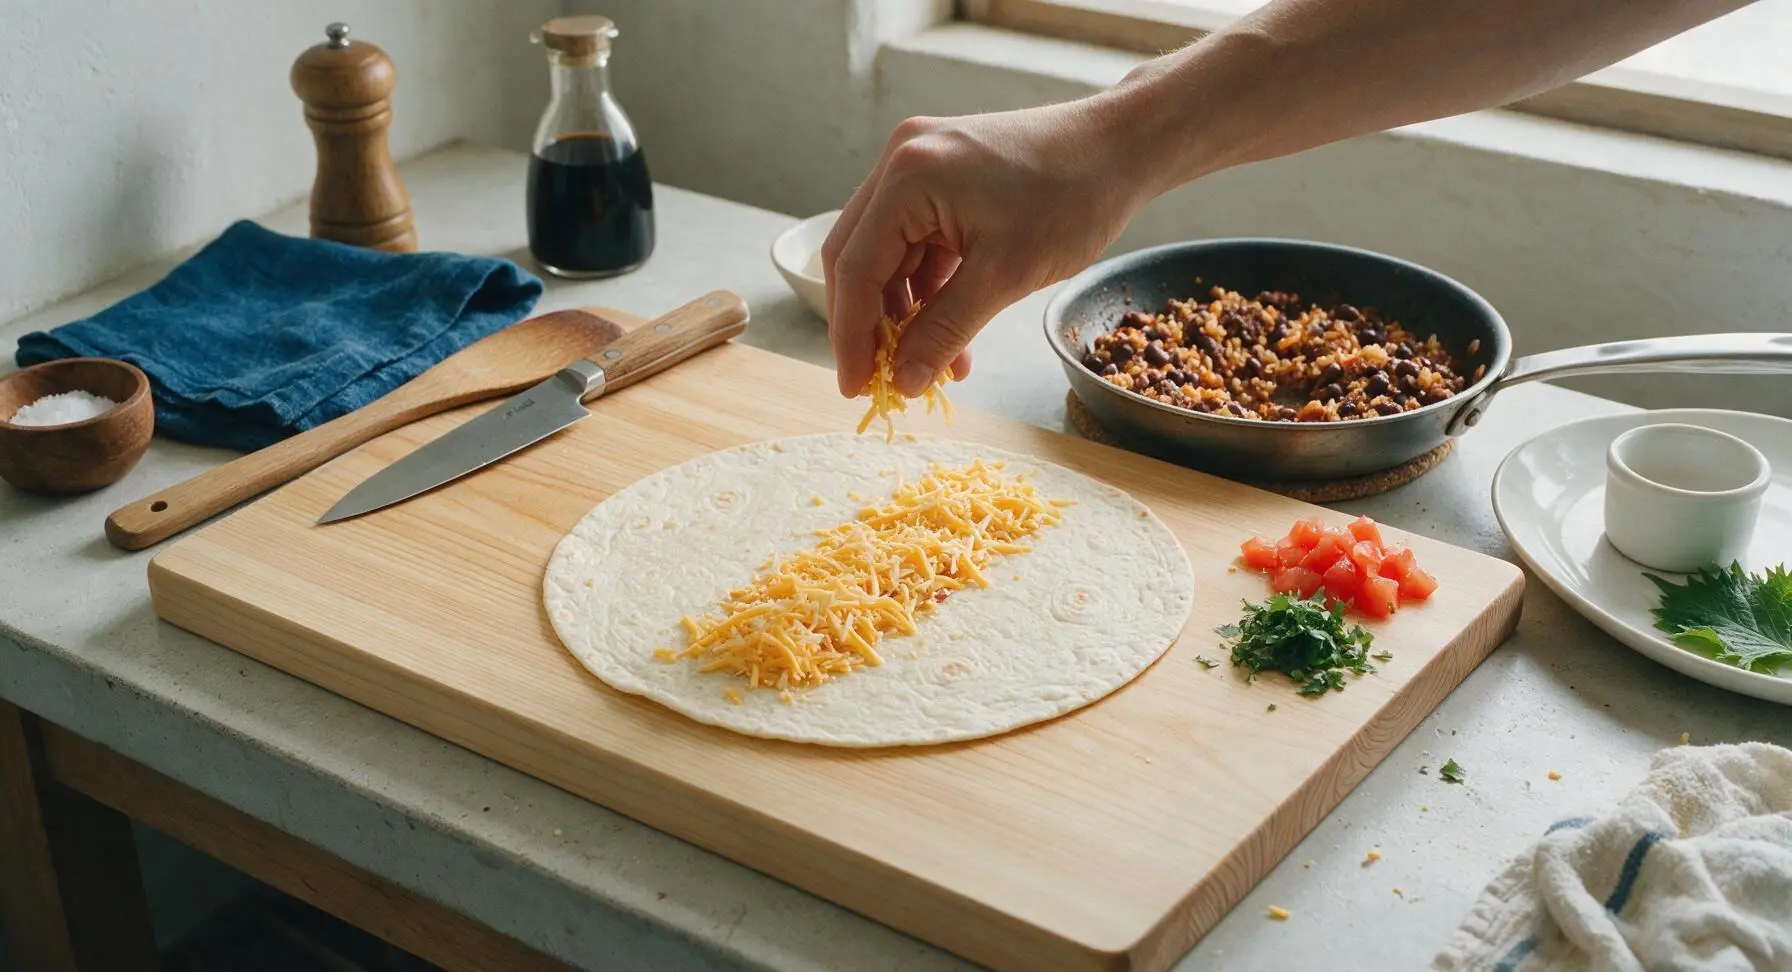
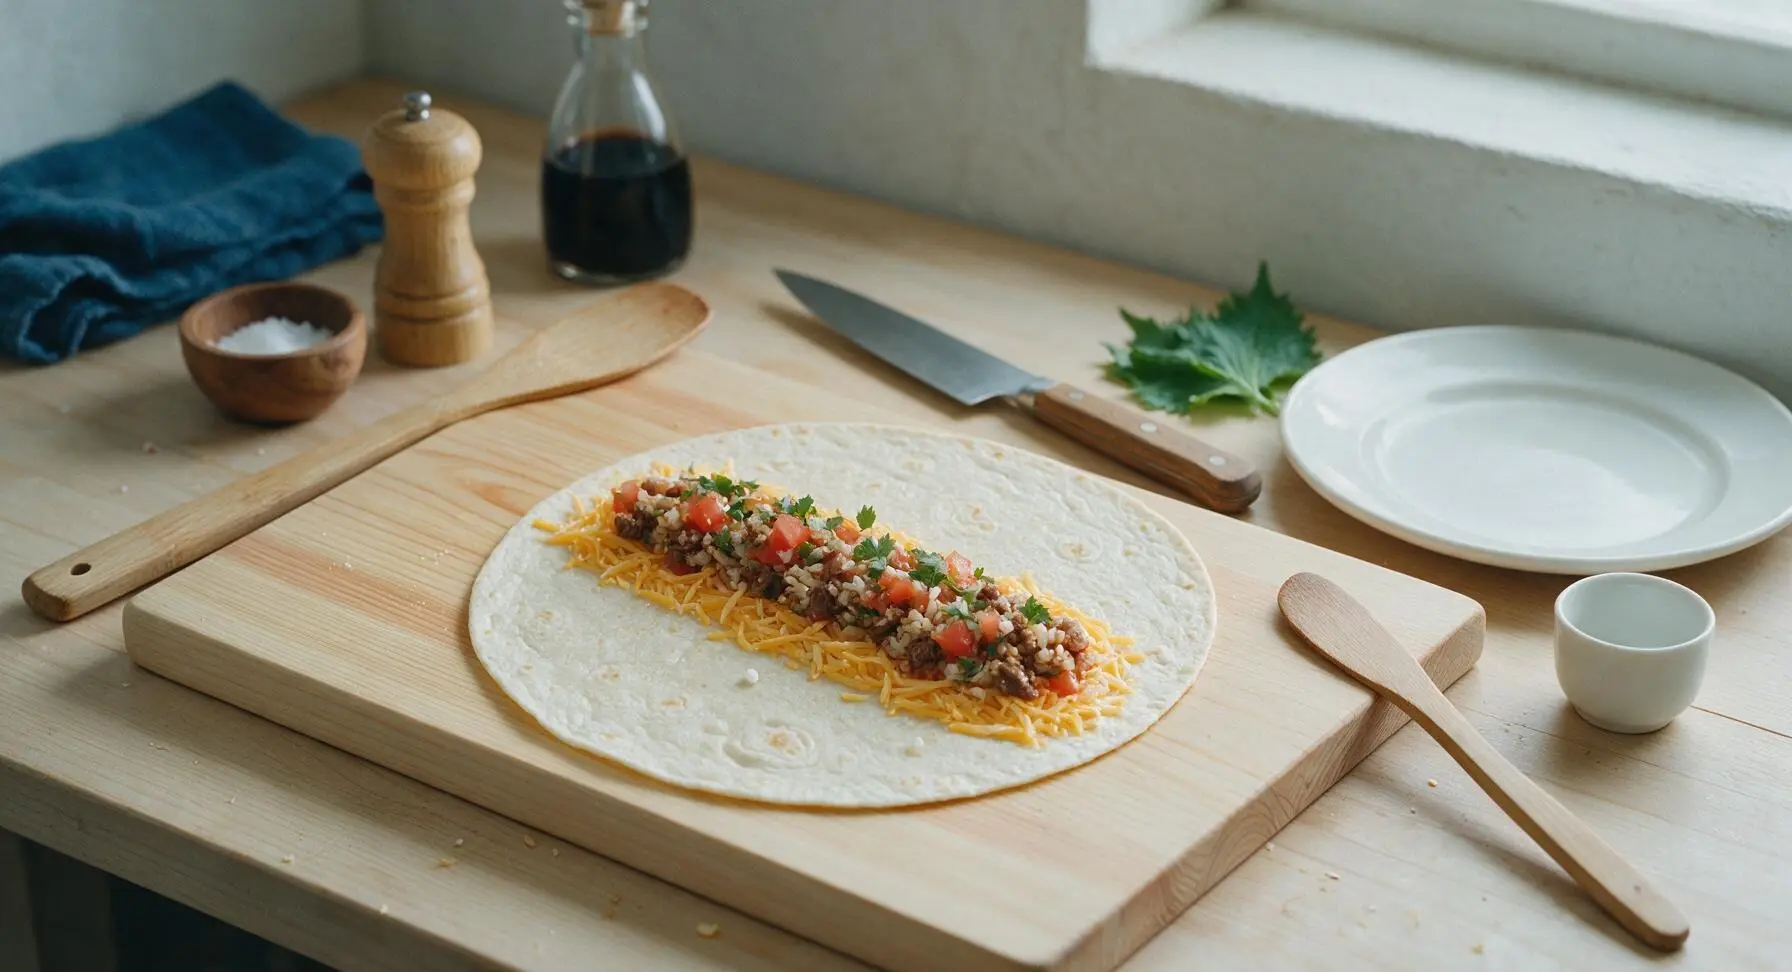
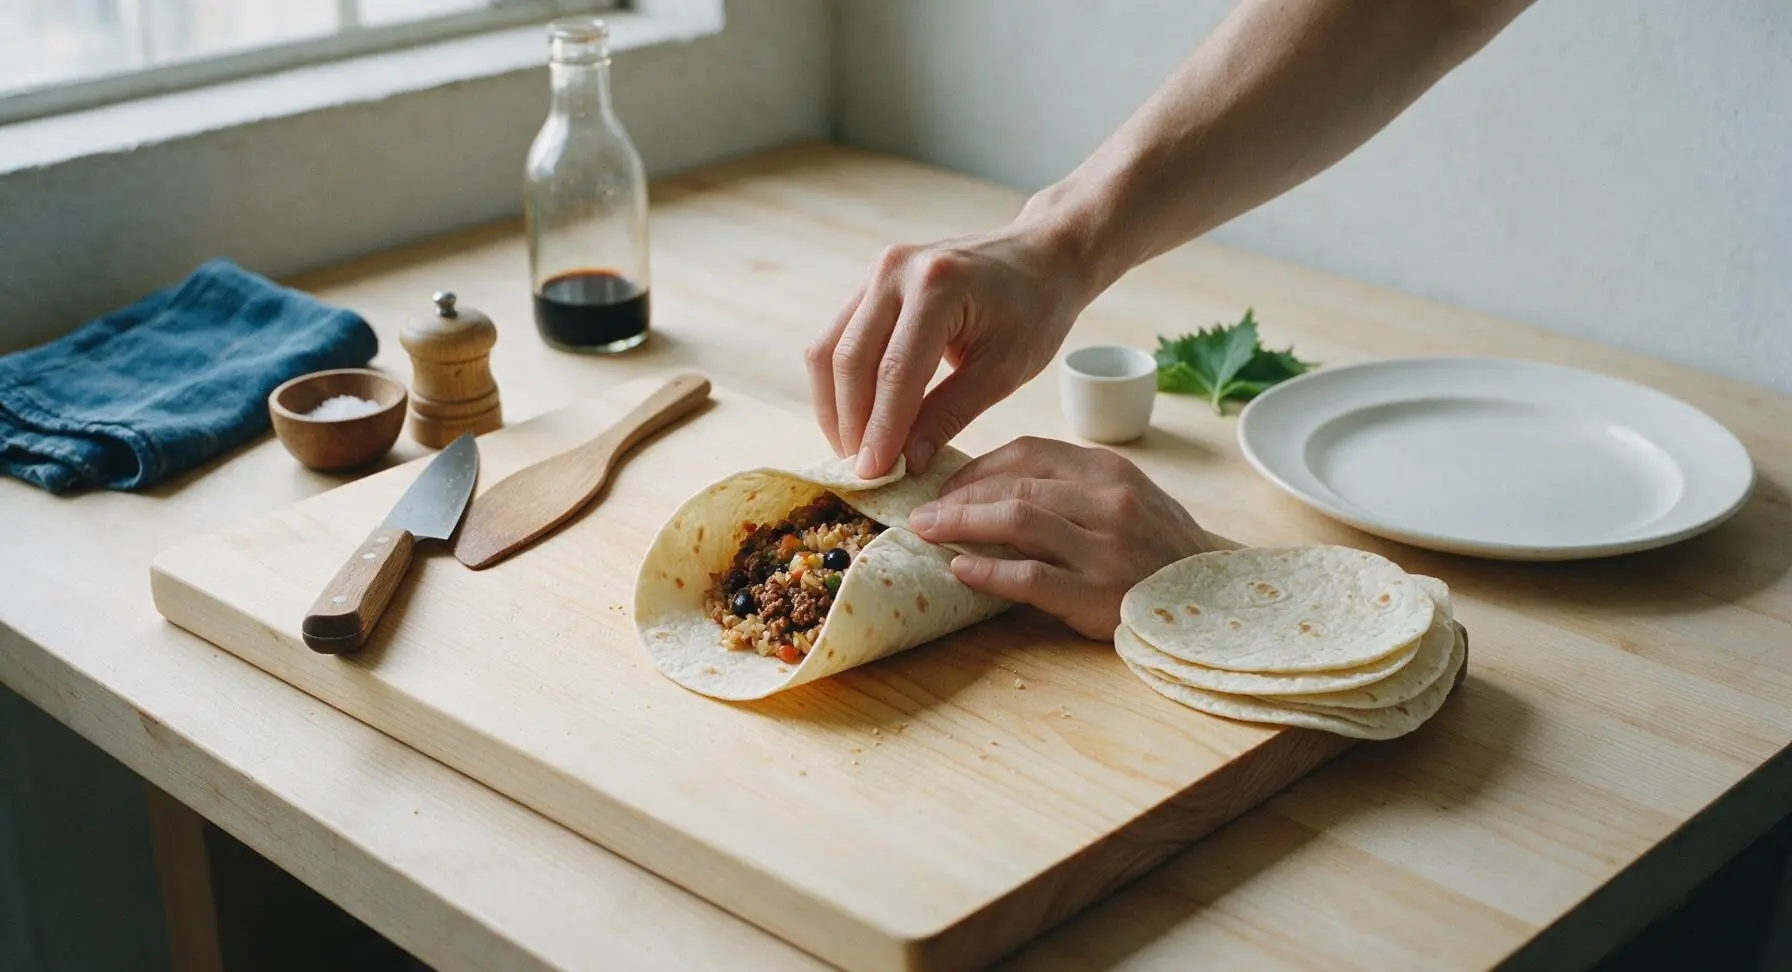
Lay one warm tortilla flat in the center of the acacia cutting board. Sprinkle 2 tbsp of shredded cheddar cheese down the center third of the tortilla, leaving 2 inches of empty space at the top and bottom edges to create a tight seal. Top the cheese with 1/4 of the beef, bean, and rice filling, followed by 1 tbsp diced tomato, and 1 tsp chopped fresh cilantro. Do not overfill the tortilla—overstuffing will cause it to tear and leak when rolling. Repeat this layering process for all 4 tortillas.
Roll Tight Sealed Burritos
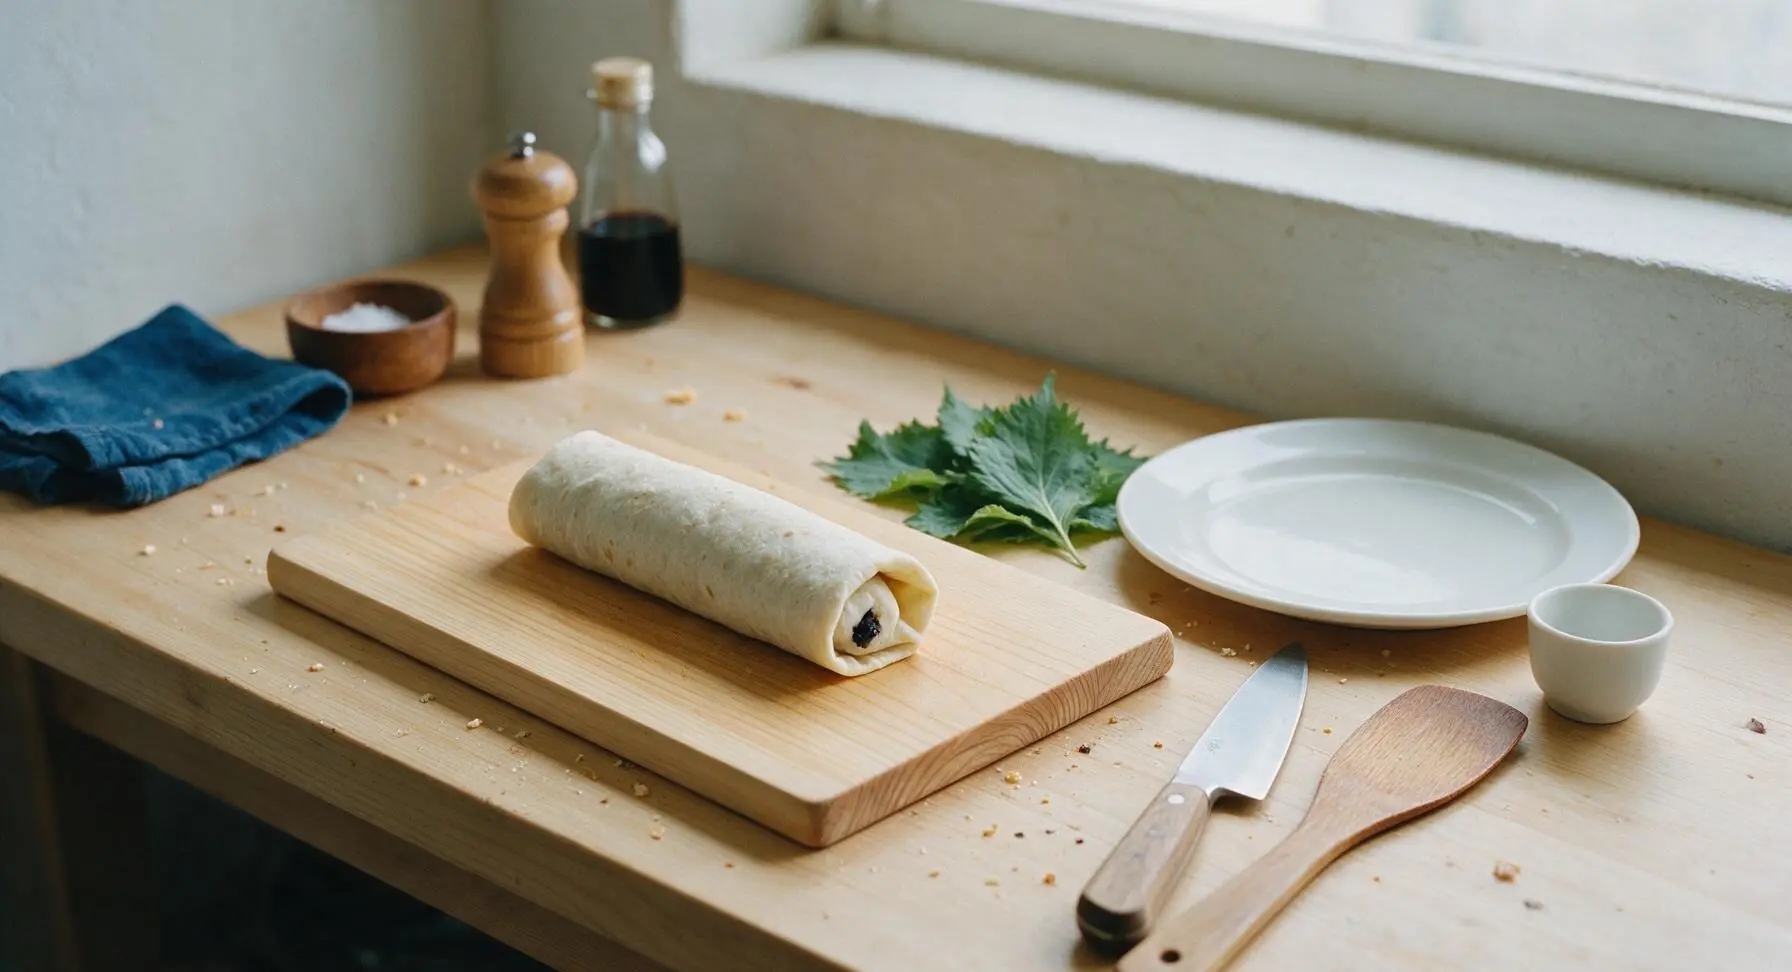
Fold the top and bottom 2-inch empty edges of the tortilla in over the filling, then fold the left side of the tortilla tightly over the fillings, tucking it snugly under the filling to create a tight pocket. Continue rolling the burrito from left to right, applying gentle, even pressure to keep the filling contained, until the burrito is fully sealed with the seam side down. Repeat the rolling process for all 4 filled tortillas.
Toast Burritos for Crispness
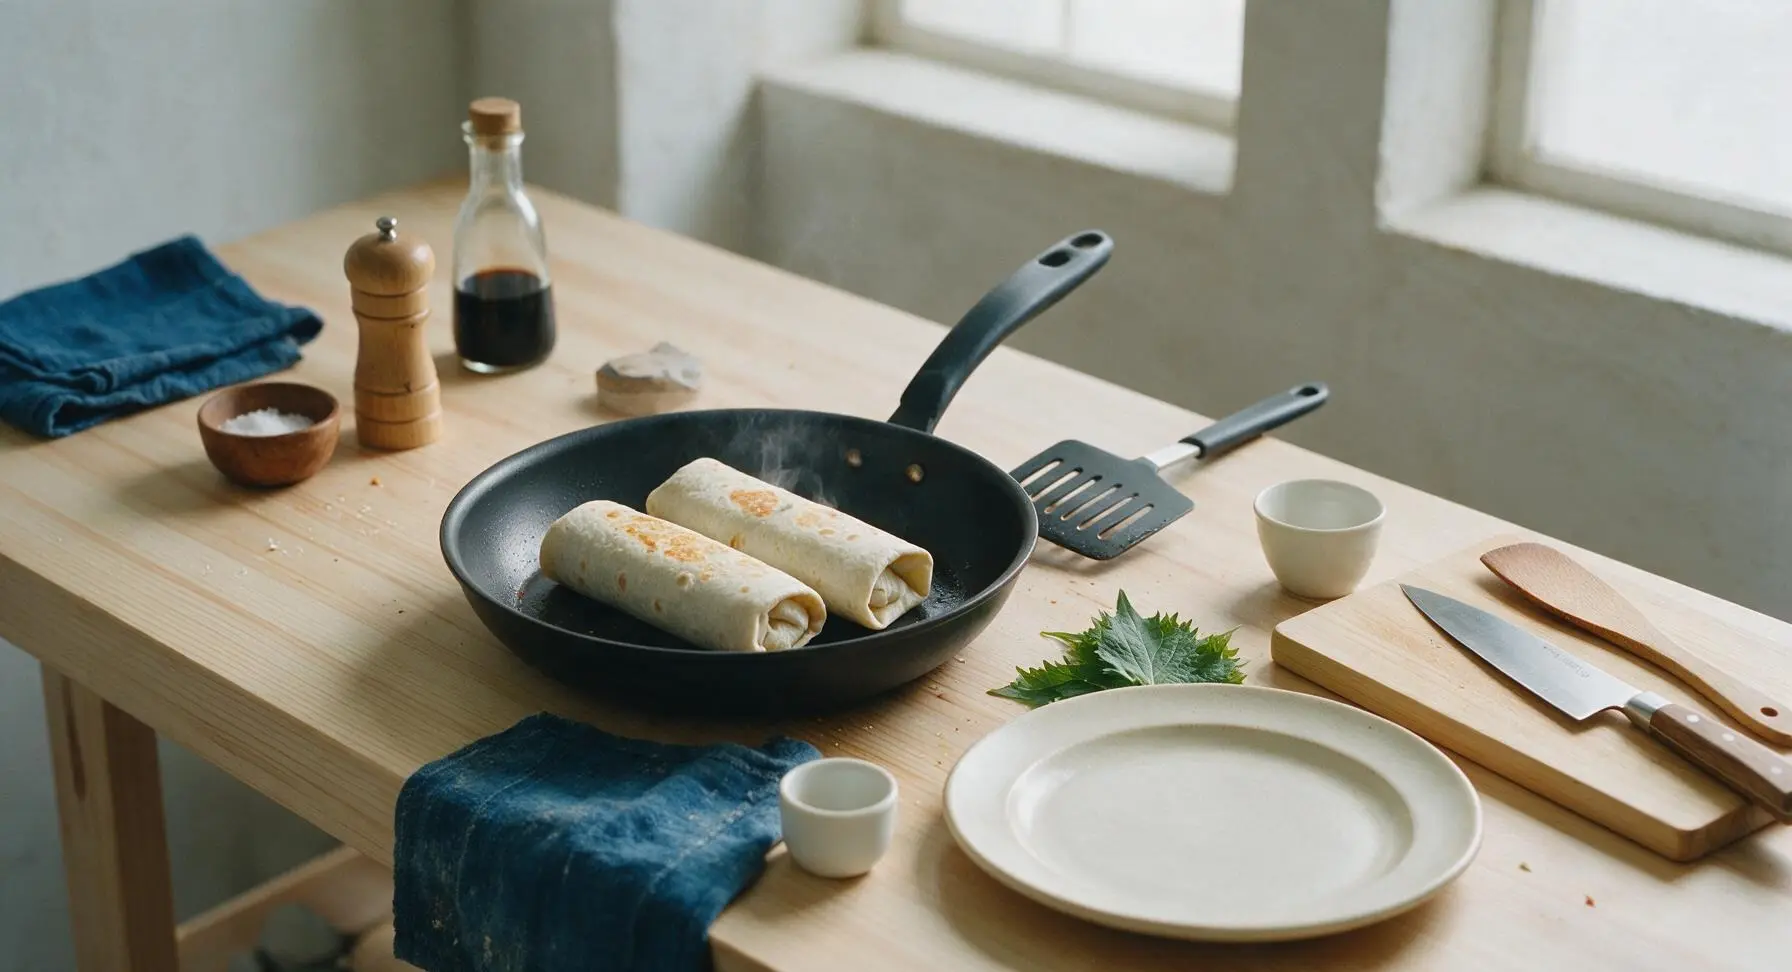
Return the matte black skillet to medium-low heat (140C/275F). Place the rolled burritos seam-side down in the dry skillet, working in batches of 2 if needed, to toast for 1 minute per side until the tortilla is lightly golden and crispy, and the seam is fully sealed shut. The shredded cheese inside will melt fully during this toasting step, creating a cohesive, non-crumbly filling. Transfer toasted burritos to the matte cream ceramic dinner plate for serving.
Tips
2.Avoid overfilling: It can be tempting to pack extra filling into each tortilla, but leaving 2 inches of clear space at the top and bottom edges ensures you can create a tight seal without filling squeezing out the ends as you roll or eat.
3.Toast seam-side first: Placing burritos seam-side down in the hot pan first melts the tortilla at the seam to glue it shut, preventing fillings from falling out when you pick up the burrito, while adding a delicious nutty, crispy texture to the outer wrap.






OMG these are SO good!!! I’ve been trying to find a northern Mexican burrito recipe that doesn’t skimp on flavor but is quick enough for weeknights, and this hit every mark. 25 minutes total? Are you kidding? My two picky kids devoured two each and asked for them in their lunch boxes tomorrow. Total game changer for our family dinner rotation!
Grew up eating these every time we visited my abuela in Chihuahua, and I swear this tastes exactly like hers. I was worried easy recipes cut corners, but the seasoning ratio is spot on, no weird filler stuff. Brought a batch to my buddy’s cookout last weekend and everyone was asking for the recipe before I even left.
Super solid recipe for a college kid on a budget! Only had to grab a couple ingredients I didn’t already have, total cook time was actually right at 25 minutes which was way faster than the takeout place down the street. Only knocked off a star because I added too much chili powder the first time, oops, but that was my bad. Will definitely make again for my roommates next week.
Meal prep win!!! I made 8 of these on Sunday, wrapped them tight in foil, and they’ve been perfect for grab-and-go lunches all week. They reheat so much better than the sad frozen burritos I used to buy, and the flavor is chef’s kiss. 10/10, already added this to my permanent weekly rotation.
Just made these after a long morning hike and they hit DIFFERENT. Used whole wheat tortillas because that’s what I had in the fridge, and they still turned out amazing. Love that it’s easy enough to throw together even when I’m tired and don’t want to spend an hour in the kitchen.
Brought these to my office potluck last week and they were the first thing gone! People kept coming up to me asking if I’d ordered them from that fancy Mexican spot downtown, they couldn’t believe I made them at home in under 30 minutes. Even my boss who hates “homemade takeout” went back for seconds.
Really great base recipe! I added some pickled red onions and a dollop of crema on top when I served them, and it elevated the whole thing. My only note is that if you like extra spicy, throw in a diced jalapeño with the meat while it cooks, it adds the perfect kick. Will be making these for my next game night with friends.