
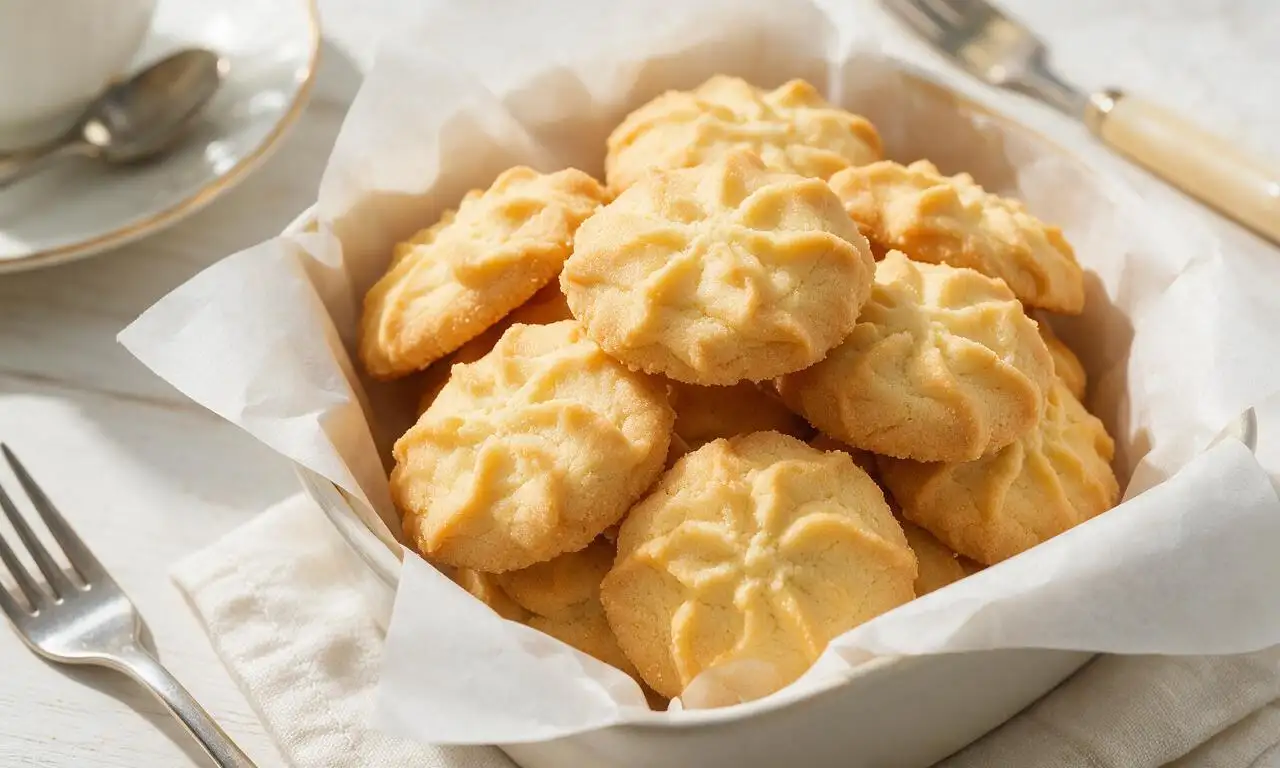
Butter Cookies

title 1
Butter Cookies
⏱️ cook time 1 hour 20 minutes
🍽️ servings 12
⚡ Difficulty easy

intro

Tender, melt-in-your-mouth butter cookies with rich, creamy butter flavor, perfect for holiday gifting, decorating, or pairing with tea and coffee on cold days.

Ingredients

Unsalted butter 225 grams (1 cup, softened to 18°C/65°F room temperature)
All-purpose flour 280 grams (2 1/4 cups, spooned and leveled)
Confectioners' (powdered) sugar 100 grams (1 cup, sifted)
Large egg yolk 1 unit (18 grams, room temperature)
Pure vanilla extract 5 milliliters (1 teaspoon)
Fine sea salt 1 gram (1/4 teaspoon)

Steps

1

Cream butter and sugar

Place 225g softened room-temperature unsalted butter and 100g sifted confectioners' sugar in a large mixing bowl. Beat on medium speed with an electric mixer for 3 full minutes, stopping to scrape down the bowl sides once halfway through, until the mixture is pale, fluffy, and nearly white with no remaining butter lumps.
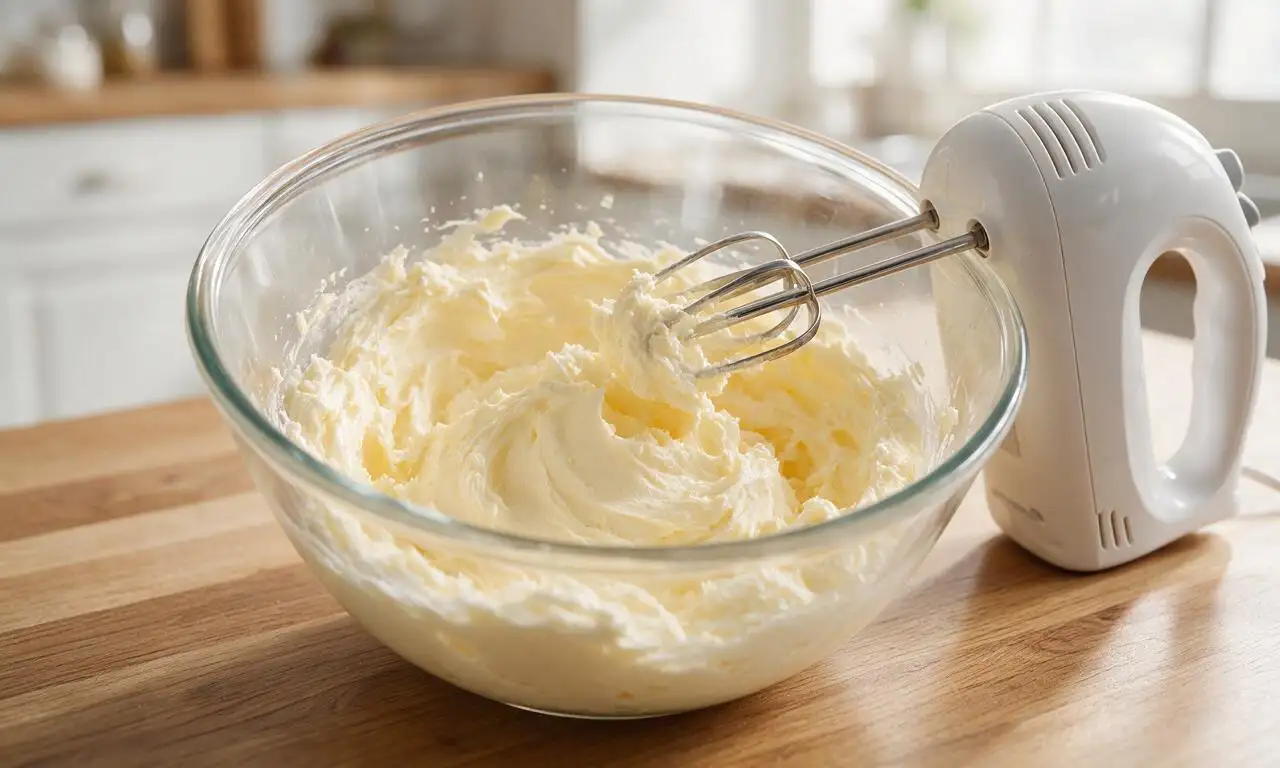
Step 1
step1:Cream butter and sugar
2

Mix in wet ingredients

Add the room-temperature large egg yolk and 5ml (1 tsp) pure vanilla extract to the creamed butter mixture. Beat on low speed for 30 seconds only until fully combined, taking care not to overmix which would incorporate excess air and cause cookies to spread while baking. Scrape down the bowl sides once to ensure even mixing.
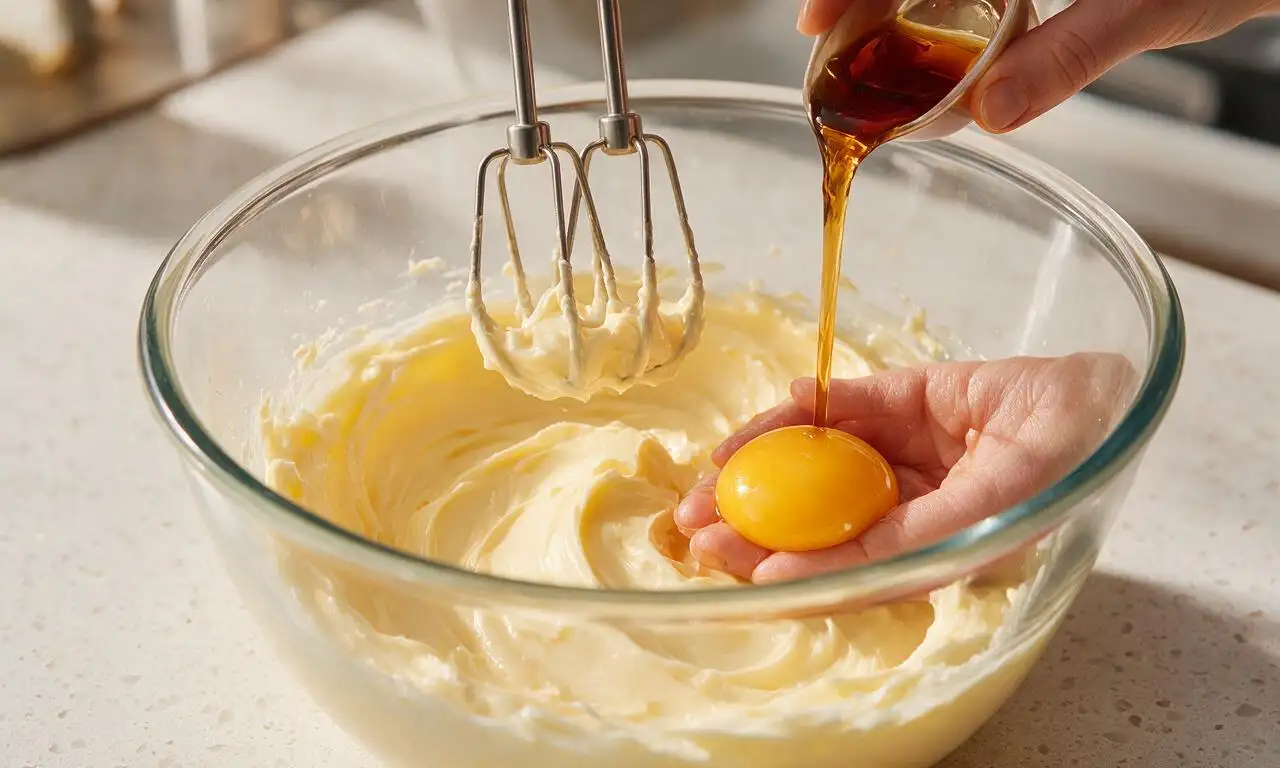
Step 2
step2:Mix in wet ingredients
3

Incorporate dry ingredients

In a separate small bowl, whisk together 280g spooned-and-leveled all-purpose flour and 1g (1/4 tsp) fine sea salt to evenly distribute the salt. Add the dry flour mixture to the wet butter mixture in 3 equal separate additions, mixing on the lowest speed for 10 seconds after each addition, until just combined with no visible dry flour patches. Stop mixing as soon as the dough comes together to avoid tough cookies.
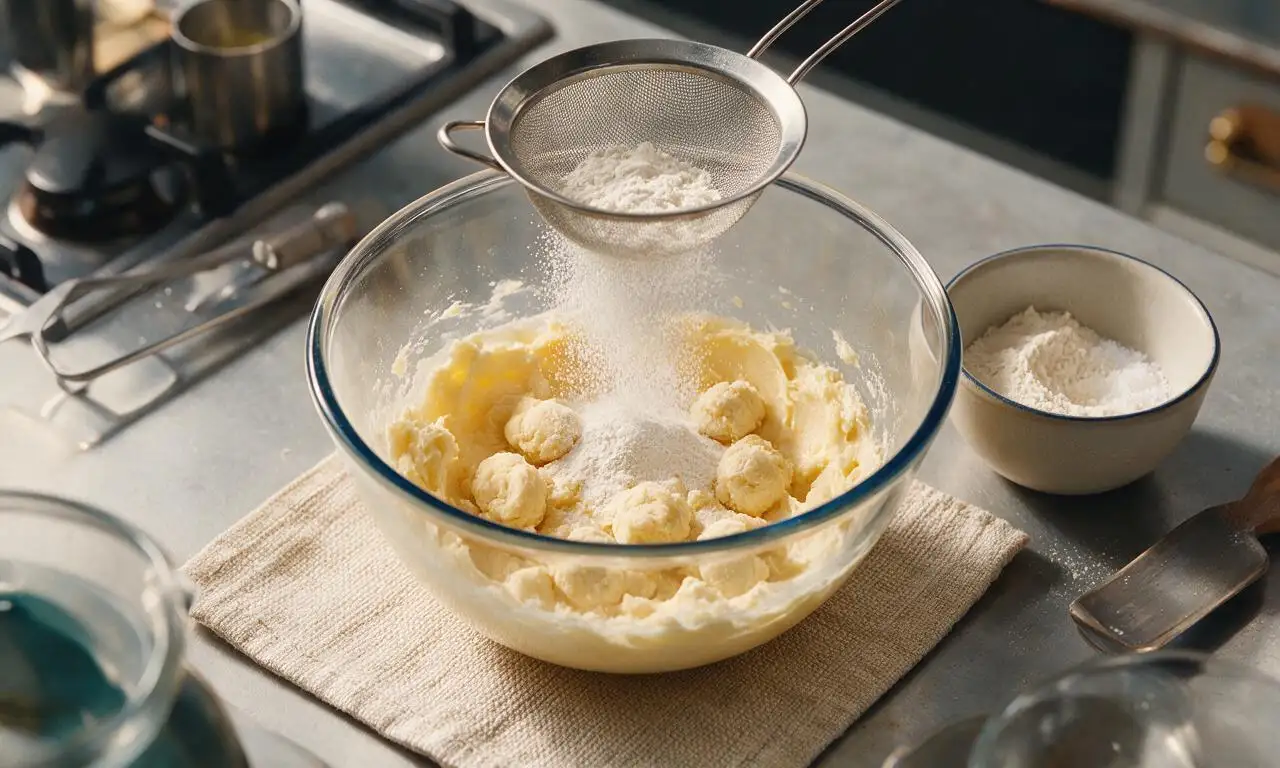
Step 3
step3:Incorporate dry ingredients
4

Chill the cookie dough

Turn the soft dough out onto a sheet of plastic wrap, shape it into a flat 2.5cm (1-inch) thick disc, and wrap tightly. Place the wrapped dough in the refrigerator to chill for a full 30 minutes, until firm enough to roll or pipe without sticking; this step prevents excessive spreading during baking. If using a piping bag for shaped cookies, chill the filled piping bag for 15 minutes instead.
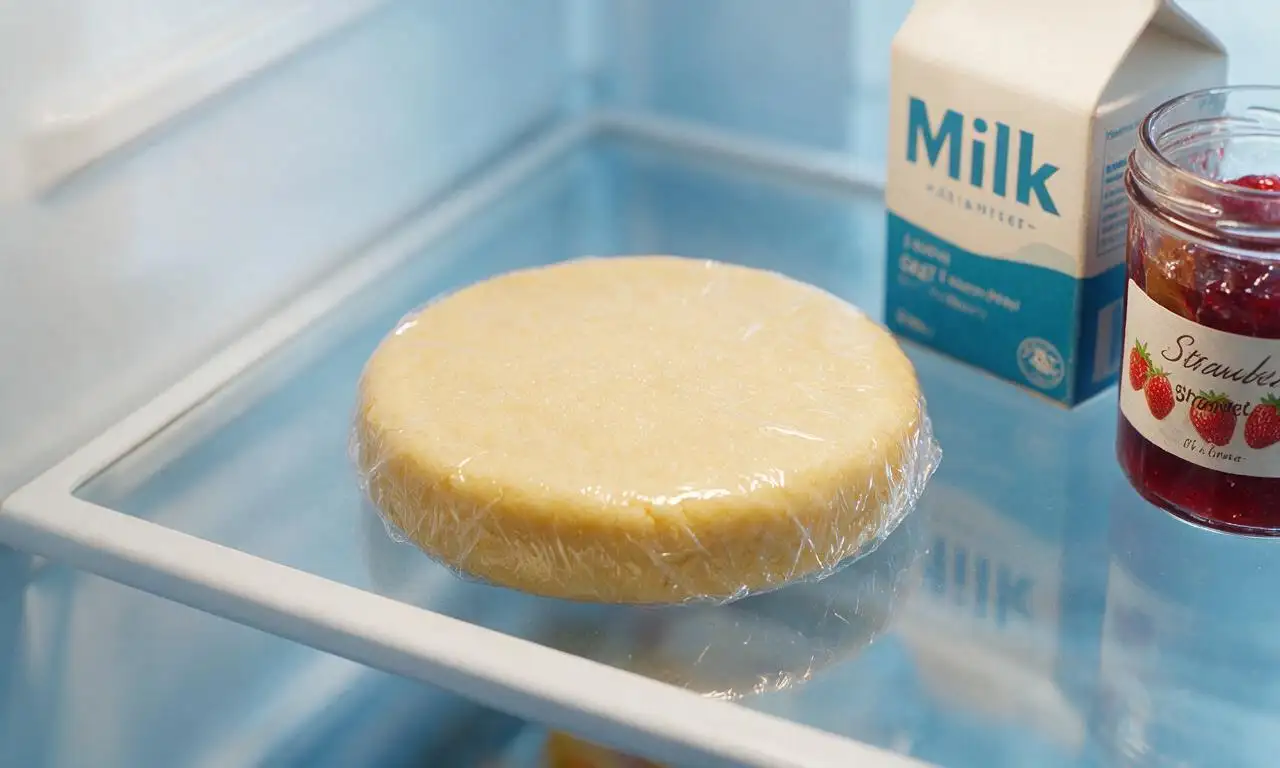
Step 4
step4:Chill the cookie dough
5

Prep oven and trays

While the dough chills, preheat your oven to 175°C (350°F) with racks positioned in the middle of the oven. Line two large baking sheets with parchment paper, taking care not to grease the sheets as the cookie dough has enough butter to prevent sticking. Once dough is chilled, roll it to a 6mm (1/4-inch) thickness on a lightly floured surface, or load it into a piping bag fitted with a large star tip for piped swirl shapes.
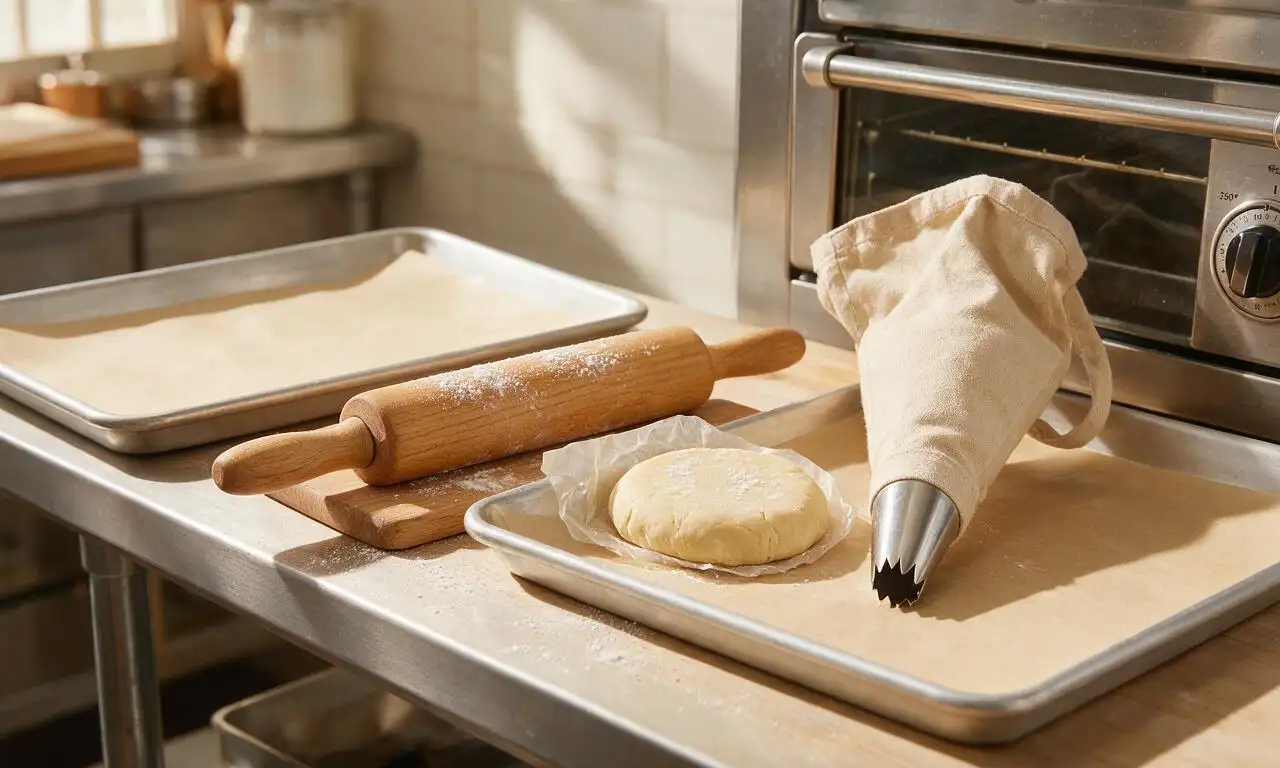
Step 5
step5:Prep oven and trays
6

Bake to golden edges

Arrange cut or piped cookie shapes on the prepared baking sheets, leaving 2.5cm (1 inch) of space between each cookie to allow for minor spreading. Bake one sheet at a time on the middle oven rack for 10 to 12 minutes, until the cookie edges are just pale golden brown, while the centers remain pale and soft to the touch. Do not overbake, as cookies will crisp up as they cool.
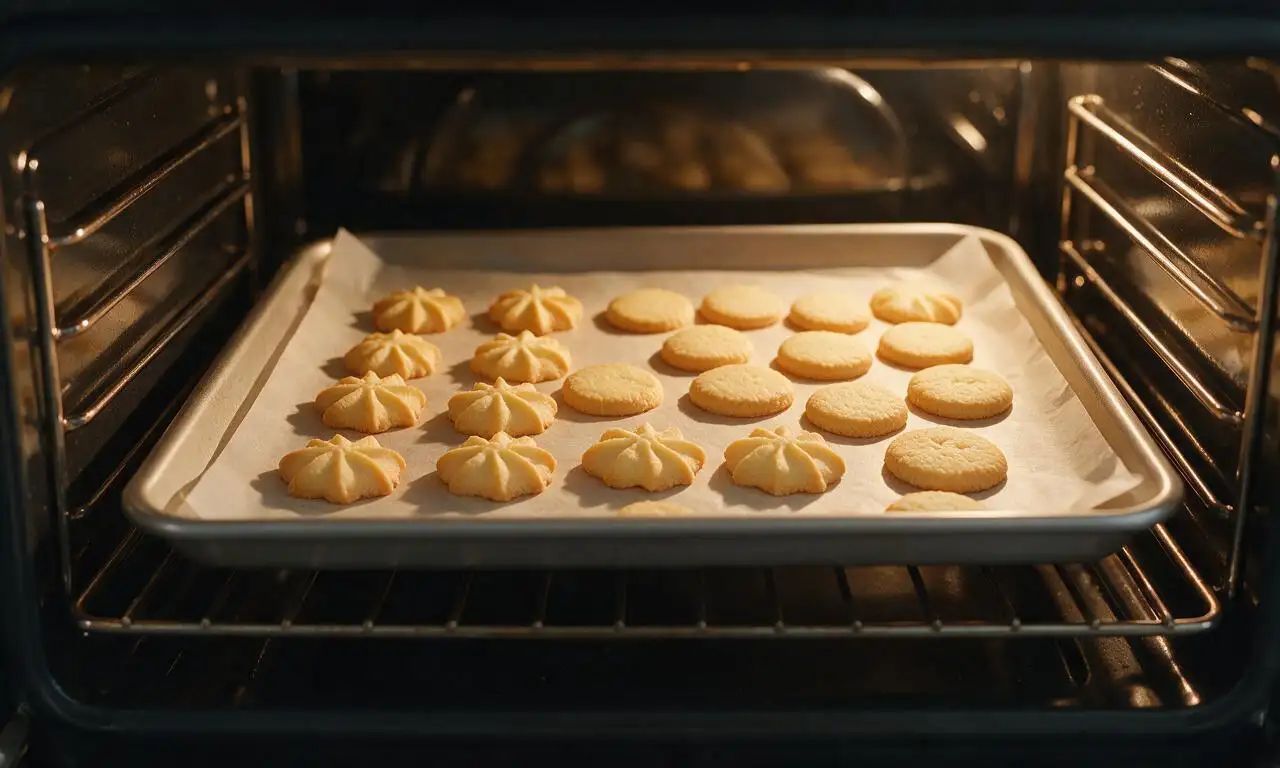
Step 6
step6:Bake to golden edges
7

Cool and serve cookies

Remove the baking sheet from the oven and let cookies rest on the hot sheet for 5 full minutes before transferring them to a wire rack to cool completely to room temperature, about 20 minutes. Once cool, decorate with royal icing, sprinkles, or a dusting of powdered sugar if desired, or store in an airtight container at room temperature for up to 1 week.
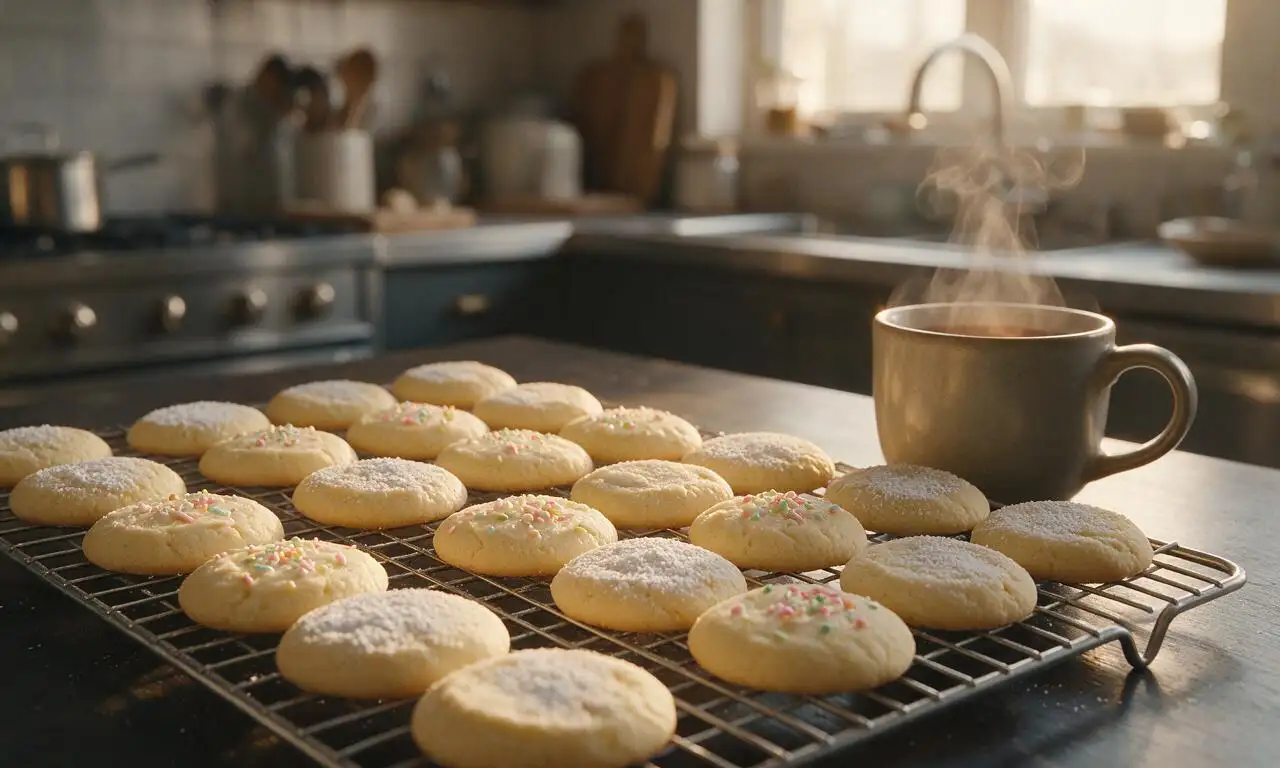
Step 7
step7:Cool and serve cookies

Tips

1.Always use butter softened to cool room temperature (18°C/65°F): overly warm or melted butter causes cookies to spread flat while baking, while cold butter will not cream to the required light, fluffy texture.
2.Stop mixing the dough as soon as no dry flour streaks remain; overworking the gluten in the flour will result in tough, dense cookies instead of the signature tender, melt-in-your-mouth texture.
3.Bake only one sheet of cookies at a time on the middle oven rack; if your oven has known hot spots, rotate the sheet 180 degrees halfway through baking for evenly golden results.


✨ You May Also Like

Desserts & Baking
🍜 Italy

Creamy, coffee-kissed classic Northern Italian no-bake dessert, with layers of rum-spiked mascarpone cream, soft ladyfingers, and a rich cocoa dusting.

⏱️ 4 hours 3Desserts & Baking ★ 4.7
Desserts & Baking
🍜 France

Flaky, shatteringly crisp, buttery French croissants with golden exteriors and soft, airy layered interiors, perfect for pairing with coffee for a special morning treat.

⏱️ 12 hours Desserts & Baking ★ 4.5
Desserts & Baking
🍜 United States

Warm, spiced baked apples topped with a fluffy golden biscuit crust, this cozy dessert pairs perfectly with vanilla ice cream for cool-weather comfort.

⏱️ 55 minuteDesserts & Baking ★ 4.6
Desserts & Baking
🍜 United States

A star-spangled classic American blueberry pie with buttery flaky crust and bright sweet-tart filling, perfect for summer patriotic gatherings.

⏱️ 1 hour 25Desserts & Baking ★ 4.7
Desserts & Baking
🍜 United States

A beloved no-bake regional Maine candy with a chewy coconut-potato center coated in rich dark chocolate, a New England holiday staple since the 1870s.

⏱️ 2 hours 3Desserts & Baking ★ 4.8
Desserts & Baking
🍜 France

Luxuriously creamy, floral frozen custard made with aromatic Tahitian vanilla beans, boasting a smooth, rich texture that melts slowly on the tongue.

⏱️ 3 hours 3Desserts & Baking ★ 4.5

Butter Cookies:Frequently Asked Questions

1.Why does this recipe use confectioners’ sugar instead of regular granulated sugar? ▾
Great question! Confectioners’ sugar dissolves completely with no gritty texture, and the small amount of cornstarch it contains limits gluten development in the flour, creating that signature melt-in-your-mouth, tender crumb instead of the chewy, snappy texture you get with granulated sugar.
2.Can I use salted butter instead of unsalted butter for these cookies? ▾
You absolutely can, just adjust for added salt! If using salted butter, skip any extra pinch of fine salt you might otherwise add, and make sure your butter is fresh (not stored near strong-smelling fridge foods) so the clean, rich butter flavor stays front and center in every bite.
3.Why does this recipe only call for an egg yolk instead of a whole egg? ▾
Using only a large egg yolk adds rich, creamy fat and a delicate, tender crumb without the extra protein and water from egg white, which would make cookies firmer, chewier, and more prone to spreading too much in the oven. It also keeps the bright butter flavor un-diluted.
4.How do I keep my butter cookies from spreading too much while baking? ▾
The most reliable fix is to chill your shaped dough for at least 30 minutes before baking! Also, make sure your butter is softened to room temperature (not melted or greasy), don’t overmix your flour, and bake on cool, parchment-lined sheets instead of hot pre-used ones to prevent premature butter melting.
5.Can I roll and cut this dough into shapes for holiday decorating? ▾
Absolutely! This dough holds shape beautifully for cutouts when chilled properly. After mixing, pat the dough into a ¼-inch thick disk, wrap tightly, chill for 1 hour, then cut into your favorite shapes. They pair wonderfully with royal icing, sprinkles, or a light dusting of extra powdered sugar after baking.
6.How long do these classic butter cookies stay fresh after baking? ▾
When stored in an airtight container at cool room temperature, away from direct sunlight or heat sources, these cookies will stay perfectly tender and flavorful for up to 1 week. Layer them between sheets of parchment paper to prevent sticking, especially if you’ve added icing or decorative sprinkles.
7.Can I freeze this cookie dough to bake at a later time? ▾
Yes, this dough freezes beautifully for easy make-ahead baking! Shape the dough into a log for slice-and-bake rounds or a flat disk for cutouts, wrap tightly in plastic wrap and a layer of foil, then freeze for up to 3 months. Thaw overnight in the fridge before baking as directed.
8.What’s the secret to getting tender cookies instead of tough, dense ones? ▾
The key is to avoid overworking the dough! Mix your butter and sugar until just smooth, stir in the yolk and vanilla until combined, then add flour and mix only until no dry streaks remain. Overmixing develops excess gluten in the flour, which leads to tough, dense baked cookies.
9.Can I add mix-ins like chocolate chips or nuts to this base recipe? ▾
Of course! This simple dough is super versatile. Fold in up to ½ cup of mini chocolate chips, finely chopped toasted nuts, fresh lemon zest, or dried cranberries right after you mix in the flour. Keep add-ins small so they don’t disrupt the delicate texture or cause uneven spreading.
10.Do I have to use pure vanilla extract, or will imitation vanilla work? ▾
For the best, warmest flavor, pure vanilla extract is worth using here—its complex, sweet notes complement the rich butter perfectly. Imitation vanilla works in a pinch, but it can leave a slightly artificial aftertaste, so use 25% less than the recipe calls for to avoid overpowering the butter.
11.Why are my finished cookies dry and overly crumbly instead of tender? ▾
Dry, crumbly cookies almost always come from measuring flour incorrectly! Spoon flour into your measuring cup and level it off with a knife instead of scooping directly from the bag, which packs in too much flour. Overbaking is another common culprit—pull cookies when edges are just barely light golden.
12.Can I pipe this dough to make classic swirled butter cookie shapes? ▾
You sure can! For clean, sharp piped shapes, make sure your butter is softened just enough to easily press a finger into, then load the dough into a piping bag fitted with a large open star tip. Pipe shapes onto parchment-lined sheets, then chill for 15 minutes before baking to help edges hold their form.
13.Do I need to grease my baking sheet when making these butter cookies? ▾
Skip greasing the baking sheet entirely! Extra grease adds unnecessary fat that can cause the cookies to spread too much and lose their defined shape. Instead, line your sheet with ungreased parchment paper or a silicone baking mat—this prevents sticking, promotes even browning, and makes cleanup super easy.
14.Are these cookies sturdy enough to make ahead for holiday gifting? ▾
They’re ideal for holiday gifting! Bake them up to 3 days before you plan to package them, let them cool completely to room temperature, then pack into decorative tins lined with parchment. You can even tuck a small vanilla bean pod into the tin to keep them fragrant and fresh for recipients.

Comments (11)

2 days ago

OMG these classic butter cookies are SO good! I baked them for my kid’s after-school snack this week and they devoured the whole batch in two days. The recipe was so easy to follow even for someone like me who burns toast half the time, lmao. The crumb is perfectly buttery, not too sweet, just right with a glass of cold milk.

1 week ago

Solid butter cookie recipe, no fancy ingredients needed which I love. I brought a tin of these to our office potluck last Friday and everyone was asking for the recipe. Only note is I added a tiny bit of lemon zest to half the batch and it slapped, would recommend that little twist if you like a bright note.

2 weeks ago

I’ve been making butter cookies for 40+ years and lost my go-to recipe when we moved last year, so I tried this one on a whim. Tastes exactly like the ones my mom used to make at Christmas! Perfect texture, holds shape great when I use my cookie press, no spreading in the oven at all. Will be my new staple.

30 minutes ago

Wait, quick question — can I make the dough ahead of time and leave it in the fridge for a few days before baking? I’m prepping for my daughter’s birthday party and want to get as much done ahead as possible so I’m not running around the day of. These look perfect for the cookie platter!

5 minutes ago

Great question! You can absolutely keep the tightly wrapped dough in the fridge for up to 3 days before baking — just let it sit at room temp for 10-15 minutes before rolling so it’s soft enough to work with. Hope the birthday party is a blast!

yesterday

First time ever making cookies from scratch instead of the pre-made tube from the grocery store — these turned out insane! I didn’t have a cookie cutter so I just rolled the dough into balls and pressed them with a fork like my grandma does, dusted a little sugar on top. Game changer, never buying pre-made again.

2 hours ago

Oh the fork press is such a classic move! I do that too and add a sprinkle of colored sugar for holidays, so cute and no fancy equipment needed. So glad your first from-scratch bake went well!

3 days ago

Made these with my 7 year old last night for his school bake sale. We cut them into dinosaur shapes and dipped half in chocolate after they cooled. They were the first thing to sell out at the sale today! Only issue was our oven runs a little hot so the first batch got a touch too dark on the edges, but the second batch at 365 instead of 375 was perfect.

2 days ago

Love the dinosaur shape idea, that sounds so fun! So glad they were a hit at the bake sale — great call adjusting the oven temp for your unit, that’s such a smart trick for home bakers.

5 days ago

These are perfect for my monthly book club meetup! They’re not overly rich so they pair great with both coffee and the sparkling wine we always serve, and they don’t get crumbs all over the couch which is a major win when we’re passing books around. 10/10, will make again.

3 days ago

Wait I’m in a book club too! I’m always searching for low-mess treats that don’t require a fork, I’m definitely making these for our next meeting when we discuss that new thriller. Thanks for the rec!

2 days ago

Wait has anyone tried making these with gluten free all purpose flour? My niece has celiac and I want to make a batch she can eat when she comes to visit next weekend, but I don’t want to mess up the texture too bad.

yesterday

I made these last week with a 1:1 gluten free all purpose flour blend (the one with xanthan gum already in it) and they turned out almost identical to the regular version! Just let the dough chill a full hour like the recipe says and you won’t notice a difference.

2 hours ago

Great tip from Mia! The 1:1 GF blends work perfectly for this recipe — just avoid any blends that are heavy on bean flour, as that can leave an odd aftertaste. I hope your niece loves them!

1 week ago

Meal prepped a big batch of these for the week to keep in my work desk for when that 3pm sugar craving hits, and honestly? Best meal prep decision I’ve made all month. They hold up great in an airtight container for a full week, no staleness at all. My coworkers keep sneaking them off my desk though, lmao, I’m gonna have to make a double batch next time.

5 days ago

LMAO I feel this, I tried keeping treats at my desk once and my team cleared a whole batch of brownies in 20 minutes. Double batch is the only way to go if you don’t want to share all your hard work!

3 days ago

So happy to hear they hold up so well for weekly prep! If you want to keep them extra fresh, you can pop a slice of white bread in the airtight container with them — it keeps the cookies soft without making them soggy.

2 hours ago

Help! I followed the recipe exactly but my cookies spread way too much in the oven and turned into flat buttery discs instead of holding their cutout shape. What did I do wrong? They taste amazing but look a hot mess, I wanted to bring them to my neighbor’s housewarming tomorrow.

30 minutes ago

9 times out of 10 that happens when the butter is too soft when you mix the dough, or you don’t chill the dough long enough before baking! If your kitchen is super warm, even 20 minutes of chill time isn’t enough, I pop mine in the freezer for 10 minutes right before putting them in the oven to prevent spread.

5 minutes ago

Lou is spot on! The most common culprit for spread is under-chilled dough or butter that was melted/too soft when creamed. For cutouts, aim for butter that’s room temp but still cool to the touch (not squishy all the way through) and chill the cut shapes on the baking sheet for 15 minutes before popping them in the oven. You’ve got this!

1 week ago

These are going to be my go-to Christmas cookie this year! I made a test batch last night and rolled the edges in colored sprinkles before baking, and they look so festive. My husband said they taste exactly like the fancy butter cookies we get from the Danish bakery downtown for $18 a tin, except I made a whole batch for like $3 worth of ingredients. Total win.

5 days ago

Ooh the sprinkle edge idea is so cute! I’m making tins of cookies for all my kid’s teachers this holiday season and this will make them look so much more polished without extra work. Thanks for the hack!

3 days ago

Right?! I stopped buying those fancy tins years ago once I realized how cheap and easy it is to make them at home. I dip half of mine in dark chocolate and add a little crushed peppermint on top for holiday vibes, *chef’s kiss*.



