
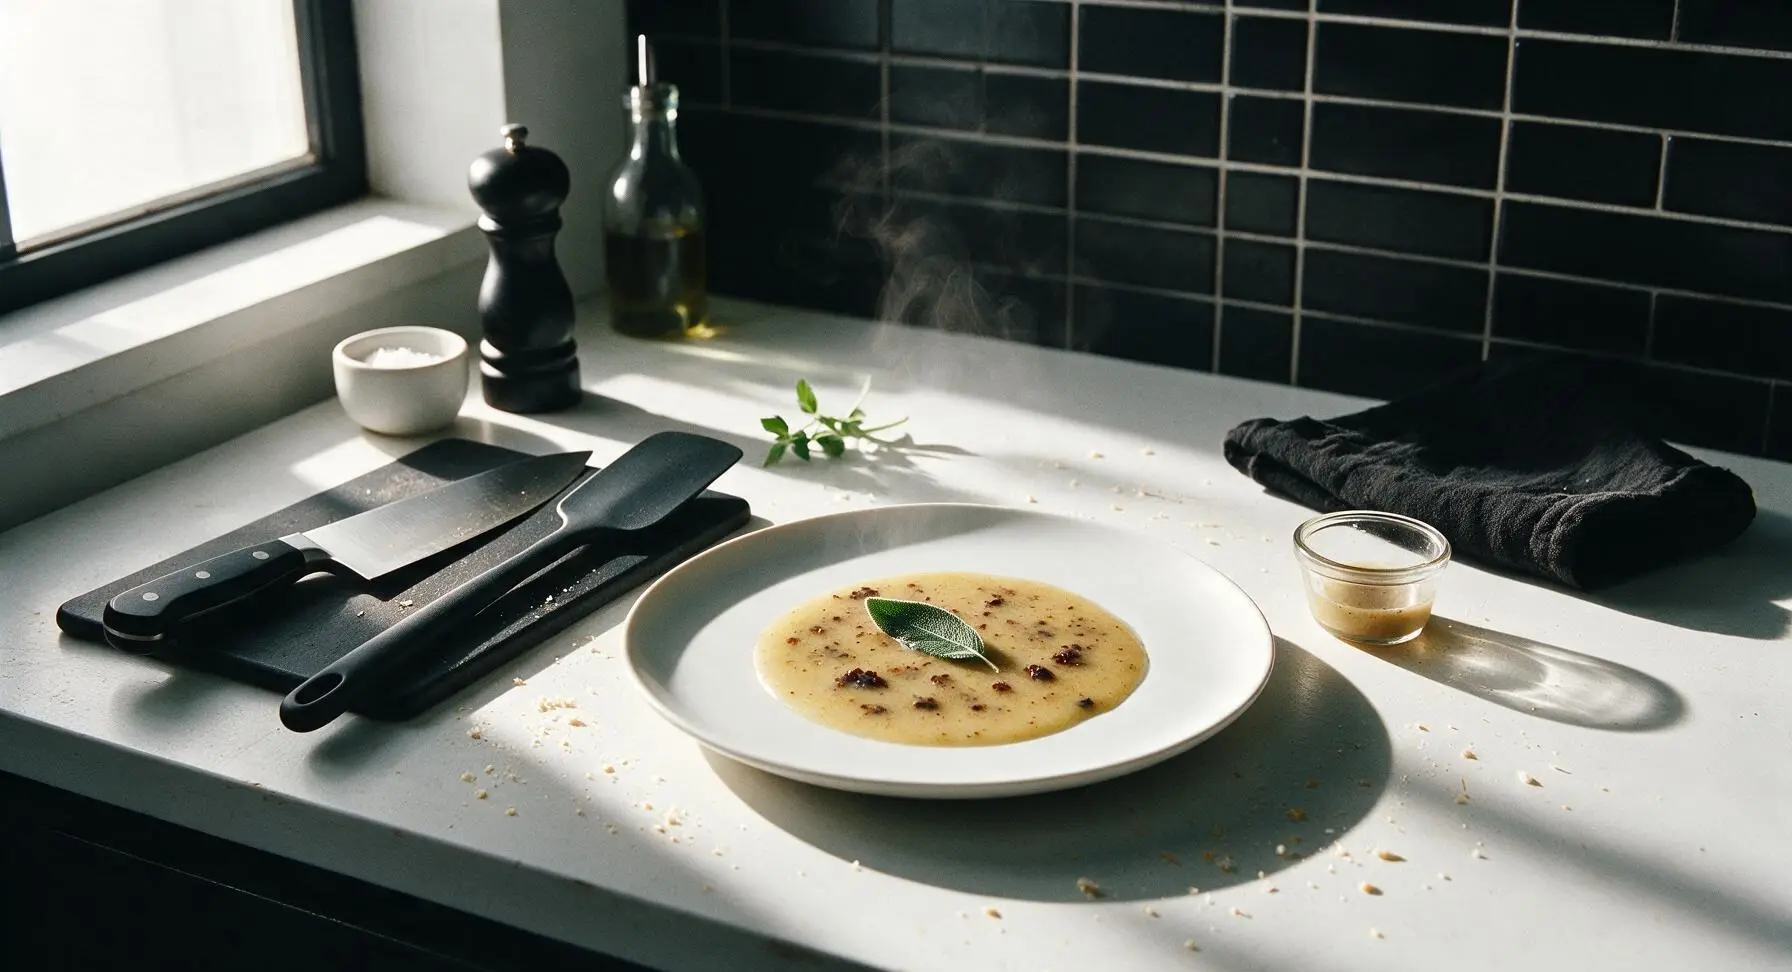
butter sage sauce

title 1
butter sage sauce
⏱️ cook time 7 minutes
🍽️ servings 4
⚡ Difficulty easy

intro

Silky, nutty brown butter sage sauce is a 10-minute Northern Italian classic, perfect for tossing with pasta, gnocchi, or roasted autumn vegetables.

Ingredients
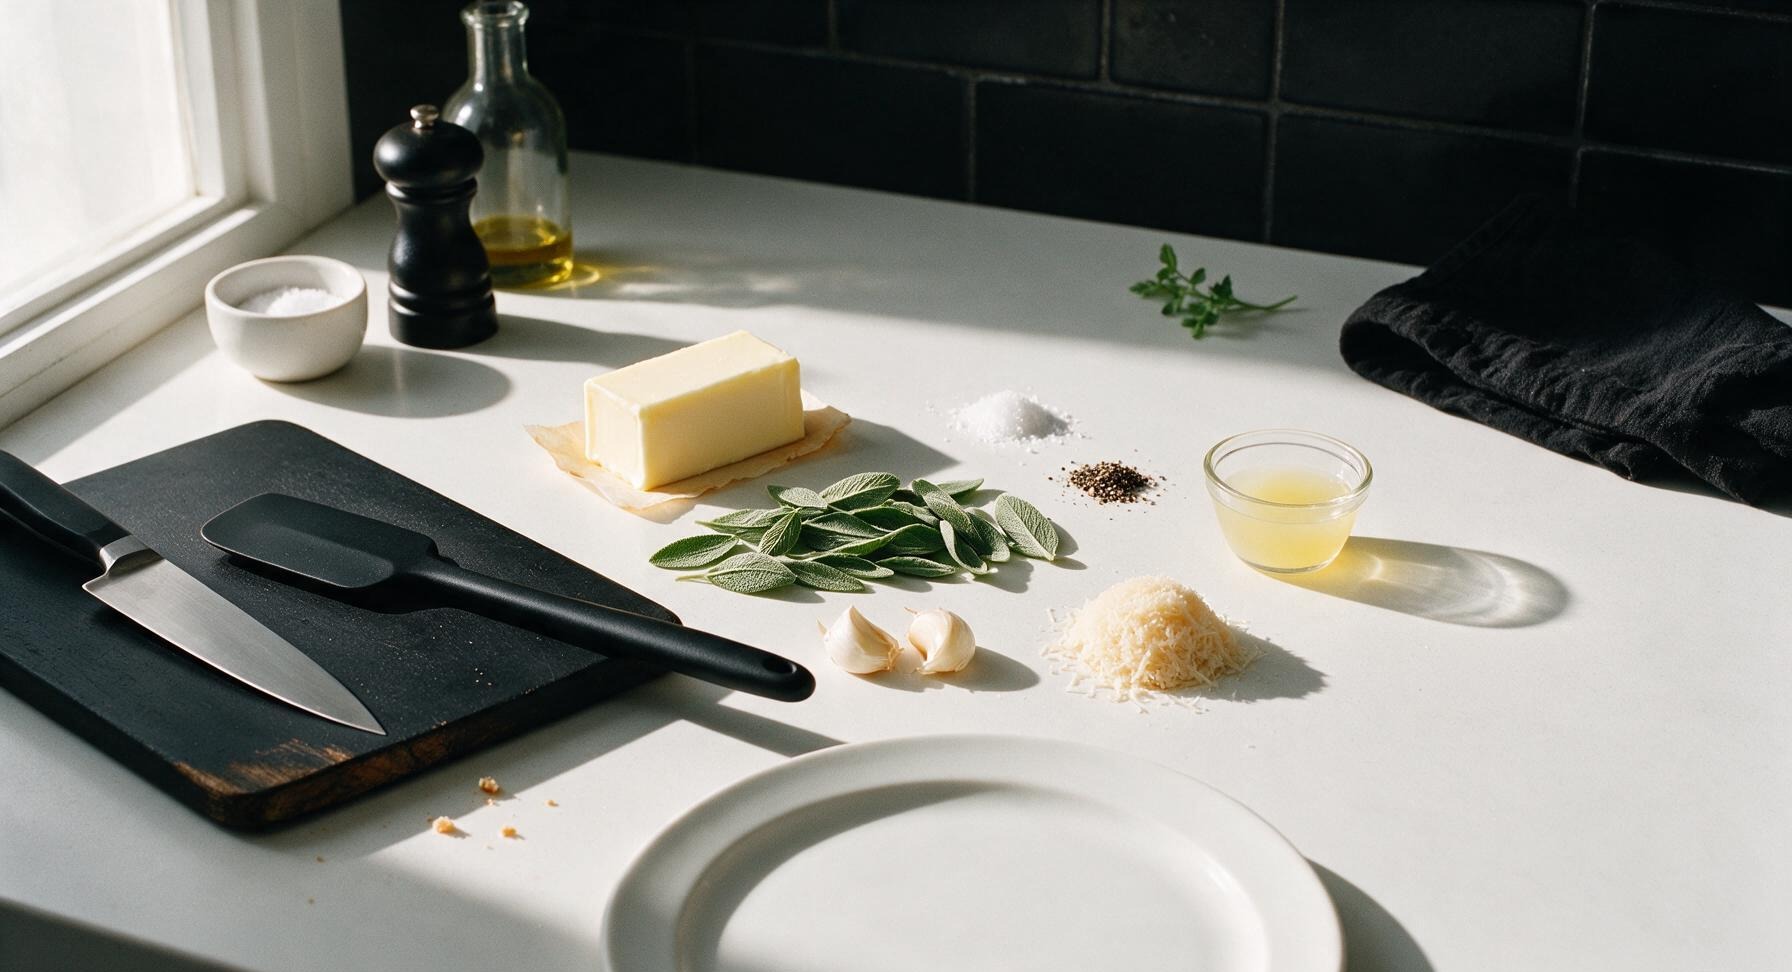
Unsalted butter 113g (1 stick / 8 tbsp)
Fresh sage leaves 20 medium leaves (15g)
Garlic cloves 2 cloves (6g, lightly crushed)
Kosher salt 1/4 tsp
Freshly cracked black pepper 1/8 tsp
Fresh lemon juice 1 tsp
Grated Parmigiano-Reggiano 2 tbsp (10g, optional)

Steps

1

Prep Sage and Garlic

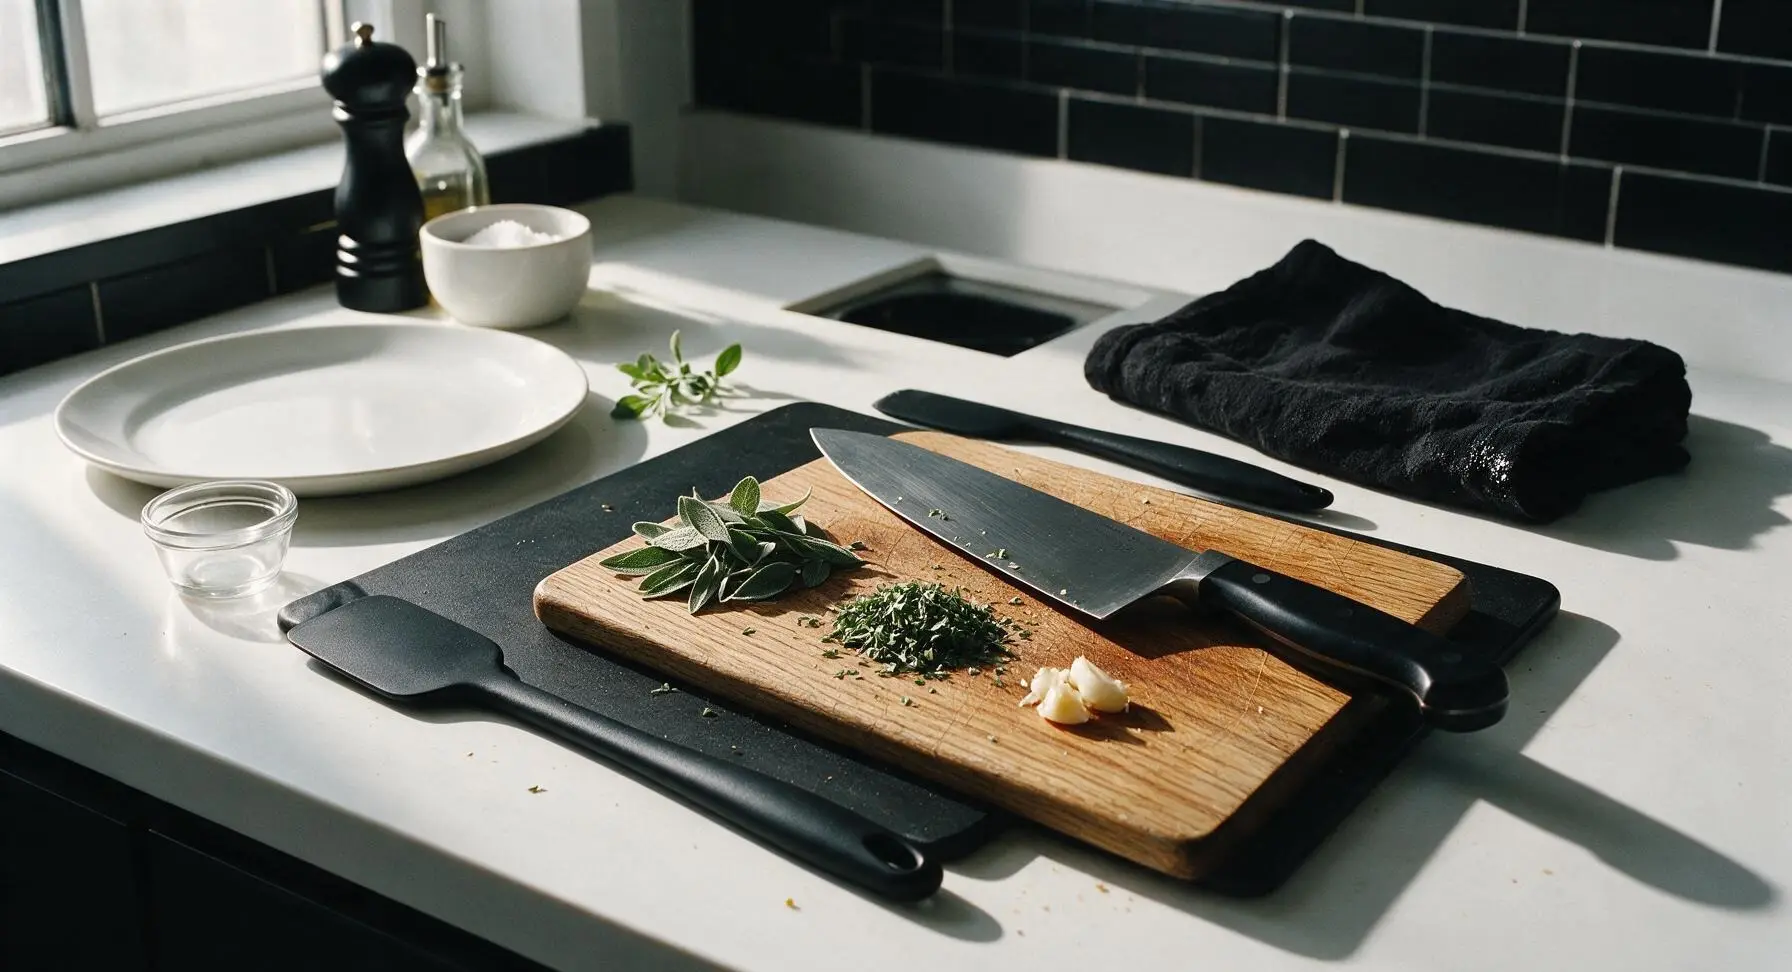
First, rinse the fresh sage leaves under cool water and pat completely dry with the corner of the linen towel (wet leaves will spatter violently in hot butter and steam instead of crisping). Set aside 12 whole, unblemished leaves for frying, then finely chop the remaining 8 leaves. Place the 2 garlic cloves on the cutting board, crush lightly with the flat of the chef knife (do not mince—these will be removed after infusing flavor). Arrange all prepped items within arm's reach of the stovetop, as the sauce cooks very quickly once started.
Step 1
step1:Prep Sage and Garlic
2

Melt Butter Gently

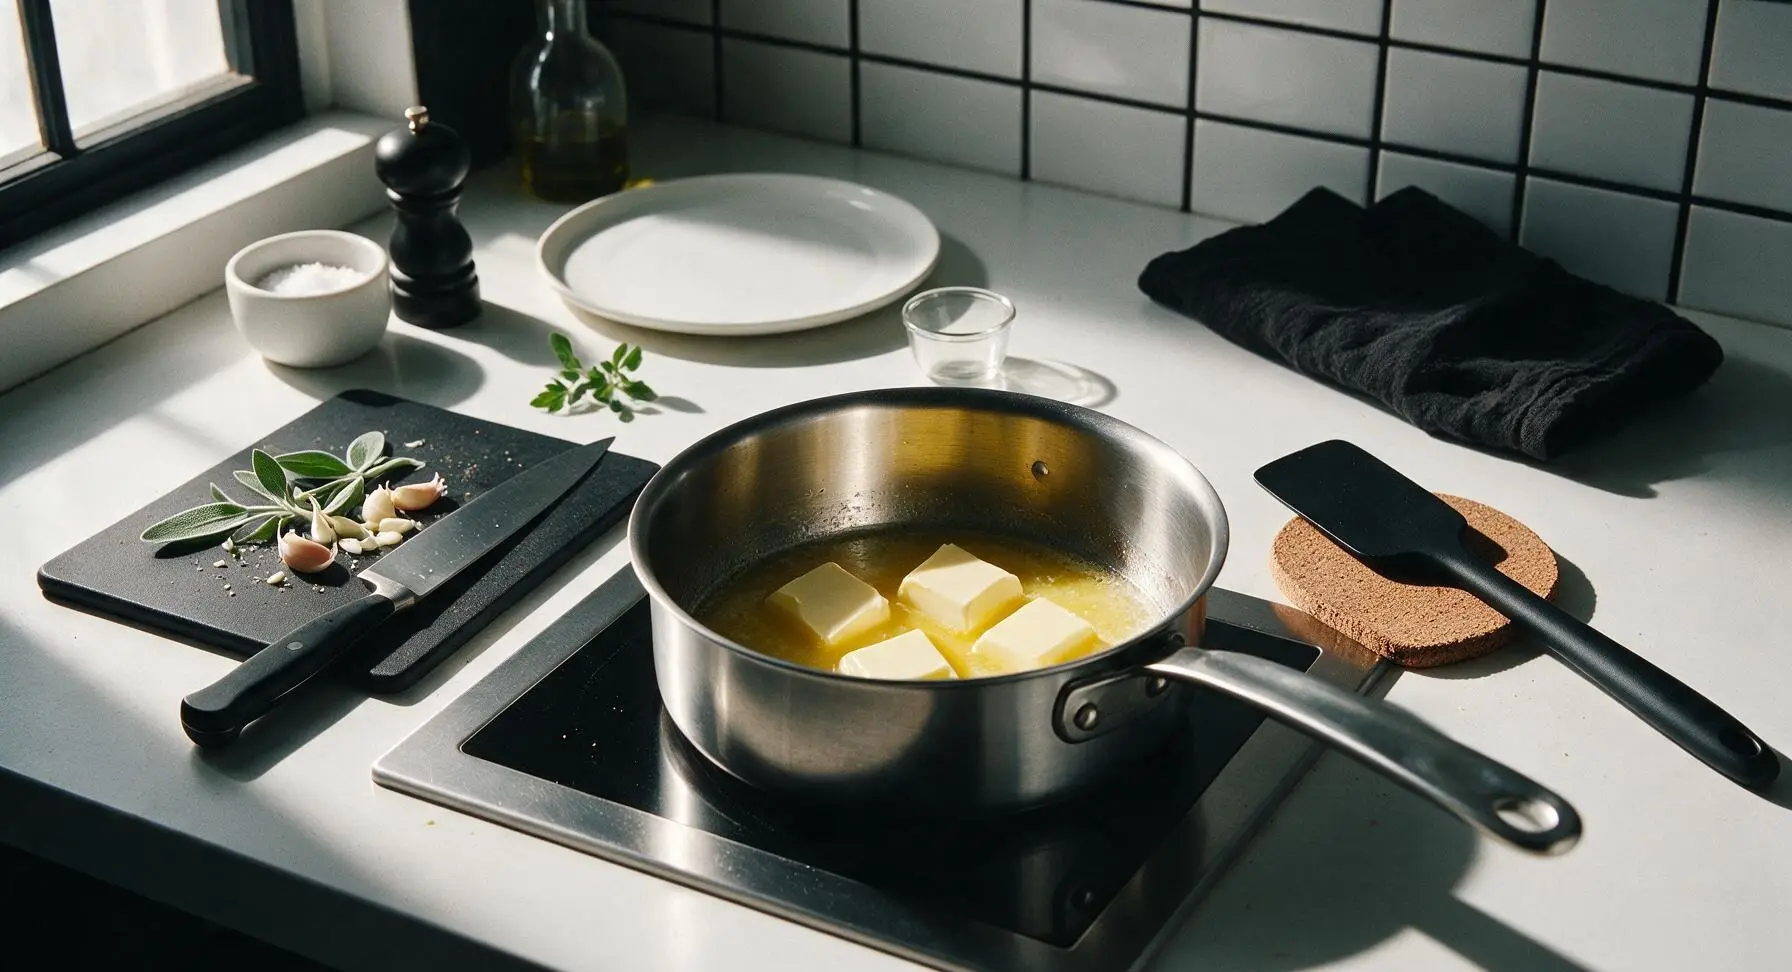
Place the stainless steel saucepan centered on the induction cooktop, set to medium heat (350°F / 175°C). Cut the butter stick into 4 equal tablespoons, add to the pan, and allow to melt completely over 2 minutes, swirling occasionally with the silicone spatula. Adjust heat if needed to prevent violent bubbling or splattering at this stage.
Step 2
step2:Melt Butter Gently
3

Fry Crispy Sage Leaves

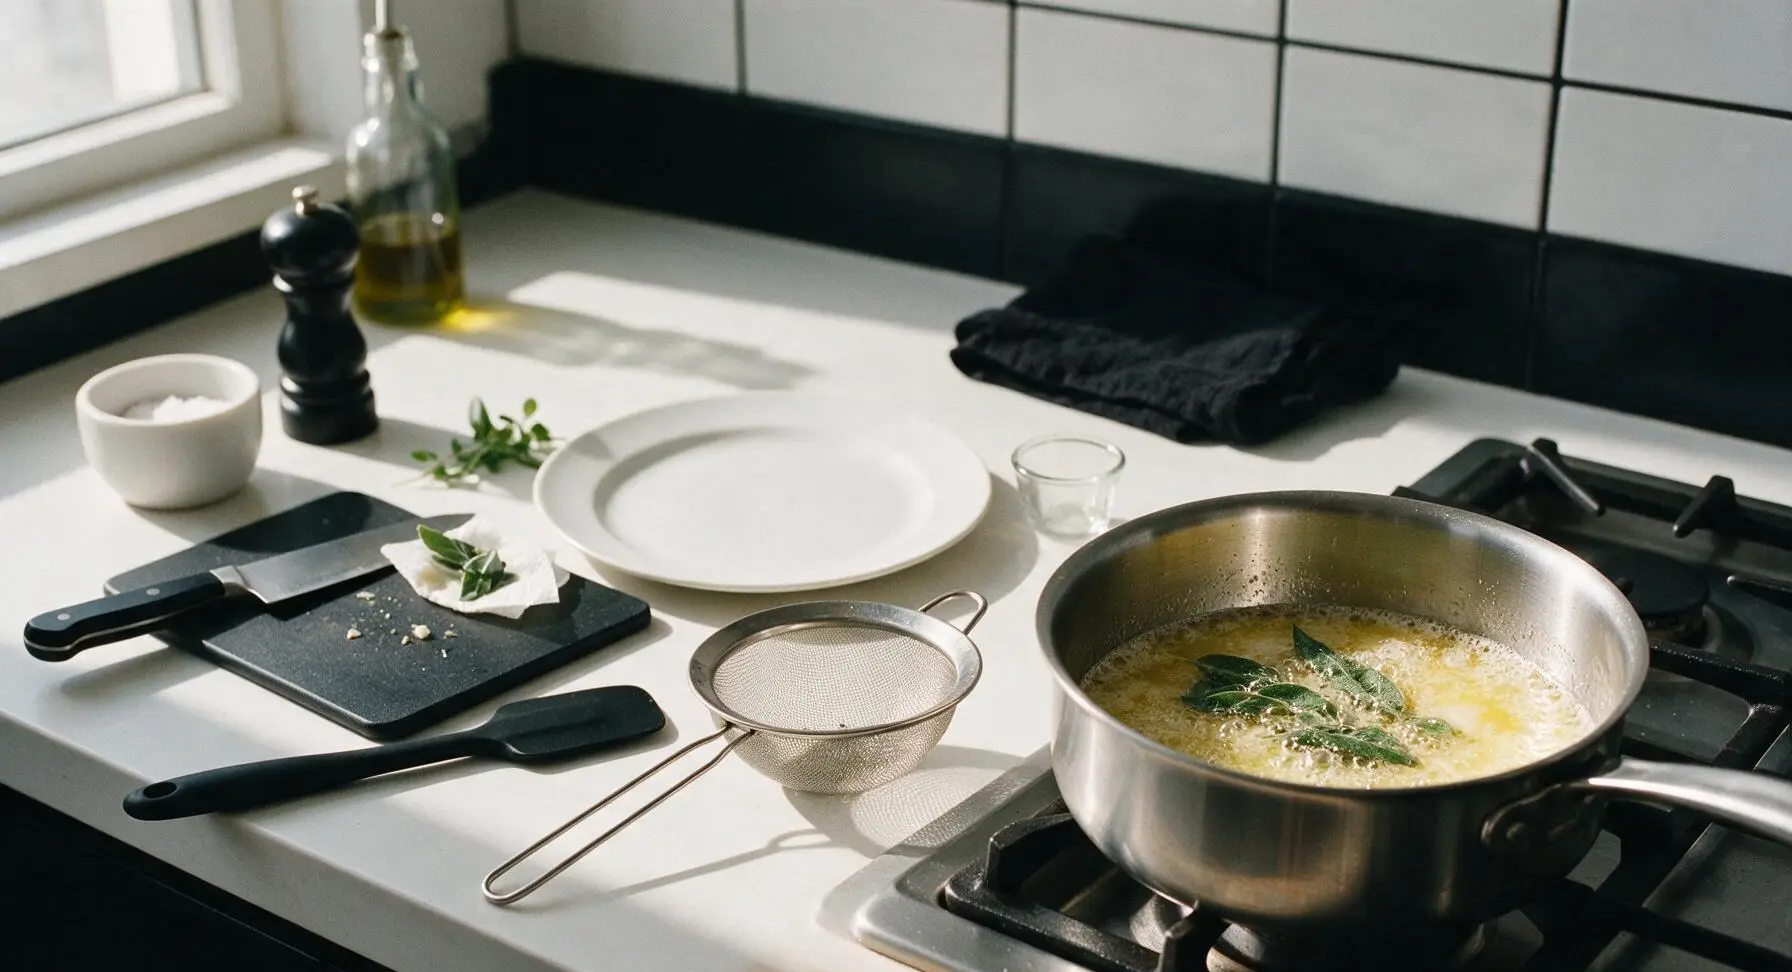
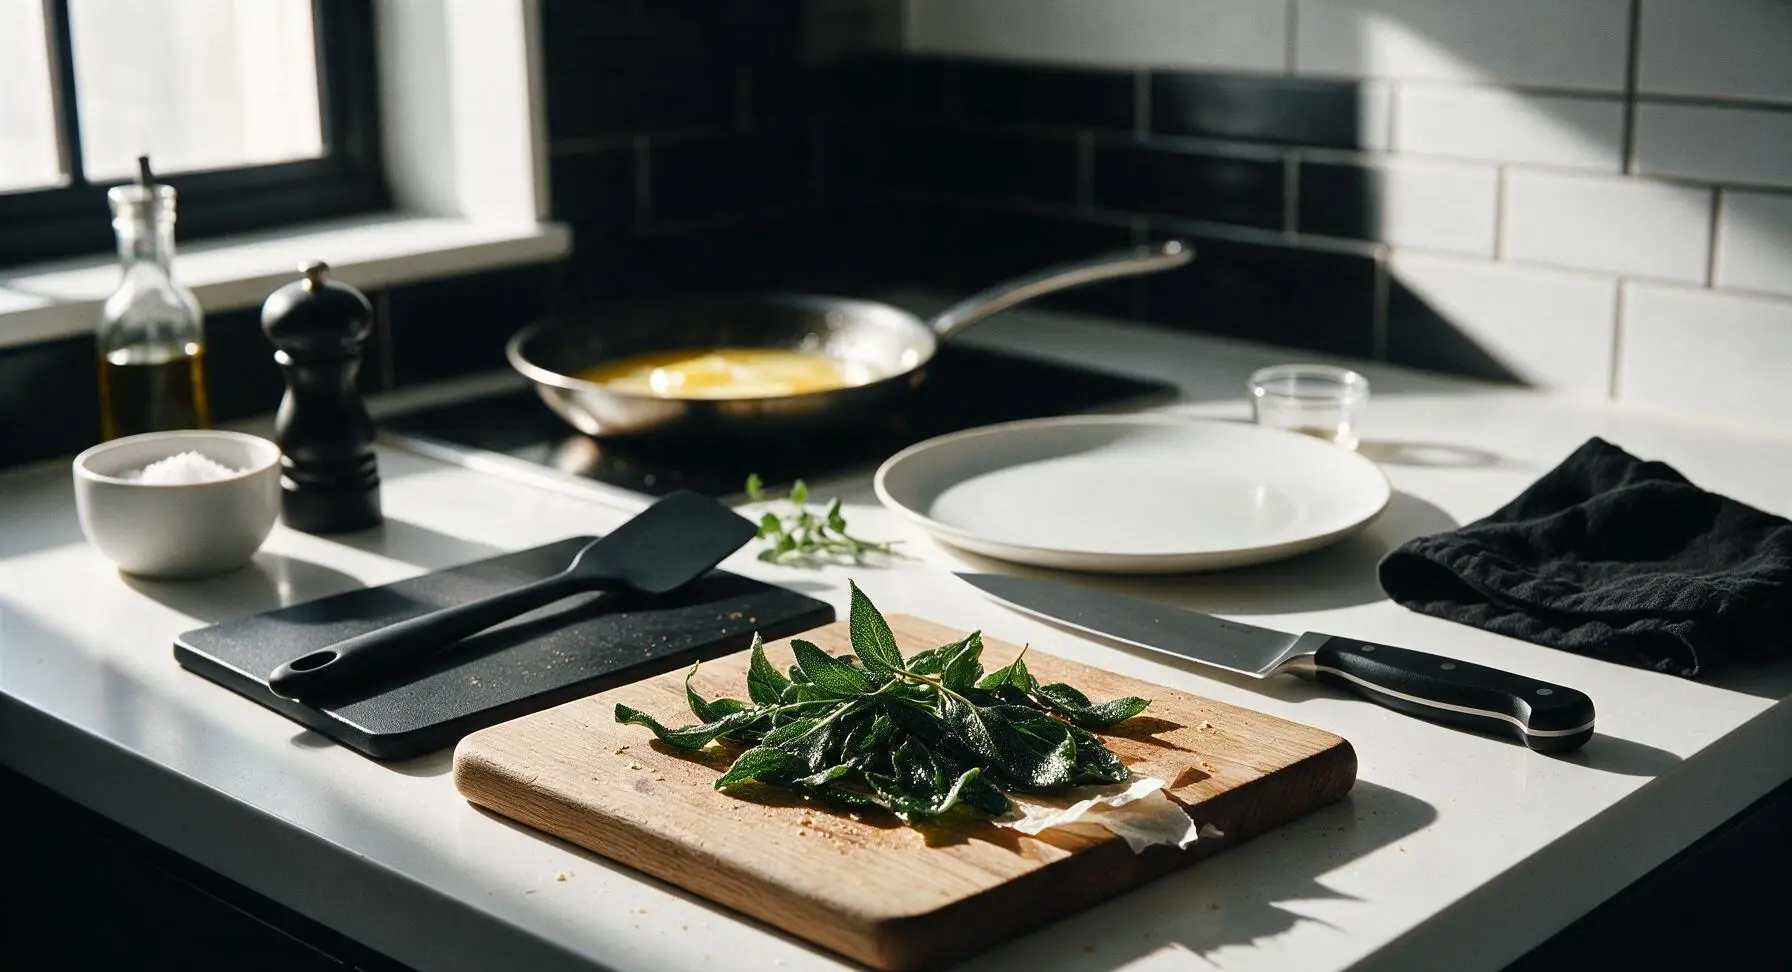
Once butter is fully melted and just starting to form small gentle bubbles, carefully add the 12 reserved whole sage leaves to the pan. Fry for 15-20 seconds, until leaves turn a bright deep green and edges are lightly crisp, with a strong, bright herby aroma rising from the pan. Use the fine-mesh strainer to lift the crispy sage leaves out of the butter, transfer them to a small scrap of paper towel on the edge of the cutting board to drain, and set aside for garnish.
Step 3
step3:Fry Crispy Sage Leaves
Step 3
step3:Fry Crispy Sage Leaves
4

Brown Butter to Perfection

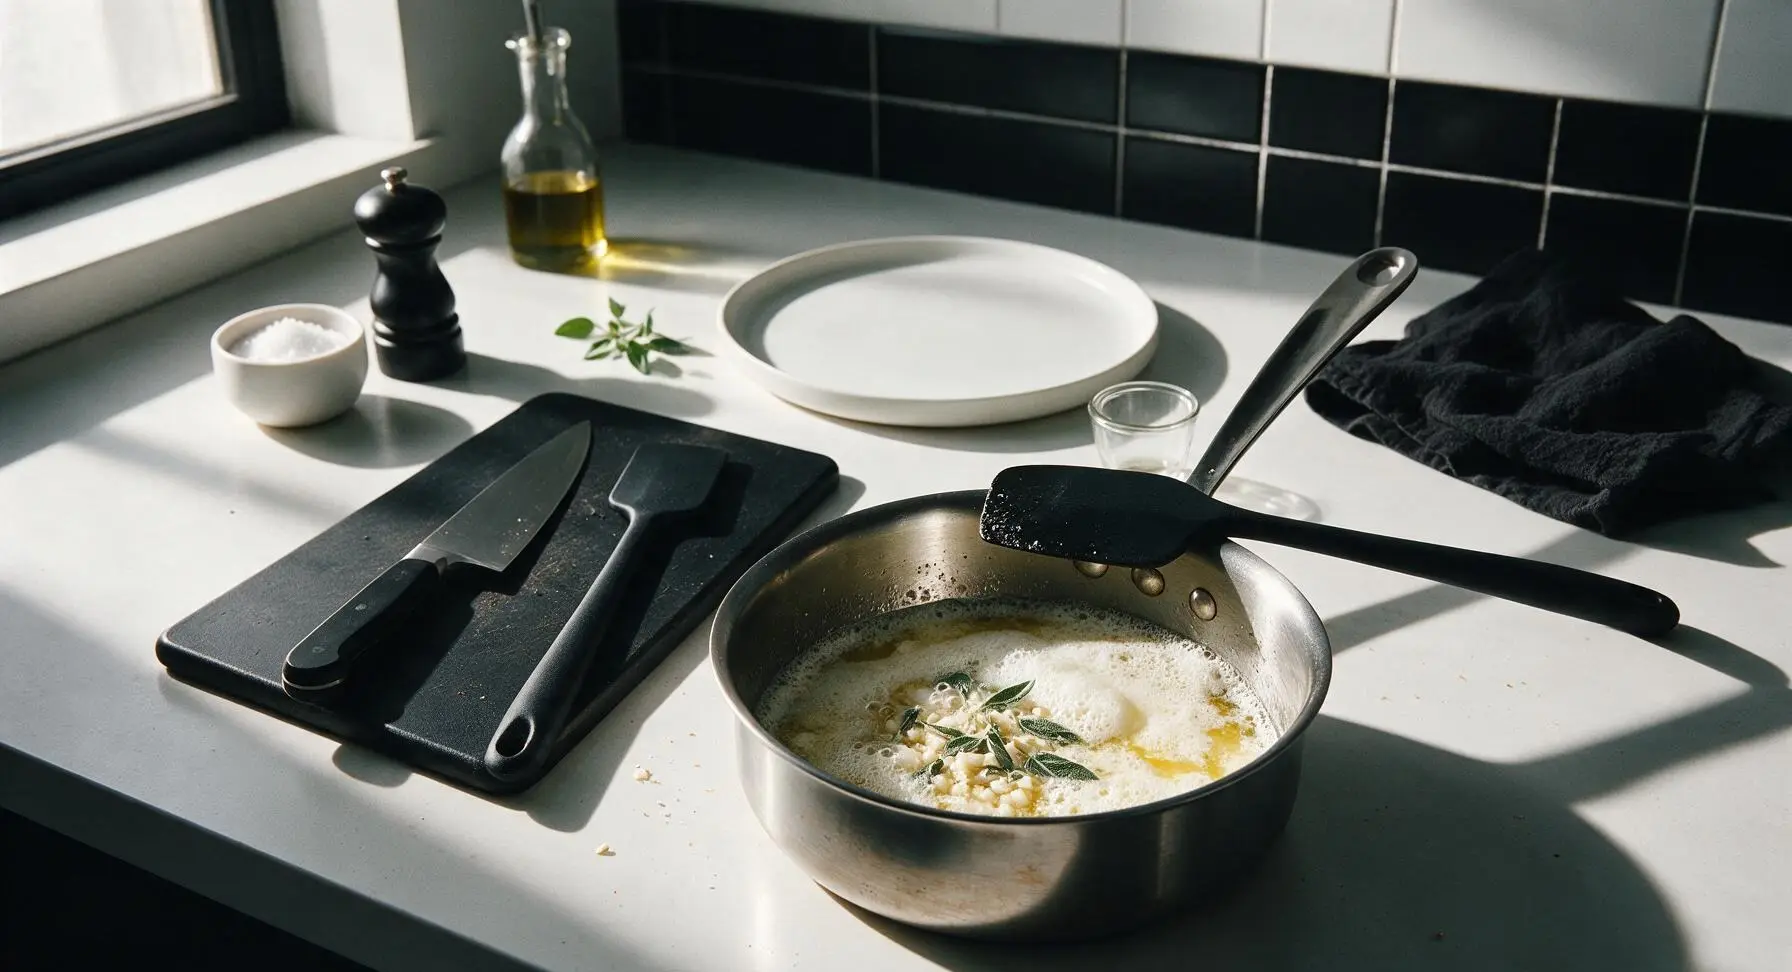
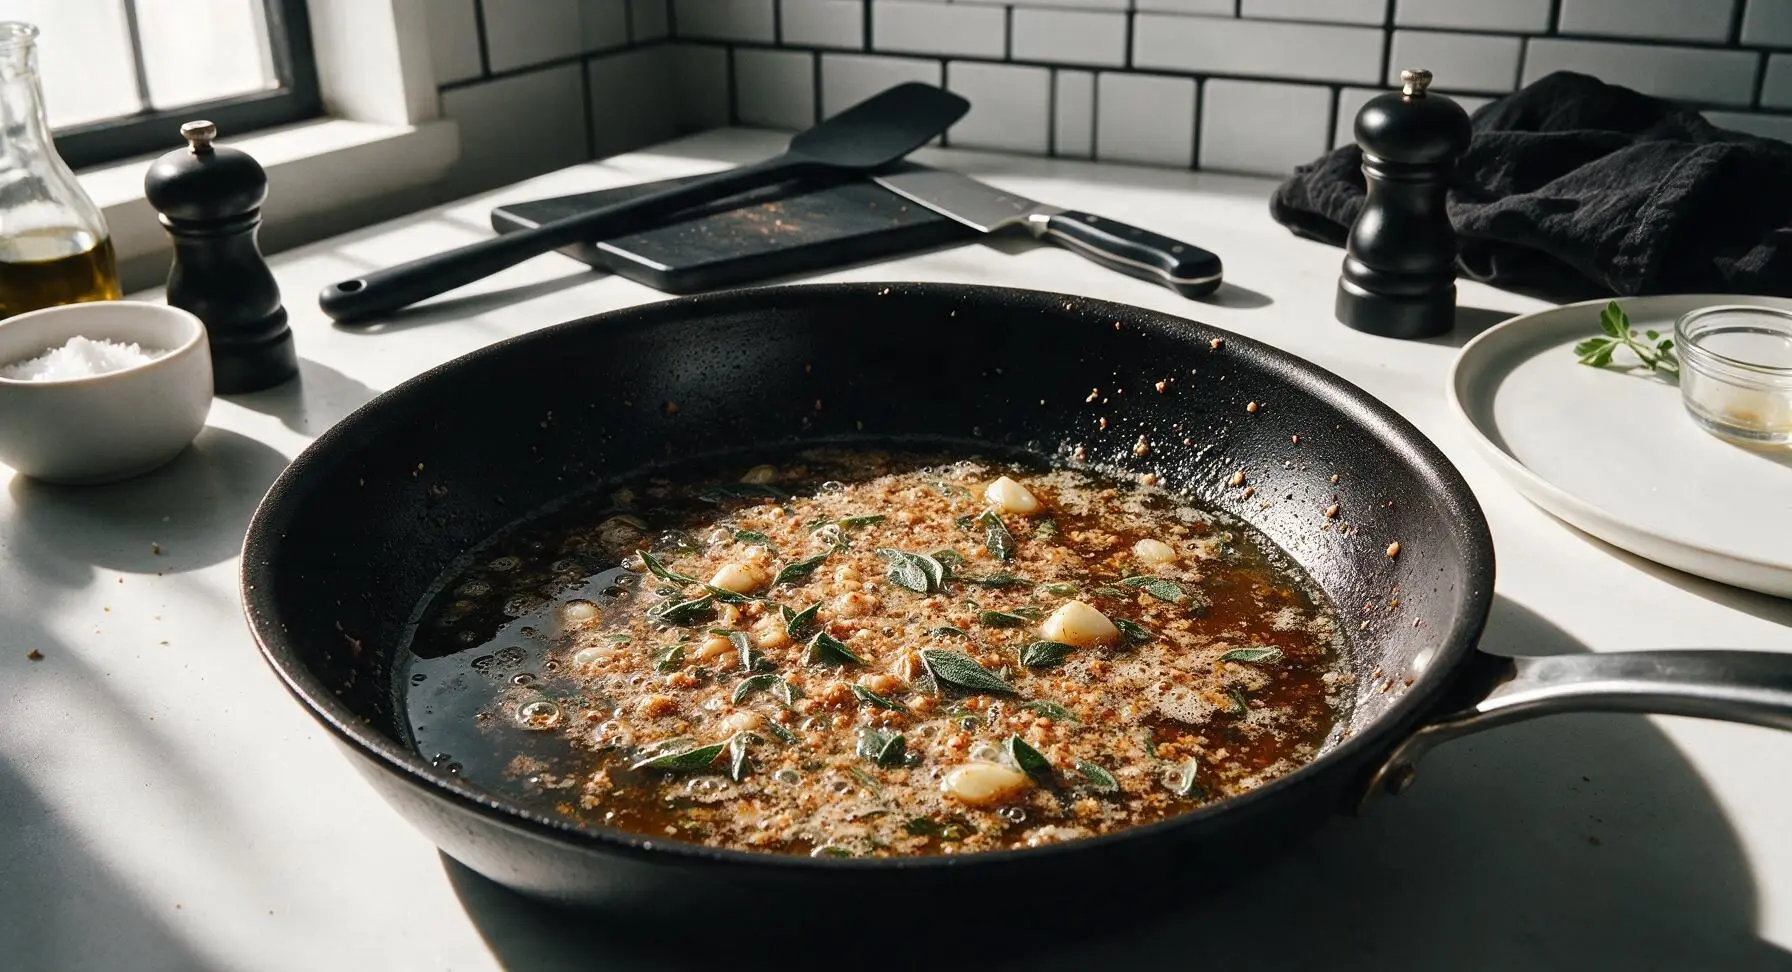
Reduce stovetop heat to medium-low (325°F / 160°C). Add the crushed garlic cloves and chopped sage to the melted butter. Cook, swirling the pan every 10 seconds, for 2-3 minutes, watching extremely closely. The butter will first foam up white, then tiny golden brown milk solids will form at the bottom of the pan, releasing a rich, nutty, toasted aroma. As soon as the solids reach a deep hazelnut brown color, immediately pull the pan slightly off the heat to stop the cooking process—burnt milk solids turn bitter and ruin the sauce.
Step 4
step4:Brown Butter to Perfection
Step 4
step4:Brown Butter to Perfection
5

Season and Balance Sauce

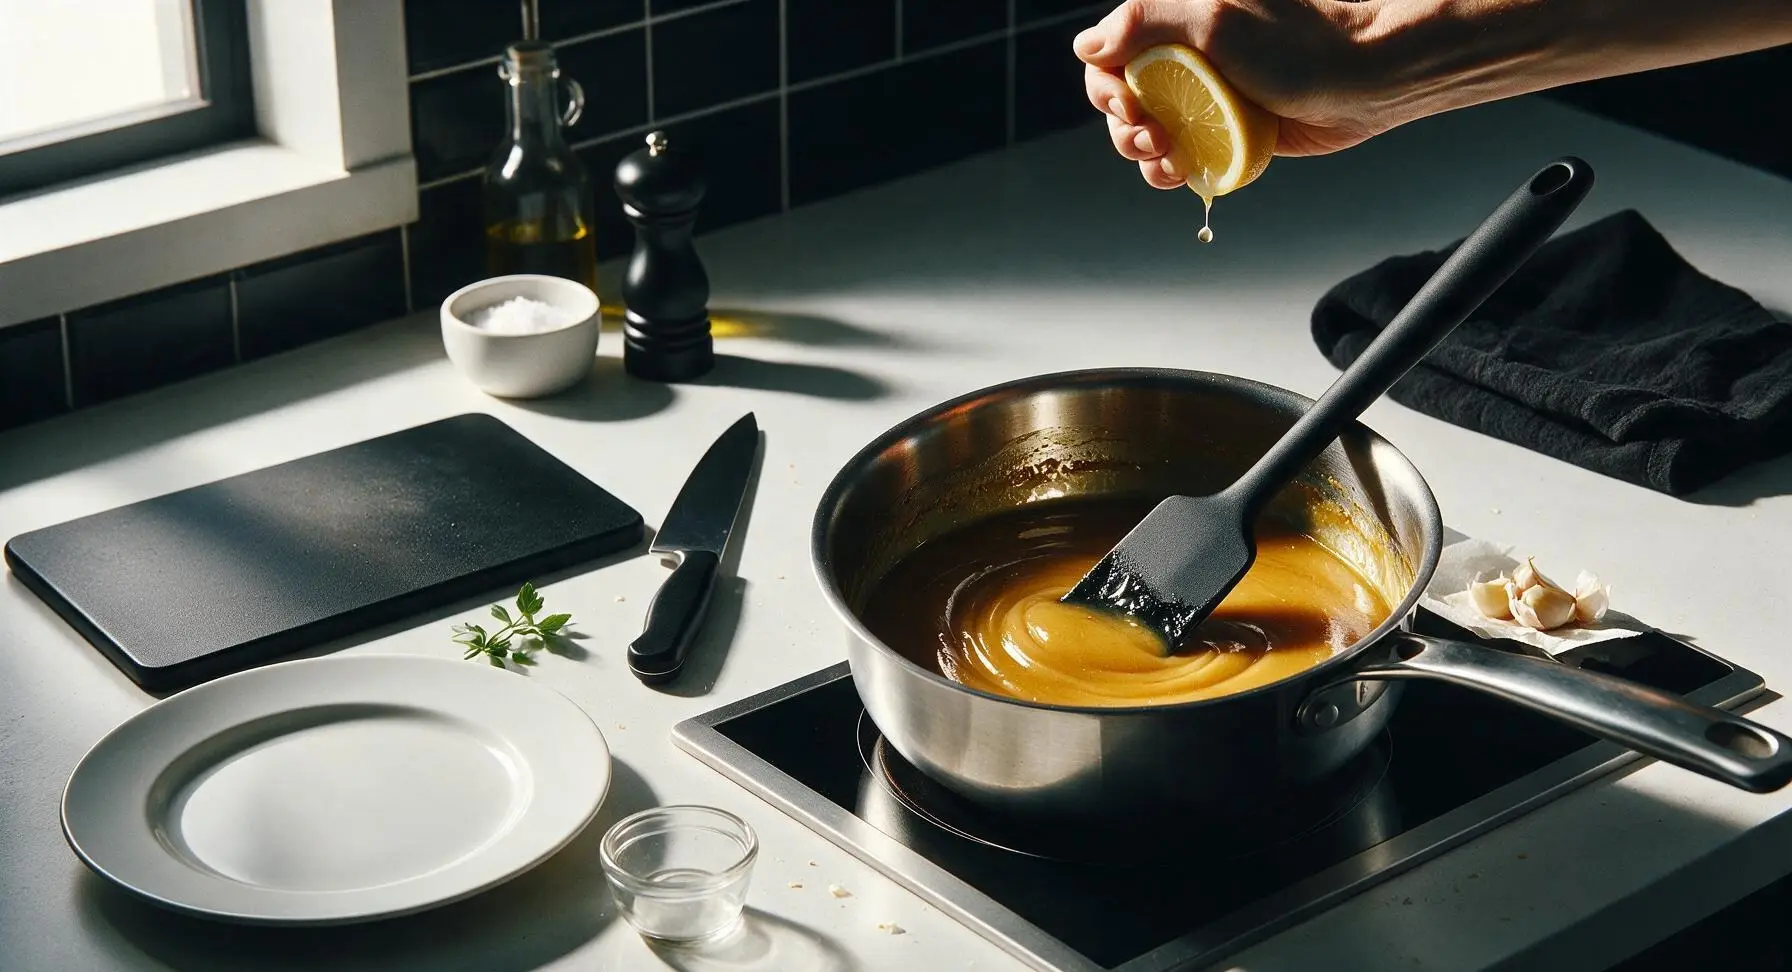
With the pan pulled off direct heat, use a small spoon to fish out and discard the crushed garlic cloves (they will have released all their mellow flavor, and will turn bitter if left in the sauce). Stir in 1/4 tsp kosher salt, 1/8 tsp freshly cracked black pepper, and 1 tsp fresh lemon juice to cut through the richness of the butter. Taste a small drop of the sauce and add a pinch more salt if needed—the final sauce should taste nutty, savory, and bright, not heavy or greasy.
Step 5
step5:Season and Balance Sauce
6

Plate and Garnish

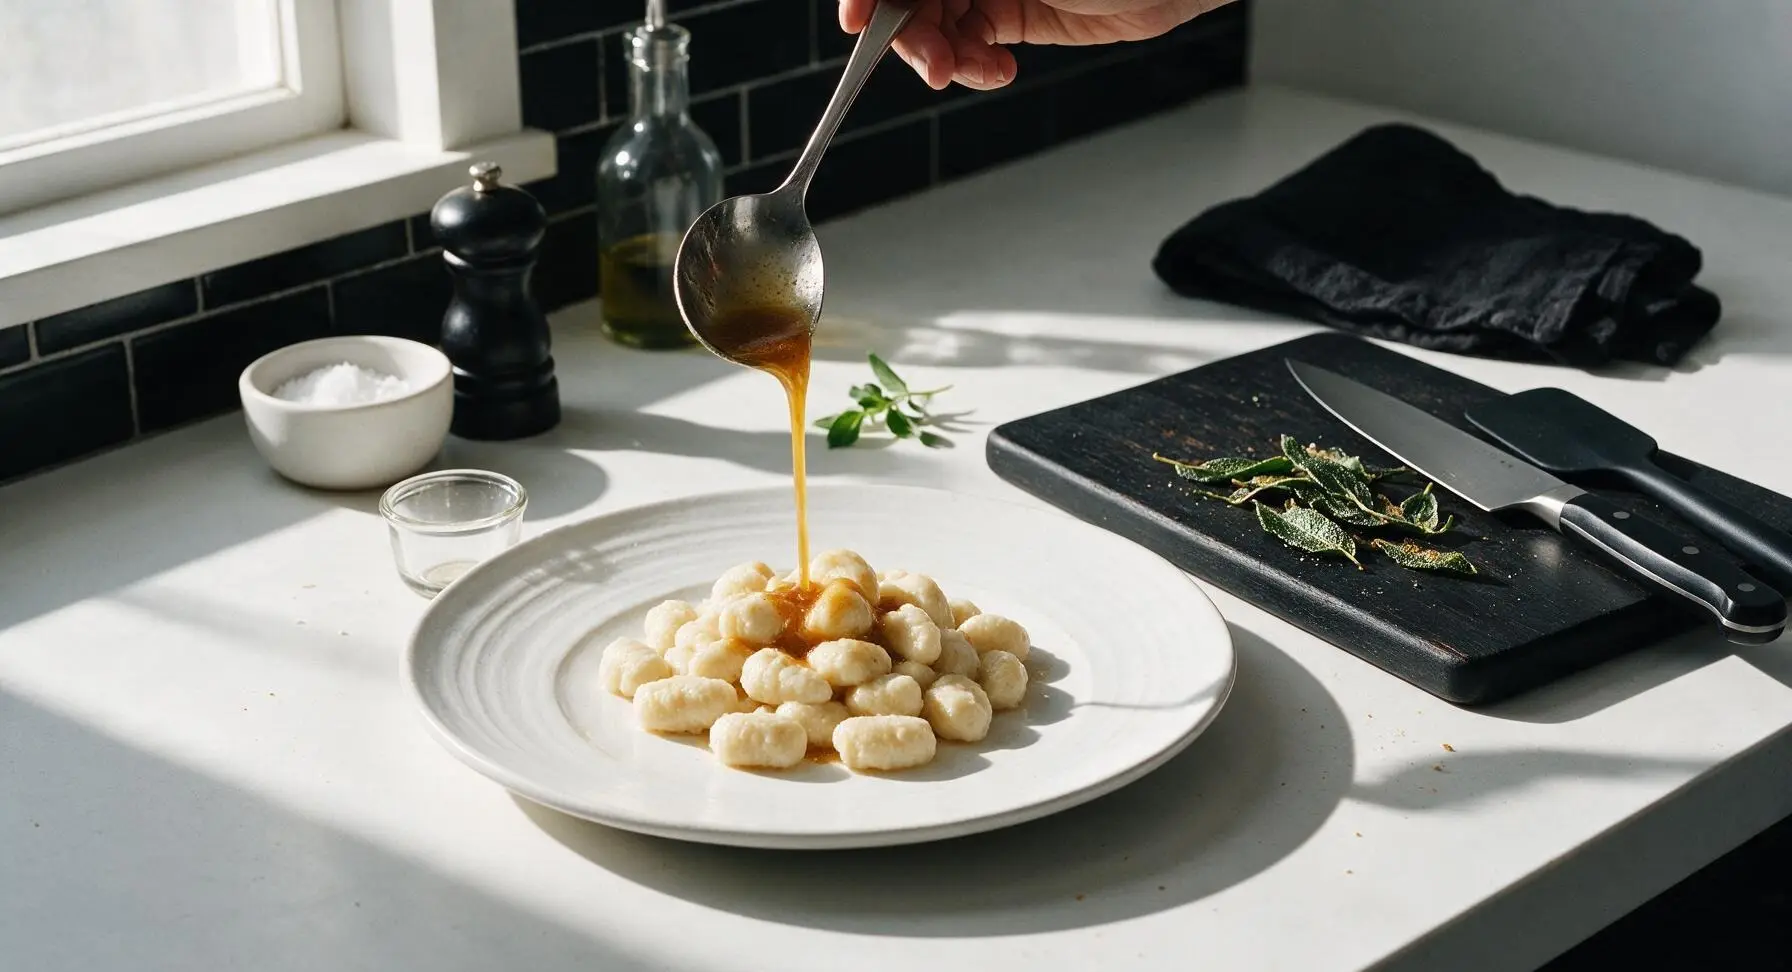
If serving with pasta, gnocchi, or roasted vegetables, add 2-3 tbsp of starchy cooking water to the sauce and stir vigorously to create a light, silky emulsion that clings to food instead of pooling. Spoon the warm sauce over your chosen dish, top with the reserved crispy sage leaves, and a light grating of Parmigiano-Reggiano if desired. Serve immediately, as the butter will solidify as it cools and lose its silky texture.
Step 6
step6:Plate and Garnish

Tips

1.Dry sage leaves thoroughly before frying: Any residual water on the leaves will cause hot butter to spatter dangerously, and will make the leaves steam instead of turning light and crisp for garnish.
2.Never walk away while browning butter: The transition from perfectly nutty brown butter to burnt, acrid butter happens in as little as 10 seconds once the milk solids start to darken. Keep your eyes on the pan, and have your lemon juice ready to add immediately to halt the cooking process at the right color.
3.Add starchy cooking water for a perfect coating: The starch from pasta or vegetable cooking water emulsifies with the melted butter to create a thin, silky sauce that clings evenly to food, instead of separating into a greasy pool at the bottom of your plate.


✨ You May Also Like

Main Course
🍜 United Kingdom

A showstopping classic of tender seared beef, savory mushroom duxelles, and crisp prosciutto wrapped in flaky golden puff pastry, baked to juicy perfection.

⏱️ 2 hours 1Main Course ★ 4.7
Main Course
🍜 India

Tender charred marinated chicken simmered in a rich, spiced creamy tomato sauce, this iconic Anglo-Indian curry pairs perfectly with basmati rice or warm naan.

⏱️ 50 minuteMain Course ★ 4.6
Main Course
🍜 Thailand

Classic tangy, sweet, and savory Thai stir-fried rice noodles with shrimp, tofu, and crunchy garnishes, balancing all five core Thai flavor profiles.

⏱️ 30 minuteMain Course ★ 4.5
Main Course
🍜 United Kingdom

Crispy golden beer-battered cod and fluffy double-fried chips, served with tangy tartar sauce and malt vinegar: the timeless, beloved British pub comfort classic.

⏱️ 45 minuteMain Course ★ 4.7
Main Course
🍜 Mexico

Smoky, chile-marinated pork tacos with caramelized pineapple, fresh cilantro, and lime: a beloved classic Mexican street food perfect for casual summer gatherings.

⏱️ 1 hour 45Main Course ★ 4.8
Main Course
🍜 United States

Crunchy Fritos corn chips layered with savory beef chili and melted cheddar, topped with cool, zesty fixings for a beloved, cozy Tex-Mex comfort food.

⏱️ 35 minuteMain Course ★ 4.8

butter sage sauce:Frequently Asked Questions

1.How do I tell when the butter is properly browned so I don’t burn it? ▾
Watch closely once the melted butter stops foaming—you’ll spot tiny, golden-brown milk solids settling at the pan bottom, and smell a rich, nutty, toasty aroma after 3 to 5 minutes over medium-low heat. Pull the pan off heat immediately, as those solids can turn bitter and burn in as little as 10 to 15 seconds if left unattended.
2.Can I use dried sage instead of fresh sage for this sauce? ▾
Fresh sage delivers the bright, earthy, slightly piney flavor that makes this sauce a classic, but dried works in a pinch. Use 1 teaspoon of rubbed (not ground) dried sage per 2 tablespoons of fresh leaves, add it right as the butter finishes browning to avoid a stale, dusty taste, and skip fried whole-leaf garnishes if using dried.
3.What foods pair best with brown butter sage sauce? ▾
This silky, nutty sauce is incredibly versatile! It’s perfect tossed with pillowy gnocchi, cheese ravioli, or long pasta like bucatini, drizzled over roasted autumn veggies like butternut squash or Brussels sprouts, spooned over seared pork chops, or even used as a rich dip for crusty sourdough. Finish with a crack of fresh black pepper to brighten the flavors right before serving.
4.How do I keep the garlic from burning in this sauce? ▾
The small amount of garlic adds subtle savoriness that balances the butter’s richness and the sage’s earthiness, so it’s well worth including. Mince it finely, add it during the last 30 seconds of browning the butter, and cook just until it smells fragrant—garlic turns harsh and bitter the second it darkens past pale cream.
5.Can I make this sauce ahead of time, and how should I store it? ▾
You can prep this sauce up to 3 days ahead to cut down on weeknight cooking time. Let it cool completely, transfer it to an airtight glass jar, and store it in the fridge. The butter will solidify when chilled; gently rewarm it in a small pan over low heat, stirring often, right before serving.
6.Why does the recipe call for unsalted butter instead of salted? ▾
Unsalted butter lets you control the exact sodium level to match whatever dish you’re serving the sauce with—salted butter varies widely in salt content across brands, and can make the final sauce overly salty if you add the full measure of kosher salt on top. If you only have salted butter, skip added salt initially, then taste and adjust slowly at the end.
7.Why do my fried sage leaves turn out soggy instead of crispy? ▾
Soggy sage leaves usually happen if the butter wasn’t hot enough when you added them, or if you overcrowded the pan. Drop whole sage leaves into the butter right as the milk solids start to turn golden, let them fry for 5 to 8 seconds until crisp, then scoop them out with a slotted spoon to drain briefly on a paper towel for garnish.

Comments (17)

2 days ago

OMG this sauce is a GAME CHANGER. Tossed it with cheese ravioli for last night’s family dinner and even my super picky 7 year old asked for seconds! So easy to throw together on a busy weeknight too, 7 minutes flat no joke. 10/10 will be making this biweekly for meal prep.

1 week ago

Made this for a potluck this weekend tossed with roasted butternut squash and gnocchi, people were literally scraping the bowl clean. Who knew such simple ingredients could taste so fancy? SO good.

3 days ago

I’ve been intimidated to make brown butter forever but this recipe was foolproof! The nutty flavor with the crispy sage is unreal, I drizzled it over pan-seared chicken thighs and my husband said it’s restaurant quality. Zero stress, super quick.

5 days ago

Solid recipe, no notes. Only thing I added was a tiny pinch of red pepper flakes for a little kick, paired perfectly with my homemade sweet potato gnocchi. Will absolutely make again.

yesterday

My kids loved this! I was worried the sage would be too earthy for them but they kept asking what the “yummy crunchy green bits” were. Served over whole wheat pasta with roasted broccoli, total weeknight win.

30 minutes ago

Wait, has anyone tried making this ahead of time for meal prep? I want to prep a batch on Sunday to use throughout the week for pasta and veggie bowls, does it reheat okay?

5 minutes ago

Great question! This sauce stores great in an airtight container in the fridge for up to 5 days—just reheat gently in the microwave or on the stovetop over low heat, stirring often, so the butter doesn’t burn. Enjoy!

2 hours ago

Uh oh, I got distracted toasting bread for a second and thought I burned my butter, but turns out those little golden nutty bits are exactly what you want? This turned out way better than I expected even with my chaotic cooking energy lol.

30 minutes ago

Same thing happened to me my first time! I was about to dump it down the drain until I tasted it, the deep nutty flavor is chef’s kiss even if you think you went a little too far (as long as it’s not black and bitter, obviously!)

5 minutes ago

Can I use dried sage instead of fresh? My grocery store was out of fresh sage this week and I’m really craving this sauce for dinner tonight!

just now

You absolutely can! Use about 1 teaspoon of dried rubbed sage (not ground) per tablespoon of fresh called for, and add it a little earlier so the flavor has time to bloom. It won’t have the crispy sage leaf garnish, but it’ll still taste delicious!

2 weeks ago

This is my new go-to sauce for date night! It looks and tastes so fancy but takes literally 7 minutes, so I don’t have to spend an hour slaving over the stove when my partner comes over. Served it over lobster ravioli last date night, got major points.

1 week ago

Omg lobster ravioli pairing is genius! I did this with cheese tortellini last week but I’m definitely grabbing lobster ravioli on my next grocery run, thanks for the idea!

1 week ago

I made this to go with our Thanksgiving roasted veggies last week and my whole family was raving. Drizzled it over Brussels sprouts and carrots and even the veggie haters went back for seconds. Who knew a simple sauce could upgrade sides that much?

5 days ago

So glad it was a hit at your Thanksgiving table! It’s one of our favorite quick upgrades for roasted veggies all fall and winter long—we love it on roasted cauliflower too!

2 days ago

Quick question—do you salt the butter at all, or is the salty nuttiness from the browned butter enough? I don’t want to over salt it since I’m tossing it with parmesan pasta.

yesterday

Great catch! We recommend waiting to add salt until after you toss it with your pasta or veggies and add any cheese, since parmesan is pretty salty on its own. Taste as you go and add a tiny pinch if needed, you can always add more but you can’t take it out!

3 days ago

I added a squeeze of fresh lemon juice at the end like a random hack I saw online and it cut the richness so nicely! Highly recommend if you love a little bright zing with your nutty butter.

2 days ago

Oh that’s such a good call! I’ve been making this for months and never thought to add lemon, that would balance the richness so well when I serve it with fatty salmon. Can’t wait to try that tweak tonight!

5 days ago

Wait a second, I burned my first batch of this so bad it smelled like burnt popcorn 😭 Any tips for not messing up the brown butter part? I really want to get this right because everyone says it’s amazing!

3 days ago

Don’t feel bad! I did the same thing my first two tries! The trick is to keep the heat on medium-low and swirl the pan constantly once it starts to foam—take it off the heat the second you see those golden brown specks and smell that nutty aroma, because it goes from perfect to burnt in like 10 seconds.

2 days ago

Sam is exactly right! The residual heat from the pan will keep cooking the butter even after you take it off the stove, so err on the side of pulling it early. If you’re nervous, you can pour it into a heatproof bowl immediately after it hits that golden nutty stage to stop the cooking process fast.

2 weeks ago

I brought this sauce to a friend’s potluck last weekend tossed with pumpkin ravioli and people were asking me for the recipe before they even finished their first bite! I can’t believe how quick and easy it is for how much flavor it packs. 10/10

1 week ago

Pumpkin ravioli?! That sounds like the coziest fall meal ever, I’m obsessed. Did you add any extra toppings, like toasted walnuts or parmesan?

5 days ago

I did! I sprinkled toasted pine nuts and a little extra parm on top, plus a tiny bit of black pepper. It was chef’s kiss, highly recommend adding the nuts for crunch!

1 week ago

Is this sauce good for meal prep? I’m trying to build a rotation of quick sauces I can make once a week to pair with different proteins and grains for work lunches. Would this hold up for 4-5 days in the fridge?

5 days ago

I prep a batch every Sunday! I keep it in a little glass jar and scoop out what I need each day, reheat it for 20 seconds in the microwave. It’s perfect over roasted chicken, quinoa, even roasted sweet potatoes. Lasts the full 5 days no problem for me!

3 days ago

Kim is spot on! Just make sure you store it in a sealed airtight container, and give it a good stir after reheating to make sure everything is combined. It’s one of our favorite meal prep workhorse sauces for exactly that reason!

3 days ago

My nonna makes a brown butter sage sauce that she’s been perfecting for 40 years and I was scared this wouldn’t live up, but WOW this is so close to hers I almost cried. The crispy sage leaves are exactly how she makes them, and the cook time is spot on. Thank you for this easy, no-fuss recipe!

2 days ago

That’s such a sweet compliment! If a nonna-approved recipe is this easy, I’m definitely making it this weekend for my own family dinner. I’ve been looking for a simple brown butter sauce to make with my gnocchi.

yesterday

You have to! It’s so forgiving even if you’re a beginner. I added a tiny grating of nutmeg like my nonna does and it was perfect, just a little warm depth without overpowering the sage and butter.

yesterday

Wait, has anyone tried freezing this sauce? I have a ton of sage growing in my garden right now and I want to make big batches to freeze for later when sage is out of season. Would that work?

2 hours ago

I froze a couple batches last fall! I poured it into ice cube trays, froze them solid, then popped the cubes out into a freezer bag. When I need some, I just reheat a cube in a small pan over low heat, works like a charm! The sage gets a little less crispy obviously, but the flavor is still there.

30 minutes ago

Great tip from Liz! Freezing in ice cube trays is the perfect way to portion this for later use. It’ll keep in the freezer for up to 3 months, just make sure to label the bag so you don’t forget what it is!



