
Butter Tarts
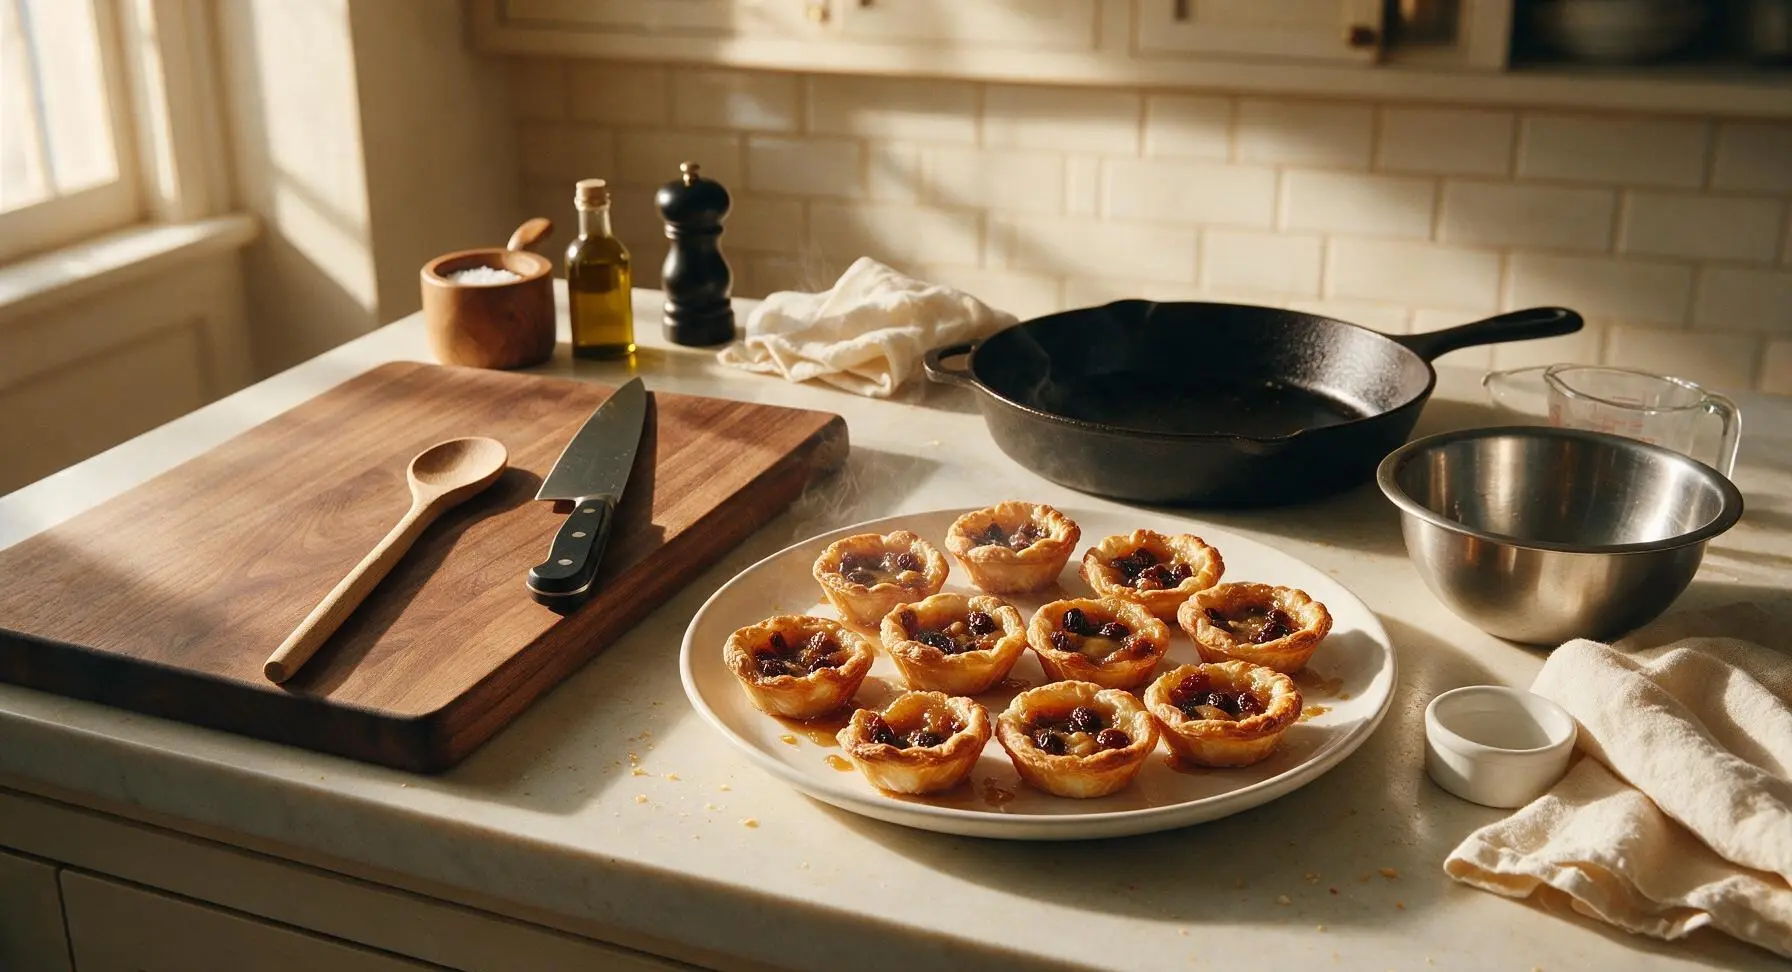
intro
Iconic Canadian sweet treat with flaky buttery pastry shells, oozing caramel filling, and plump raisins—soft, gooey, and perfectly rich for holiday spreads.
Ingredients
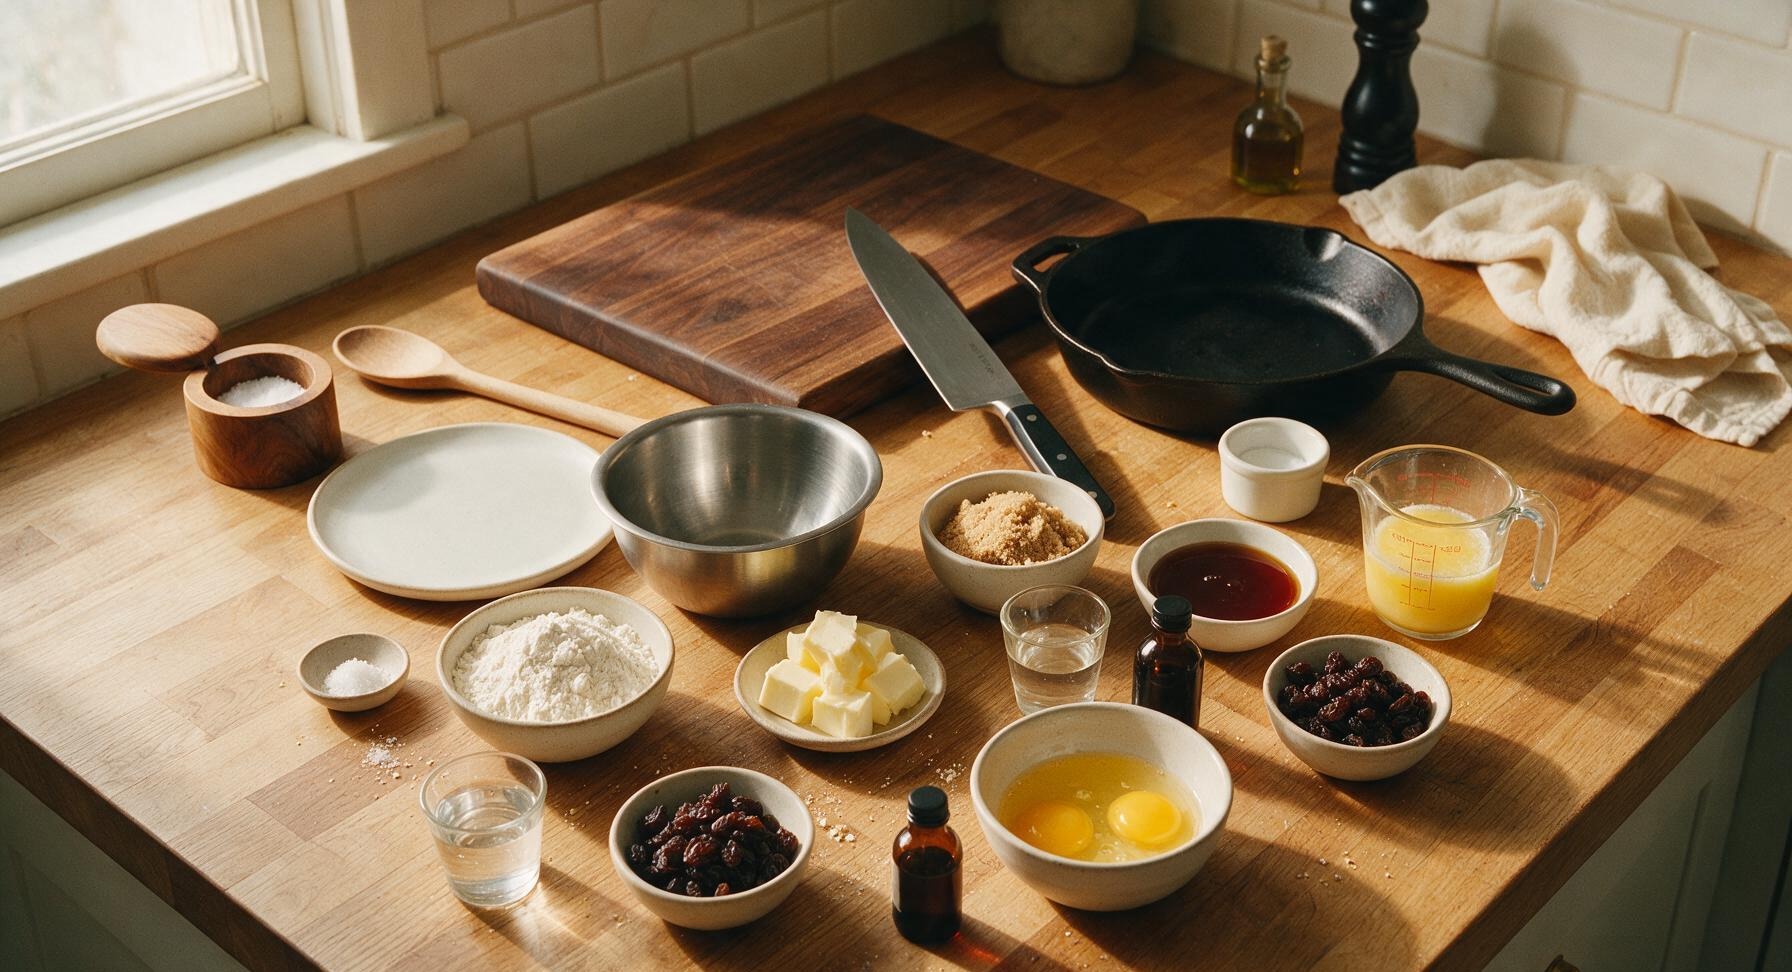
Steps
Prepare Flaky Pastry
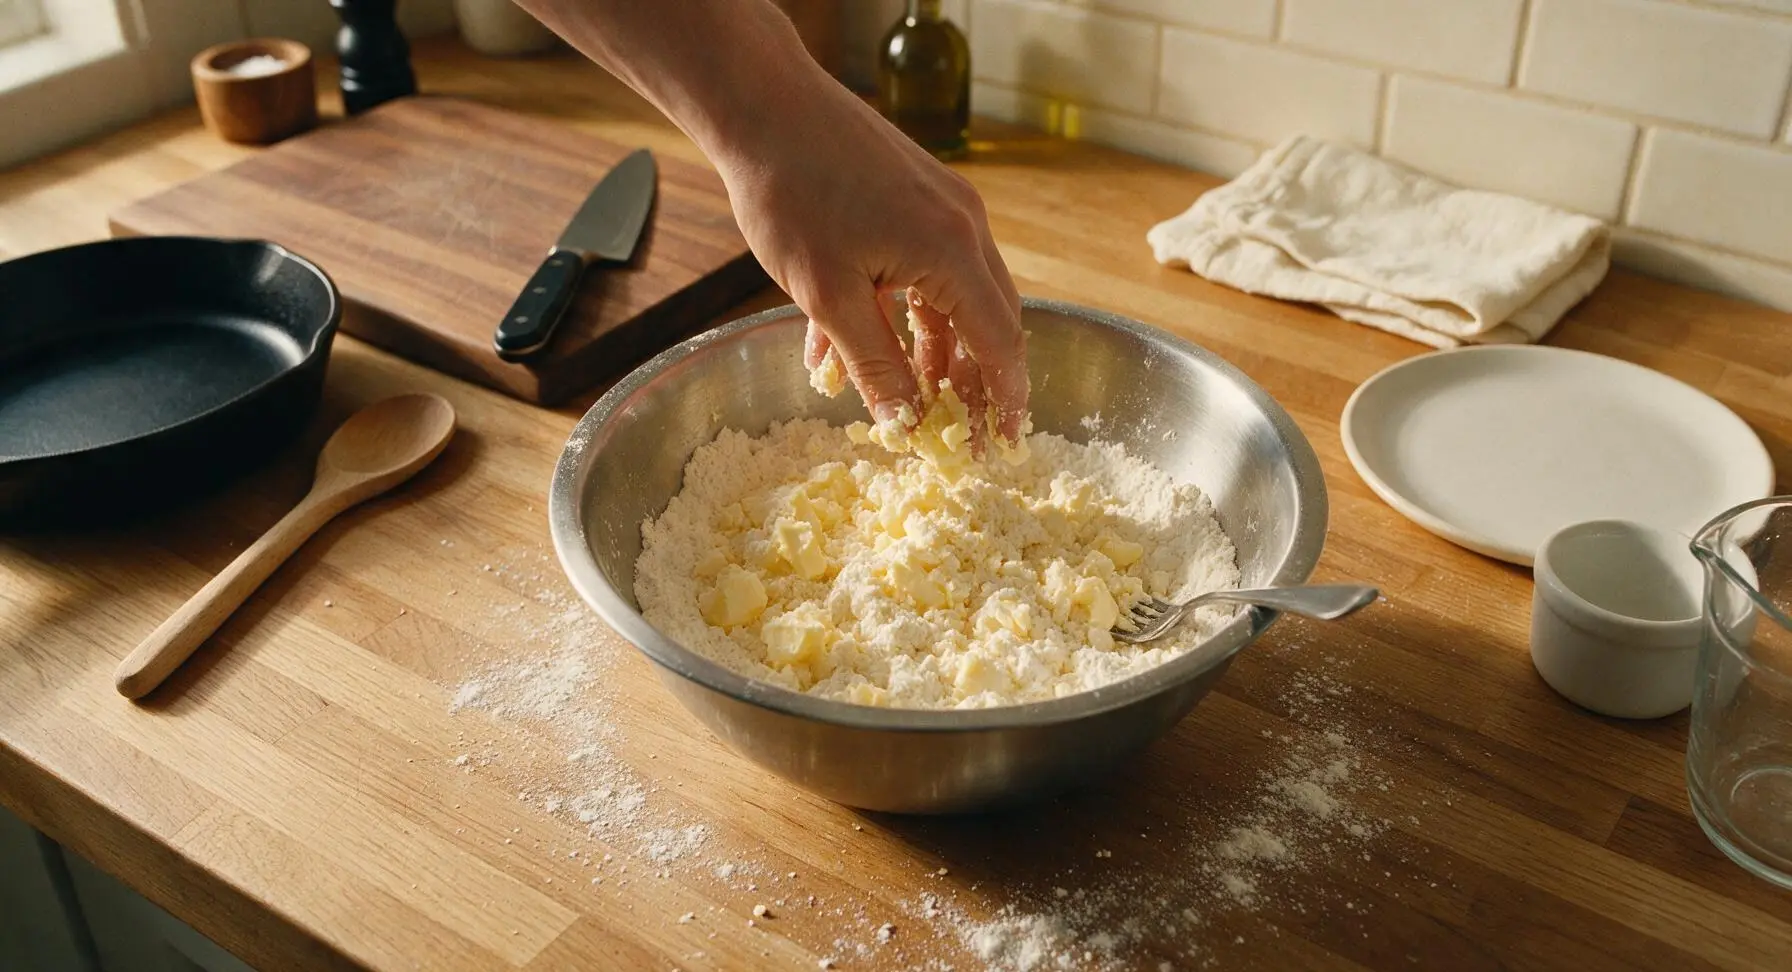
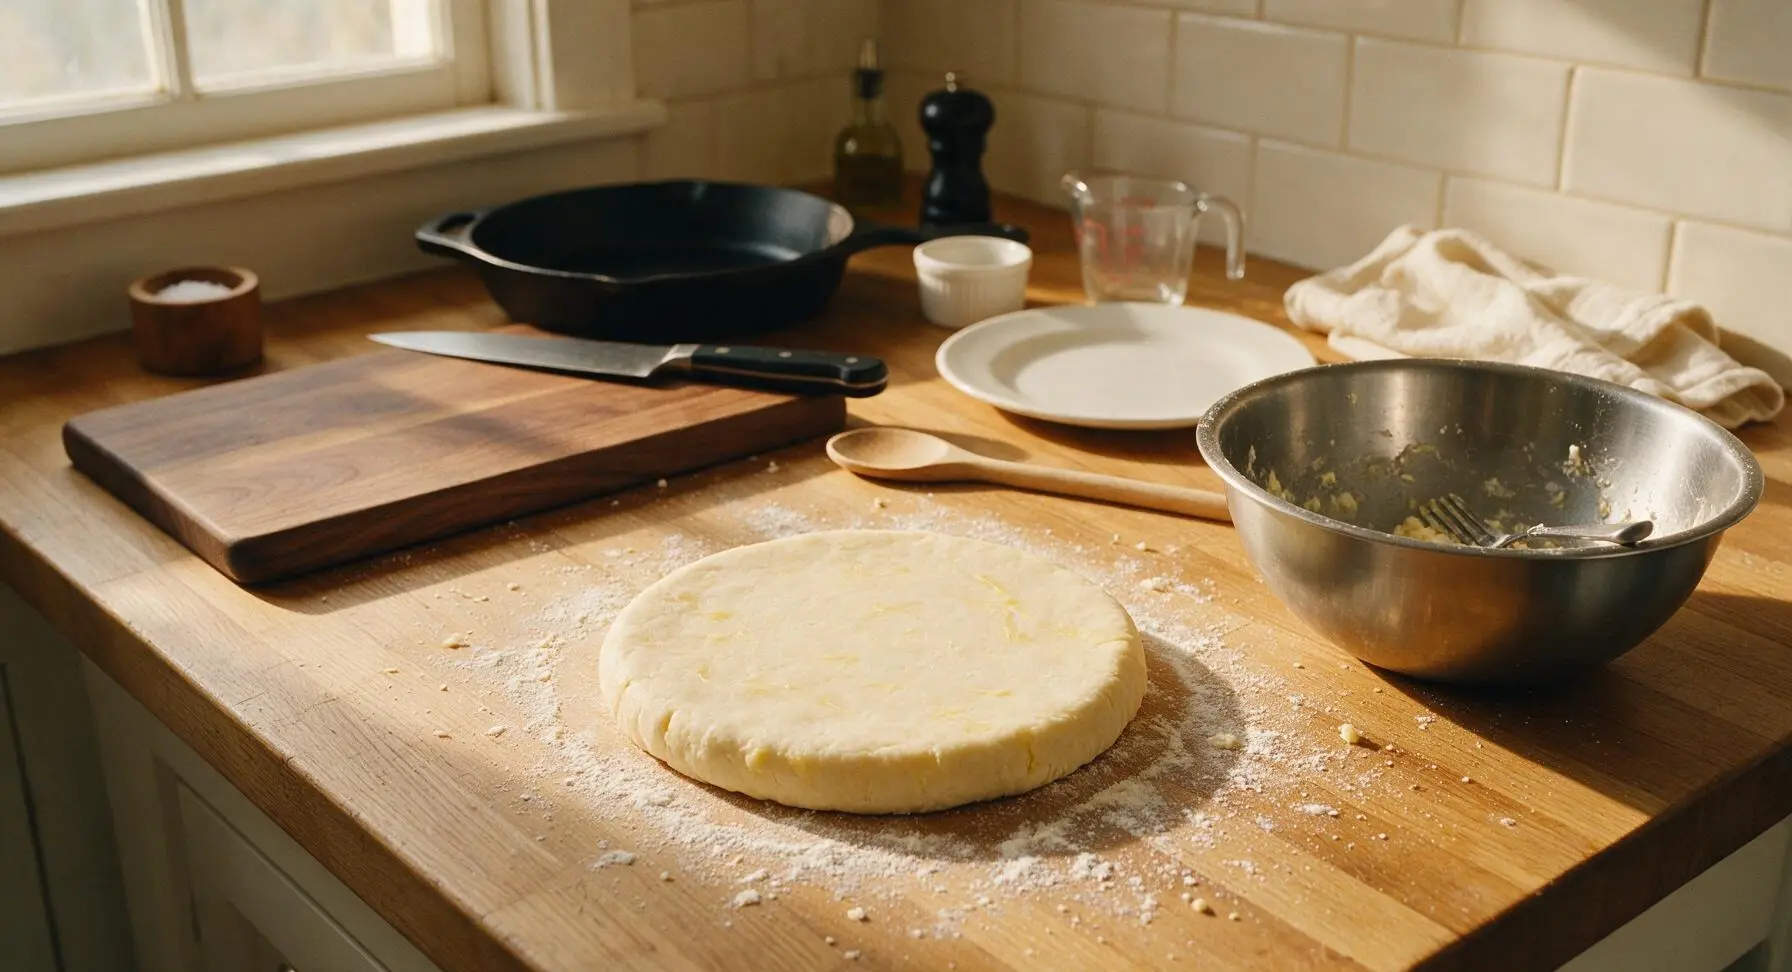
In the medium brushed stainless steel mixing bowl, combine 1 ½ cups all-purpose flour and ¼ tsp fine sea salt. Add ½ cup cold cubed unsalted butter, and use your fingertips to rub butter into the flour until the mixture resembles coarse crumbs with visible pea-sized butter pieces remaining. Drizzle 3 tablespoons ice water over the mixture, stirring gently with the small metal pastry fork until the dough just clumps together when squeezed, adding up to 1 extra tablespoon ice water if the mixture remains crumbly. Do not overmix, as this creates tough pastry. Shape the dough into a 2cm thick disk, and chill for 15 minutes while you prep the filling.
Roll and Cut Shells
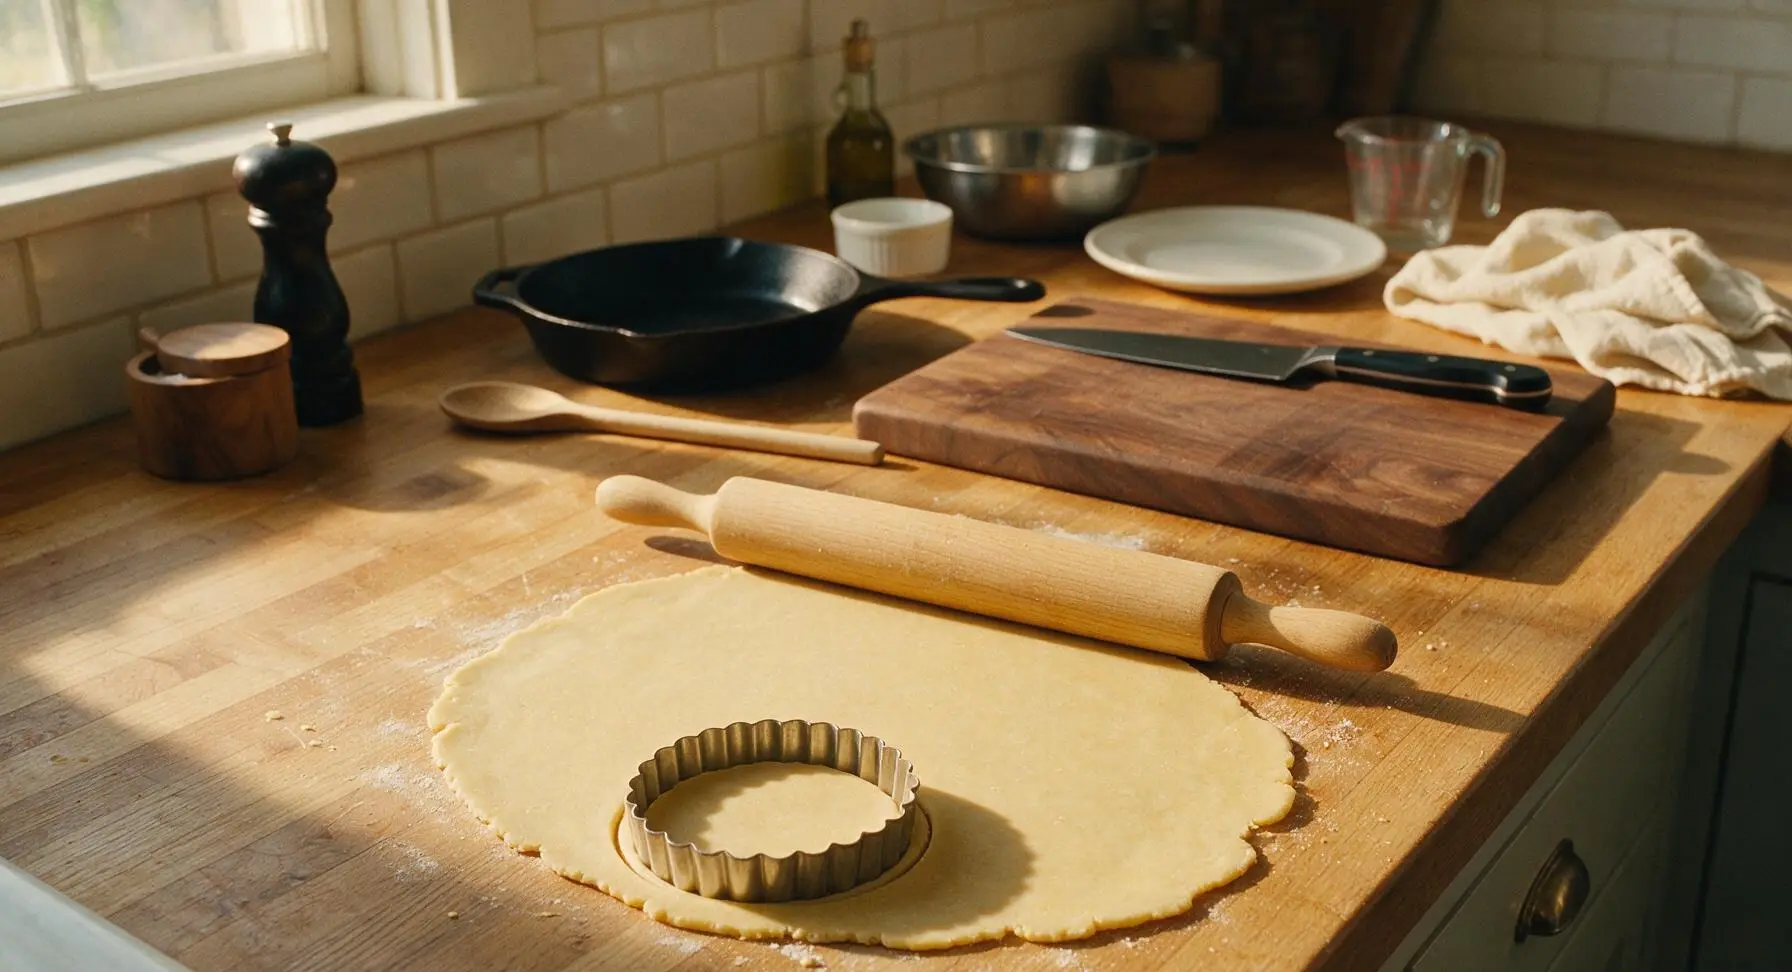
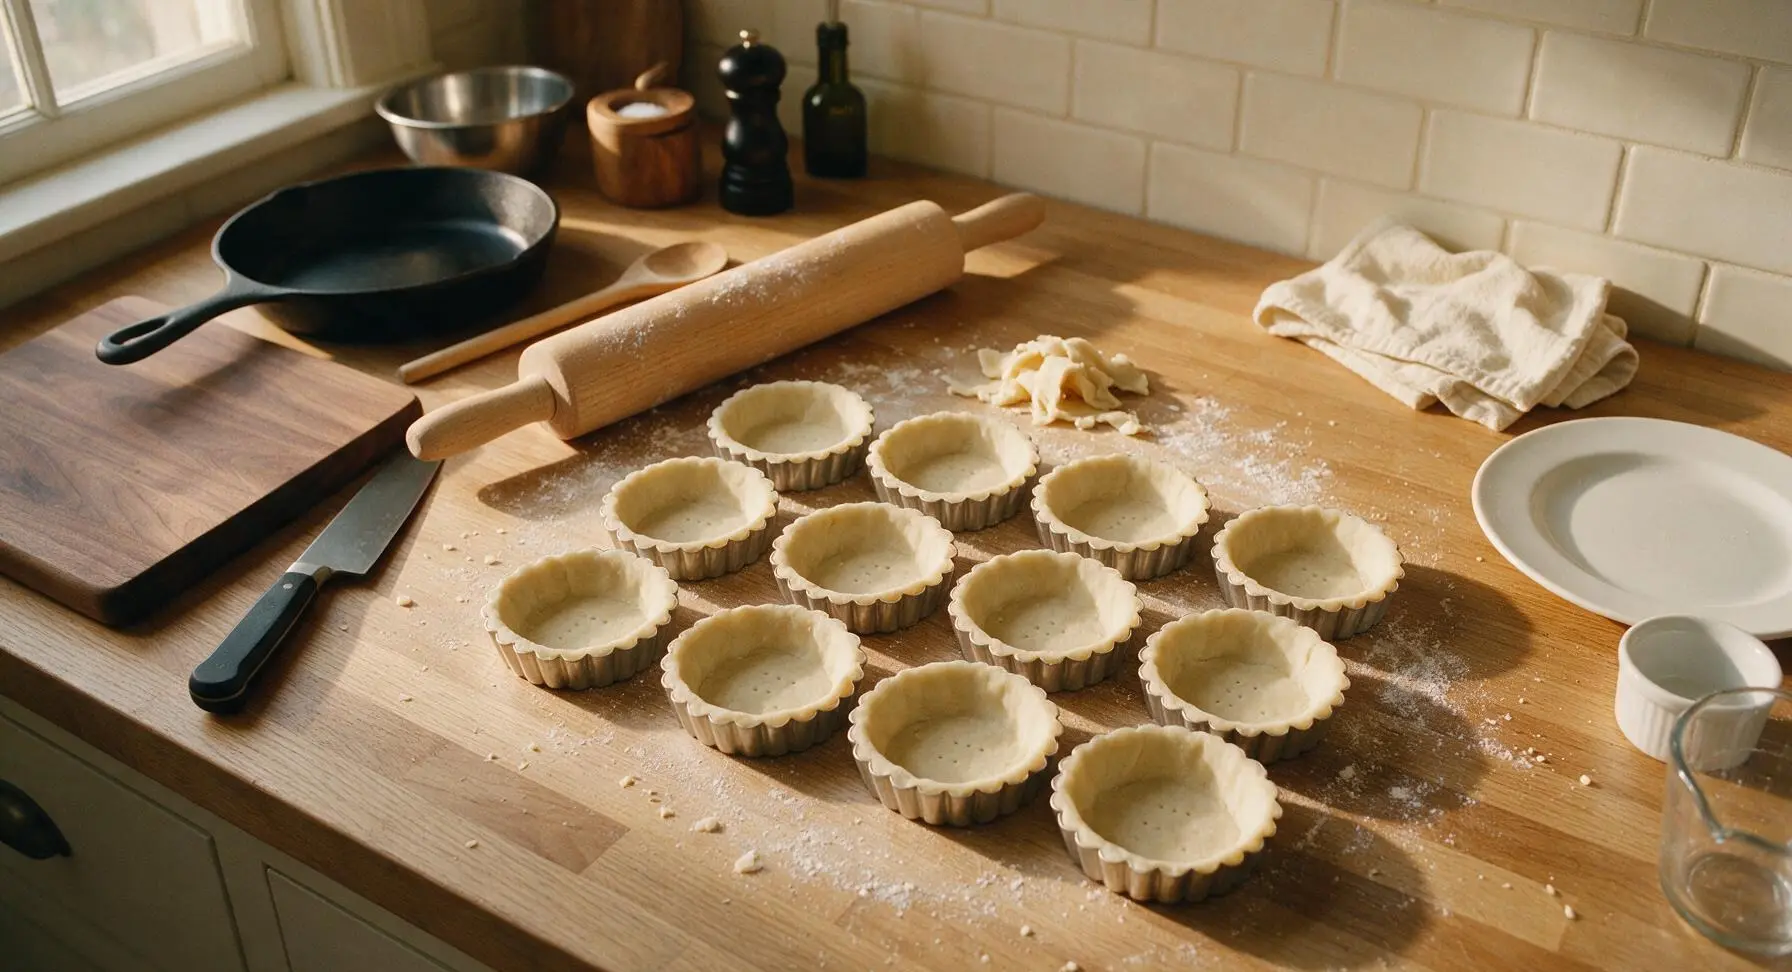
Lightly flour the counter surface and the large beech wood rolling pin. Remove the chilled dough disk from the fridge, and roll it to a uniform 3mm thickness, turning the dough a quarter turn after every 2 rolls to prevent sticking. Use the 9cm fluted stainless steel pastry cutter to cut 12 even circles from the dough, re-rolling scraps only once (multiple re-rolls create tough pastry). Gently press each dough circle into the matte silver fluted tart tins, leaving a 2mm overhang around each tin edge, and prick the base of each shell twice with the pastry fork to prevent air bubbles from puffing the pastry during baking.
Mix Gooey Filling
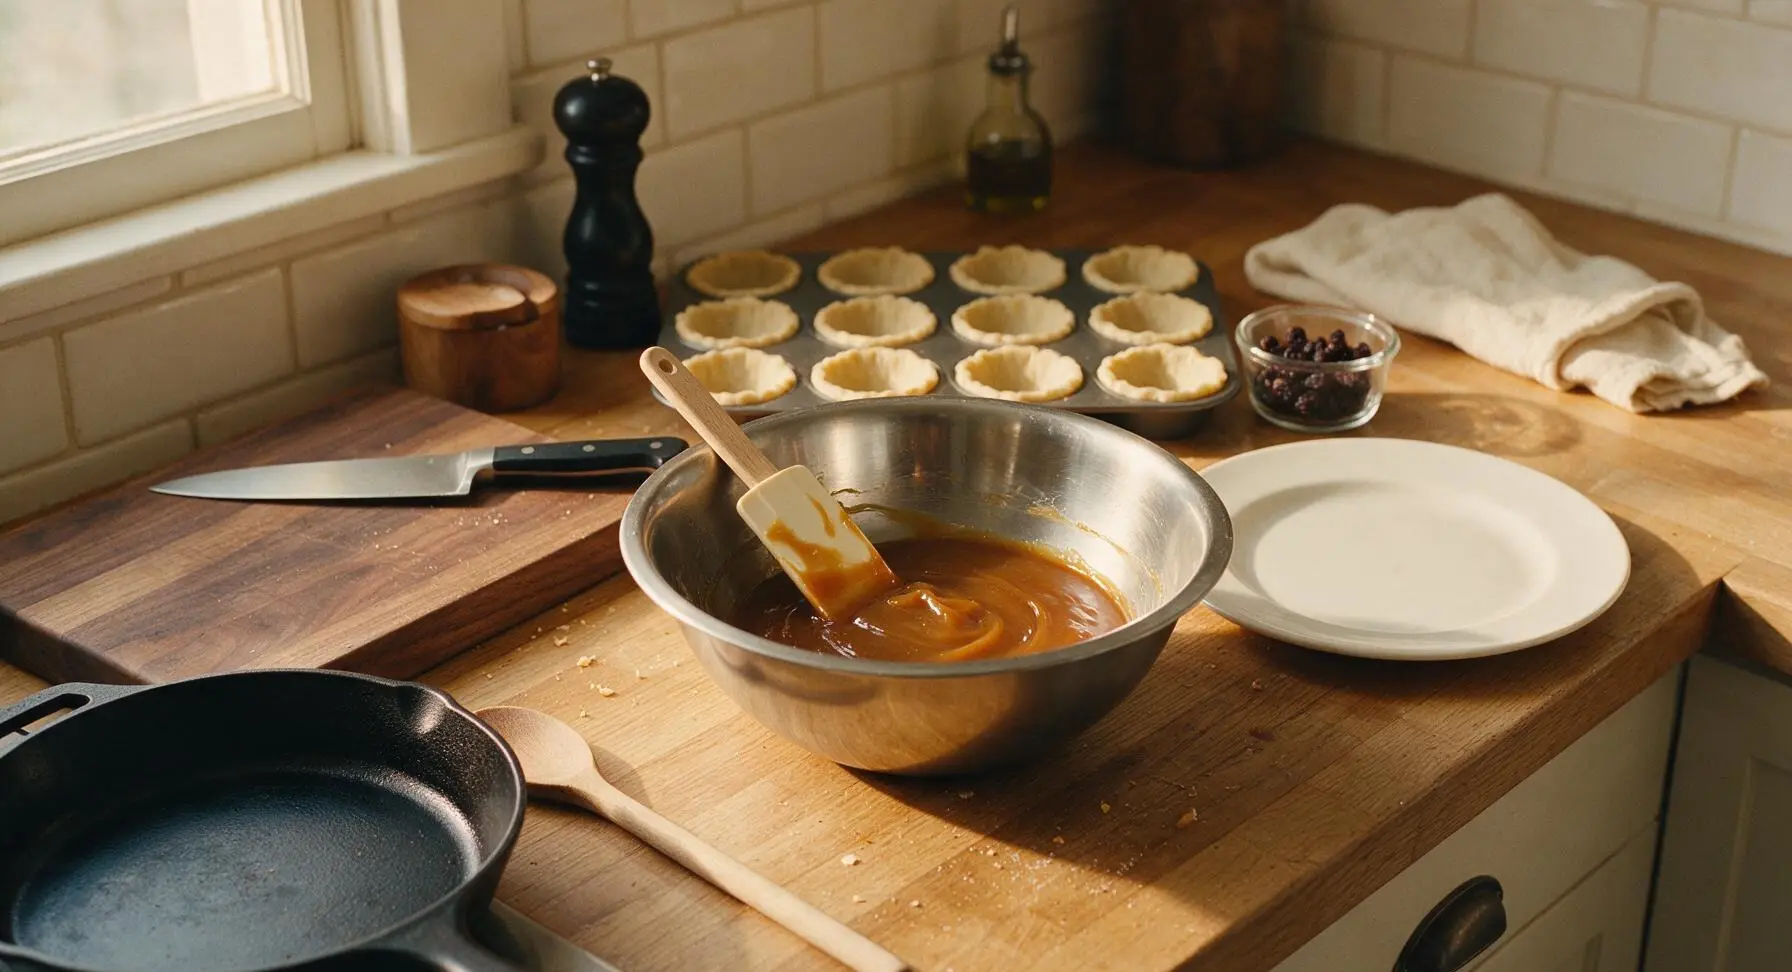
Wipe the stainless steel mixing bowl clean of pastry scraps. Add ½ cup packed light brown sugar, ½ cup light corn syrup, ⅓ cup cooled melted unsalted butter, 2 lightly beaten large eggs, 1 tsp pure vanilla extract, 1 tsp white vinegar, and ¼ tsp fine sea salt to the bowl. Use the cream silicone spatula to stir the mixture until completely smooth, with no lumps of brown sugar remaining. Avoid over-whisking, as trapped air bubbles cause the filling to crack and bubble over while baking.
Fill Pastry Shells
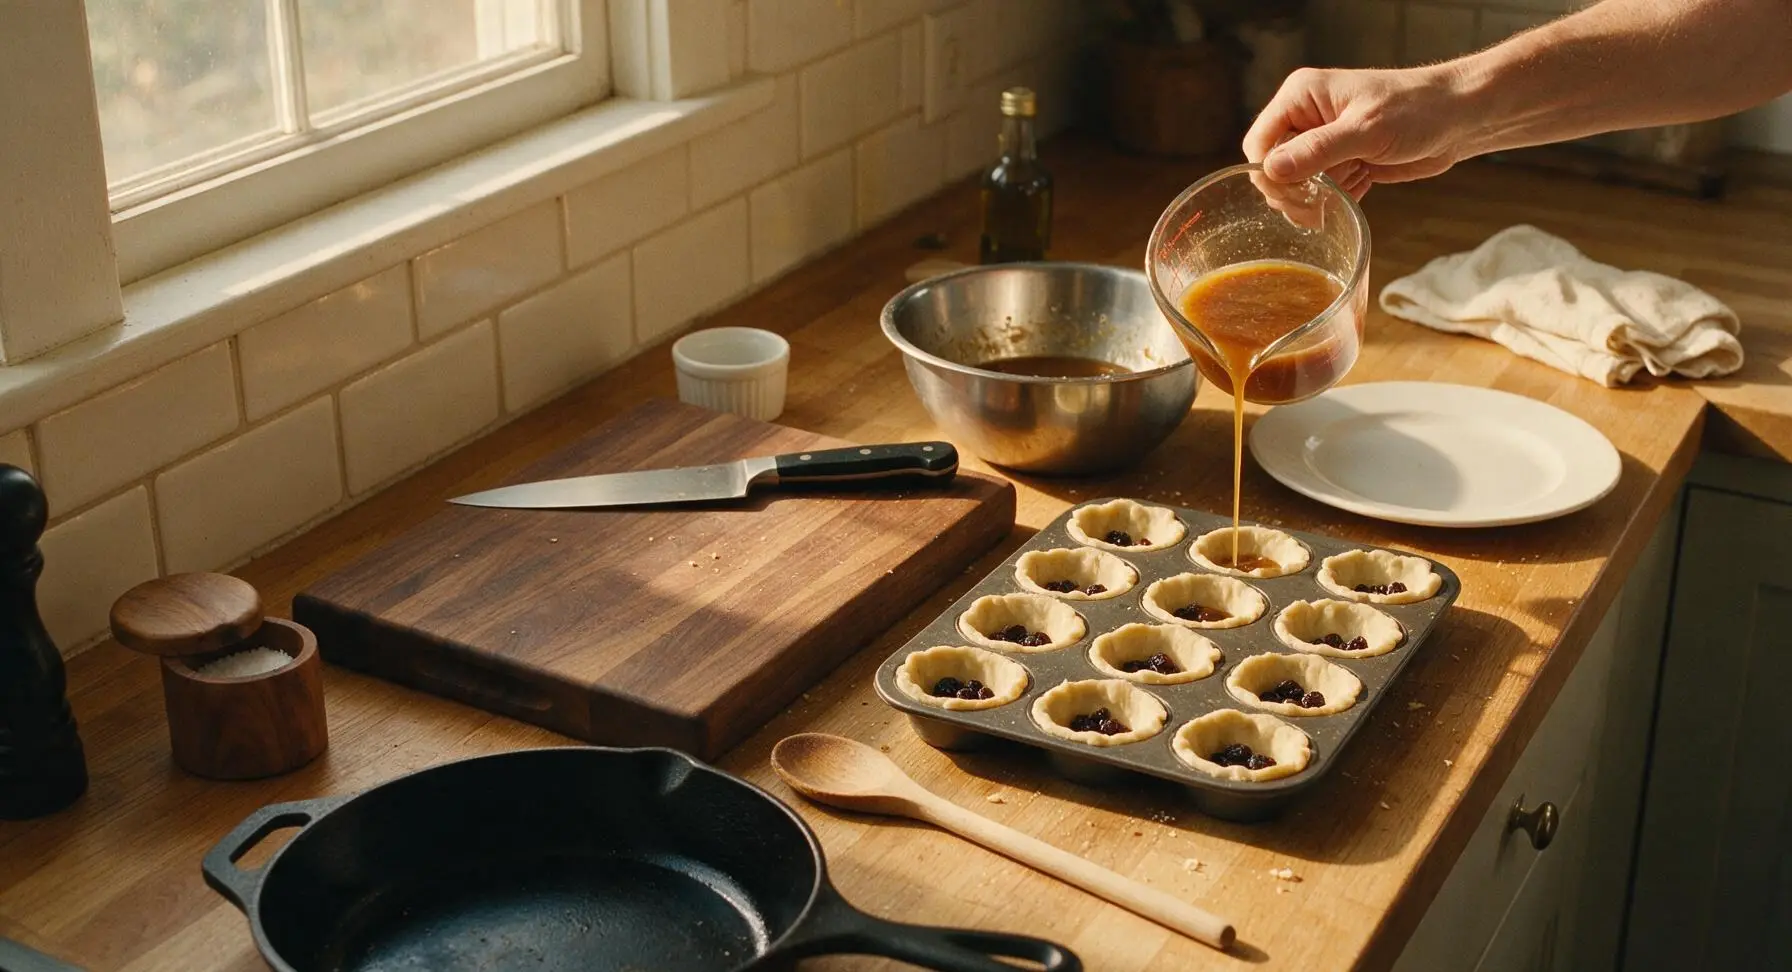
Divide the ½ cup dark raisins evenly between the 12 lined tart tins, placing a small spoonful in the base of each shell. Pour the filling from the mixing bowl into the clear glass measuring cup for easy pouring, then carefully fill each shell to exactly ⅔ full. Do not overfill, as expanding filling will bubble over and burn on the baking sheet. Tap each tin gently on the counter to pop any trapped air bubbles in the filling.
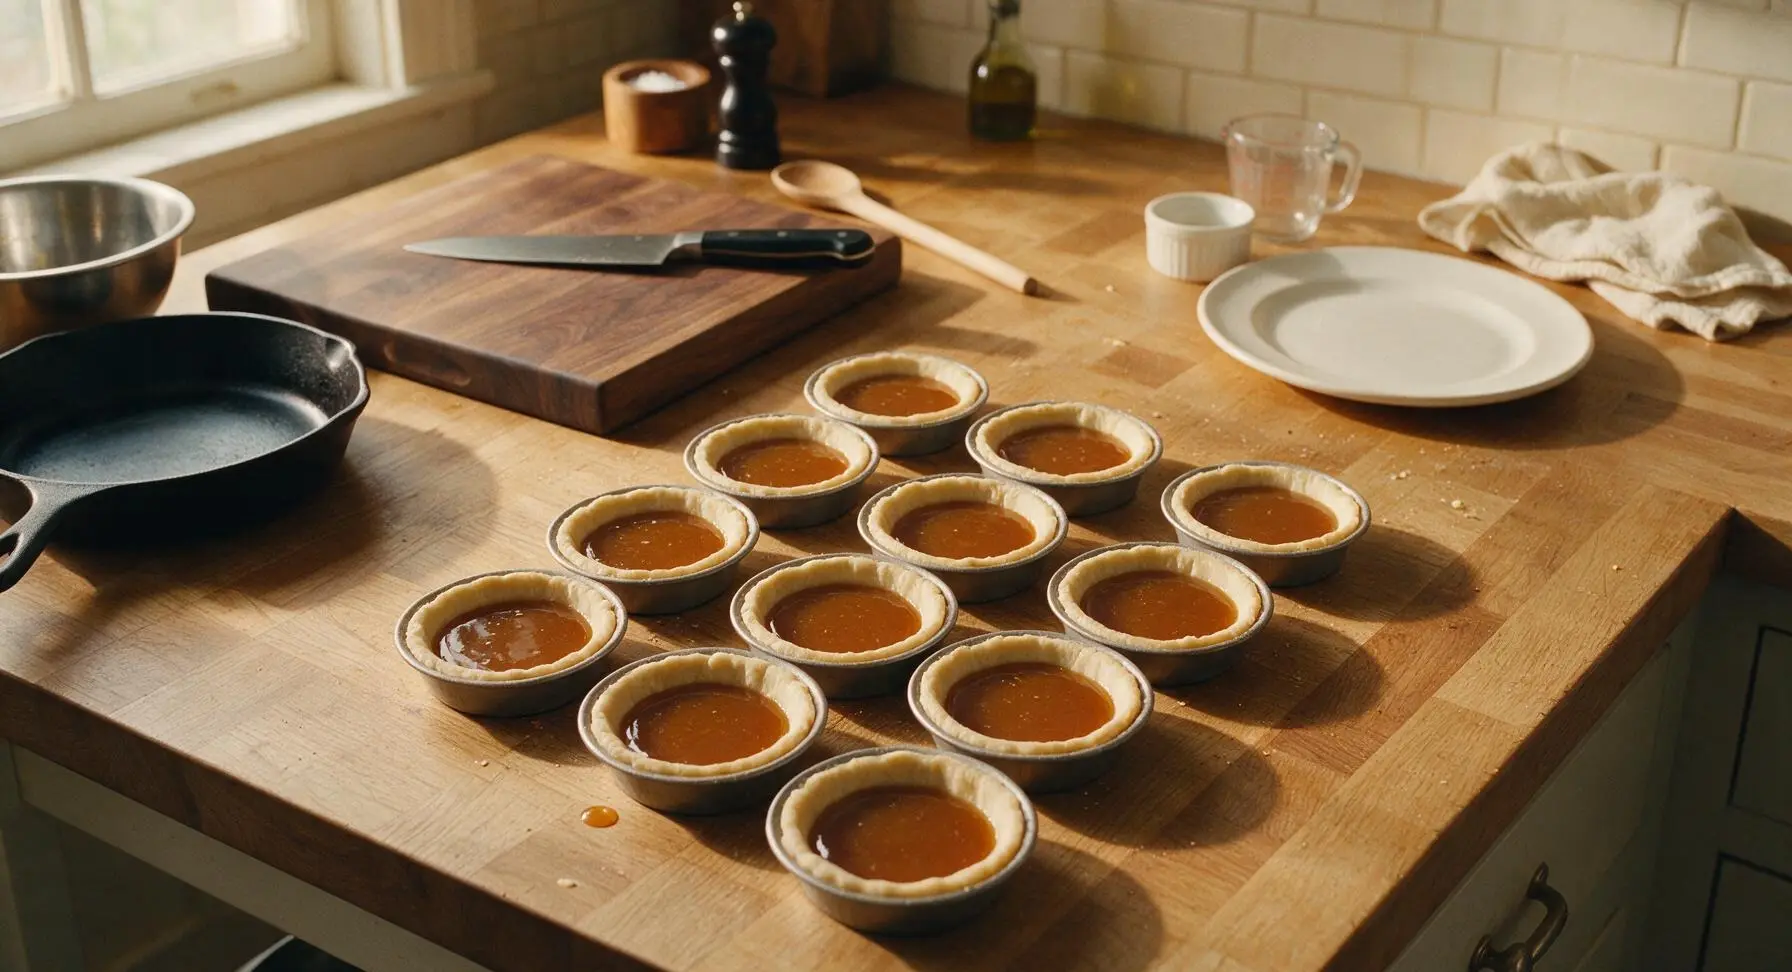
Bake Until Golden
Arrange the filled tart tins on the rimmed matte silver aluminum baking sheet, and place in a preheated 190C (375F) oven. Bake for 15-18 minutes, until pastry edges are deep golden brown, and filling is bubbly around the edges but still slightly jiggly in the very center. The filling will fully set as it cools; overbaking results in hard, candy-like filling instead of the signature soft, gooey texture.
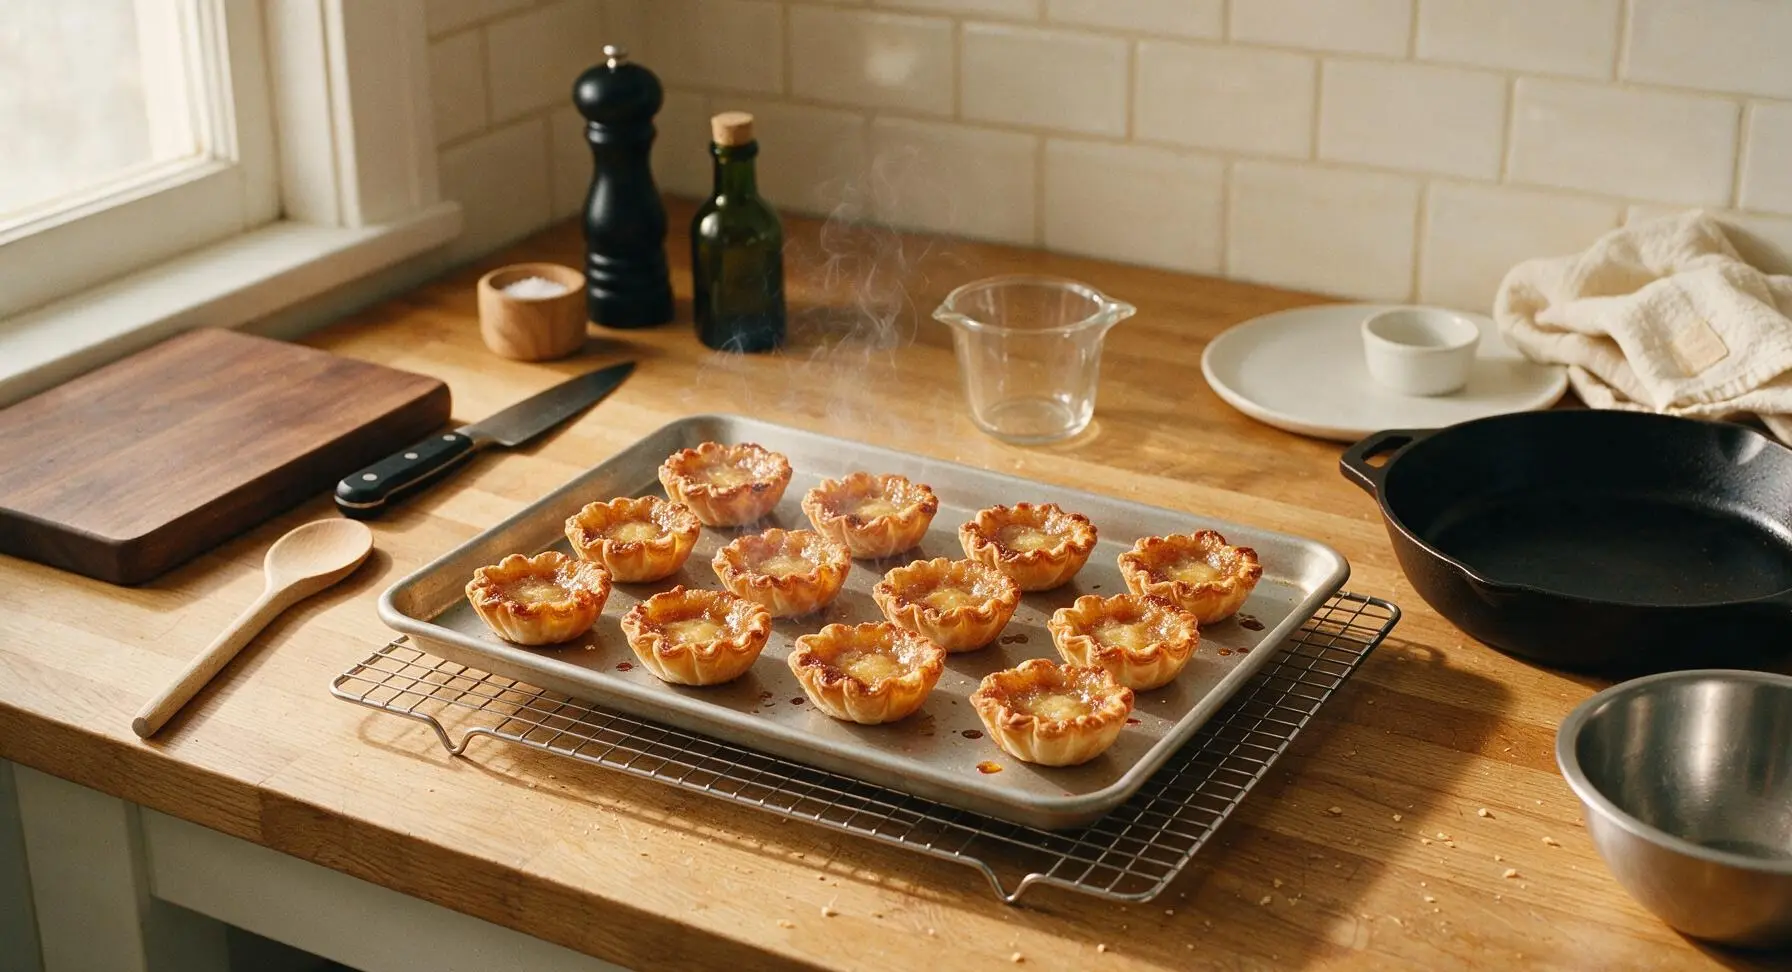
Cool and Serve
Let tarts cool completely in their tins on the wire rack for 20 minutes to allow the filling to set fully. Once cool, gently twist each tin to release the tart, and arrange on the cream ceramic serving platter. Tarts can be served at room temperature or slightly warm, with a dollop of whipped cream if desired. Do not attempt to remove tarts while warm, as soft filling will run out and pastry will break.
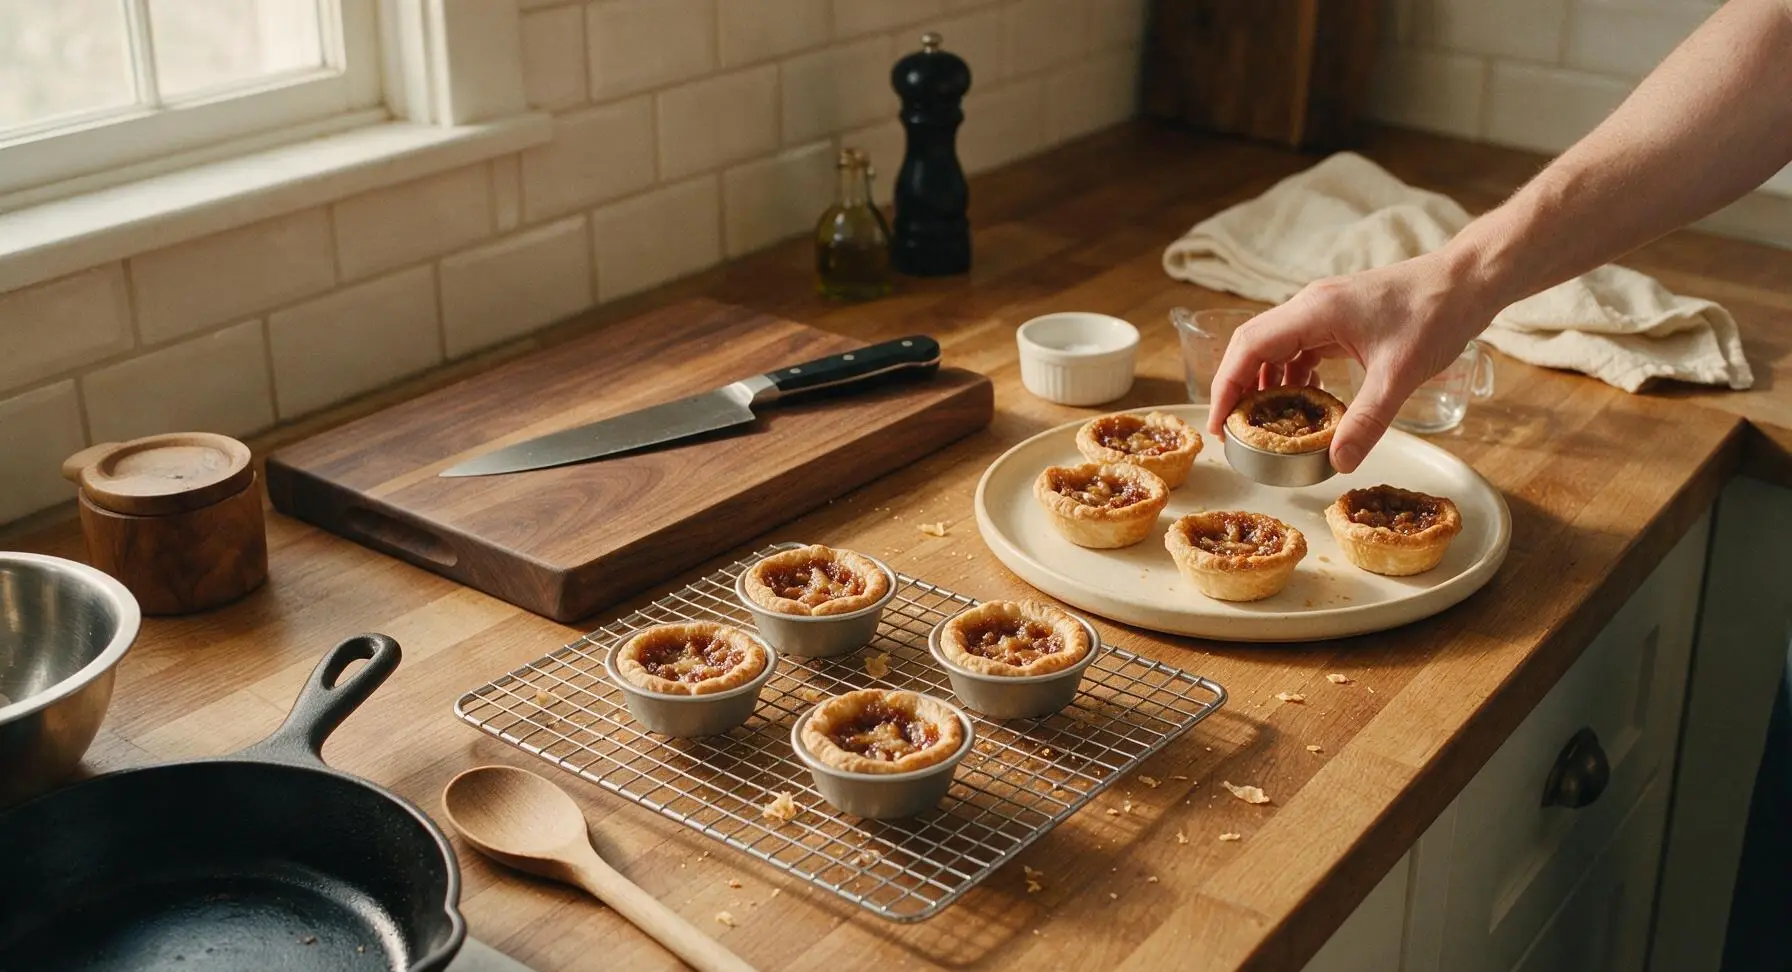
Tips
2.Never fill tart shells more than ⅔ full: The sugar-based filling expands and bubbles vigorously as it reaches baking temperature. Overfilled shells will spill sticky caramel onto the baking sheet, creating burnt, messy edges and leaving less gooey filling inside each tart.
3.Err on the side of underbaking: Tarts are done when the edges are set but the 1cm center is still soft and jiggly. Residual heat will continue to cook the filling as it cools, creating the iconic runny, gooey center; overbaking produces a firm, toffee-like filling that lacks the classic butter tart texture.






OMG these are SO good! I brought a batch to my office potluck last week and every single one was gone in 10 minutes flat. I added a handful of raisins like my grandma used to, and people were begging for the recipe. Only thing is I overbaked the first tray by 2 minutes because I got distracted by my dog, so watch that 17 minute cook time closely!
Tried these for the first time ever after hearing my Canadian coworker rave about butter tarts for years. Game changer! The gooey center is perfect, not too sweet, and the flaky crust came out way better than I expected for a medium-difficulty recipe. Did half with pecans, half without for my picky niece, and she ate three in one sitting.
Has anyone tried making these with a gluten-free pie crust? I have a family dinner coming up where two of my cousins are GF, and I’d love to serve these since they’re my husband’s all-time favorite dessert, but I don’t want the crust to turn out crumbly and mess up that perfect gooey center.
Okay full transparency, I’m a total beginner baker and I was nervous this medium-difficulty recipe would be too much for me, but these came out insane! My roommate said they’re better than the ones we got at that fancy bakery downtown last month. Only note: don’t overfill the tart shells! I did that on the first few and the filling bubbled over and made a mess on my oven rack.
I make these for every single holiday gathering and summer cookout, and I always get asked for the recipe. I do a little twist where I add a tiny splash of maple syrup to the filling, and it takes them to the next level. My kids literally fight over the last one every time I make them. 10/10, will keep making forever.
Wow, that 17 minute cook time is no joke! I popped these in, ran to grab the laundry out of the dryer, and came back right when the timer went off to perfectly golden, gooey tarts. Way faster than I expected for such a fancy-tasting dessert. My wife said these are better than the ones she had on our trip to Toronto last year.
Controversial take, I know, but I skip the raisins entirely and add extra chopped pecans and a sprinkle of sea salt on top before baking. It’s chef’s kiss. If you’re a texture person like me, the crunchy nuts and flaky salt cut the sweetness perfectly.
Wait, how well do these hold up in the fridge? I want to make a big batch on Sunday for my work snacks for the week, but I don’t want the crust to get soggy or the filling to get weird. Has anyone tried prepping these ahead?
I was worried these would be too sweet for my Southern palate that’s used to pecan pie, but the balance is absolutely perfect. The buttery filling isn’t cloying at all, and the crust is so flaky I could eat it by itself. Brought these to my church potluck and the ladies were all hounding me for the recipe link.
Made these with my 8 year old daughter for her school’s bake sale, and we sold out in 20 minutes! She was so proud she got to tell everyone she helped stir the filling (and maybe snuck a spoonful when I wasn’t looking). 10/10, easy enough to make with a kid, even with the medium difficulty rating.
Help! I followed the recipe exactly but my filling came out runny instead of that nice thick gooey texture everyone is talking about. Did I do something wrong? I let them cool for the full 20 minutes like the recipe said too.
These are the perfect trail snack! I wrapped a few up in parchment paper and took them on my day hike in the Rockies last weekend, and they gave me the perfect sugar boost when I was halfway up the trail. Way better than boring granola bars.
Pro tip: Add a handful of mini chocolate chips to the filling before baking! I did that last night for my movie night with friends, and everyone lost their minds. The chocolate melts into the buttery filling and it’s literally heaven.
SO good! I made these after soccer practice on a weeknight and had them on the table before the kids finished their homework. They ate two each and asked if we can have them every Friday night from now on. Win for mom!
These pair so perfectly with a morning latte, I’m not even kidding. I had one for breakfast today and it was way better than the sad blueberry muffin I usually grab on my way to work. Will be keeping a stash in my freezer from now on.
I’ve been baking for 40+ years and I have to say, this is one of the best butter tart recipes I’ve ever tried. The crust to filling ratio is spot on, not too much crust, not so much filling that it oozes everywhere. I’ll be adding this to my permanent recipe box.
I swapped the butter for vegan butter and used a flax egg, and these still came out amazing! I was worried the texture would be off, but my non-vegan roommates didn’t even notice the difference. So happy I can enjoy a classic butter tart without the dairy.
Made these for our weekly board game night with friends, and everyone said they were the best snack we’ve ever served. Way more fun than the usual chips and dip, and they’re handheld so you don’t have to pause the game to eat them. Total win.
Full disclosure, I’m terrible at baking and I almost gave up when my first crust attempt cracked, but I patched it up and these still came out incredible! The 17 minute cook time was super easy to follow, and even my slightly lopsided tarts tasted amazing. Don’t let the medium difficulty scare you off if you’re a newbie!