
cacciatore sauce
intro
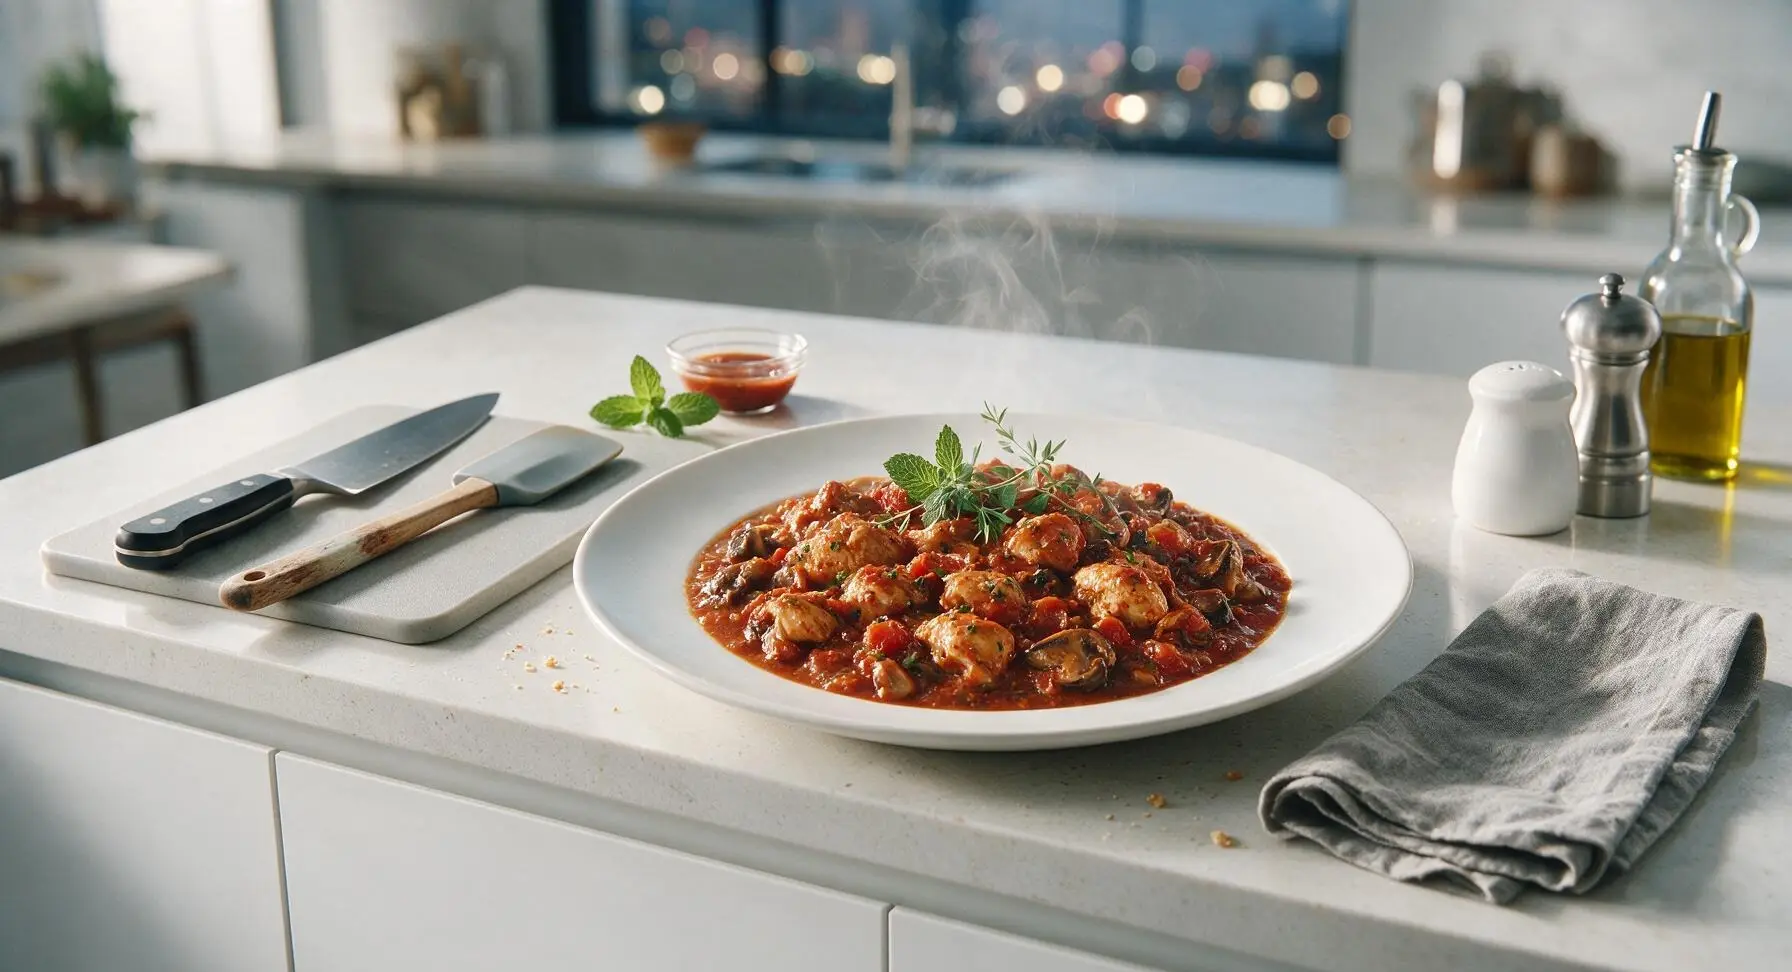
Slow-simmered cacciatore sauce, packed with earthy mushrooms, sweet San Marzano tomatoes, tender chicken, and aromatic herbs, is the ultimate cozy shared family meal.
Ingredients
Steps
Prep Chicken and Vegetables
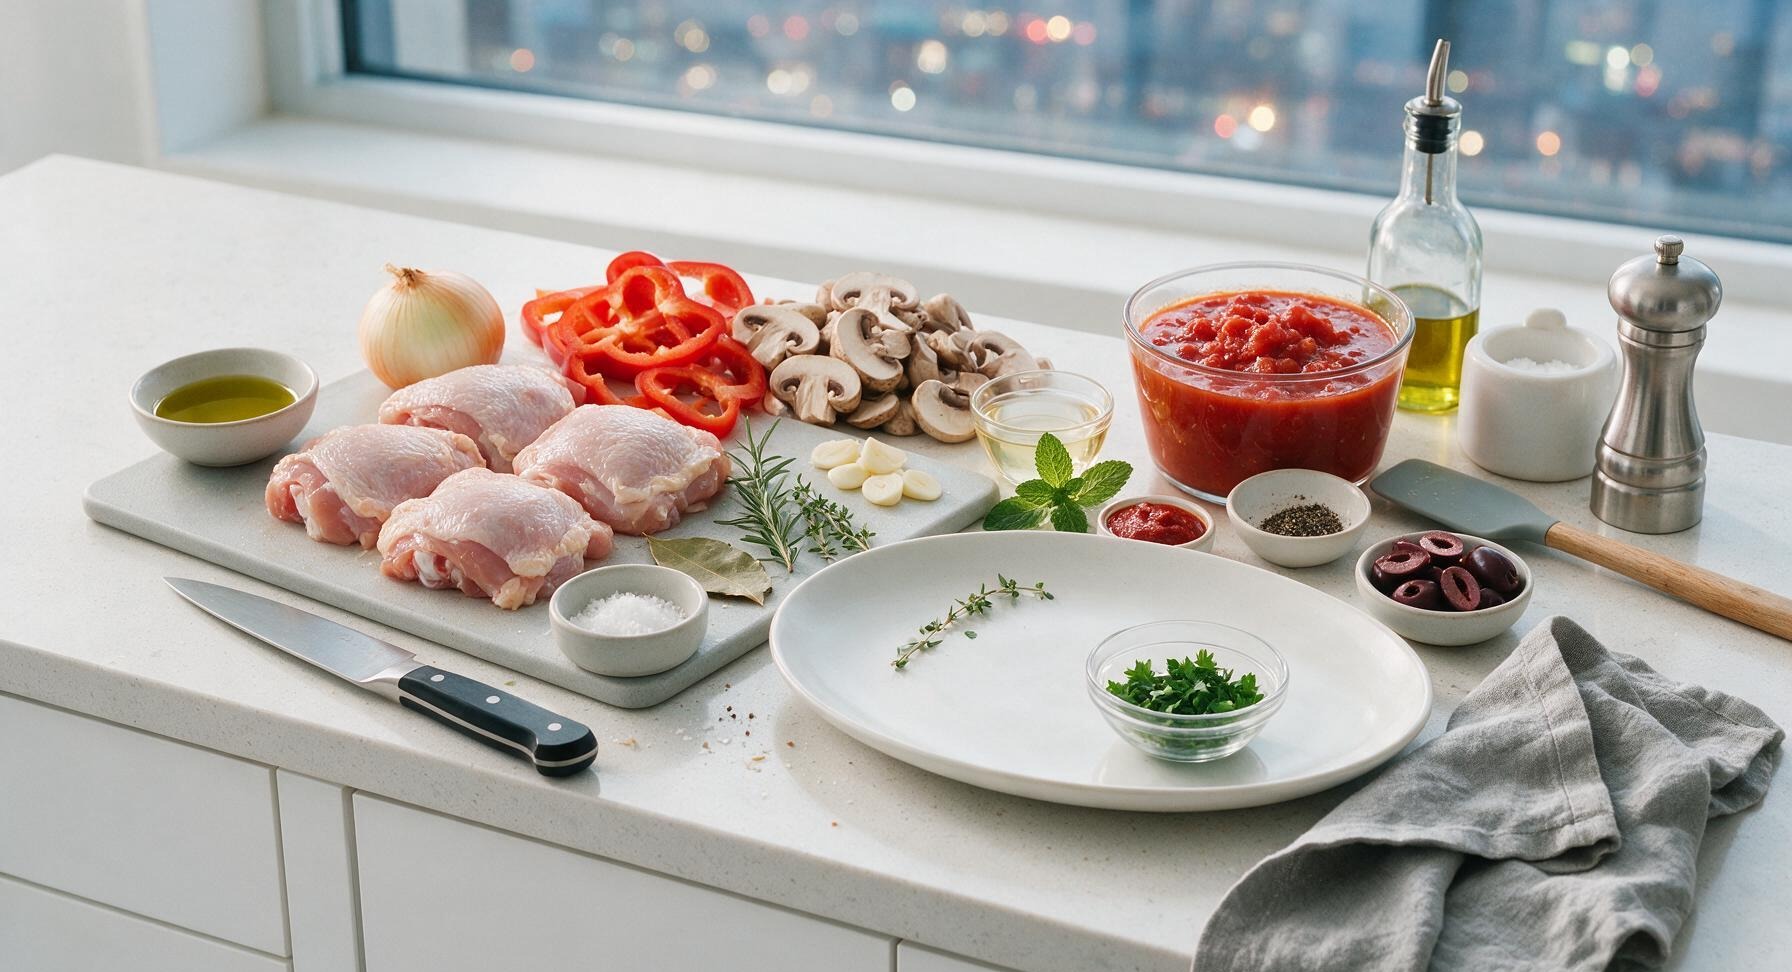
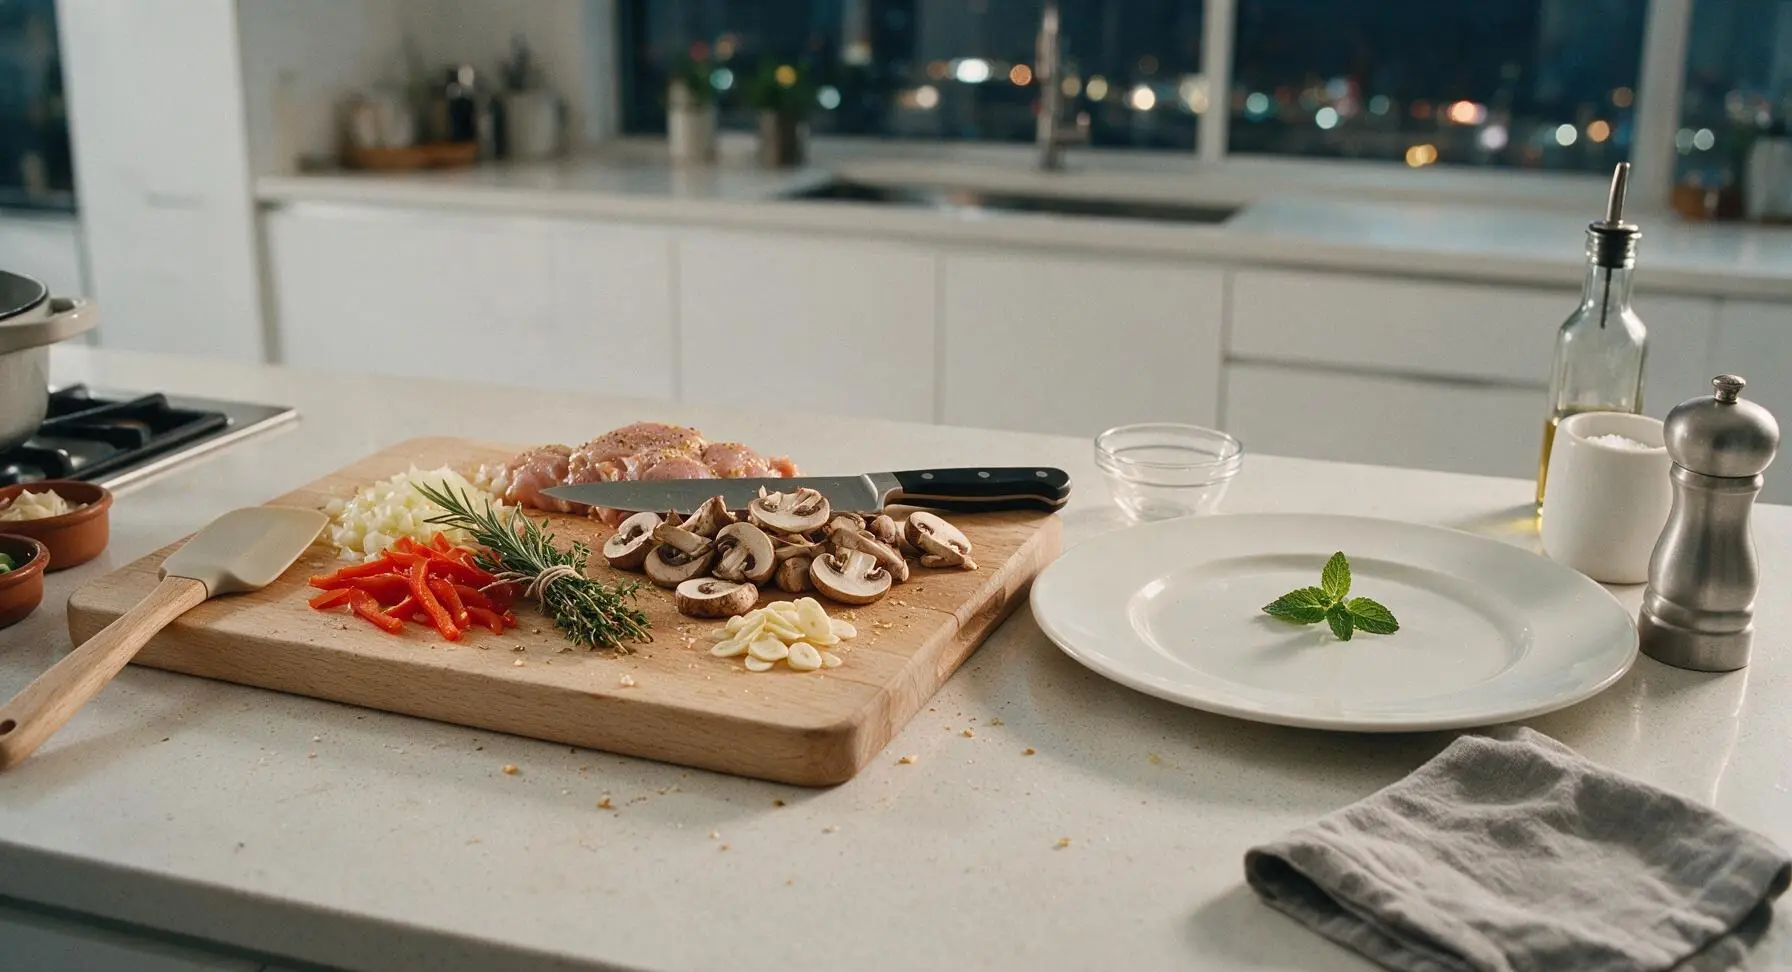
Gather and prep all ingredients first for smooth cooking: dice the yellow onion into 1cm pieces, seed the red bell pepper and slice into 1cm thick strips, wipe cremini mushrooms clean with a dry paper towel and slice into 5mm thick rounds, thinly slice garlic cloves. Tie rosemary and thyme sprigs together with a short length of kitchen twine for easy removal later. Pat chicken thighs completely dry with paper towels, then season all sides with 1 tsp kosher salt and ¼ tsp black pepper. Set prepped items in the small terracotta ramekins within easy reach of the stovetop.
Sear Chicken Until Golden
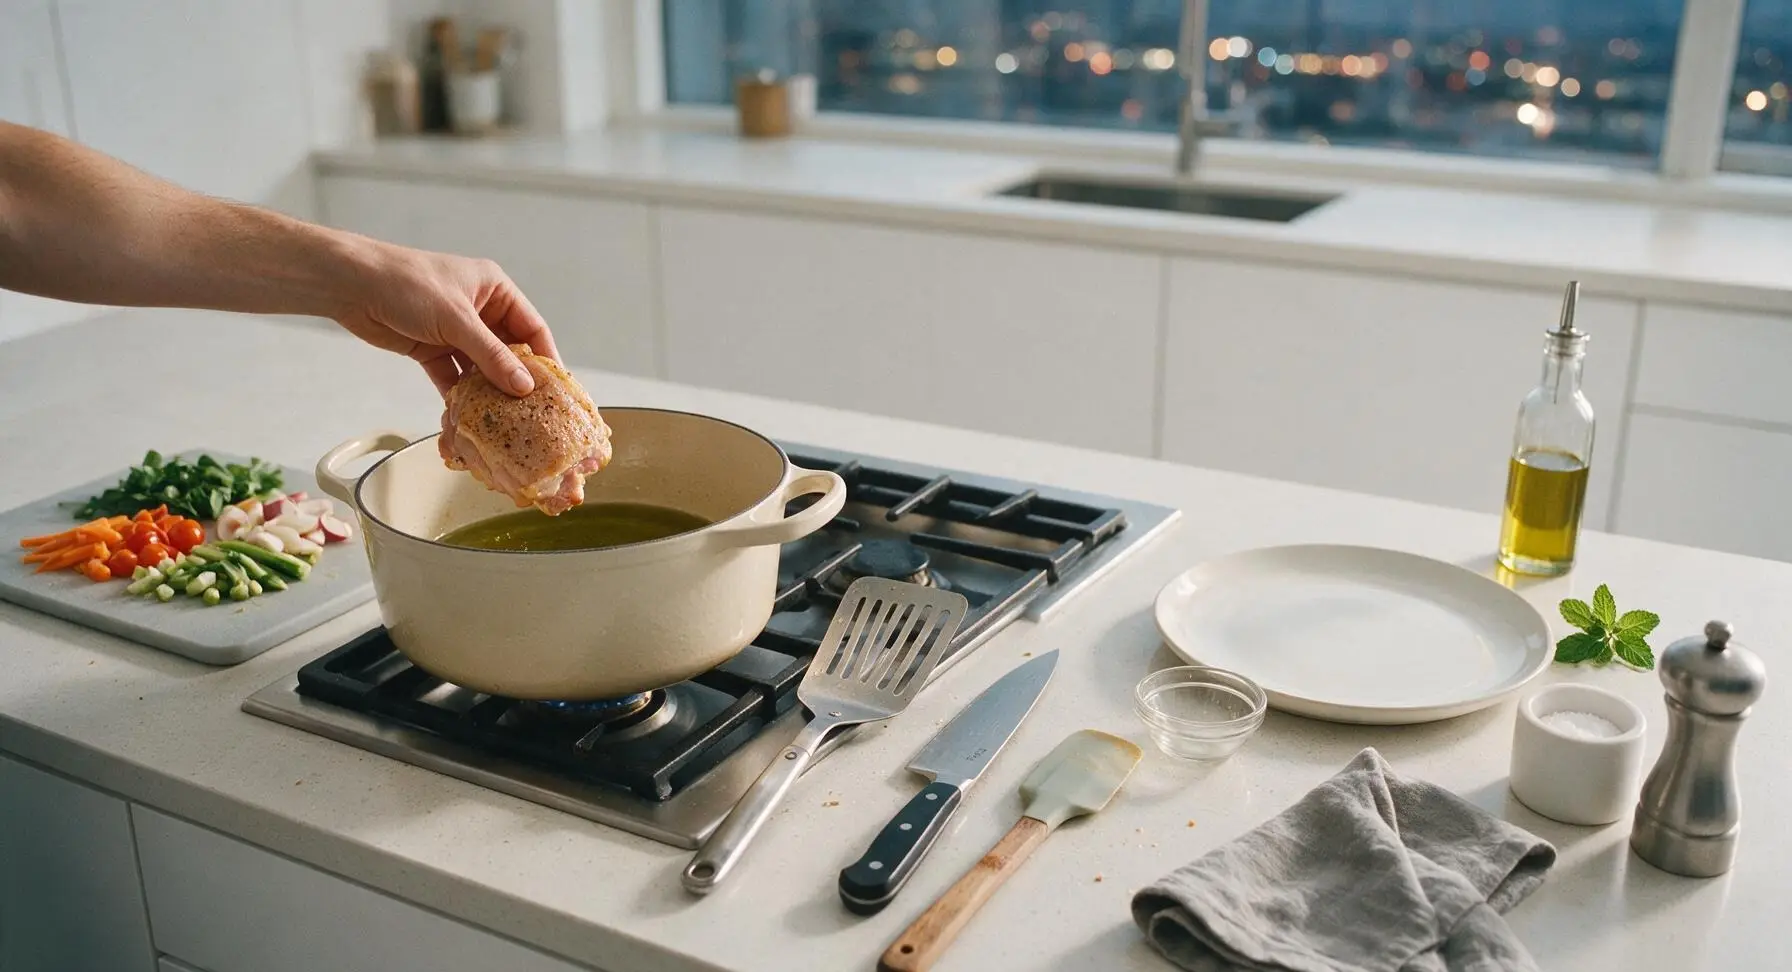
Place the 5L enameled cast iron Dutch oven on the front left gas burner, heat 2 tbsp extra-virgin olive oil over medium-high heat until shimmering (approximately 3 minutes). Carefully place seasoned chicken thighs skin-side down in the pot in a single uncrowded layer. Sear 6 minutes undisturbed, until skin is deep golden brown and crispy, then flip with the slotted stainless steel turner and sear the second side for 4 minutes. Transfer seared chicken to a clean plate and set aside.
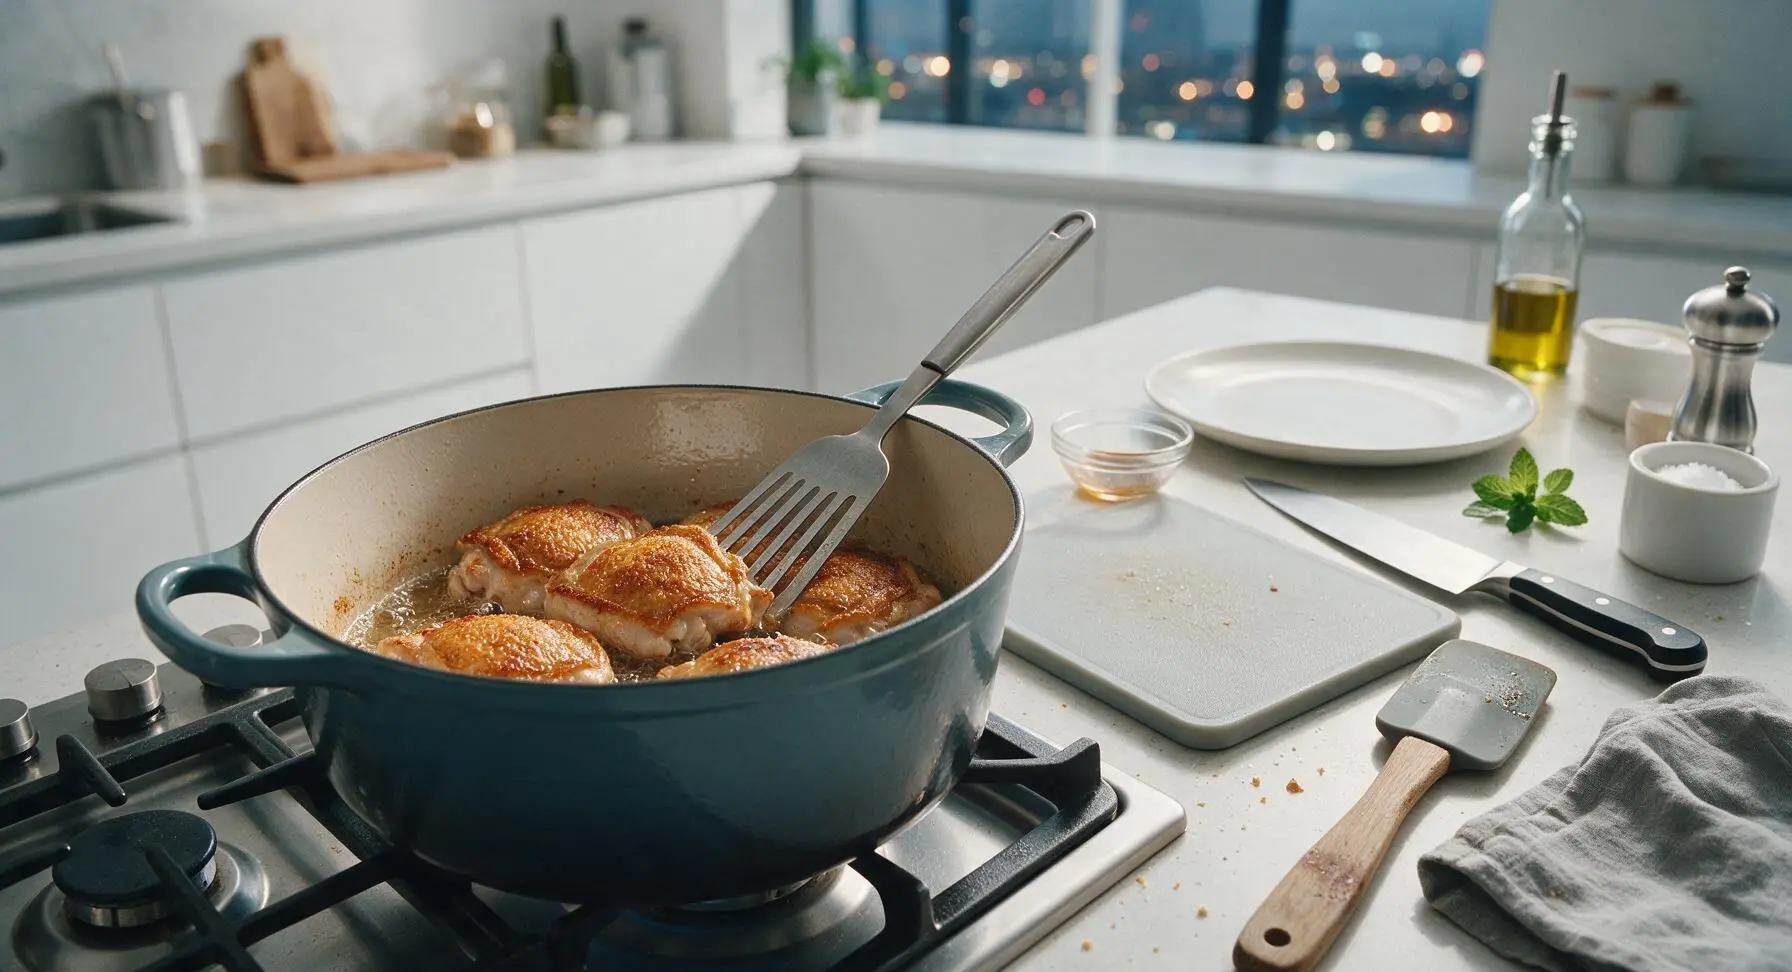
Sauté Aromatic Vegetables
Reduce stovetop heat to medium, leaving 2 tbsp of rendered chicken fat and oil in the Dutch oven; drain excess fat if more than 2 tbsp remains. Add diced onion and red bell pepper strips to the pot, sauté 5 minutes, stirring occasionally with the wooden cooking spoon, until vegetables are soft and slightly translucent. Add sliced mushrooms, cook an additional 4 minutes until mushrooms release their moisture and turn golden at the edges. Stir in tomato paste and sliced garlic, cook 1 minute until fragrant and tomato paste darkens to a deep rust color.
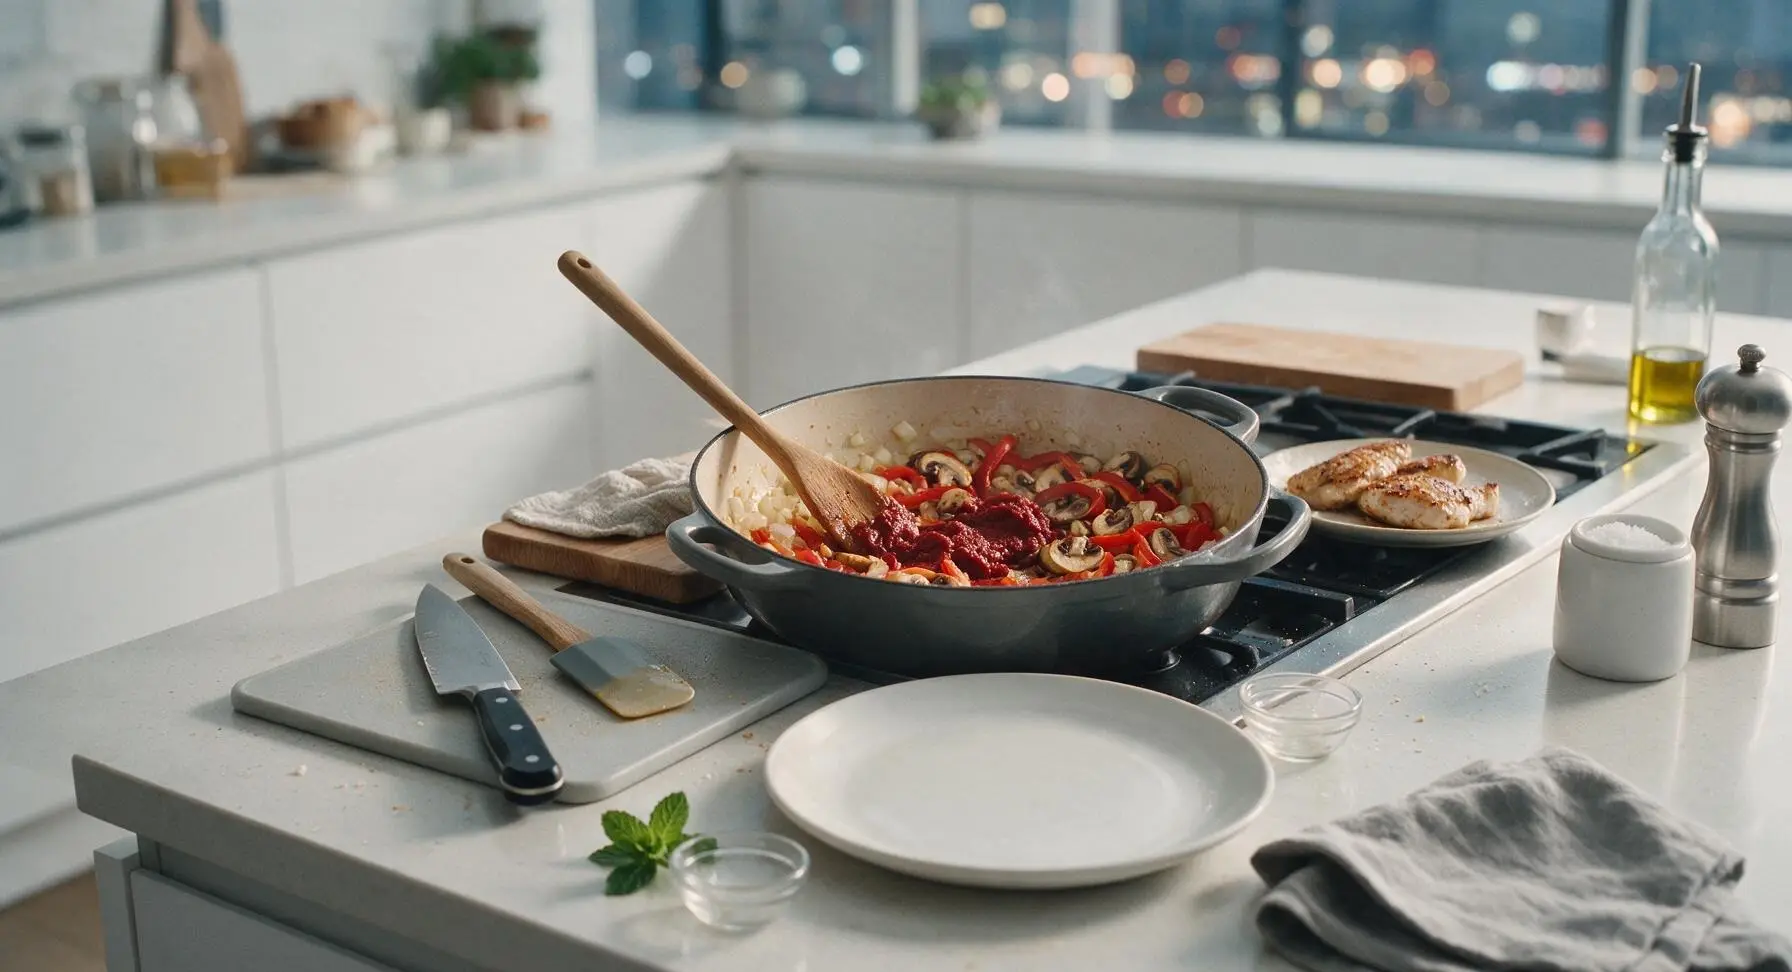
Deglaze Pot with Wine
Pour 120ml dry white wine into the Dutch oven, scraping the bottom of the pot thoroughly with the wooden spoon to lift all browned fond bits (the flavorful cooked-on residue) from the pot base. Simmer 3 minutes, until wine is reduced by half and the sharp alcohol smell dissipates, leaving a slightly syrupy coating on the vegetables.
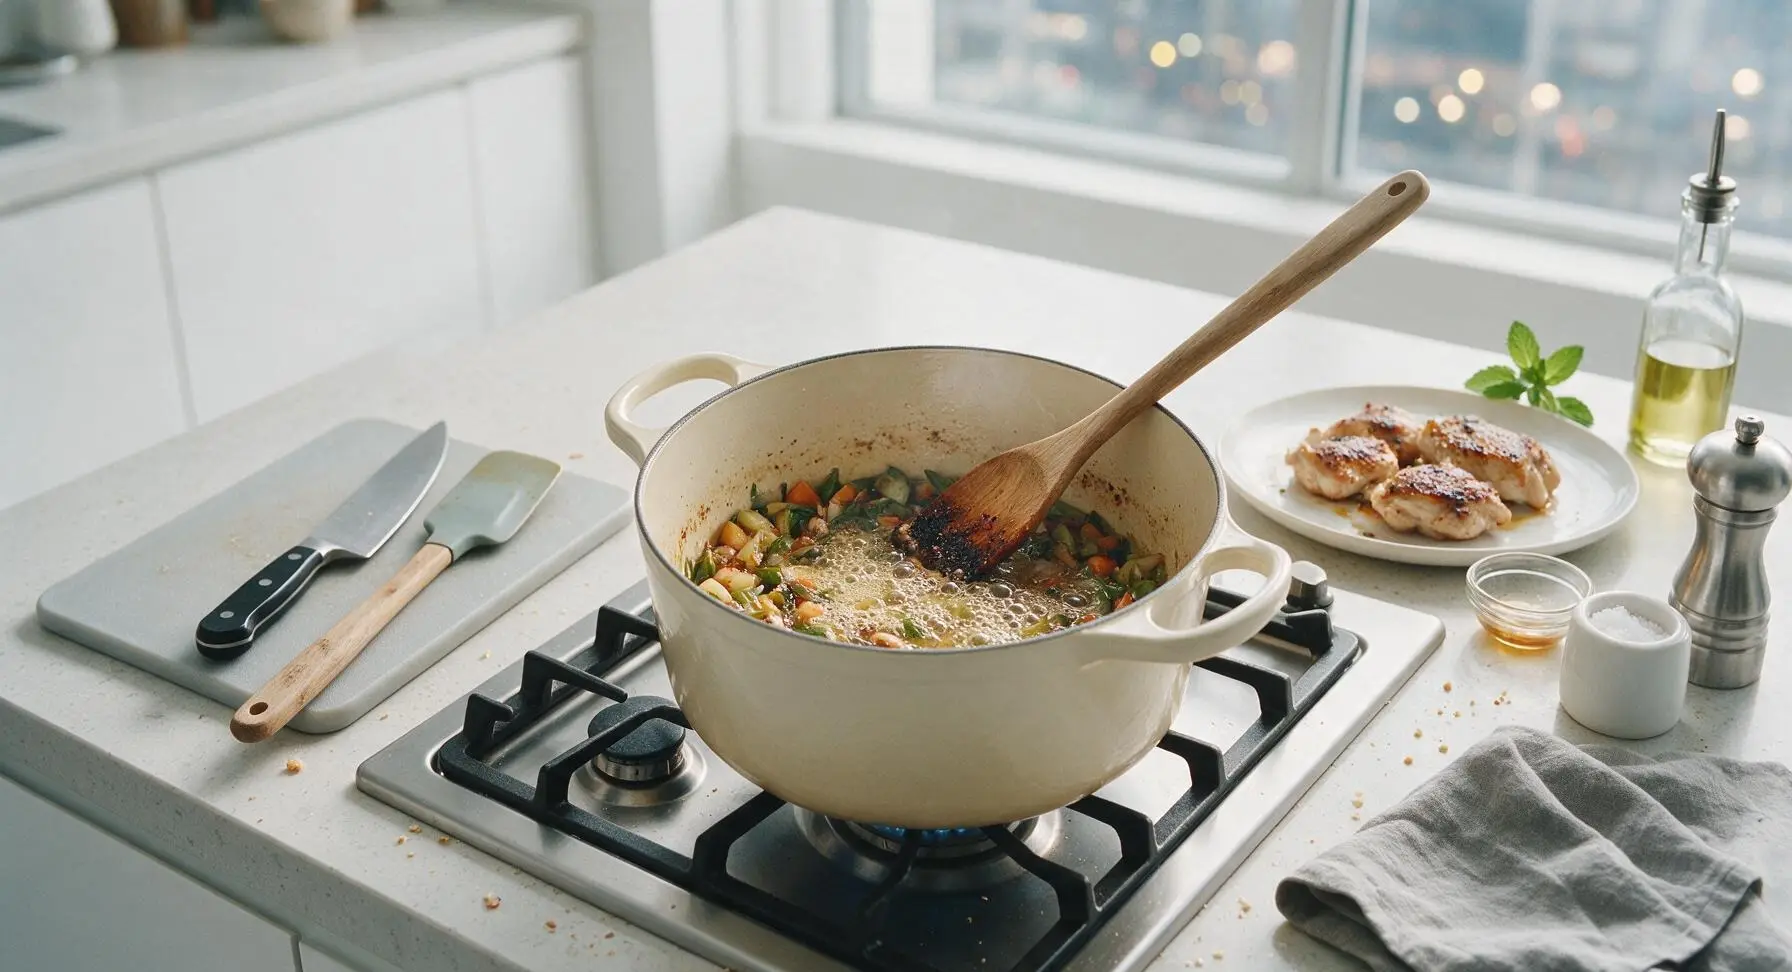
Add Tomatoes and Herbs
Pour the full 800g of crushed San Marzano tomatoes (with all their juices) into the pot, stir to combine with the wine and vegetable mixture. Add the twine-tied rosemary and thyme bundle and bay leaf, stir in the remaining ½ tsp kosher salt and ¼ tsp black pepper. Bring sauce to a gentle simmer, then reduce heat to medium-low to maintain a slow, steady bubble.
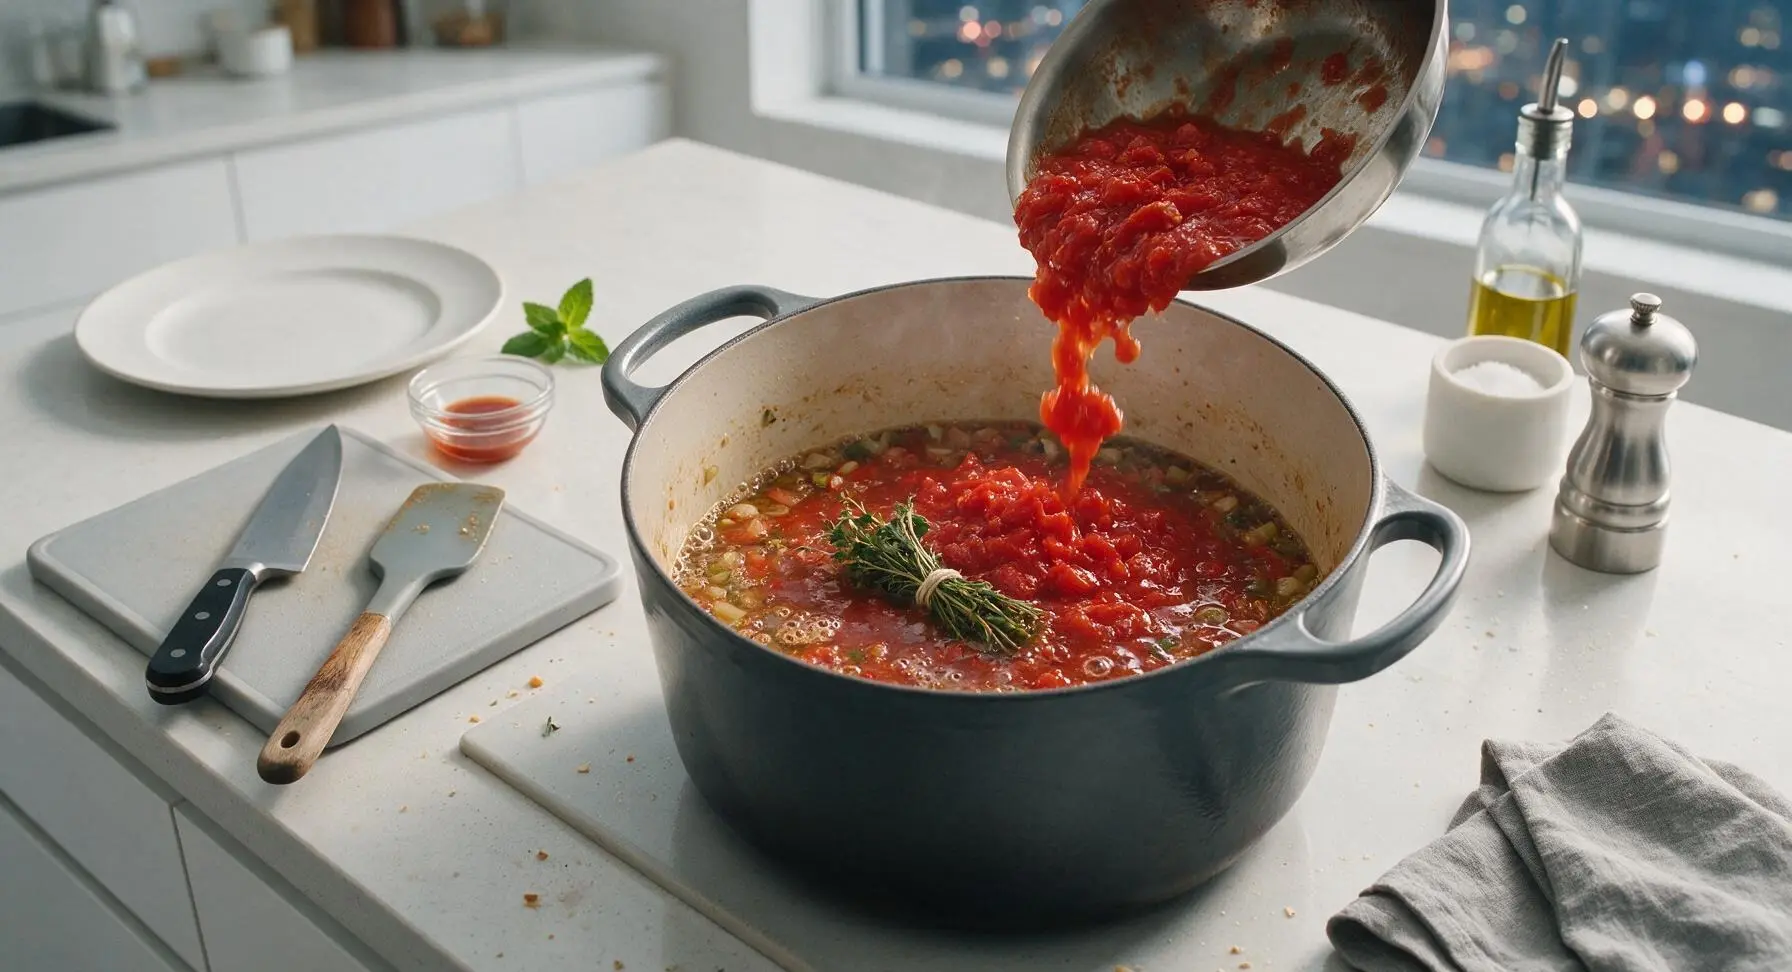
Simmer Sauce with Chicken
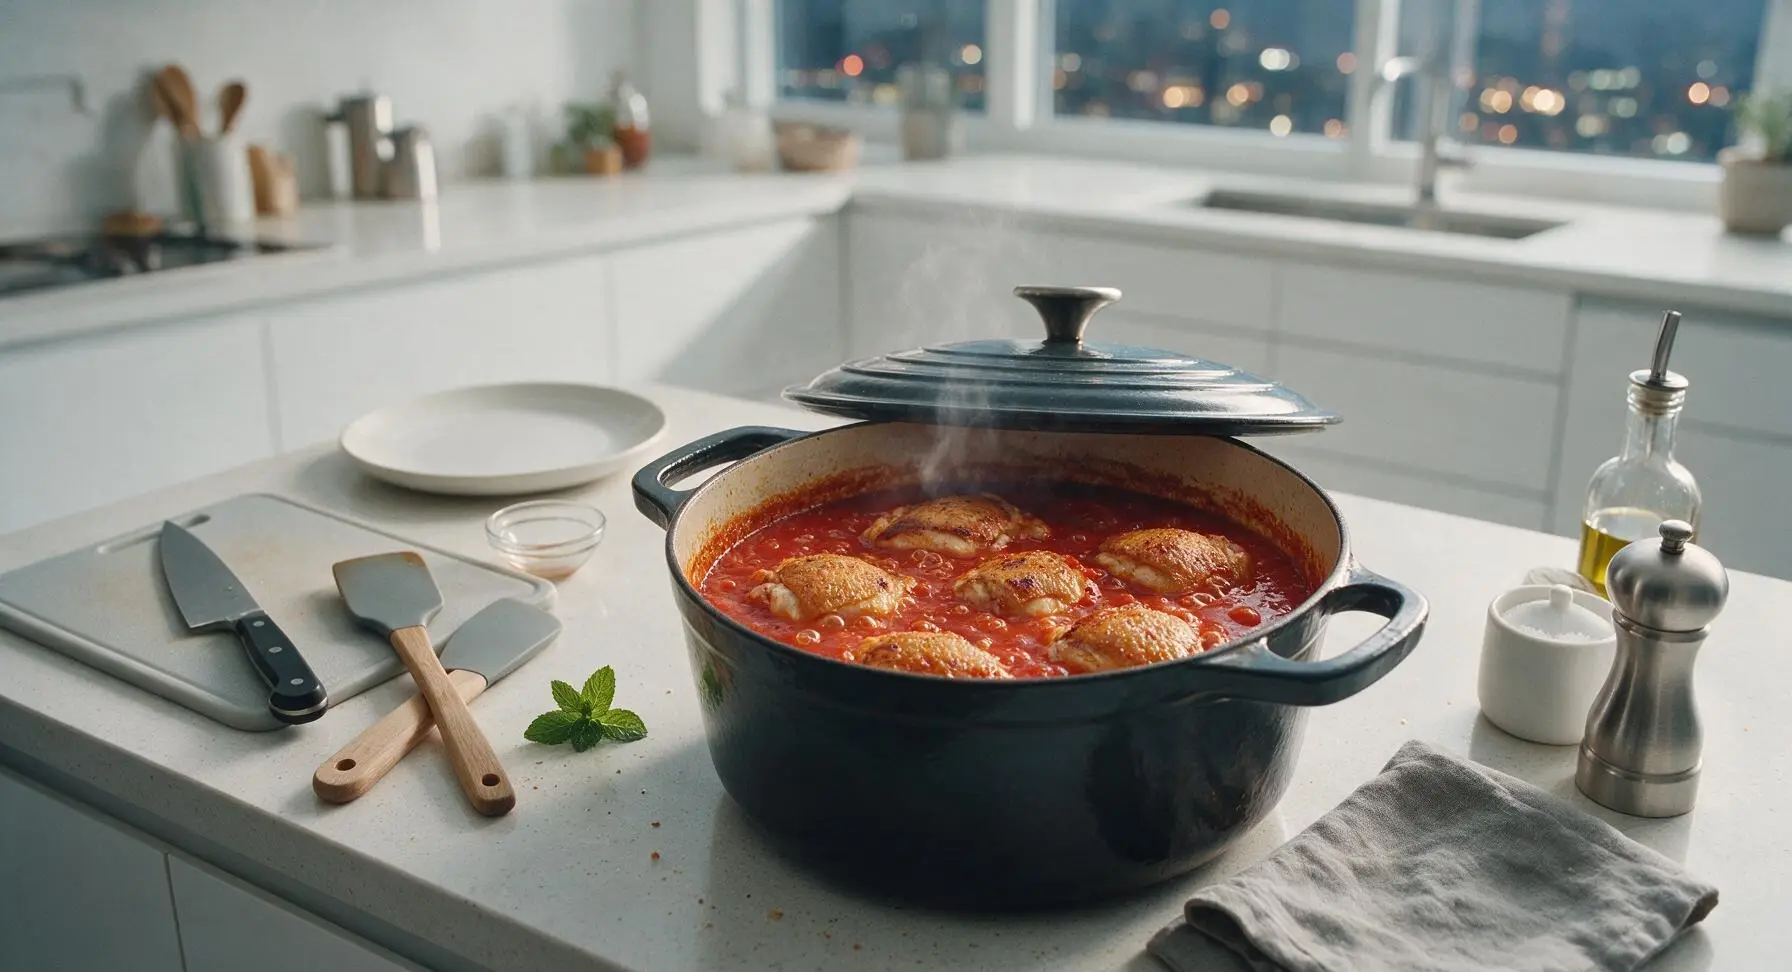
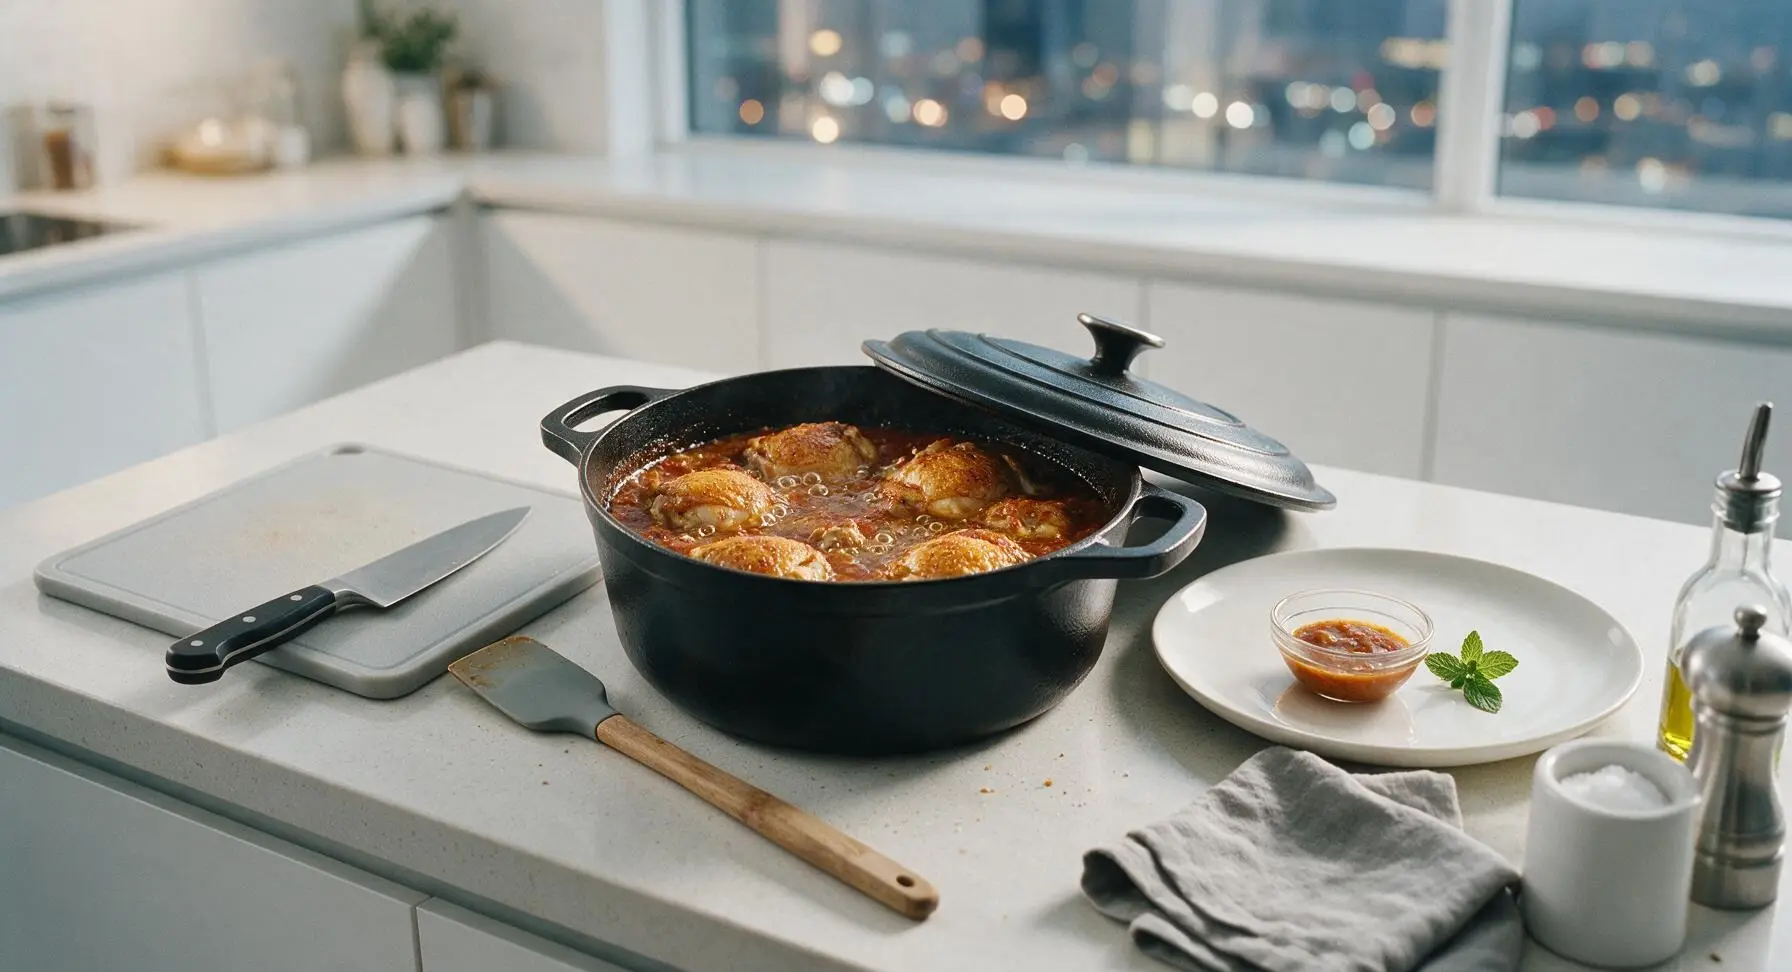
Nestle seared chicken thighs back into the sauce skin-side up, ensuring they are partially submerged but the crispy skin remains above the sauce line. Place the Dutch oven lid slightly ajar to let steam escape, and simmer gently over medium-low heat for 40 minutes. Do not boil rapidly; the sauce should form soft, slow bubbles, and chicken will become tender enough to pull easily from the bone when prodded with a fork.
Finish Sauce with Olives
Remove the herb bundle and bay leaf from the sauce, discarding them. Stir in halved Kalamata olives, then taste the sauce and adjust salt or pepper if needed. Simmer an additional 5 minutes to let the olive brine flavor meld into the sauce. If sauce is too thick, add 2 tbsp water to thin to a rich, coating consistency; if too thin, simmer uncovered for 3-4 extra minutes.
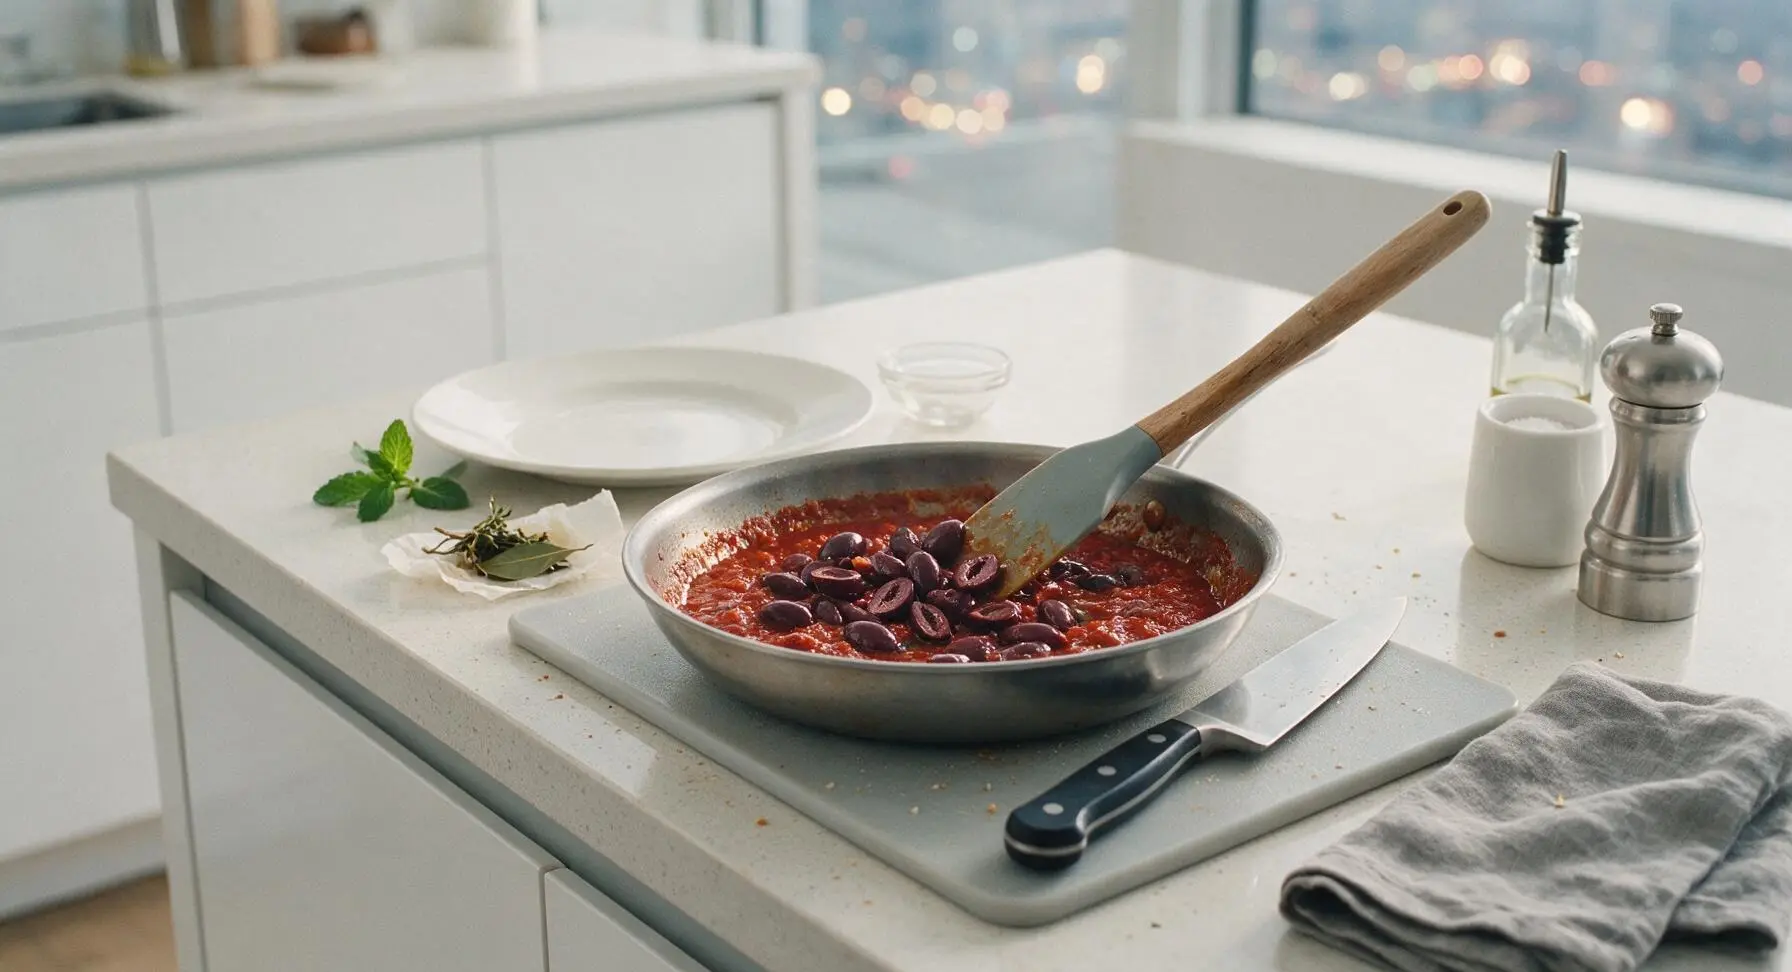
Plate and Garnish Sauce
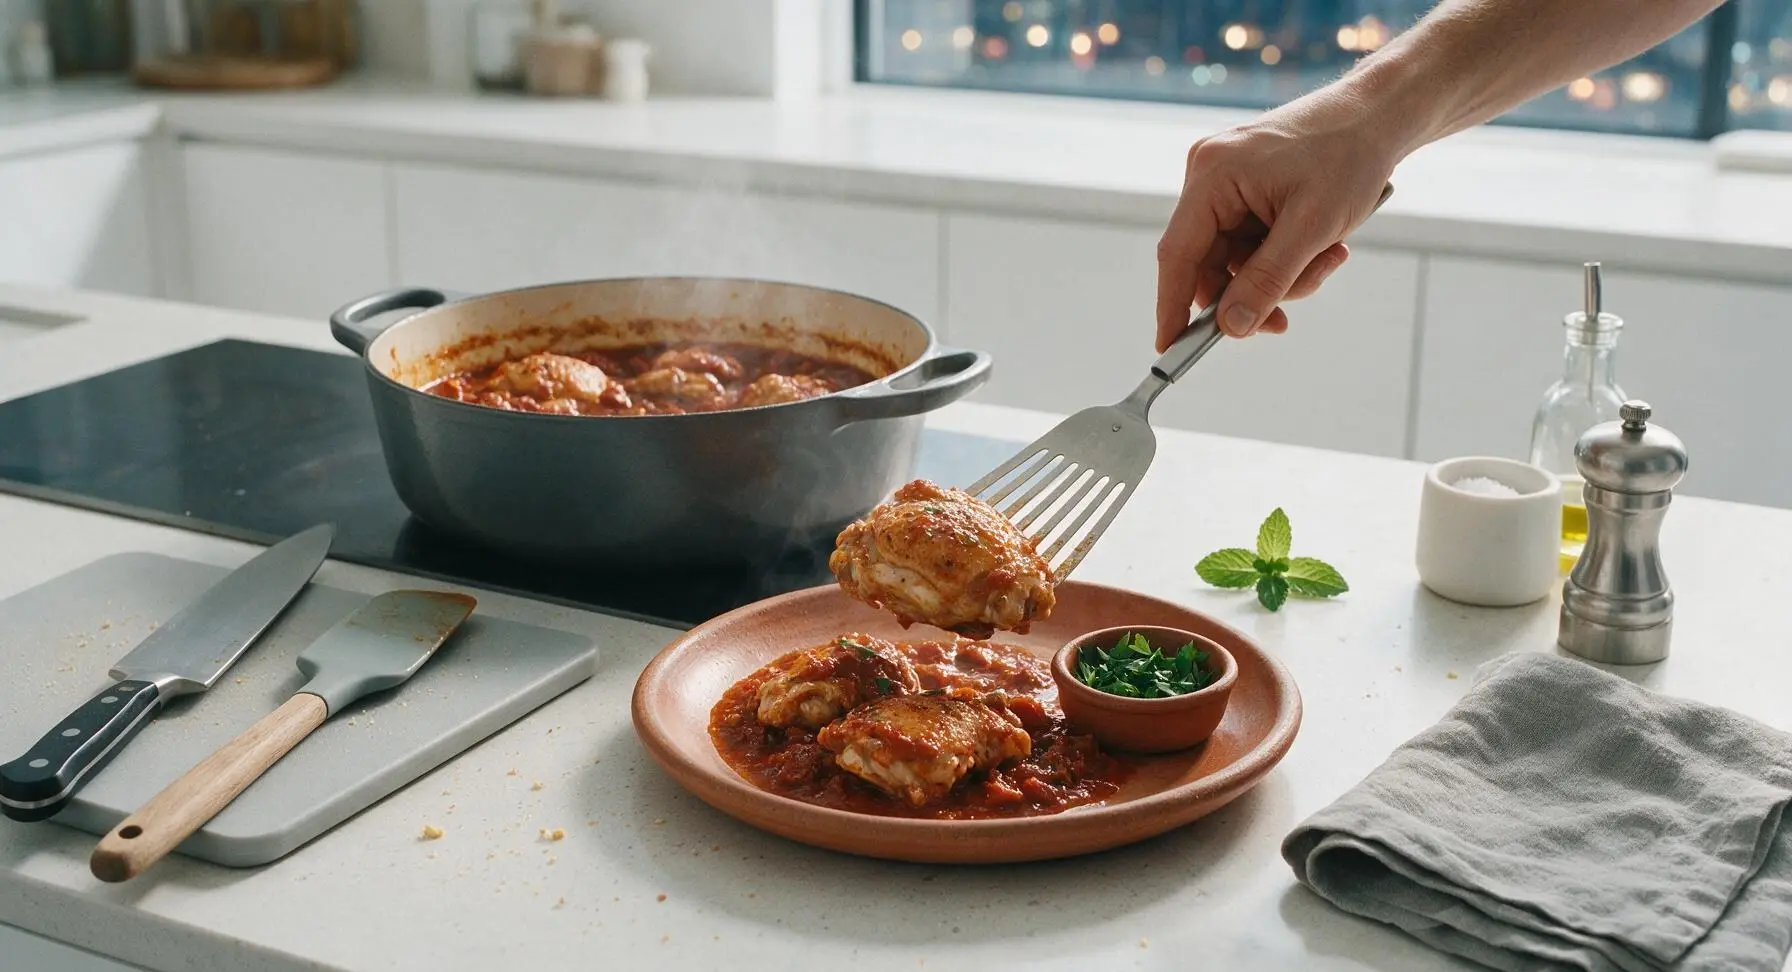
Turn off stovetop heat. Transfer chicken and sauce to the hand-thrown terracotta serving plate, arranging chicken pieces evenly across the plate with sauce spooned around them. Sprinkle the top with 2 tbsp chopped fresh flat-leaf parsley for a bright, fresh garnish. Let rest 5 minutes before serving to let flavors settle.
Tips
2.Keep chicken skin above the sauce line during braising: Fully submerging the seared skin will turn it soggy and rubbery during the long simmer; leaving it exposed preserves the crispy, golden texture achieved during searing.
3.Avoid boiling the sauce rapidly during the simmer: A hard, rolling boil will break down the tomato texture too quickly, make the chicken tough, and result in a watery, separated sauce instead of a thick, cohesive, richly flavored coating for pasta, polenta, or bread.






OMG, made this last Sunday for our family pasta night and WOW, it tastes exactly like the cacciatore my grandma used to make when I was a kid! The slow simmer really lets all the herbs and tomato meld together, I didn’t skip the red wine step and it added such perfect depth. SO good, already meal prepped a double batch to freeze for busy weeks.
Was skeptical a ‘rustic’ sauce could beat my go-to meat sauce but this blew me away. I used bone-in chicken thighs like the recipe suggested and the flavor that leached out into the sauce was unreal. Served it over polenta for my poker night crew and everyone asked for the recipe. Only note: I added an extra pinch of red pepper flakes for a little heat, perfect for our tastes.
Super doable even for a beginner cook like me! I was worried medium difficulty would be too much between classes but the steps were straightforward, and the whole thing came together in just over an hour like it said. Portioned it out into 5 containers with whole wheat pasta and I’ve got lunches all week. Way better than the takeout I usually live off.
Obsessed!!! I made this gluten free by skipping the flour thickener and using a cornstarch slurry at the end, and it turned out absolutely perfect. Served it over roasted spaghetti squash for my book club and even the people who hate ‘healthy swaps’ went back for seconds. Total game changer.
This was really tasty but I felt like it took a lot longer than 1 hour 10 minutes for me? Maybe because I was chopping all the veggies by hand instead of using my food processor? Flavor was spot on though, my husband ate three servings over mashed potatoes so I can’t complain too much, just wish I’d started prepping earlier before the kids got home from soccer practice.
Brought this to our neighborhood block party potluck last weekend and people were literally scraping the slow cooker insert clean. I let it simmer an extra 20 minutes because I got caught up chatting with neighbors and it got even better, honestly. Tossed in some sliced cremini mushrooms I had in the fridge and it was chef’s kiss. Will absolutely be adding this to my regular rotation.
Really solid base recipe! I added a whole chopped jalapeño and some sliced andouille sausage to give it a little Cajun-Italian fusion twist, and it slapped. The only reason I’m not giving 5 stars is I wish the recipe noted how much salt to add upfront – I ended up over-salting at the end because I kept tasting and adding more instead of seasoning in layers.
Tried this for the first time last night and my teen who ‘hates all tomato stuff’ had two helpings. I repeat: MY TEEN ATE A TOMATO-BASED SAUCE WITHOUT COMPLAINING. That alone is worth 5 stars. Didn’t change a single thing from the recipe, followed every step exactly, and it came out perfect. Even told a couple bad dad jokes while it simmered, highly recommend pairing with those too.
I made this on the stovetop last month and it was incredible – easily one of the best pasta sauces I’ve ever made! My kids loved it so much they asked for it again this week. Has anyone tried adapting it for the slow cooker? I work 10 hour days and would love to toss everything in before I leave so it’s ready when I get home, but I don’t want to mess up that perfect rustic texture.