
Canadian Bacon Grilled Cheese
intro
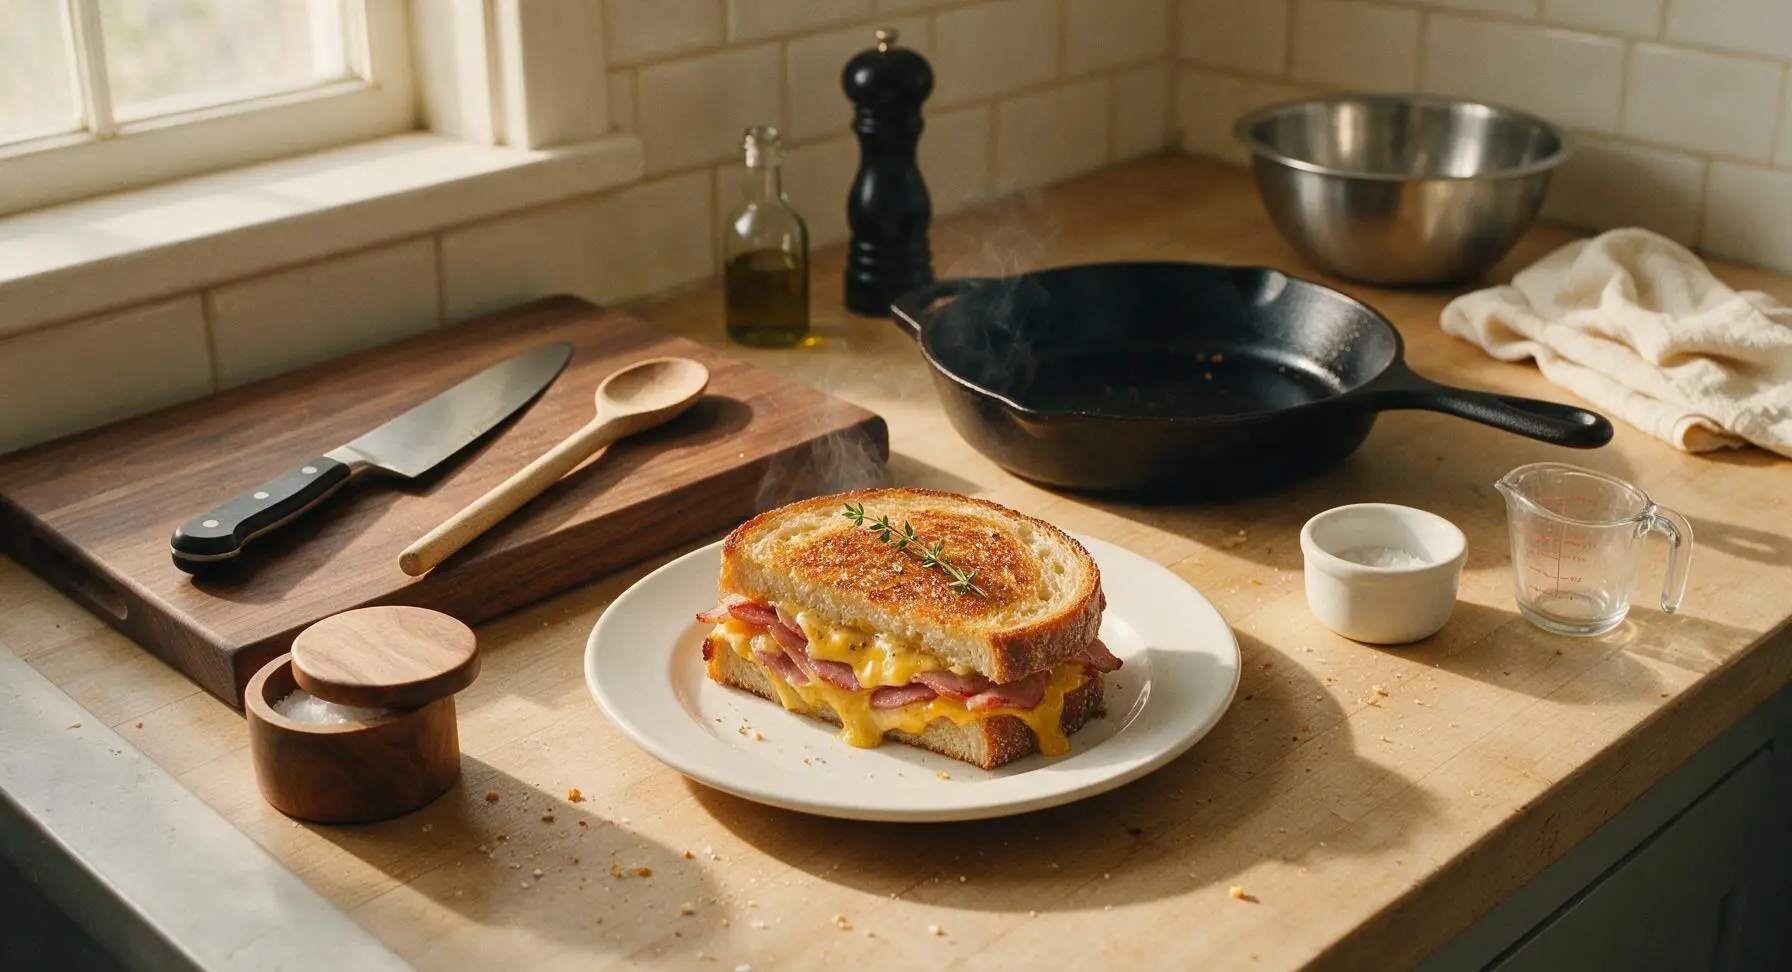
Crispy buttery sourdough layered with smoky Canadian bacon, melted sharp cheddar, and tangy dijon: a fast, cozy upgrade to classic grilled cheese, perfect for quick, satisfying meals.
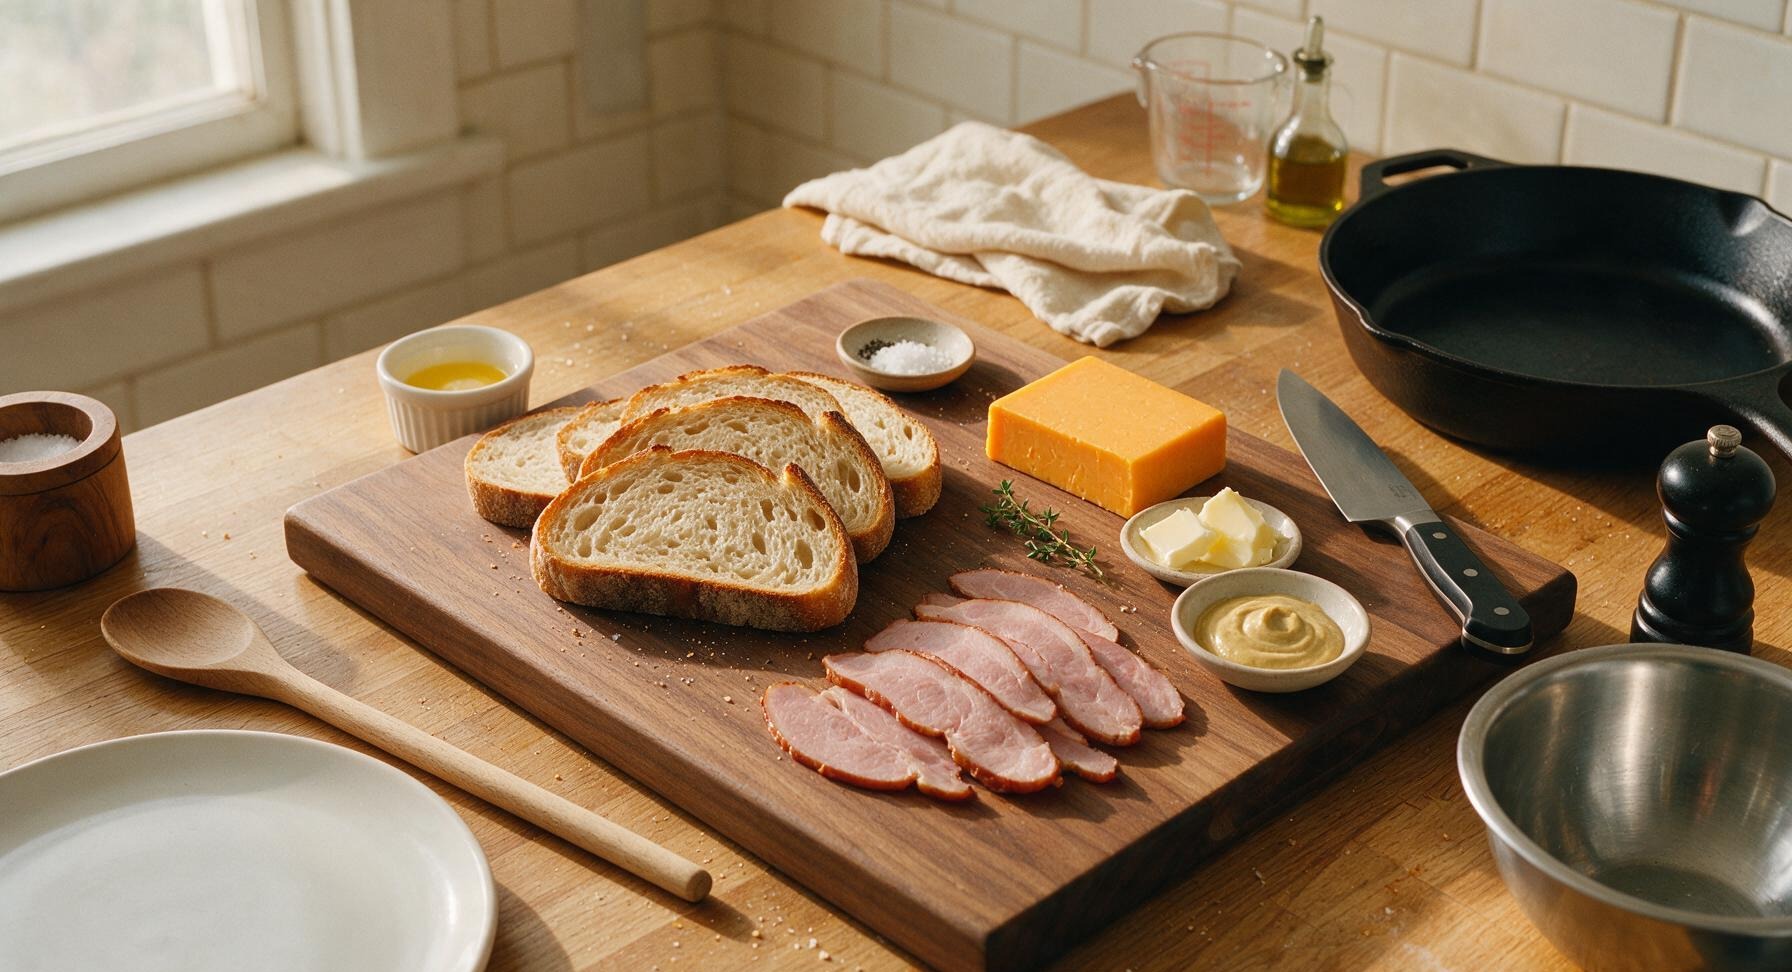
Ingredients
Steps
Slice Cheese and Prep Bread
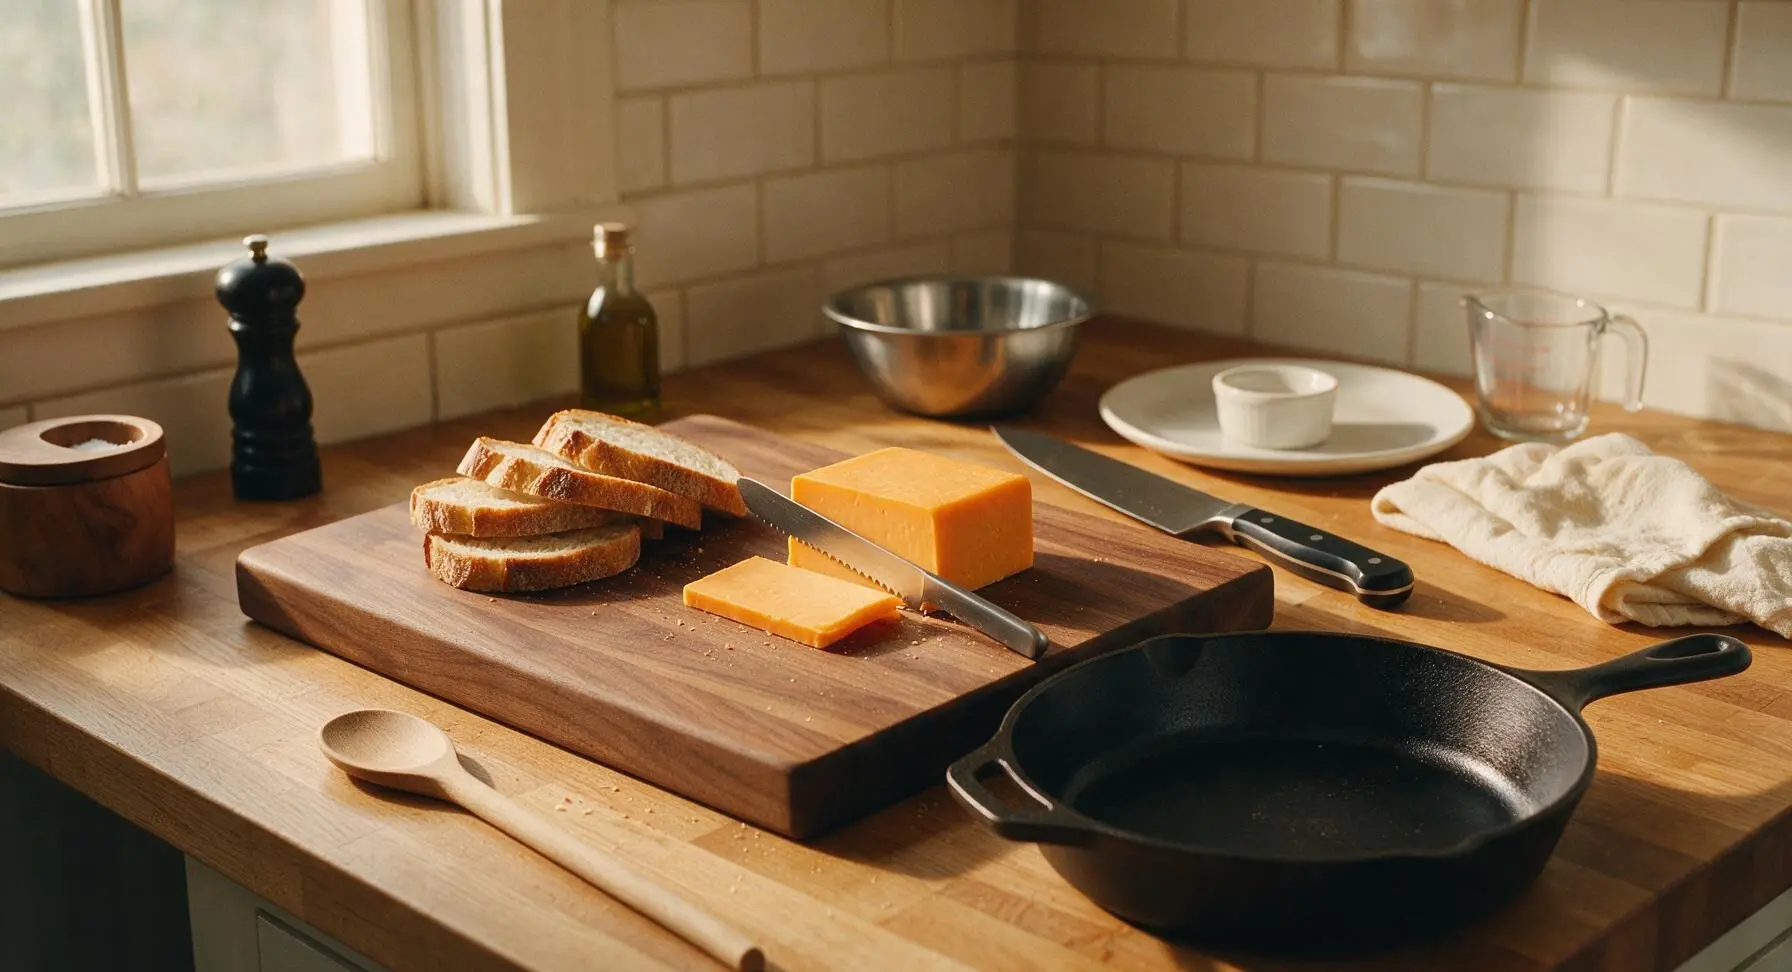
Place the block of sharp cheddar on the acacia cutting board. Use the 5-inch serrated utility knife to slice the cheddar into even 5mm thick slices (about 8 slices total). Lay the 4 thick sourdough slices flat on the board next to the sliced cheese, brushing aside any loose crumbs from the board edge.
Butter Bread Outer Sides
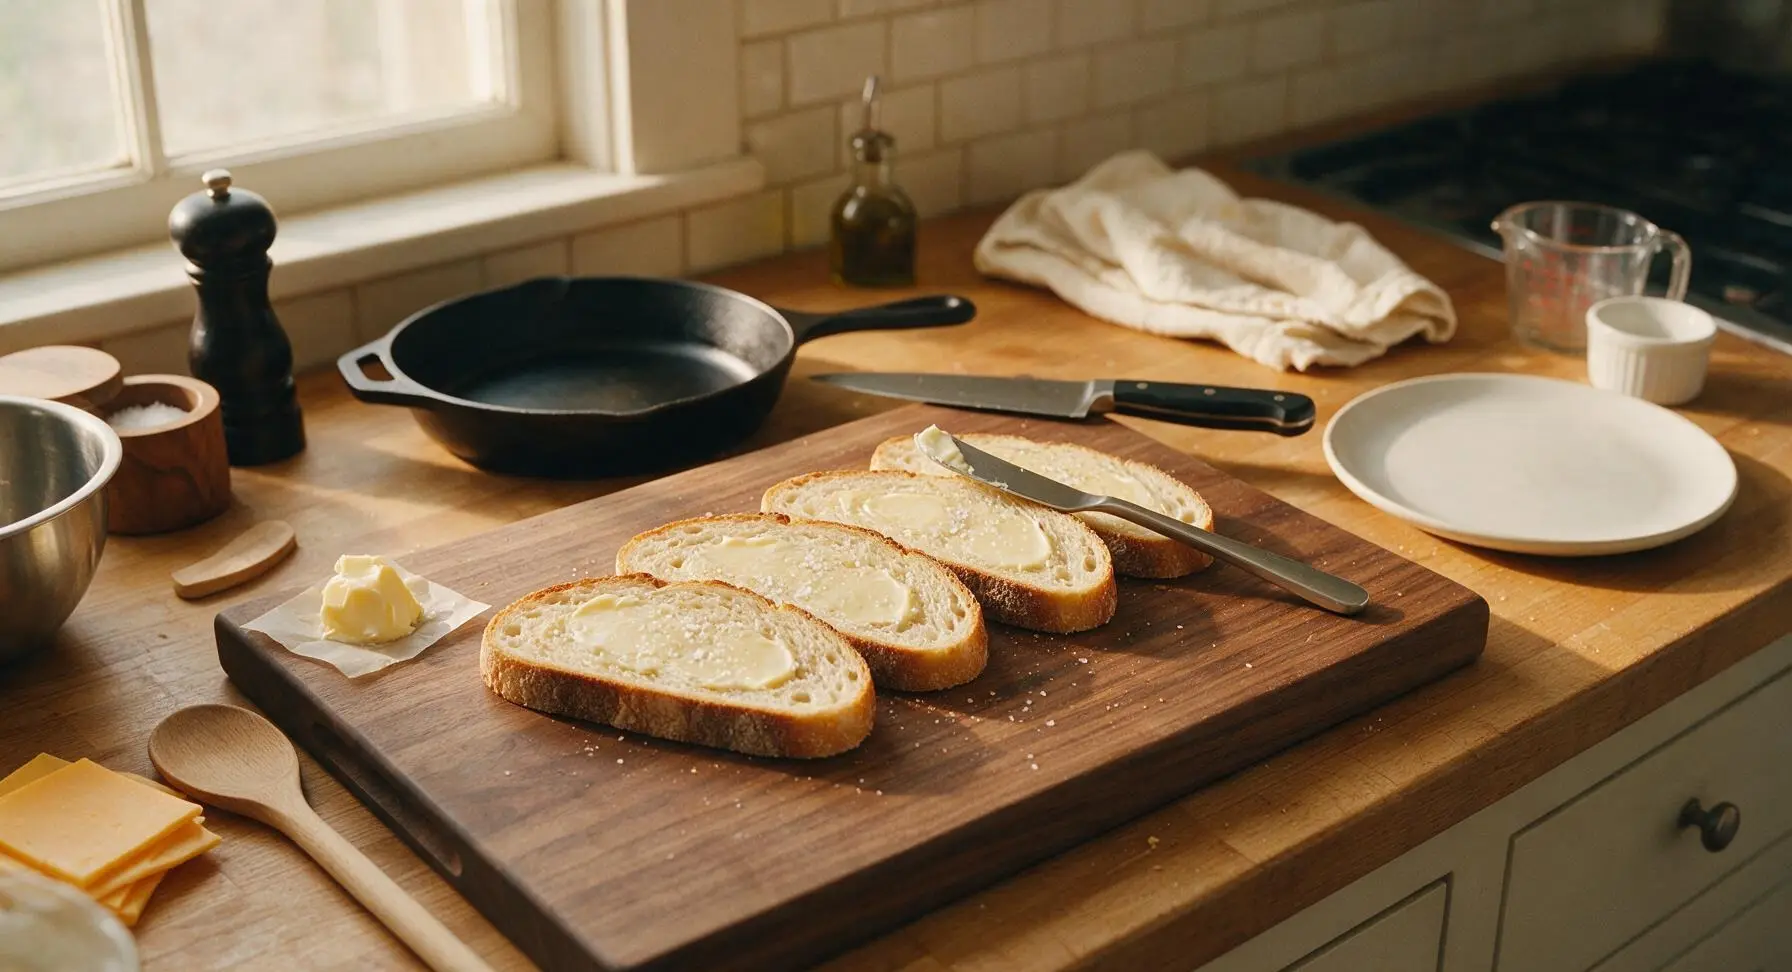
Use the small stainless steel butter spreader to evenly coat one outer side of each bread slice with 1/2 tablespoon of softened room-temperature unsalted butter, totaling 2 tablespoons across all 4 slices. Spread the butter all the way to the crust edges to eliminate dry patches, which ensures uniform golden crisping during cooking. Lightly season the buttered surfaces with a pinch of flaky sea salt.
Spread Dijon on Inner Sides
Flip all 4 bread slices over so the unbuttered sides face up. Use the same butter spreader to coat the unbuttered inner side of each slice with 1/2 tablespoon of dijon mustard, spreading evenly all the way to the crust edges. Keep the dijon layer thin (about paper thickness) to avoid soggy bread during cooking.
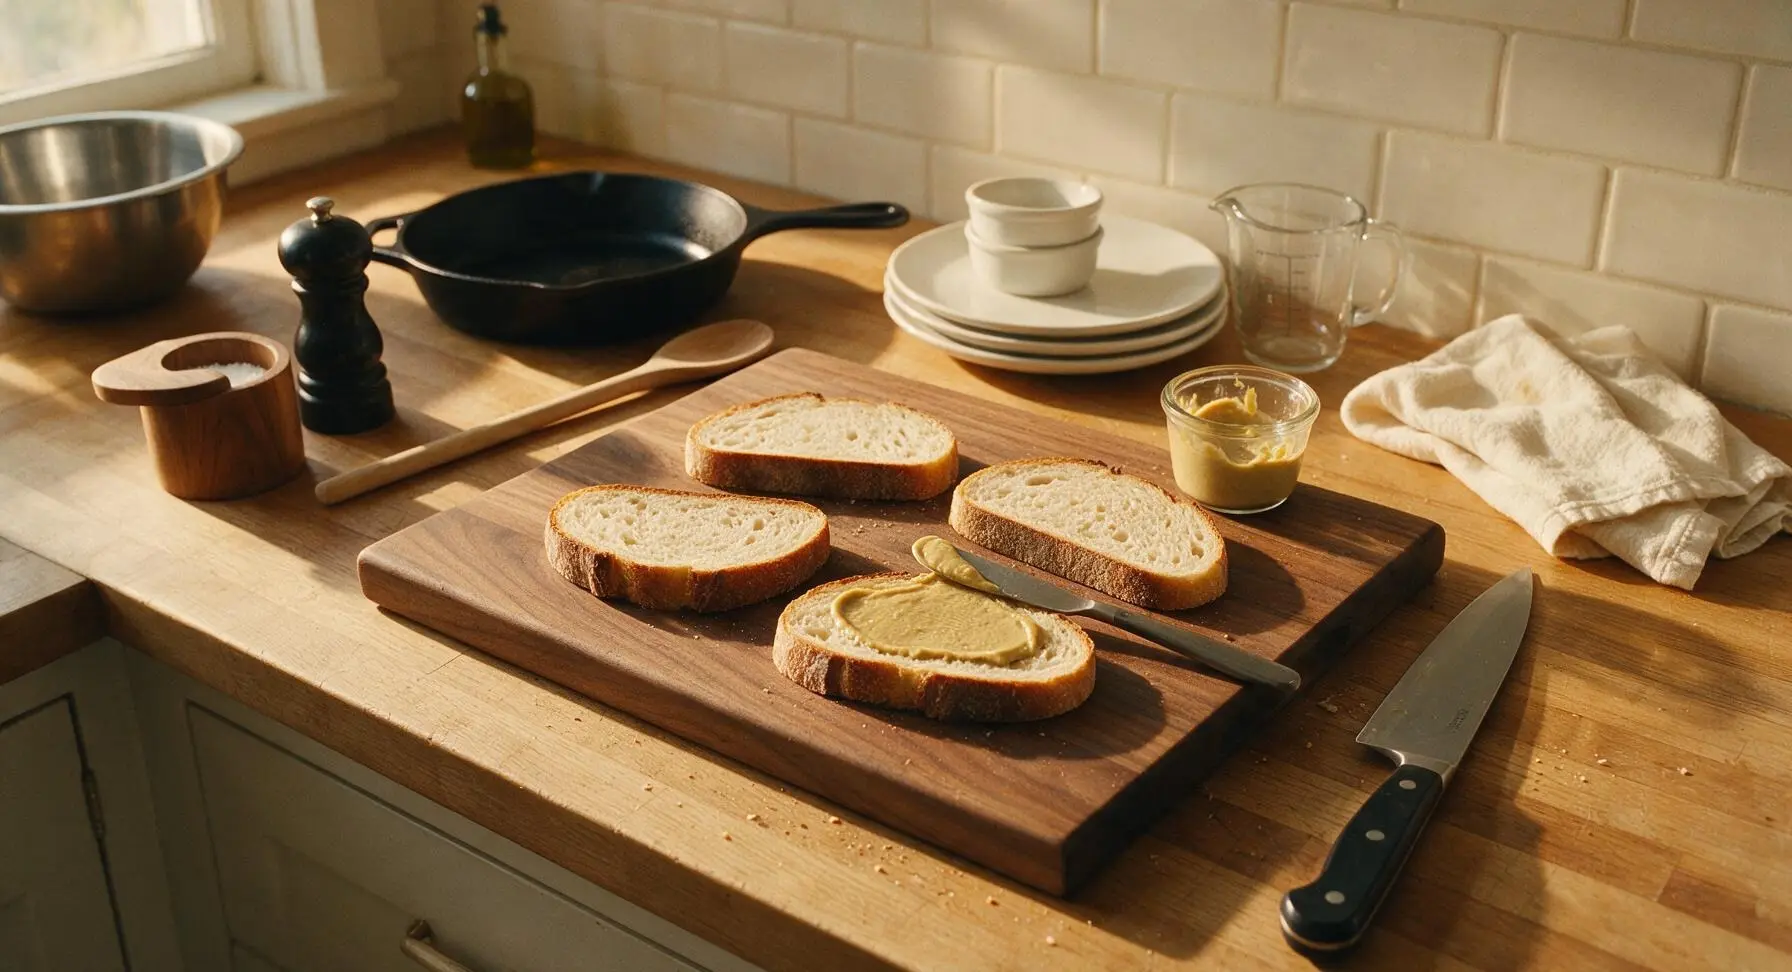
Layer Sandwich Fillings
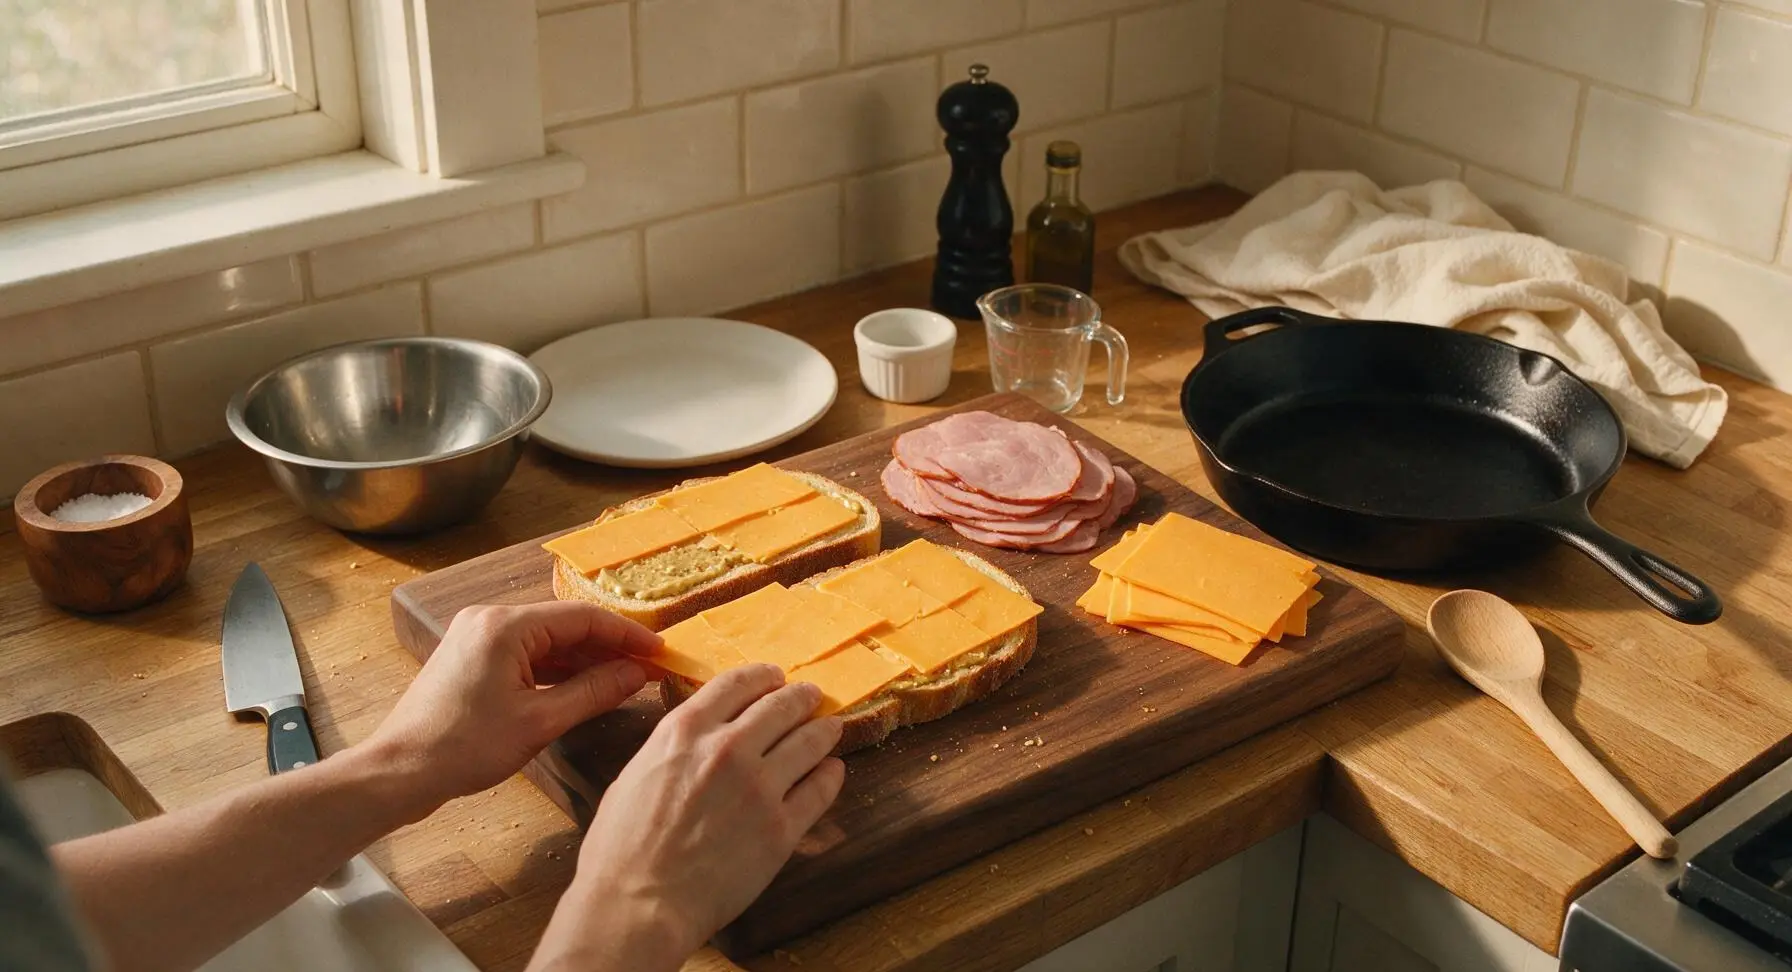
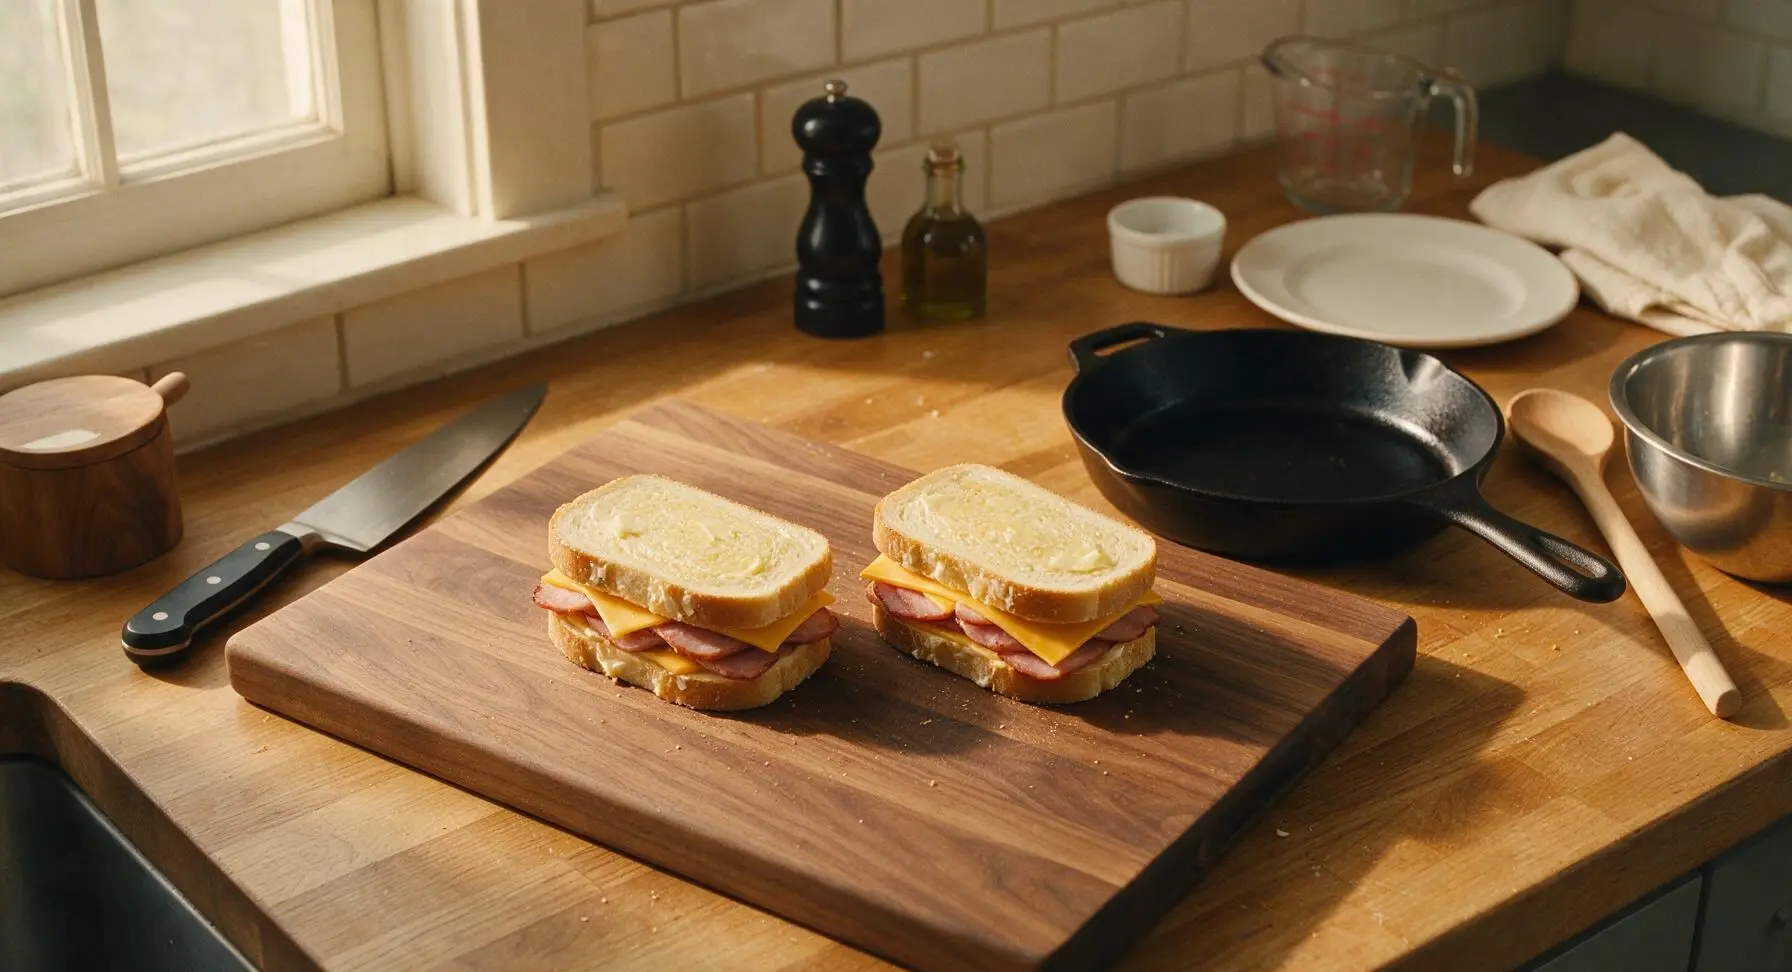
Divide half of the sliced cheddar evenly across two of the dijon-coated bread slices, laying cheese slices to cover the entire bread surface without hanging over the edges. Top the cheese on each slice with 3 slices of Canadian bacon, fanning the bacon slightly to cover the cheese, then add a light sprinkle of freshly ground black pepper. Top the bacon with the remaining half of the cheddar slices, ensuring the cheese extends to the bread edges to create a melted cheese seal when cooked. Place the remaining two dijon-coated bread slices on top, buttered sides facing outward, to form two closed sandwiches.
Preheat Skillet to Temp
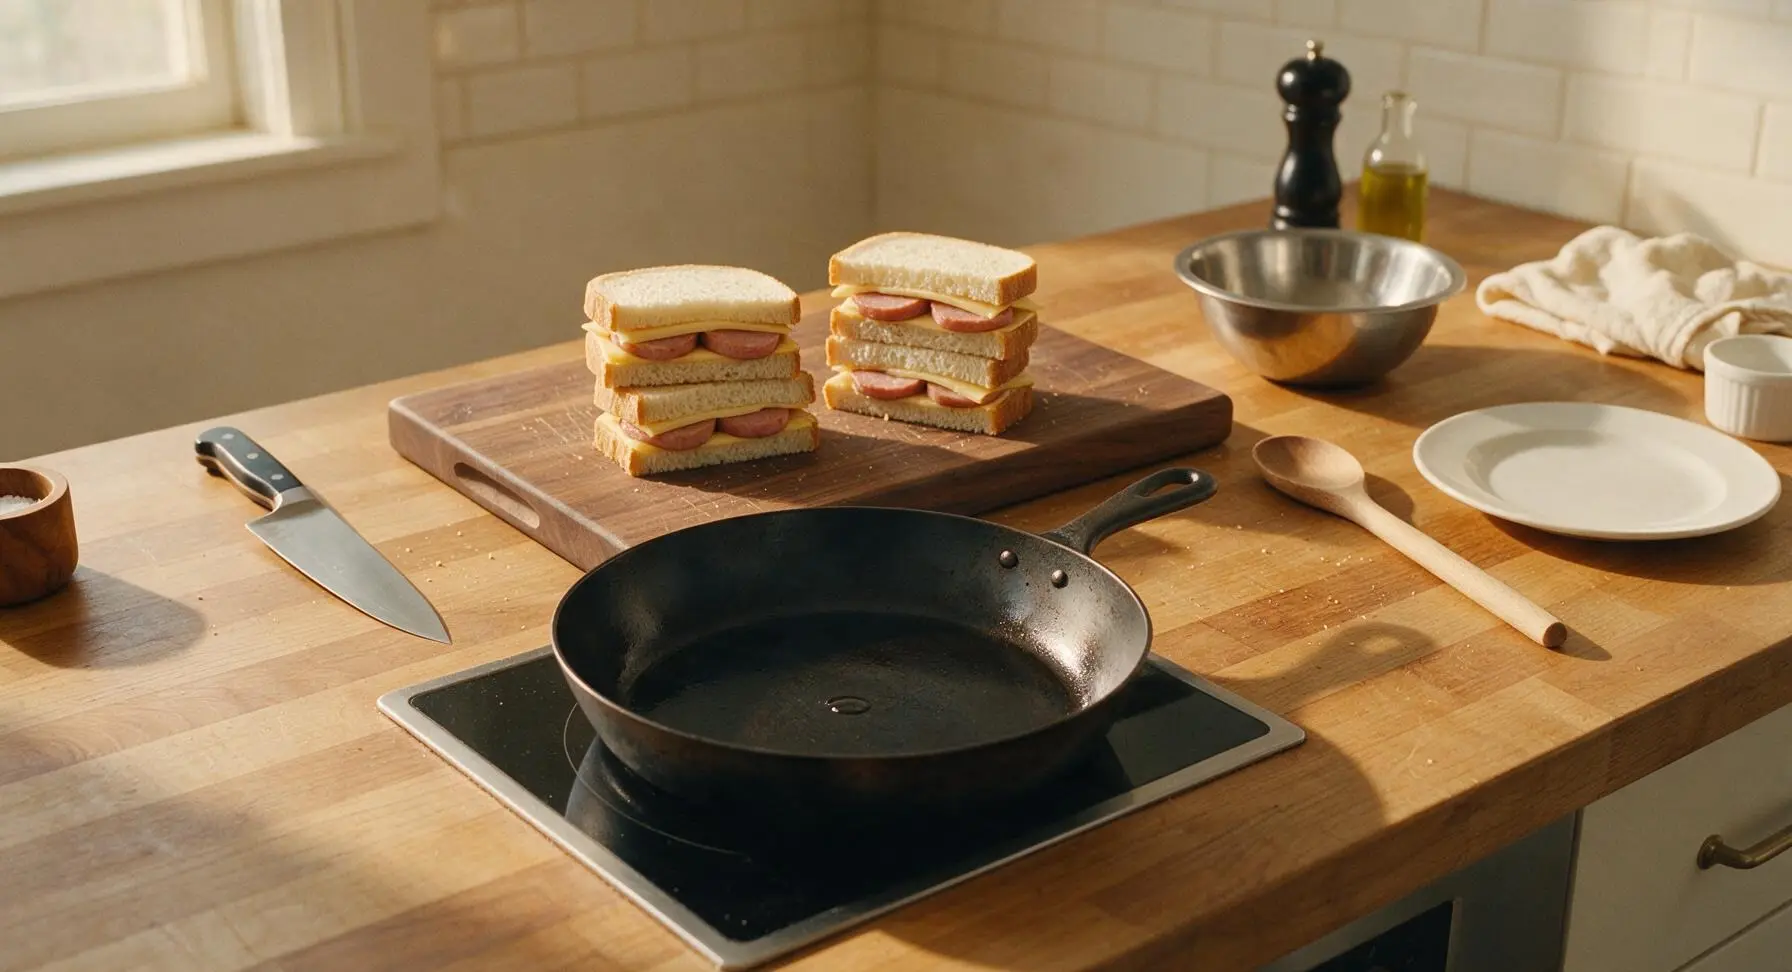
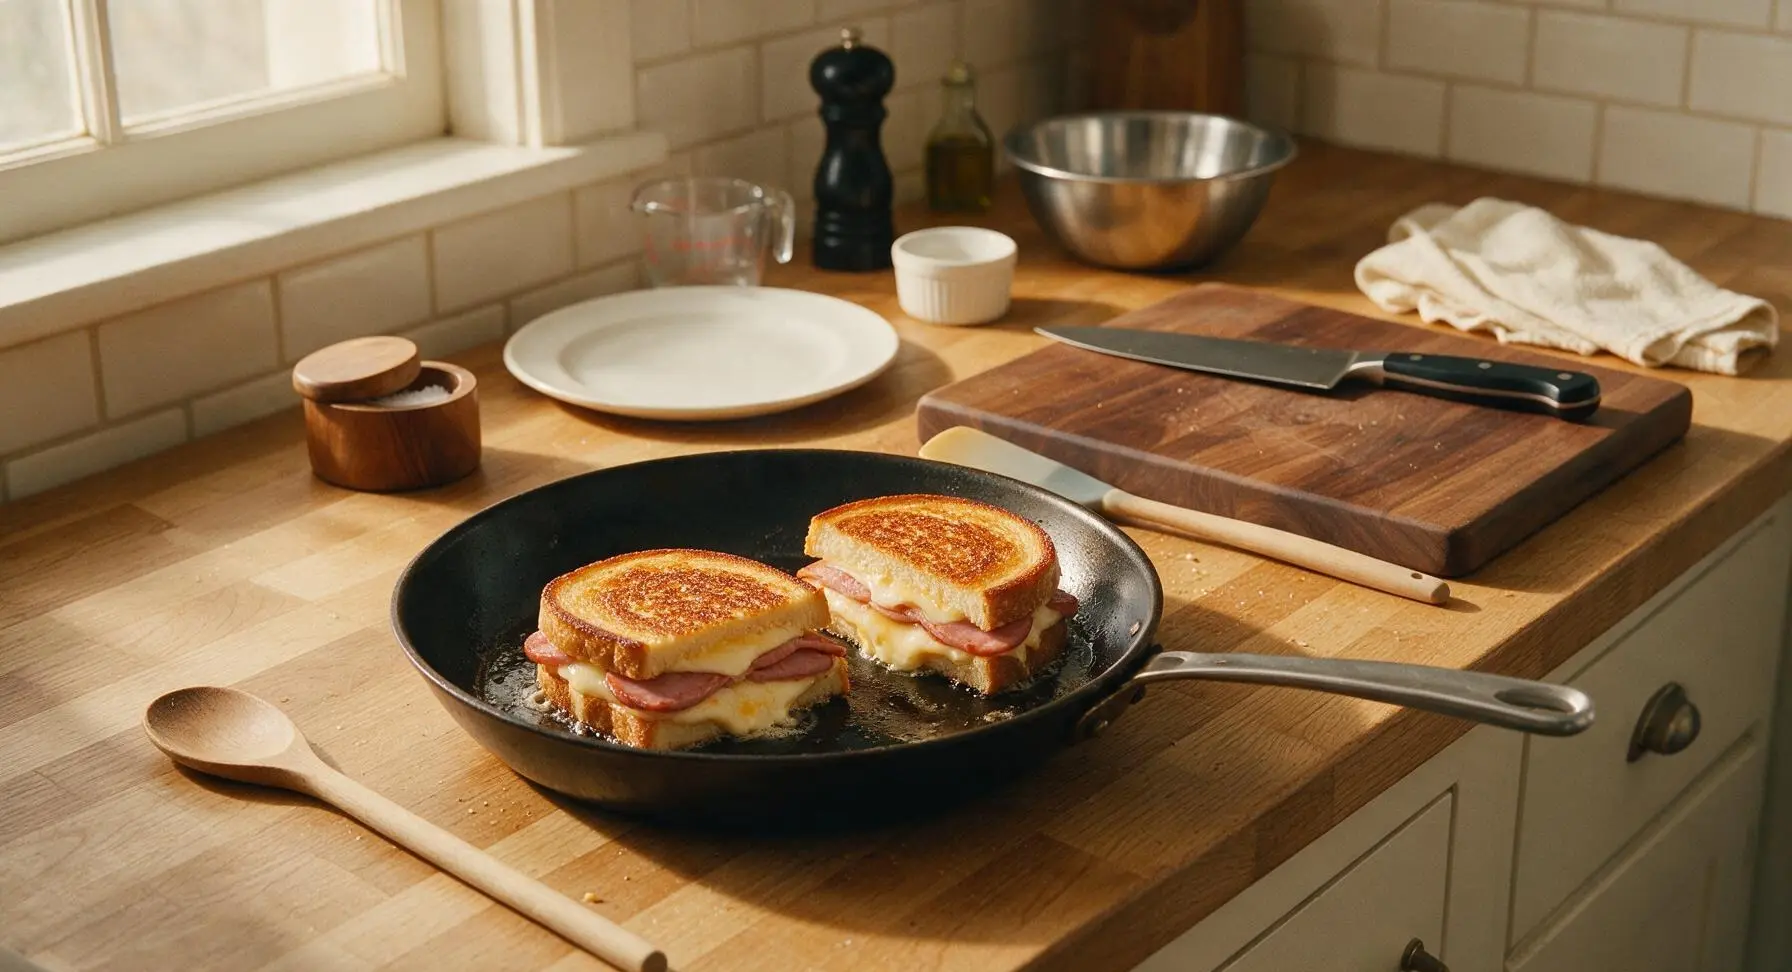
Place the 10-inch matte black carbon steel skillet on the flush countertop electric burner at front center of the work surface over medium-low heat (325°F / 160°C). Let the pan preheat for 2 full minutes. Test the temperature by flicking a single drop of cold water onto the pan surface: the water should sizzle gently and evaporate slowly over 3 seconds. If the water bounces and evaporates instantly, the pan is too hot and will burn the bread before the cheese melts.
Cook First Sandwich Side
Carefully place both assembled sandwiches into the preheated skillet, leaving 1cm of space between them for even air flow. Let them cook for 3 to 4 minutes, resisting the urge to press down on the sandwiches (pressing squeezes out melted cheese and compacts the bread into a soggy texture), until the bottom bread is deep even golden brown, crisp to the touch, and the cheese along the edges has just started to melt and bubble.
Flip and Finish Cooking
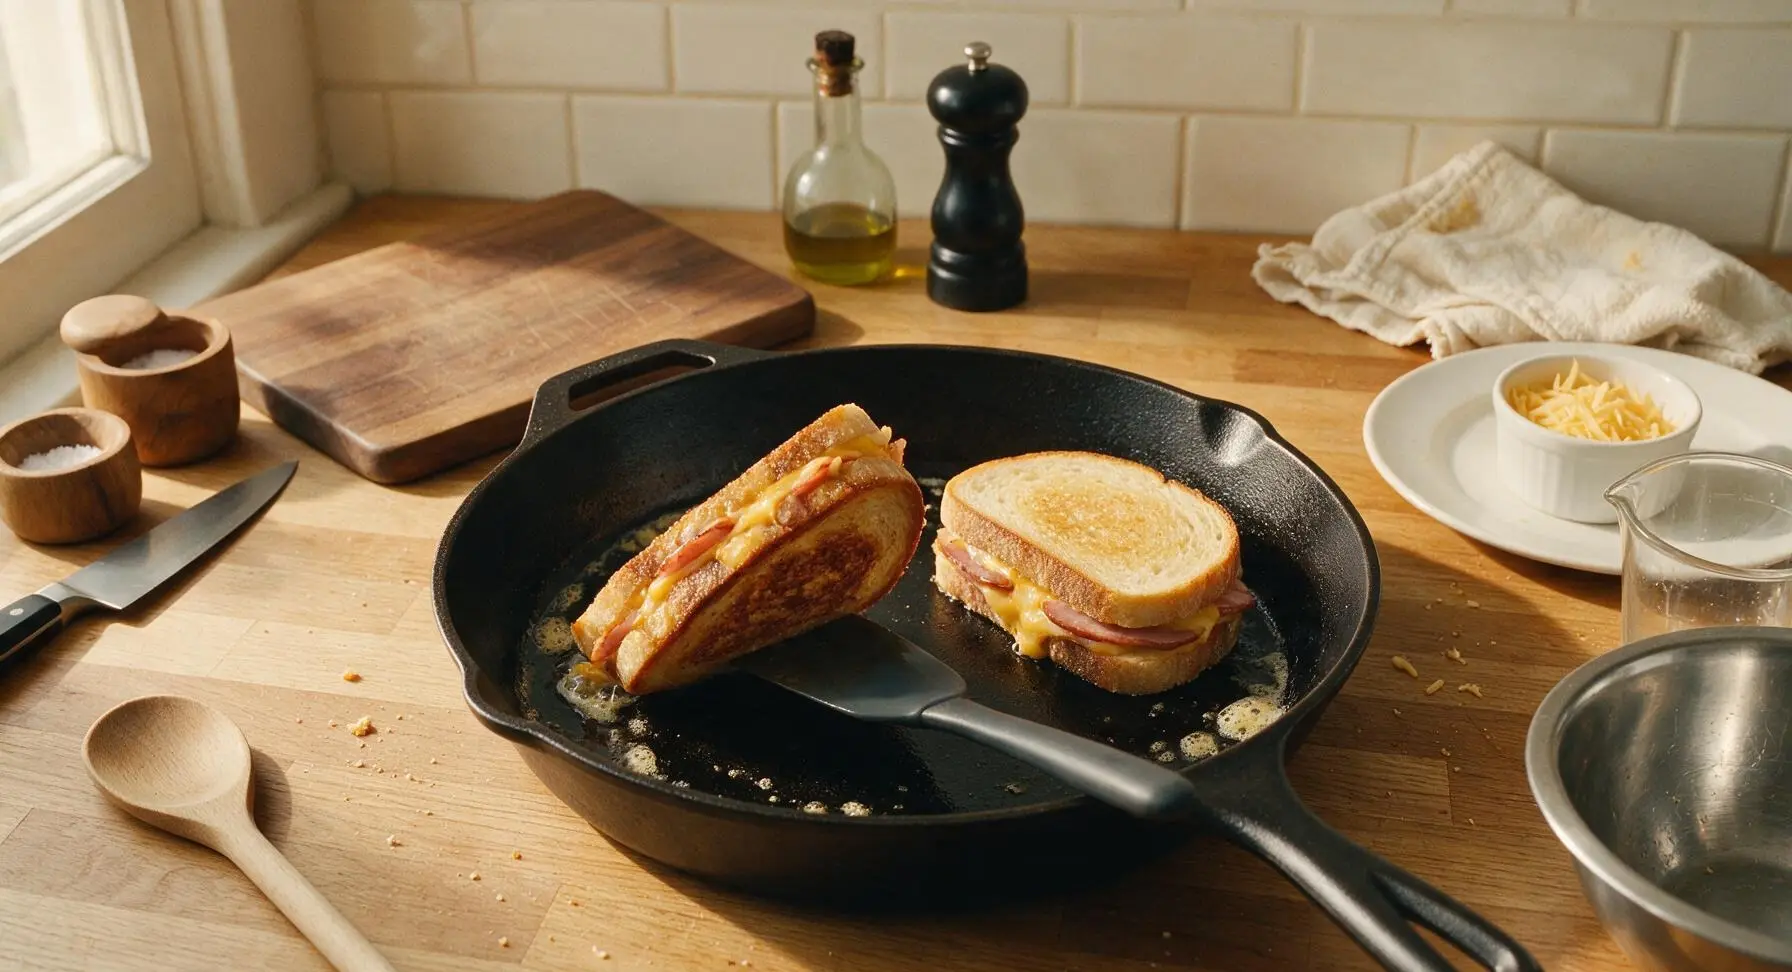
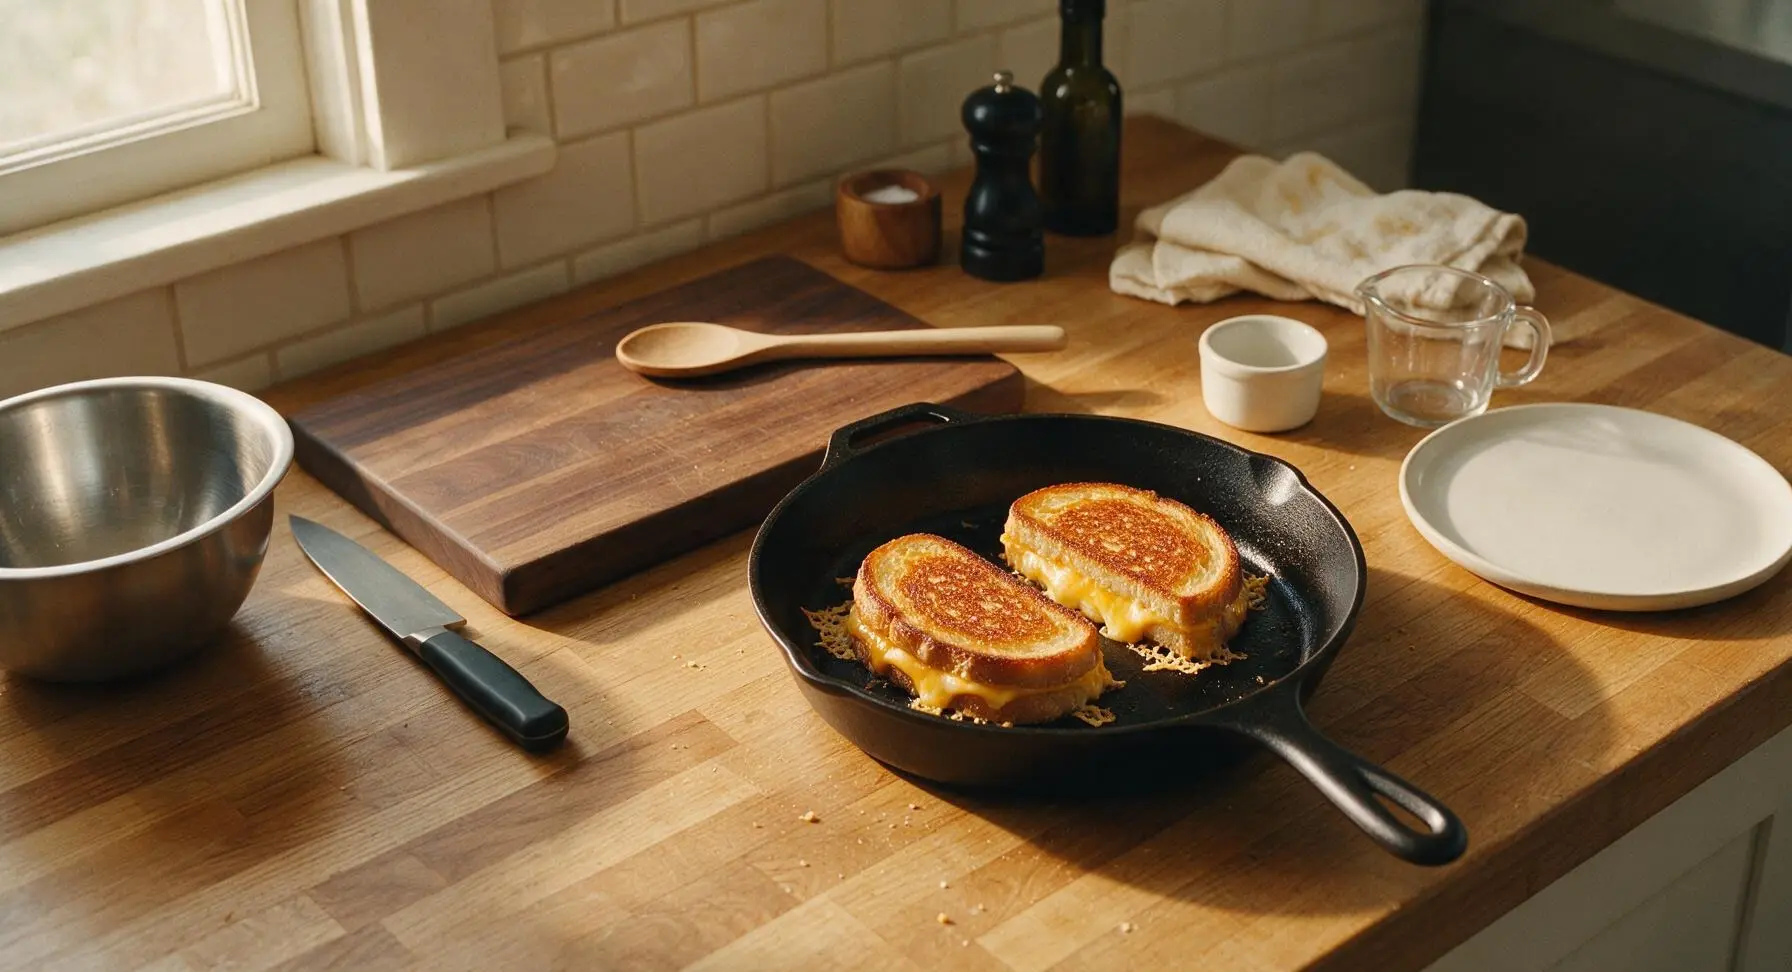
Slide the flexible silicone-tipped spatula under the center of each sandwich, then flip them smoothly one at a time to cook the second side. Cook for another 3 to 4 minutes, until the second side is equally deep golden brown and crisp, and all the cheddar cheese in the center is fully melted and gooey, with no firm un-melted cheese chunks left when you gently peek at the edge. If the bread browns too quickly before cheese melts, turn heat down to low. Transfer the cooked sandwiches to the cutting board to rest for 1 minute before slicing.
Slice and Plate Sandwiches
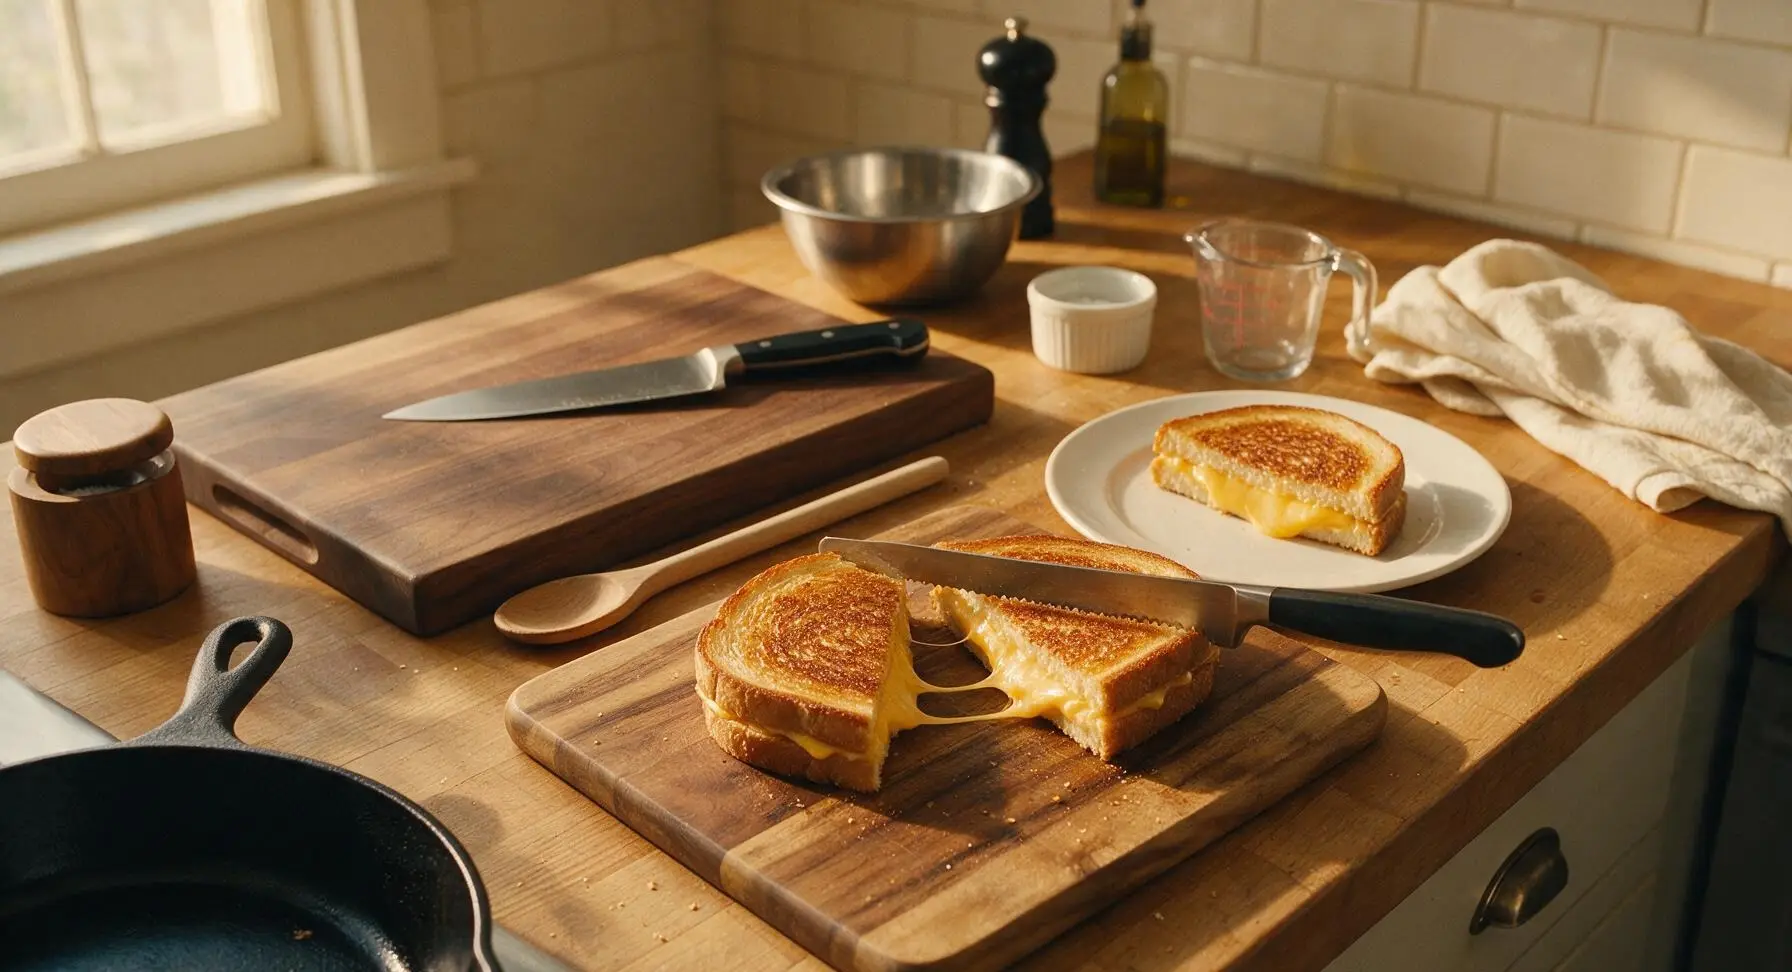
Once both sandwiches have rested for 1 minute (this allows melted cheese to set slightly so it does not run out when cut), use the serrated utility knife to cut each sandwich diagonally into two equal triangular halves. Arrange the four halves on the off-white ceramic lunch plate, with cut sides facing outward to show the layered filling. Garnish with the small sprig of fresh thyme, and serve immediately while hot.
Tips
2.Cook over medium-low heat, not high heat: High heat will burn the butter and bread crust before the cheese fully melts, resulting in a bitter, charred exterior and firm, un-melted cheese in the center. Slow, gentle heat ensures even crisping and perfectly gooey, melted cheese all the way through.
3.Layer cheese on both sides of the Canadian bacon: Placing cheese directly against both slices of bread creates a moisture barrier that prevents dijon and bacon juices from soaking into the bread and causing sogginess, while also locking the bacon in place for even distribution in every bite.






OMG this Canadian bacon grilled cheese is such a game changer for busy weeknights! Total cook time was actually 8 minutes like the recipe said, no fancy weird ingredients required. My kids devoured theirs in 2 minutes flat and asked for seconds, even the one who swears he hates all meat except chicken nuggets. I tossed in a little extra sharp cheddar and a dash of garlic powder on mine, total chef’s kiss. SO good, this is definitely going into our regular weeknight dinner rotation!
Super easy recipe, perfect for Sunday meal prep! I made a big batch of these last weekend, wrapped them individually in foil, and they reheated amazingly in the toaster oven for quick work lunches all week. The Canadian bacon adds that perfect salty, meaty kick without being all greasy like regular bacon. Way better than the sad lukewarm cafeteria sandwiches I usually end up grabbing on busy days.
Brought these to our neighborhood block party potluck last weekend and they were gone in literally 10 minutes! I cut them into little bite-sized squares, stuck a cute toothpick in each, and people kept coming back to the table to ask where I got the recipe. Who knew such a simple twist on classic grilled cheese would be such a massive crowd pleaser? 10/10, no notes, will be making these for every potluck from now on.