1.Do I have to use a traditional round sesame seed muffuletta loaf, or can I substitute another bread?
▾
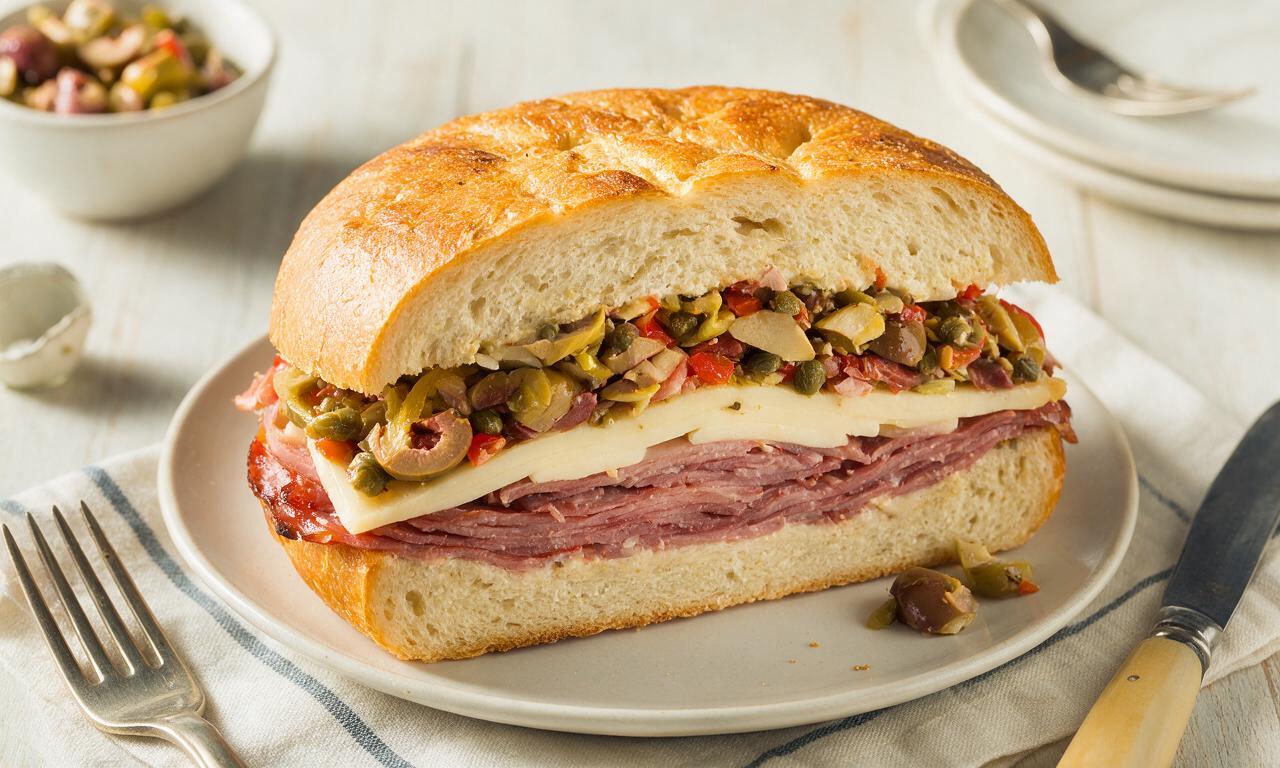
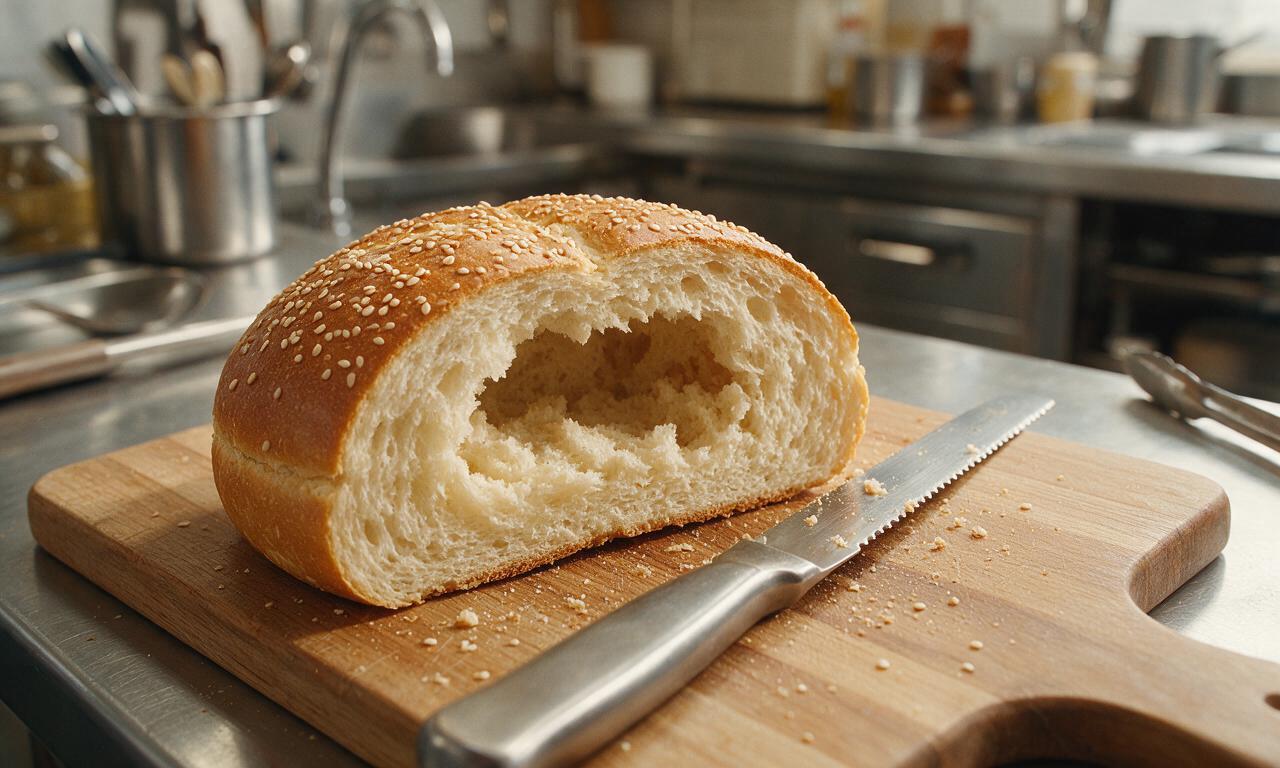
The dense, crusty 10-inch sesame seed muffuletta loaf is ideal, as it’s sturdy enough to hold up to briny olive salad without turning soggy and has a mild, nutty flavor that complements the fillings. If you can’t find one, use a dense round Italian sesame loaf or ciabatta; skip soft sandwich bread or sourdough, which will turn mushy quickly.
2.Why is a classic muffuletta served cold instead of hot like other Italian sandwiches?
▾
The traditional cold preparation comes from the sandwich’s New Orleans origins, where it was sold as a ready-to-eat portable lunch for workers. Chilling and pressing the assembled sandwich for hours lets the olive salad brine meld gently with cured meats and provolone without melting cheese or making bread soggy, for that signature balanced bite.
3.Can I make the olive salad ahead of time, and how long will it stay good?
▾
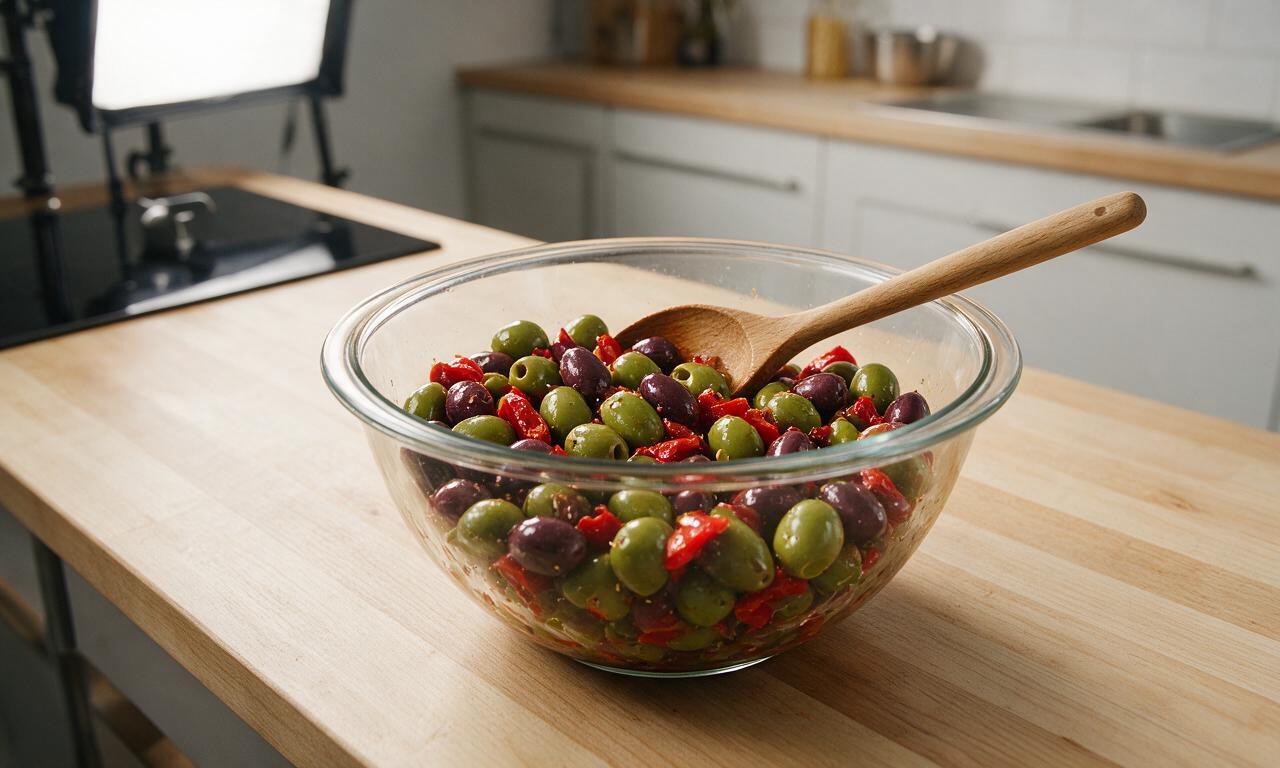
Making olive salad 1 to 3 days ahead is actually preferred, as it gives the briny flavors of olives, giardiniera, and pepperoncini time to meld with the herbs and oil. Store it in an airtight glass jar in the fridge, and it will keep well for up to 2 weeks; just give it a quick stir to redistribute oil before using.
4.My homemade muffuletta always gets soggy—how do I fix that?
▾
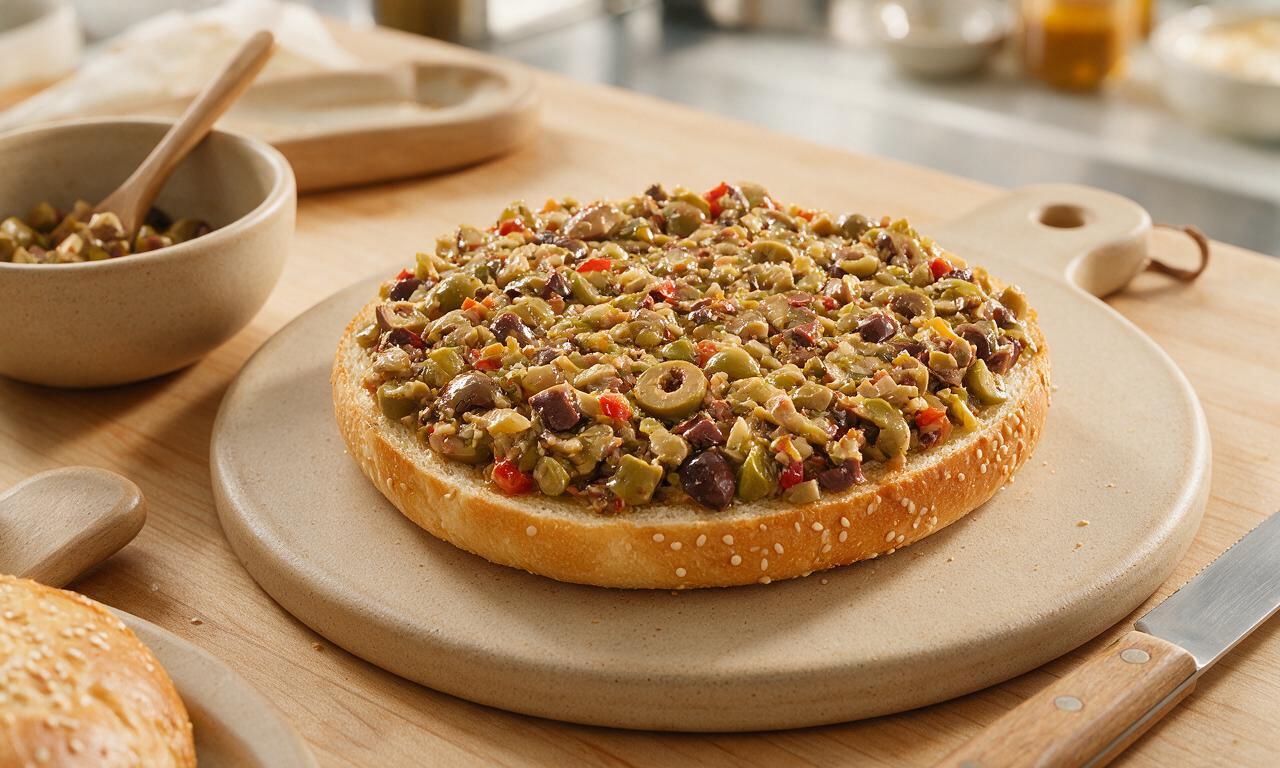
Excess brine from the olive salad is the number one cause of soggy muffuletta. First, fully drain your olives, giardiniera, and pepperoncini before chopping, and pat them lightly with a paper towel if they’re still very wet. Second, lay thin slices of provolone on both cut sides of the loaf to create a moisture barrier between the bread and salad.
5.Is pressing the sandwich really necessary, and how long should I press it for?
▾
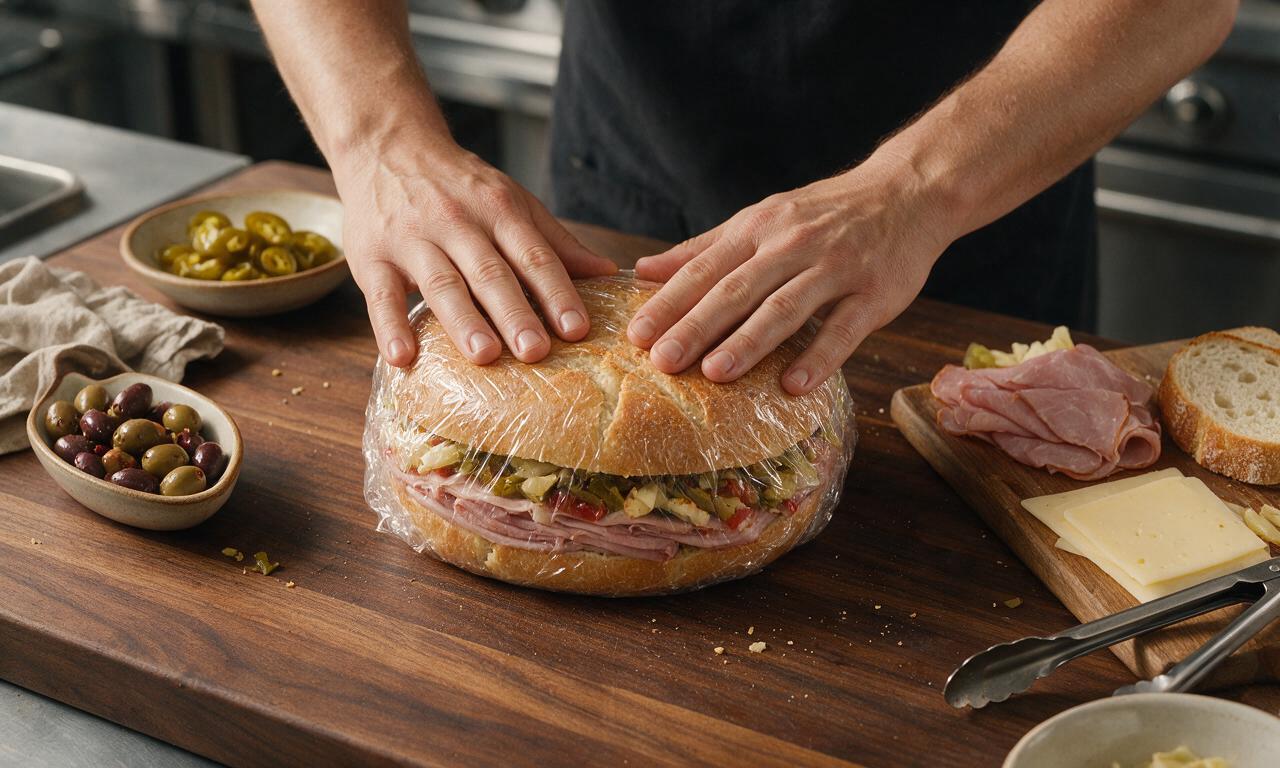
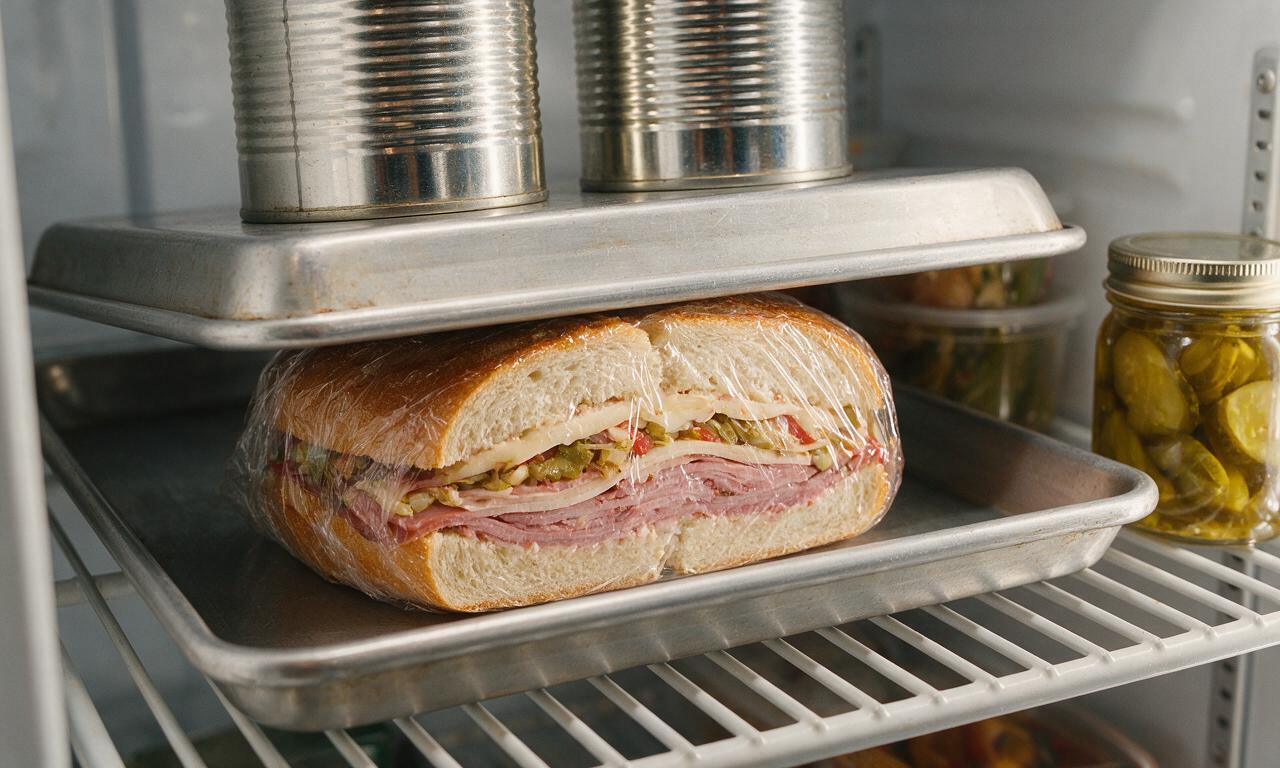
Pressing is non-negotiable for that classic, compact muffuletta texture where every bite has an even mix of bread, fillings, and olive salad. Wrap the fully assembled sandwich tightly in plastic wrap, set a heavy cast iron pan or weighted cutting board on top, and chill it for a minimum of 1 hour, or up to 4 hours for best results.
6.What cured meats are used in a classic New Orleans muffuletta?
▾
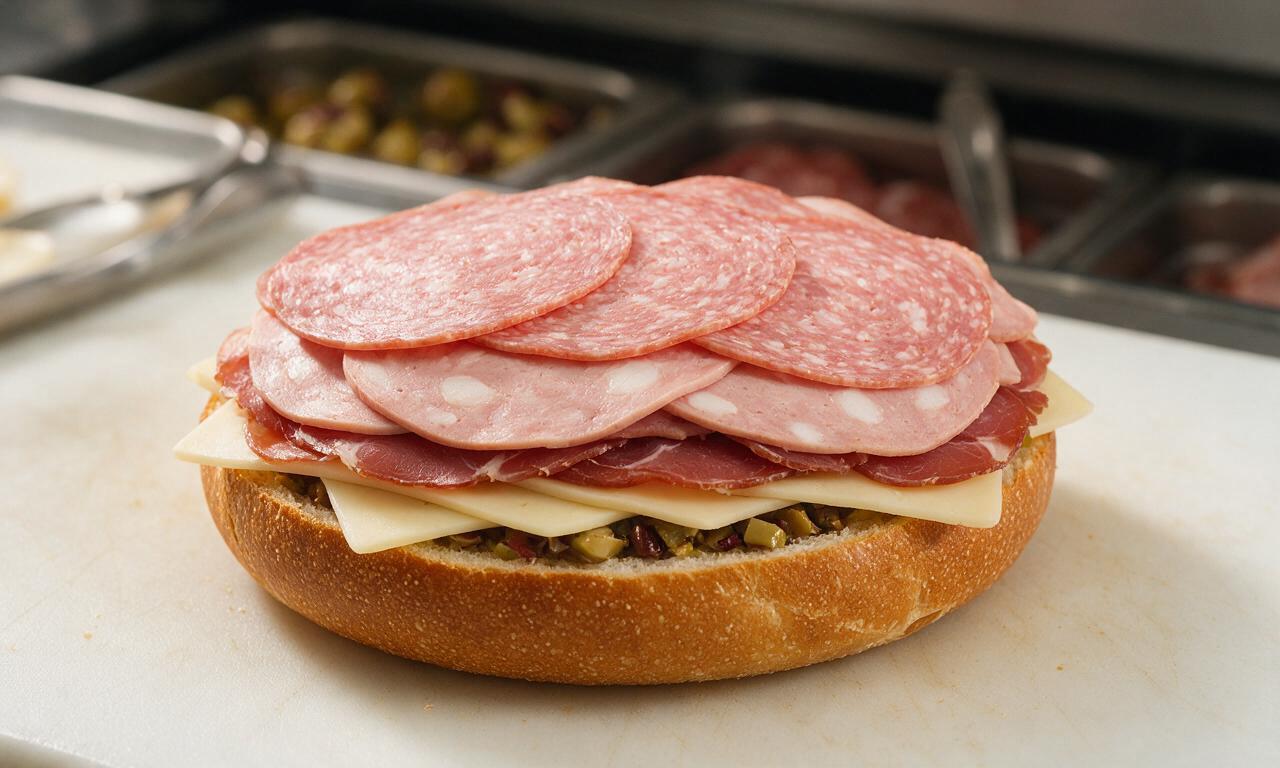
The original Central Grocery recipe calls for thin, even layers of Genoa salami, mortadella, and capicola, with some versions adding a thin layer of prosciutto for extra savoriness. Ask your deli to slice the meats paper-thin; thick cuts will make the sandwich hard to bite through and throw off the balance of flavors.
7.Can I use store-bought pre-made olive salad instead of making my own?
▾
You absolutely can, as long as you pick a high-quality mix without added sugary dressings or mushy, over-processed vegetables. Drain it very well before using, and taste it first—stir in a little extra chopped garlic, dried oregano, or red pepper flakes if it tastes flat, overly salty, or missing zing straight from the jar.
8.How far in advance can I assemble a whole muffuletta for a party or picnic?
▾
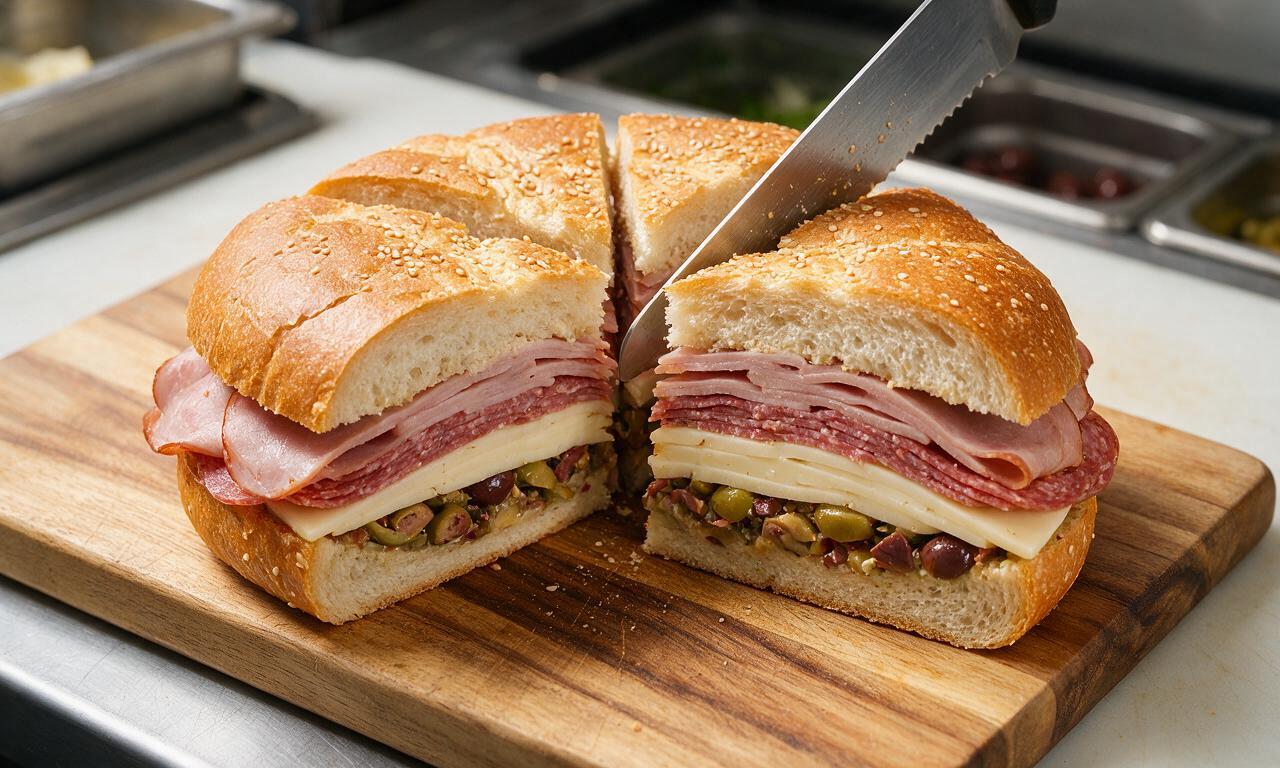
A fully assembled, tightly wrapped, pressed muffuletta holds up beautifully in the fridge for up to 24 hours, which makes it ideal for party prep, tailgates, or picnics. Wait to slice it into 6 to 8 wedges right before serving, though, to keep the edges from drying out and prevent fillings from sliding out of the layers.
9.Is there a good vegetarian swap for the cured meats that still feels authentic?
▾
For a vegetarian muffuletta with the same bold, savory profile, swap the cured meats for layers of thinly sliced marinated eggplant, roasted red peppers, marinated artichoke hearts, and extra provolone or smoked mozzarella. Keep the full portion of olive salad, as that briny, zesty mix is the core of the sandwich’s signature flavor.
10.Why does the recipe call for both Castelvetrano and Kalamata olives in the salad?
▾
The mix creates a perfectly balanced olive flavor: buttery, mild, bright green Castelvetranos cut the sharp, salty, rich depth of dark Kalamatas, so the salad doesn’t taste one-note. Skip using only canned black ripe olives as a swap, as they have a flat, mushy texture that doesn’t match the classic briny profile.
11.What’s the best way to chop the olive salad ingredients?
▾
Aim for a rough, uniform ¼-inch chop for all olive salad components—olives, giardiniera, and pepperoncini—so you get a little bit of each ingredient in every bite, with no large chunks that slide out when you take a bite. Avoid over-processing in a food processor, as that will turn the mix mushy instead of pleasantly chunky.
12.Can I add extra ingredients like fresh tomatoes or lettuce to my muffuletta?
▾
Traditional muffulettas skip high-moisture add-ins like fresh tomato or crisp lettuce, because they release water as the sandwich presses, making the bread soggy and diluting the bold olive salad and cured meat flavors. If you want extra crunch, add a handful of shredded iceberg right before serving, not before pressing.
13.How should I store leftover muffuletta, and how long will it stay fresh?
▾
Wrap leftover individual wedges tightly in plastic wrap or beeswax wrap, and store them in the fridge for up to 3 days. Skip freezing leftover muffuletta, as the olive salad will turn mushy when thawed, the bread will take on a grainy texture, and the cured meats will lose their firm, pleasant bite.
14.Where did the classic muffuletta sandwich originate?
▾
The muffuletta was invented in 1906 at Central Grocery in New Orleans’ French Quarter, by Sicilian immigrant owner Salvatore Lupo. He created it as a portable, hearty lunch for local Sicilian farmers, who previously bought the bread, olives, and cured meats separately and ate them standing up at the store counter.
15.Do I need to add extra condiments like mayo or mustard to the bread?
▾
Skip the mayo, mustard, or extra Italian dressing entirely for a classic muffuletta—the seasoned oil and brine from the olive salad provides more than enough moisture and zing to flavor every layer. Adding extra spreads will make the bread soggy and overpower the balanced, briny flavor the sandwich is famous for.
16.Can I make mini muffulettas for appetizers instead of one large loaf?
▾
Absolutely! Swap the 10-inch round loaf for small individual sesame dinner rolls or mini ciabatta buns, layer the cheese, meats, and well-drained olive salad the same way, and press the mini sandwiches for 30 minutes under a light weight before serving. They’re perfect for game day spreads, cocktail parties, or packed lunches.
17.What drinks pair best with a classic muffuletta?
▾
The briny, salty, rich flavors of a muffuletta pair perfectly with cold, crisp options: an ice-cold American lager, a crisp dry white wine like Pinot Grigio or Vermentino, or even a classic New Orleans Sazerac if you’re serving it for weekend brunch. Skip heavy, sweet drinks that will clash with the olive salad’s bright tang.
18.I prefer warm sandwiches—can I heat up my muffuletta instead of serving it cold?
▾
While it’s not traditional, you can absolutely warm a muffuletta if you prefer: wrap individual wedges in foil and bake at 350°F for 10 to 12 minutes until the provolone is melty. Just note that heating will soften the olive salad and make brine soak into the bread faster, so it won’t have the firm, pressed texture of the cold classic.

Made this for our Cowboys watch party this past weekend and it was an absolute HIT! That olive salad is chef’s kiss, I even made an extra batch to keep in the fridge for sandwiches all week. SO good, will absolutely be adding this to our regular tailgate rotation.
Just finished assembling this for our backcountry picnic tomorrow, it smells incredible! Love that it holds up so well wrapped up for a few hours, no soggy bread thanks to that olive oil layer trick. Can’t wait to dig in at the trailhead!
Brought this to our neighborhood block party potluck last weekend and people were swarming the table the second I set it down. I followed the recipe exactly, including weighing the wrapped sandwich down with a cast iron pan for an hour, and every bite was perfectly layered, no sad sliding fillings. 10/10, will make for every potluck from now on.
Super easy recipe even for a weeknight! My only note is I wish it had a little more guidance on how thinly to slice the meats and cheeses, mine came out a little chunky the first go around. Still tasted amazing though, my husband ate half the loaf in one sitting.
Meal prepped these for work lunches this week and they are holding up so much better than I expected! I cut the whole round into individual wedges, wrapped them tight in parchment, and they’re still tasting fresh on day two. Way better than my usual sad desk salad.
Really solid muffuletta recipe! I added a little chopped pickled jalapeño to the olive salad to give it an extra kick and it worked so well. My only gripe is the 1 hour 20 minute total time felt a little long for a sandwich, but most of that is just letting the olive salad rest so it’s totally hands off, which I appreciated.
OMG this tastes exactly like the muffulettas I used to get when I visited my grandma in New Orleans as a kid! I was worried I’d never get the olive salad right, but this recipe nailed the briny, tangy flavor perfectly. Game changer for my Sunday family dinners.
Y’all, I grew up going to the French Quarter for family trips and this muffuletta is spot on. I was so skeptical I could make it at home without sourcing fancy imported ingredients, but all the stuff I needed was right at my regular grocery store! My kids loved it too, which is a huge win because they usually turn their noses up at anything with olives.
Full transparency, I’m a total newbie in the kitchen and this is the first thing I’ve ever made that didn’t come out burnt or totally wrong. The instructions were so straightforward, I didn’t mess up a single step! My roommate said it’s better than the sandwich we got at that fancy deli downtown last month. Total confidence booster.