
Canadian Beaver Tails

title 1
Canadian Beaver Tails
⏱️ cook time 20 minutes
🍽️ servings 6
⚡ Difficulty medium

intro

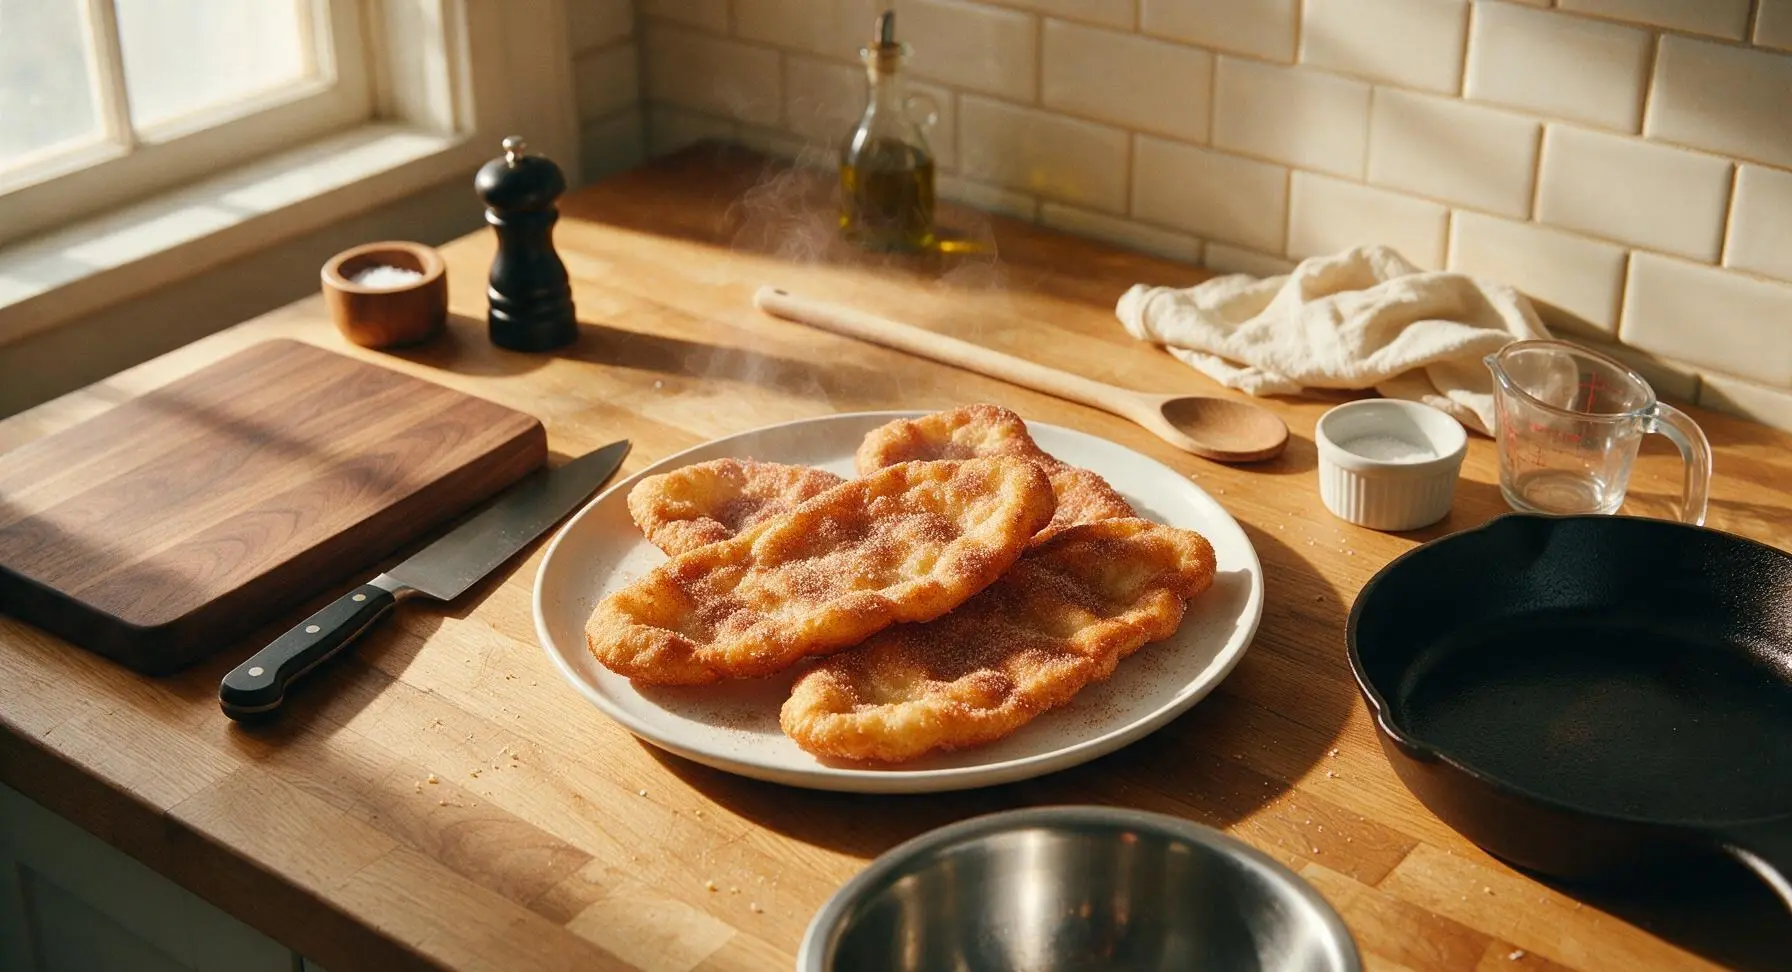
Crisp on the edges, soft and chewy at the center, these iconic Canadian fried dough pastries are shaped like beaver tails, coated in cinnamon sugar, and best served piping hot on cold winter days.

Ingredients
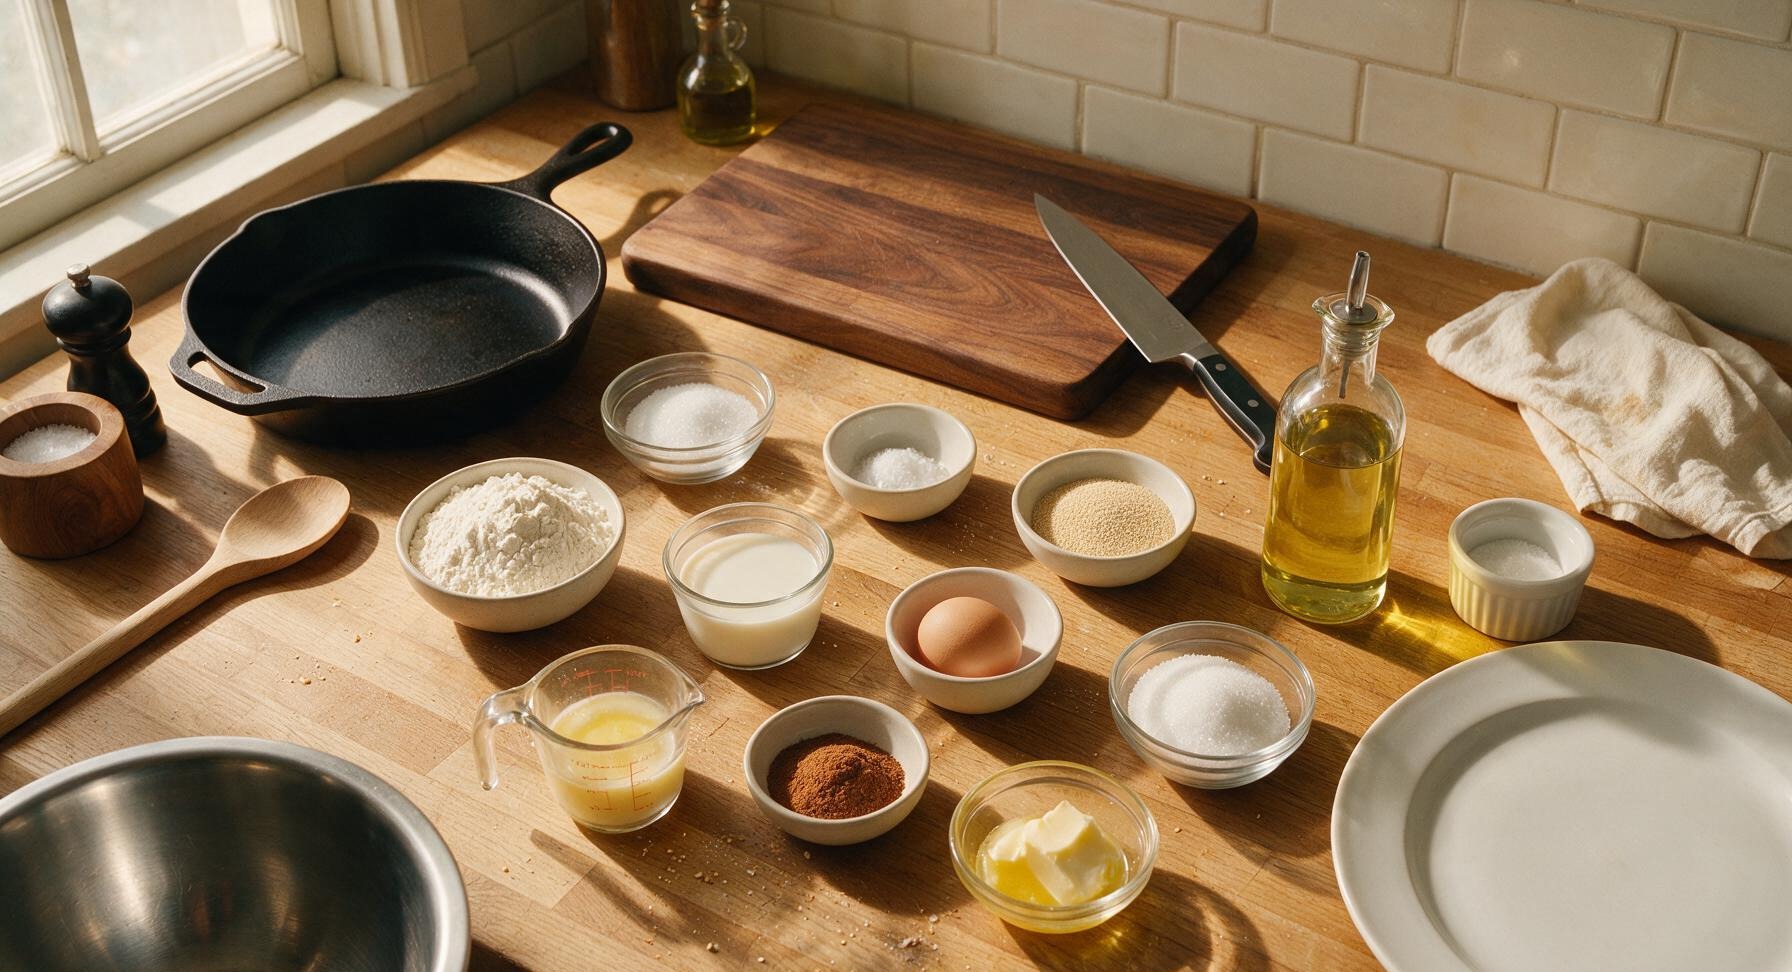
All-purpose flour 3 cups (360g)
Whole milk, warmed to 110°F 1 cup (240ml)
Active dry yeast 2 1/4 tsp (7g, 1 standard packet)
Granulated sugar (for dough) 2 tbsp (25g)
Fine sea salt 1 tsp
Unsalted butter, melted and cooled 3 tbsp (42g)
Large egg, room temperature 1 unit
Neutral canola/vegetable oil (for frying) 1.5L
Granulated sugar (for coating) 1/2 cup (100g)
Ground cinnamon 2 tbsp
Unsalted butter, melted (for brushing) 4 tbsp (56g)

Steps

1

Activate the Yeast

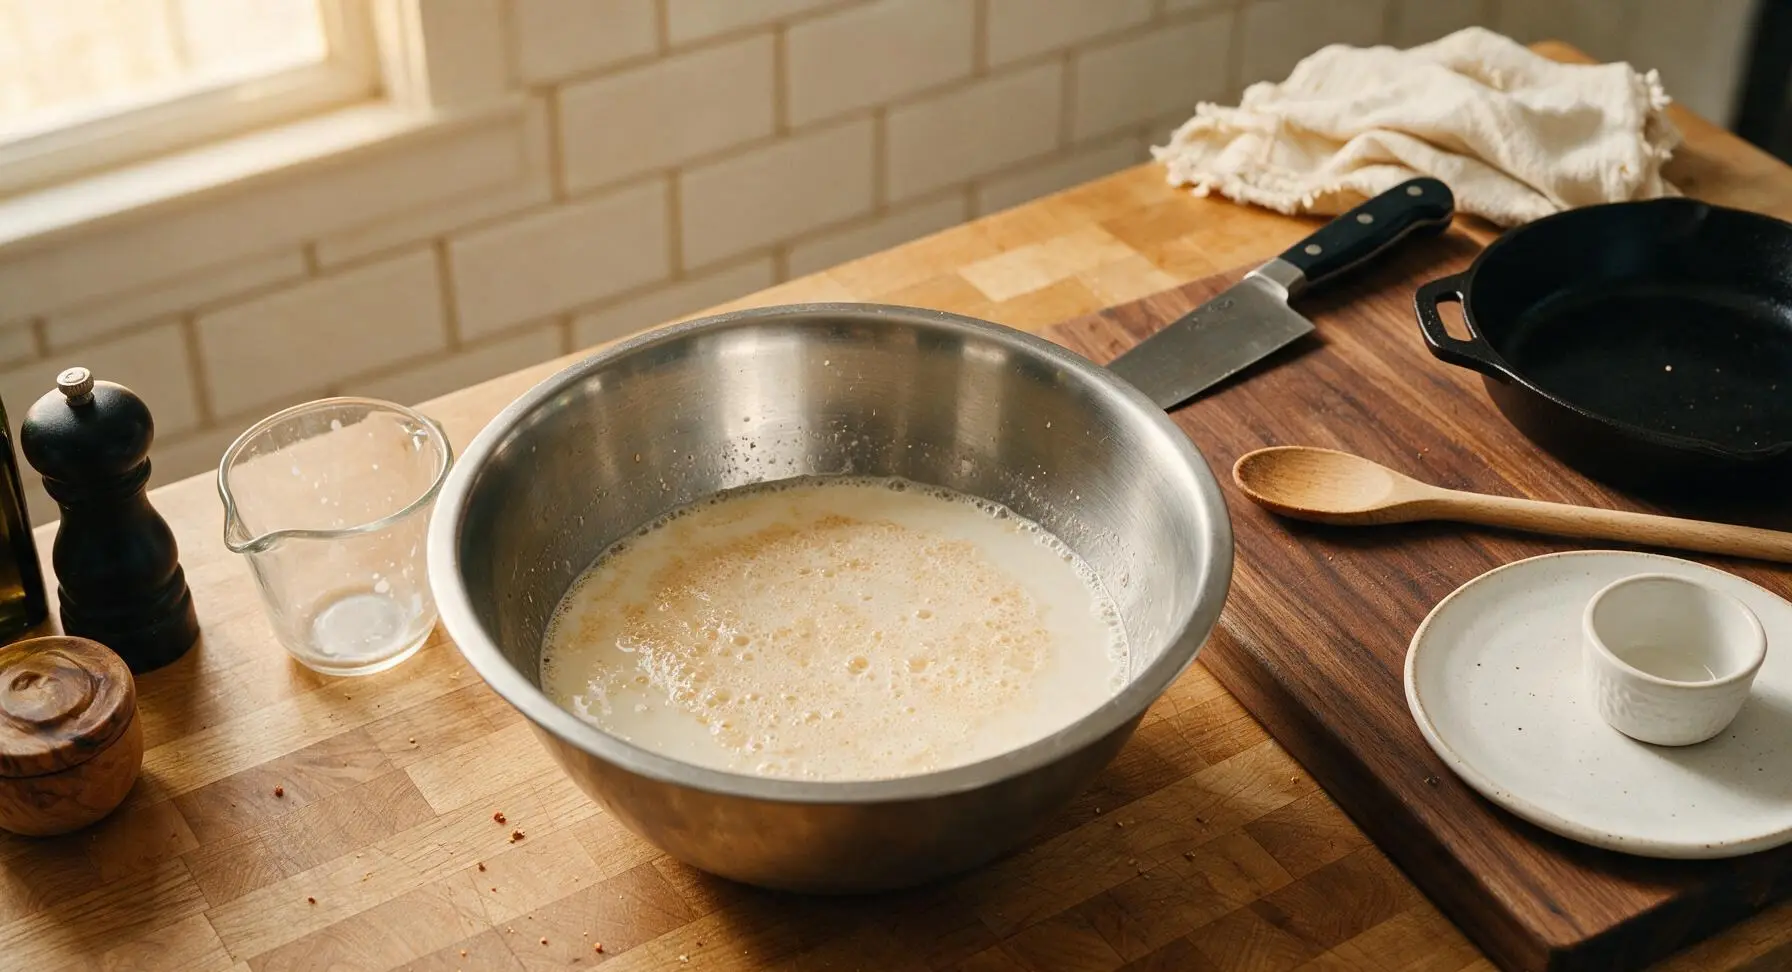
Pour the warm whole milk (110°F, lukewarm to the touch, not hot enough to burn skin) into the large stainless steel mixing bowl. Stir in 1 tsp of the dough granulated sugar and the full packet of active dry yeast. Let rest for 5-7 minutes until the mixture forms a foamy, frothy tan layer on top, confirming the yeast is active. If no foam forms after 7 minutes, the yeast is expired and should be replaced to avoid dense, flat dough.
Step 1
step1:Activate the Yeast
2

Mix and Knead Dough

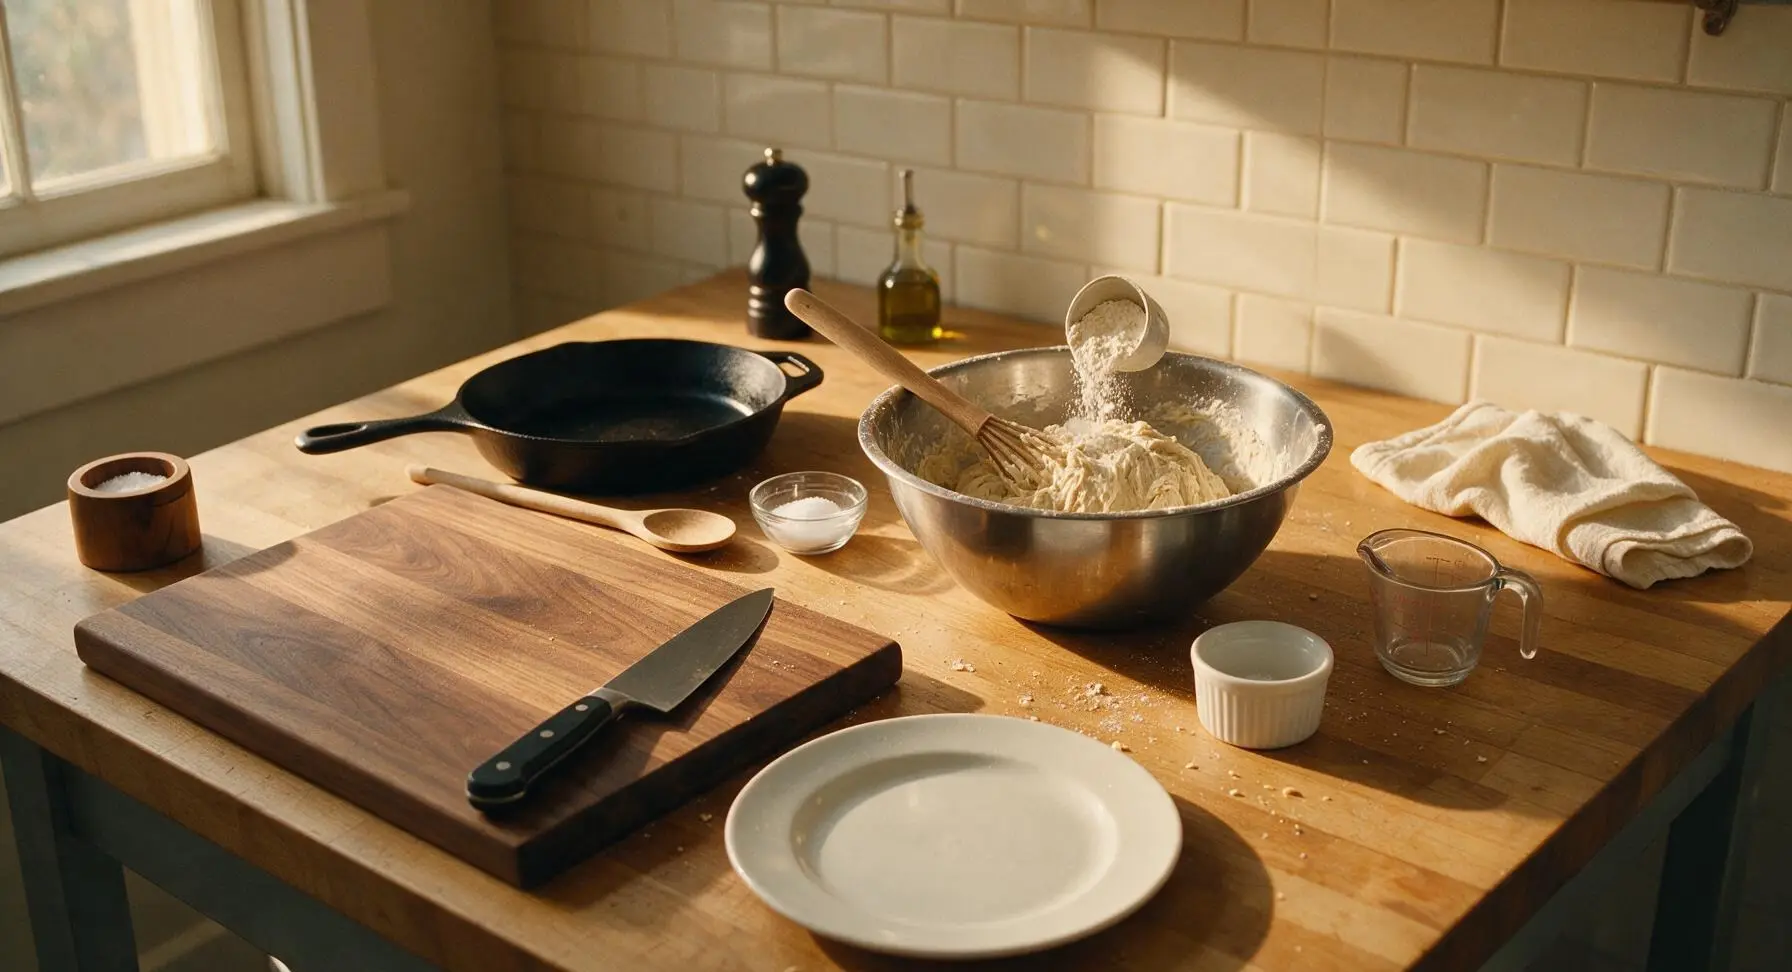
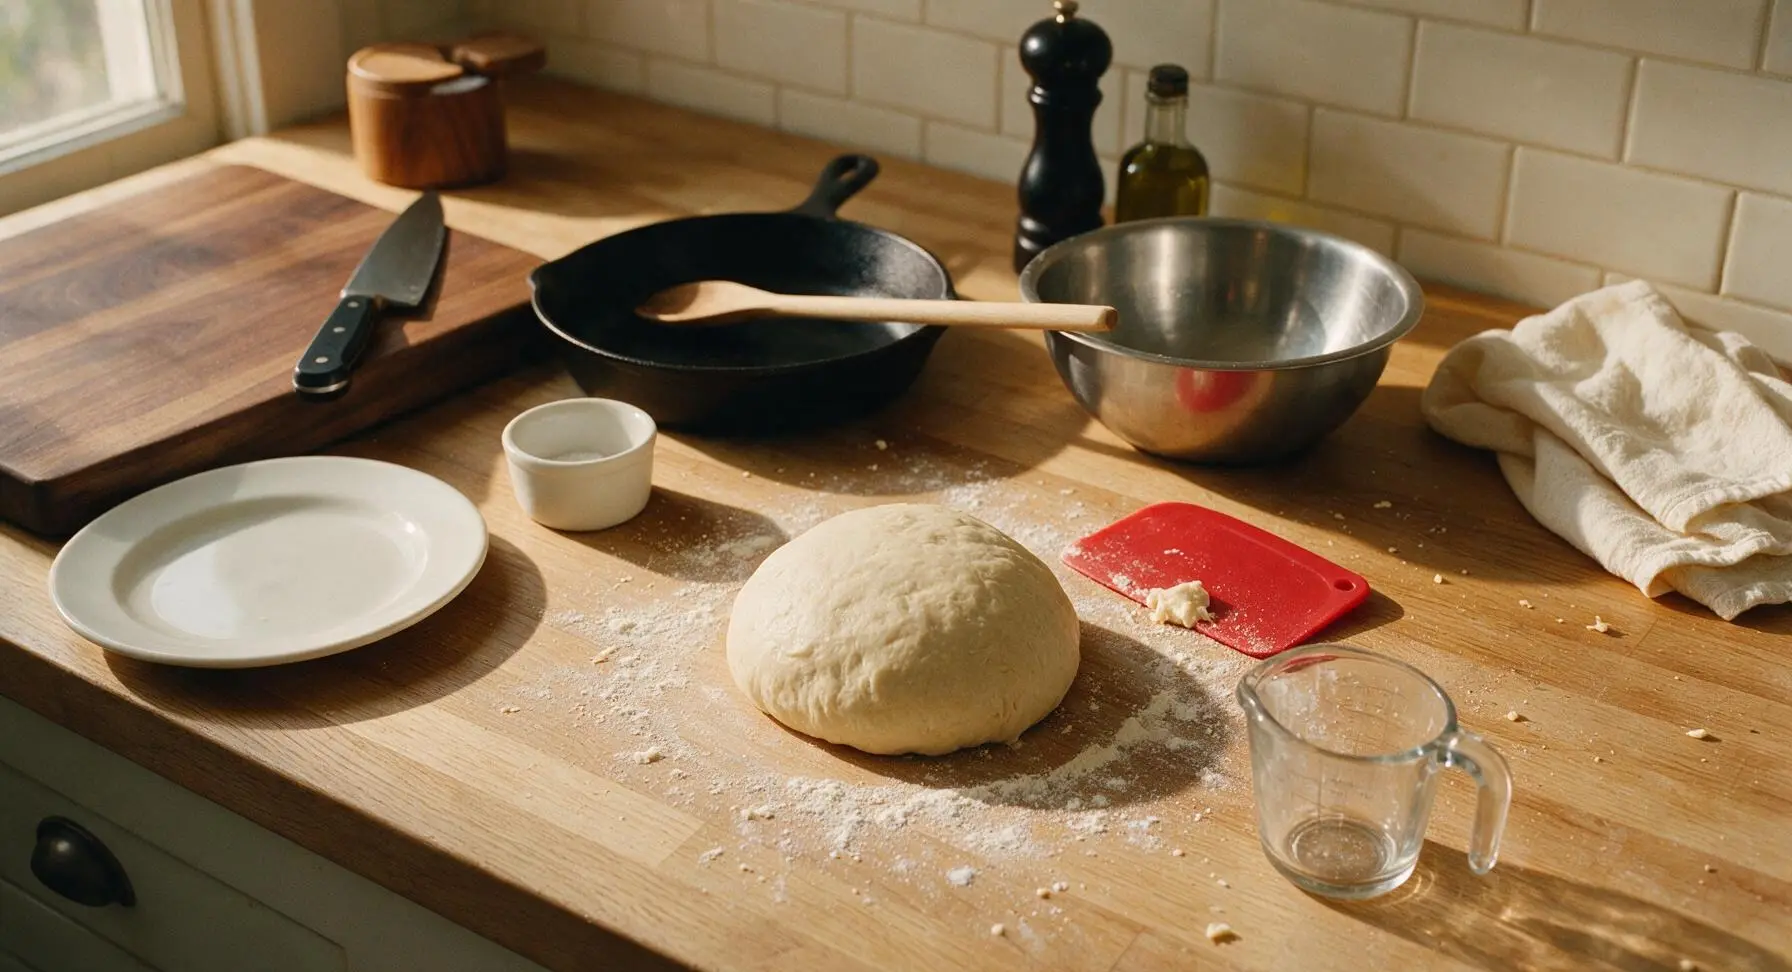
Add the remaining dough sugar, cooled melted butter, room temperature egg, and fine sea salt to the activated yeast mixture, whisking gently with the wooden dough whisk to combine. Gradually add the all-purpose flour 1 cup at a time, stirring until a shaggy, sticky dough forms with no dry flour pockets at the bottom of the bowl. Turn the dough out onto a lightly floured patch of the counter and knead for 6-8 minutes, using the silicone dough scraper to lift sticky bits from the counter, until the dough is smooth, elastic, and springs back slowly when poked with a floured finger.
Step 2
step2:Mix and Knead Dough
Step 2
step2:Mix and Knead Dough
3

Let Dough Rise

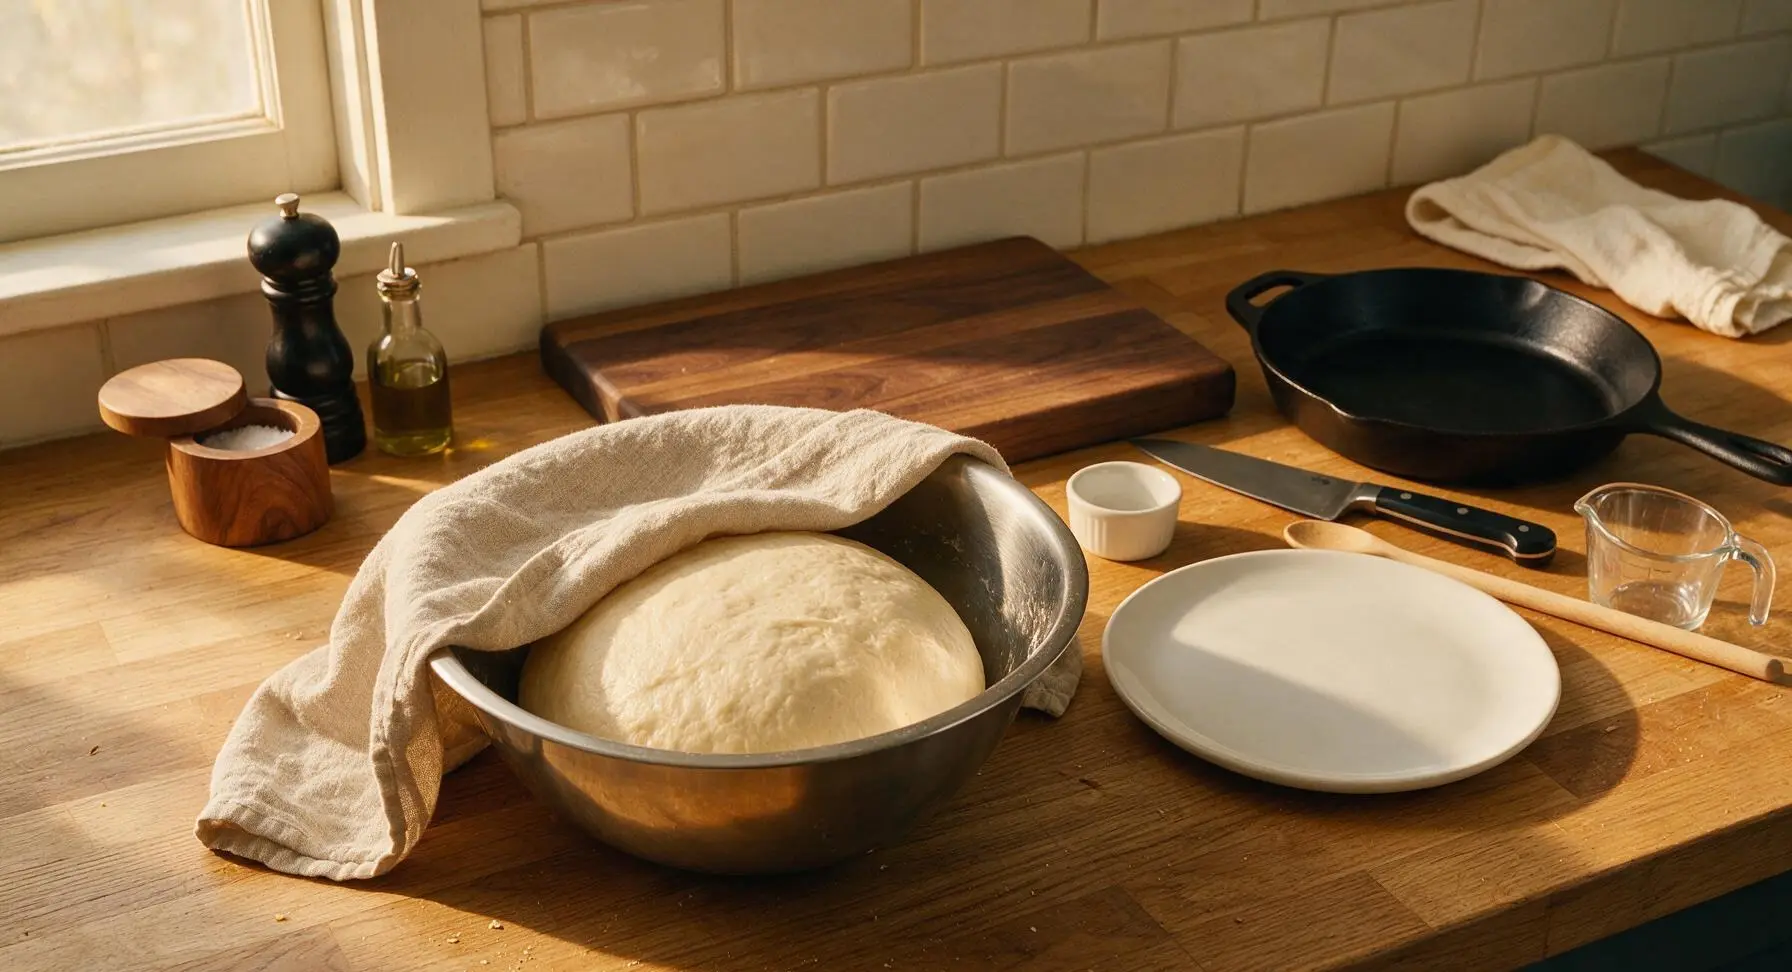
Wipe the inside of the stainless steel mixing bowl with a thin coat of oil, place the smooth dough ball back into the bowl, and turn once to coat the dough surface lightly in oil to prevent drying. Cover the bowl tightly with the oatmeal linen tea towel and set it in a warm, draft-free spot on the counter for 1 hour, until the dough doubles in size and leaves a deep indentation when pressed with a floured finger that does not spring back.
Step 3
step3:Let Dough Rise
4

Divide and Shape Dough

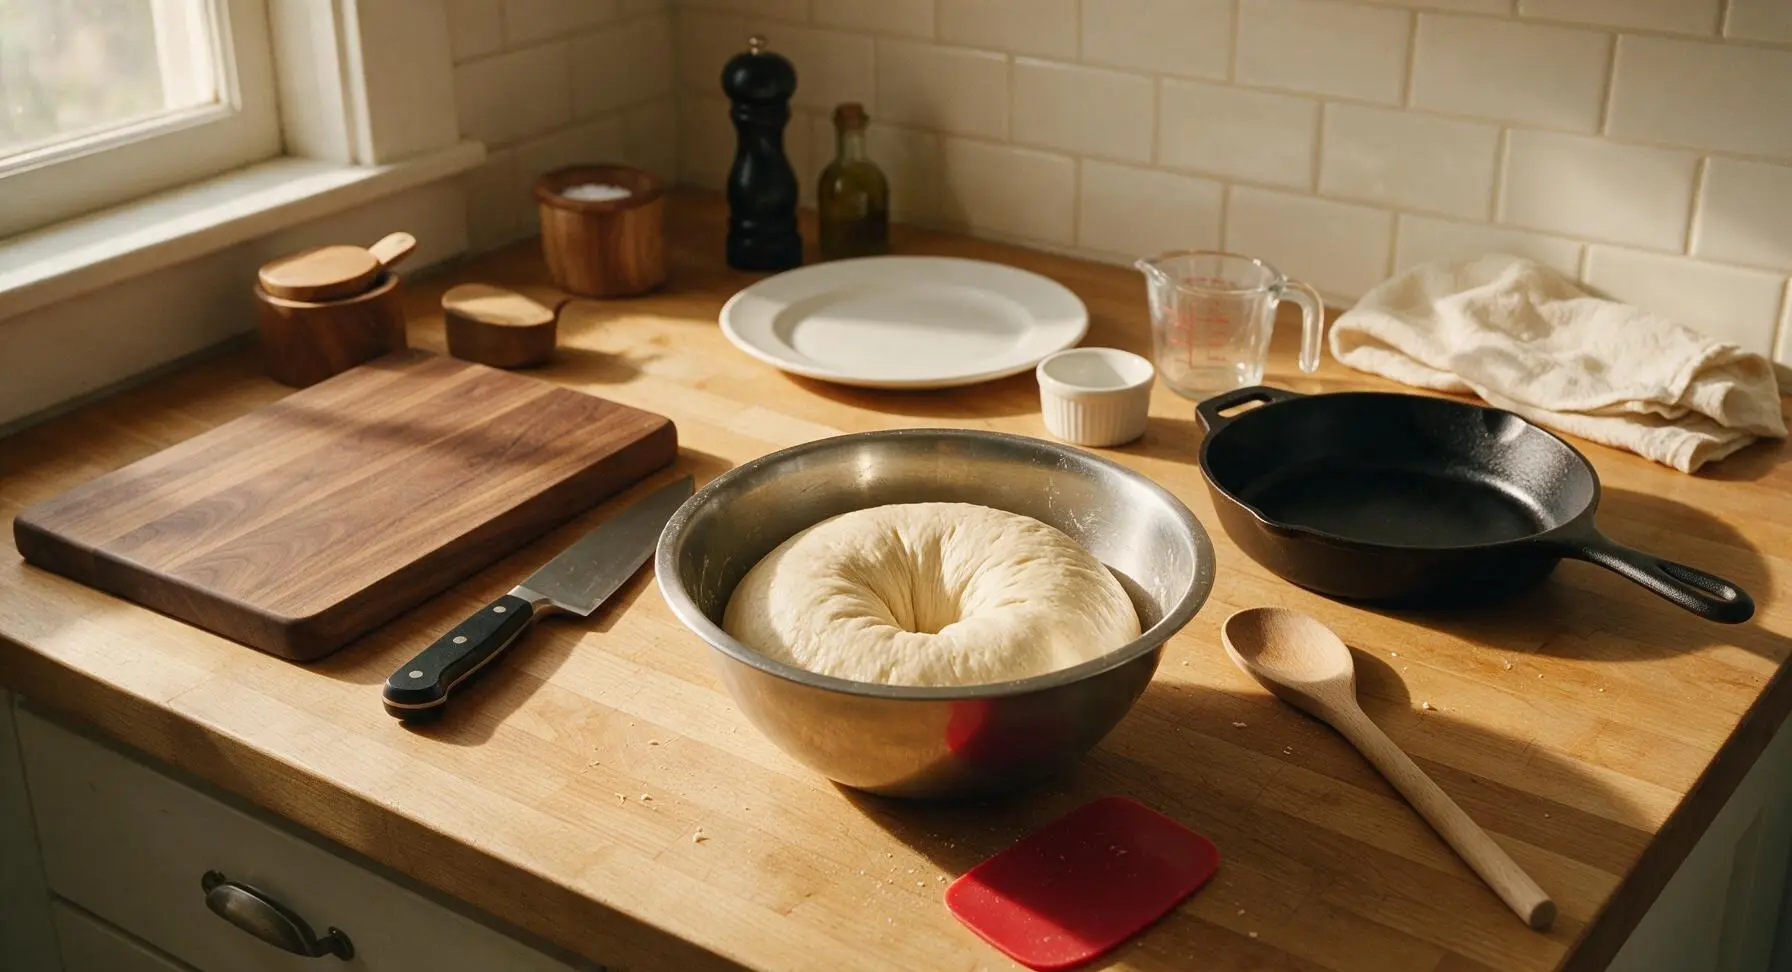
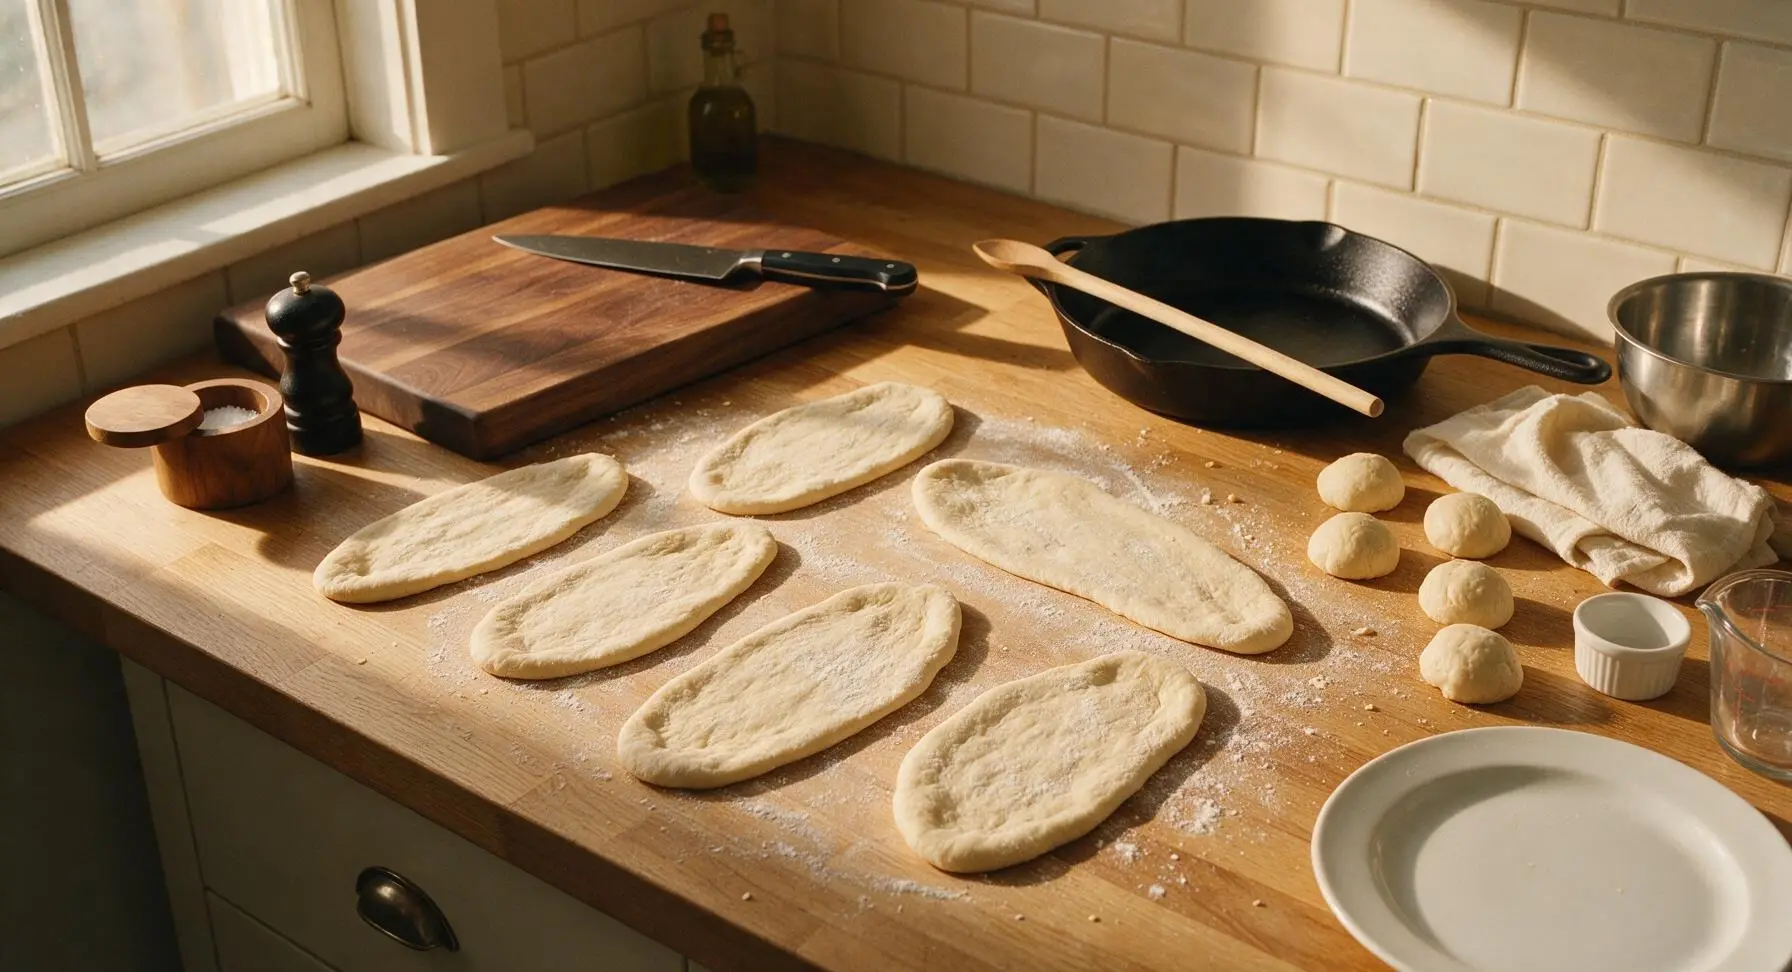
Once doubled in size, punch the dough down firmly in the center to release all trapped air. Turn out onto the lightly floured counter and divide into 6 equal pieces (each ~90g) using the red silicone dough scraper. Roll each piece into a tight small ball, then cover again with the linen towel and let rest for 10 minutes to relax the gluten, so the dough stretches easily without tearing. After resting, stretch each ball into a long, flat, oblong shape roughly 15cm wide and 25cm long, mimicking the shape of a beaver’s tail—pull gently from the center out to avoid tearing, leaving the dough slightly thicker in the middle than at the tapered edges.
Step 4
step4:Divide and Shape Dough
Step 4
step4:Divide and Shape Dough
5

Heat Frying Oil

Pour the neutral canola oil into the deep navy enameled Dutch oven, filling it no more than 1/3 full to avoid dangerous oil boil-over when frying. Clip the stainless steel instant-read deep fry thermometer to the side of the pot, ensuring the probe is submerged in oil but not touching the hot bottom of the pot. Heat the oil over medium heat until it reaches a steady 375°F (190°C), adjusting the stove heat as needed to maintain this temperature throughout frying.
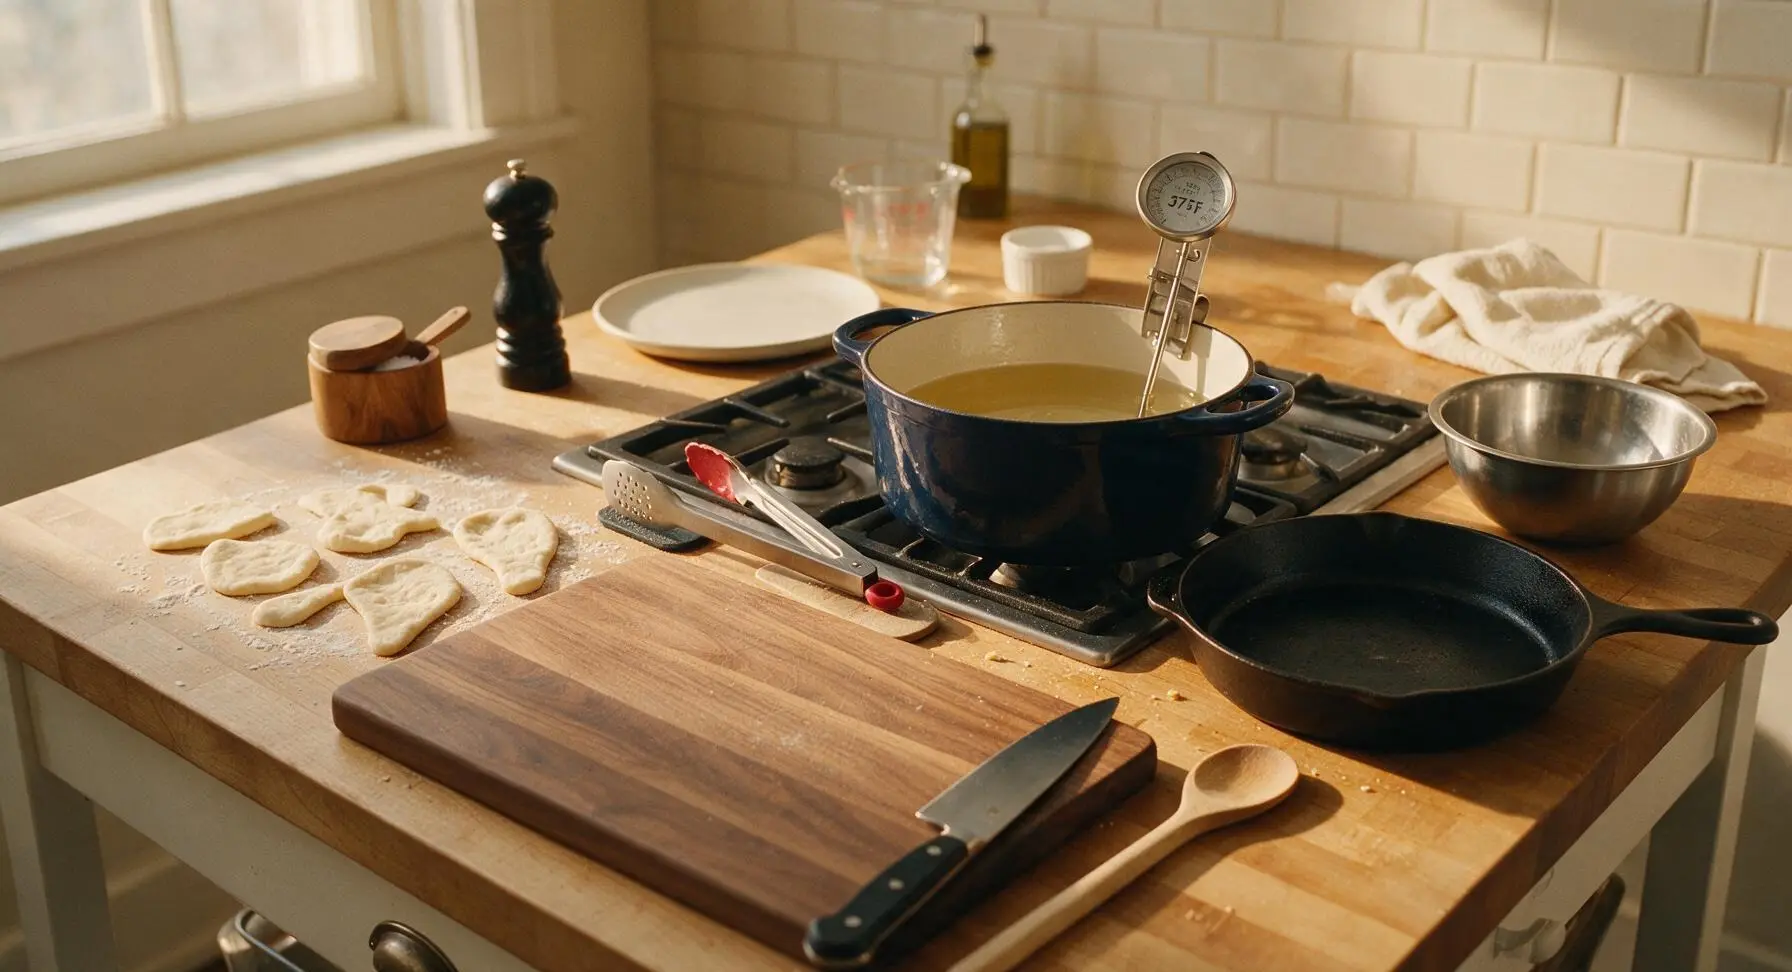
Step 5
step5:Heat Frying Oil
6

Fry Dough Until Golden

Carefully lower one shaped dough piece into the hot oil using the slotted tongs, laying it away from your body to avoid hot oil splatter. Fry for 60-90 seconds on the first side, until the underside is deep golden brown and puffed with small air bubbles, then flip with the tongs and fry for another 45-60 seconds on the second side. The cooked dough should sound light and hollow when tapped gently with the tongs, with no raw dense doughy spots in the center. Remove from oil with the tongs, holding it above the pot for 5 seconds to let excess oil drip back, then transfer to the chrome wire cooling rack set over the parchment-lined baking sheet. Repeat with remaining dough pieces, never frying more than 2 at a time to avoid dropping the oil temperature too quickly.
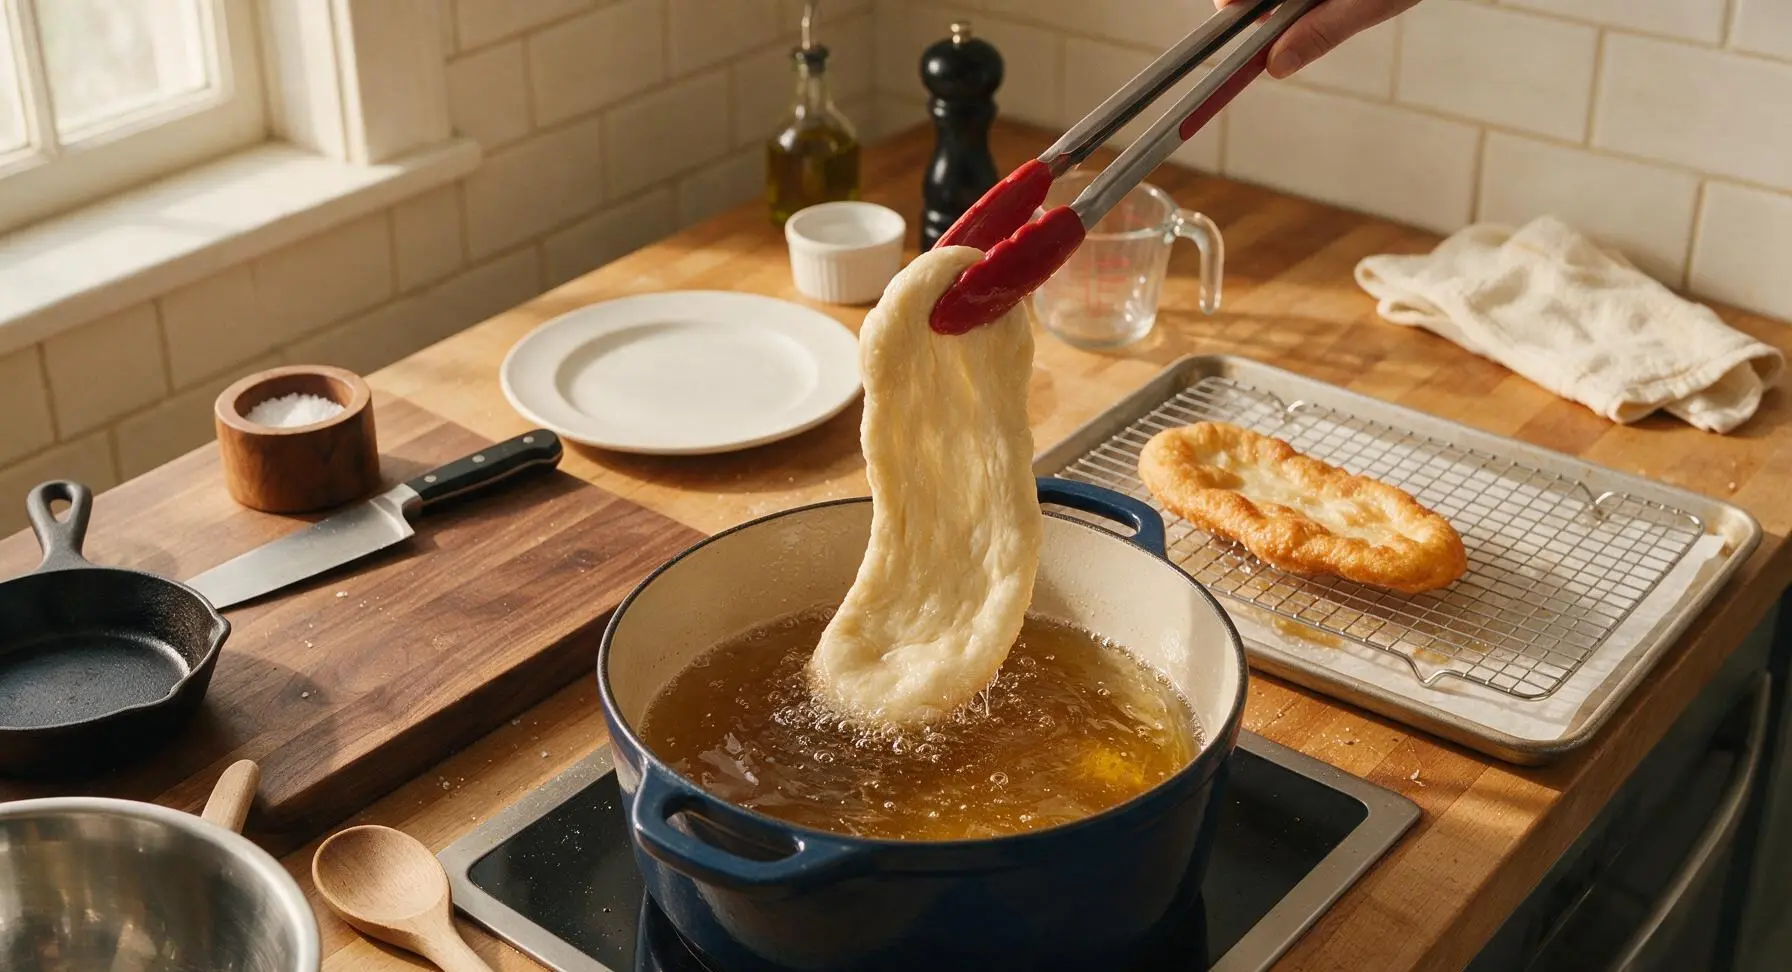
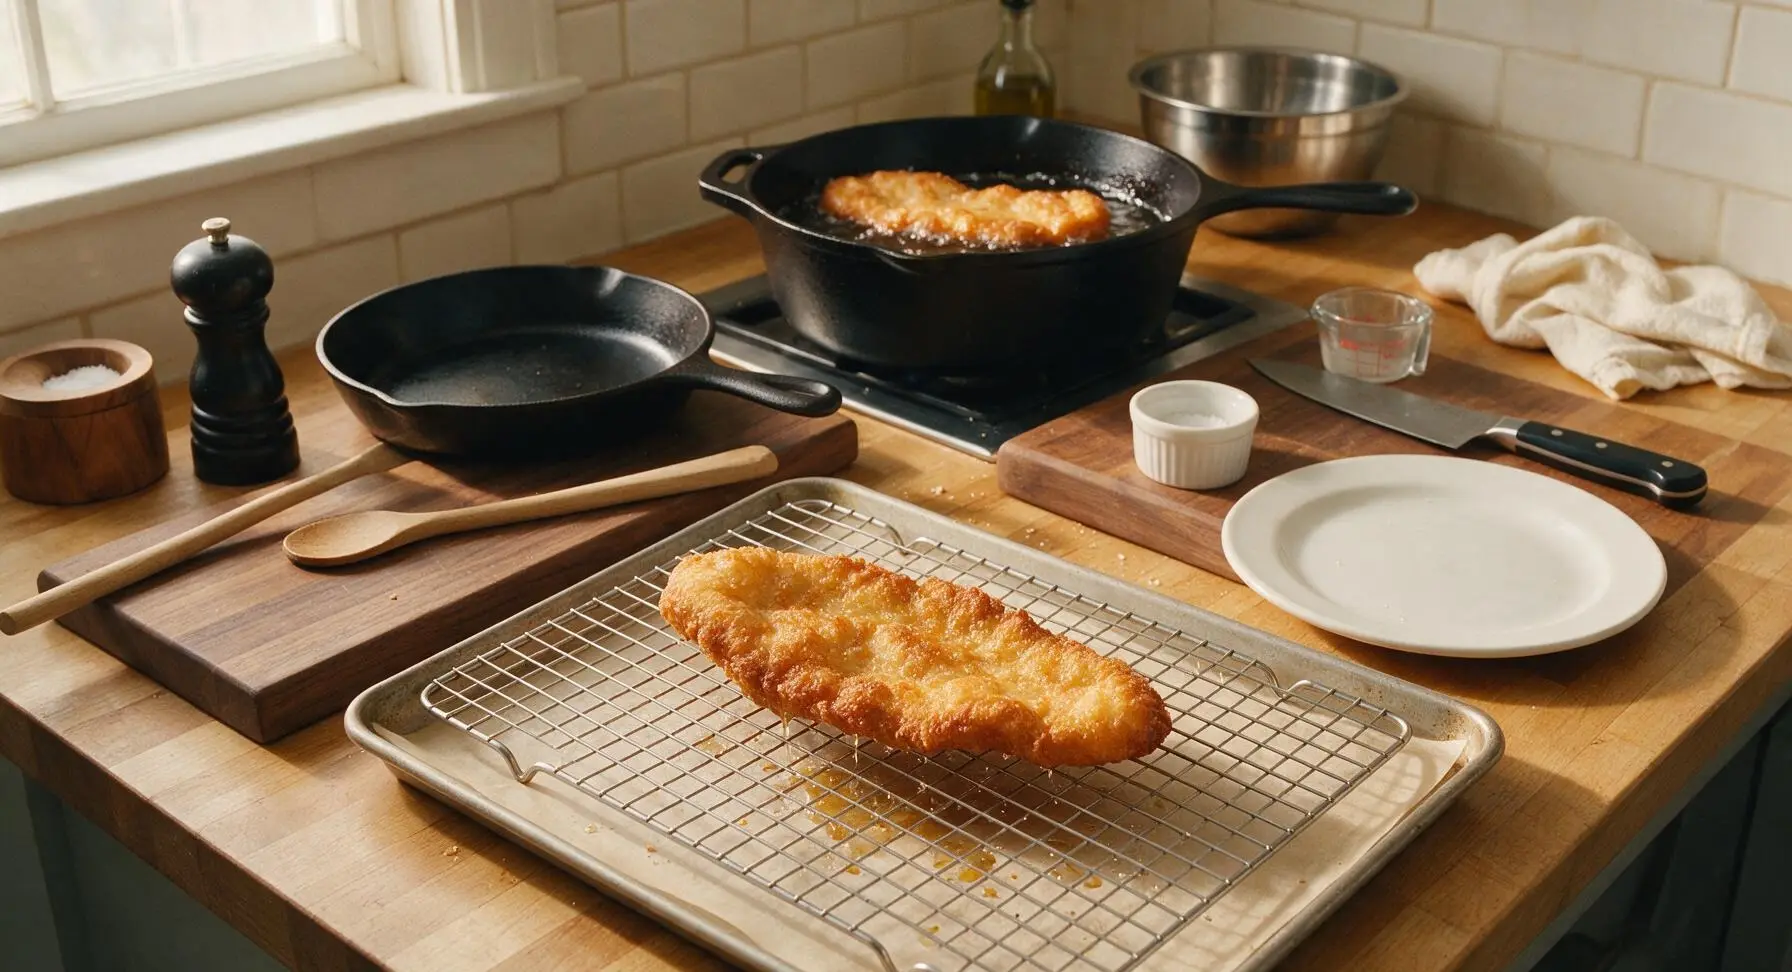
Step 6
step6:Fry Dough Until Golden
Step 6
step6:Fry Dough Until Golden
7

Coat in Cinnamon Sugar

While the fried beaver tails are still piping hot (30 seconds after removing from oil, so excess oil has drained but the surface is still hot enough to melt butter), brush both sides lightly with melted butter using the red silicone pastry brush. Mix the 1/2 cup coating granulated sugar and 2 tbsp ground cinnamon together in a small glass prep bowl until evenly combined, then either press the buttered tails into the cinnamon sugar to coat both sides, or drop them into the brown kraft paper bag with the sugar mixture and shake gently for even coverage. Return coated tails to the wire rack for 1 minute before serving.
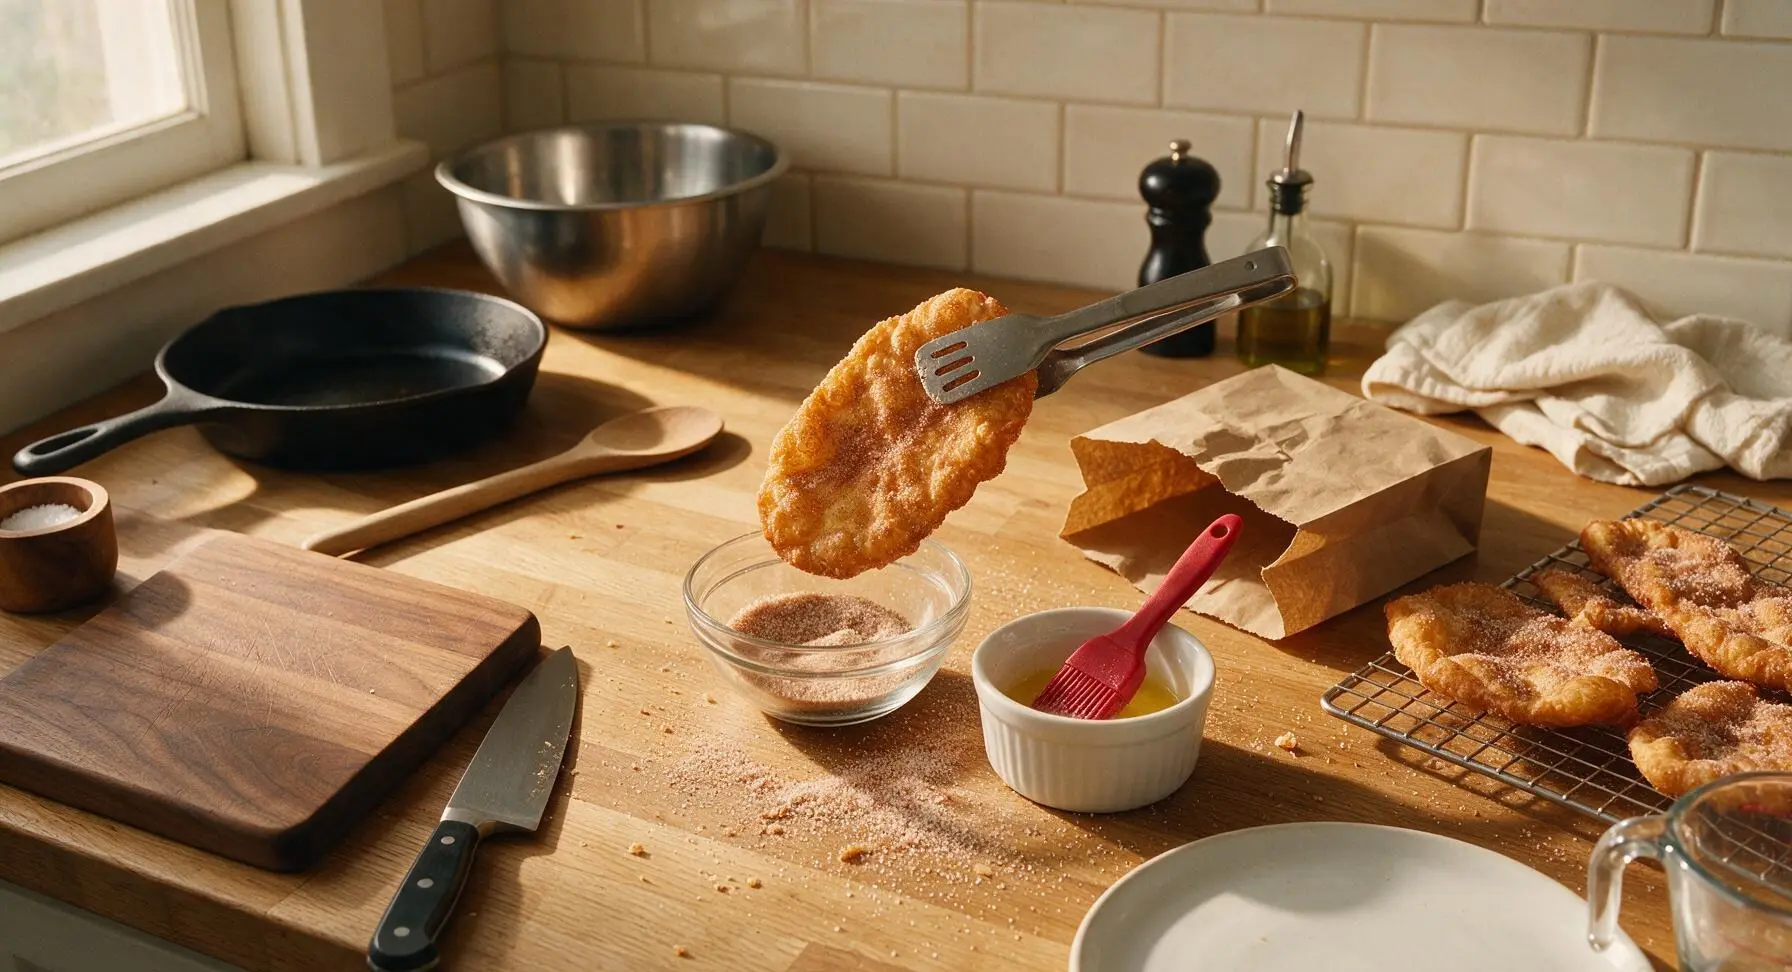
Step 7
step7:Coat in Cinnamon Sugar

Tips

1.Don’t overstretch dough to paper thinness: thin spots will bubble aggressively and burn in seconds in the hot oil, while a slightly thicker (1/4 inch) center stays soft and chewy, matching the classic Beaver Tail texture contrast of crisp edge and fluffy center.
2.Never overcrowd the frying pot: adding more than 2 dough pieces at a time drops the oil temperature rapidly, leading to greasy, heavy dough instead of light, crisp fried pastries. Wait 1 minute between batches to let the oil return to 375°F.
3.Coat tails immediately after frying: if the dough cools for more than 1 minute, the melted butter will soak in too quickly and the cinnamon sugar will slide off in clumps instead of forming an even, sweet coating across the crisp surface.


✨ You May Also Like

Desserts & Baking
🍜 Italy

Creamy, coffee-kissed classic Northern Italian no-bake dessert, with layers of rum-spiked mascarpone cream, soft ladyfingers, and a rich cocoa dusting.

⏱️ 4 hours 3Desserts & Baking ★ 4.7
Desserts & Baking
🍜 France

Flaky, shatteringly crisp, buttery French croissants with golden exteriors and soft, airy layered interiors, perfect for pairing with coffee for a special morning treat.

⏱️ 12 hours Desserts & Baking ★ 4.5
Desserts & Baking
🍜 United States

Warm, spiced baked apples topped with a fluffy golden biscuit crust, this cozy dessert pairs perfectly with vanilla ice cream for cool-weather comfort.

⏱️ 55 minuteDesserts & Baking ★ 4.6
Desserts & Baking
🍜 United States

A star-spangled classic American blueberry pie with buttery flaky crust and bright sweet-tart filling, perfect for summer patriotic gatherings.

⏱️ 1 hour 25Desserts & Baking ★ 4.7
Desserts & Baking
🍜 United States

A beloved no-bake regional Maine candy with a chewy coconut-potato center coated in rich dark chocolate, a New England holiday staple since the 1870s.

⏱️ 2 hours 3Desserts & Baking ★ 4.8
Desserts & Baking
🍜 France

Luxuriously creamy, floral frozen custard made with aromatic Tahitian vanilla beans, boasting a smooth, rich texture that melts slowly on the tongue.

⏱️ 3 hours 3Desserts & Baking ★ 4.5

Canadian Beaver Tails:Frequently Asked Questions

1.What exactly is a classic cinnamon sugar beaver tail? ▾
These iconic Canadian fried dough pastries have crisp, lacy edges and a soft, chewy center, stretched into a flat, tapered oval that looks like a beaver’s tail. They’re tossed in cinnamon sugar right after frying and served piping hot, most commonly sold at winter festivals, ice rinks, and ski resorts across Canada.
2.Why does the recipe call for milk warmed to exactly 110°F for the dough? ▾
That temperature range is the sweet spot to activate active dry yeast without killing it. Milk cooler than 105°F won’t wake yeast properly, leading to dense, flat dough, while milk hotter than 115°F will kill yeast so your dough won’t rise. Use a quick-read thermometer to take the guesswork out of getting the temp right.
3.Can I use instant yeast instead of active dry yeast for this recipe? ▾
Absolutely! Swap active dry yeast for instant yeast at a 3:4 ratio—so for every 1 teaspoon of active dry yeast, use ¾ teaspoon of instant yeast. You don’t need to proof instant yeast in warm milk first; mix it directly with dry ingredients to cut prep time by about 10 minutes.
4.How thin do I need to stretch the dough to get the classic beaver tail shape? ▾
Aim to stretch each dough portion into a rough ¼-inch thick oval, about 6 to 8 inches long and 3 to 4 inches wide, with slightly tapered ends to mimic a beaver tail. Don’t roll it perfectly smooth or too thin—uneven edges crisp up beautifully when fried for that signature textural contrast.
5.What kind of oil works best for frying beaver tails? ▾
Use a neutral, high-smoke-point oil like canola, vegetable, peanut, or refined safflower oil. These oils won’t add off-flavors to your pastry as they heat, and they hold a steady 375°F frying temperature without burning. Avoid olive oil or butter, which have low smoke points and lead to burnt, greasy pastries.
6.How do I keep my beaver tails from getting soggy after frying? ▾
First, keep your frying oil at a steady 375°F—oil that’s too cool makes dough absorb excess oil and turn soggy. After pulling each pastry out, let it drain 10 to 15 seconds on a wire rack set over paper towels before tossing in cinnamon sugar, rather than letting it sit directly on damp paper towels.
7.Can I make the dough ahead of time? ▾
Yes! After the first rise, punch the dough down, cover it tightly, and store it in the fridge for up to 24 hours. When you’re ready to cook, pull the dough out, let it come to room temperature for 30 minutes, portion, stretch, and fry as normal. This slow cold rise also develops a deeper, nuttier dough flavor.
8.What’s the ideal cinnamon to sugar ratio for the classic coating? ▾
For that perfectly balanced, traditional coating, mix 1 tablespoon of ground cinnamon with every 1 cup of granulated sugar. That ratio delivers warm, spiced flavor without overwhelming the sweet, fried dough, and it sticks perfectly to the hot, slightly greasy surface of freshly fried pastries.
9.My dough didn’t rise at all—what went wrong? ▾
The most common culprit is dead yeast: either your yeast was past its expiration date, or the milk you used to proof it was too hot and killed the active cultures. It can also happen if your kitchen is too cold (under 70°F) for the dough to rise. Always test yeast first by waiting for it to foam in warm milk with a pinch of sugar.
10.Do I have to deep fry these, or can I bake them for a lighter version? ▾
Baking won’t give you the exact same crisp-edge, chewy-center texture as the classic fried version, but you can approximate it. Brush shaped dough portions with melted butter, bake at 425°F for 12 to 15 minutes until puffed and golden, then brush with extra butter before tossing in cinnamon sugar to help the coating stick.
11.How long should I let the dough rise before shaping? ▾
Let the mixed, kneaded dough rise in a warm, draft-free spot for 1 to 1.5 hours, until it doubles in size and leaves a slow-rebounding indent when poked with a floured finger. Don’t rush this step—this rise builds the light, chewy crumb that keeps the center soft even after edges crisp up in the fryer.
12.Can I freeze leftover cooked beaver tails? ▾
You can, though they’re absolutely best eaten fresh. Let cooked pastries cool completely, wrap them tightly in plastic wrap and foil, and freeze for up to 1 month. To reheat, unwrap and bake at 375°F for 8 to 10 minutes until crisp and warmed through, then toss in a fresh dusting of cinnamon sugar before serving.
13.Why do my beaver tails puff up unevenly when I fry them? ▾
Uneven puffing is totally normal and part of the pastry’s rustic charm! It usually happens if you stretch the dough slightly unevenly, or if small air bubbles are trapped in the dough from kneading. Pop any overly large, puffy bubbles with a toothpick right after dropping dough in the oil to keep the shape relatively even.
14.What toppings are traditional besides cinnamon sugar? ▾
While cinnamon sugar is the most classic, iconic topping, you’ll also find beaver tails served with a spread of Nutella, a drizzle of maple syrup, a sprinkle of crushed toffee bits, or even a light slather of garlic butter for a savory twist at Canadian stands. Stick to cinnamon sugar first to get the full classic experience.
15.Do I need any special equipment to make these at home? ▾
You don’t need fancy, specialized tools! A deep, heavy-bottomed pot or Dutch oven works perfectly for frying, a clip-on candy thermometer helps you track oil temperature, and your clean, lightly floured hands are all you need to stretch dough into shape—no rolling pin required for a rustic, authentic look.
16.Can I use bread flour instead of all-purpose flour for a chewier texture? ▾
Yes, bread flour will give you a slightly chewier, more structured crumb because of its higher protein content. Swap it 1:1 for all-purpose flour if that’s what you have on hand. If you want the softer, more tender crumb closer to festival-style beaver tails, stick with the standard all-purpose flour called for.
17.How long do I fry each beaver tail for? ▾
Fry each side for 45 to 60 seconds, until the pastry is deep golden brown and crisp around the edges. Flip it once with tongs or a slotted spoon when the first side is done, and don’t overcrowd the pot—fry 1 to 2 pastries at a time so oil temperature doesn’t drop, which causes greasy, undercooked dough.
18.Can I make these dairy-free? ▾
Absolutely! Swap the whole milk for your favorite unsweetened plain oat or soy milk, warmed to the same 110°F temperature, and confirm your frying oil is dairy-free (most neutral vegetable oils are). The dough will rise just as well, and you’ll get the same crisp, chewy texture and classic cinnamon sugar flavor without any dairy.
19.Why does the beaver tail dough have such a small amount of sugar? ▾
The small amount of granulated sugar in the dough is there to feed the yeast and add a very subtle, neutral sweet base, not to make the dough itself taste overly sweet. The bold, sweet cinnamon sugar coating on the outside provides almost all of the pastry’s signature sweet flavor, so extra sugar in the dough isn’t needed.
20.How should I serve these to get the best possible experience? ▾
Serve them immediately after tossing in cinnamon sugar, while they’re still piping hot—they’re made for eating on cold days, held in a paper sleeve to keep your hands warm. Don’t let them sit more than 5 minutes before serving, as crisp edges will soften and the chewy center will turn tough as they cool.

Comments (11)

2 days ago

OMG I had these for the first time on a ski trip to Quebec last winter and have been craving them ever since! I was so nervous to try making fried dough at home since I usually burn everything, but these came out perfect? Rolled them nice and thin, coated in that cinnamon sugar while they were still hot, *chef’s kiss*. My kids devoured 3 each after soccer practice, no leftovers for my husband oops.

yesterday

Wait did you use regular all purpose flour or bread flour? I tried a different beaver tail recipe last month and it came out too dense, I’m wondering if I used the wrong flour!

yesterday

Great question! We tested this with standard all-purpose flour for that light, crisp-yet-chewy texture—bread flour will make it a little too tough if you’re not careful with kneading time. So glad your family loved them, Molly!

5 days ago

Brought these to our neighborhood block party last weekend and they were gone in 10 minutes flat. People kept asking where I bought them lmao, little did they know I made them in my kitchen! Pro tip: set up a little topping bar with extra Nutella and lemon wedges on the side, people go crazy for the custom options. Only note is that the dough needs a little longer to rise in my cold Arizona kitchen, so I left it an extra 20 minutes by the window.

3 days ago

The lemon wedge suggestion is a game changer! I remember getting these with lemon and sugar at the fair as a kid, I totally forgot that topping existed. Adding that to my batch this weekend!

3 days ago

Love the topping bar idea! The cold rise note is so helpful for folks in drier, cooler climates too—thanks for sharing that tip with the community, we appreciate it!

30 minutes ago

Tried making these for my roommates last night after seeing the recipe pop up on my feed, and let me tell you—none of us have ever been to Canada, but we all felt like we were at a winter festival lmao. The cinnamon sugar ratio is spot on, not too heavy on the cinnamon so it doesn’t overpower the sweet dough. I will say, medium difficulty is no joke, my first two came out a little lumpy but I got the hang of stretching the dough by the third one.

5 minutes ago

Oh good I’m not the only one who messed up the first couple! I was so frustrated I almost gave up, but the later ones were perfect. Did you fry yours in canola oil or vegetable oil?

just now

So glad you and your roommates enjoyed them! The dough stretching does take a little practice, don’t stress if the first few aren’t perfectly tail-shaped—they taste just as good lumpy. Canola or vegetable oil both work great, just make sure it’s heated to 375F before you drop the dough in!

1 week ago

SO good! I made these for our Friday movie night with the boys and they asked if we can have them every single week instead of popcorn. I cut the recipe in half because it’s just me and the three kids, and the measurements converted super easily, no wonky half-egg math needed which I was worried about. 10/10 will make again.

5 days ago

So happy movie night was a hit! We love that the recipe scales so easily for smaller families too—great call making a half batch for your crew. Enjoy the weekly beaver tail tradition!

3 days ago

I’ve been making fried dough for our annual lake trips for years, and this recipe knocks my old one out of the park. The little touch of vanilla in the dough? *Chef’s kiss* I didn’t even know that was a thing, it adds such a nice warm note that pairs so well with the cinnamon sugar. Cooked mine on the side burner of my grill so I didn’t heat up the whole house, worked like a charm.

2 days ago

Wait cooking them on the grill side burner is genius! I’m going camping next month and was trying to figure out how to make these over the camp stove, this gives me hope!

yesterday

I waited in line for 2 hours for a beaver tail when I visited Toronto last summer, so I was skeptical a homemade version could measure up. Let me just say—this is BETTER than the ones I waited in line for. Fresh, hot, exactly the right amount of cinnamon sugar, not greasy at all if you let the oil temp stay consistent. Docking a star only because I wish there was a make-ahead tip for the dough for meal prep!

2 hours ago

Wow, that’s high praise! You can absolutely make the dough the night before, let it do its first rise in the fridge, then pull it out 30 minutes before you’re ready to stretch and fry it—works perfectly for meal prep!

2 weeks ago

Made these for our club’s welcome week event and we ran out of dough in 20 minutes! We had a little station set up outside the dorm and people were bringing their friends over from down the block. Super affordable to make for a big crowd too, way cheaper than ordering catering. Only thing is we had to make a second batch mid-event because we underestimated how popular they’d be.

1 week ago

Wait how many people does a full batch serve? I’m making these for my floor’s welcome back event next month and I’m trying to figure out how much dough to make!

2 hours ago

First batch came out a little more greasy than I expected, I think my oil was too low temp because I was impatient waiting for it to heat up. Tried again once I let the oil get up to temp and they were perfect! Crispy on the outside, soft and chewy in the middle, just like the ones I had at the state fair last year.

30 minutes ago

Great catch on the oil temp! Low oil is the #1 culprit for greasy fried dough, so glad you gave it a second try and they turned out for you. Enjoy!

1 week ago

Made these after a long day hike last weekend with my partner, and they were the perfect post-adventure treat. We ate them sitting on the tailgate of my truck watching the sunset, 10/10 vibe and 10/10 flavor. Already planning to make them again for our trip up to the mountains next month.

3 days ago

Game changer! I’ve been making a similar cinnamon fried bread for years for church potlucks, but this recipe is so much lighter and fluffier than my old go-to. Got three recipe requests before I even left the potluck last Sunday, that’s how you know it’s a winner. I added a little extra nutmeg to the cinnamon sugar mix for a cozy fall twist, highly recommend.

just now

I’ve made every fried dough recipe under the sun in my 30 years working in diners across the northeast, and this one is as solid as they come. The dough ratio is perfectly balanced, not too sweet on its own so the cinnamon sugar topping really shines. Cook time was spot on too, 20 minutes total once the dough is risen, perfect for a quick weekend treat.



