
Canadian Butter Tart Cookies

title 1
Canadian Butter Tart Cookies
⏱️ cook time 24 minutes
🍽️ servings 12
⚡ Difficulty medium

intro

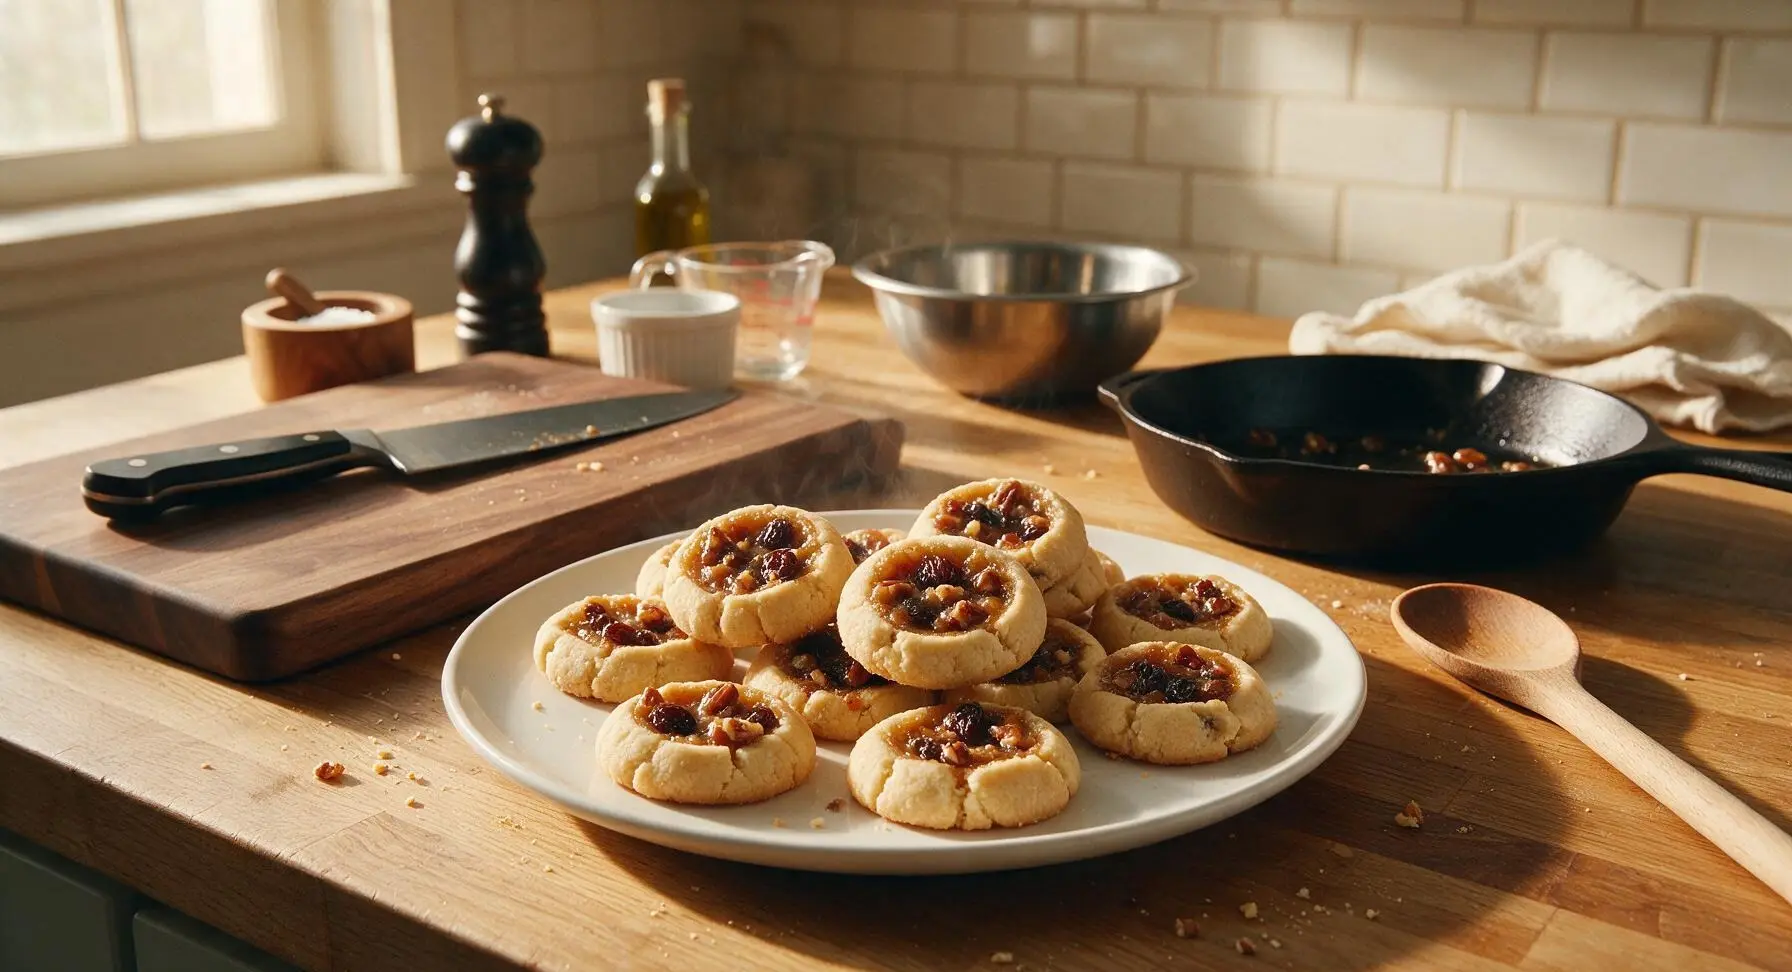
Buttery, crumbly shortbread cookies filled with gooey, caramelized butter tart filling studded with raisins and pecans: a portable, bite-sized twist on Canada’s most beloved nostalgic sweet.

Ingredients
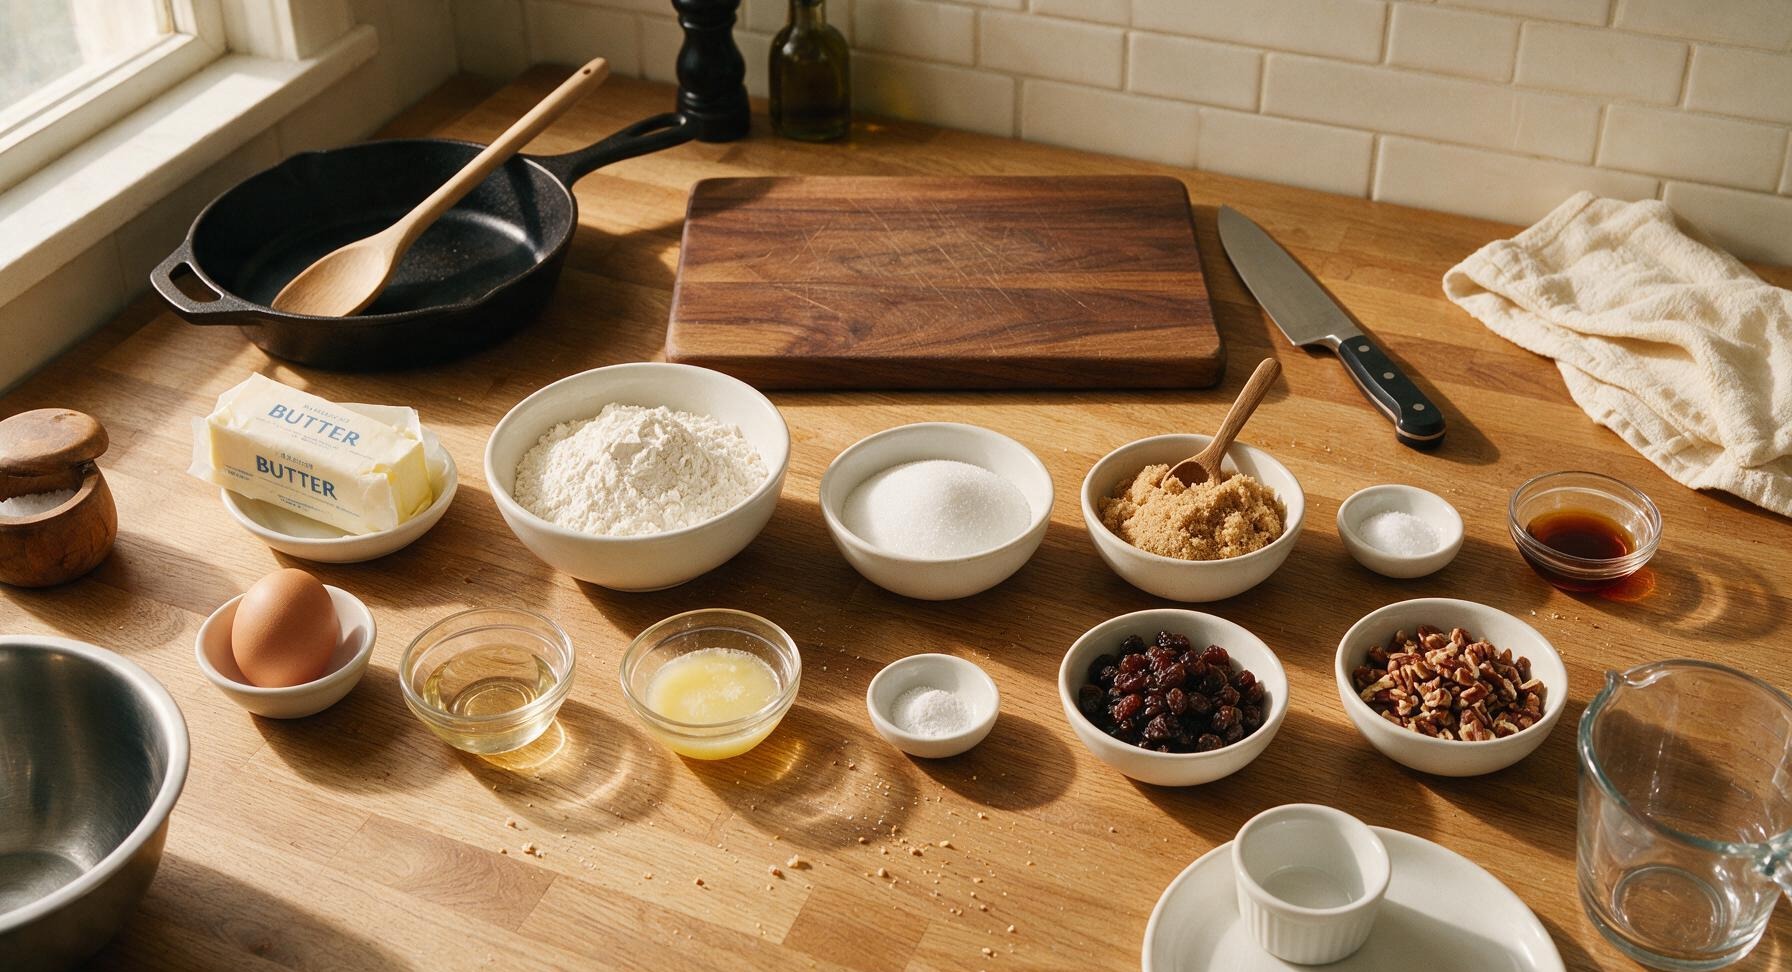
Unsalted butter (softened, for dough) 1 cup (2 sticks)
Granulated sugar 1/2 cup
All-purpose flour 2 cups
Fine sea salt 1/4 tsp
Vanilla extract (divided) 2 tsp
Light brown sugar (packed, for filling) 1/2 cup
Light corn syrup 1/3 cup
Large egg (room temperature) 1
Unsalted butter (melted, cooled, for filling) 2 tbsp
Baking soda 1/8 tsp
Raisins 1/3 cup
Chopped pecans 1/3 cup

Steps

1

Mix Shortbread Dough

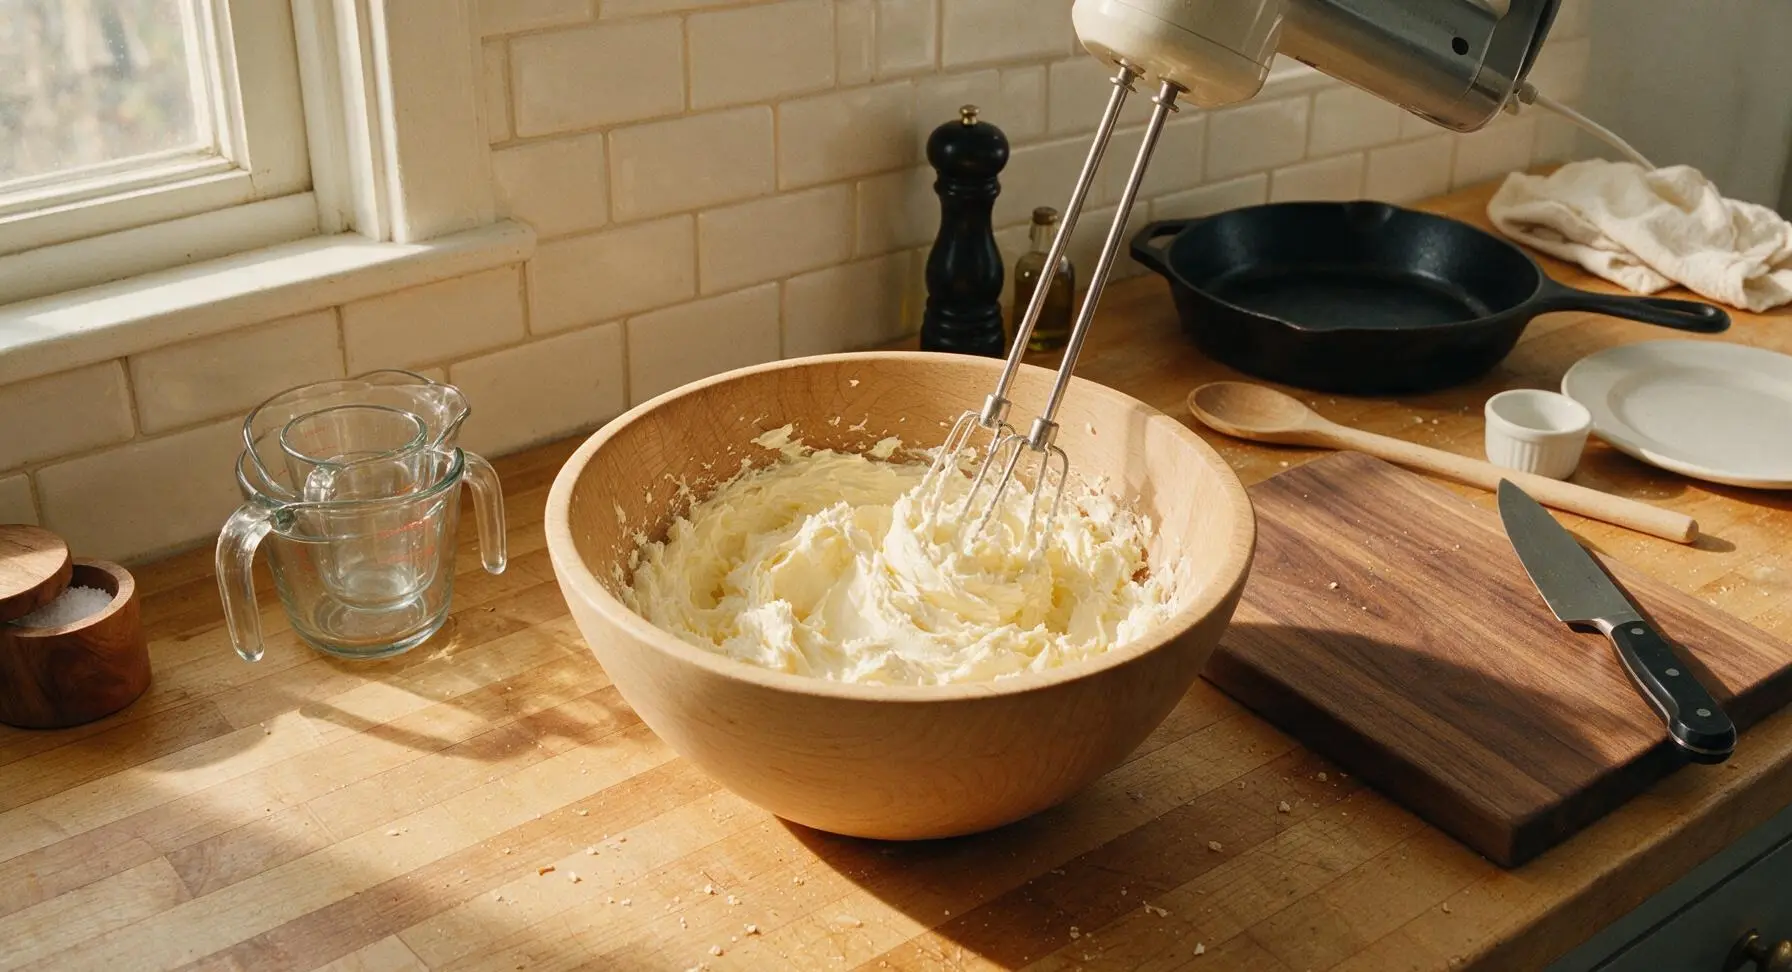
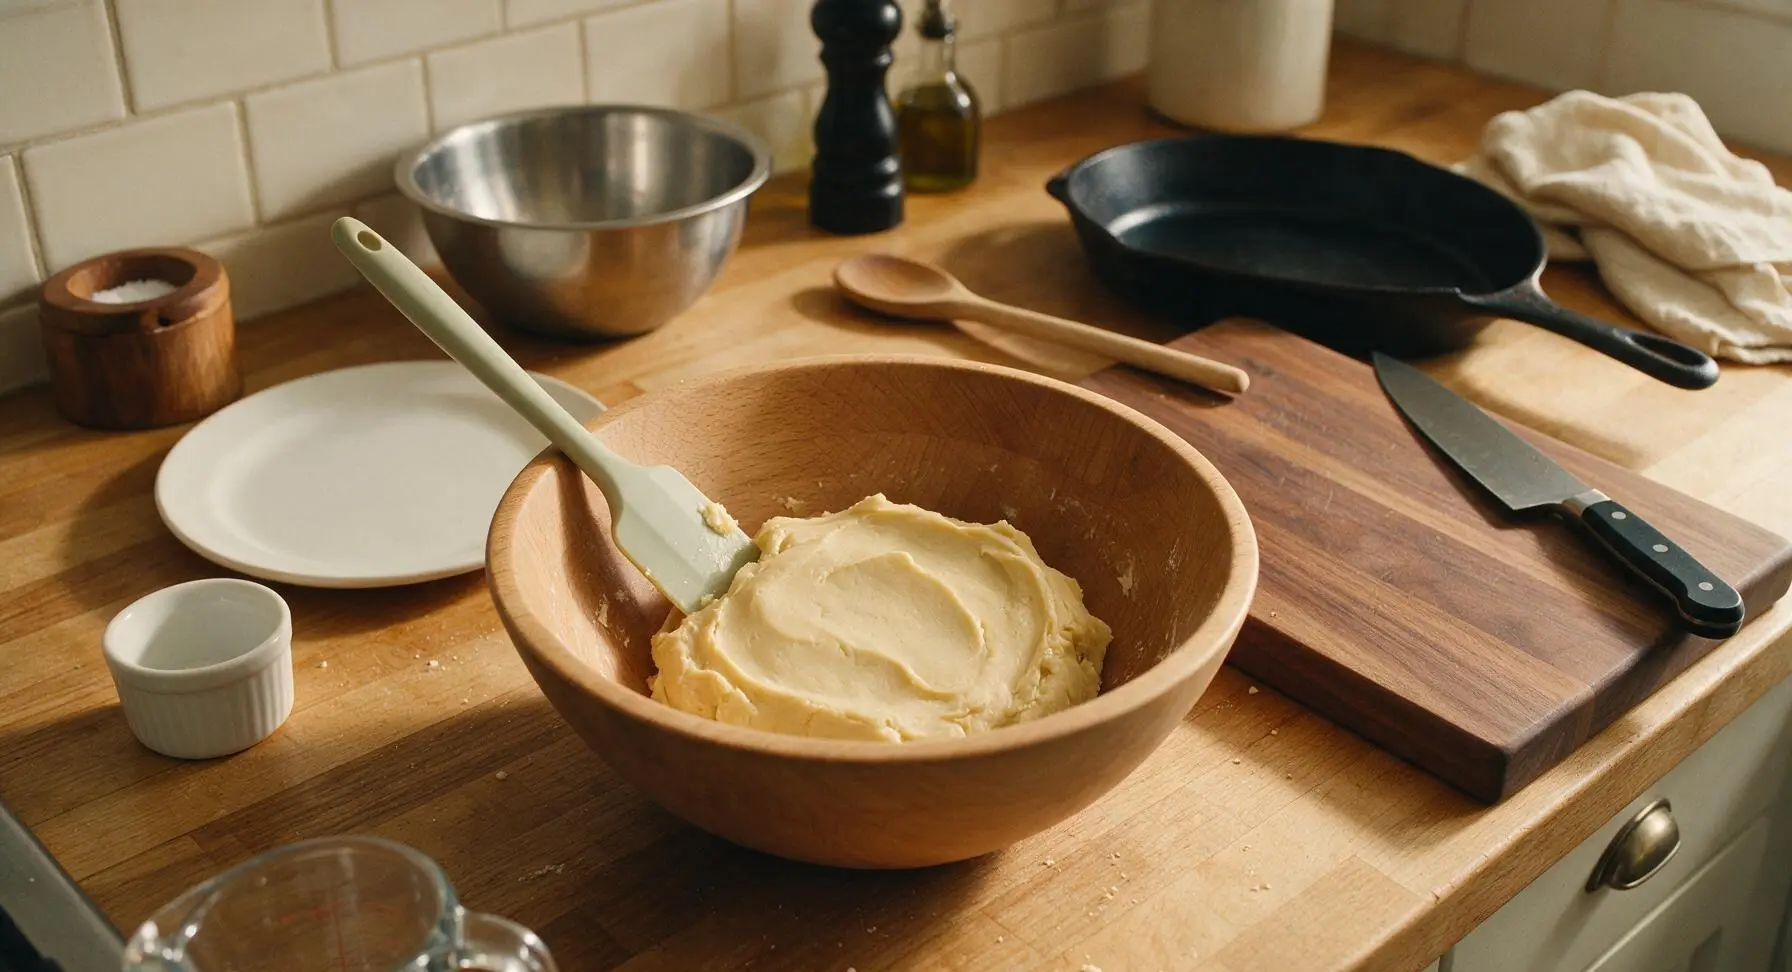
In the large beech wood mixing bowl, combine 1 cup softened unsalted butter and 1/2 cup granulated sugar. Use the handheld electric mixer on medium speed to cream for 2 minutes until light, pale, and fluffy. Add 1 tsp vanilla extract, then gradually mix in 2 cups all-purpose flour and 1/4 tsp fine sea salt on low speed until a soft, uniform dough forms, with no dry flour pockets remaining. Do not overmix, as this will make cookies tough.
Step 1
step1:Mix Shortbread Dough
Step 1
step1:Mix Shortbread Dough
2

Portion Dough Balls

Line the large aluminum baking sheet with unbleached parchment paper. Use the 1-tablespoon cookie scoop to portion dough into 24 even balls, rolling each lightly between your palms to form smooth spheres. Space balls 5cm (2 inches) apart on the prepared baking sheet to allow for slight spread during baking. Use the round 1-teaspoon measuring spoon (dipped in flour to prevent sticking) to press a deep, wide indentation into the center of each dough ball, making sure not to press all the way through to the baking sheet—indentations should be roughly 1cm deep to hold filling.
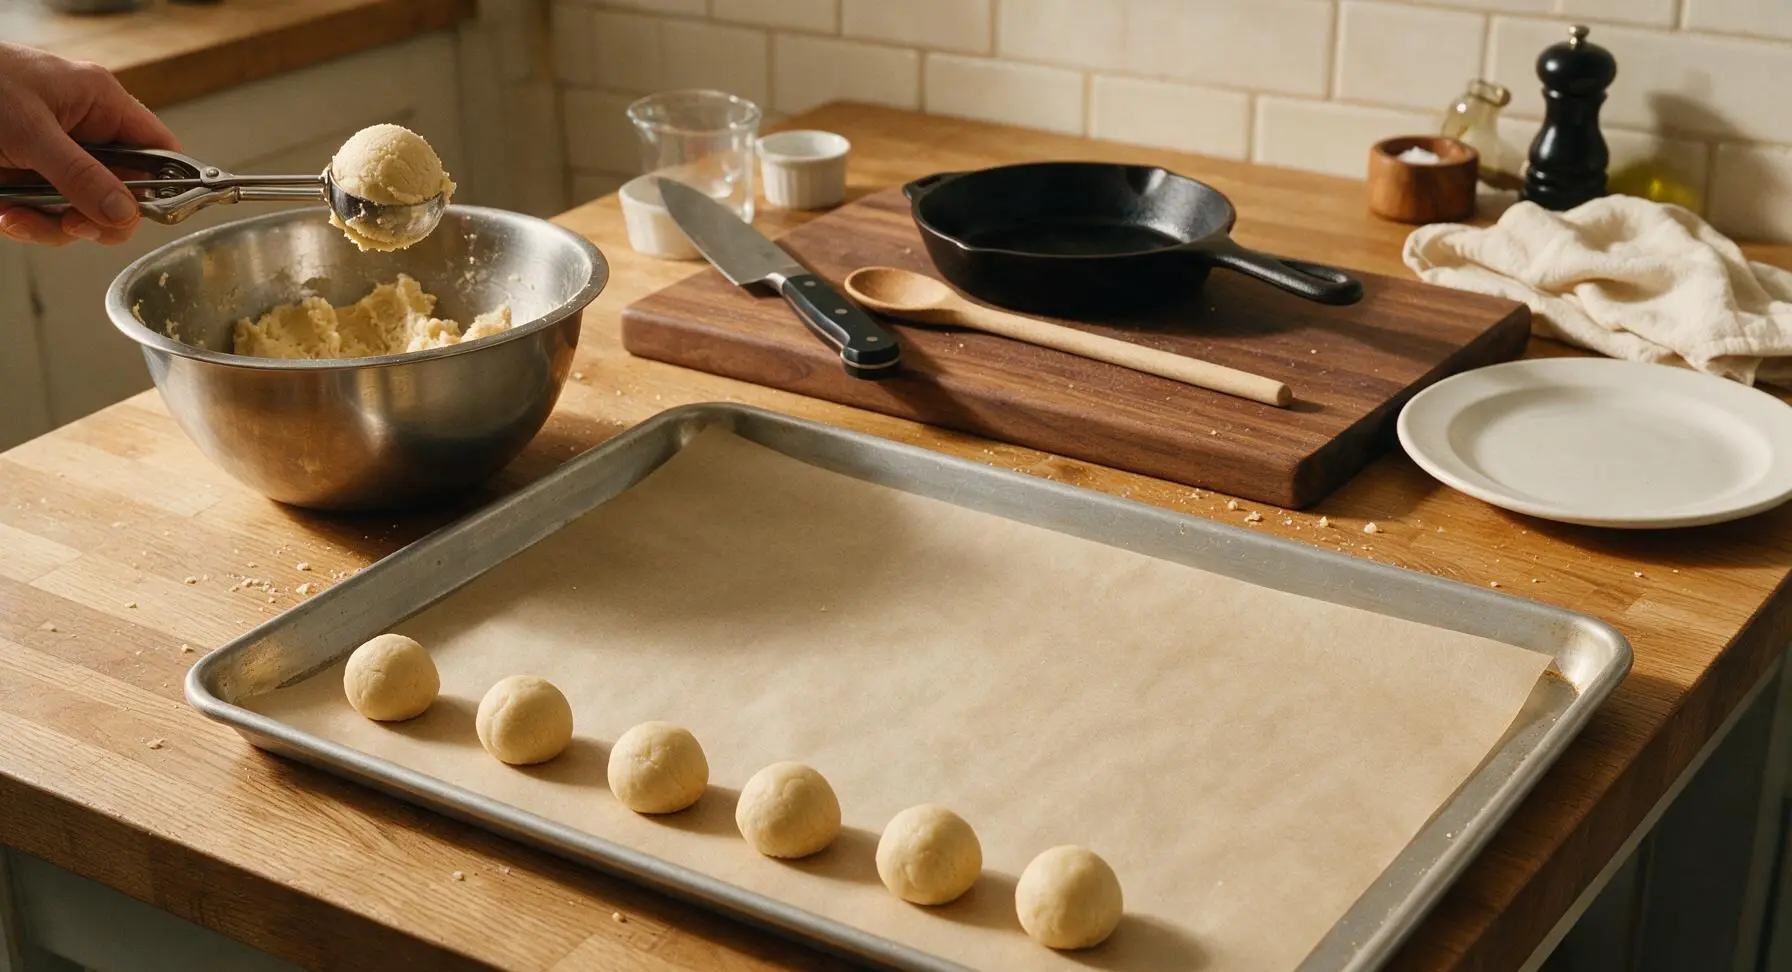
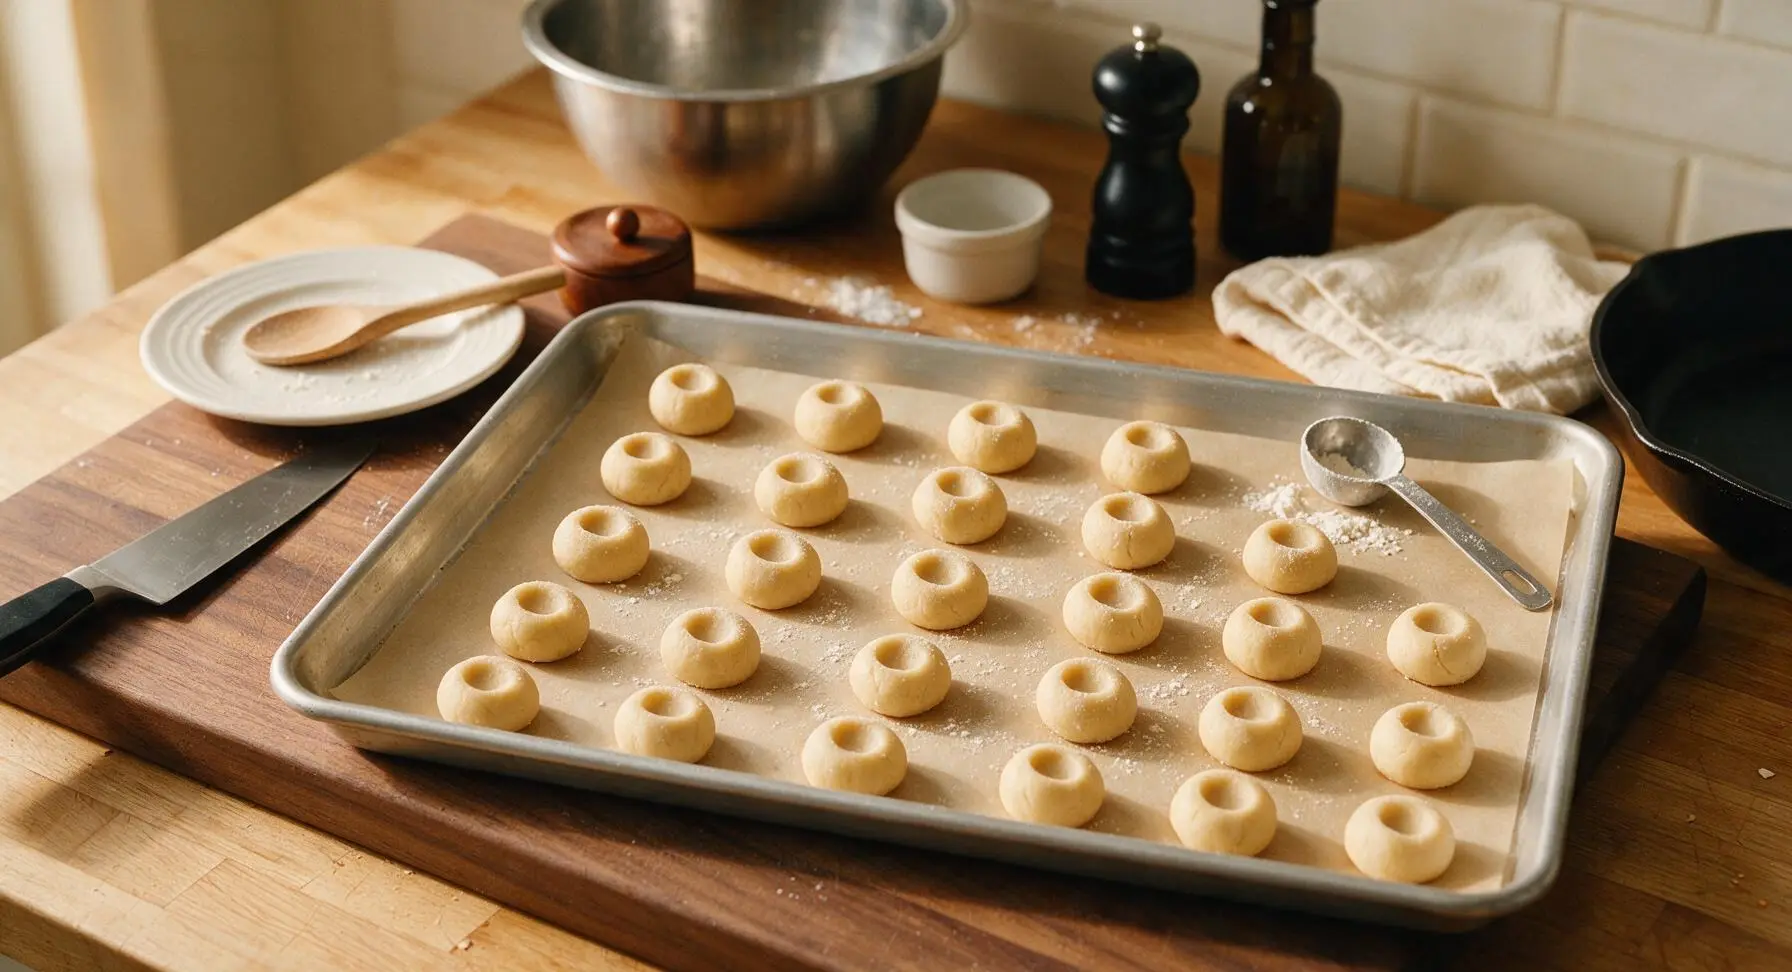
Step 2
step2:Portion Dough Balls
Step 2
step2:Portion Dough Balls
3

Mix Butter Tart Filling

In the medium brushed stainless steel mixing bowl, combine 1/2 cup packed light brown sugar, 1/3 cup light corn syrup, 2 tbsp cooled melted unsalted butter, 1 lightly beaten room-temperature large egg, remaining 1 tsp vanilla extract, and 1/8 tsp baking soda. Stir with the pale sage silicone spatula until completely smooth, with no lumps of brown sugar remaining. Fold in 1/3 cup raisins and 1/3 cup chopped pecans, stirring evenly to distribute the add-ins throughout the sticky golden filling.
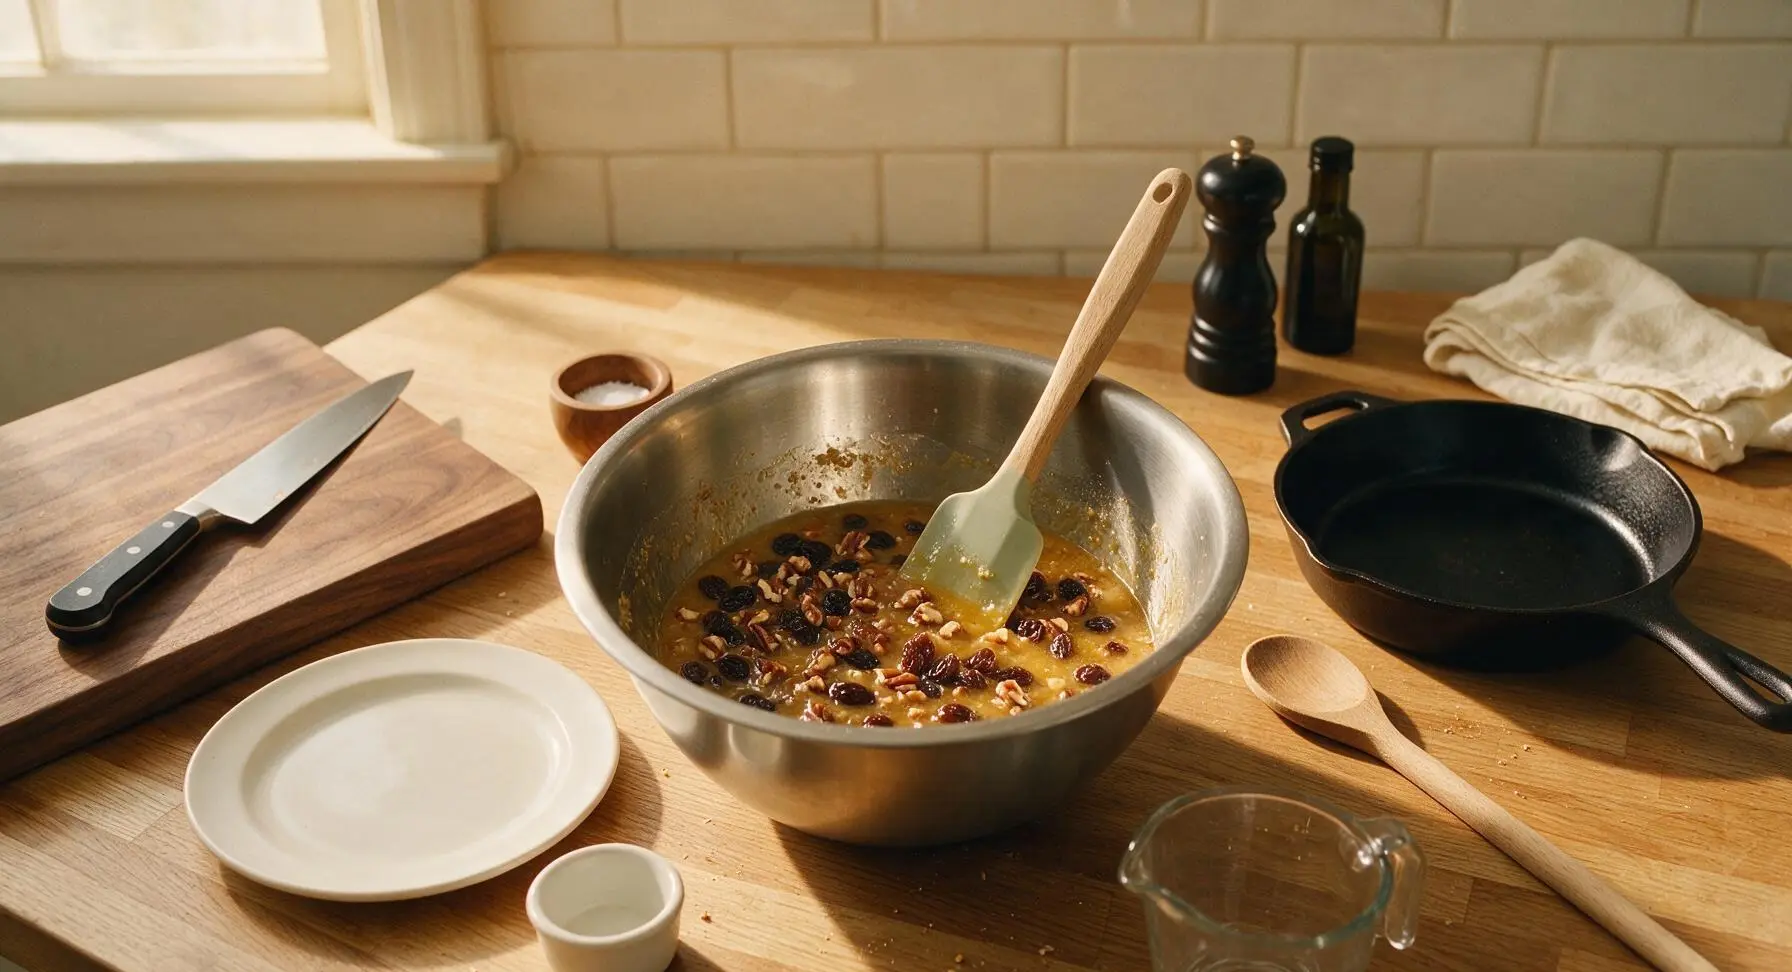
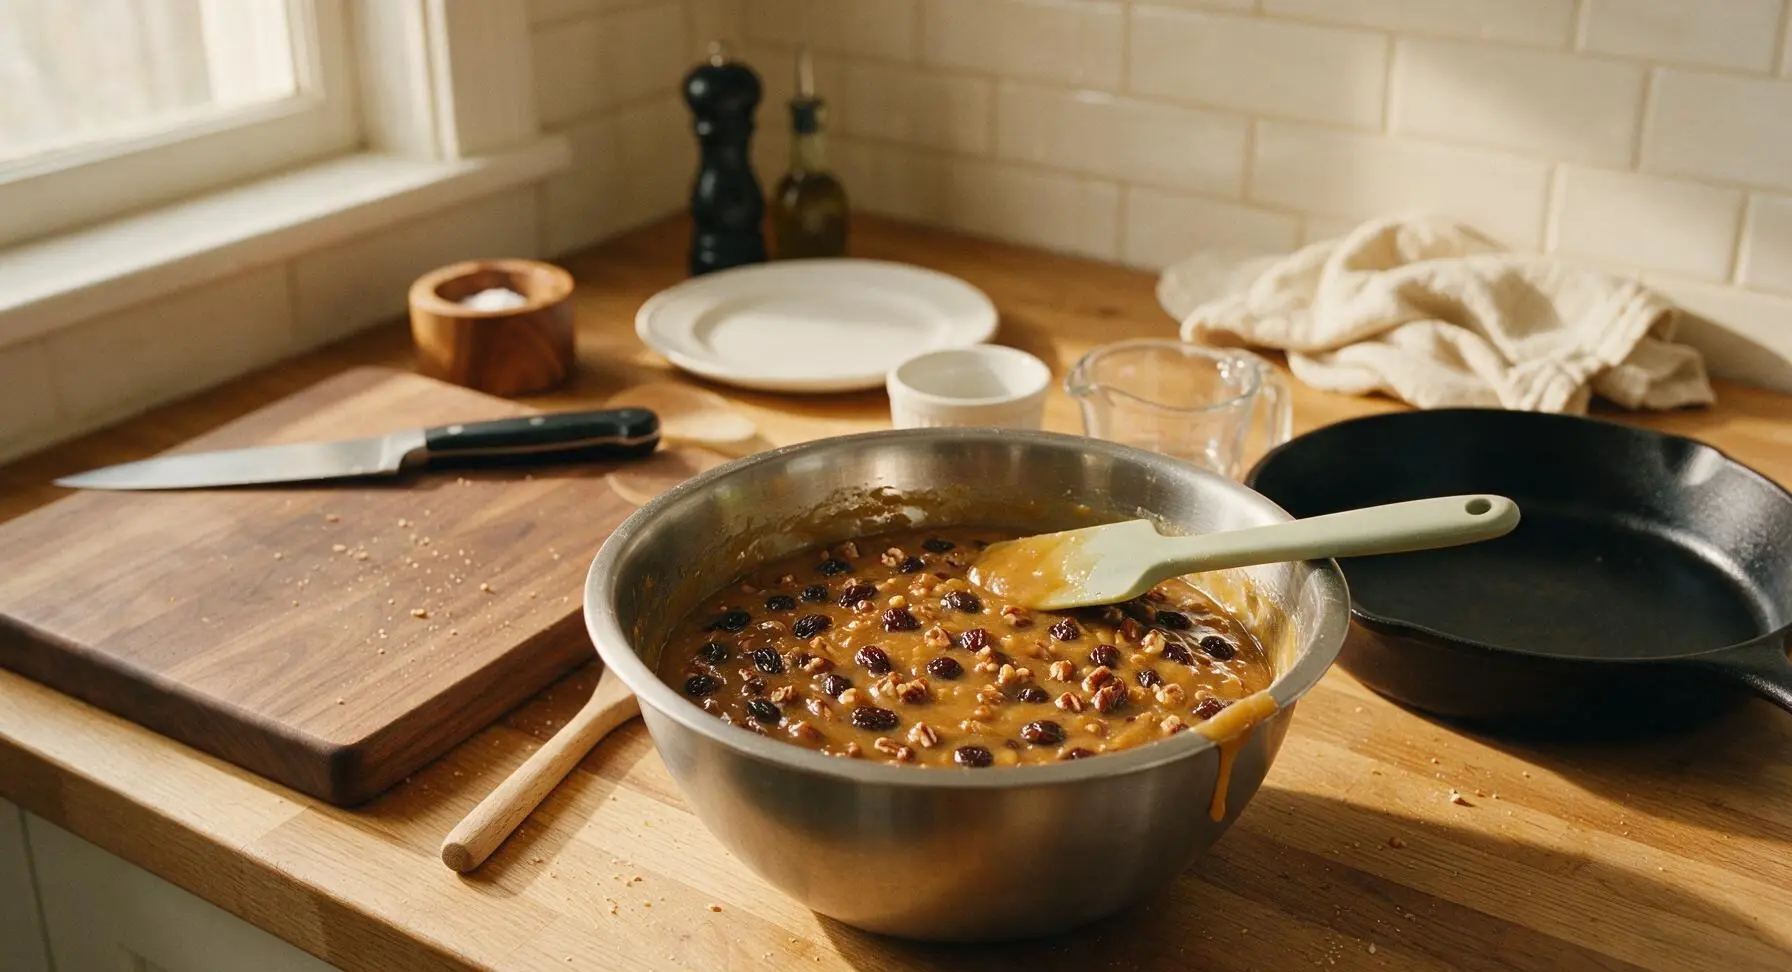
Step 3
step3:Mix Butter Tart Filling
Step 3
step3:Mix Butter Tart Filling
4

Fill Cookie Indents

Use the 1-teaspoon measuring spoon to carefully scoop the butter tart filling into the pressed indentation of each dough ball, filling each indent level with the top of the dough—do not overfill, as the filling will bubble and spread during baking, causing messy overflow. Wipe any drips of filling off the parchment paper between cookies before baking to avoid burnt sugar spots.
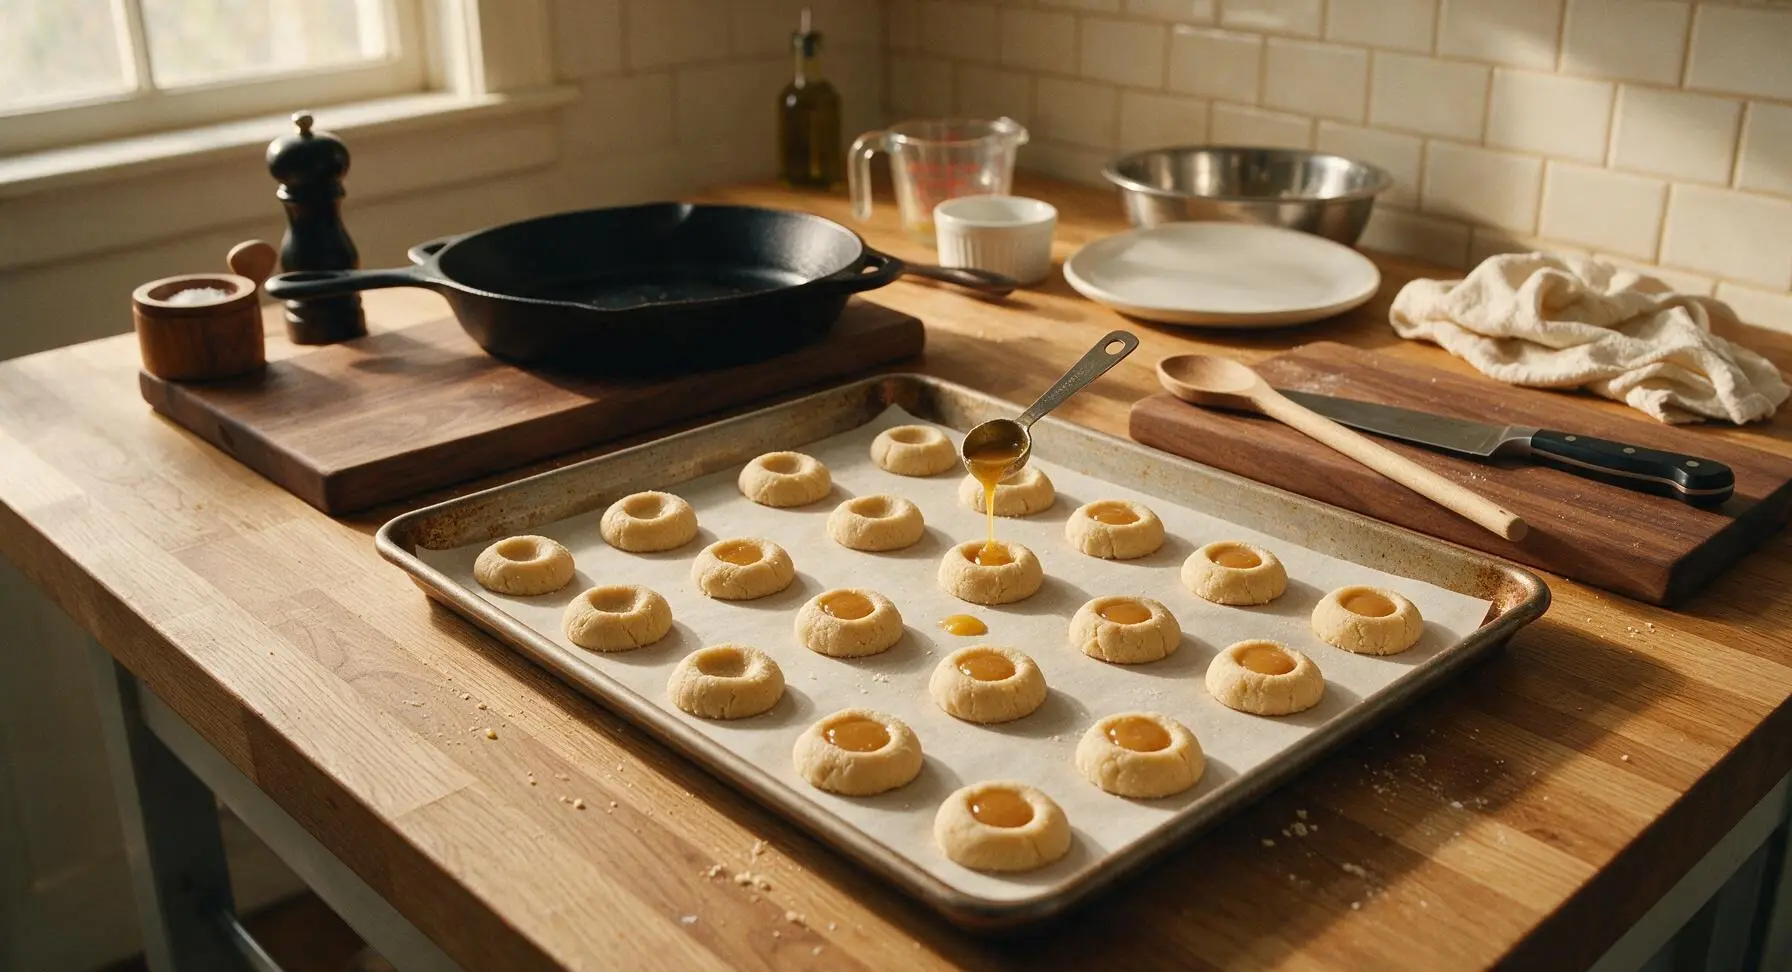
Step 4
step4:Fill Cookie Indents
5

Bake Until Golden

Place the filled baking sheet in a preheated 350°F (175°C) oven. Bake for 11-12 minutes, until the cookie edges are pale golden brown and the filling is bubbly and set around the edges (the center of the filling will still jiggle slightly when the sheet is gently shaken). Do not overbake, as the filling will become hard and toffee-like instead of soft and gooey.
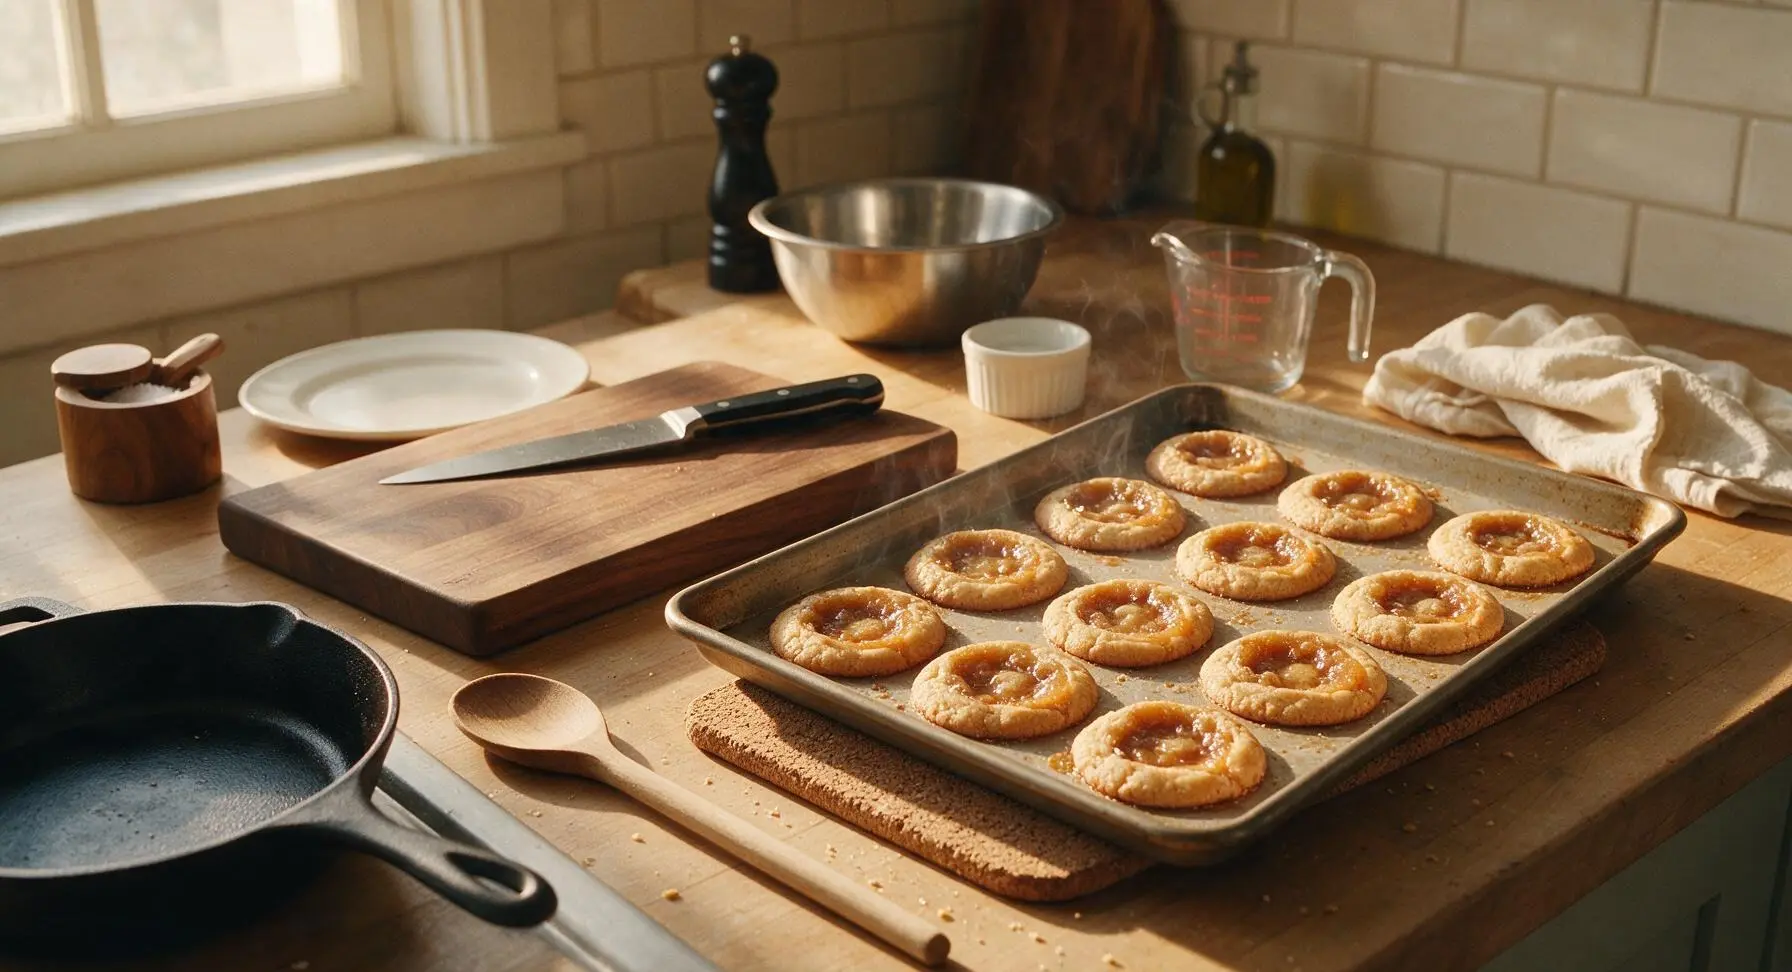
Step 5
step5:Bake Until Golden
6

Cool Cookies Completely

Let cookies rest on the hot baking sheet for 5 minutes immediately after removing from the oven—this allows the filling to set so it does not run when moved. Use the thin stainless steel offset spatula to transfer cookies to the matte black wire cooling rack to cool completely for 20 minutes, until the filling is firm to the touch and no longer sticky to the lightest finger tap.
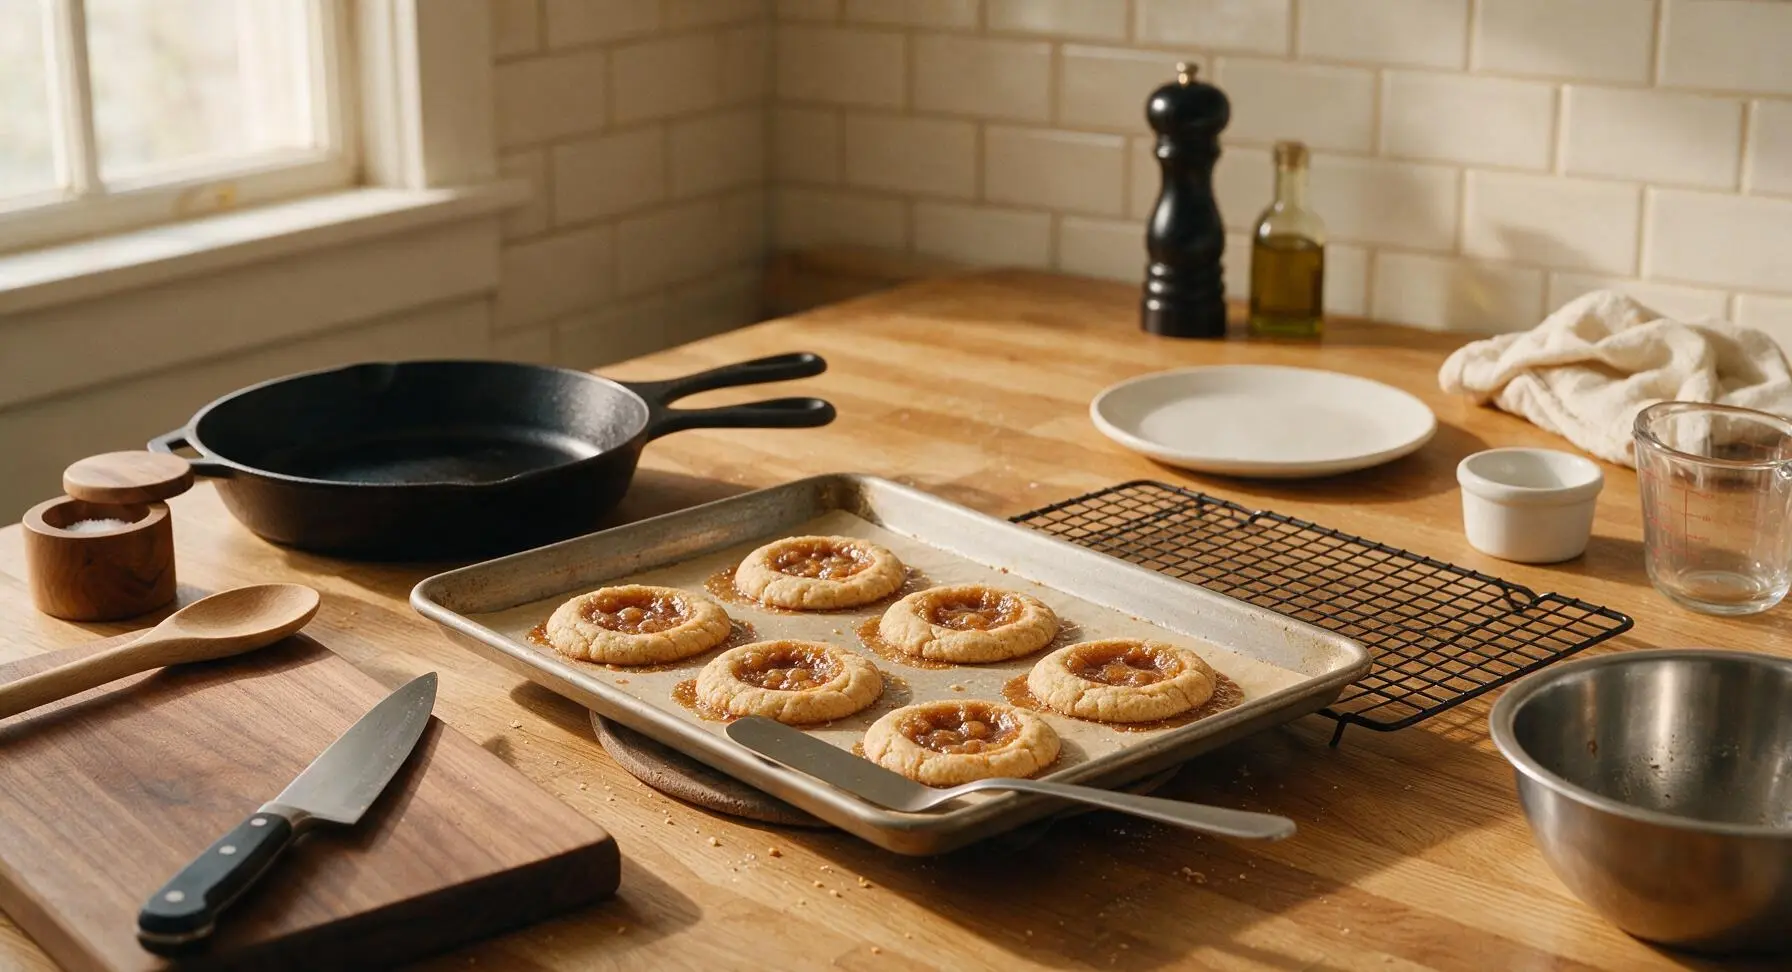
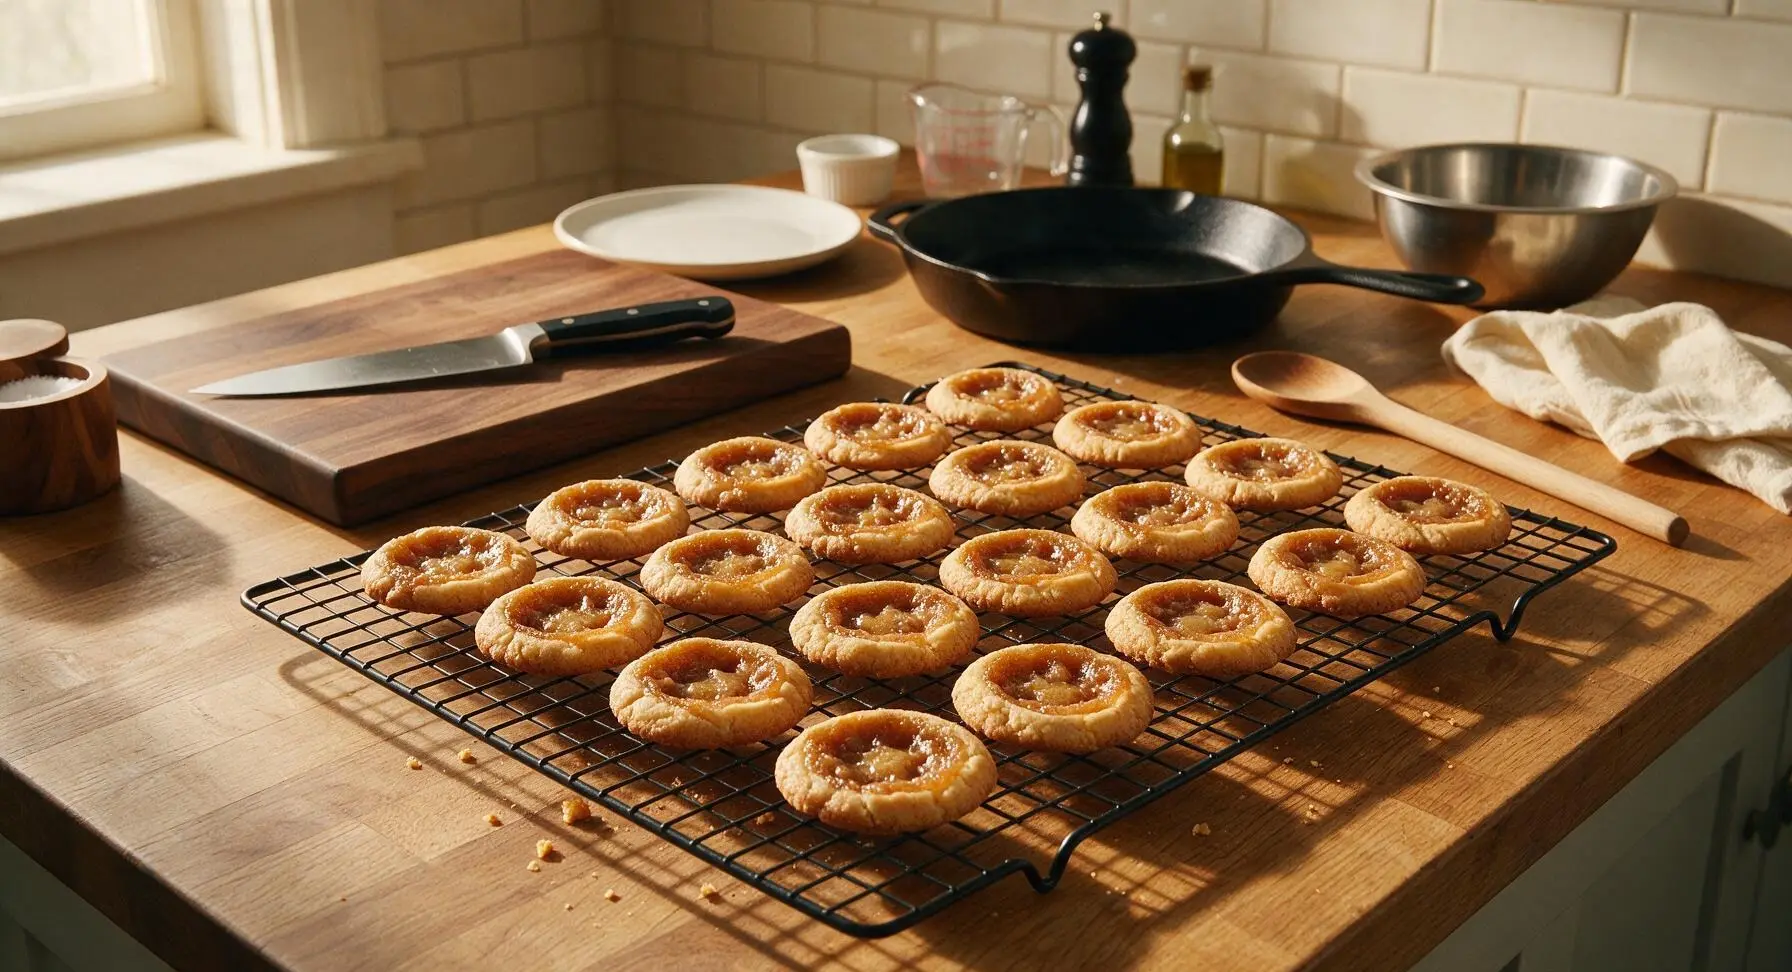
Step 6
step6:Cool Cookies Completely
Step 6
step6:Cool Cookies Completely
7

Plate for Serving

Once fully cooled, arrange cookies in a loose, inviting pile on the cream ceramic serving platter. Serve at room temperature; leftover cookies can be stored in an airtight container at room temperature for up to 4 days.
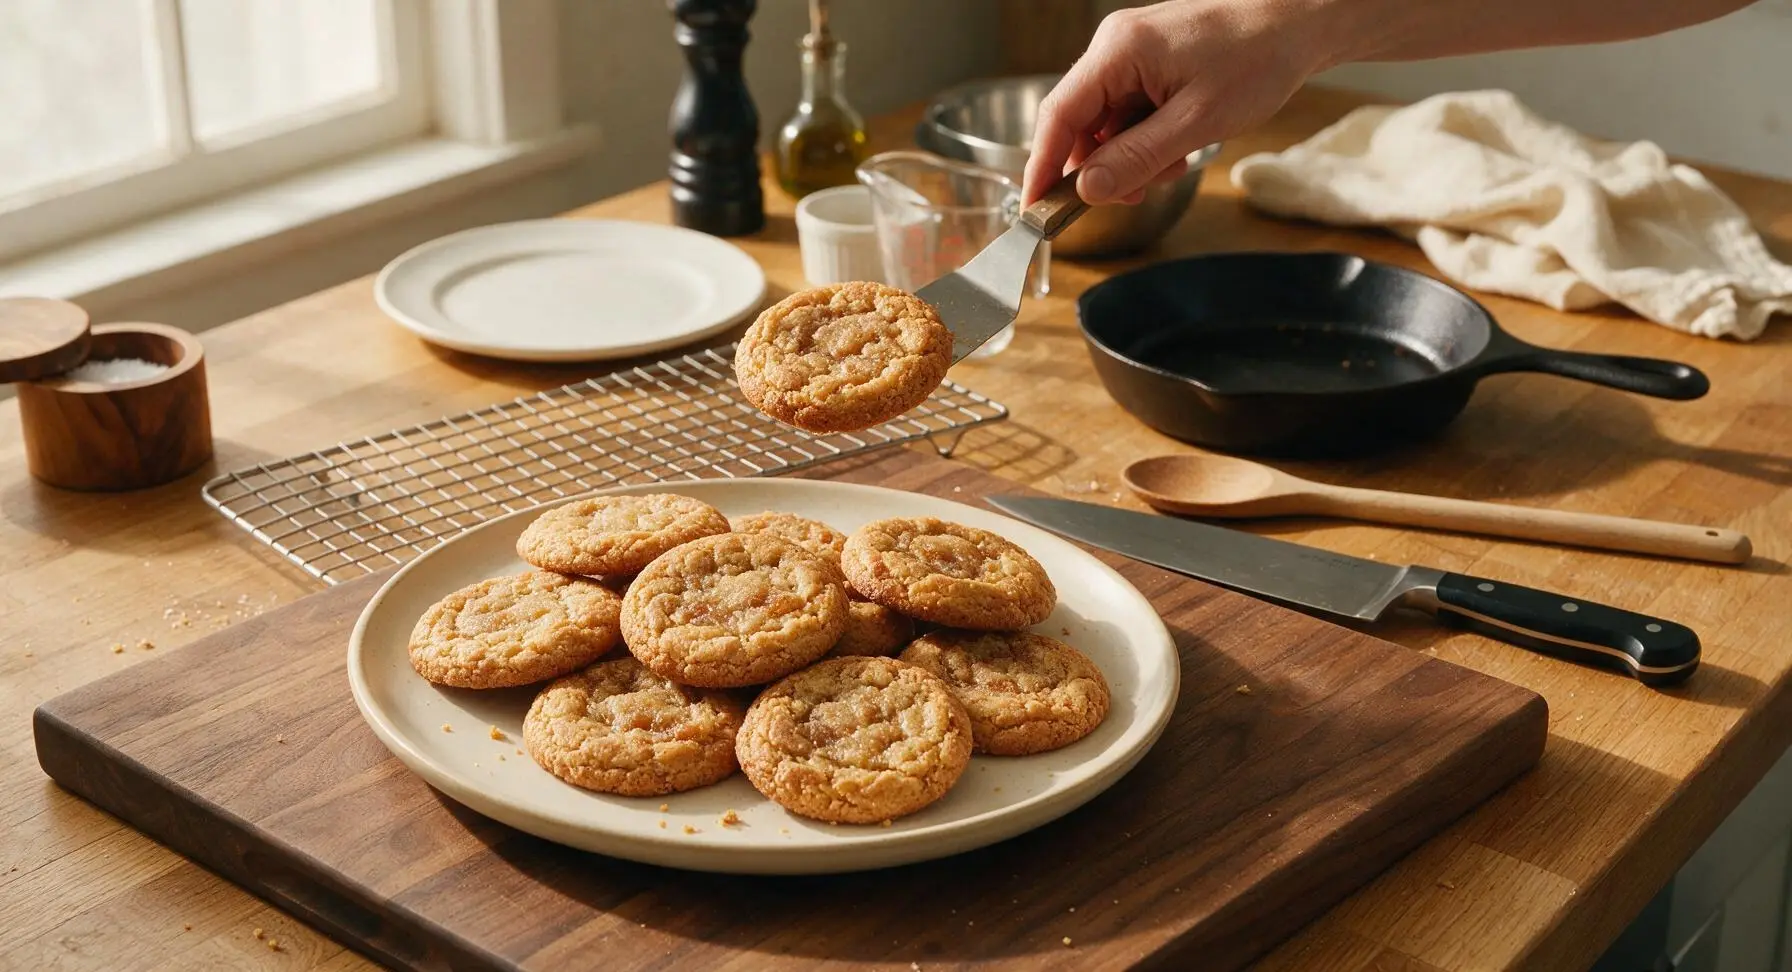
Step 7
step7:Plate for Serving

Tips

1.Avoid overfilling cookie indentations: even 1/4 teaspoon of extra filling will bubble over the cookie edges during baking, creating hard burnt sugar spots on your baking sheet and misshapen cookies with runaway caramel.
2.Let cookies rest on the hot baking sheet for the full 5 minutes before transferring: the caramel filling is extremely liquid straight out of the oven, and moving them too early will cause the filling to run off the cookie base onto the cooling rack.
3.Use room-temperature butter for the shortbread dough, not melted or ice-cold butter: room-temperature butter creams evenly to create a tender, crumbly texture, while cold butter results in dense tough cookies and melted butter causes excessive spread during baking.


✨ You May Also Like

Desserts & Baking
🍜 Italy

Creamy, coffee-kissed classic Northern Italian no-bake dessert, with layers of rum-spiked mascarpone cream, soft ladyfingers, and a rich cocoa dusting.

⏱️ 4 hours 3Desserts & Baking ★ 4.7
Desserts & Baking
🍜 France

Flaky, shatteringly crisp, buttery French croissants with golden exteriors and soft, airy layered interiors, perfect for pairing with coffee for a special morning treat.

⏱️ 12 hours Desserts & Baking ★ 4.5
Desserts & Baking
🍜 United States

Warm, spiced baked apples topped with a fluffy golden biscuit crust, this cozy dessert pairs perfectly with vanilla ice cream for cool-weather comfort.

⏱️ 55 minuteDesserts & Baking ★ 4.6
Desserts & Baking
🍜 United States

A star-spangled classic American blueberry pie with buttery flaky crust and bright sweet-tart filling, perfect for summer patriotic gatherings.

⏱️ 1 hour 25Desserts & Baking ★ 4.7
Desserts & Baking
🍜 United States

A beloved no-bake regional Maine candy with a chewy coconut-potato center coated in rich dark chocolate, a New England holiday staple since the 1870s.

⏱️ 2 hours 3Desserts & Baking ★ 4.8
Desserts & Baking
🍜 France

Luxuriously creamy, floral frozen custard made with aromatic Tahitian vanilla beans, boasting a smooth, rich texture that melts slowly on the tongue.

⏱️ 3 hours 3Desserts & Baking ★ 4.5

Canadian Butter Tart Cookies:Frequently Asked Questions

1.How are these butter tart cookies different from classic Canadian butter tarts? ▾
These cookies swap the traditional flaky pastry tart shell for a tender, buttery shortbread base that holds a smaller portion of that iconic gooey caramel filling. They’re fully portable, bite-sized, and far less messy than full-sized butter tarts, delivering all the same nostalgic, raisin-and-pecan studded caramel flavor without needing a tart pan or careful pastry crimping.
2.Can I make the shortbread dough ahead of baking day? ▾
Absolutely! Shape the shortbread dough into a tight disk, wrap it fully in plastic wrap, and store it in the fridge for up to 3 days, or freeze it for up to 3 months. Let chilled dough rest at room temperature for 10 to 15 minutes before pressing it into your pan, so it’s malleable enough to form even cups without cracking as you work.
3.My butter tart filling always turns out too runny—how do I get that perfect gooey, set texture? ▾
The biggest mistake people make is judging filling consistency right out of the oven, since it sets as it cools. If your filling is still soupy after 20 minutes of cooling, pop the cookies back in the oven for 2 to 3 extra minutes at 350°F, then let them rest fully in the pan for another 20 minutes before removing.
4.Can I leave out the raisins or pecans if I don’t care for them? ▾
Of course! Butter tart add-ins spark friendly, decades-long debates across Canada, so customization is totally encouraged. Swap raisins for dried cranberries or chopped dates, leave out nuts for a nut-free version, or add mini chocolate chips or a pinch of flaky sea salt to the filling to match your taste, no other recipe adjustments needed.
5.Do I need a special pan to make these cookies? ▾
You don’t need any fancy specialty equipment! A standard 24-cup mini muffin tin works perfectly here. Just grease each cup lightly with nonstick spray or softened butter before pressing a small ball of shortbread dough into the bottom and up the sides to form a tiny cup for the filling. A regular muffin tin works too, just scale up dough portions for larger cookies.
6.Why does my shortbread base turn out tough instead of tender and crumbly? ▾
Tough shortbread almost always comes from overworking the dough, or measuring flour incorrectly by packing it too tightly into your measuring cup. Spoon flour into your cup and level it off with a knife, then mix the dough just until ingredients come together—stop as soon as you no longer see dry flour patches to keep that melt-in-your-mouth crumb.
7.How should I store these cookies to keep the filling gooey? ▾
Store fully cooled cookies in an airtight container layered between sheets of parchment paper to prevent sticking, and keep them at cool room temperature (under 75°F) for up to 5 days. If your kitchen is warm, pop the container in the fridge to keep the filling from oozing, and let cookies sit at room temp for 10 minutes before serving for the best texture.
8.Can I freeze these butter tart cookies for later? ▾
Definitely! Let the cookies cool completely first, then arrange them in a single layer on a baking sheet to freeze solid for 2 hours before transferring to a freezer-safe airtight container, separated by parchment layers. They’ll keep for up to 3 months in the freezer; just thaw them at room temperature for 30 minutes before eating, no reheating needed.
9.I only have salted butter on hand—can I use that instead of unsalted? ▾
You can, just adjust the added fine sea salt to account for the salt already in the butter. For every stick (½ cup) of salted butter you use in the dough, cut the added salt by ¼ teaspoon. This keeps the cookies from tasting overly salty, while still letting that rich, buttery flavor and sweet caramel filling shine through without tasting unbalanced.
10.How do I keep the filling from bubbling over the cookie edges while baking? ▾
The easiest fix is to avoid overfilling your shortbread cups—only pour filling to ⅔ of the way up each cup, since it bubbles and expands as it heats up. You can also place a rimmed baking sheet under your muffin tin in the oven to catch any stray drips, so you don’t end up with burnt caramel mess on the bottom of your oven.
11.Can I make these with the extra-runny, oozing center some classic butter tarts are known for? ▾
Absolutely! Pull the cookies out of the oven 1 to 2 minutes early, when the edges of the filling are just set and the very center is still slightly jiggly. Let them cool only 10 minutes in the pan before gently removing them—this leaves the center soft and runny, just like the most beloved old-fashioned butter tart recipes.

Comments (3)

3 days ago

OMG these were such a hit at our neighborhood potluck last weekend! I was a little nervous because the difficulty says medium, but the steps were actually super straightforward as long as you don’t rush the butter tart filling. My kids begged me to make a second batch before we even left the party — SO good, the chewy caramel center with that crumbly cookie base is a total game changer. 10/10 will be making these for our Thanksgiving dessert spread too!

2 days ago

Yesss I brought these to my book club last month and everyone asked for the recipe too! Quick question — can I substitute raisins for chopped pecans in the filling without messing up the texture?

yesterday

So happy to hear these are making the potluck and party rounds! Chopped pecans work absolutely beautifully as a swap for raisins — we’ve even tested them with crushed walnuts and mini chocolate chips, and all variations hold up perfectly. Just make sure not to overfill the cookie cups or the filling will bubble over while baking!

5 days ago

Tried these last night for my son’s after-school soccer team snack and wow, even the coaches asked for the recipe! I will say I accidentally baked mine 2 minutes too long so the edges were a little crispier than I wanted, but that chewy center still hit. Definitely set a timer next time, y’all — 24 minutes is exactly right if your oven runs hot like mine.

3 days ago

Thanks so much for giving these a try, and so glad the team loved them! For anyone with a convection or extra-hot oven, dropping the temp by 25 degrees and checking at the 20 minute mark can help keep those edges perfectly tender instead of overcrisping. Great tip about the timer!

1 week ago

These were so fun to bake on my rainy Sunday afternoon! I pre-portioned half the batch into the freezer for quick weeknight treats, and they thaw perfectly in 30 seconds in the microwave. The sweet buttery flavor reminds me so much of the butter tarts I used to get on road trips up to Toronto when I was a kid — total nostalgia punch. Will absolutely be adding these to my regular baking rotation!



