
Canadian Butter Tarts

title 1
Canadian Butter Tarts
⏱️ cook time 20 minutes
🍽️ servings 12
⚡ Difficulty medium

intro

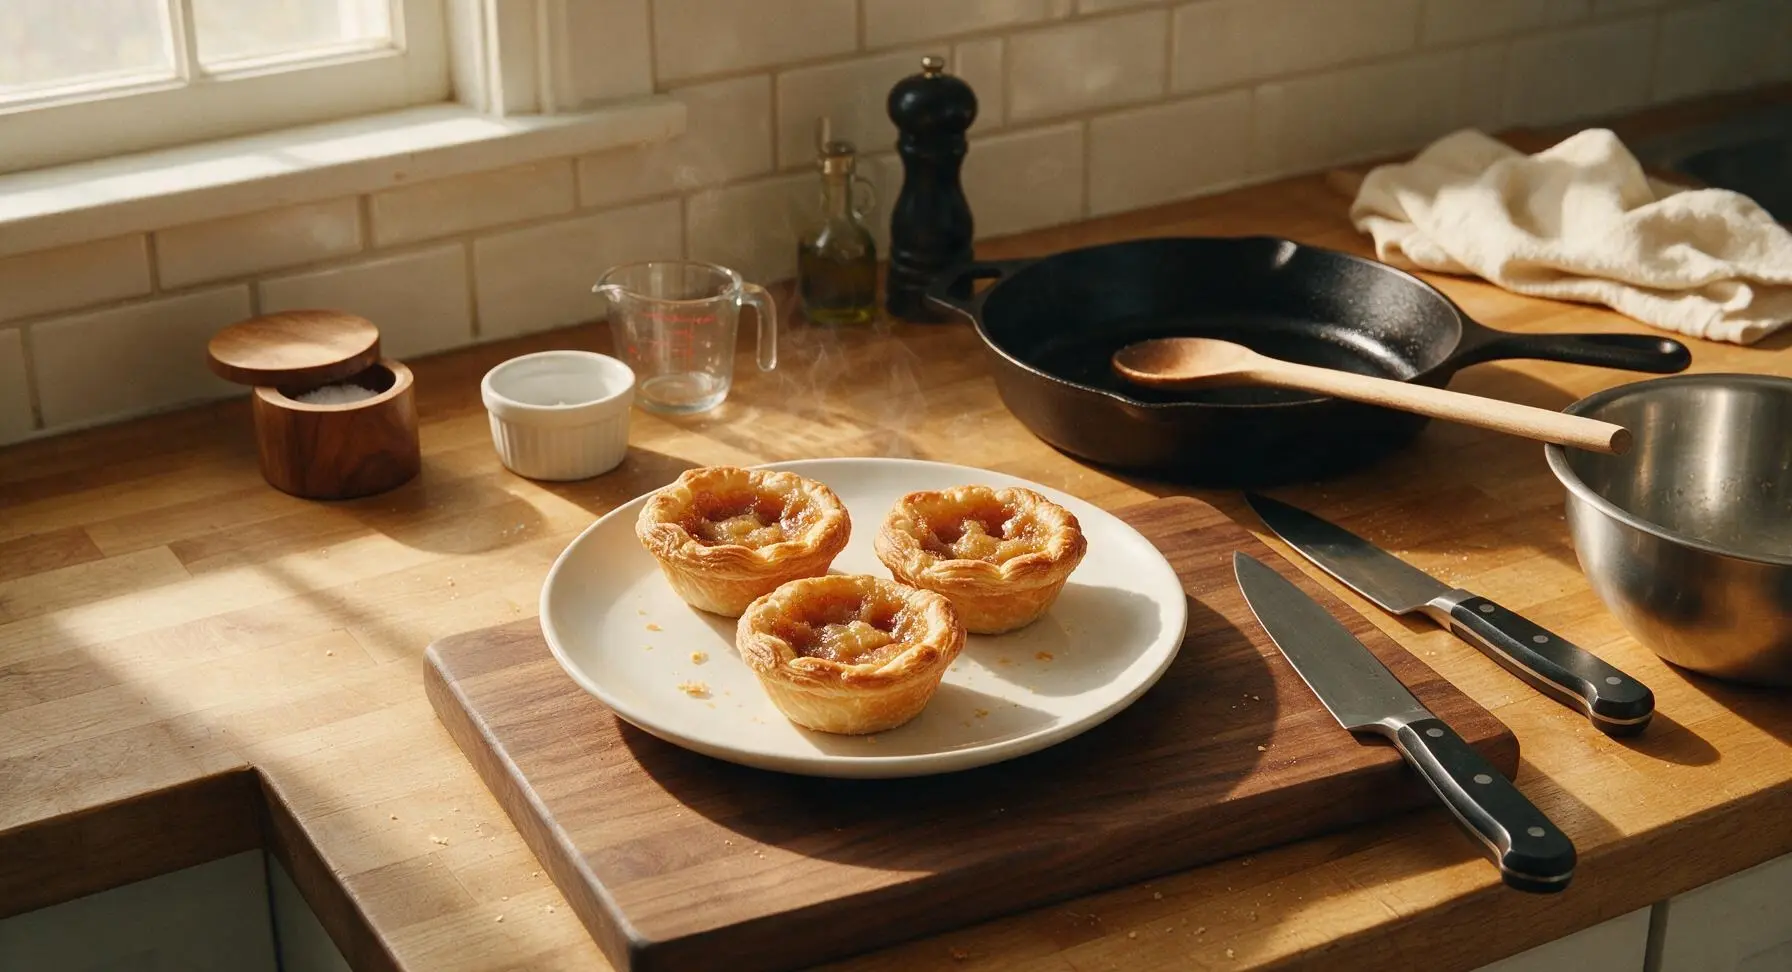
Iconic Canadian butter tarts with flaky shortcrust pastry and a gooey, buttery caramel center—nostalgic, sweet, and a beloved holiday baking staple.

Ingredients
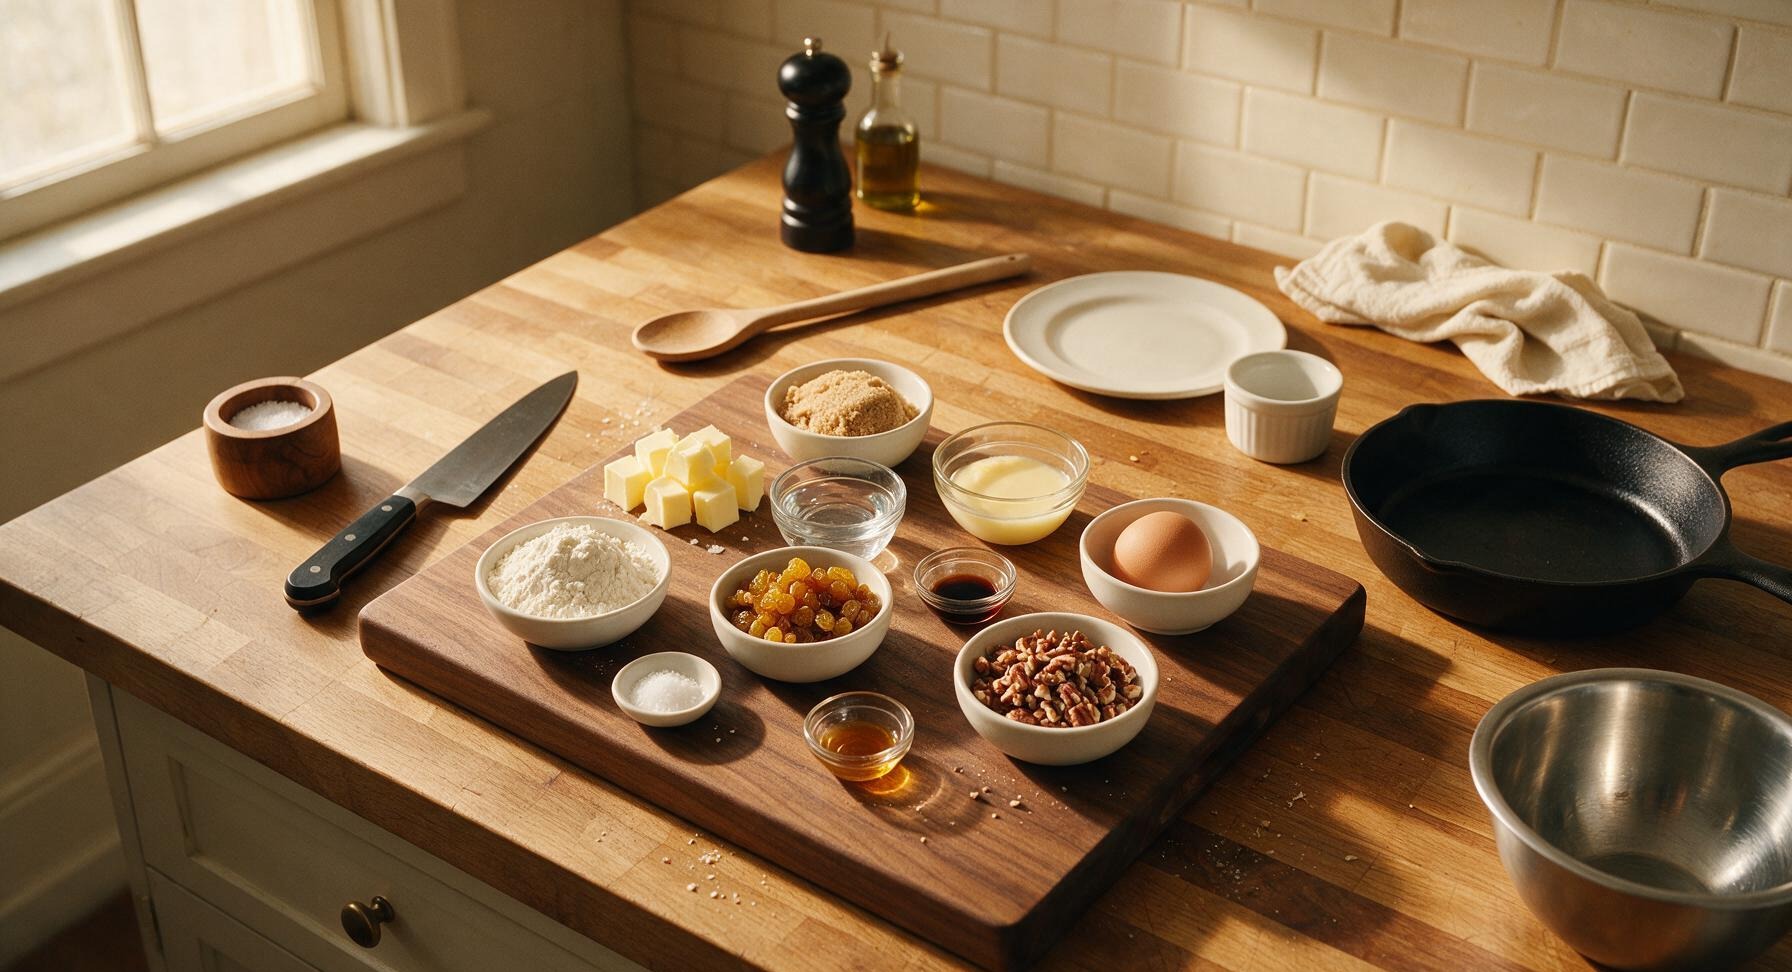
All-purpose flour 180g (1 ½ cups)
Cold unsalted butter (for pastry) 113g (1 stick, cubed)
Fine sea salt ¾ tsp (divided)
Ice water 3-4 tbsp
Packed light brown sugar 150g (¾ cup)
Light corn syrup 120ml (½ cup)
Unsalted butter (for filling, melted, cooled) 57g (½ stick)
Large egg (room temperature) 1
Pure vanilla extract 1 tsp
Apple cider vinegar 1 tsp
Golden raisins (optional) 60g (⅓ cup)
Chopped pecans (optional) 50g (½ cup)

Steps

1

Prepare Pastry Dough

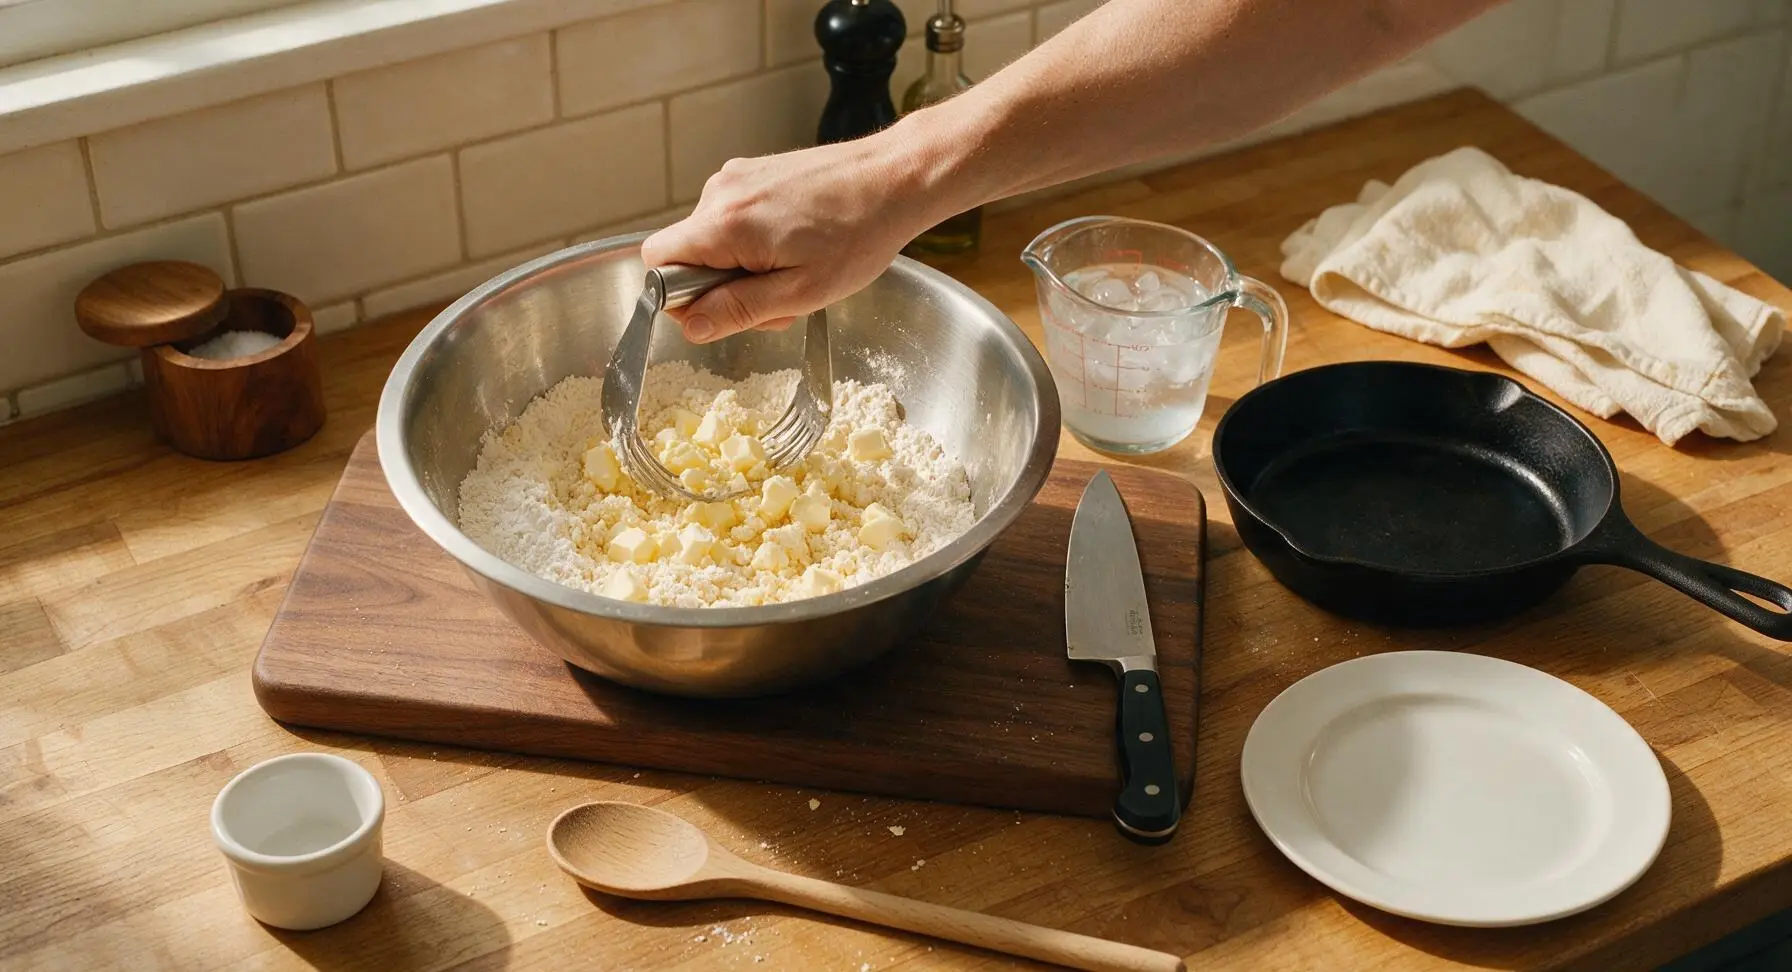
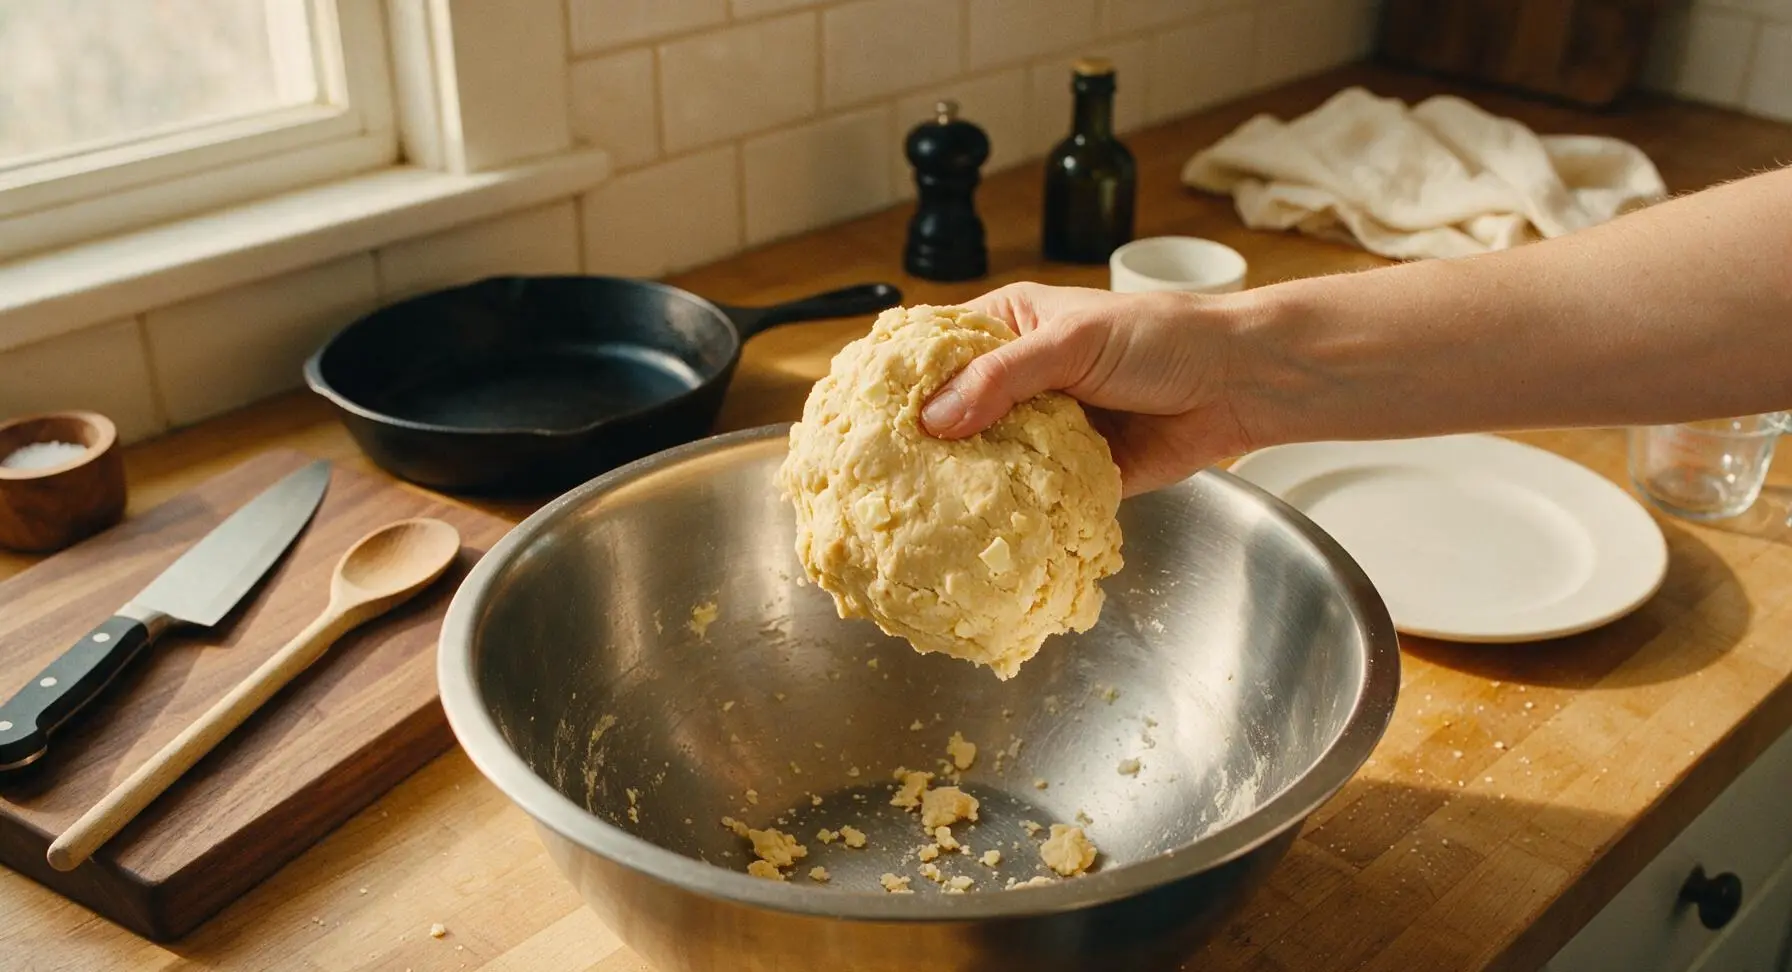
In the large stainless steel mixing bowl, combine 1 ½ cups (180g) all-purpose flour and ½ tsp fine sea salt. Add 113g (1 stick) cold cubed unsalted butter, and use the metal pastry blender to cut the butter into the flour until the mixture resembles coarse crumbs with visible pea-sized butter pieces remaining. Drizzle 3 tbsp ice water over the mixture, stirring gently with the matte butter yellow silicone spatula. Add up to 1 additional tbsp ice water if needed, until the dough just holds together when squeezed—do not overmix, as this will create tough pastry.
Step 1
step1:Prepare Pastry Dough
Step 1
step1:Prepare Pastry Dough
2

Chill the Dough

Turn the shaggy dough out onto a lightly floured section of the maple cutting board. Shape it into a uniform 2cm thick flat disk, wrap tightly in parchment paper, and refrigerate for 1 full hour. Chilling relaxes the gluten and solidifies the butter, preventing pastry shrinkage during baking and ensuring flaky layers.
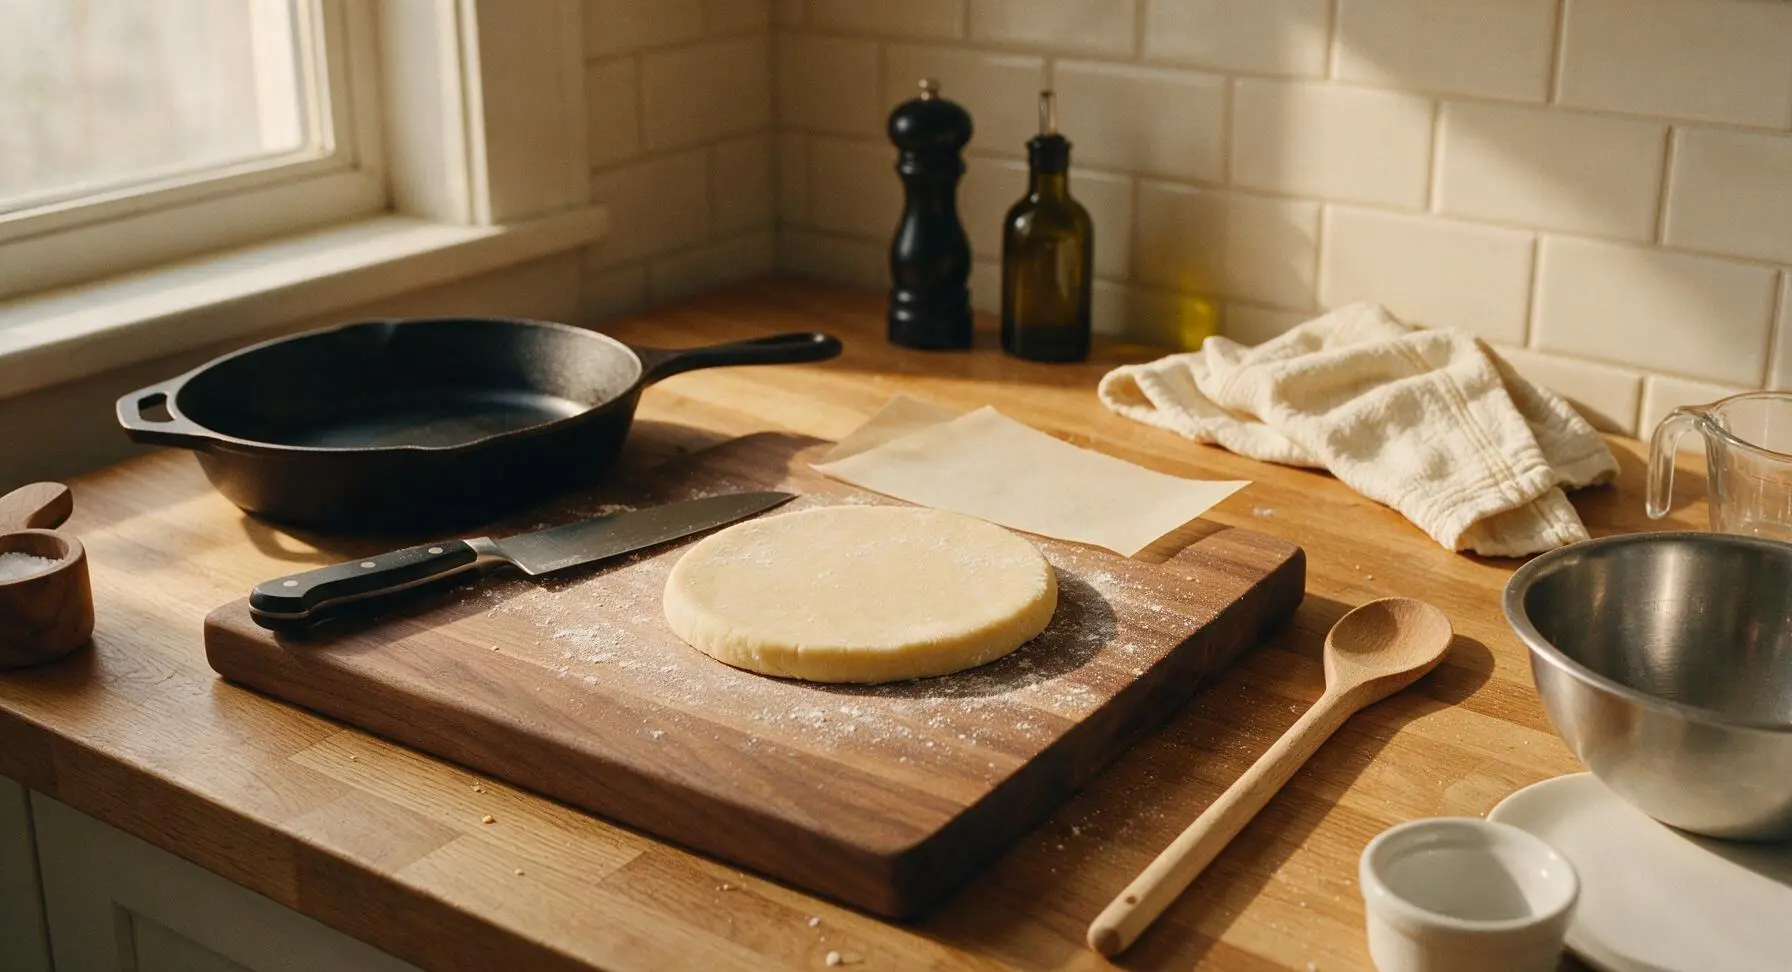
Step 2
step2:Chill the Dough
3

Roll and Cut Shells

After chilling, let the dough rest at room temperature for 5 minutes to prevent cracking. Lightly flour the cutting board and stainless steel rolling pin, then roll the dough to an even 3mm (1/8 inch) thickness. Use the 3-inch fluted metal cookie cutter to cut 12 circular shells, re-rolling dough scraps once only (over-rolling scraps creates tough pastry). Gently press each dough circle into the cups of the dark grey non-stick muffin tin, leaving a 5mm fluted overhang at the top of each cup.
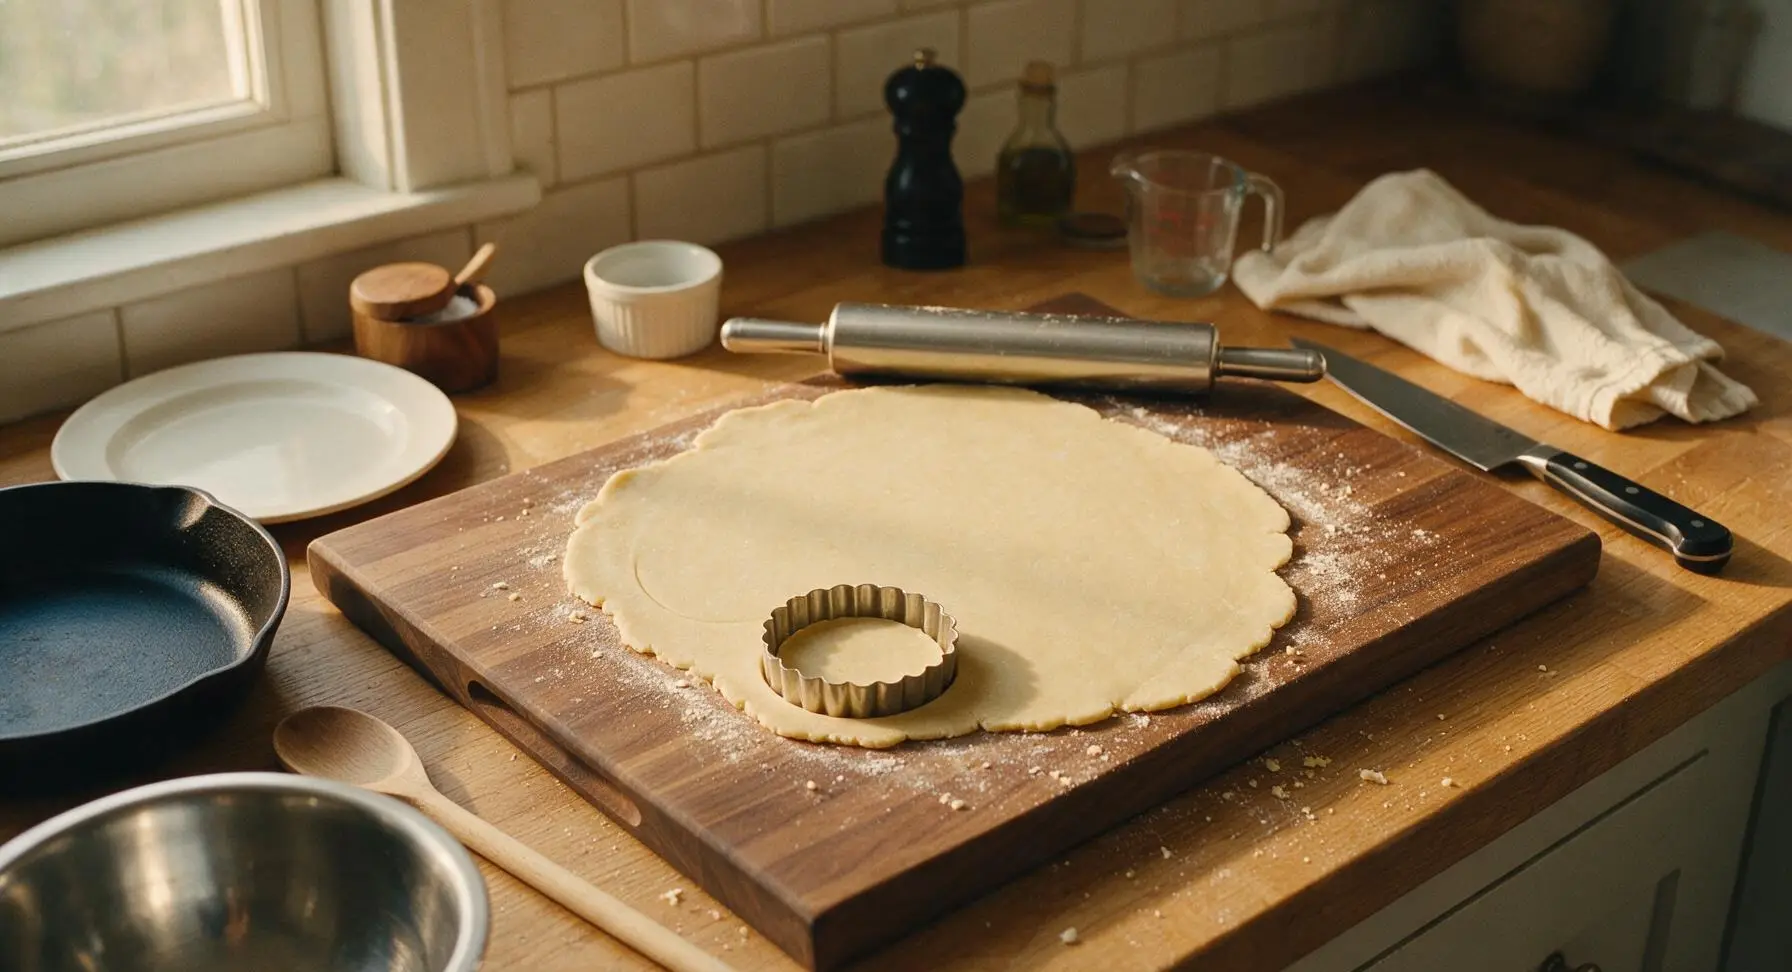
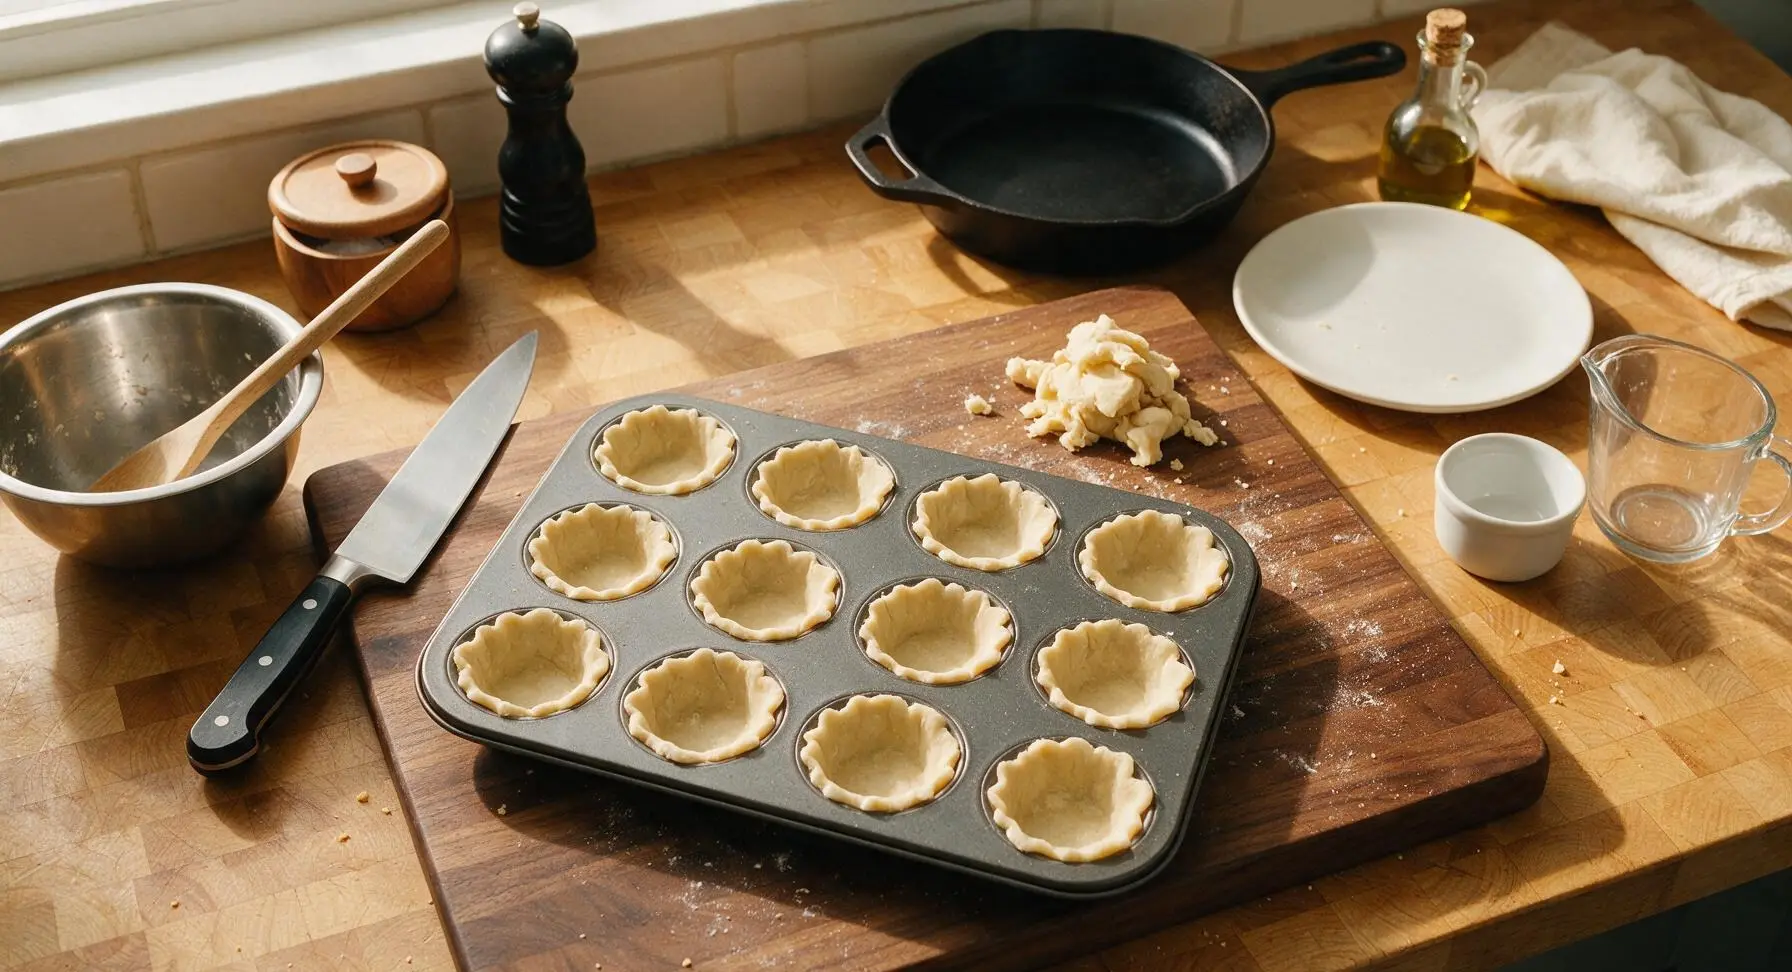
Step 3
step3:Roll and Cut Shells
Step 3
step3:Roll and Cut Shells
4

Mix Butter Filling

In the medium stainless steel mixing bowl, use the stainless steel whisk to combine ¾ cup (150g) packed light brown sugar, ½ cup (120ml) light corn syrup, 57g (½ stick) cooled melted unsalted butter, 1 room-temperature large egg, 1 tsp pure vanilla extract, 1 tsp apple cider vinegar, and ¼ tsp fine sea salt. Whisk until completely smooth, with no lumps of brown sugar remaining. If using raisins or pecans, place 1 tsp of add-ins into the bottom of each pastry shell before adding liquid filling.
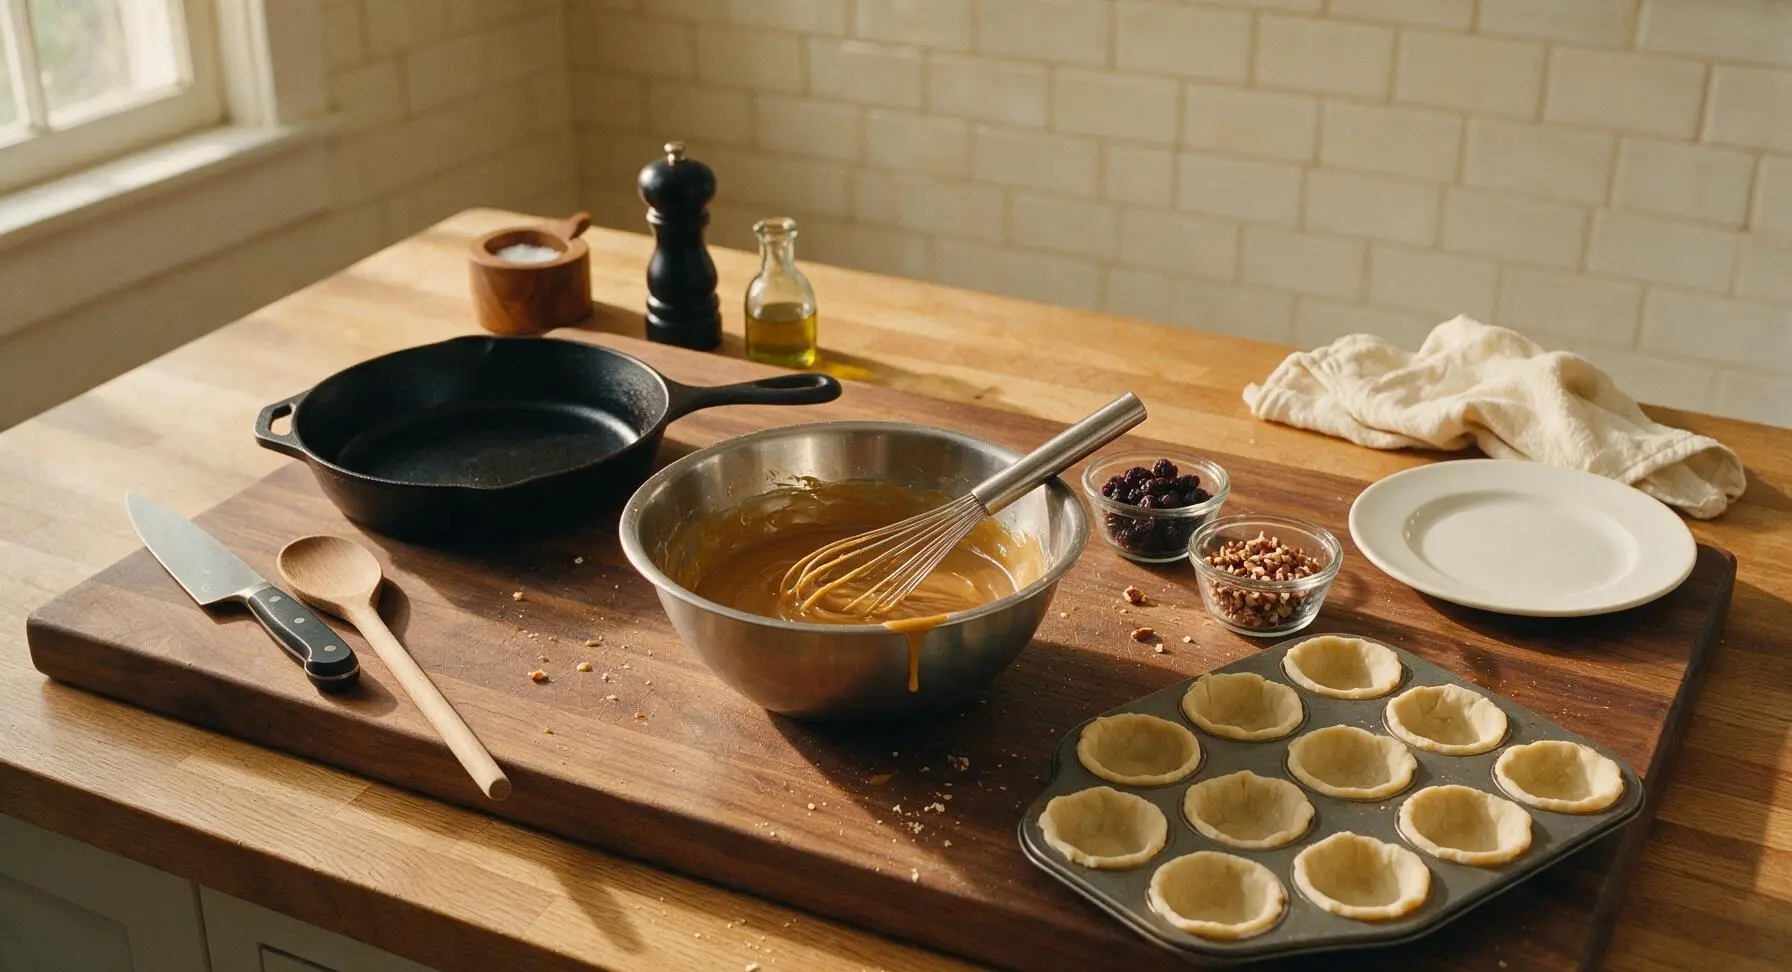
Step 4
step4:Mix Butter Filling
5

Fill Pastry Shells

Carefully pour the filling into each pastry-lined muffin cup, filling each only two-thirds full. Hold back on extra filling, as the sugary mixture expands and bubbles aggressively during baking—overfilling causes sticky spills that make tarts hard to remove and result in dry, set filling.
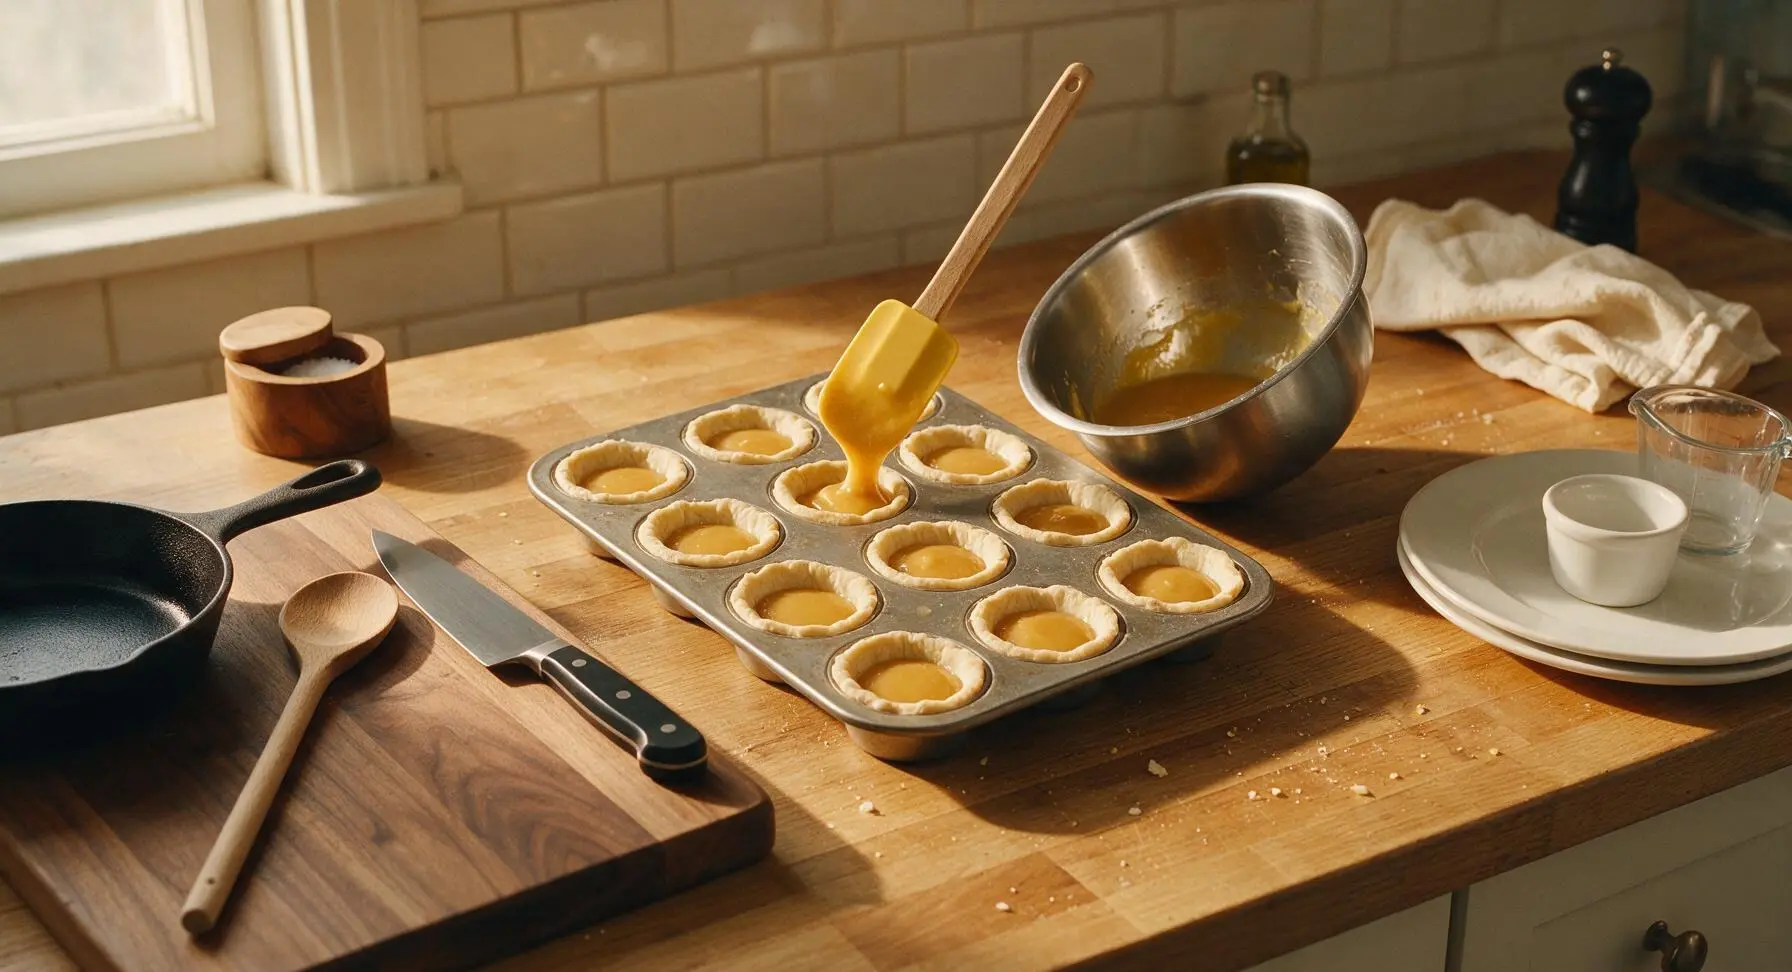
Step 5
step5:Fill Pastry Shells
6

Bake Until Set

Place the filled muffin tin on the middle rack of a preheated 190C (375F) oven. Bake for 18-22 minutes, until the pastry edges are deep golden brown, and the filling is bubbly around the edges with a slightly jiggly center (like Jell-O) when the tin is gently shaken. The filling will continue to set as it cools, so do not overbake.
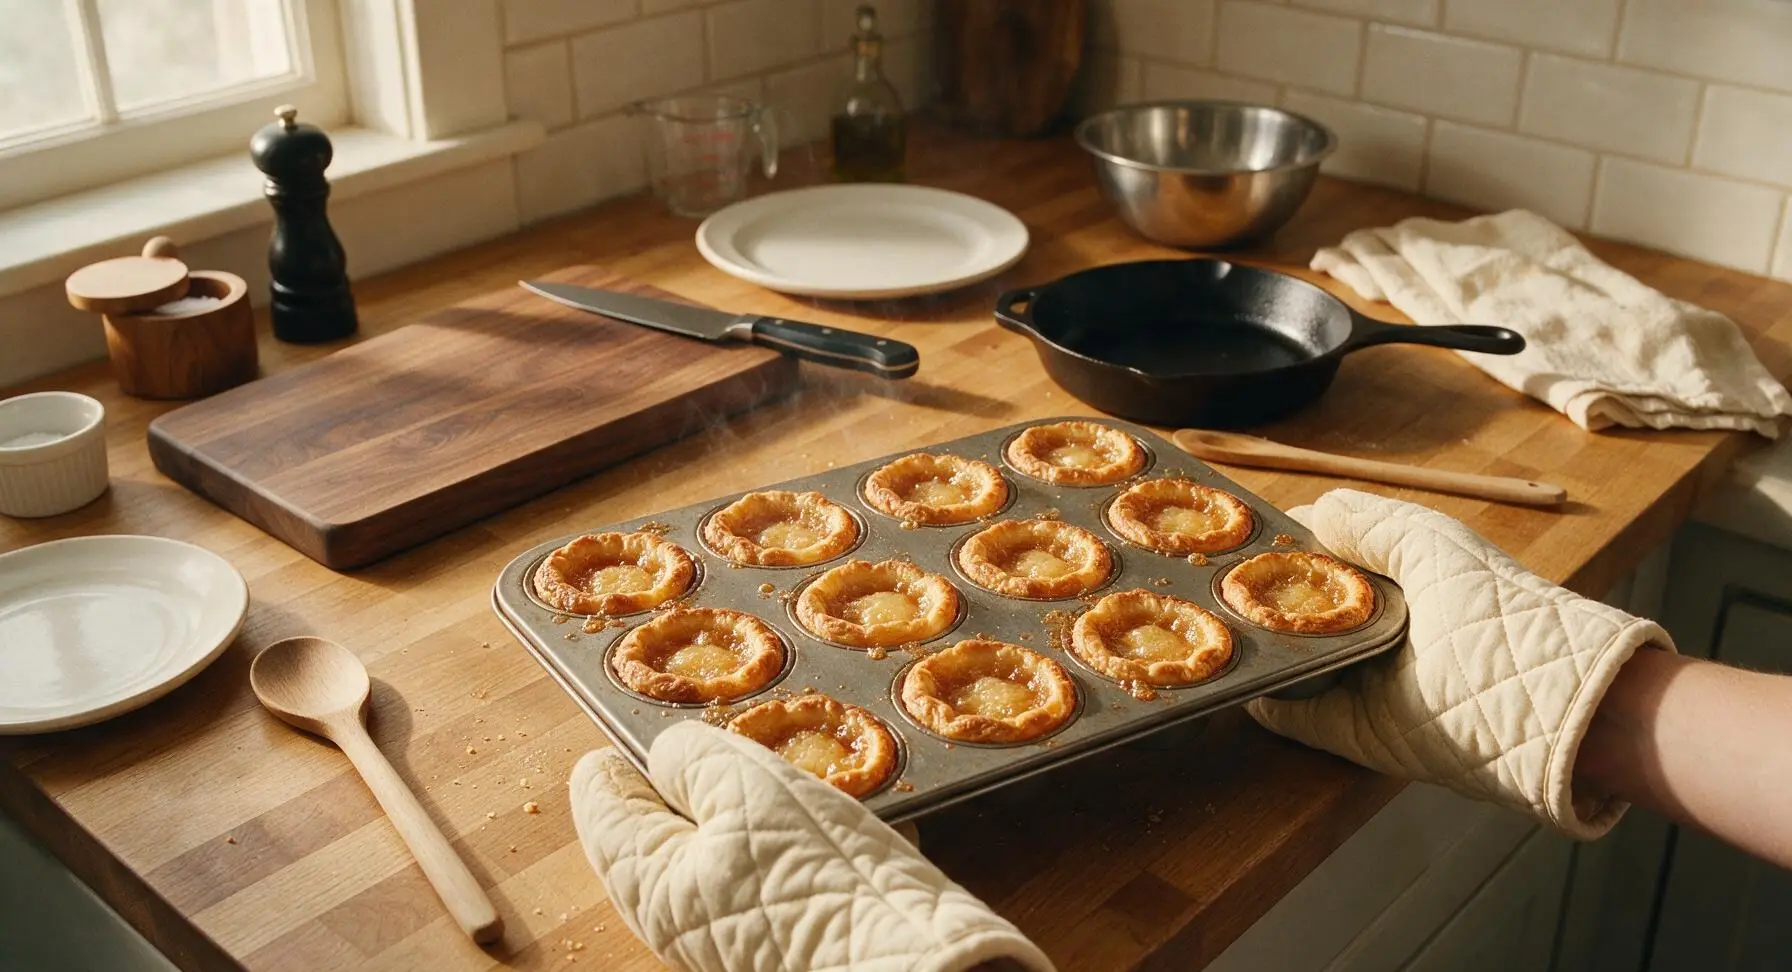
Step 6
step6:Bake Until Set
7

Cool Tarts Completely

Let the tarts rest in the muffin tin for 10 minutes after removing from the oven—this allows the boiling hot filling to firm up just enough to transfer without spilling. Carefully lift each tart from the tin and transfer to the matte black wire cooling rack to cool for 20 minutes before plating and serving.
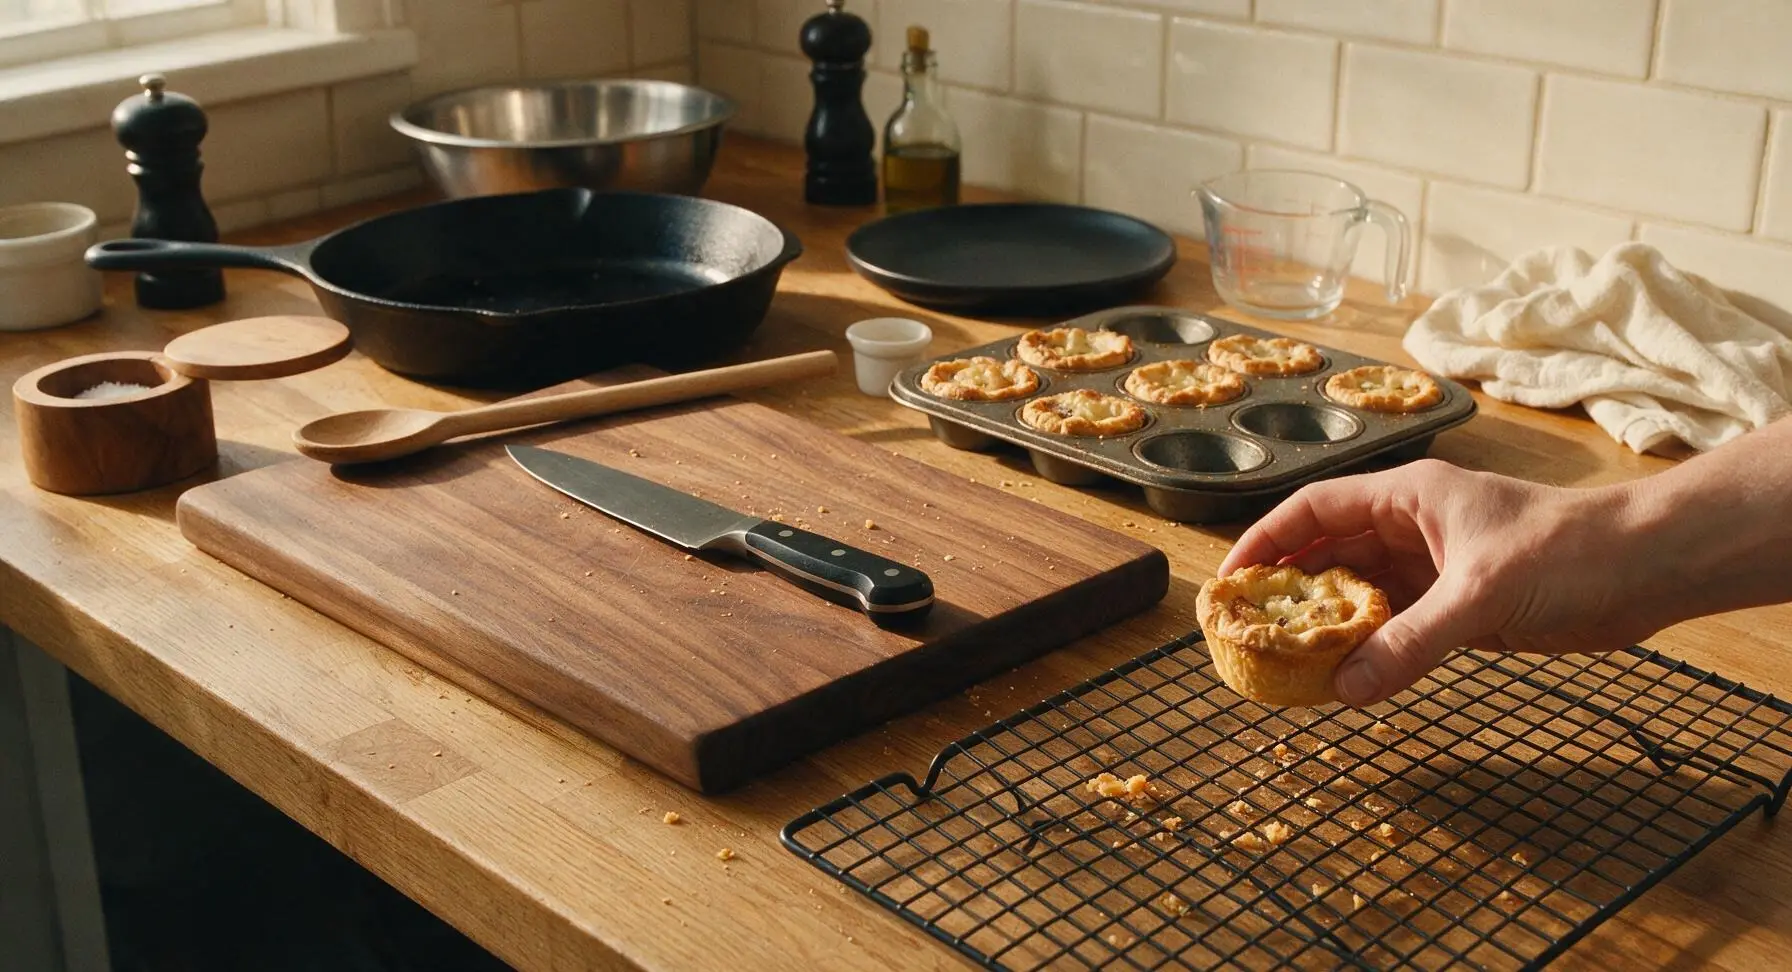
Step 7
step7:Cool Tarts Completely

Tips

1.Keep all pastry ingredients ice cold: Cold butter creates steam pockets as it melts in the hot oven, producing light, flaky layers instead of a tough, dense crust. Avoid overworking the dough, as this develops gluten and makes chewy, tough shells.
2.Never fill tart shells more than two-thirds full: The sugary filling expands rapidly as it reaches boiling point in the oven. Overfilling causes caramel to spill over the edges, sticking tarts to the pan and resulting in a dry, firm filling instead of the signature gooey texture.
3.Pull tarts when the center still jiggles slightly: The filling will continue to set as it cools outside the oven. Overbaking produces a firm, toffee-like center, while a slight jiggle at bake time ensures the classic soft, runny caramel texture butter tarts are known for.


✨ You May Also Like

Desserts & Baking
🍜 Italy

Creamy, coffee-kissed classic Northern Italian no-bake dessert, with layers of rum-spiked mascarpone cream, soft ladyfingers, and a rich cocoa dusting.

⏱️ 4 hours 3Desserts & Baking ★ 4.7
Desserts & Baking
🍜 France

Flaky, shatteringly crisp, buttery French croissants with golden exteriors and soft, airy layered interiors, perfect for pairing with coffee for a special morning treat.

⏱️ 12 hours Desserts & Baking ★ 4.5
Desserts & Baking
🍜 United States

Warm, spiced baked apples topped with a fluffy golden biscuit crust, this cozy dessert pairs perfectly with vanilla ice cream for cool-weather comfort.

⏱️ 55 minuteDesserts & Baking ★ 4.6
Desserts & Baking
🍜 United States

A star-spangled classic American blueberry pie with buttery flaky crust and bright sweet-tart filling, perfect for summer patriotic gatherings.

⏱️ 1 hour 25Desserts & Baking ★ 4.7
Desserts & Baking
🍜 United States

A beloved no-bake regional Maine candy with a chewy coconut-potato center coated in rich dark chocolate, a New England holiday staple since the 1870s.

⏱️ 2 hours 3Desserts & Baking ★ 4.8
Desserts & Baking
🍜 France

Luxuriously creamy, floral frozen custard made with aromatic Tahitian vanilla beans, boasting a smooth, rich texture that melts slowly on the tongue.

⏱️ 3 hours 3Desserts & Baking ★ 4.5

Canadian Butter Tarts:Frequently Asked Questions

1.What makes a Canadian butter tart different from pecan pie or other caramel tarts? ▾
Unlike firm, sliceable pecan pie, classic Canadian butter tarts have a gooey, slightly runny brown sugar-butter center, with no nuts or chocolate in the traditional recipe. They’re baked in individual flaky shortcrust shells instead of a single large crust, for a handheld, nostalgic treat that’s less dense and cloyingly sweet than pecan pie.
2.Why does my shortcrust pastry turn out tough instead of light and flaky? ▾
Tough pastry almost always comes from overworking the dough or using warm ingredients. Make sure your unsalted butter is ice-cold when you cut it into the all-purpose flour, use ice water to bring the dough together, and mix only just until no dry flour remains—over-kneading develops excess gluten that makes shells chewy instead of tender and flaky.
3.Do I really need to chill the pastry dough before lining my tart tins? ▾
Absolutely. Chilling the dough for at least 1 hour (and up to 2 days, tightly wrapped) relaxes gluten in the all-purpose flour, keeps cold butter from melting too fast in the oven, and prevents tart shells from shrinking down the tin sides as they bake. Skipping this step leads to shallow, shrunken shells that leak filling.
4.Can I use store-bought pie crust instead of making shortcrust from scratch? ▾
You absolutely can for a quick shortcut, though homemade shortcrust made with cold unsalted butter will have a richer, flakier texture. Look for refrigerated all-butter pie crust (not frozen shortening-based versions) for the closest match, and chill lined tins for 20 minutes before filling to prevent shrinkage.
5.Why is my butter tart filling still runny even after it’s done cooling? ▾
Runny filling usually comes from underbaking, or incorrectly measuring your packed light brown sugar. The filling needs to bubble fully across the entire surface (not just the edges) to set properly; it will jiggle slightly in the very center when done, and firms up as it cools for 30 minutes on a rack.
6.Why does my filling bubble over and make a mess in the oven? ▾
Boil-over happens for two common reasons: you overfilled the tart shells, or you skipped chilling lined shells before adding filling. Only fill each shell ⅔ of the way full with the brown sugar-butter mixture, as it expands rapidly as it bakes. Slide a baking sheet under your tart tin to catch stray drips for easy cleanup.
7.Is fine sea salt really necessary, or can I use regular table salt? ▾
Fine sea salt is preferred because it dissolves evenly into both the pastry and filling, cutting through the rich sweetness of brown sugar and butter without leaving harsh, salty spots. If you only have table salt, use half the called-for amount, as table salt is denser and more intensely salty per teaspoon than sea salt.
8.Should I add raisins, nuts, or chocolate to my butter tarts? ▾
That’s a long-running Canadian baking debate! Traditional plain butter tarts have no add-ins, but many families swear by adding a few raisins, chopped pecans, or chocolate chips to the bottom of each shell before pouring in filling. Keep add-ins to 1 teaspoon per tart so they don’t throw off the filling’s set ratio.
9.How do I keep the bottom of my tart shells from getting soggy? ▾
Soggy bottoms happen when warm filling seeps into unbaked pastry. To avoid this, blind bake your lined, chilled tart shells for 5 minutes at 400°F before adding filling, or brush the inside of each unbaked shell with a thin layer of beaten egg white to create a moisture barrier between pastry and wet filling.
10.What kind of baking tin works best for individual butter tarts? ▾
Standard 3-inch metal muffin tins work perfectly, though traditional shallow, fluted tart tins will give you that classic wider butter tart shape. Avoid silicone tins if you want crisp, golden pastry bottoms, as silicone doesn’t conduct heat as evenly as metal and can leave shells pale and soggy.
11.Can I mix up the butter tart filling ahead of baking day? ▾
Yes, you can mix the packed light brown sugar, melted butter, and other filling ingredients up to 3 days ahead, stored in an airtight container in the fridge. Let the filling come to room temperature for 20 minutes before pouring it into chilled tart shells, so it bakes evenly without shocking the cold pastry.
12.Why does my pastry shrink away from the tin sides while it bakes? ▾
Shrinkage happens when your dough is too warm, or you stretched it while lining the tins. Always handle dough gently, pressing it into tins without pulling or stretching it, and chill lined shells for 30 minutes before baking. Starting with ice-cold butter in your shortcrust also helps pastry hold its shape.
13.How should I store leftover baked butter tarts? ▾
Leftover tarts keep well in an airtight container at room temperature for up to 3 days, or in the fridge for up to 1 week. If you prefer that signature gooey center, let refrigerated tarts come to room temperature for 15 minutes before eating, or warm them for 5 seconds in the microwave to soften the caramel.
14.Can I freeze baked butter tarts to enjoy later? ▾
Absolutely! Let tarts cool completely to room temperature after baking, then wrap them individually in plastic wrap and store in a freezer-safe bag for up to 3 months. Thaw them overnight in the fridge, or warm them in a 300°F oven for 5 minutes to bring back flaky pastry and a gooey center.
15.My filling turned out grainy instead of smooth—what went wrong? ▾
Grainy filling is almost always from undissolved brown sugar, or opening the oven door too often while baking, which causes temperature swings. Make sure your packed light brown sugar is fully broken up and mixed with melted butter before pouring into shells, and avoid opening the oven for the first 10 minutes of baking.
16.Do I need to use corn syrup in the filling to get the right texture? ▾
Many modern recipes use corn syrup, but traditional butter tarts get their signature gooey texture from melted butter and packed light brown sugar, no corn syrup required. If you want a slightly firmer, less runny set, you can swap 2 tablespoons of brown sugar for light corn syrup, but it’s not needed for an authentic result.
17.How do I tell when my butter tarts are perfectly baked, so I don’t over or underbake them? ▾
Perfectly baked butter tarts have deep golden, flaky pastry edges, and filling that bubbles across the entire surface, with a slight jiggle only in the very center of each tart. The center sets fully as tarts cool in the tin for 10 minutes before you transfer them to a wire rack to finish cooling.

Comments (14)

2 days ago

OMG these butter tarts are SO good! I brought them to my neighborhood potluck last weekend and everyone was begging for the recipe. The perfect balance of gooey filling and flaky crust, no dry sad tarts here! 10/10 will make again for Thanksgiving this year.

3 days ago

My kids loved these! I added a handful of raisins like my grandma used to do, and they demolished the whole batch in 10 minutes flat after school. Only thing is my first batch of crust shrank a little, any tips for that?

2 days ago

So glad your kids enjoyed them! To prevent crust shrinkage, make sure you don’t stretch the dough when pressing it into the tart tins, and chill the lined tins in the fridge for 15 minutes before adding filling and baking – that helps the crust hold its shape!

1 week ago

Wait, medium difficulty? I’m a total beginner and I almost burned the first batch because I misread the oven temp! 😅 The ones that turned out were delicious though, even if they were a little darker around the edges than the photos.

5 days ago

Oh I did the exact same thing my first time! I turned my oven down 25 degrees after the first pan and they came out perfect, every oven runs a little hot!

3 days ago

So glad they still tasted great even with the slightly dark edges! TacoTuesdayTim is totally right – oven calibration varies a lot, so don’t be afraid to adjust temp or check a couple minutes early if you know your oven runs hot.

2 weeks ago

I’ve been making butter tarts for 60 years and this recipe is the closest I’ve found to the ones my own mom used to make when we’d visit family in Ontario. I skip the corn syrup and use pure maple syrup for extra depth, trust me it’s a game changer.

1 week ago

Thanks for the maple syrup tip! I tried that when I made these last night and it made the filling taste so much richer, my whole family was raving.

5 days ago

Made these for my fantasy football watch party last Sunday and they were gone before halftime. Guys who usually only eat chips and queso were coming back for thirds. Will absolutely be adding these to my regular game day rotation.

yesterday

Has anyone tried making these with chopped pecans mixed into the filling? I’m supposed to bring a dessert to my office potluck tomorrow and want to make them a little extra fancy without messing up the recipe.

2 hours ago

I added pecans to half my batch last week! They were so good, added a nice little crunch that paired perfectly with the gooey butter filling. Just don’t add too many or it gets too dry!

30 minutes ago

Chopped pecans are a fantastic add-in! We recommend stirring in ½ cup of lightly toasted, chopped pecans right before pouring the filling into the crusts – no other adjustments needed, they’ll turn out perfect for your potluck!

30 minutes ago

Wait 20 minute cook time? That feels super fast for tarts, mine took almost 30 minutes to set in the middle? Did I do something wrong?

5 minutes ago

The 20 minute cook time is for standard 3-inch tart tins in a properly calibrated 375°F oven! If you’re using larger tins or a deeper muffin tin, they can take an extra 8-10 minutes to set – just look for bubbly filling and golden crust edges as your cue they’re done.

3 days ago

Full transparency: I burn 90% of the things I bake, but these actually turned out edible? My wife thought I picked them up from the fancy bakery downtown. Total win for dad credibility.

2 days ago

LMAO this gives me hope! I’m also a disaster in the kitchen and I was nervous to try these, if you can pull them off I definitely can.

yesterday

Love to hear that! This recipe is super forgiving even if you’re not a regular baker, so glad you got those major dad points with the batch.

2 hours ago

Made these in my dorm room oven for my floor’s late night snack run and my roommates are already asking when I’m making more. Super cheap to make too, great for meal prep for late study sessions, way better than the vending machine cookies we usually live off of.

1 week ago

I made these for our family Sunday dinner and even my super picky father-in-law ate two and asked for the recipe. That’s the highest possible endorsement I can get, honestly.

5 days ago

There’s no better compliment than a picky in-law asking for a recipe! I’ve been making these for years and they always win over even the toughest critics.

just now

First time trying butter tarts ever since I saw them all over TikTok, and wow, I get the hype now! The gooey, buttery, slightly sweet filling is unreal, I don’t know why these aren’t more popular down here in the states.

just now

Right?! I’d never had one until I visited Toronto a couple years ago and became obsessed, this recipe tastes exactly like the ones I got at that little bakery there.

5 days ago

Made these to sell as a weekend special at my coffee shop and they sold out in 45 minutes. Customers were asking if we’d add them to the permanent menu! The flavor pairs so perfectly with a dark roast latte.

2 days ago

Quick question – can I make these with a gluten free all purpose flour blend for the crust? My daughter has celiac and I’d love to make these for her birthday next weekend.

yesterday

I made them with a 1:1 gluten free flour blend last month for my cousin who’s celiac and no one could tell the difference! Just make sure your blend has xanthan gum in it or the crust will crumble.

2 hours ago

Great question! A 1:1 gluten free all purpose flour works perfectly for the crust here, just like PotluckQueenKris mentioned. No other swaps needed, and we hope your daughter loves them for her birthday!

3 days ago

Pro tip: add a tiny pinch of flaky sea salt on top right before baking. It cuts the sweetness so well and makes the butter flavor pop even more. Game changer, trust me.

2 days ago

Love that tip! Flaky sea salt on top is one of our favorite little upgrades too – it adds such a nice depth of flavor that keeps people coming back for another tart.



