
Canadian Nanaimo Bar Cookies

title 1
Canadian Nanaimo Bar Cookies
⏱️ cook time 2 hours (includes chilling time, 10 minutes active stovetop cooking)
🍽️ servings 16
⚡ Difficulty easy

intro

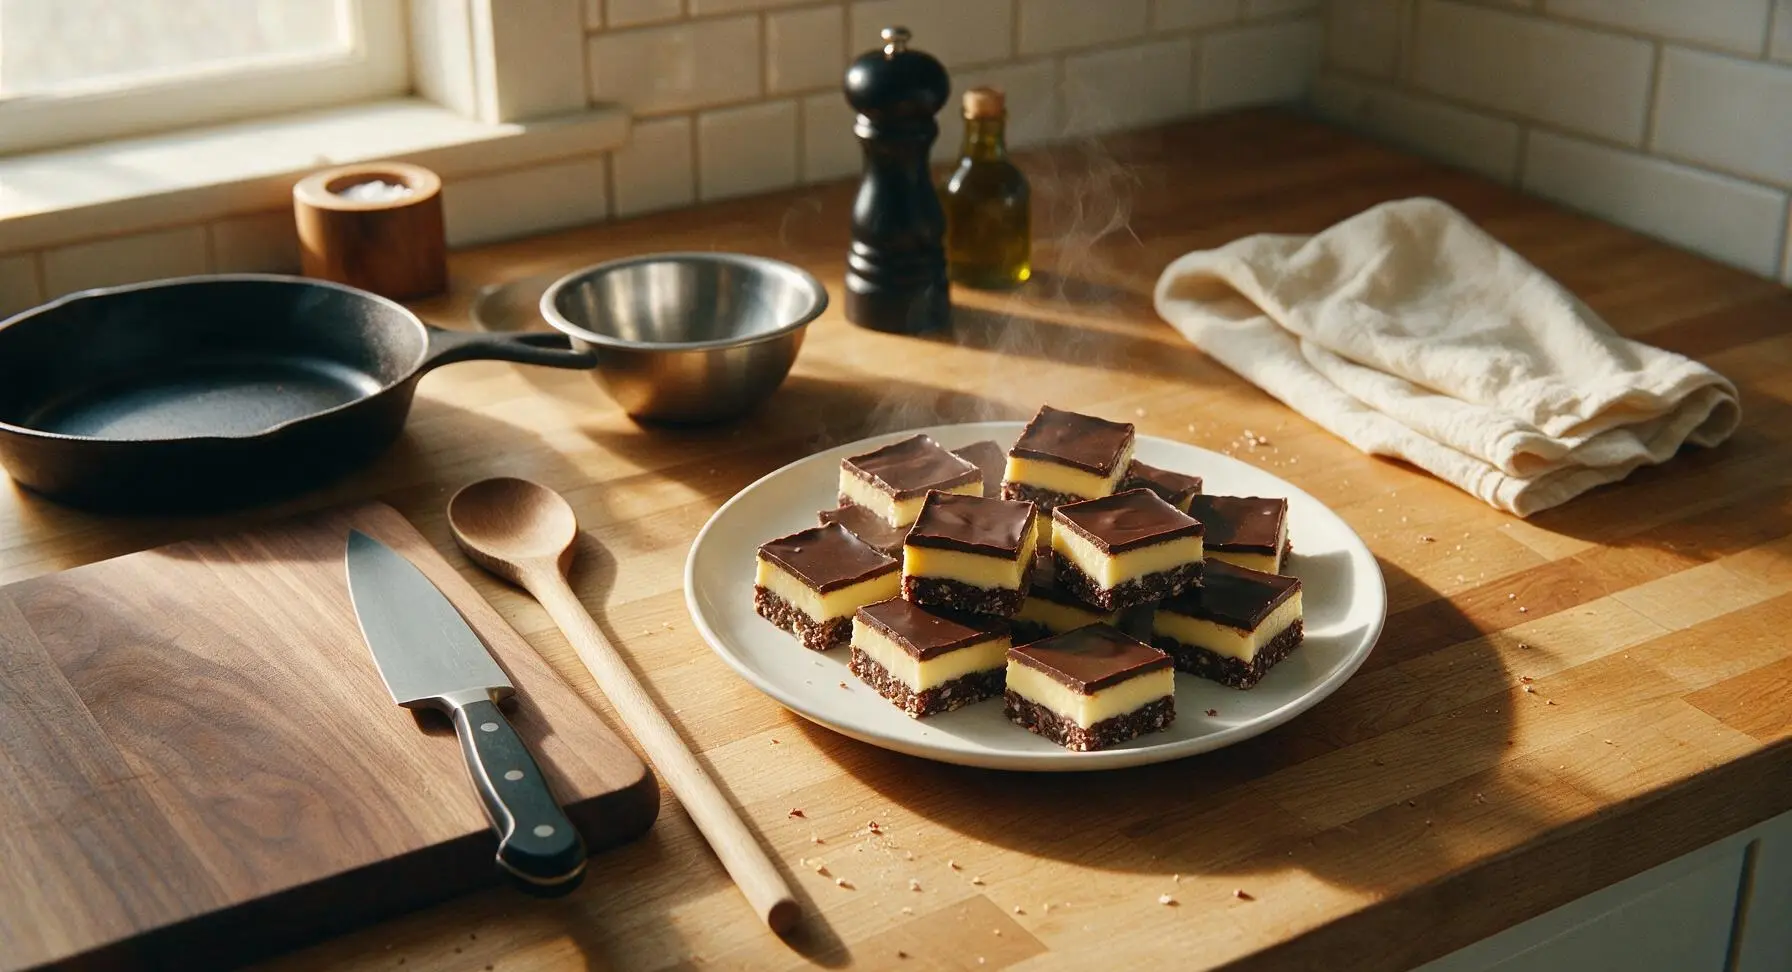
Iconic no-bake Canadian bar cookie with three signature layers: chocolate-coconut crumb base, creamy vanilla custard filling, and glossy dark chocolate top, perfect for holiday trays.

Ingredients
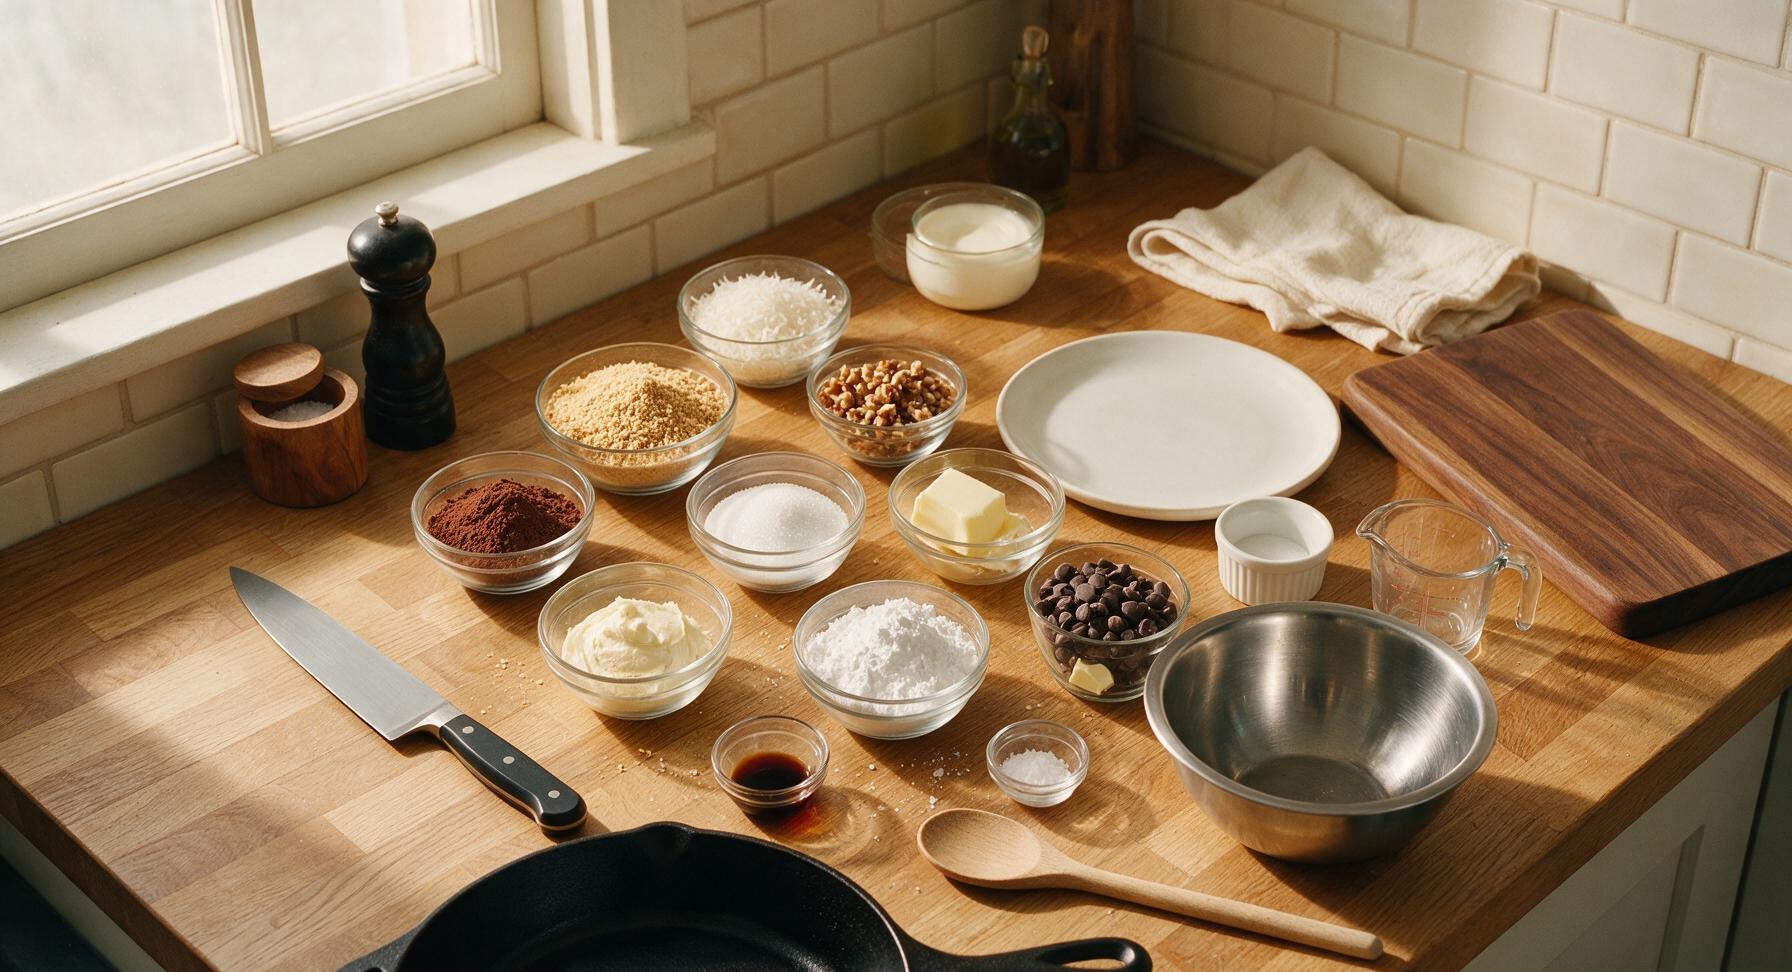
Graham cracker crumbs 1 ½ cups (150g)
Unsweetened shredded coconut ½ cup (40g)
Finely chopped walnuts ½ cup (50g)
Unsweetened cocoa powder ¼ cup (25g)
Unsalted butter (base layer) ½ cup (113g / 1 stick)
Granulated sugar ¼ cup (50g)
Large egg 1, beaten
Unsalted butter (custard layer) ¼ cup (57g, softened)
Vanilla custard powder 3 tablespoons (25g)
Powdered sugar 2 cups (240g, sifted)
Heavy cream 2 tablespoons (30ml)
Vanilla extract 1 teaspoon
Semi-sweet chocolate chips 1 cup (170g)
Unsalted butter (chocolate layer) 2 tablespoons (28g)
Flaky sea salt ¼ teaspoon (for garnish)

Steps

1

Line Baking Pan

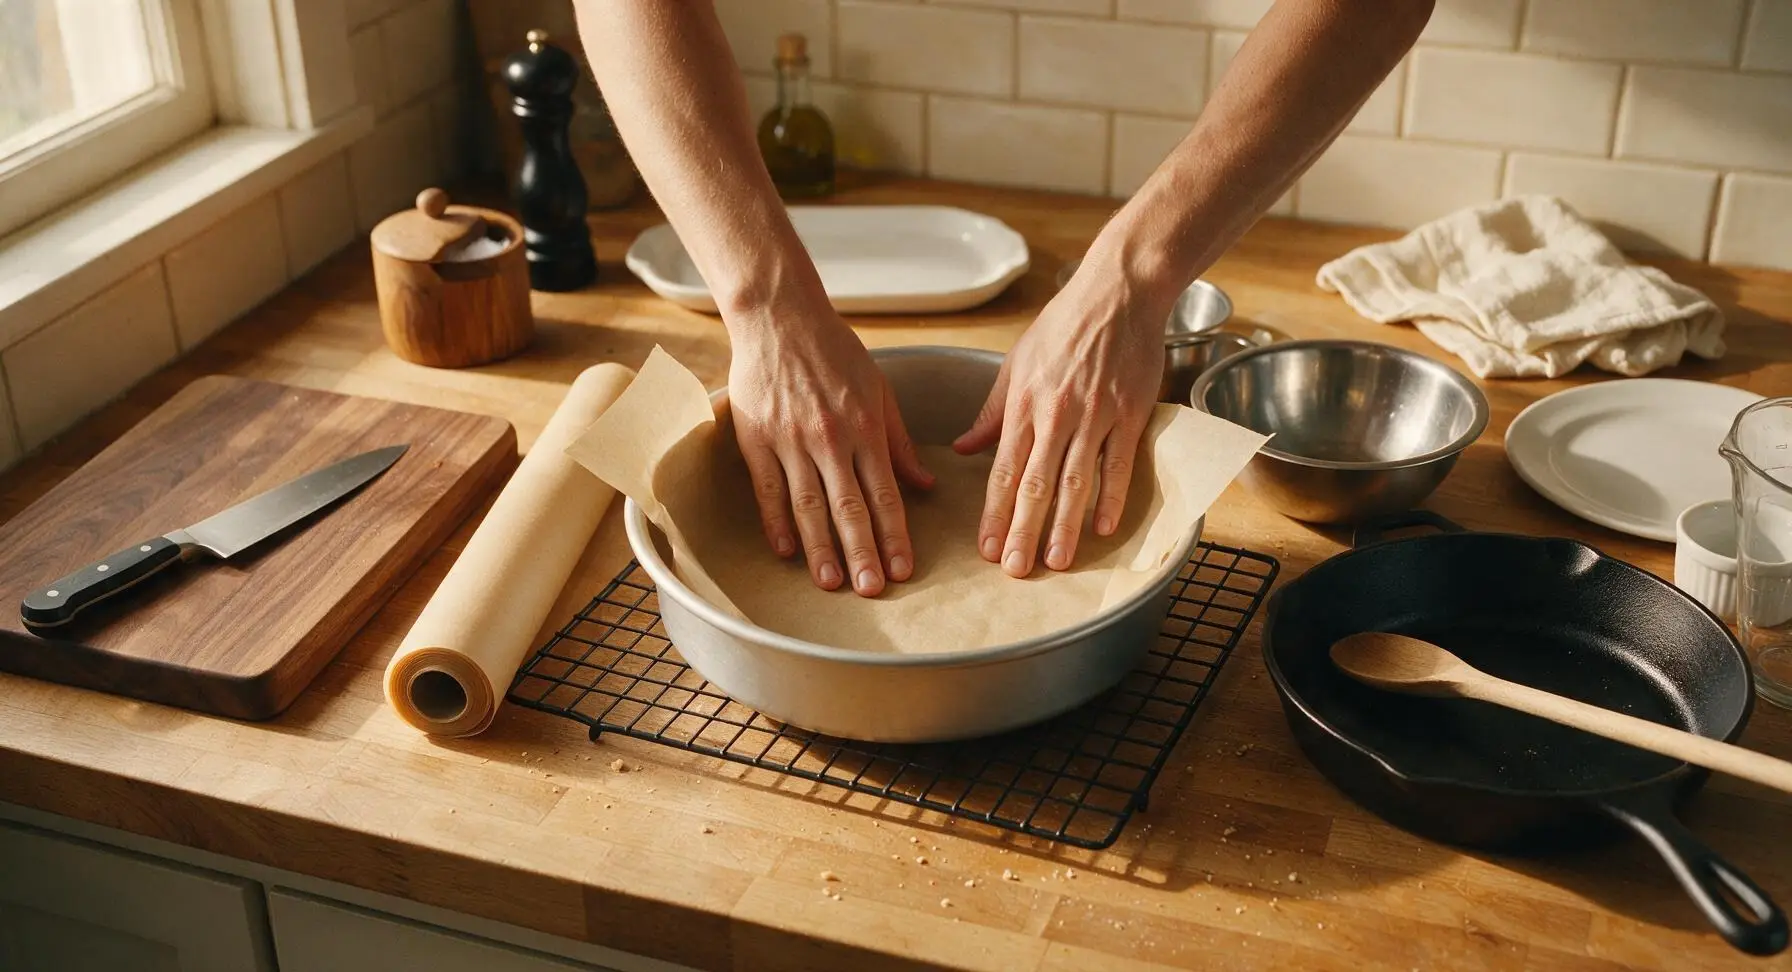
Line the 9-inch square aluminum baking pan with unbleached parchment paper, leaving 5cm overhang on two opposite sides to act as handles for lifting the finished bars out later. Set the lined pan on the wire cooling rack positioned on the center of the counter. Press the parchment flat against the pan bottom and sides to eliminate air bubbles.
Step 1
step1:Line Baking Pan
2

Cook Base Mixture

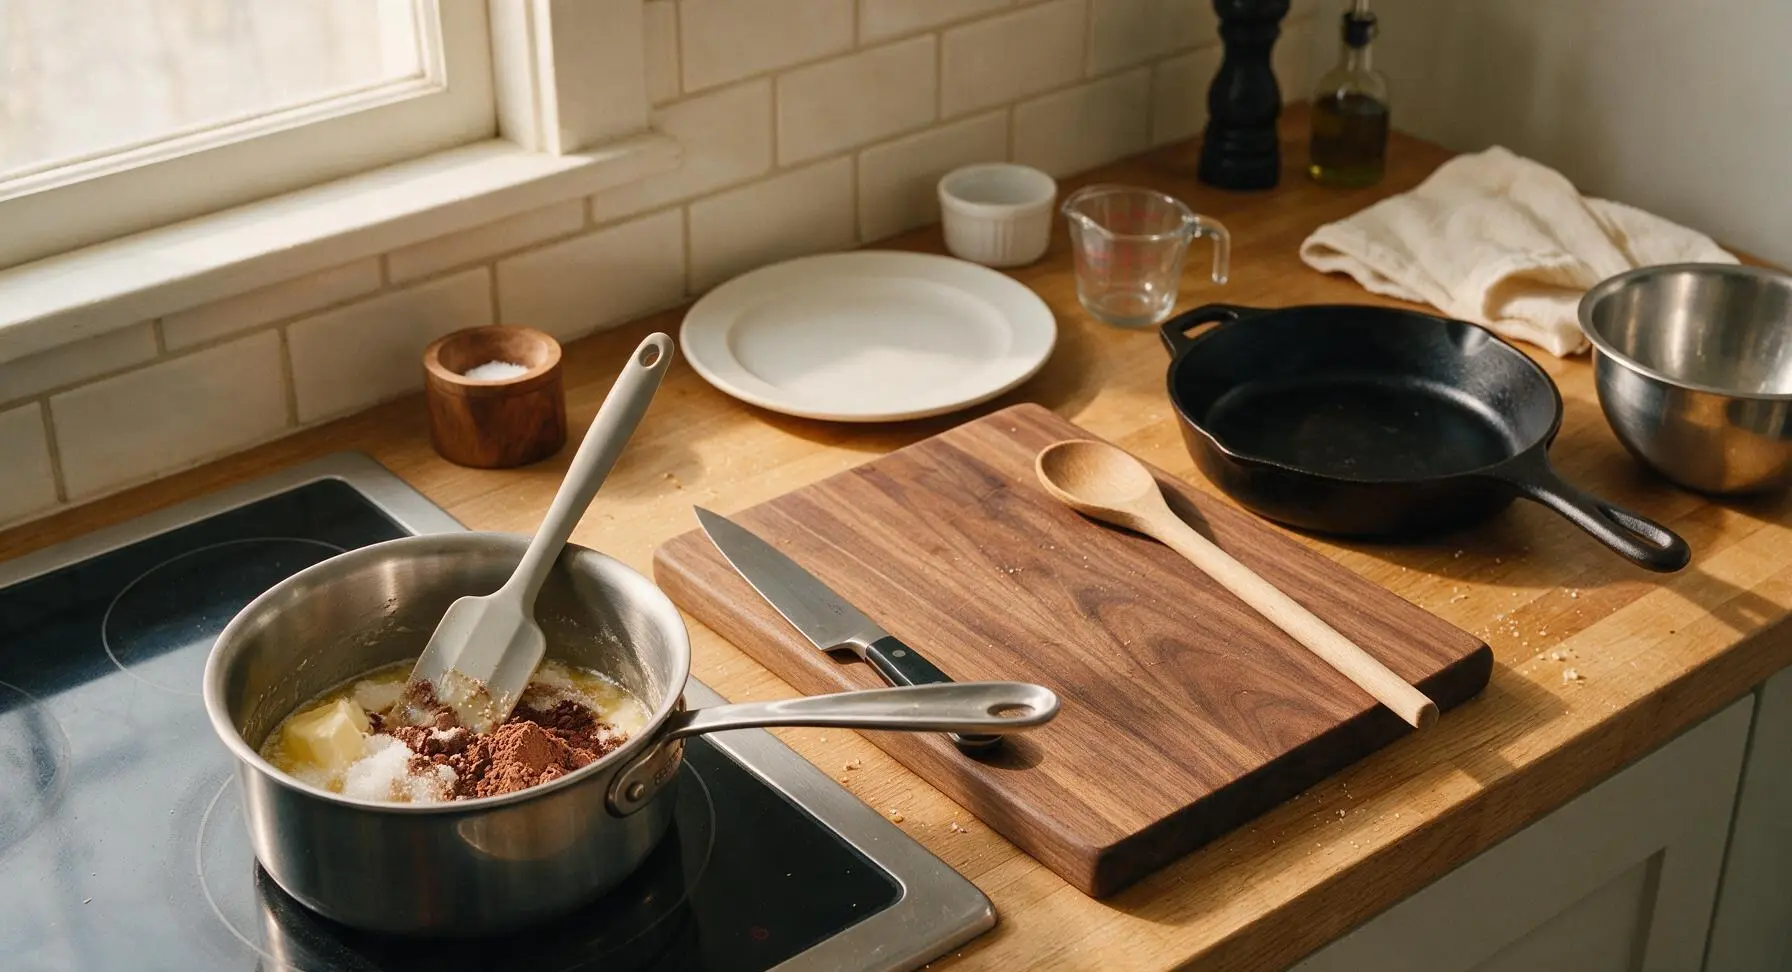
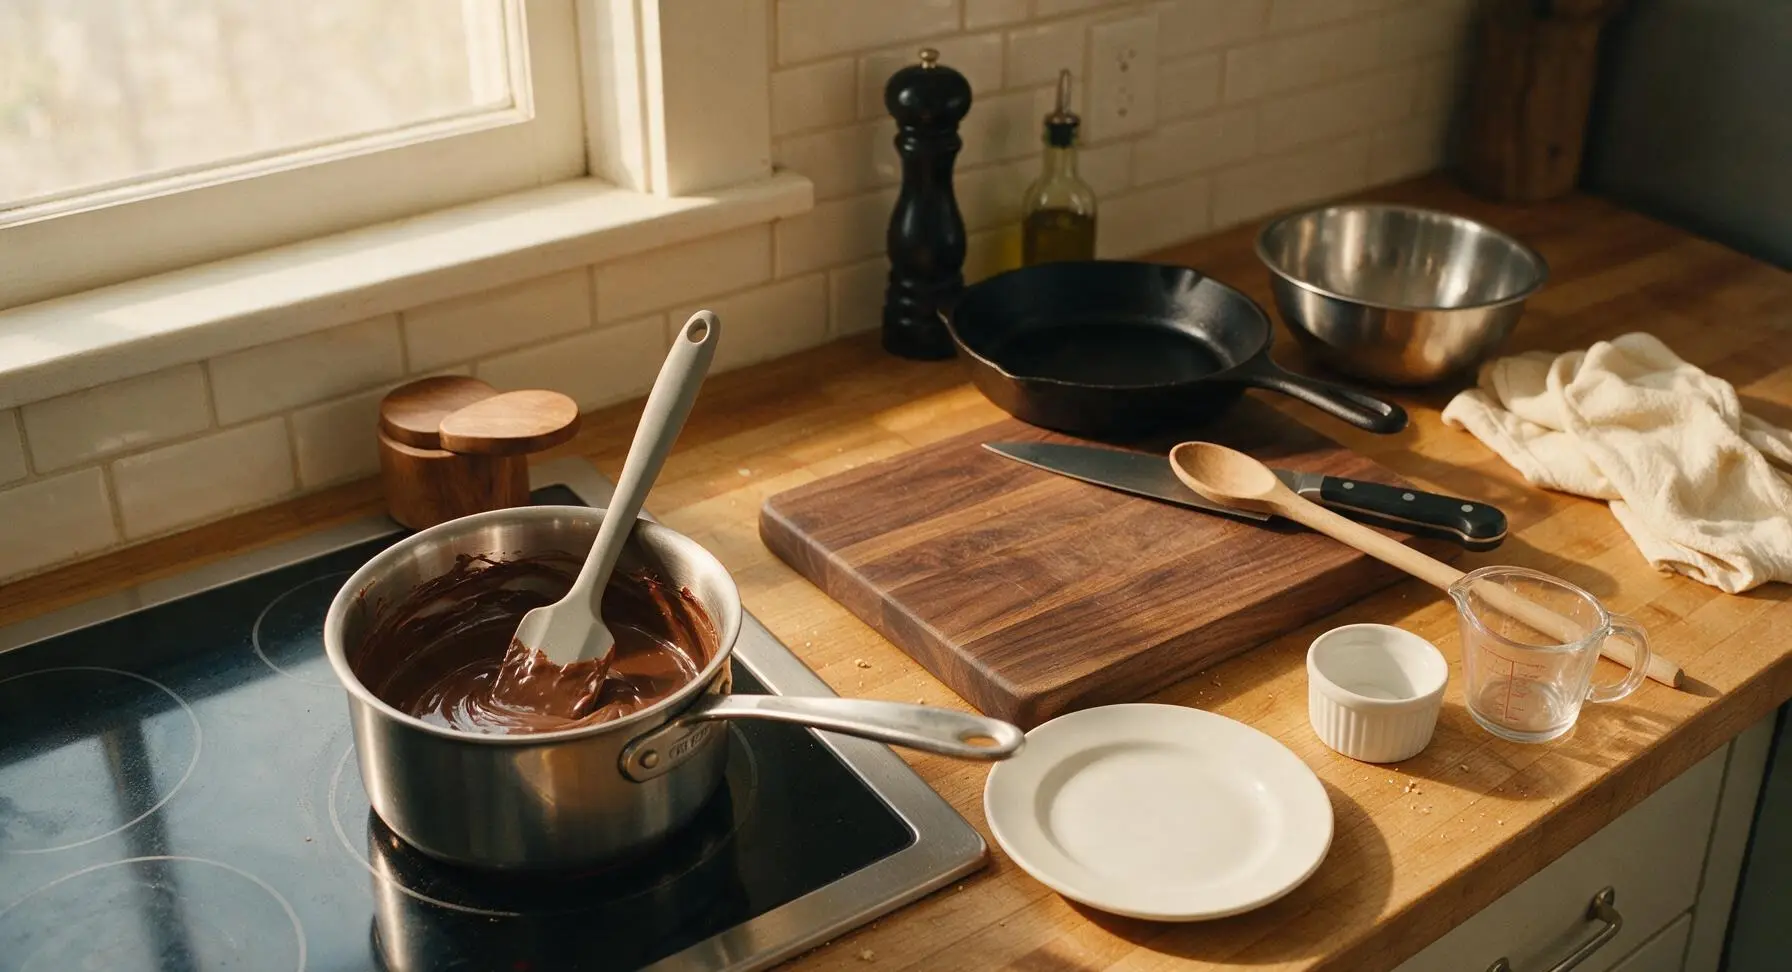
Place the 1-quart stainless steel saucepan on the left induction burner over low heat. Add ½ cup unsalted butter, granulated sugar, and cocoa powder, stirring constantly with the light grey silicone spatula until the butter is fully melted and the mixture is smooth, about 3 minutes. Slowly pour in the beaten egg while whisking rapidly to avoid curdling, and cook for 1 more minute until the mixture thickens slightly to a thin pudding consistency. Remove the pan from heat.
Step 2
step2:Cook Base Mixture
Step 2
step2:Cook Base Mixture
3

Mix Crumb Base

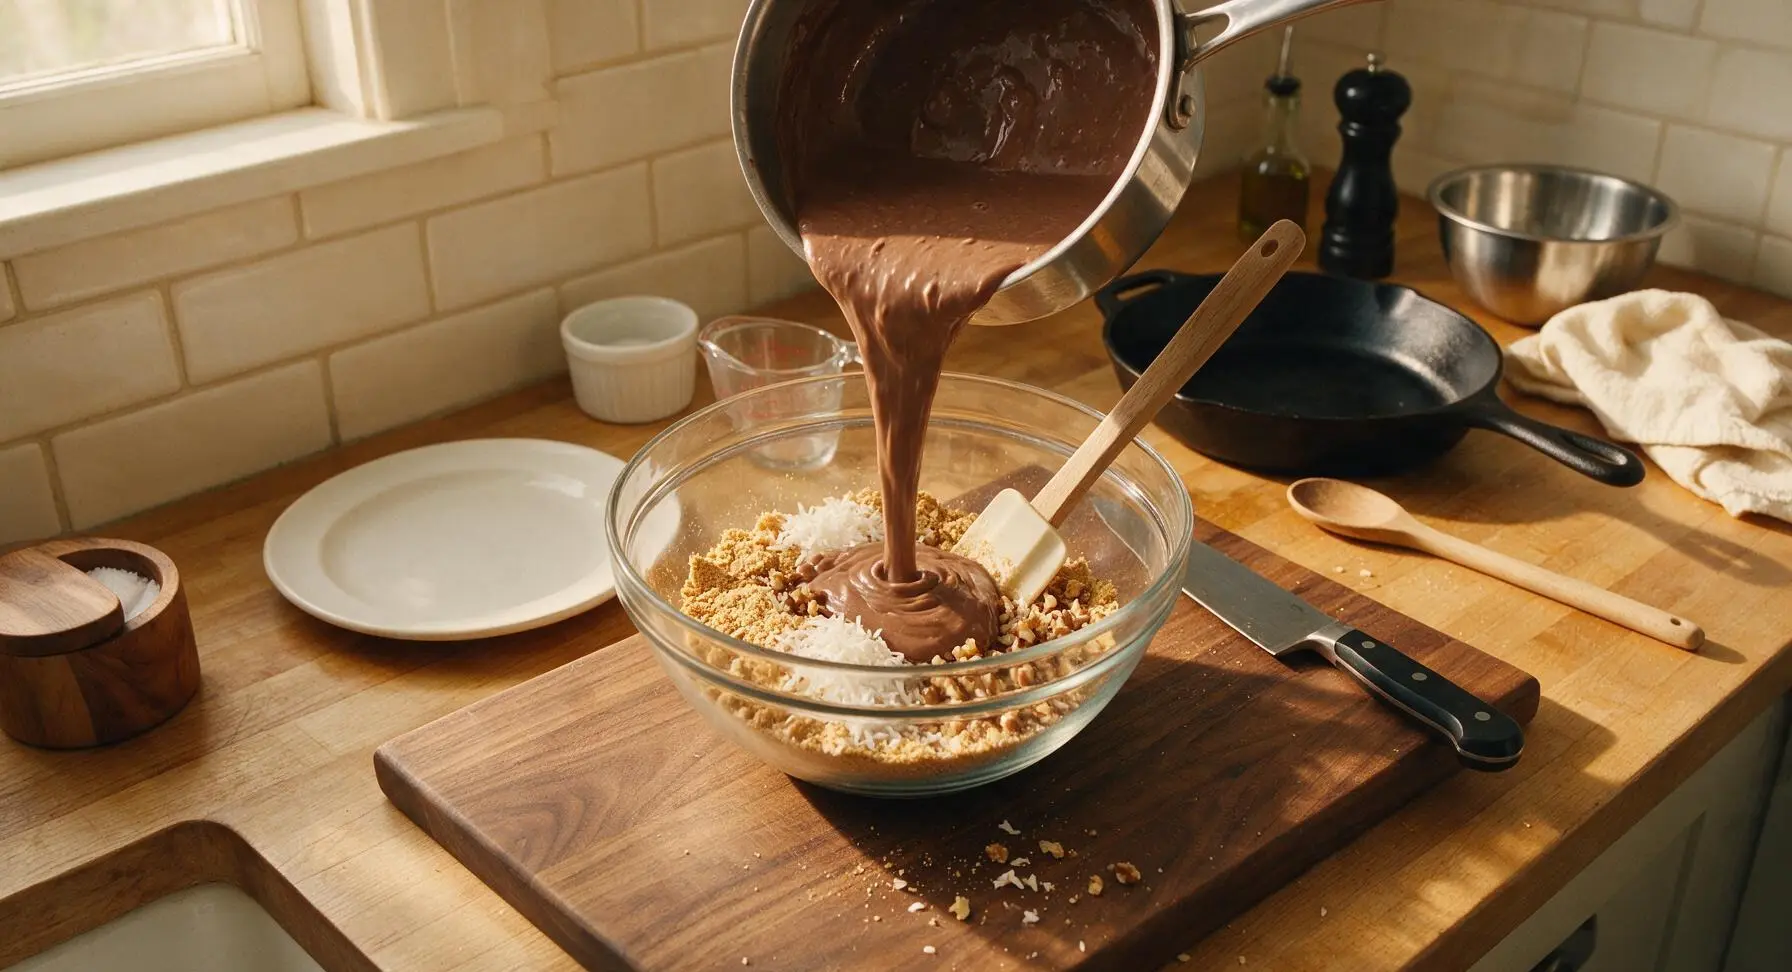
In the medium 2L clear glass mixing bowl, combine graham cracker crumbs, shredded coconut, and chopped walnuts. Pour the warm cocoa-butter mixture from the saucepan over the dry ingredients, stirring thoroughly with the silicone spatula until every crumb is evenly coated and the mixture holds together when squeezed gently between your fingers.
Step 3
step3:Mix Crumb Base
4

Press Base Into Pan

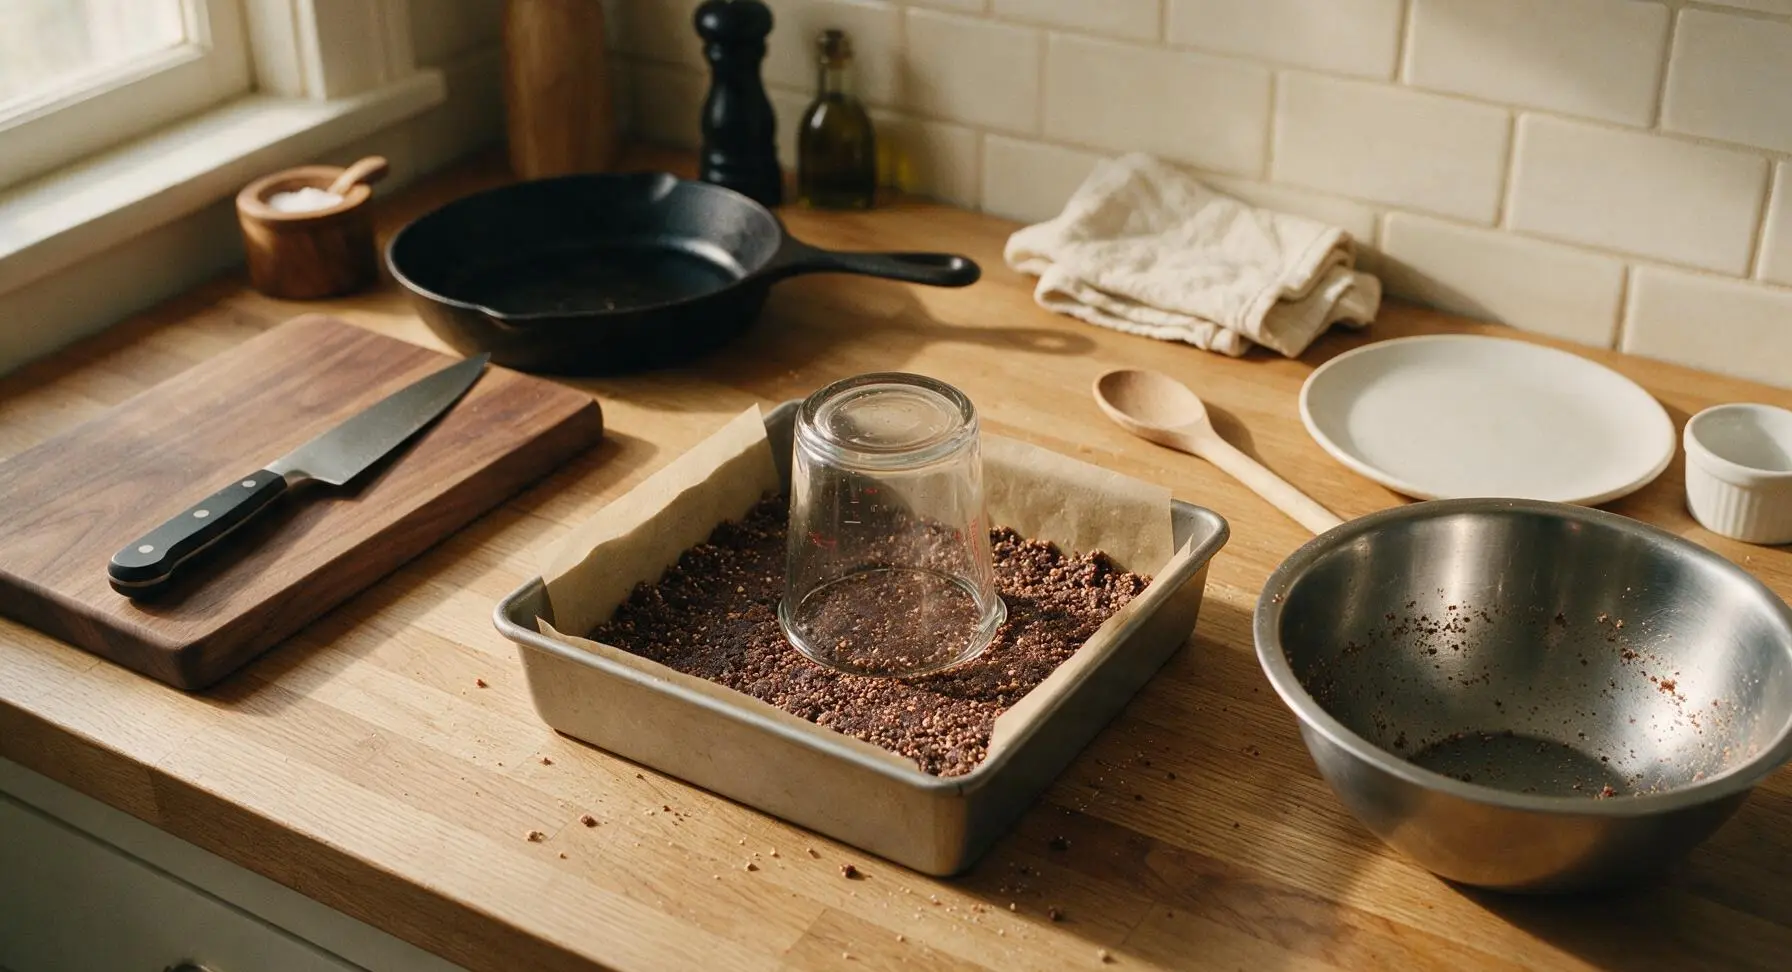
Transfer the entire crumb mixture to the parchment-lined 9-inch pan. Use the flat bottom of the clear glass measuring cup to press the mixture firmly and evenly across the pan bottom, creating a compact, level base layer with no gaps or thin spots. Place the pan on the wire rack in the refrigerator to chill for 20 minutes until firm to the touch.
Step 4
step4:Press Base Into Pan
5

Whip Custard Filling

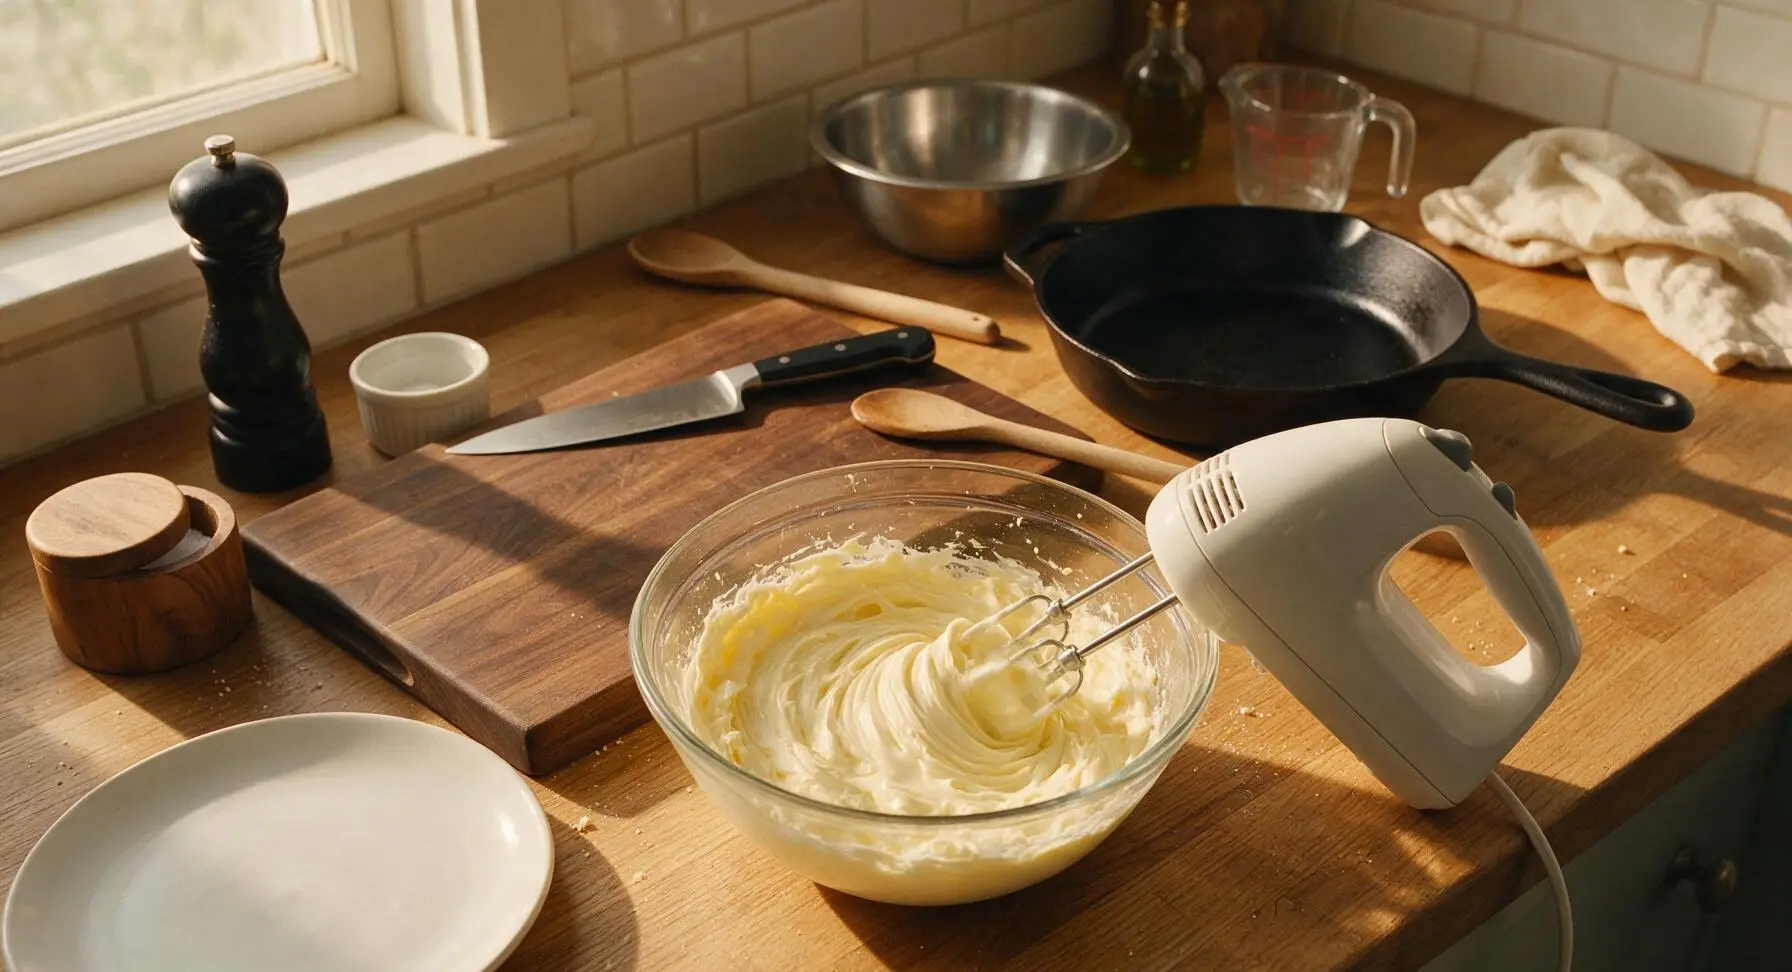
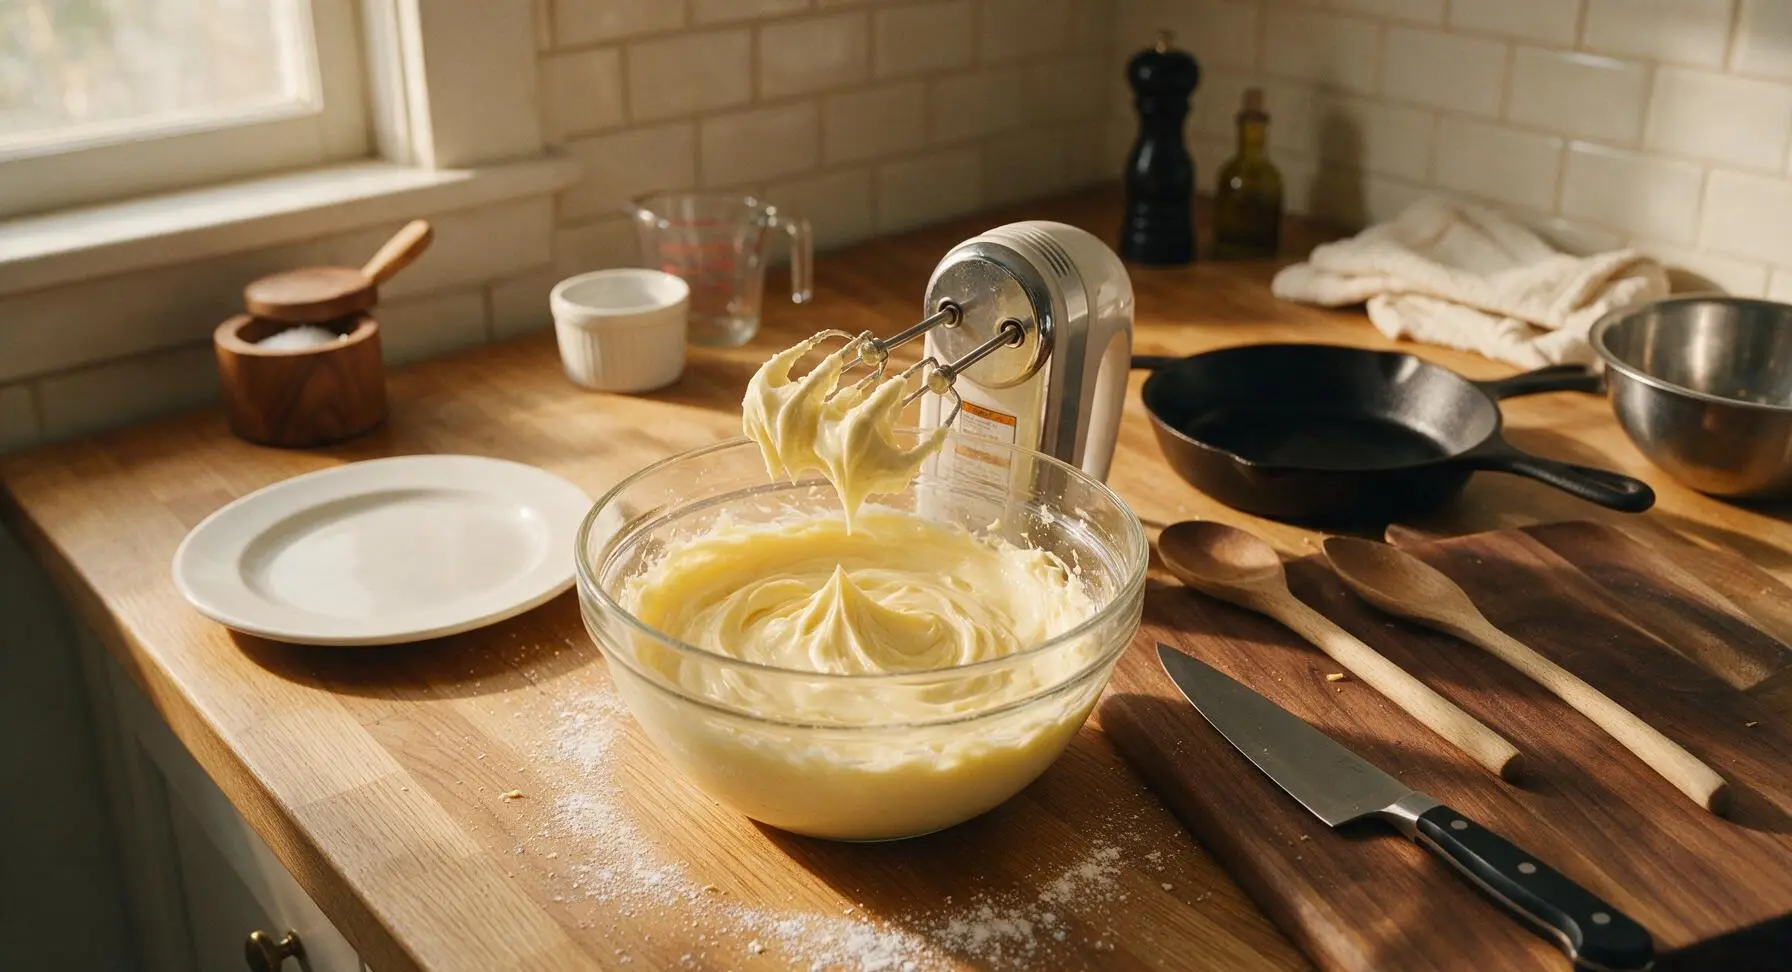
In the small 1L clear glass mixing bowl, add ¼ cup softened unsalted butter, custard powder, heavy cream, and vanilla extract. Beat on medium speed with the electric hand mixer for 1 minute until smooth and fluffy. Gradually add sifted powdered sugar ½ cup at a time, beating on low speed until fully incorporated, then increase to medium speed for 2 minutes until the filling is pale creamy yellow, thick, and spreadable, with no lumps.
Step 5
step5:Whip Custard Filling
Step 5
step5:Whip Custard Filling
6

Layer Custard Filling

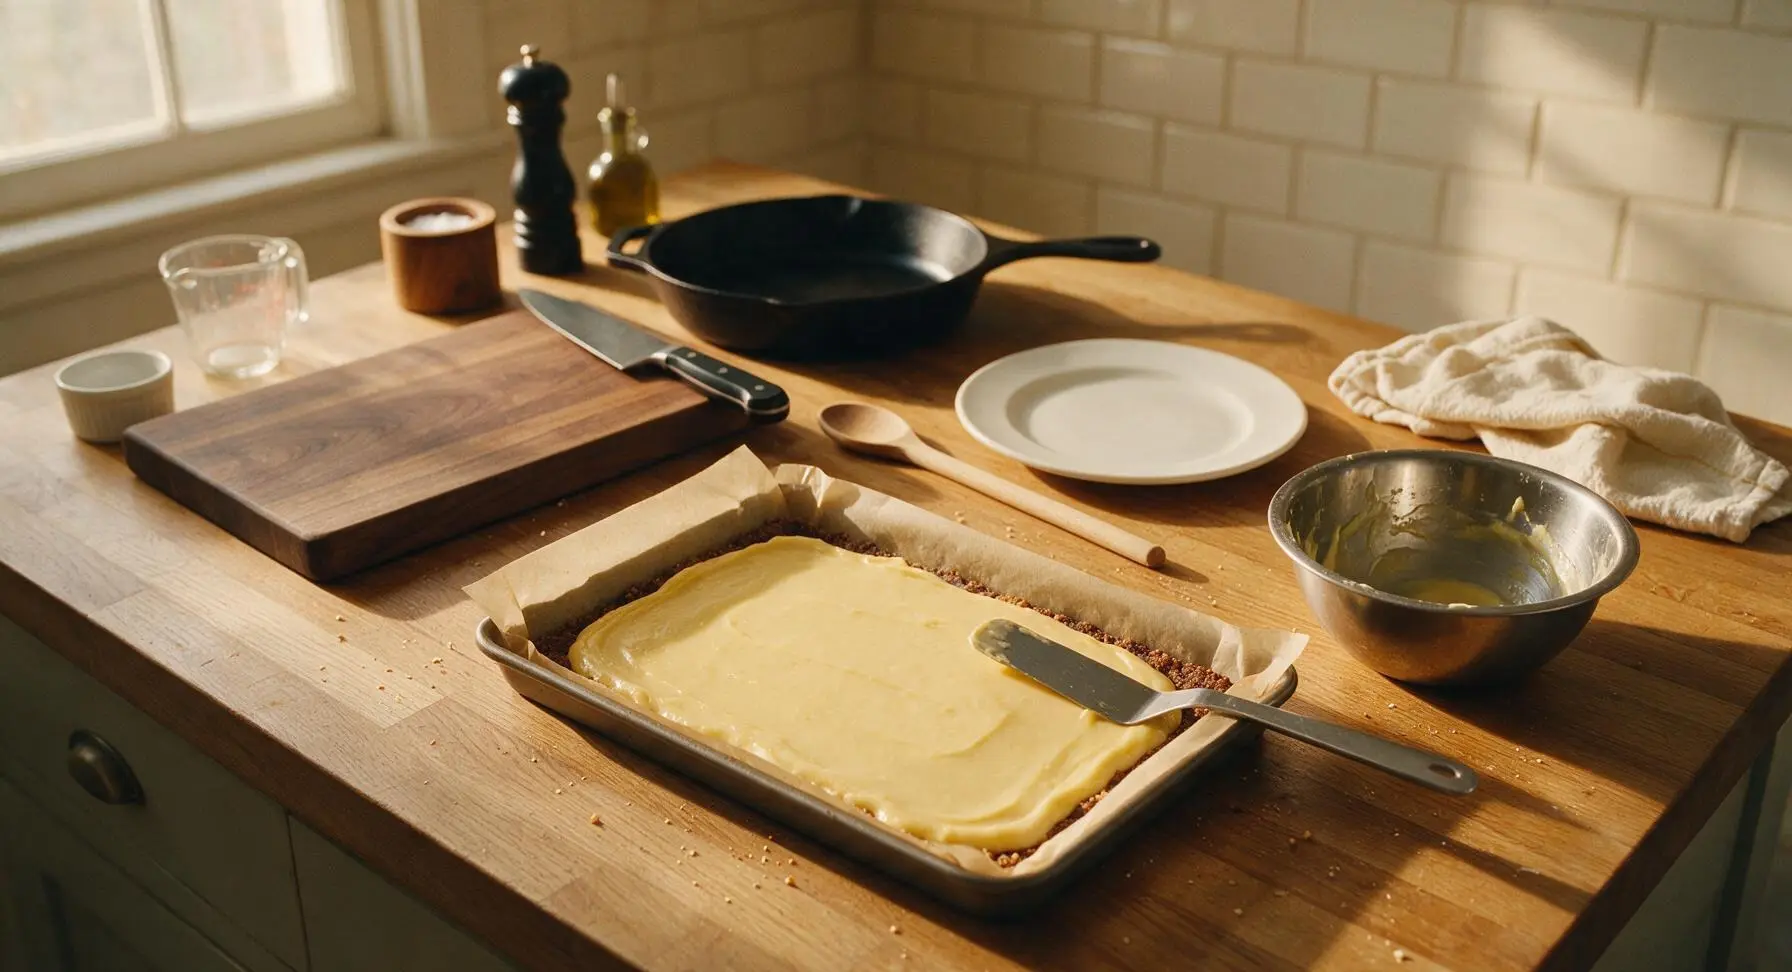
Remove the chilled crumb base from the refrigerator. Dollop the custard filling evenly across the top of the firm base. Use the offset metal spatula to spread the filling into a smooth, level layer of uniform thickness across the entire pan, right up to the parchment edges. Return the pan to the refrigerator to chill for 30 minutes until the custard layer is firm and does not shift when the pan is gently jiggled.
Step 6
step6:Layer Custard Filling
7

Top With Chocolate

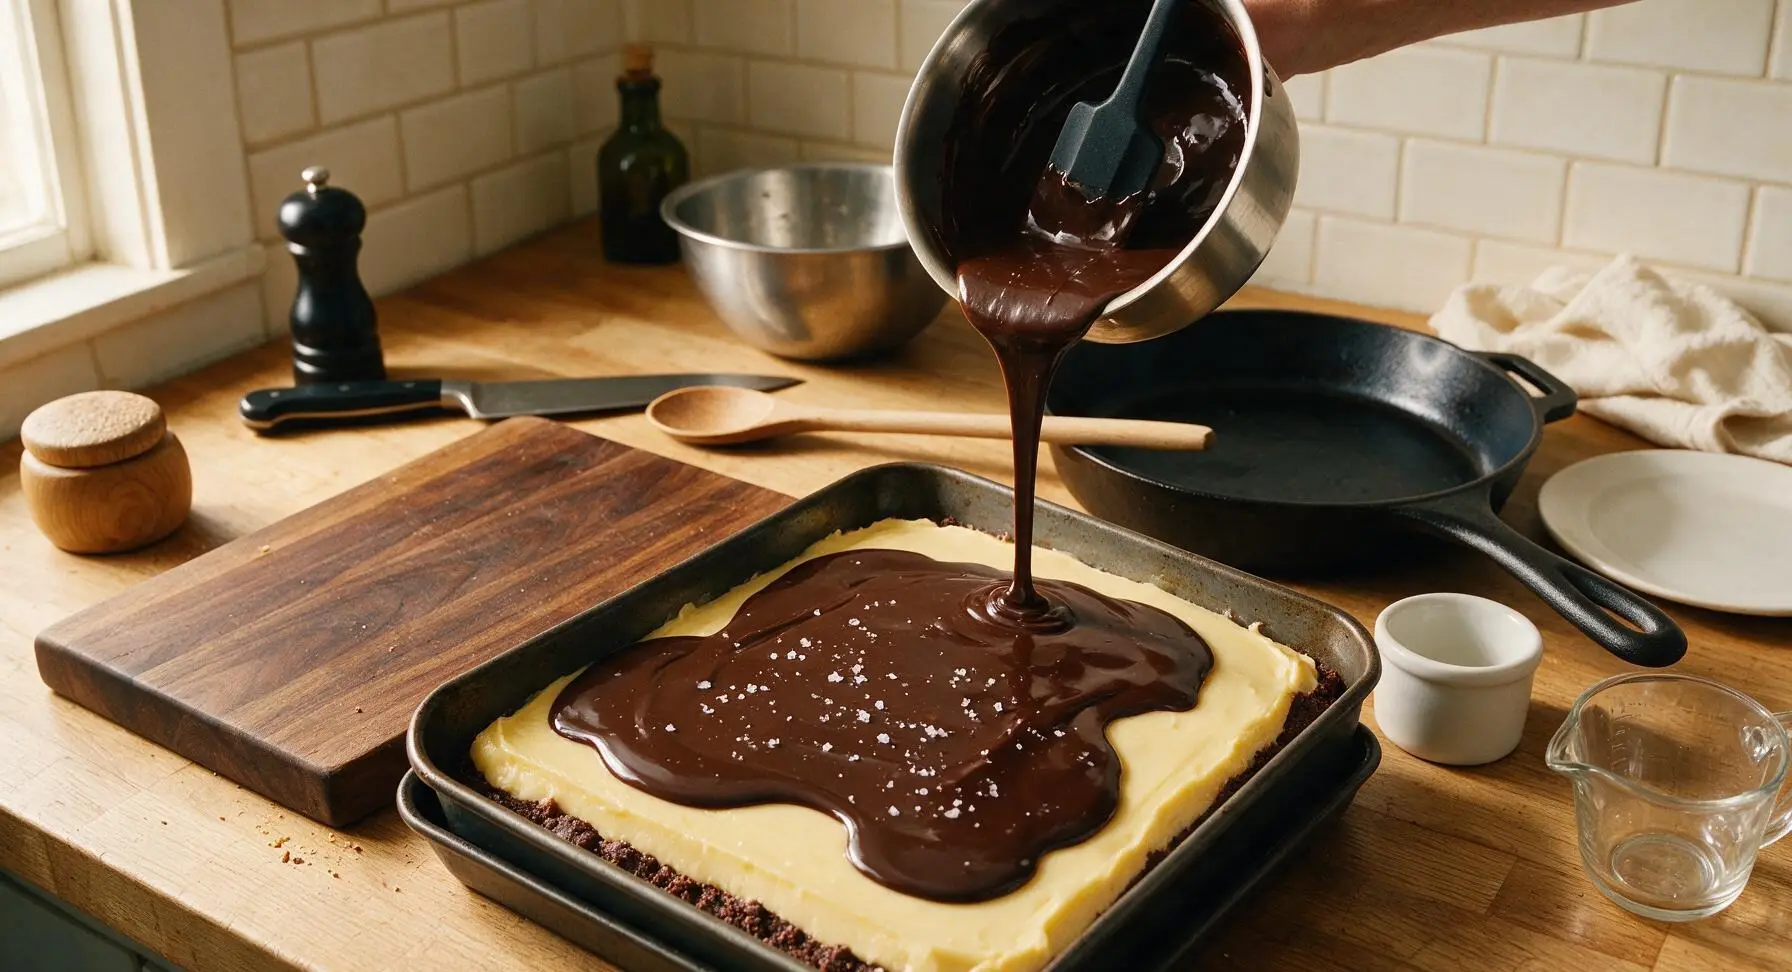
Wipe the small stainless steel saucepan clean, then add semi-sweet chocolate chips and 2 tablespoons unsalted butter. Melt over the lowest induction heat, stirring constantly with the silicone spatula until fully smooth and glossy, about 2 minutes, taking care not to scorch the chocolate. Pour the melted chocolate over the chilled custard layer, tilting the pan gently to spread the chocolate into a thin, even layer across the entire surface. Sprinkle lightly with flaky sea salt immediately, before the chocolate begins to set.
Step 7
step7:Top With Chocolate
Step 7
step7:Top With Chocolate
8

Chill and Slice Bars

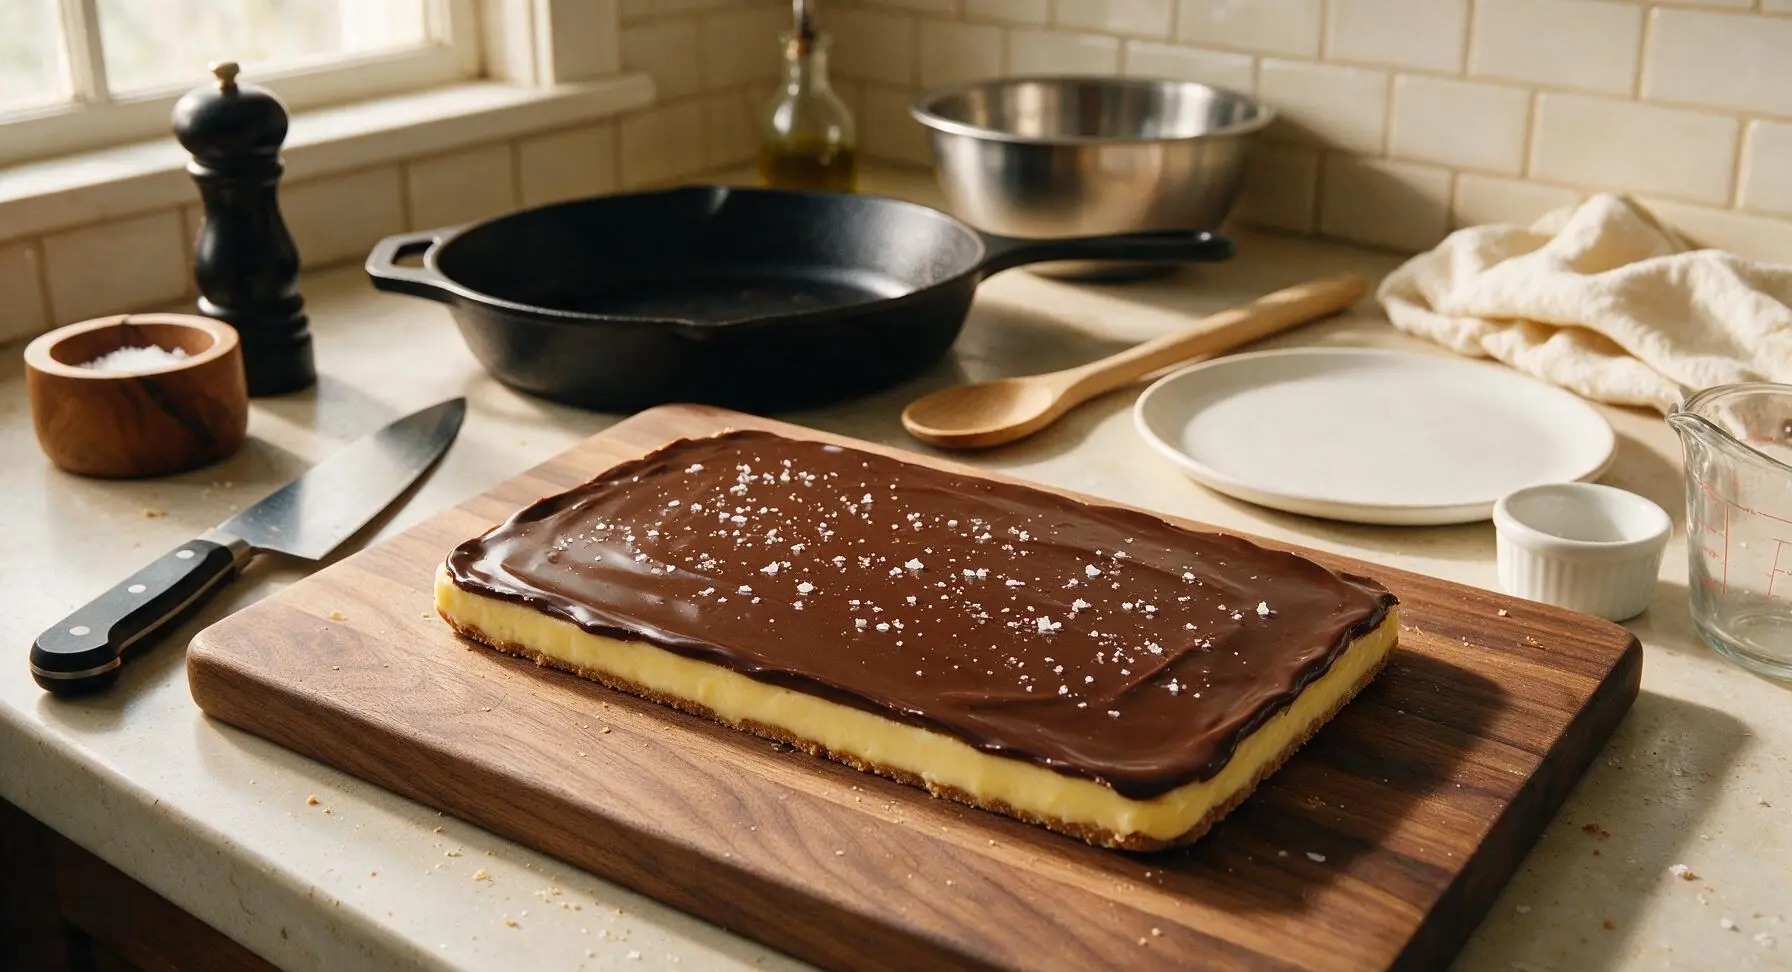
Return the pan to the refrigerator to chill for a full 1 hour, until the chocolate top is completely set and firm to the touch. Use the parchment overhang to lift the entire block out of the pan and onto the clean counter. Use the sharp paring knife to cut the block into 16 even 5cm square bars, wiping the knife blade clean between cuts for sharp, clean edges.
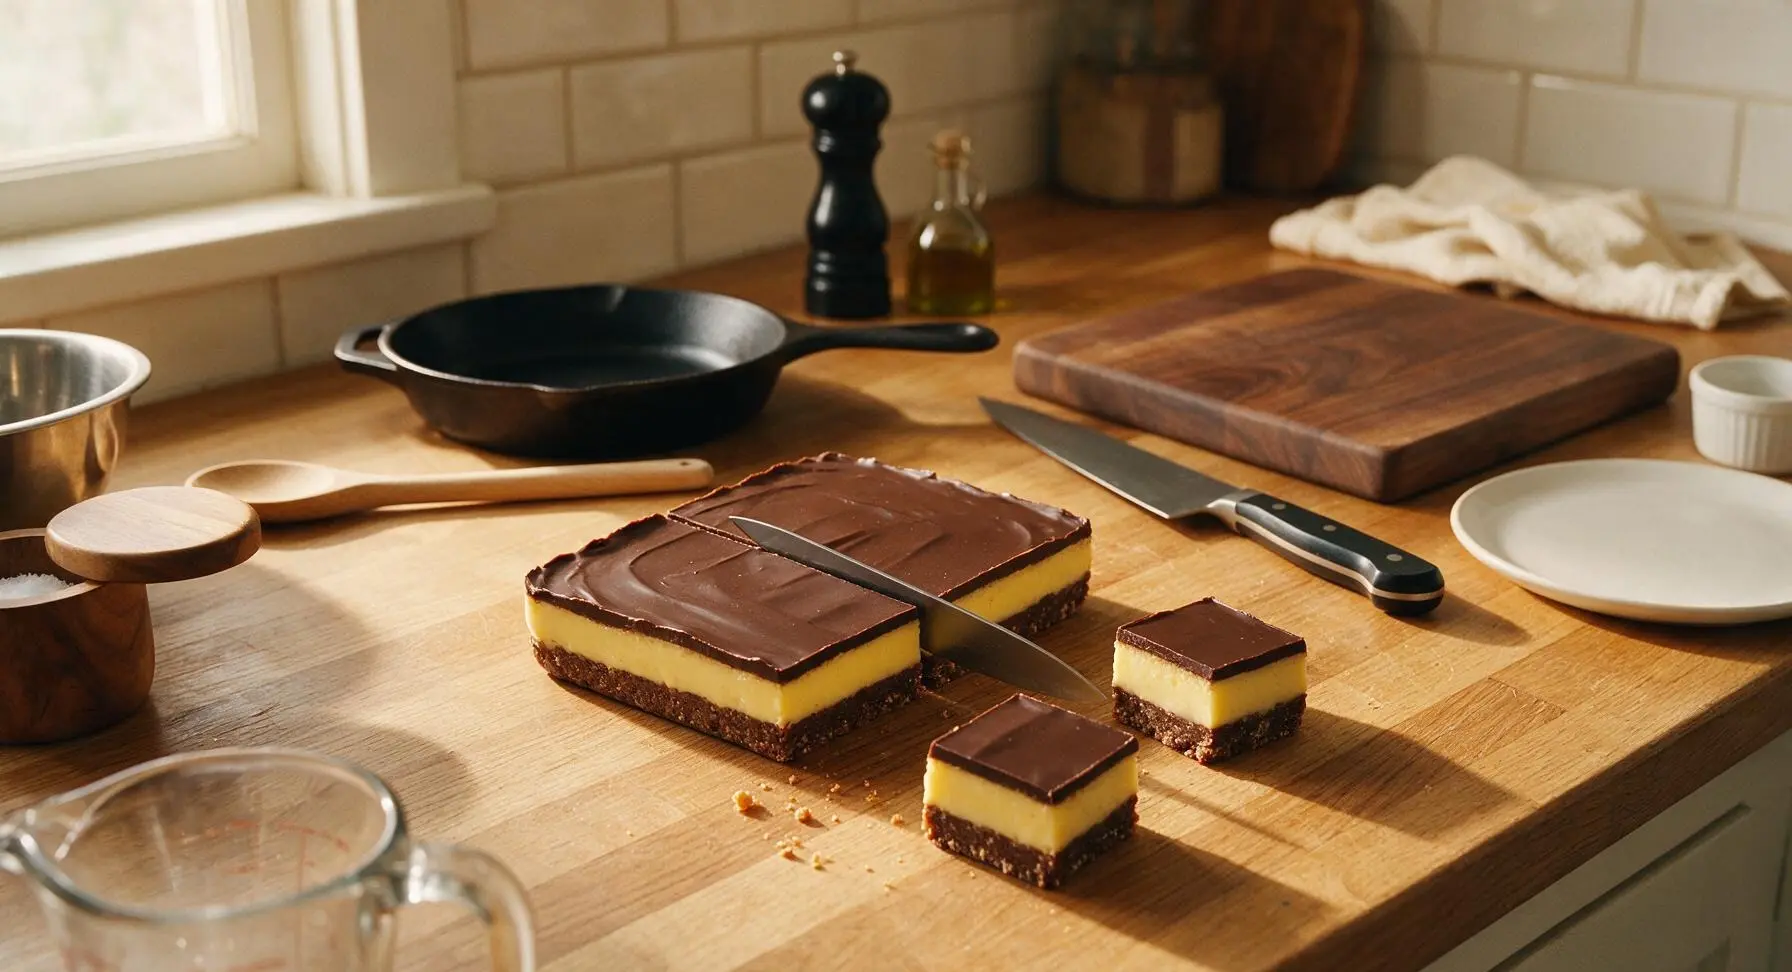
Step 8
step8:Chill and Slice Bars

Tips

1.Chill each layer fully before adding the next: wait until the crumb base is firm to the touch (20 minutes) before spreading custard, and wait until the custard does not shift when jiggled (30 minutes) before adding chocolate. This prevents layers from mixing and ensures sharp, clean edges on every slice.
2.Do not substitute vanilla pudding mix for custard powder: traditional Nanaimo bars rely on custard powder for their signature mild, creamy vanilla flavor and firm set; pudding mix contains added starch and sugar that will make the filling too soft and overly sweet.
3.Wipe your paring knife with a warm, damp cloth between every cut: warm knife blades glide through set chocolate without cracking it, and wiping away crumbs and smudged chocolate between cuts prevents messy, uneven edges on finished bars.


✨ You May Also Like

Desserts & Baking
🍜 Italy

Creamy, coffee-kissed classic Northern Italian no-bake dessert, with layers of rum-spiked mascarpone cream, soft ladyfingers, and a rich cocoa dusting.

⏱️ 4 hours 3Desserts & Baking ★ 4.7
Desserts & Baking
🍜 France

Flaky, shatteringly crisp, buttery French croissants with golden exteriors and soft, airy layered interiors, perfect for pairing with coffee for a special morning treat.

⏱️ 12 hours Desserts & Baking ★ 4.5
Desserts & Baking
🍜 United States

Warm, spiced baked apples topped with a fluffy golden biscuit crust, this cozy dessert pairs perfectly with vanilla ice cream for cool-weather comfort.

⏱️ 55 minuteDesserts & Baking ★ 4.6
Desserts & Baking
🍜 United States

A star-spangled classic American blueberry pie with buttery flaky crust and bright sweet-tart filling, perfect for summer patriotic gatherings.

⏱️ 1 hour 25Desserts & Baking ★ 4.7
Desserts & Baking
🍜 United States

A beloved no-bake regional Maine candy with a chewy coconut-potato center coated in rich dark chocolate, a New England holiday staple since the 1870s.

⏱️ 2 hours 3Desserts & Baking ★ 4.8
Desserts & Baking
🍜 France

Luxuriously creamy, floral frozen custard made with aromatic Tahitian vanilla beans, boasting a smooth, rich texture that melts slowly on the tongue.

⏱️ 3 hours 3Desserts & Baking ★ 4.5

Canadian Nanaimo Bar Cookies:Frequently Asked Questions

1.Do I really need to chill each layer separately before adding the next one? ▾
Absolutely—skipping chill time leads to messy, blended layers instead of the clean, distinct three tiers Nanaimo bars are famous for. Chill the pressed crumb base for 20 minutes before spreading the custard filling, then chill the set filling for another 30 minutes before pouring the warm chocolate top to keep the custard from melting and mixing.
2.Can I swap the walnuts in the crumb base for another ingredient if I have a nut allergy? ▾
Definitely! Finely chopped walnuts add a warm, toasty crunch to the base, but you can easily swap them for an equal measure of extra graham cracker crumbs, toasted crushed oats, or crisp rice cereal for that same textural contrast. Just make sure any swap is finely crushed so the base holds together firmly when sliced.
3.Why does my glossy chocolate top crack when I go to slice the finished bars? ▾
Cracking almost always happens when the chocolate layer is fully rock-hard straight from the fridge, or if you pour it over the custard when it’s too hot. Let the fully assembled bars rest at room temperature for 10 to 15 minutes before slicing, and use a sharp, thin knife warmed under hot water (then dried) between cuts for clean, crack-free slices.
4.Do I have to use commercial vanilla custard powder for the middle filling, or is there an easy substitute? ▾
Traditional Nanaimo bars use vanilla custard powder for that signature creamy, nostalgic middle layer flavor, but if you don’t have it, swap it for an equal amount of instant vanilla pudding mix. If you want that classic pale yellow custard hue, add a tiny pinch of ground turmeric—you won’t taste it, but it matches the traditional look perfectly.
5.How long do these Nanaimo bar cookies stay fresh, and can I freeze them for advance holiday prep? ▾
These bars are ideal for building holiday treat trays ahead of time! Stored in an airtight container in the fridge, they’ll stay fresh for up to 1 week, and the flavors actually meld and improve after the first 24 hours. You can also freeze them tightly wrapped for up to 3 months—just thaw in the fridge overnight before serving, no extra steps needed.

Comments (4)

3 days ago

OMG these are SO good! I brought them to my neighborhood potluck last weekend and people were begging me for the recipe all night. I was a little nervous about the custard layer since I’ve only ever had regular Nanaimo bars from the grocery store when I visited Vancouver as a kid, but this was so easy even with the chilling time? Game changer.

2 days ago

Wait did you use regular custard powder or the vanilla kind? I tried a different Nanaimo cookie recipe last month and the middle layer was way too runny, curious if this one holds up better!

2 days ago

So glad these were a potluck hit! For the middle layer, make sure you’re using instant vanilla custard powder and give it the full chill time in the fridge, and it’ll set perfectly firm without being runny.

2 days ago

My kids loved it! I made these for our after-school snack rotation for meal prep and they were gone in 2 days flat. I didn’t have graham crackers on hand so I used crushed honey graham cereal, worked like a charm. Only note: I might add a tiny extra pinch of salt to the chocolate top next time to cut the sweetness a little.

1 day ago

Love the crushed graham cereal swap, that’s such a smart hack! Adding a flaky sea salt sprinkle on top of the warm chocolate layer is chef’s kiss, I’m going to add that as a pro tip to the recipe notes—great call!

1 week ago

Wait this was way easier than I thought it’d be! I always assumed Nanaimo bars were super fussy but 10 minutes of active cook time? Sign me up. I made these for our family dinner last Sunday and my mom, who’s a total cookie snob, asked for seconds. The coconut and walnut crunch in the base is *chef’s kiss*.

yesterday

Made these yesterday for my book club meetup and wow, everyone thought I spent hours on them! I used dark chocolate for the top instead of semi-sweet because that’s what I had in the pantry, and it balanced the sweet custard layer so well. 10/10, will be making these for every holiday gathering from now on.

30 minutes ago

Oh the dark chocolate swap sounds amazing! I’m hosting our next club meetup next week and was looking for an easy Canadian-themed treat since we’re reading a novel set in BC, this is perfect!



