
Canadian Nanaimo Bars
intro
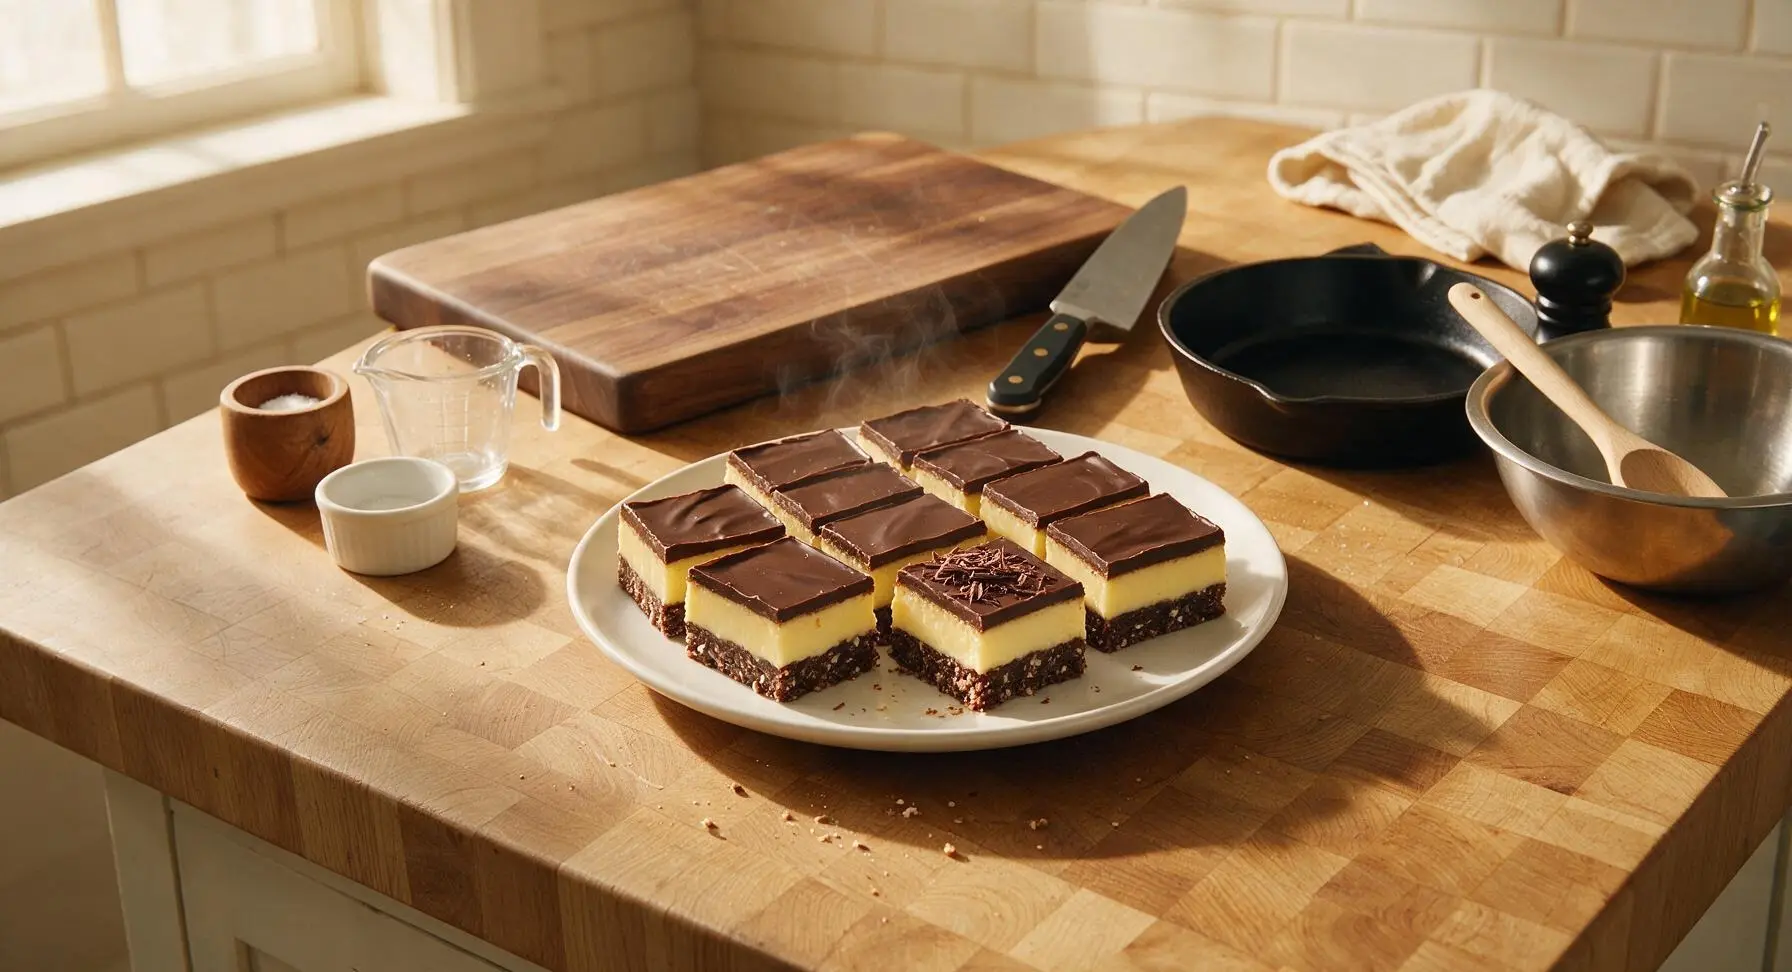
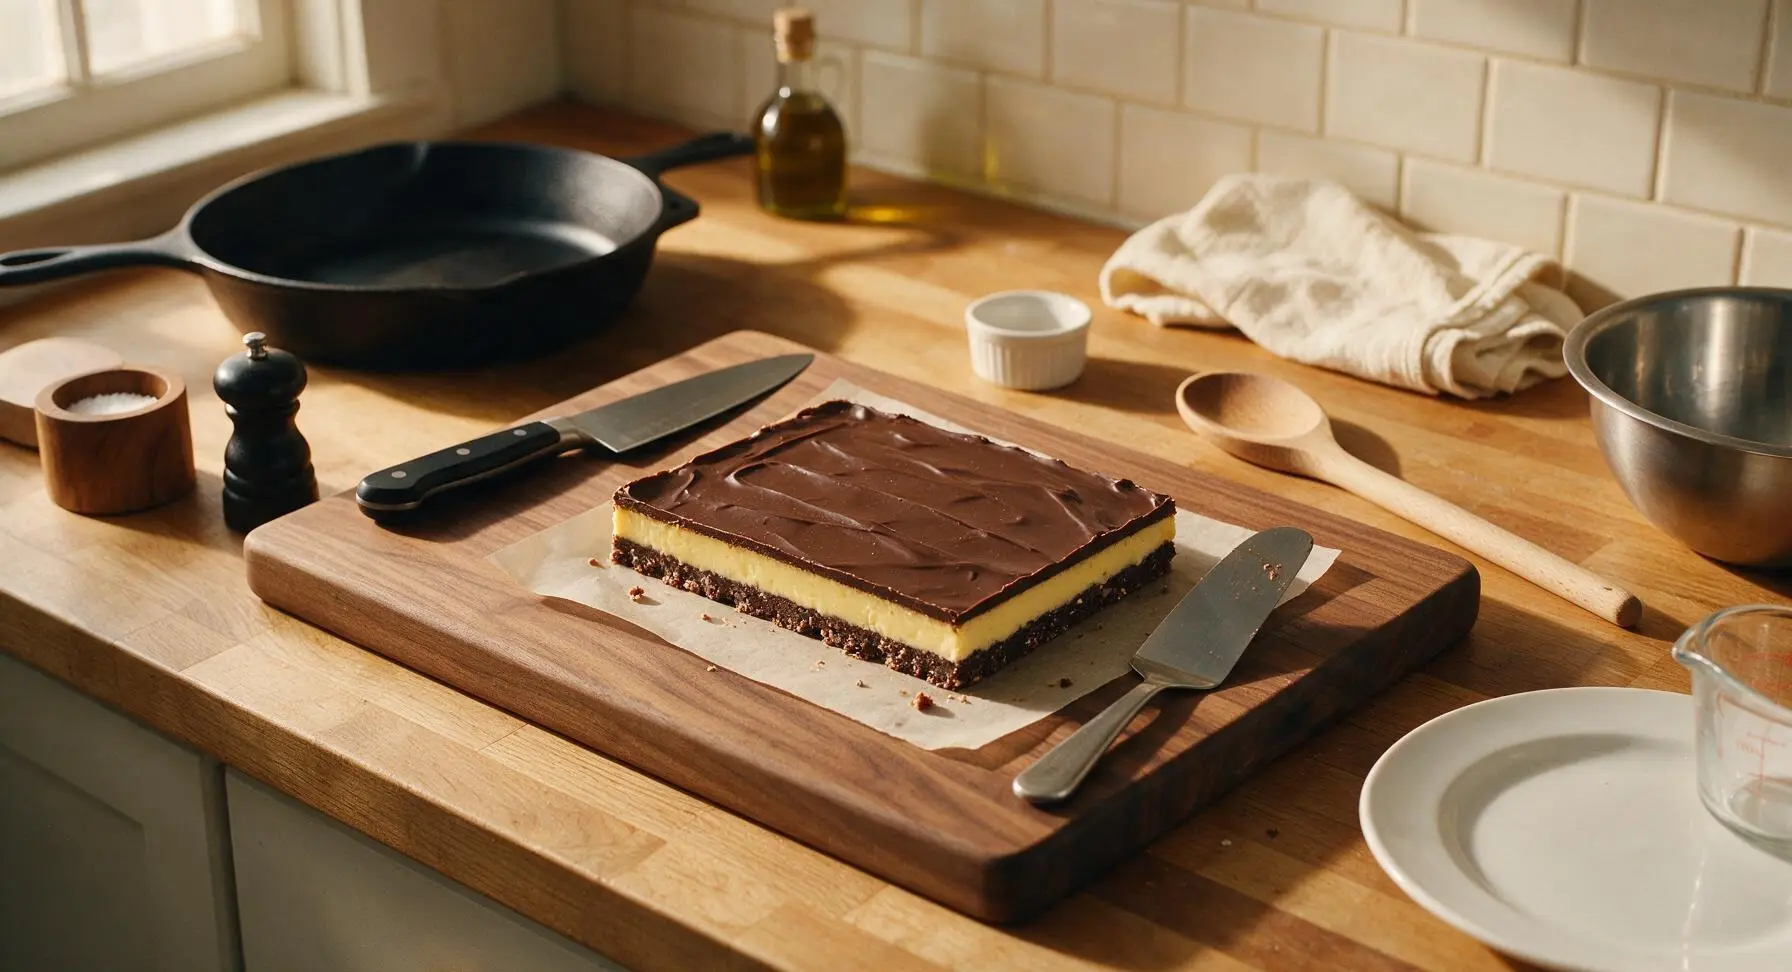
Iconic no-bake Canadian treat with three distinct layers: chocolate-coconut crumb base, creamy vanilla custard middle, and smooth glossy chocolate top—rich, nostalgic, and perfectly portable.
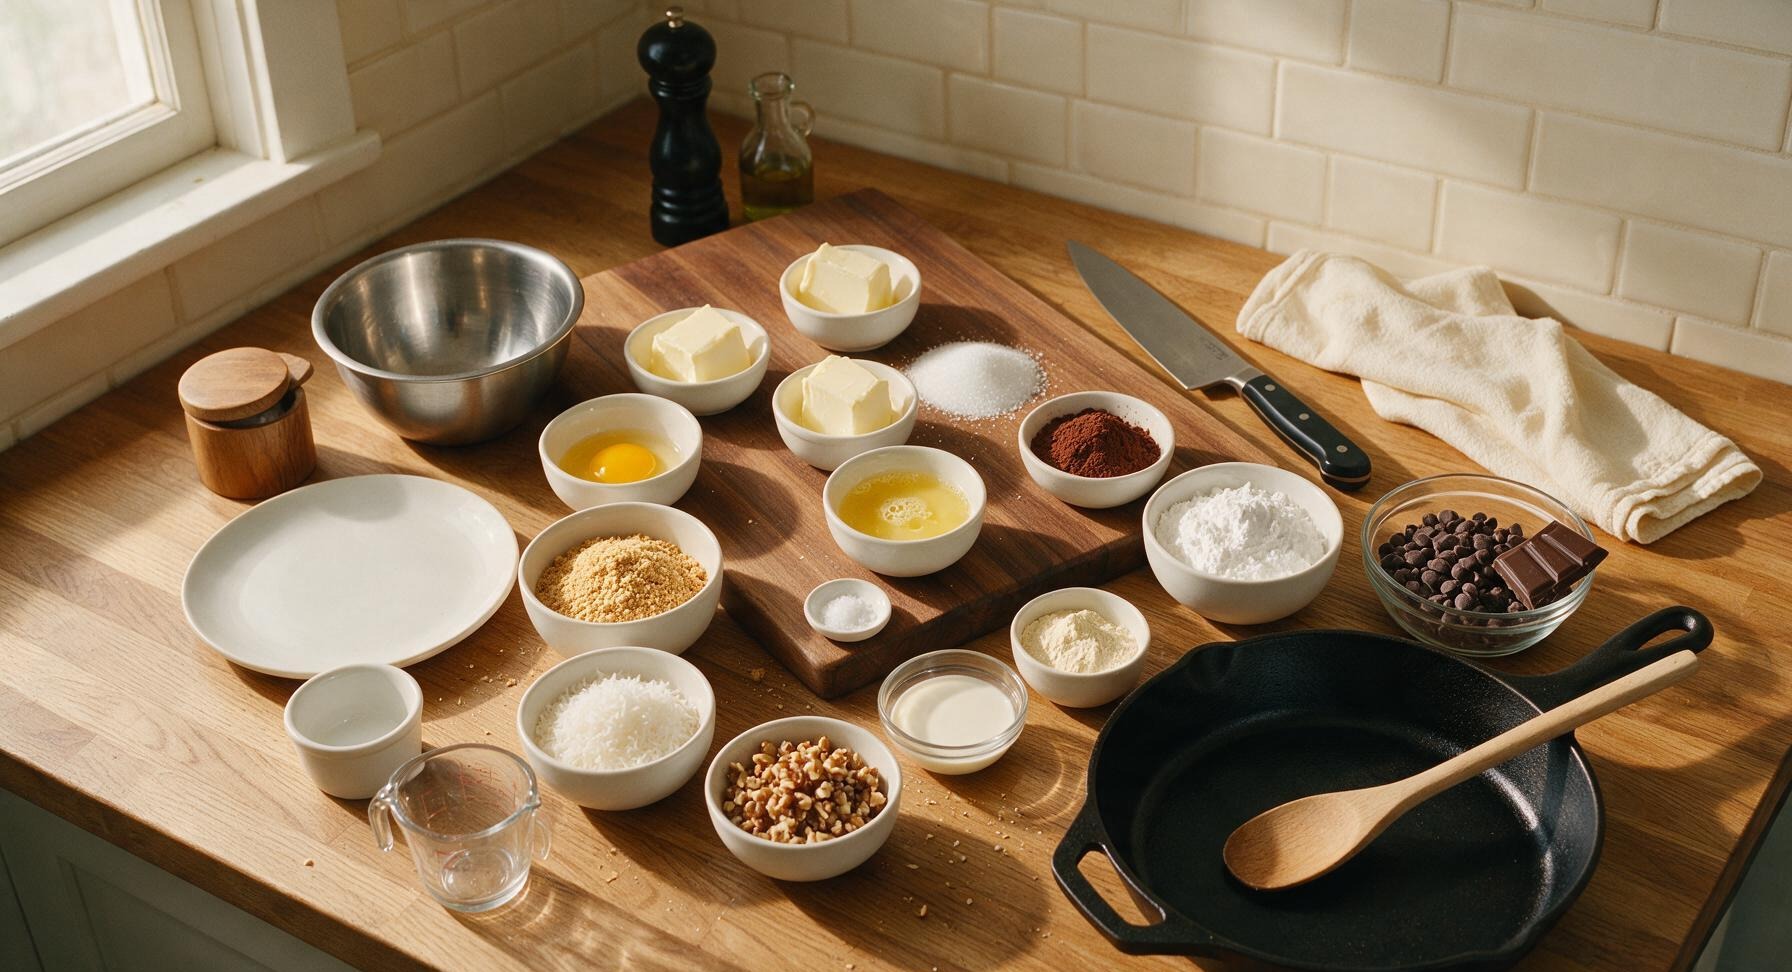
Ingredients
Steps
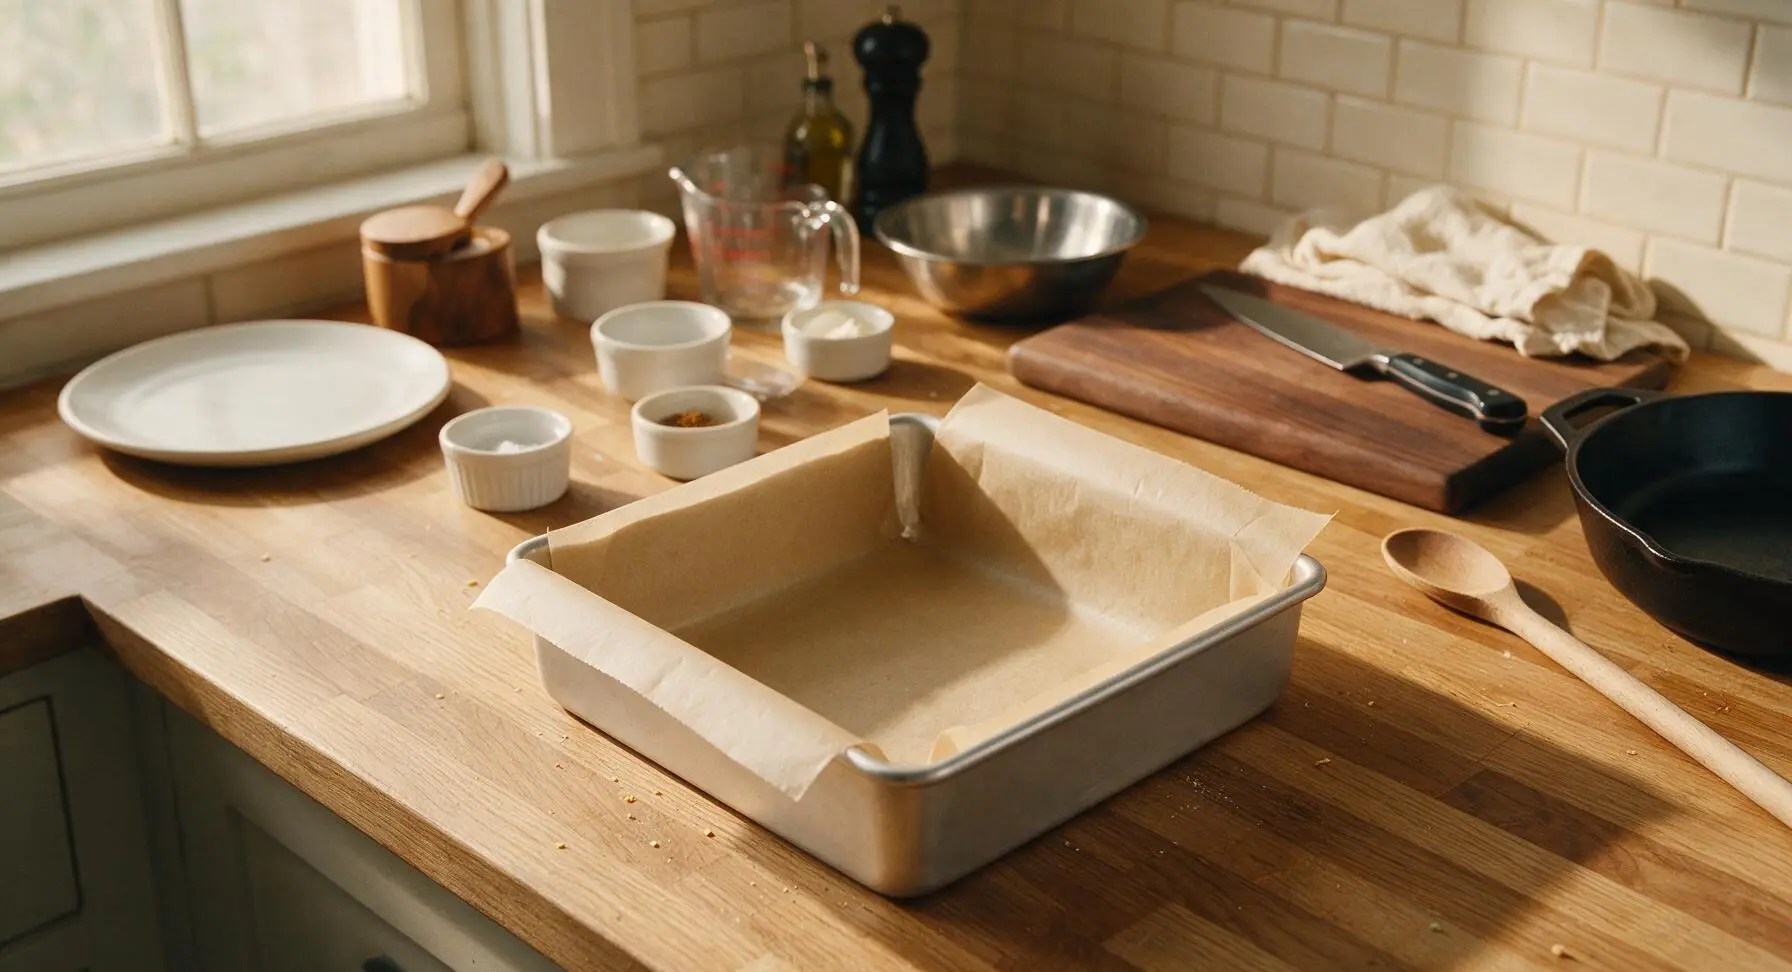
Line Baking Pan
Line the 8x8 inch square matte silver aluminum baking pan with the cut unbleached parchment paper, leaving 5cm overhang on two opposite sides to act as lift handles for the finished bar slab. Press the paper firmly into the pan corners and up the sides to prevent shifting, then set the lined pan at the center of the work surface.
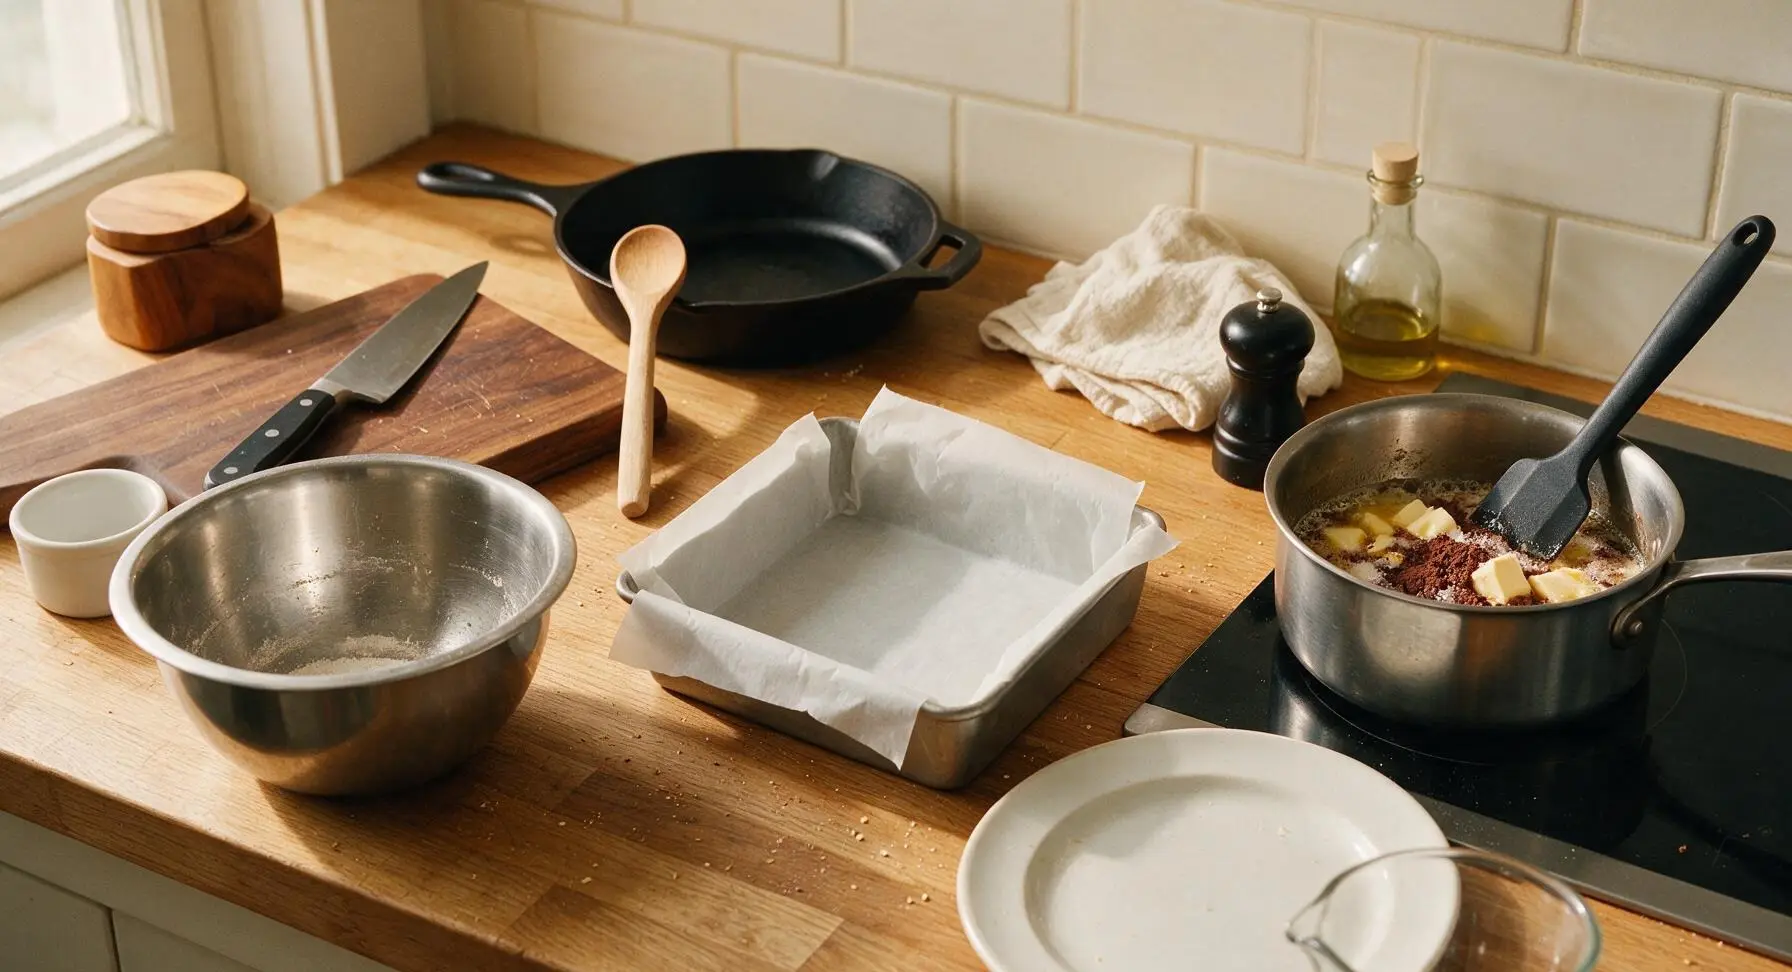
Melt Base Mixture
Set the 1L stainless steel saucepan on the flush induction cooktop on the right side of the counter. Add ½ cup (113g) of the butter, granulated sugar, cocoa powder, and fine sea salt to the pan. Heat over low setting, stirring constantly with the charcoal silicone spatula, until butter is fully melted and mixture is smooth, about 3 minutes. Remove pan from heat, slowly drizzle in the beaten egg while whisking rapidly to avoid curdling, then return to low heat for 1 minute, stirring until the mixture thickens to a thin, pudding-like consistency that coats the back of the spatula.
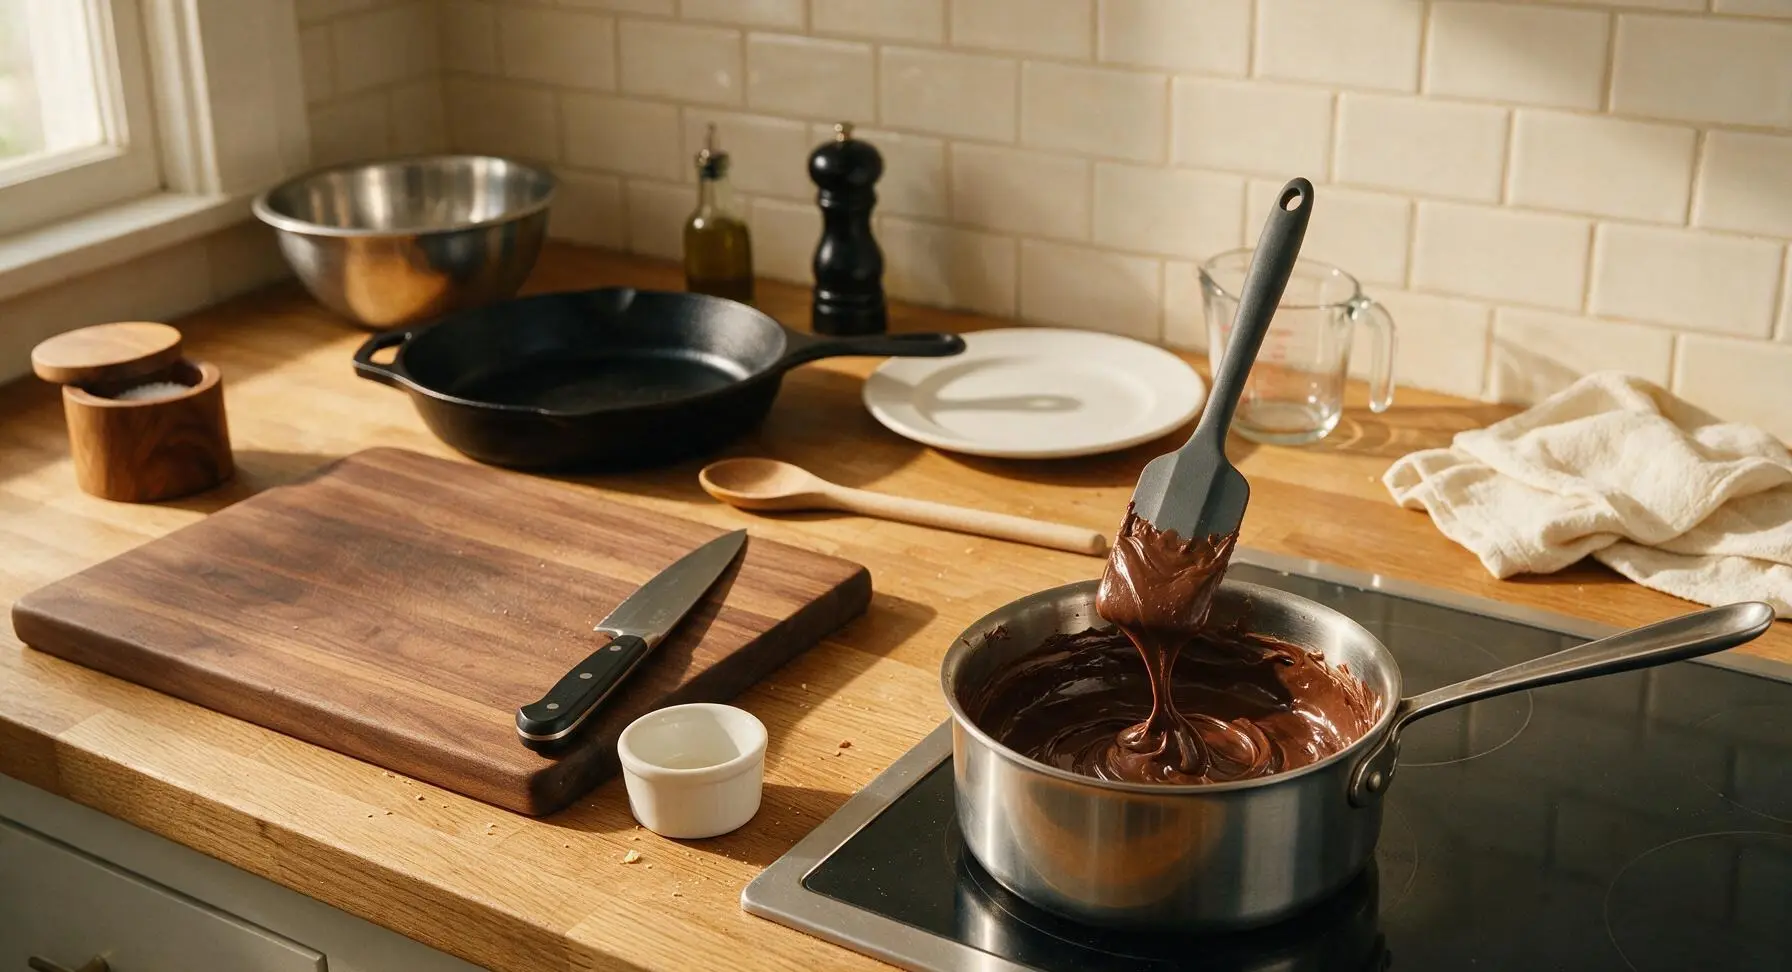
Press Crumb Base
Take the saucepan off the heat, stir in graham cracker crumbs, shredded coconut, and chopped walnuts until every crumb is evenly coated in the chocolate mixture. Transfer the entire crumb mixture to the parchment-lined baking pan, use the flat base of the glass measuring cup to press the crumbs firmly into a uniform, compact layer across the entire pan bottom, with no gaps or loose crumbs. Place the pan on the chrome wire cooling rack and transfer to the refrigerator to chill for 20 minutes while you prep the filling.
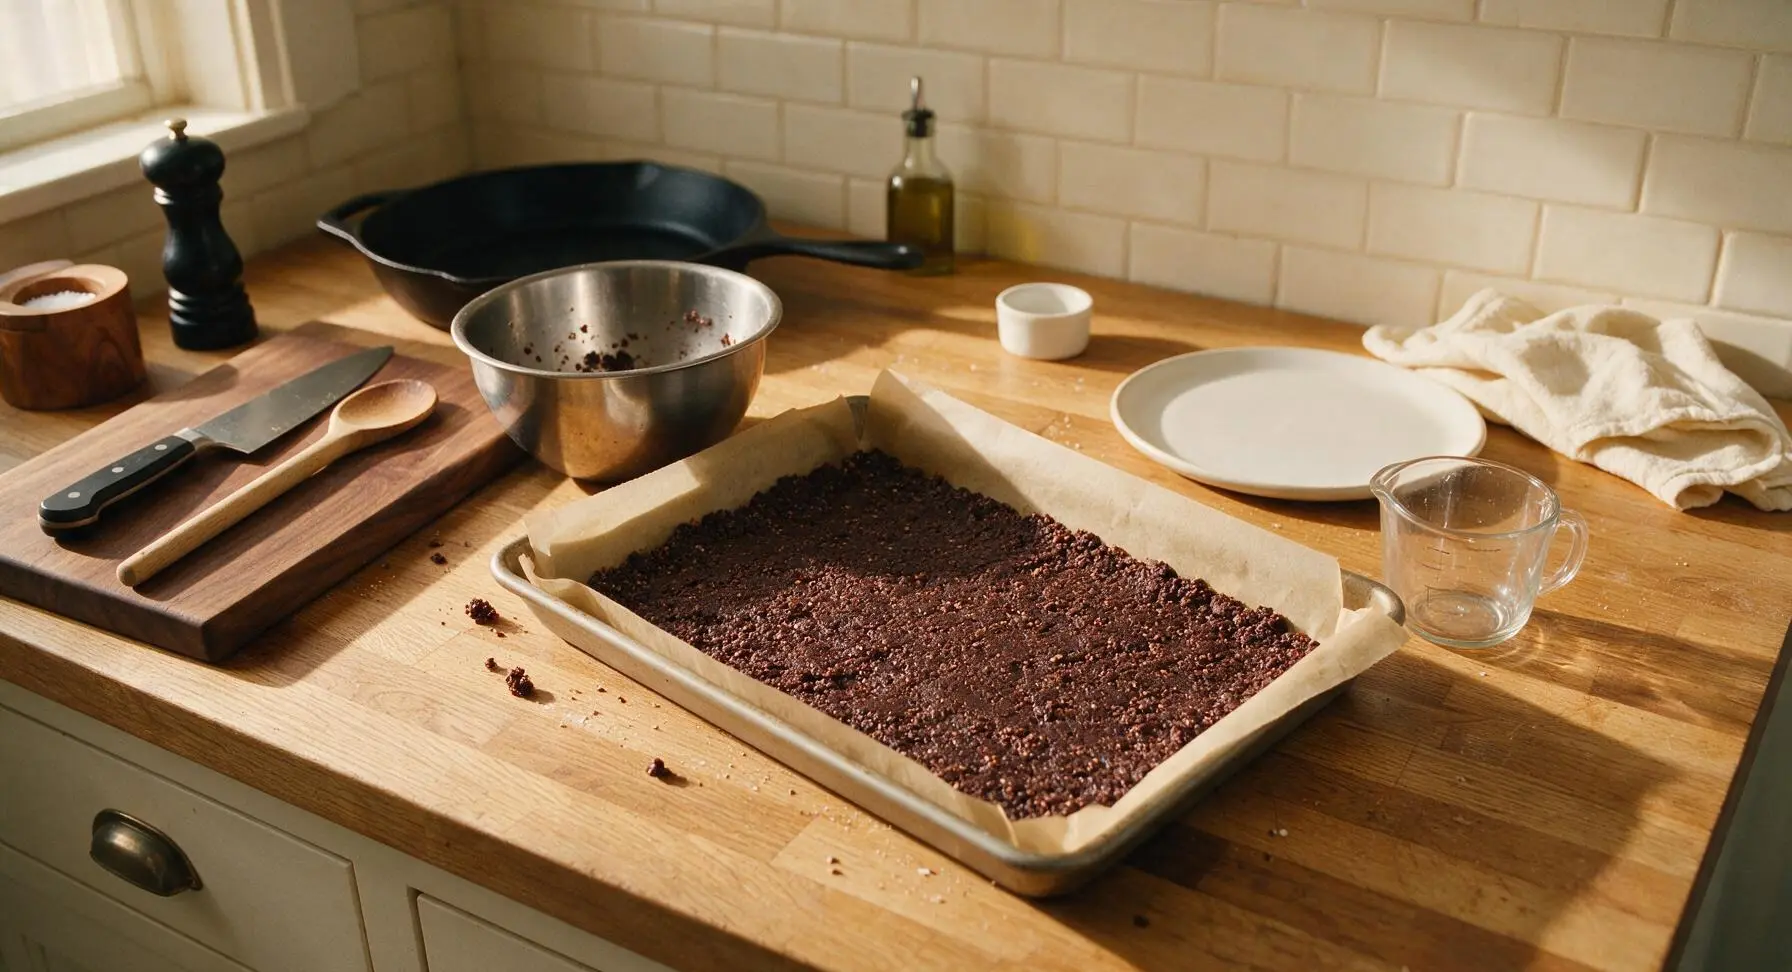
Mix Custard Filling
Place the medium stainless steel mixing bowl at center counter. Add the remaining ¼ cup (57g) softened room-temperature butter, heavy cream, and vanilla custard powder to the bowl. Stir vigorously with the silicone spatula until completely smooth, with no visible lumps of custard powder, about 2 minutes. Gradually sift in powdered sugar ½ cup at a time, stirring continuously, until the filling is thick, pale creamy yellow, and spreadable, matching the consistency of firm buttercream.
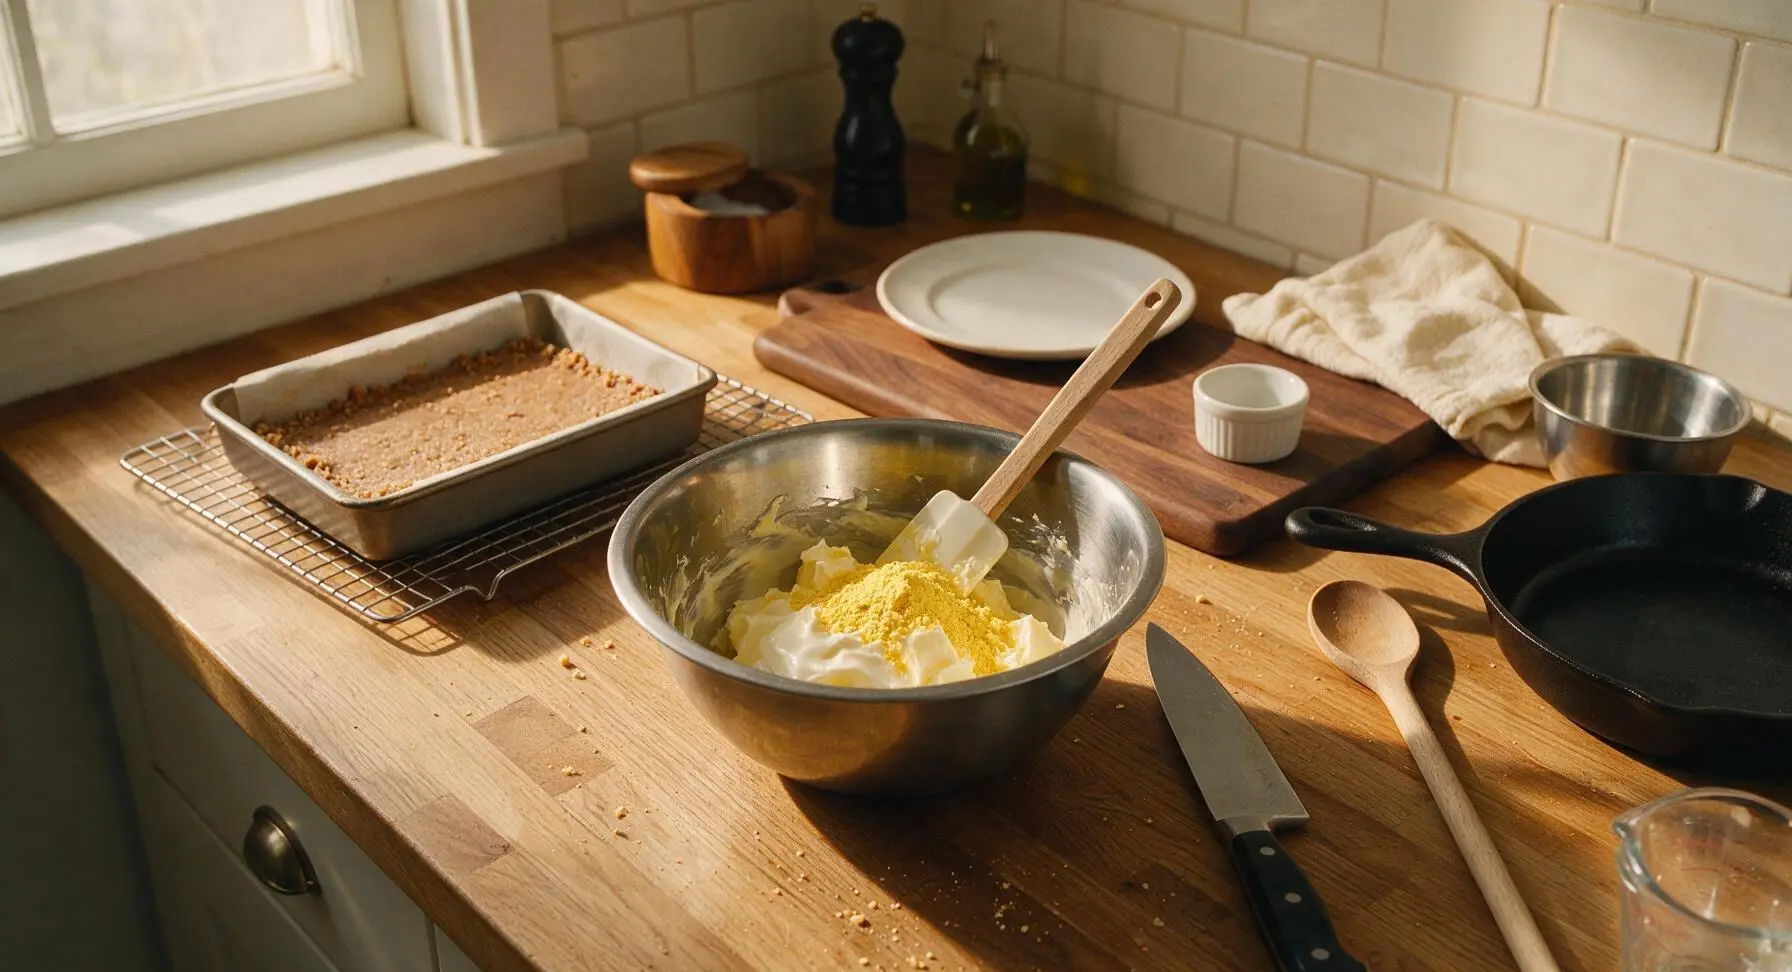
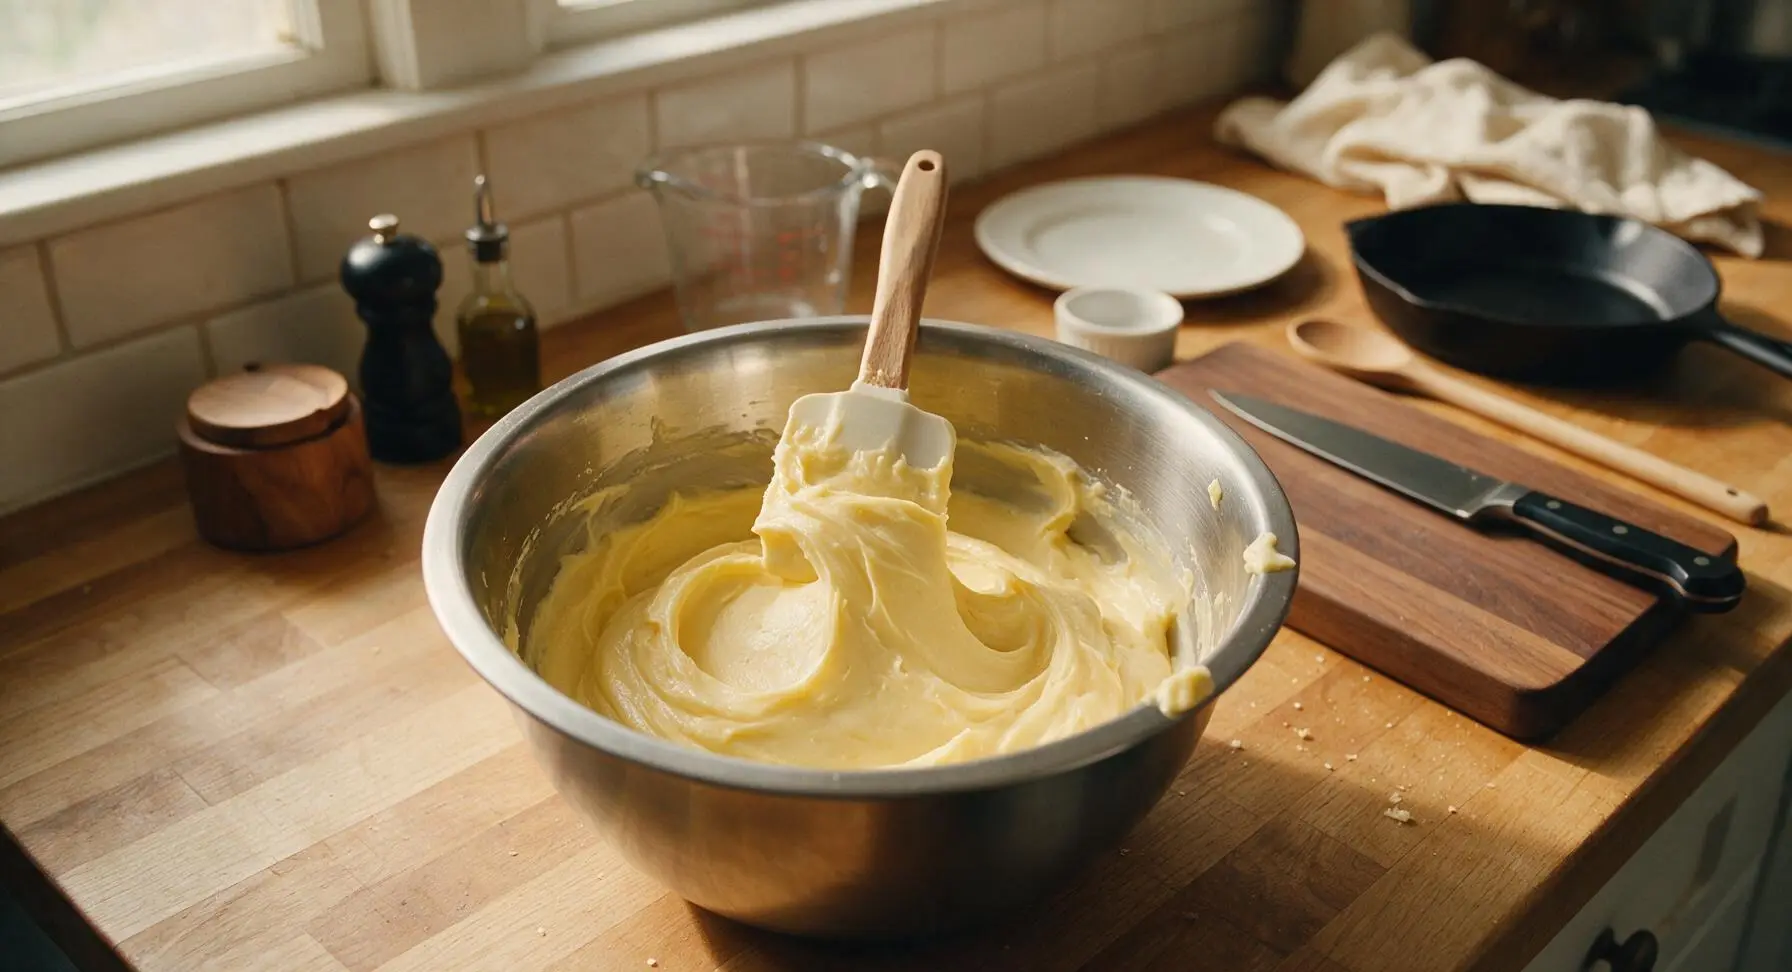
Spread Custard Layer
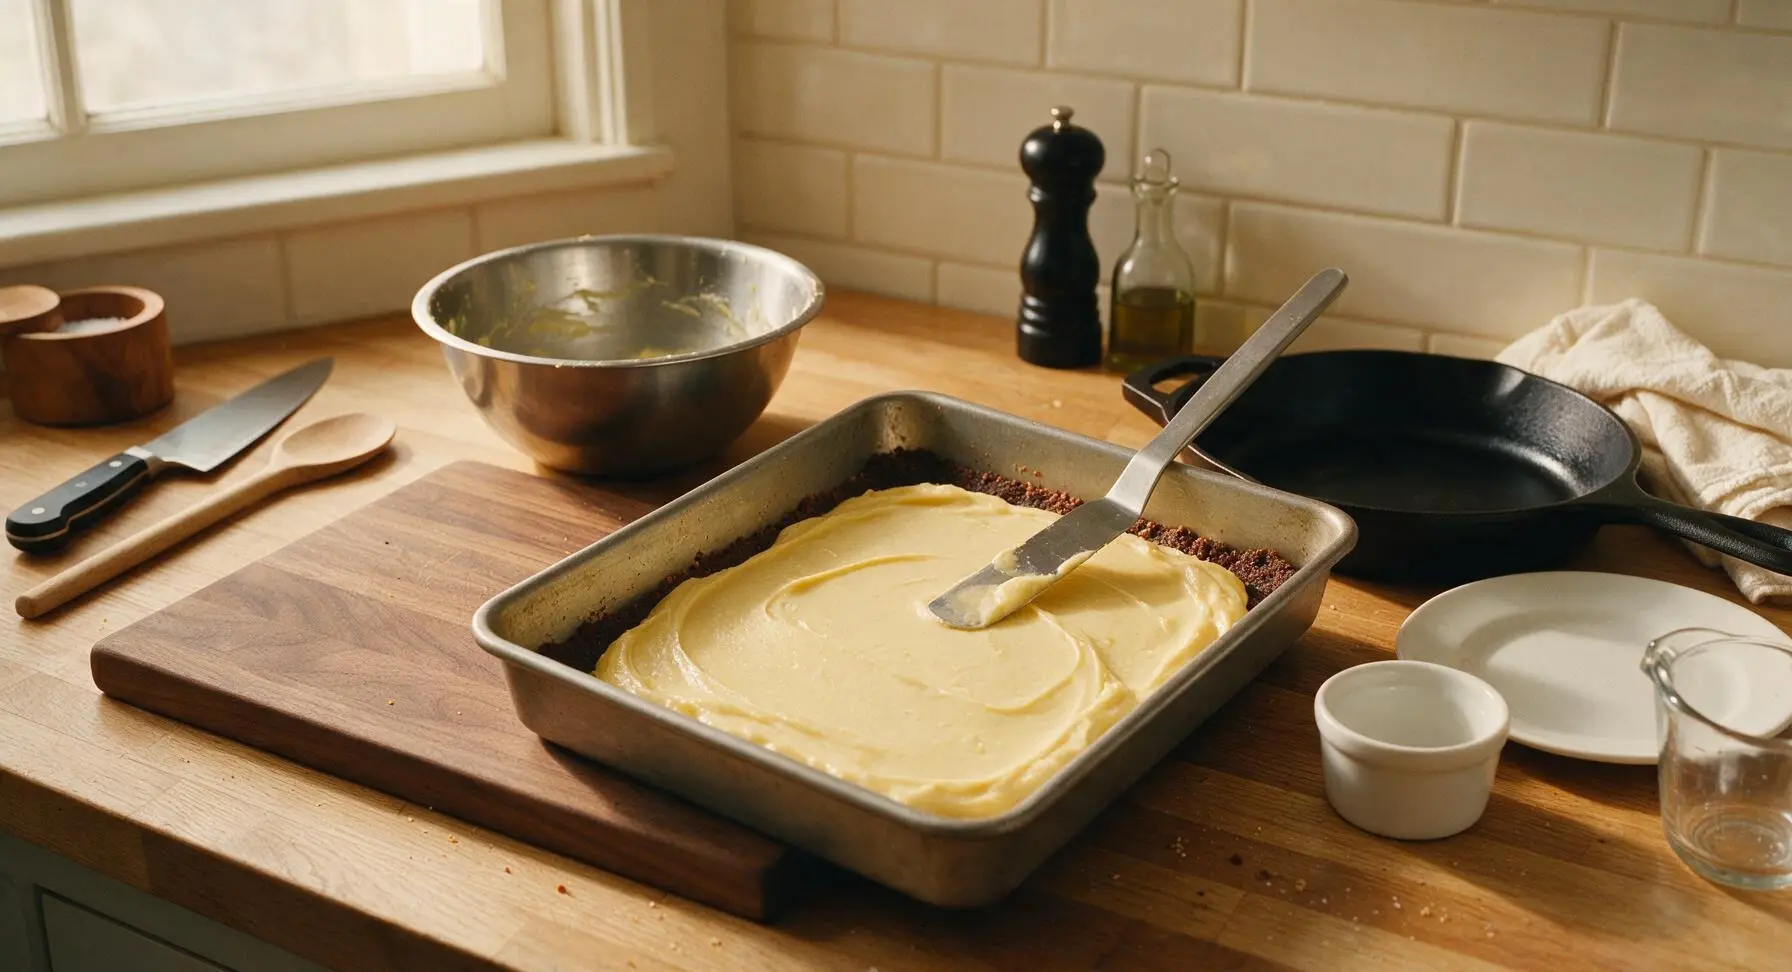
Retrieve the chilled crumb base from the refrigerator: it should be firm to the touch, with no give when pressed lightly with a fingertip. Dollop all of the custard filling over the top of the base, then use the offset metal spatula to spread the custard into a perfectly even, smooth layer across the entire surface, taking care not to press too hard and dislodge crumbs from the base. Return the pan to the wire rack and chill for 15 minutes, until the custard layer is firm to the touch.
Melt Chocolate Topping
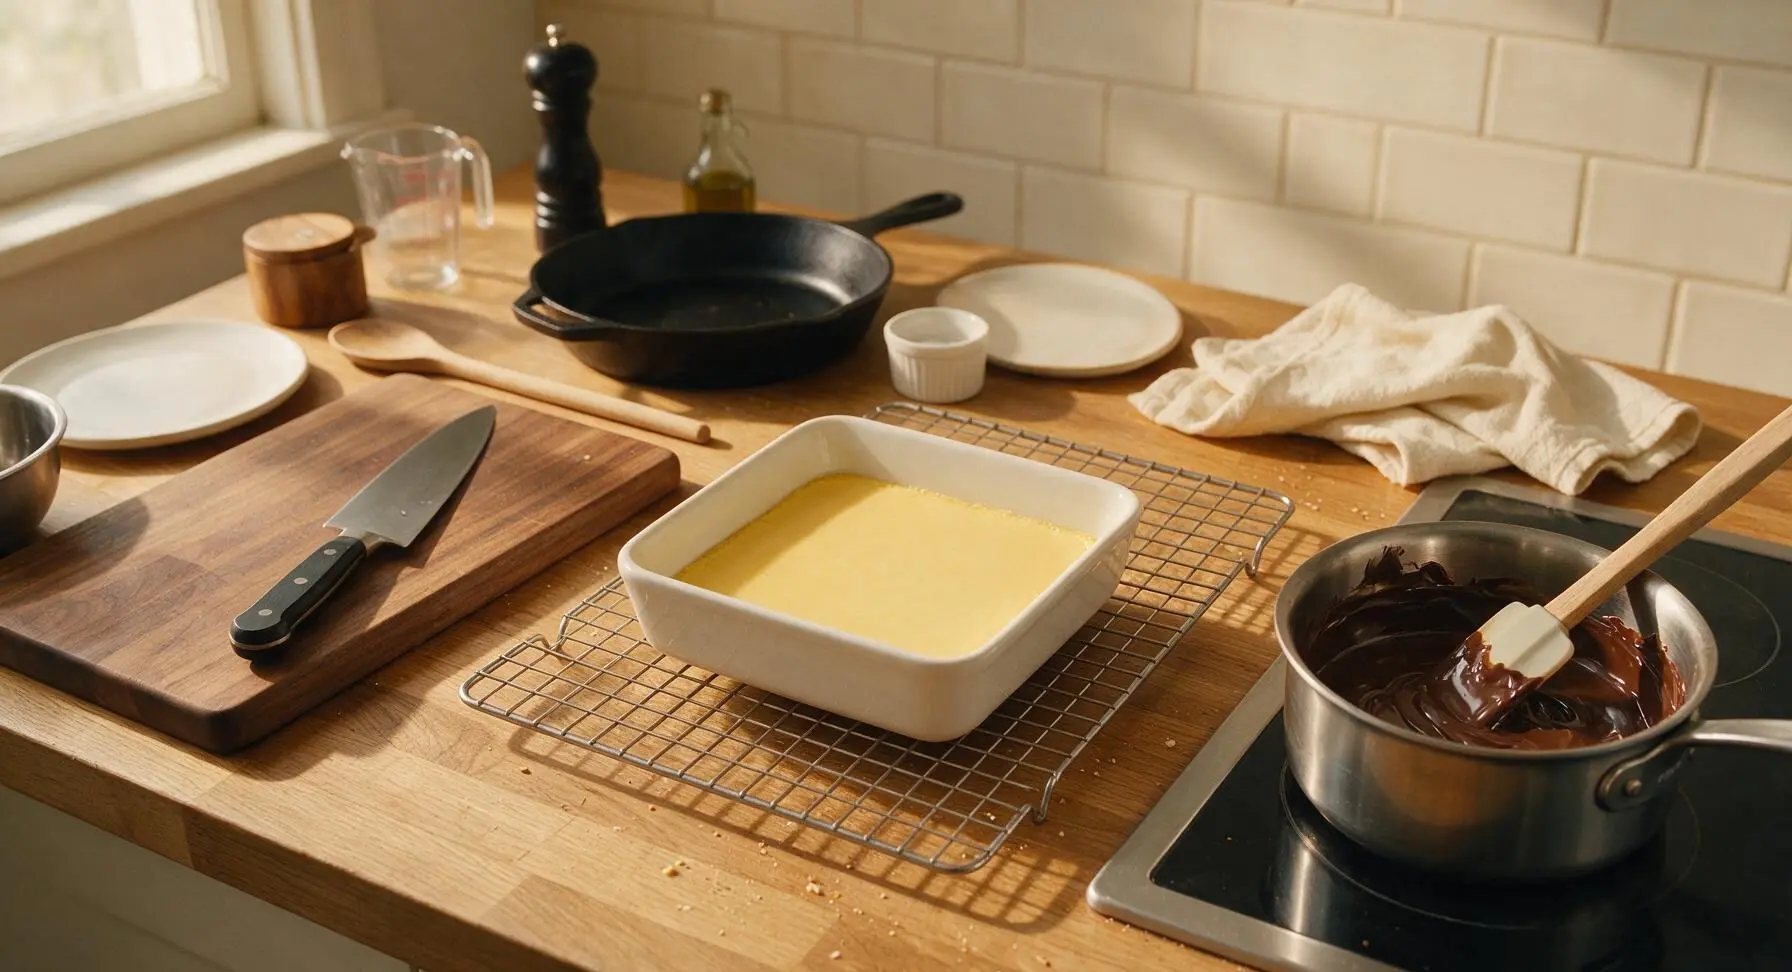
Wipe the small stainless steel saucepan clean with a paper towel, then set it back on the low-heat induction cooktop. Add the remaining 2 tbsp (28g) butter and chopped semi-sweet chocolate to the pan, stirring constantly with the clean silicone spatula until completely smooth, about 2 minutes. Do not overheat the chocolate, as high heat will cause it to seize and turn grainy. Remove the pan from heat and let the chocolate cool for 5 minutes, until it is just slightly warm to the touch, not hot.
Top With Chocolate
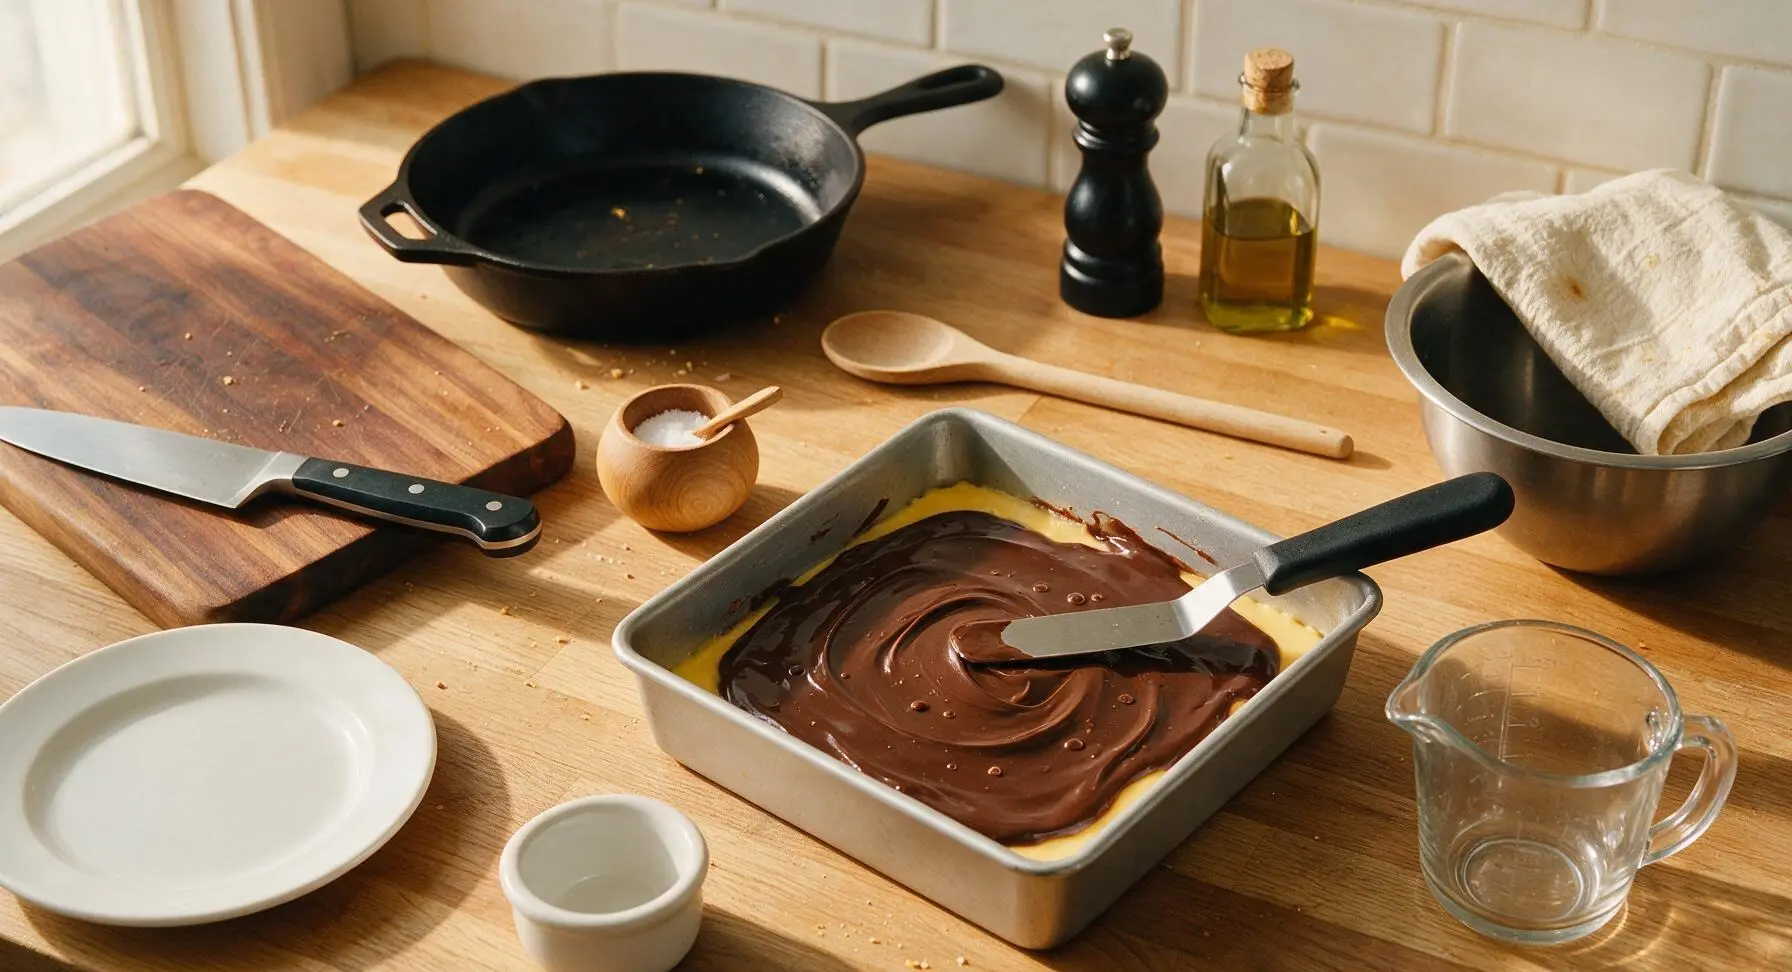
Remove the chilled pan with the custard layer from the refrigerator. Pour the cooled melted chocolate evenly over the set custard, then use the offset spatula to spread the chocolate into a thin, uniform layer across the entire surface, working quickly before the chocolate sets from the cold custard. Tap the pan gently on the counter 3-4 times to pop any trapped air bubbles in the chocolate, then return the pan to chill for 1 full hour, until all layers are completely firm.
Cut Into Portions
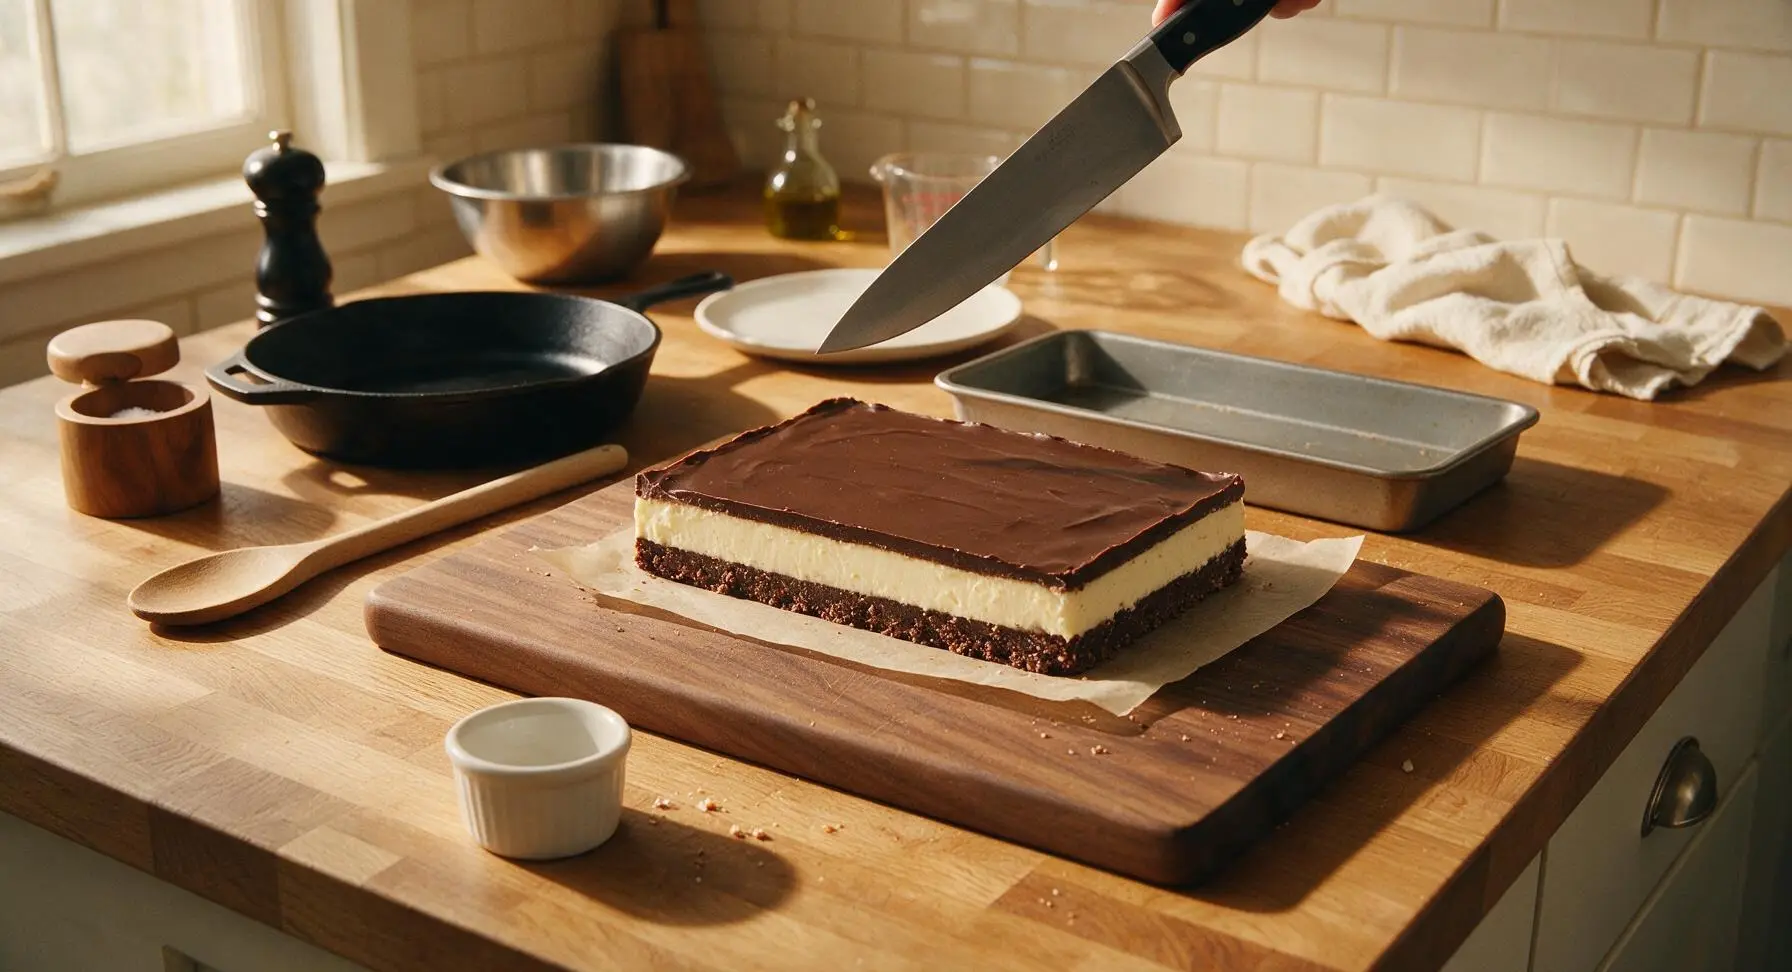
Once fully chilled, use the parchment paper overhang to lift the entire solid bar slab out of the baking pan and set it on the counter surface. Dip the walnut-handled chef knife in hot tap water, wipe it dry with a corner of the cream towel, and cut the slab into 16 even 5cm squares, wiping the knife clean between every cut to create sharp, clean edges without smudging the layers. Arrange the cut bars on the matte white ceramic serving platter.
Tips
2.Use traditional vanilla custard powder, not instant vanilla pudding mix, for the middle layer: pudding mix creates a softer, runnier filling that never sets firm, while custard powder delivers the iconic pale yellow color and rich, buttery, old-fashioned vanilla flavor.
3.Wipe your knife with a hot, damp cloth between every cut when portioning: the warm knife cuts cleanly through the firm chocolate top without cracking it, and wiping away residue prevents dragging smudges of custard or crumbs across cut surfaces.






OMG these are SO good! I brought them to my office potluck yesterday and every single last bar was gone before I even got a second piece. The custard layer is *chef’s kiss* no weird artificial taste like the store-bought Nanaimo bars I’ve tried before. 10/10 will make again for my kid’s soccer snack next week!
I was so nervous to make these gluten free for my sister’s birthday, but swapping the graham crumbs for GF graham cracker crumbs worked perfectly! Nobody at the party could tell they were modified at all. The texture is perfectly chewy on the bottom, creamy in the middle, crisp chocolate on top. Obsessed!
Okay as a broke college student with barely any kitchen supplies, this recipe was chef’s kiss. No fancy equipment, 10 minutes cook time, and I had all the ingredients except custard powder so I used the vanilla pudding substitute someone mentioned in another comment. My roommates are already begging me to make these again for our game night this weekend.
Made these for our post-football watch party cookout and even my tough-to-impress father-in-law asked for the recipe! I added a handful of chopped pecans to the bottom crust because we love a little crunch down here in Texas. Absolute home run of a no-bake dessert.
These hold up so well in the fridge for meal prep! I cut them into small squares and keep them in a sealed container for a quick little sweet treat after work all week. I will say, I cut the sugar in the custard layer by a tablespoon and it was still perfectly sweet for my taste. Great easy recipe!
I’m literally the worst at baking, like I burn pre-made cookie dough bad. But these? I nailed them on the first try! They look exactly like the photo and taste even better. My little cousin said they’re the best thing I’ve ever made, which is a huge win lmao
I’ve tried at least 4 different Nanaimo bar recipes over the years and this one is by far the most authentic to the ones I had on my trip to Vancouver years ago. The ratio of coconut to crumbs in the base is perfect, not too dry, not too sticky. 10/10.
Made these with my 7 year old last night for his class bake sale. He had a blast stirring the chocolate and sprinkling extra coconut on top. We already got three texts from other parents asking for the recipe this morning! Will be a regular in our dessert rotation for Sunday family dinners for sure.
Wait a second, why did I sleep on Nanaimo bars for so long??? I had my first one at a coffee shop last month and immediately needed to make them at home. This recipe is exactly what I was craving—rich, chocolatey, not too sweet, perfect texture all around.
Super easy, minimal cleanup, and tastes incredible. I will say, I let mine chill for almost 4 hours instead of the 1 hour the recipe says and the layers cut way cleaner without smushing the custard everywhere. Worth the extra wait if you have time!
Made these for my girls’ brunch last weekend and they were the star of the spread! I cut them into tiny bite-sized pieces so they were easy to grab alongside mimosas. 10/10, will be adding these to every future brunch menu.
Total game changer! I keep a batch of these in my freezer around the holidays for last-minute guests! They thaw in like 10 minutes and taste just as good as fresh. So much easier than baking cookies when you have people dropping by unannounced.
Added a tiny 1/4 tsp of peppermint extract to the chocolate top layer around Christmas time and it was *chef’s kiss*—tasted like a fancy peppermint patty but with that classic Nanaimo bar chew. Will be doing that every year from now on.
10 minute cook time is no joke! I threw these together after work while my pasta was boiling for dinner, stuck them in the fridge, and by the time we were done with dinner they were almost ready to eat. My kids loved it so much they asked for seconds before they even finished their broccoli! Perfect for busy weeknights when you want a little something sweet without the hassle.
Swapped the butter for vegan butter, used condensed coconut milk instead of regular condensed milk, and these came out perfectly! Even my non-vegan roommate said he liked them better than the regular Nanaimo bars he’s had before. Great base recipe to modify for dietary needs.
These are really good, but for my taste the chocolate top layer is a little thick. Next time I make them I’ll use a little less chocolate so the custard and coconut base shine more. Still a solid easy recipe, just a personal preference thing!