
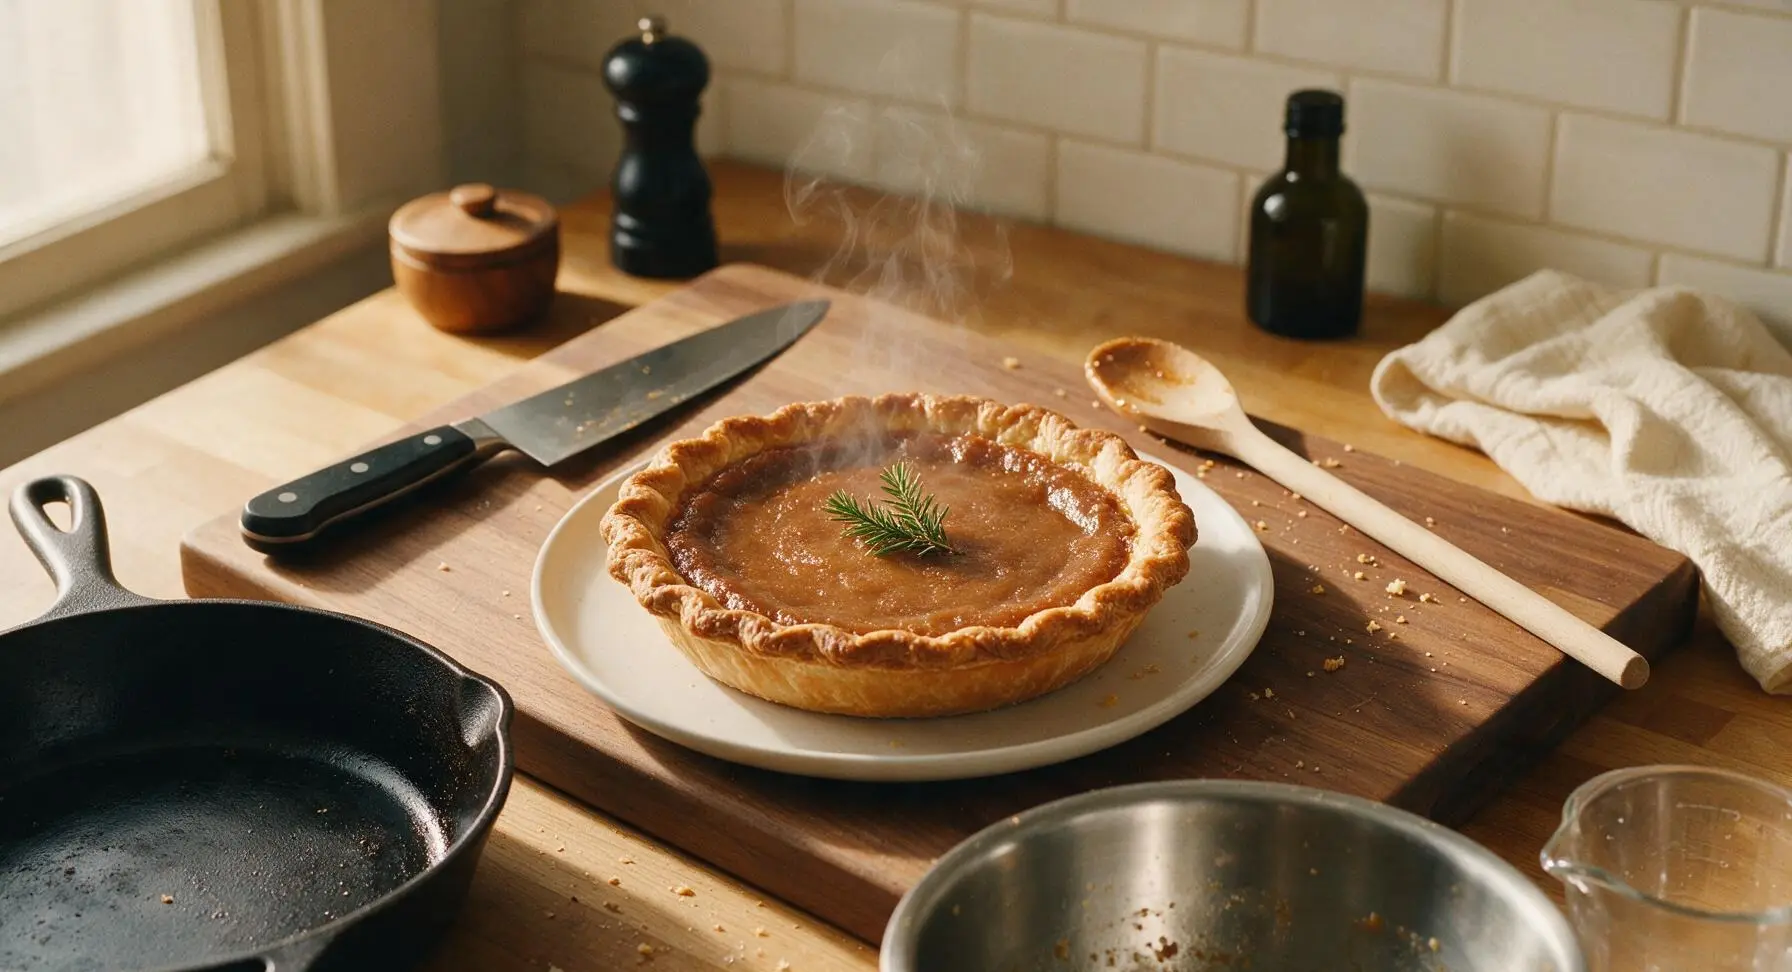
Canadian Sugar Pie

title 1
Canadian Sugar Pie
⏱️ cook time 50 minutes
🍽️ servings 8
⚡ Difficulty easy

intro

Rich, velvety caramelized brown sugar and maple filling in a flaky buttery crust, this classic French-Canadian treat is sweet, comforting, and made for cozy holiday gatherings.

Ingredients
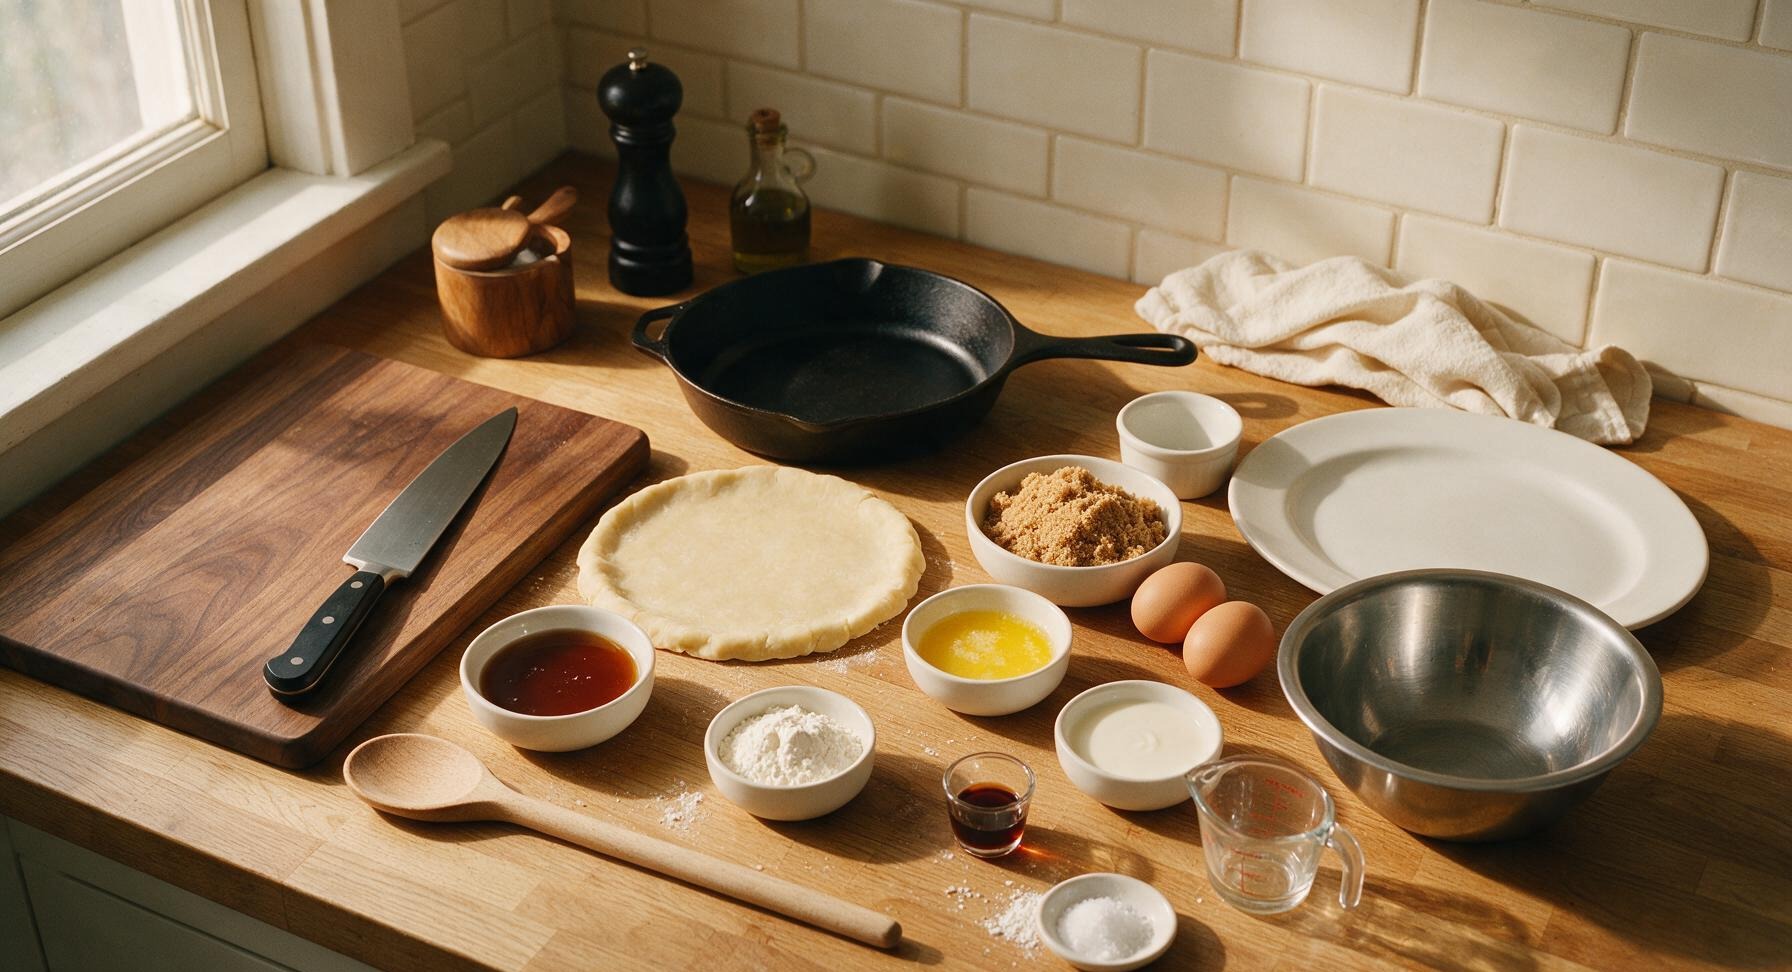
Chilled all-butter single pie crust (9-inch) 1 disc (250g)
Packed light brown sugar 1 1/2 cups (300g)
Grade A amber maple syrup 1/2 cup (120ml)
Unsalted butter, melted and slightly cooled 1/3 cup (75g)
Large eggs, room temperature 2 whole
Heavy cream (35% fat) 1/4 cup (60ml)
All-purpose flour (for filling) 2 tbsp (16g)
Pure vanilla extract 1 tsp (5ml)
Fine sea salt 1/4 tsp
All-purpose flour (for dusting) 1 tbsp (8g)

Steps

1

Roll Out Pie Crust

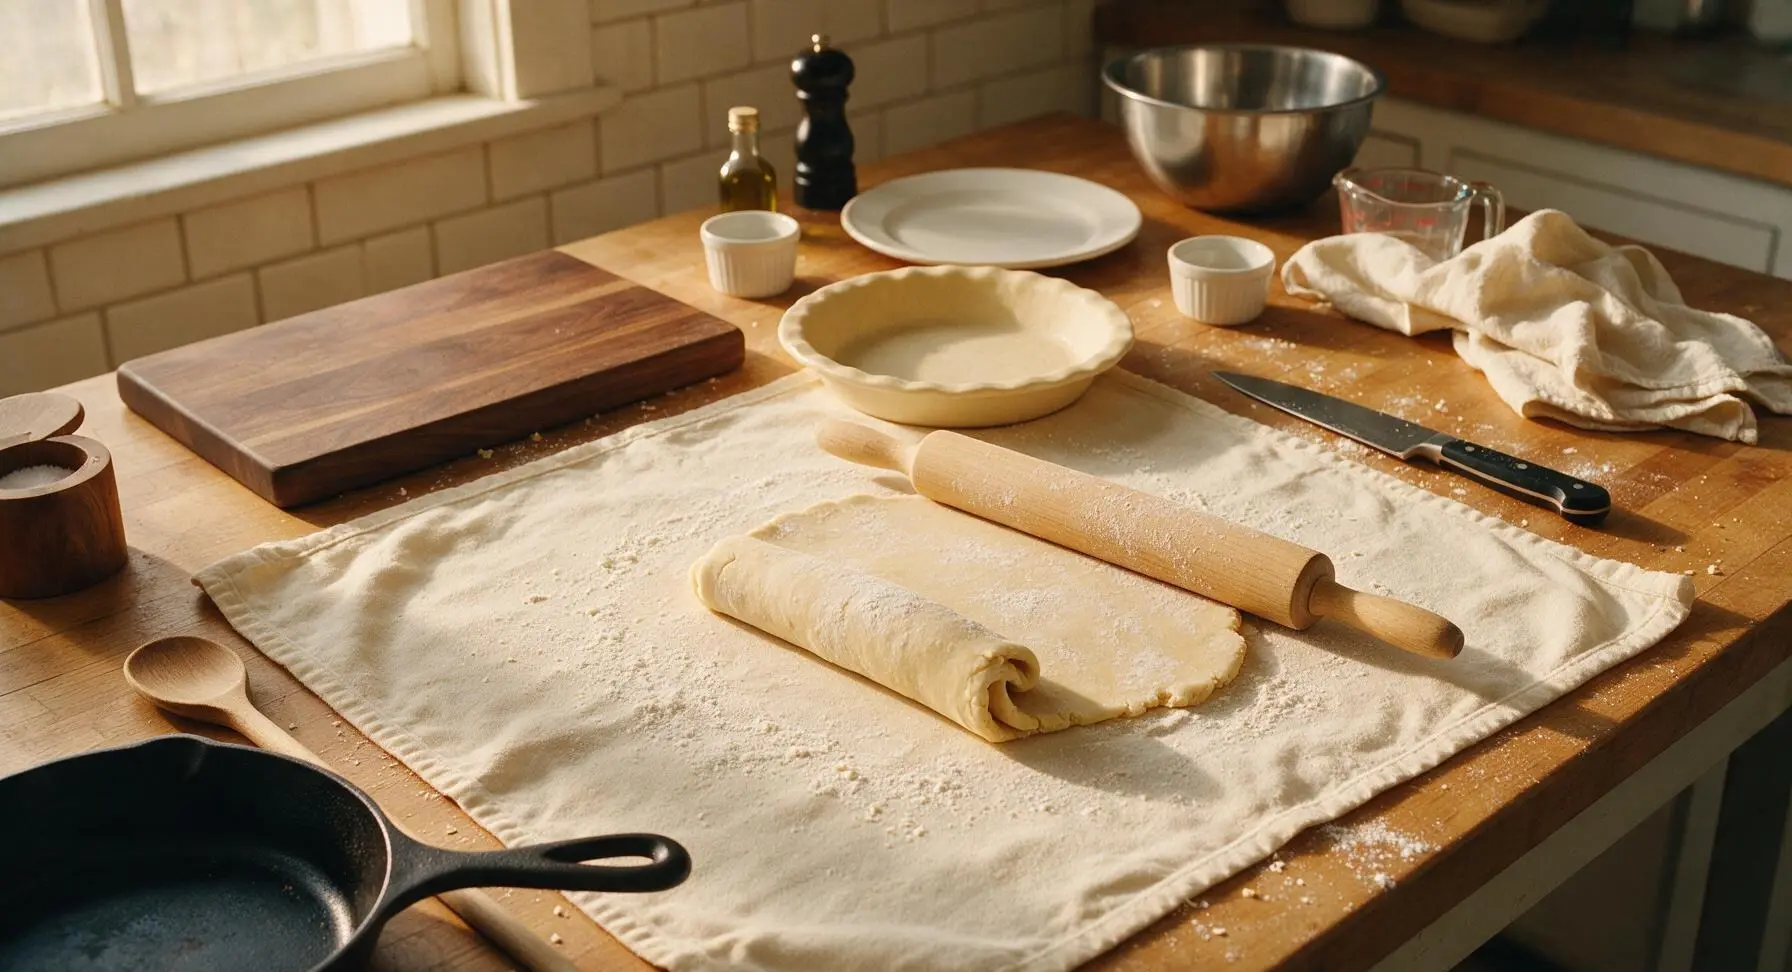
Lightly dust the large cotton pastry mat with 1 tablespoon all-purpose flour. Unwrap the chilled 250g all-butter pie dough disc, place it in the center of the mat, and use the beech wood rolling pin to roll it into an even 12-inch (30cm) circle, 1/8-inch thick. Rotate the dough a quarter turn every 2-3 rolls to prevent sticking, and gently patch any small edge cracks with your fingers as you work. The rolled dough should be large enough to leave a 1-inch overhang when placed in the 9-inch pie dish.
Step 1
step1:Roll Out Pie Crust
2

Fit Crust to Pan

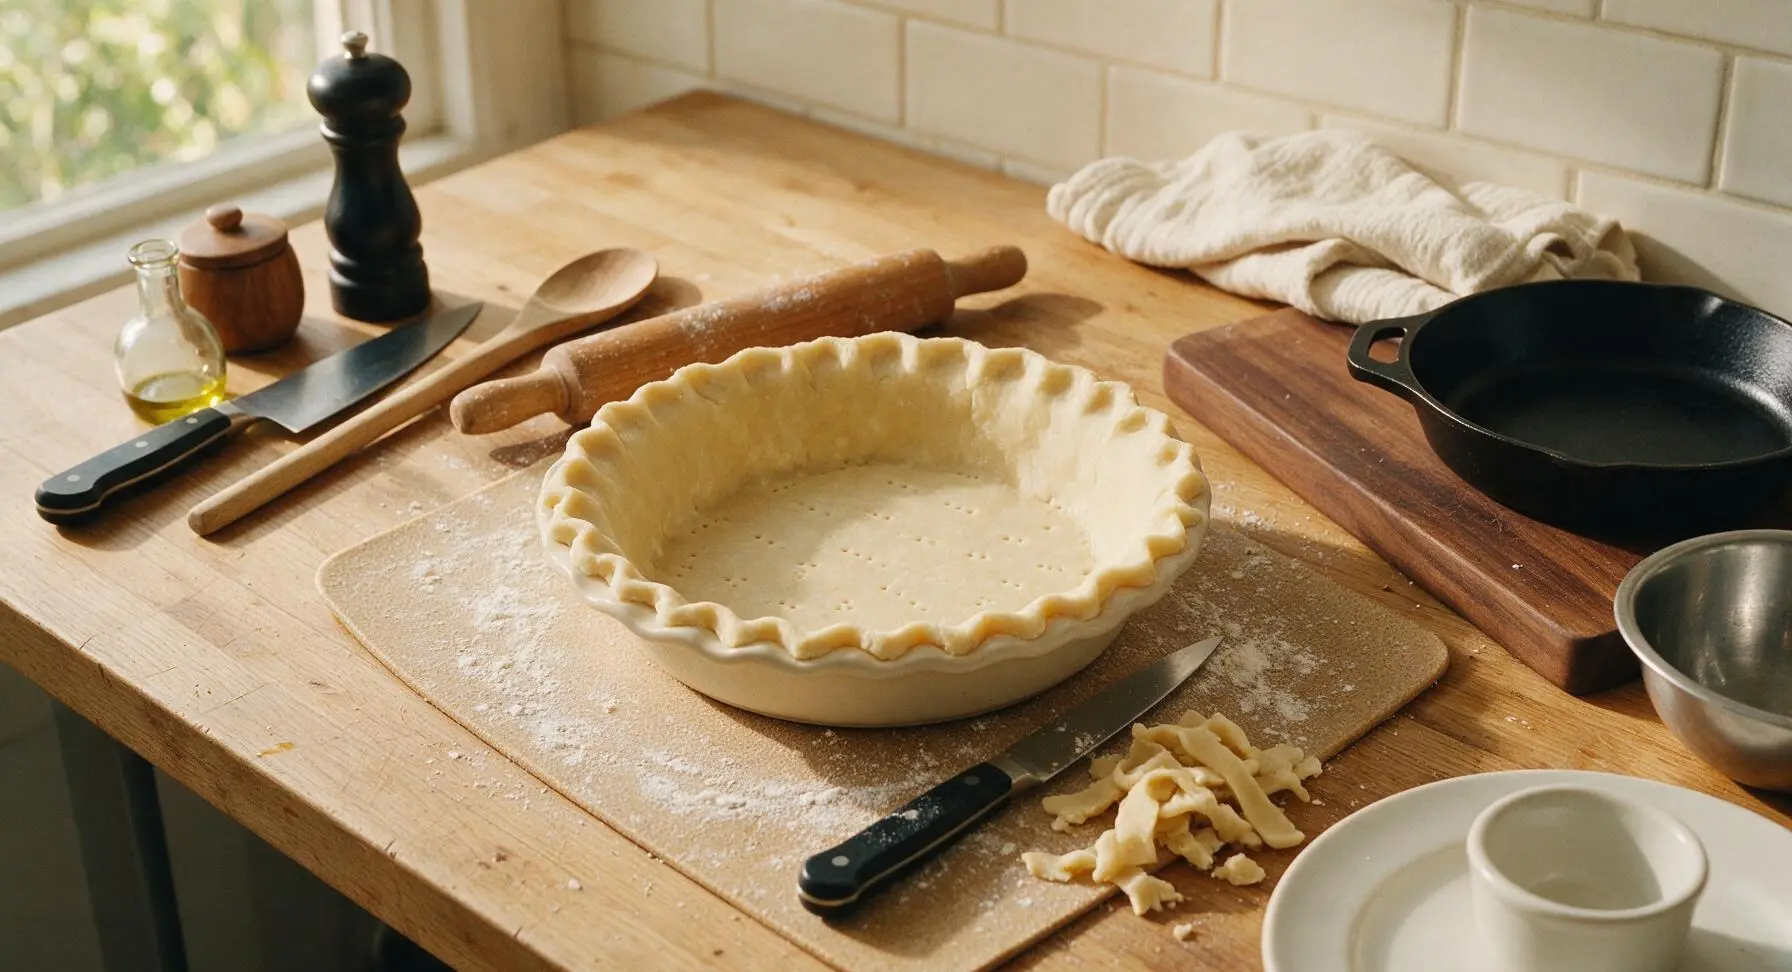
Gently lift the fully rolled dough circle and lay it centered over the matte cream ceramic pie dish. Press the dough firmly into the dish bottom and up the fluted sides, taking care not to stretch the dough (stretching causes unsightly shrinkage during baking). Use the small paring knife to trim excess overhang to 1 inch, then tuck the overhang under itself and crimp the edge evenly with your fingers to create a neat raised rim. Prick the crust bottom all over with a fork at 2cm intervals, then place the dish in the fridge to chill for 10 minutes while you preheat the oven to 375°F (190°C).
Step 2
step2:Fit Crust to Pan
3

Mix Sugar Filling Base

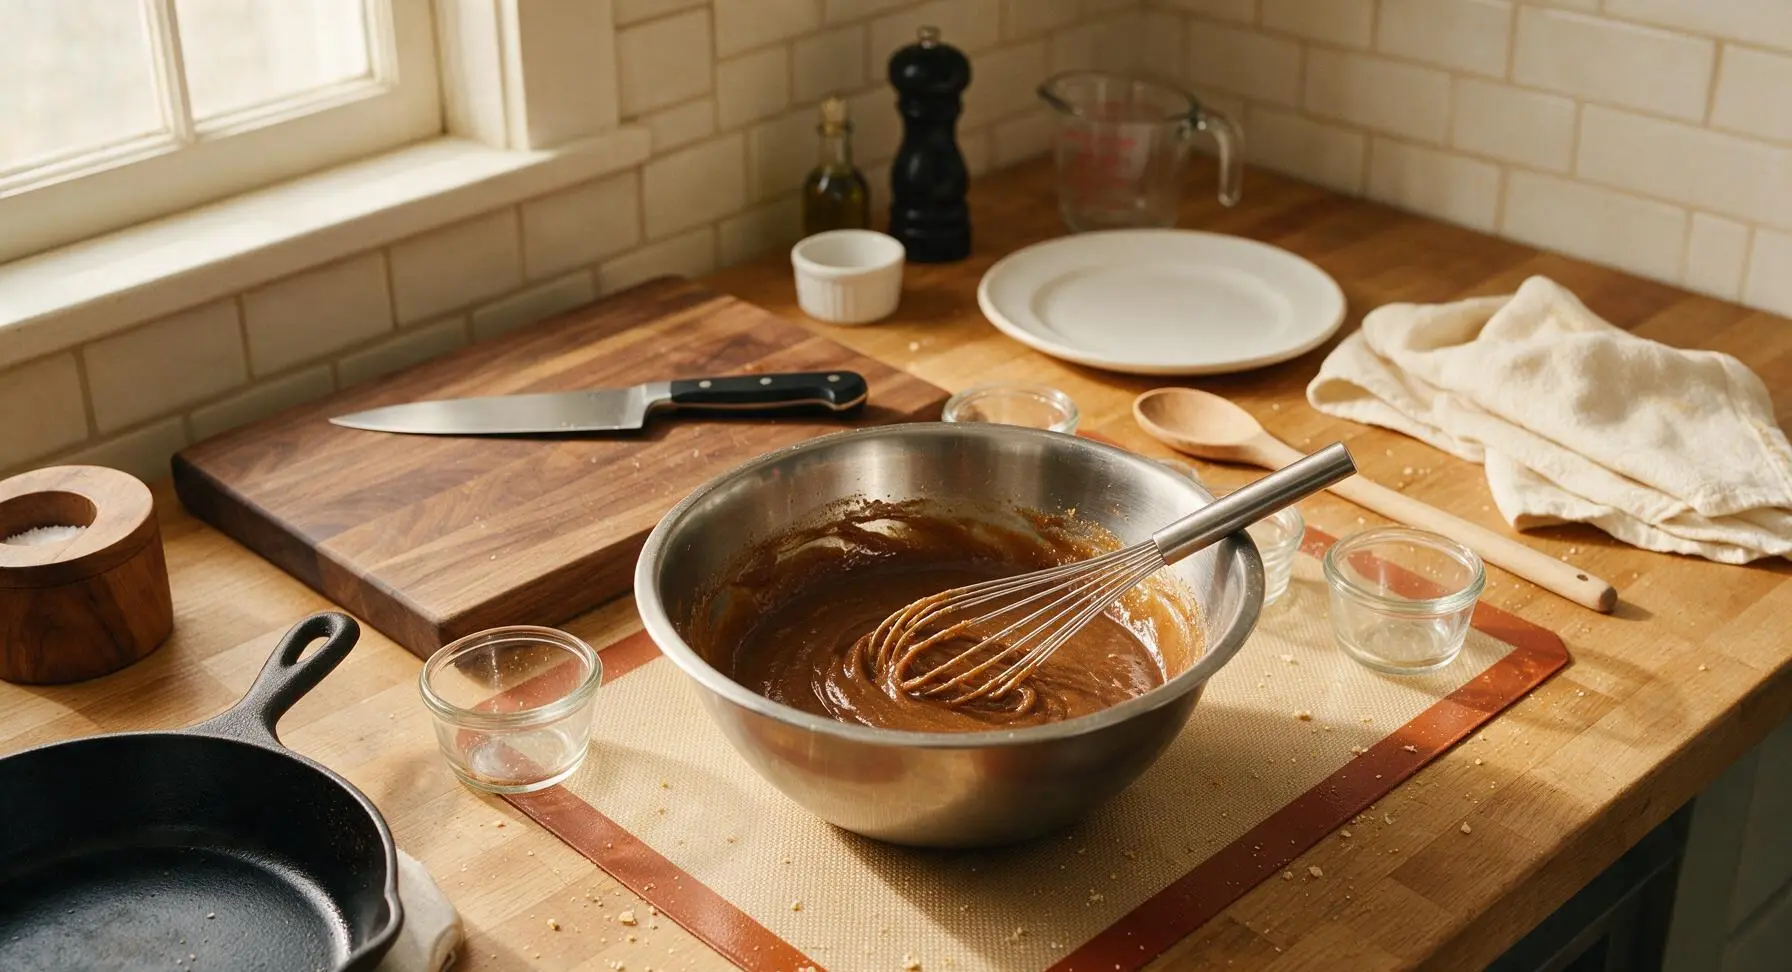
In the 1.5L medium stainless steel mixing bowl, combine the 300g packed light brown sugar and 2 tablespoons all-purpose flour, whisking with the stainless steel wire whisk until fully combined and no flour lumps remain. Add the 75g cooled melted unsalted butter, 120ml pure maple syrup, and 1/4 teaspoon fine sea salt, whisking continuously until the mixture is smooth and uniform deep brown, with no dry sugar clumps left at the bowl bottom.
Step 3
step3:Mix Sugar Filling Base
4

Whisk in Eggs and Cream

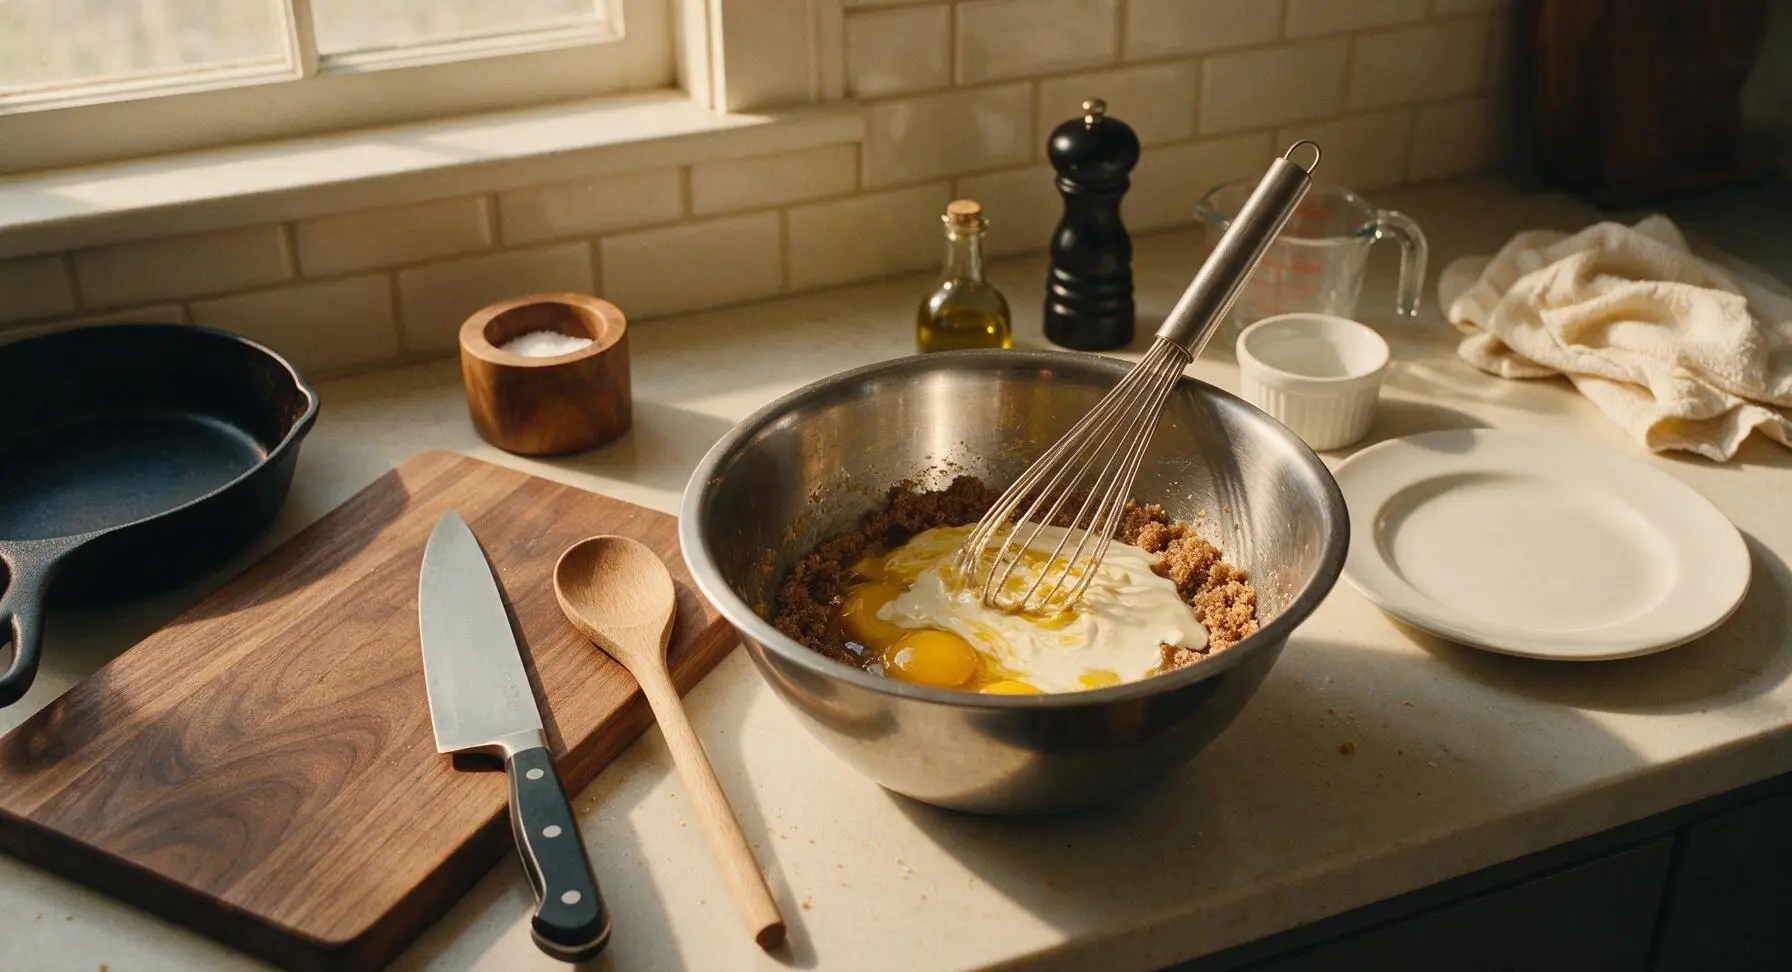
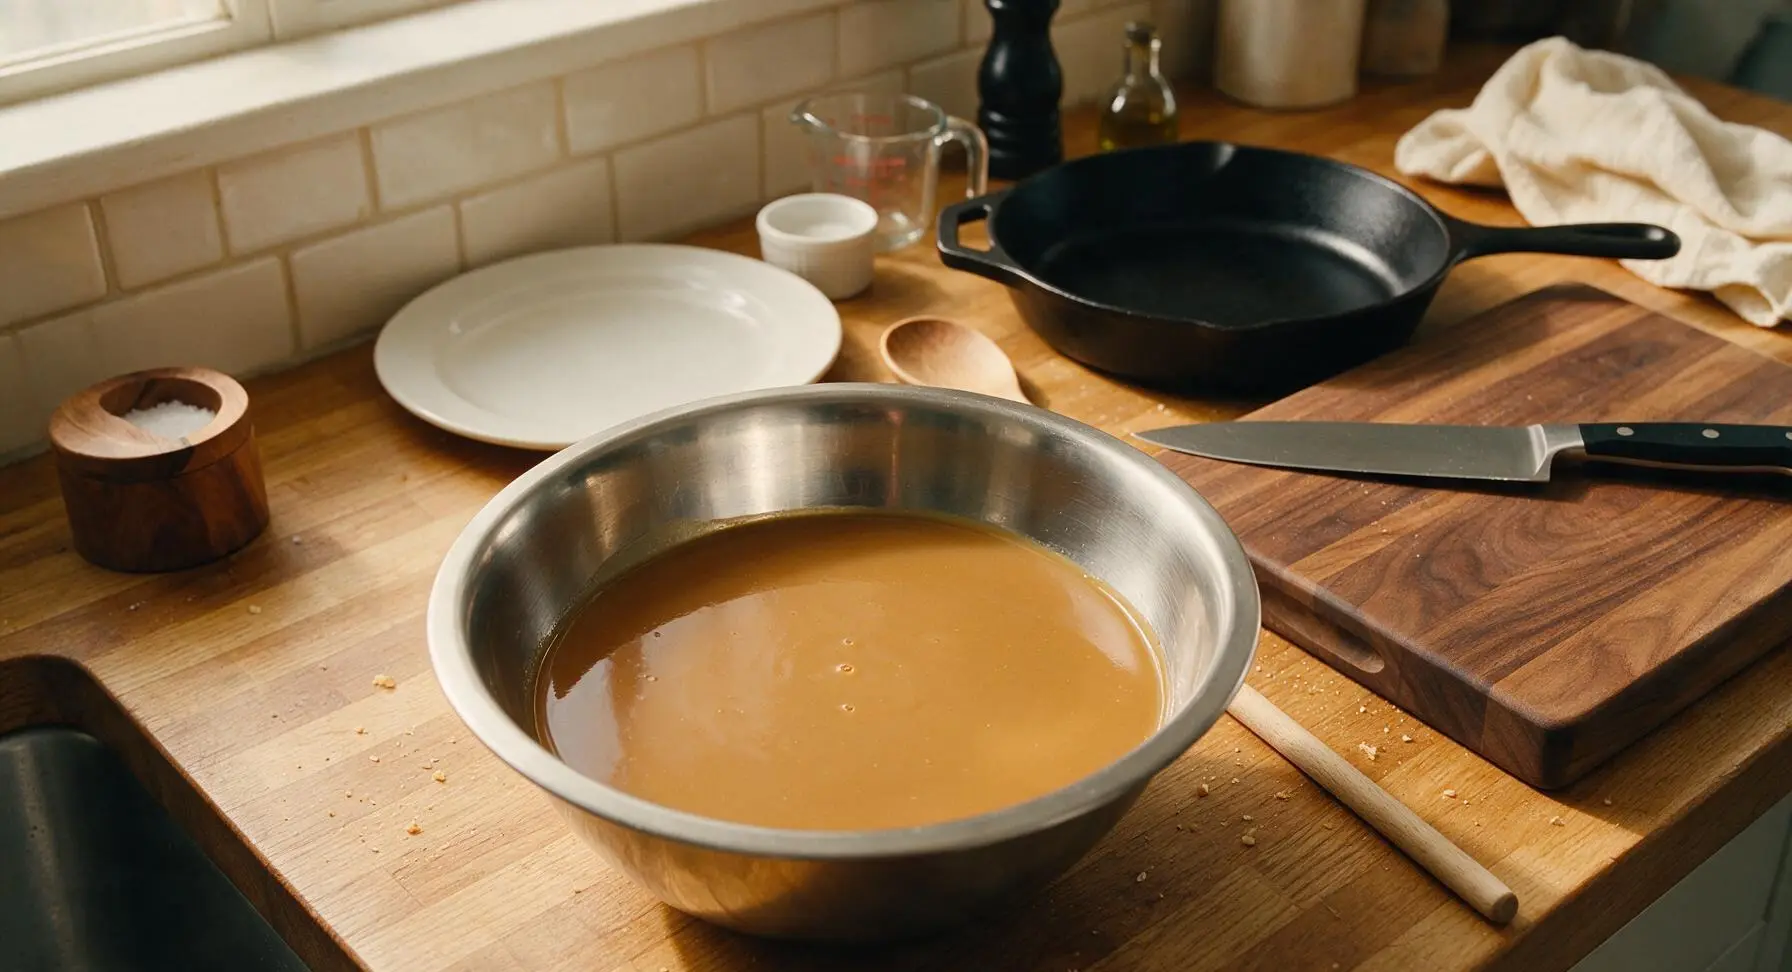
Add the 2 room-temperature large eggs, 60ml heavy cream, and 1 teaspoon pure vanilla extract to the sugar base in the mixing bowl. Whisk slowly for 45-60 seconds (to avoid incorporating excess air, which causes surface cracks in the baked filling) until the filling is completely smooth, glossy, and a uniform light amber color, with no streaks of egg visible. Stop whisking as soon as the mixture comes together to prevent excess bubbles.
Step 4
step4:Whisk in Eggs and Cream
Step 4
step4:Whisk in Eggs and Cream
5

Pour Filling into Crust

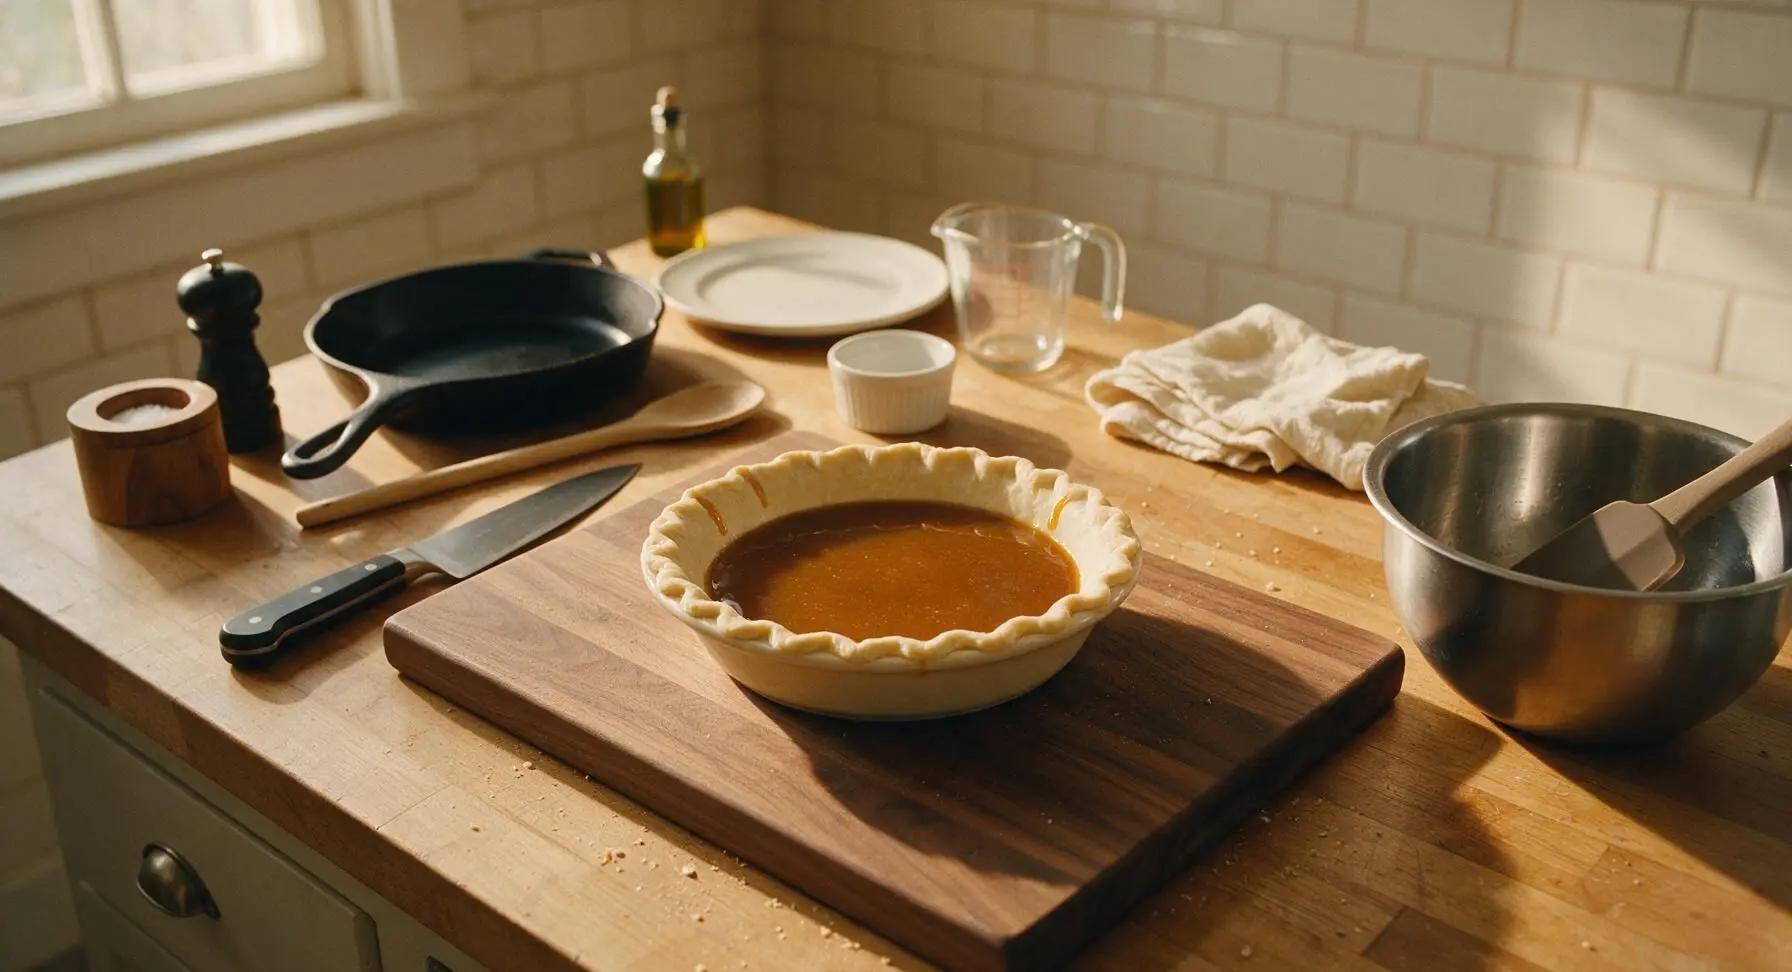
Remove the chilled pie crust from the fridge and set it on the pastry mat. Hold the matte taupe silicone spatula against the mixing bowl’s pour edge, and pour the smooth sugar filling slowly into the crust center, until it reaches 1/4 inch below the crimped rim (do not overfill, as the filling bubbles slightly during baking). Use the spatula to scrape every last bit of filling from the bowl into the crust, then gently tap the pie dish on the counter 2-3 times to pop large air bubbles in the filling.
Step 5
step5:Pour Filling into Crust
6

Bake Until Set

Place the filled pie on the middle oven rack preheated to 375°F (190°C). After 20 minutes of baking, carefully pull the oven rack out slightly and slide the adjustable aluminum pie shield over the crust edges to prevent the crimped rim from burning. Continue baking for 25-30 more minutes, for a total bake time of 45-50 minutes. The pie is done when the outer 2 inches of filling are fully set and slightly puffed, and the very center 2 inches jiggles like firm Jell-O (it will set fully as it cools).
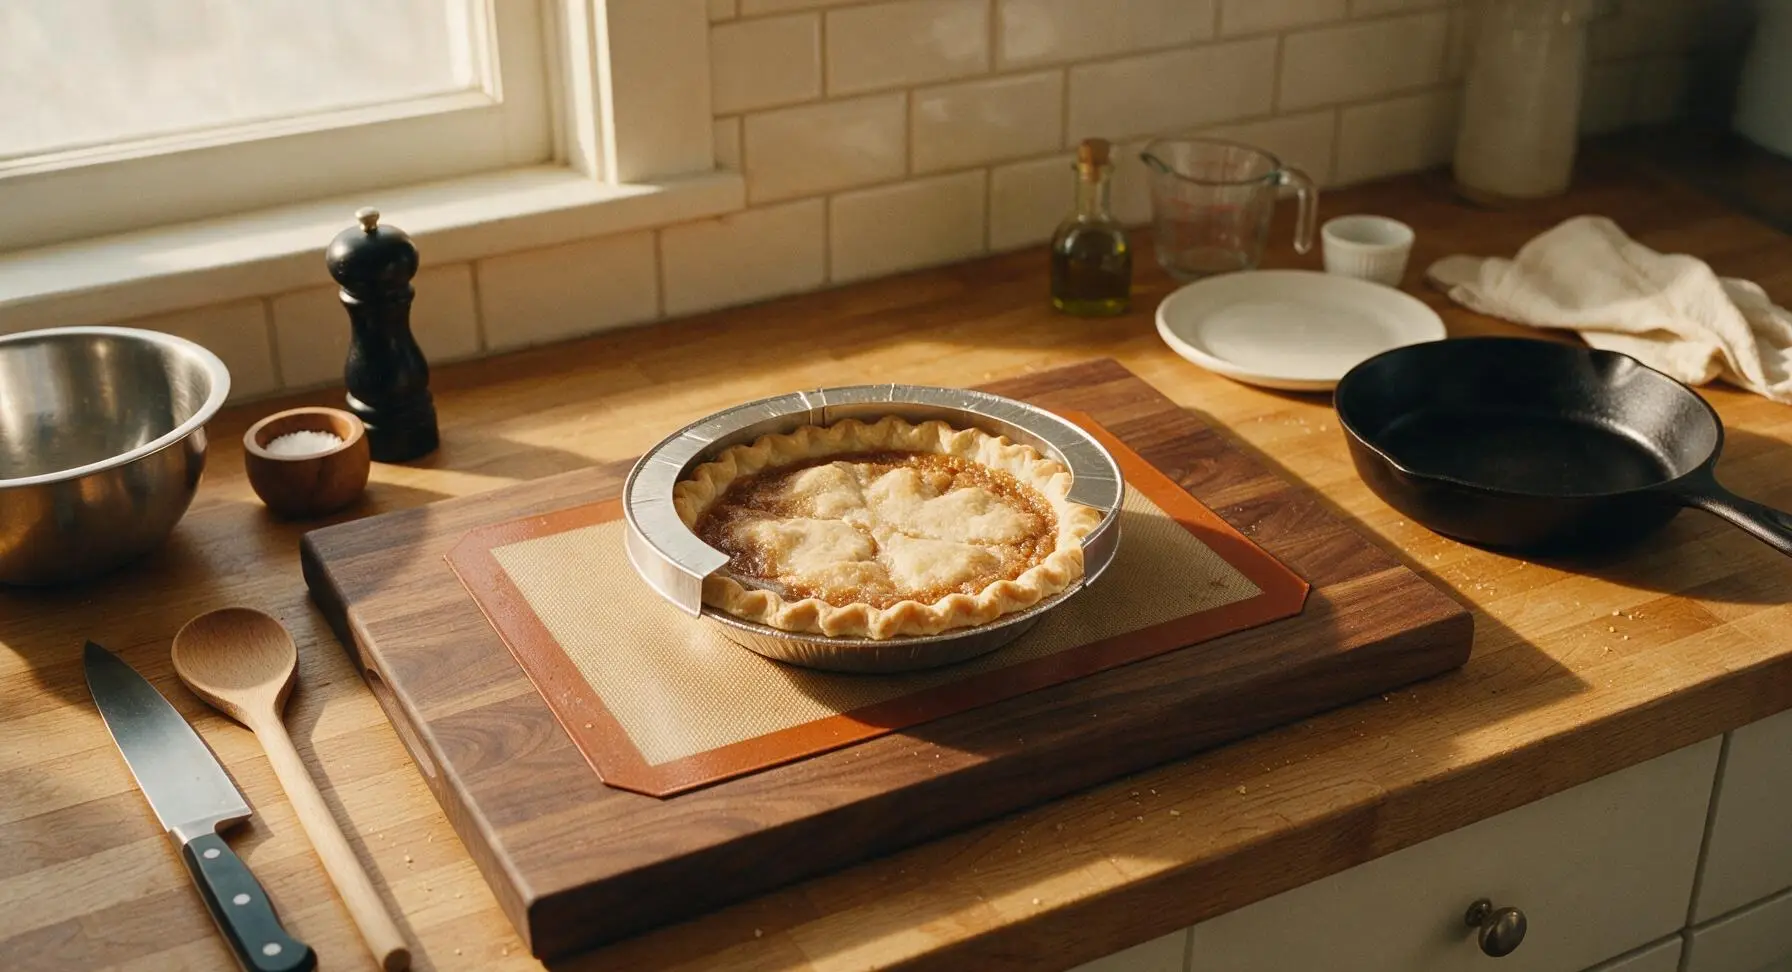
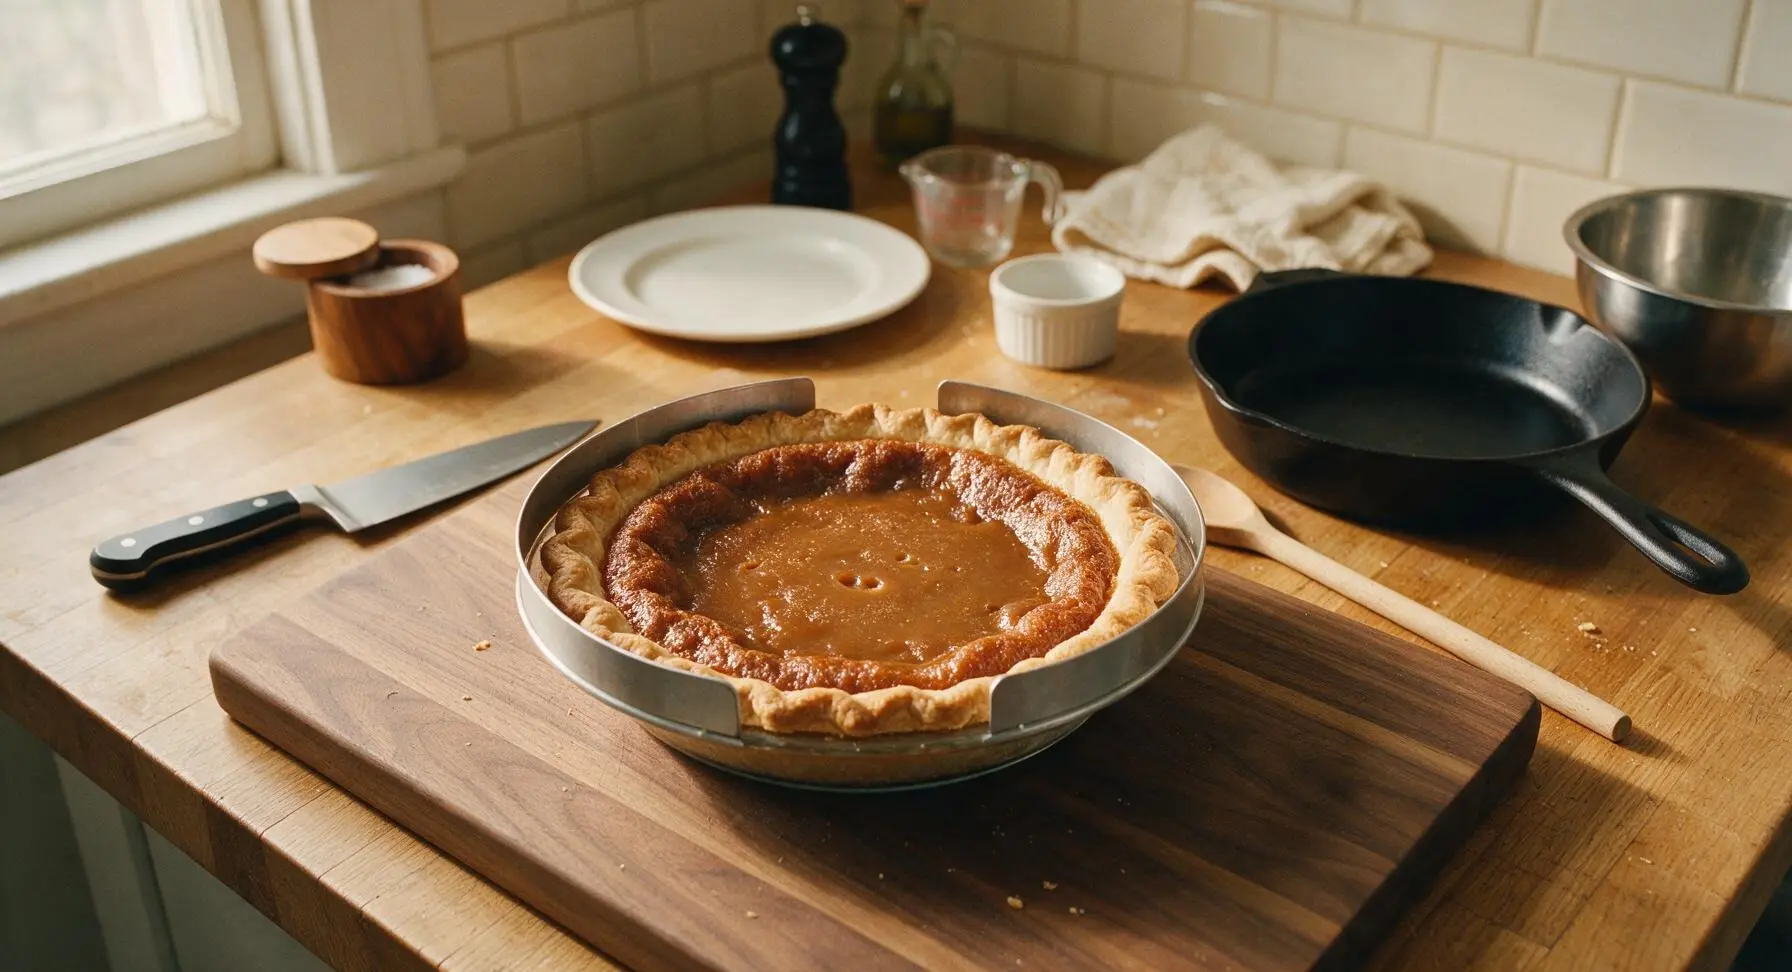
Step 6
step6:Bake Until Set
Step 6
step6:Bake Until Set
7

Cool Pie Fully

Transfer the hot baked pie directly to the matte black wire cooling rack set on the counter. Remove the aluminum pie shield and set it aside. Let the pie cool completely at room temperature for 2 full hours, until the center is fully firm and no longer jiggly. Do not cut into the pie early, as warm filling will run and not hold a clean slice shape.
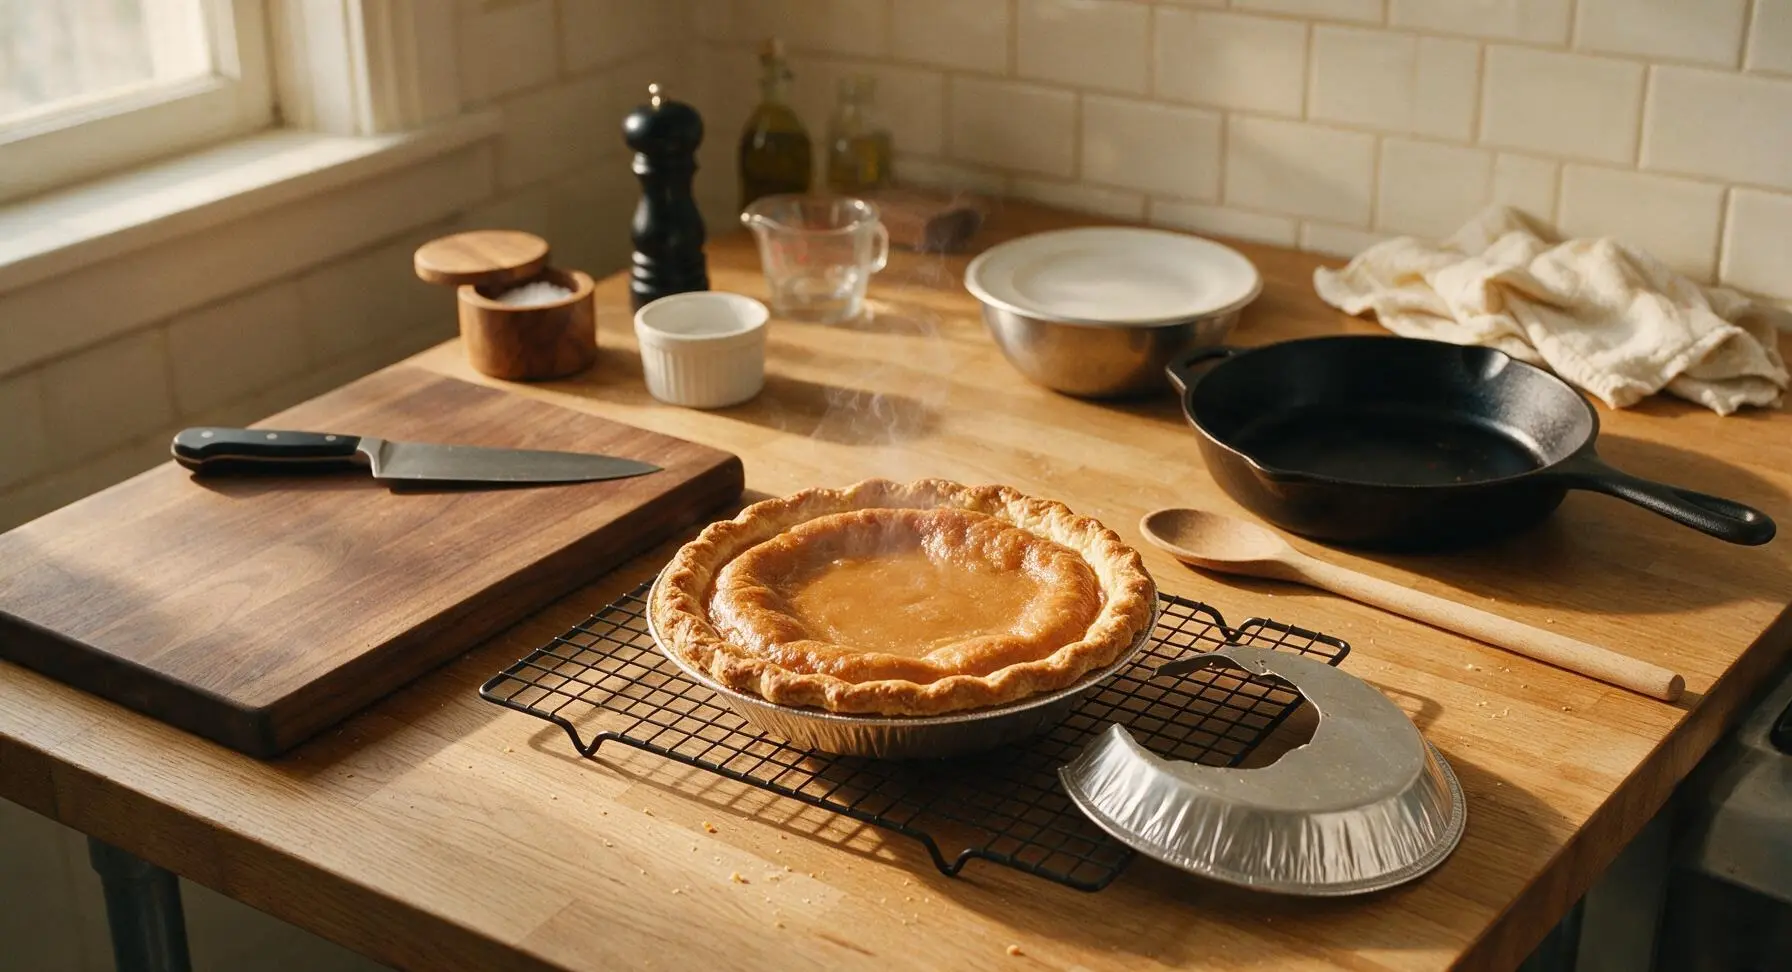
Step 7
step7:Cool Pie Fully

Tips

1.Use room-temperature eggs for the filling: Cold eggs will shock the cooled melted butter, causing it to solidify into small lumps that lead to a grainy filling instead of the perfectly smooth, velvety texture this pie is known for.
2.Resist the urge to over-bake: If the entire filling is firm when you pull it from the oven, it will turn dense and chewy once cool. The soft jiggle in the 2-inch center is not underbaking—it is the sign of a creamy, perfectly set filling after cooling.
3.Avoid stretching the pie dough when fitting it into the dish: Stretched dough will shrink back dramatically during baking, leaving you with a short, uneven crust rim that lets filling bubble over the edges.


✨ You May Also Like

Desserts & Baking
🍜 Italy

Creamy, coffee-kissed classic Northern Italian no-bake dessert, with layers of rum-spiked mascarpone cream, soft ladyfingers, and a rich cocoa dusting.

⏱️ 4 hours 3Desserts & Baking ★ 4.7
Desserts & Baking
🍜 France

Flaky, shatteringly crisp, buttery French croissants with golden exteriors and soft, airy layered interiors, perfect for pairing with coffee for a special morning treat.

⏱️ 12 hours Desserts & Baking ★ 4.5
Desserts & Baking
🍜 United States

Warm, spiced baked apples topped with a fluffy golden biscuit crust, this cozy dessert pairs perfectly with vanilla ice cream for cool-weather comfort.

⏱️ 55 minuteDesserts & Baking ★ 4.6
Desserts & Baking
🍜 United States

A star-spangled classic American blueberry pie with buttery flaky crust and bright sweet-tart filling, perfect for summer patriotic gatherings.

⏱️ 1 hour 25Desserts & Baking ★ 4.7
Desserts & Baking
🍜 United States

A beloved no-bake regional Maine candy with a chewy coconut-potato center coated in rich dark chocolate, a New England holiday staple since the 1870s.

⏱️ 2 hours 3Desserts & Baking ★ 4.8
Desserts & Baking
🍜 France

Luxuriously creamy, floral frozen custard made with aromatic Tahitian vanilla beans, boasting a smooth, rich texture that melts slowly on the tongue.

⏱️ 3 hours 3Desserts & Baking ★ 4.5

Canadian Sugar Pie:Frequently Asked Questions

1.What’s the difference between Canadian sugar pie and pecan pie? ▾
Great question! Unlike pecan pie, this classic French-Canadian treat has no nuts or corn syrup. Its filling is silky, smooth, and focused on the warm, deep flavors of brown sugar and Grade A amber maple, rather than a chewy, nutty texture, for a softer, more unapologetically caramel-forward bite.
2.Can I use a store-bought pie crust instead of making homemade all-butter crust? ▾
Absolutely! A high-quality, chilled store-bought all-butter 9-inch pie crust works perfectly here if you’re short on time. Just be sure to blind bake it for 10 minutes at 375°F before adding the filling to avoid a soggy bottom, and let it cool slightly before pouring in the sugar mixture.
3.Why do my eggs need to be at room temperature for the filling? ▾
Room-temperature eggs mix more smoothly into the warm melted butter and sugar mixture, creating a uniform, velvety filling without lumps or curdled bits. Cold eggs can shock when they hit warm melted butter, leading to an uneven, slightly grainy texture in your finished pie, so don’t skip this quick prep step.
4.What type of maple syrup works best for this recipe? ▾
Stick to Grade A amber maple syrup for the best balance of flavor here. It has a rich, warm maple taste that isn’t overly strong or bitter like very dark syrups, and it won’t get lost next to the deep molasses notes of packed light brown sugar. Skip artificial pancake syrups made with corn syrup, as they will taste flat and fake.
5.How do I prevent my pie filling from turning grainy? ▾
To keep your filling silky and smooth, make sure your melted butter is slightly cooled (not piping hot) before you whisk in the eggs and sugar, and stir gently rather than beating aggressively to avoid incorporating too much air. Also, don’t overbake the pie—high heat can cause sugar to crystallize and turn grainy as it cools.
6.Do I need to blind bake the pie crust first? ▾
Yes, a short blind bake is strongly recommended for this recipe. Line your chilled crust with parchment, fill it with pie weights or dried beans, and bake at 375°F for 10 minutes. This creates a sealed, crisp crust base that won’t turn soggy when you pour in the wet, sweet sugar filling. Remove the weights before adding your filling to finish baking.
7.How do I know when the sugar pie is done baking? ▾
Your pie is done when the edges of the filling are fully set and puffed slightly, but the very center 2 inches still jiggles like loose Jell-O when you gently nudge the pie pan. It will continue to set as it cools completely on a wire rack, so don’t wait for the center to be firm in the oven or you’ll end up with tough, cracked filling.
8.Can I make this pie ahead of time for a holiday gathering? ▾
Absolutely! This pie actually tastes better after it has time to chill and set for 8 to 12 hours. You can bake it 1 to 2 days ahead of your event, let it cool completely, then cover it loosely with plastic wrap and store it in the fridge until 30 minutes before serving, when you can let it come to cool room temperature.
9.Why did my pie filling crack on top as it cooled? ▾
Cracking usually happens for one of two reasons: either you overbaked the pie, which causes the egg proteins to tighten and split as it cools, or you cooled the pie too quickly, like putting a hot pie straight in the fridge. Let it cool gradually on a wire rack at room temperature first, and pull it from the oven when the center is still jiggly to avoid cracks.
10.Can I use dark brown sugar instead of light brown sugar for a deeper flavor? ▾
You can, but know that it will change the final flavor profile. Dark brown sugar has a higher molasses content, so it will give the pie a stronger, more bitter-sweet molasses taste that can overpower the delicate maple notes. If you love deeper molasses flavor, swap only ¼ of the light brown sugar for dark to keep the balance right.
11.What’s the best way to serve Canadian sugar pie? ▾
This rich, sweet pie pairs beautifully with simple, bright accompaniments to cut through the caramel sweetness. Serve slices with a dollop of freshly whipped unsweetened cream, a small scoop of vanilla bean ice cream, or a light sprinkle of flaky sea salt on top to make the caramel and maple flavors pop even more. Skip overly sweet toppings that will make it cloying.
12.How should I store leftover sugar pie, and how long will it keep? ▾
Let any leftover pie cool completely, then cover it loosely with plastic wrap or store it in an airtight container in the refrigerator for up to 4 days. You can serve slices cold, or let them sit at room temperature for 15 to 20 minutes before eating to let the filling soften back to its signature velvety texture.

Comments (3)

2 days ago

OMG this Canadian Sugar Pie was such a game changer for our Sunday family dinner! I was nervous it’d be too sweet, but the balance is perfect—rich, caramelly, and the flaky crust paired with that creamy filling? *Chef’s kiss* My kids begged for second slices before we even finished the main course! So easy to throw together too, I didn’t have to stress about any fancy steps. 10/10 will be bringing this to our next neighborhood potluck for sure.

yesterday

Wait did you use store-bought crust or homemade? I’m thinking of making this for my book club this weekend and don’t have a ton of time to prep crust from scratch!

2 hours ago

So glad your family loved it! Store-bought crust works totally great here if you’re short on time—just make sure to blind bake it for 10 minutes first so it doesn’t get soggy. Enjoy your book club get-together!

5 days ago

Made this last night for my weekly meal prep dessert stash and wow, it holds up so good in the fridge! I was worried the filling would get grainy after a day, but it’s still smooth and that deep brown sugar flavor is unreal. Super easy recipe, only took me 10 minutes to get in the oven which is perfect for my busy weeknight schedule. Only note: I added a tiny pinch of flaky sea salt on top before baking and it cut the sweetness so nicely, highly recommend that tweak!

3 days ago

Love that sea salt hack! That’s such a great way to amp up the caramel notes in the filling—we might even add that tip to the official recipe notes, thanks for sharing!

1 week ago

As someone who burns literally every dessert I try to make, I was shocked how perfectly this turned out! The instructions were so straightforward, no weird confusing steps, and it cooked exactly in the 50 minutes the recipe said. I brought it to my office potluck the day after I made it and three people asked me for the recipe! SO good, I’ll definitely be making this again for Thanksgiving this year.



