
Canadian Tire Biscuits

title 1
Canadian Tire Biscuits
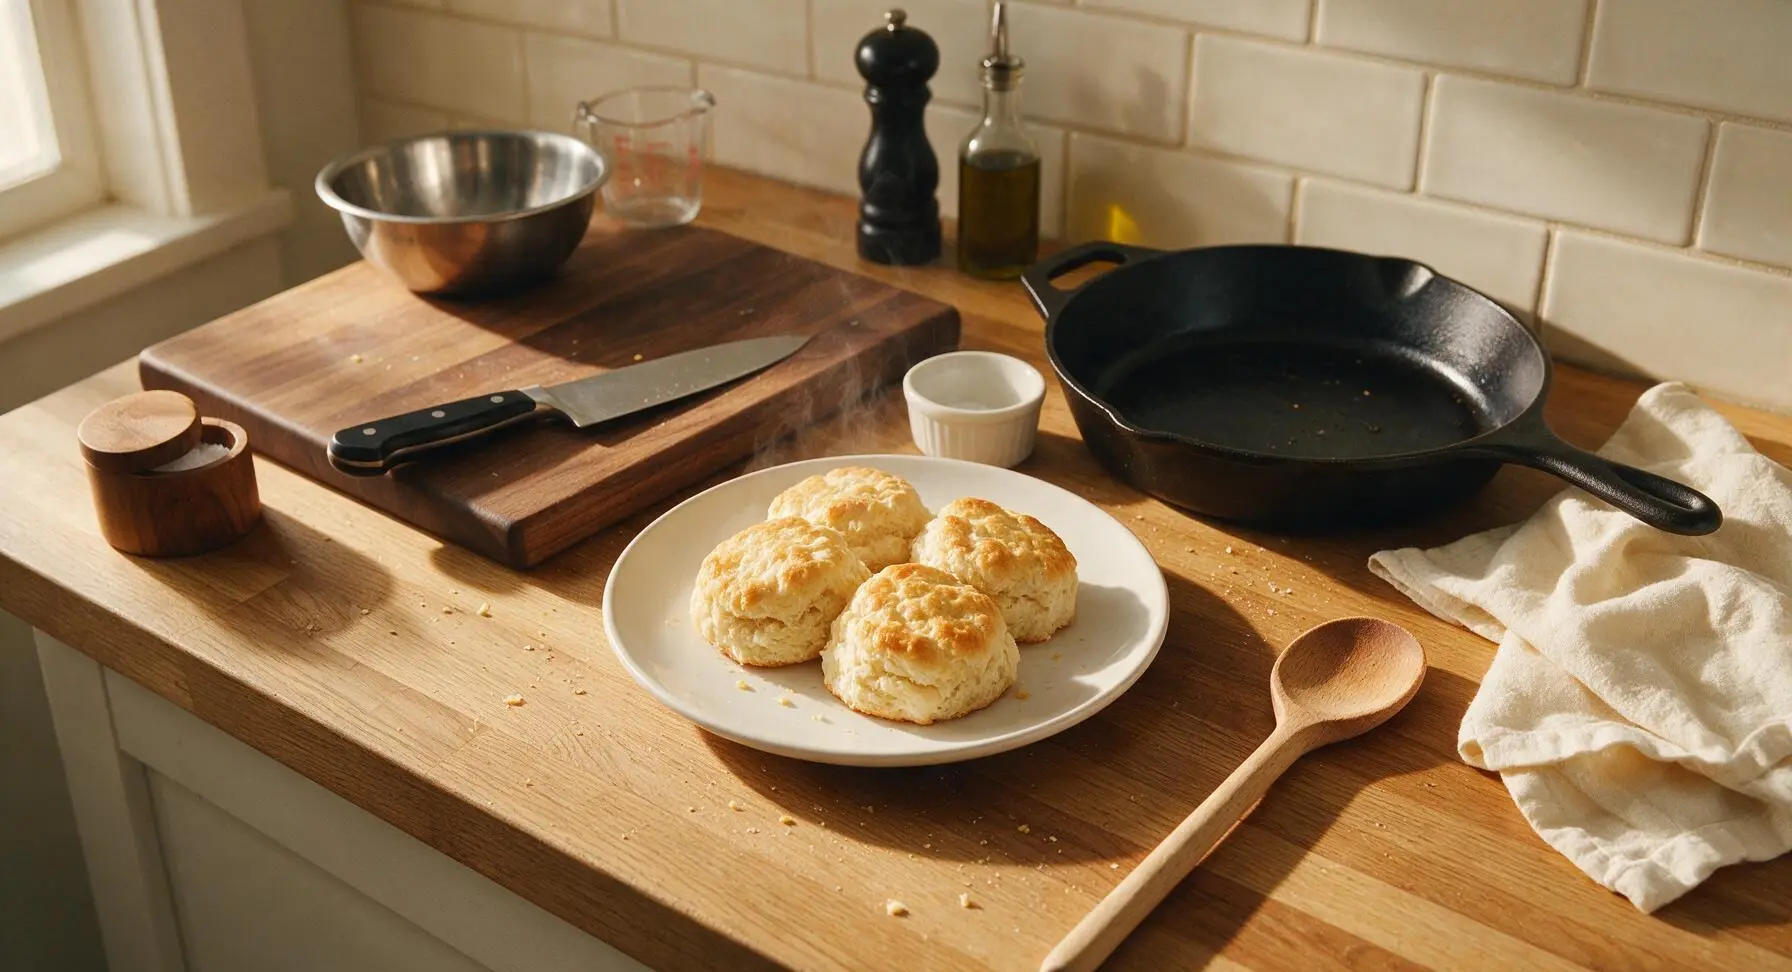
⏱️ cook time 14 minutes
🍽️ servings 4
⚡ Difficulty easy

intro

Flaky, golden, no-fuss buttery quick biscuits— a beloved Canadian staple named for the simple, basic tools needed, no fancy pastry equipment required.

Ingredients
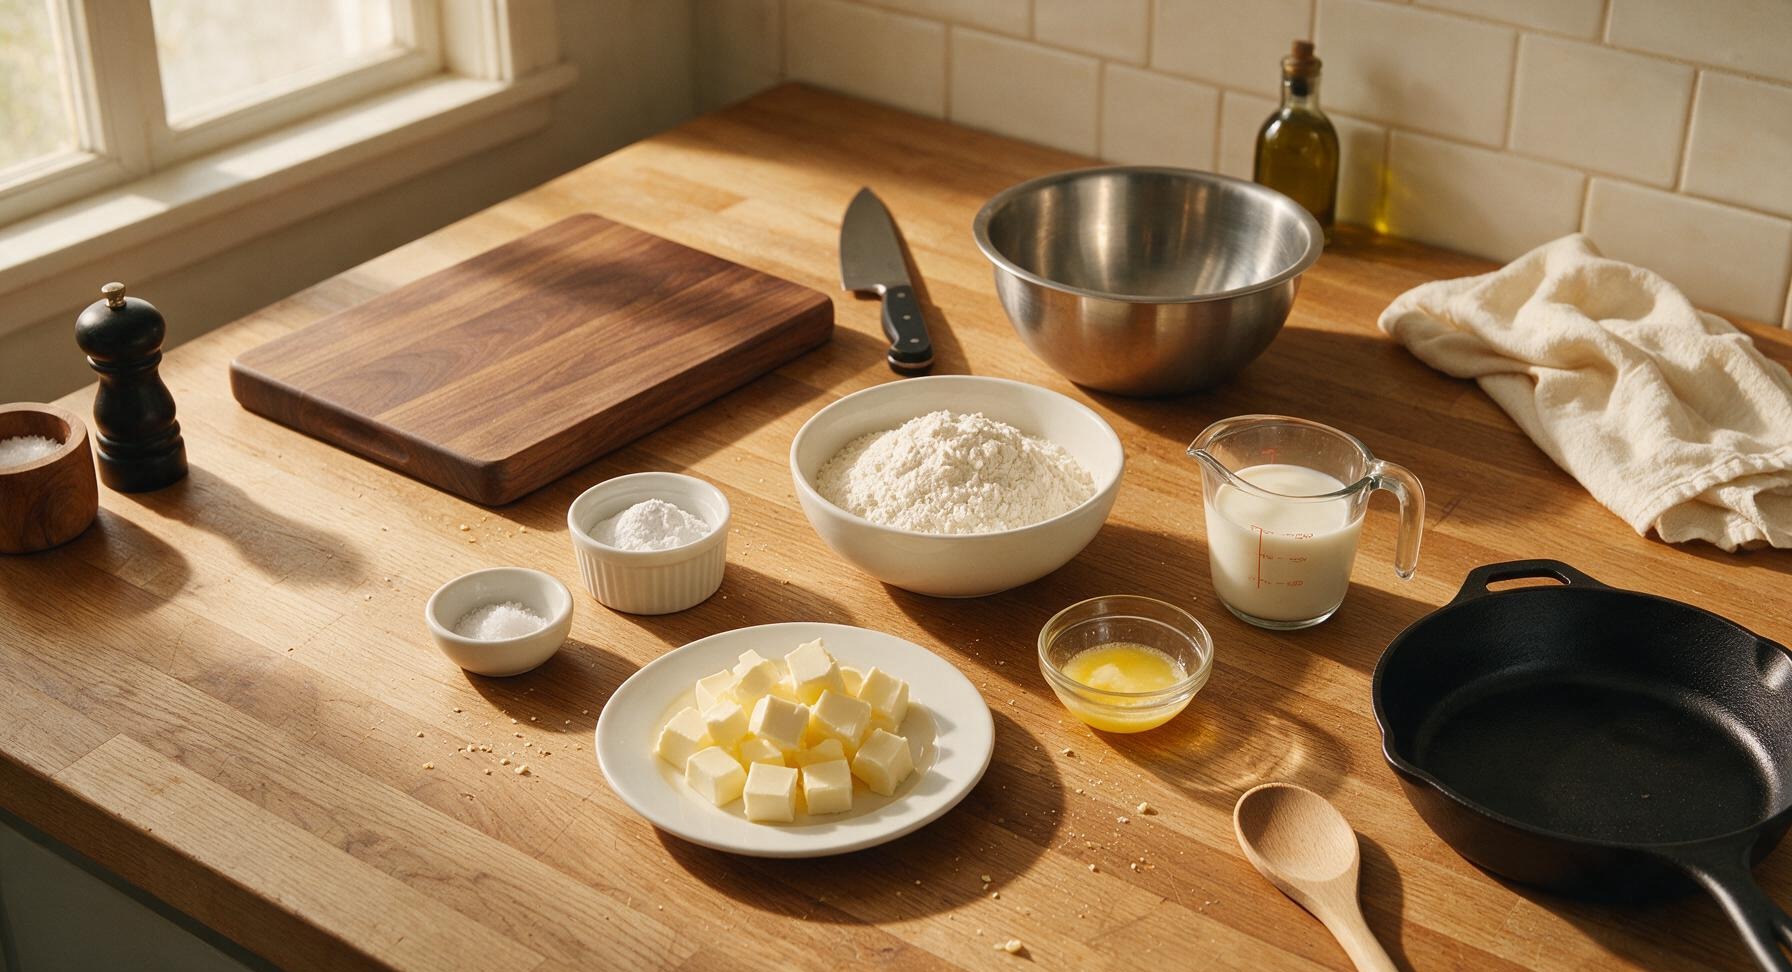
All-purpose flour 2 cups (240g)
Baking powder 4 tsp (16g)
Fine sea salt 1 tsp (5g)
Cold unsalted butter 1/3 cup (75g)
Cold whole milk 3/4 cup (180ml)
Melted unsalted butter (for finishing) 1 tbsp (14g)

Steps

1

Preheat Oven, Prep Pan

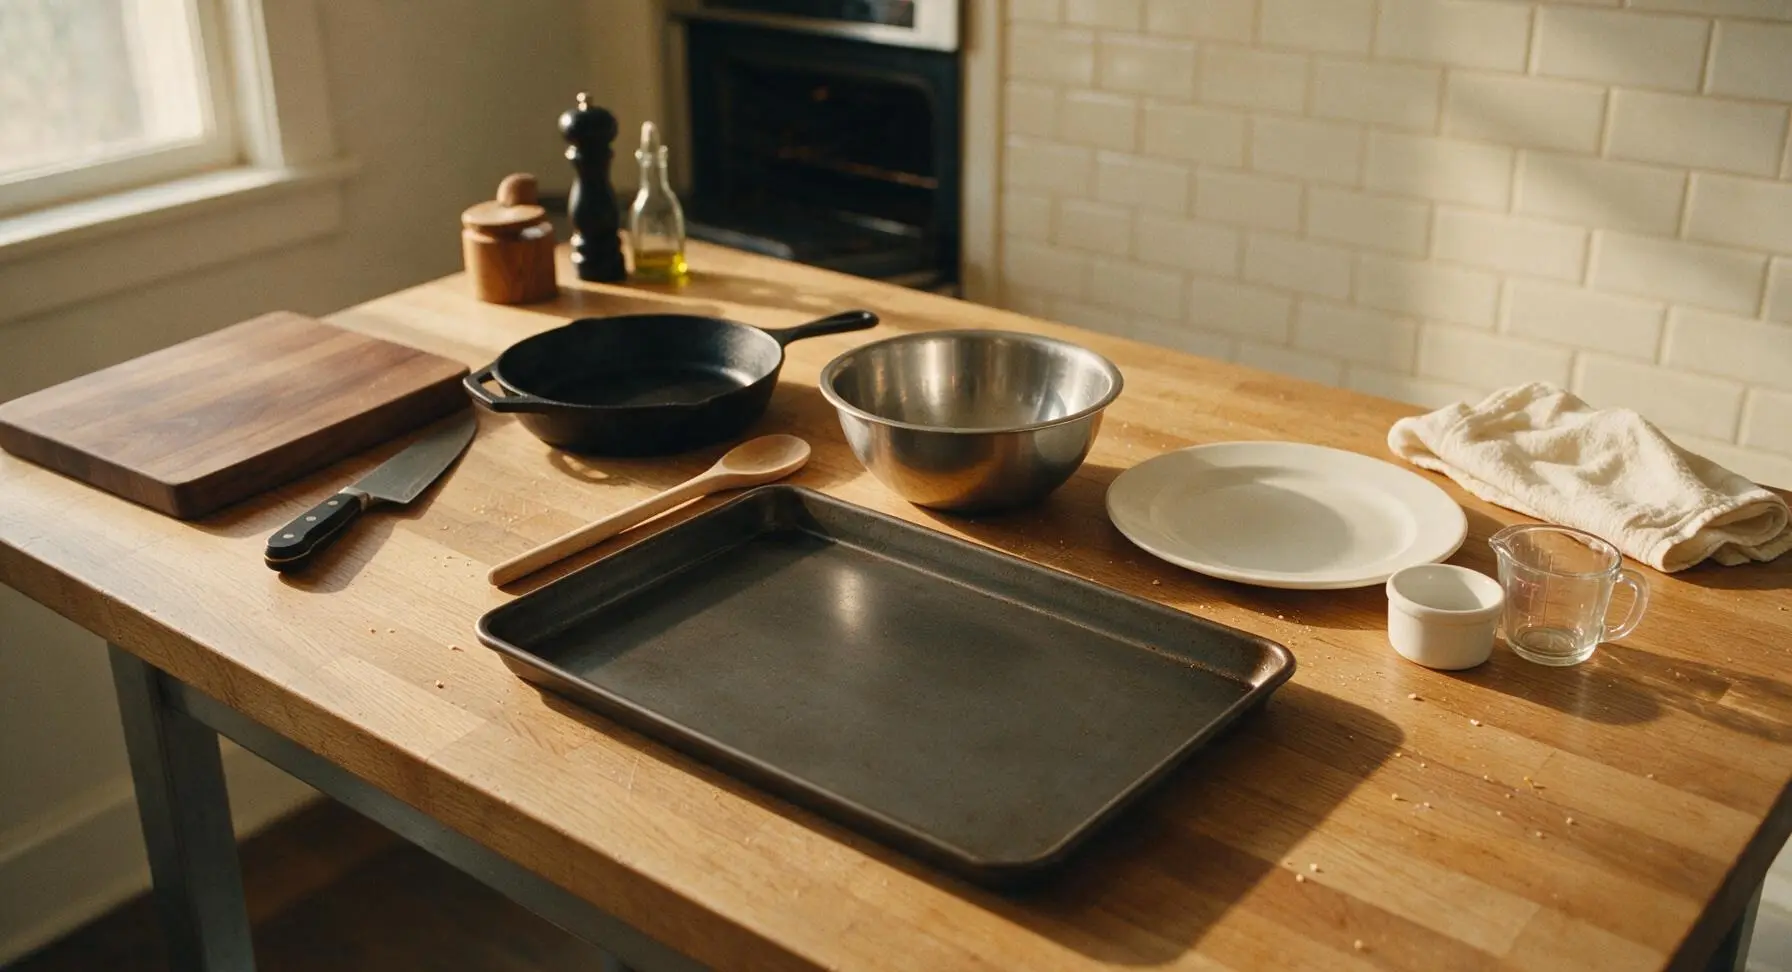
Arrange oven rack to the middle position, preheat oven to 425°F (220°C). Leave the matte dark carbon steel baking sheet ungreased, set it near the mixing bowl on the counter. Ensure all butter and milk stay cold in the refrigerator until ready to use—cold fat is critical for flaky layers.
Step 1
step1:Preheat Oven, Prep Pan
2

Whisk Dry Ingredients

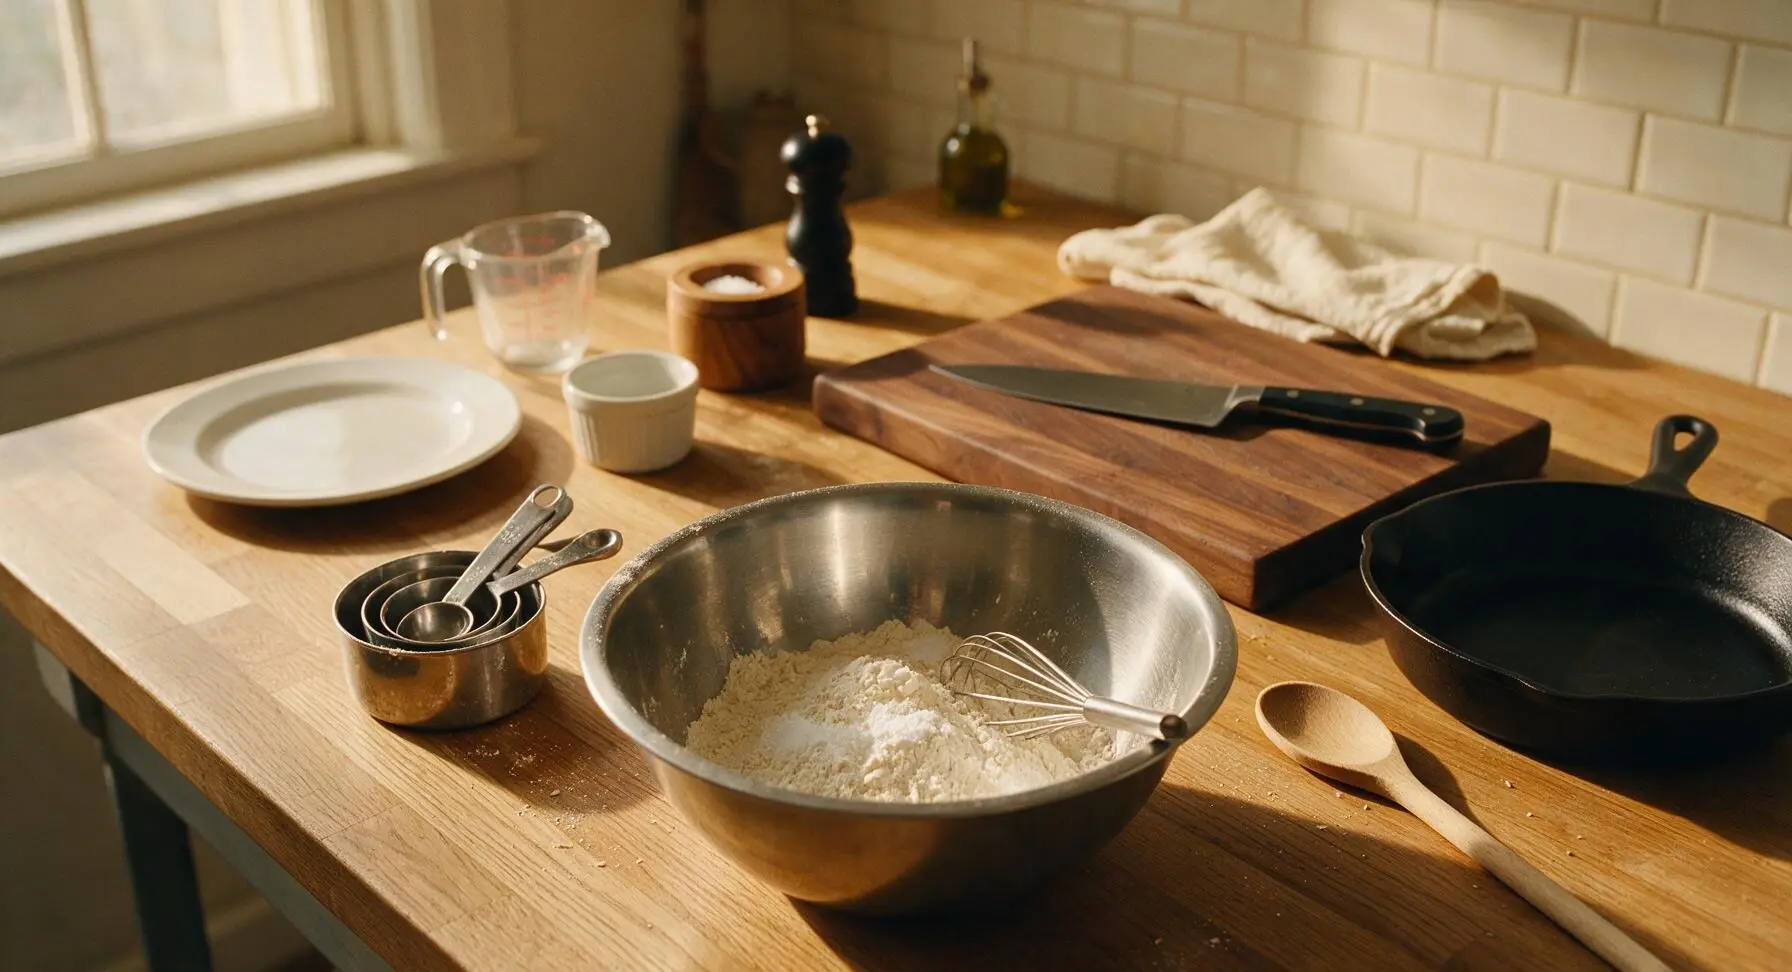
Add 2 cups (240g) all-purpose flour, 4 tsp (16g) baking powder, and 1 tsp (5g) fine sea salt to the large stainless steel mixing bowl. Use the small stainless steel whisk to stir vigorously for 30 seconds, fully combining the dry ingredients and breaking up any small flour lumps, so baking powder is evenly distributed for uniform rise.
Step 2
step2:Whisk Dry Ingredients
3

Grate Cold Butter

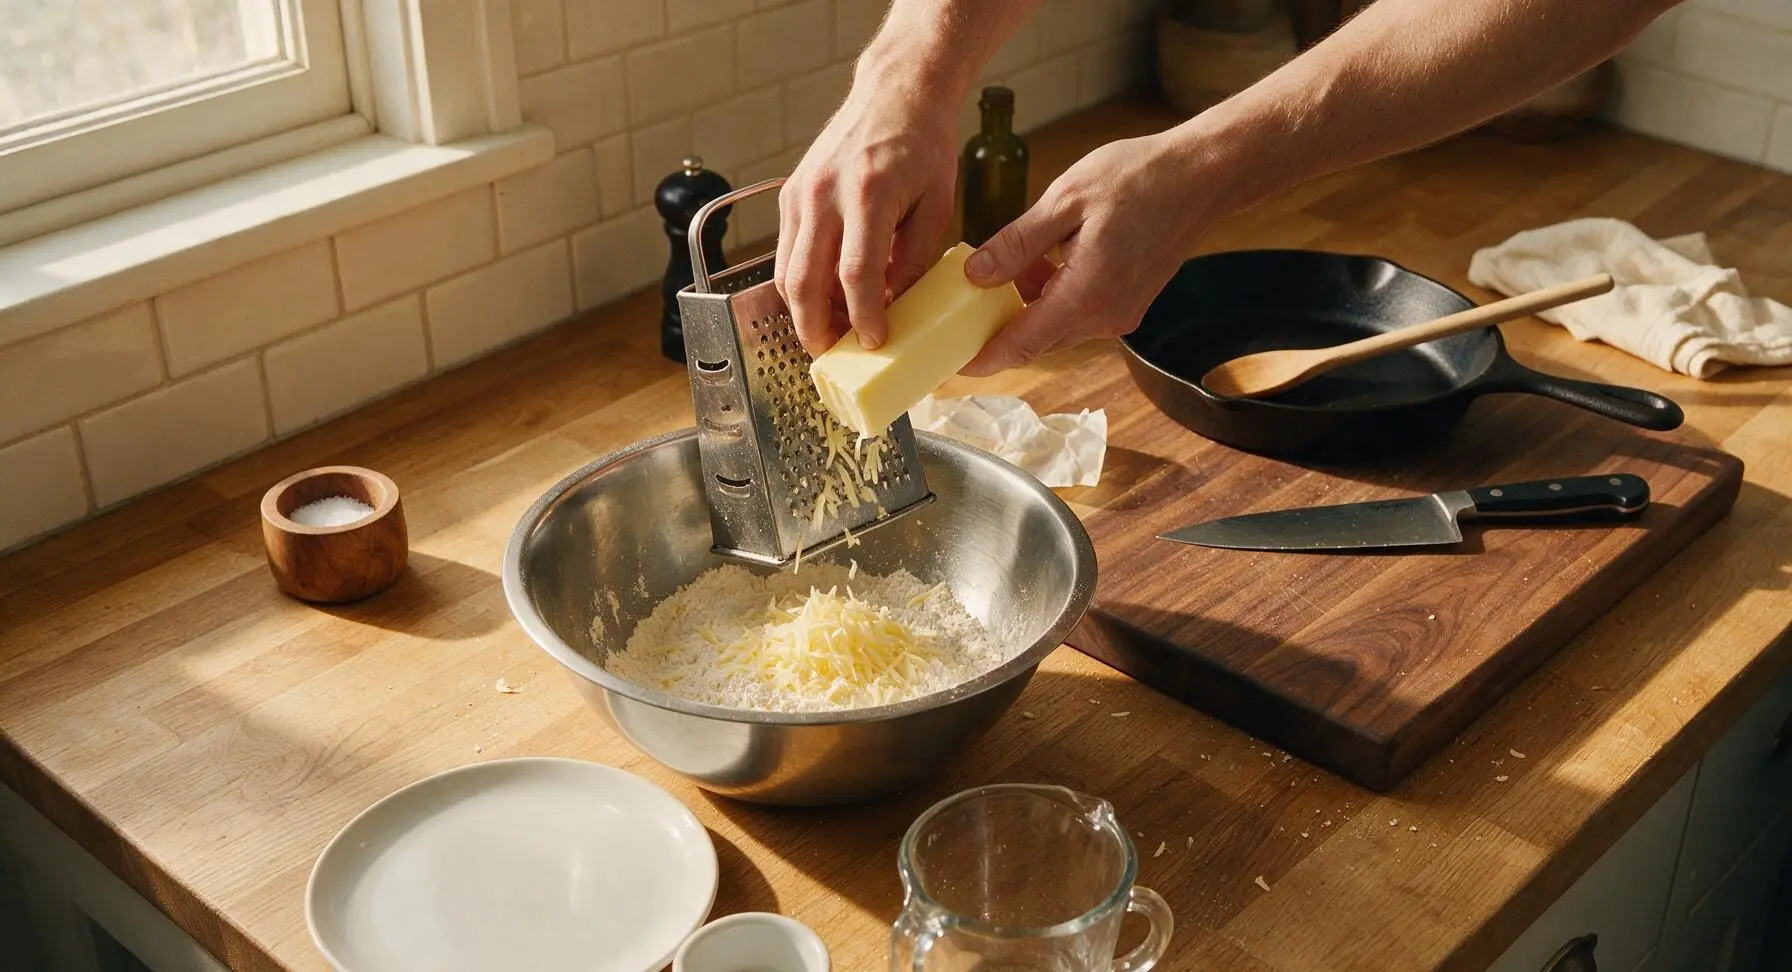
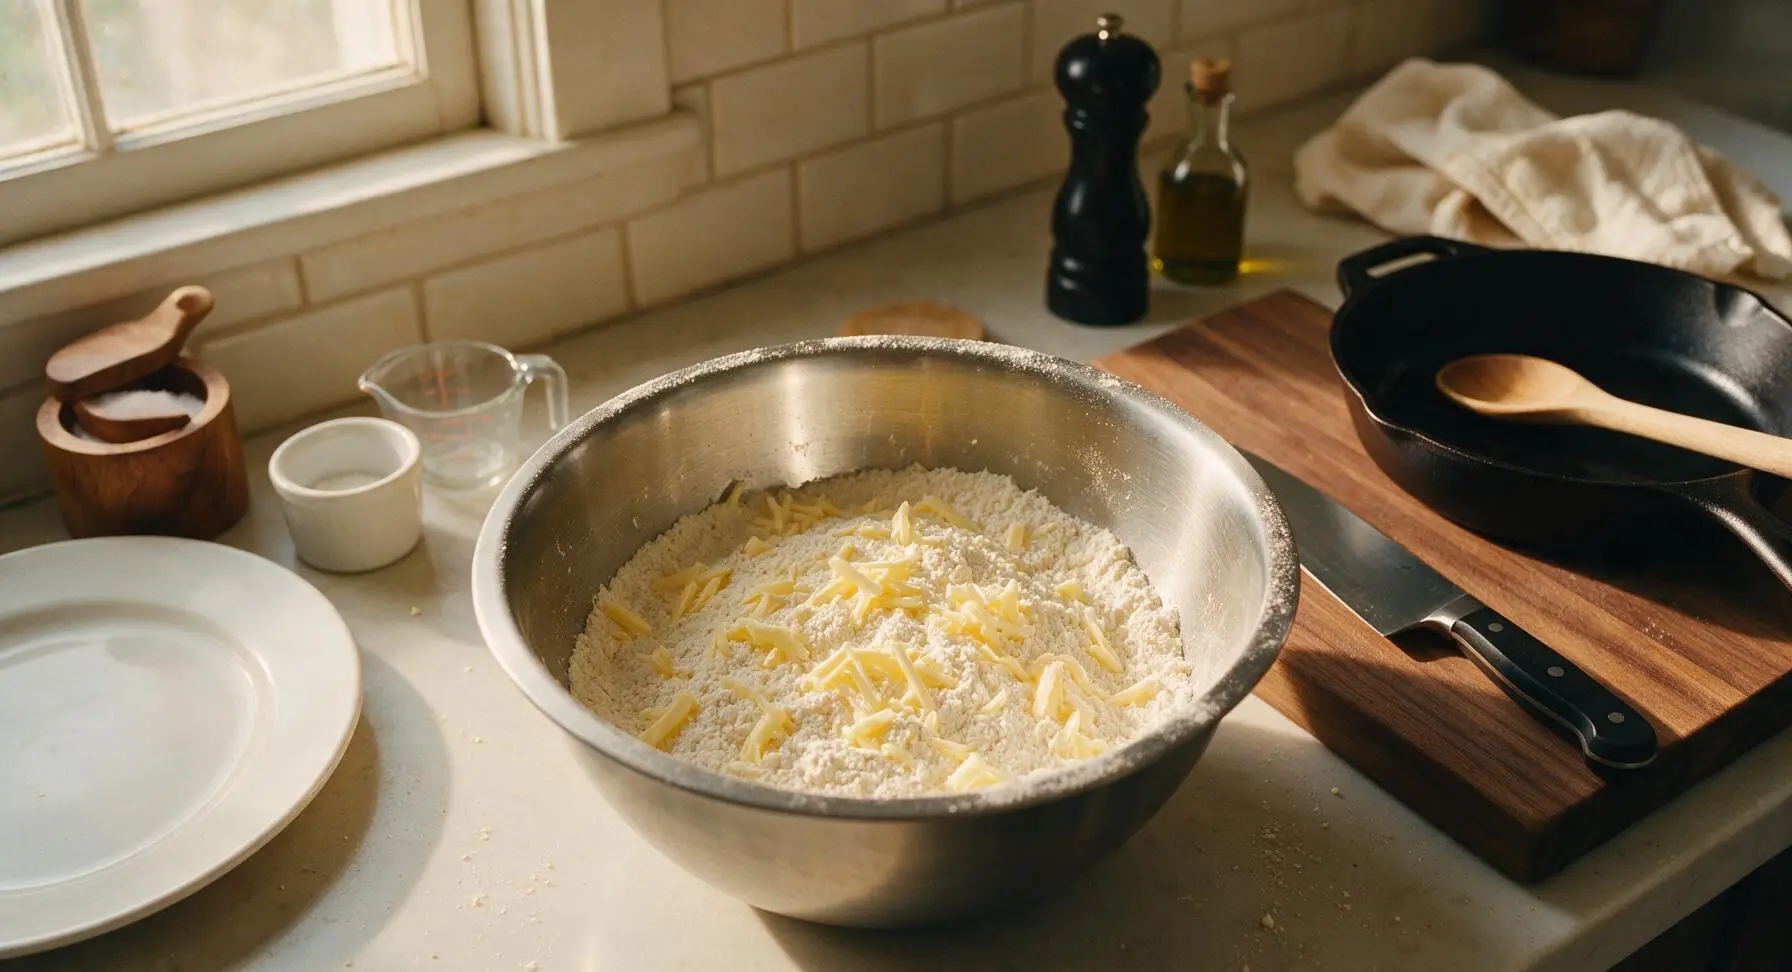
Remove the 1/3 cup (75g) very cold unsalted butter from the refrigerator. Hold the butter against the coarse side of the stainless steel box grater, grating all of it directly into the bowl of dry ingredients. Work quickly to keep the butter from softening—grated cold butter creates tiny, even fat pockets that puff into flaky layers as they bake.
Step 3
step3:Grate Cold Butter
Step 3
step3:Grate Cold Butter
4

Cut Butter Into Flour

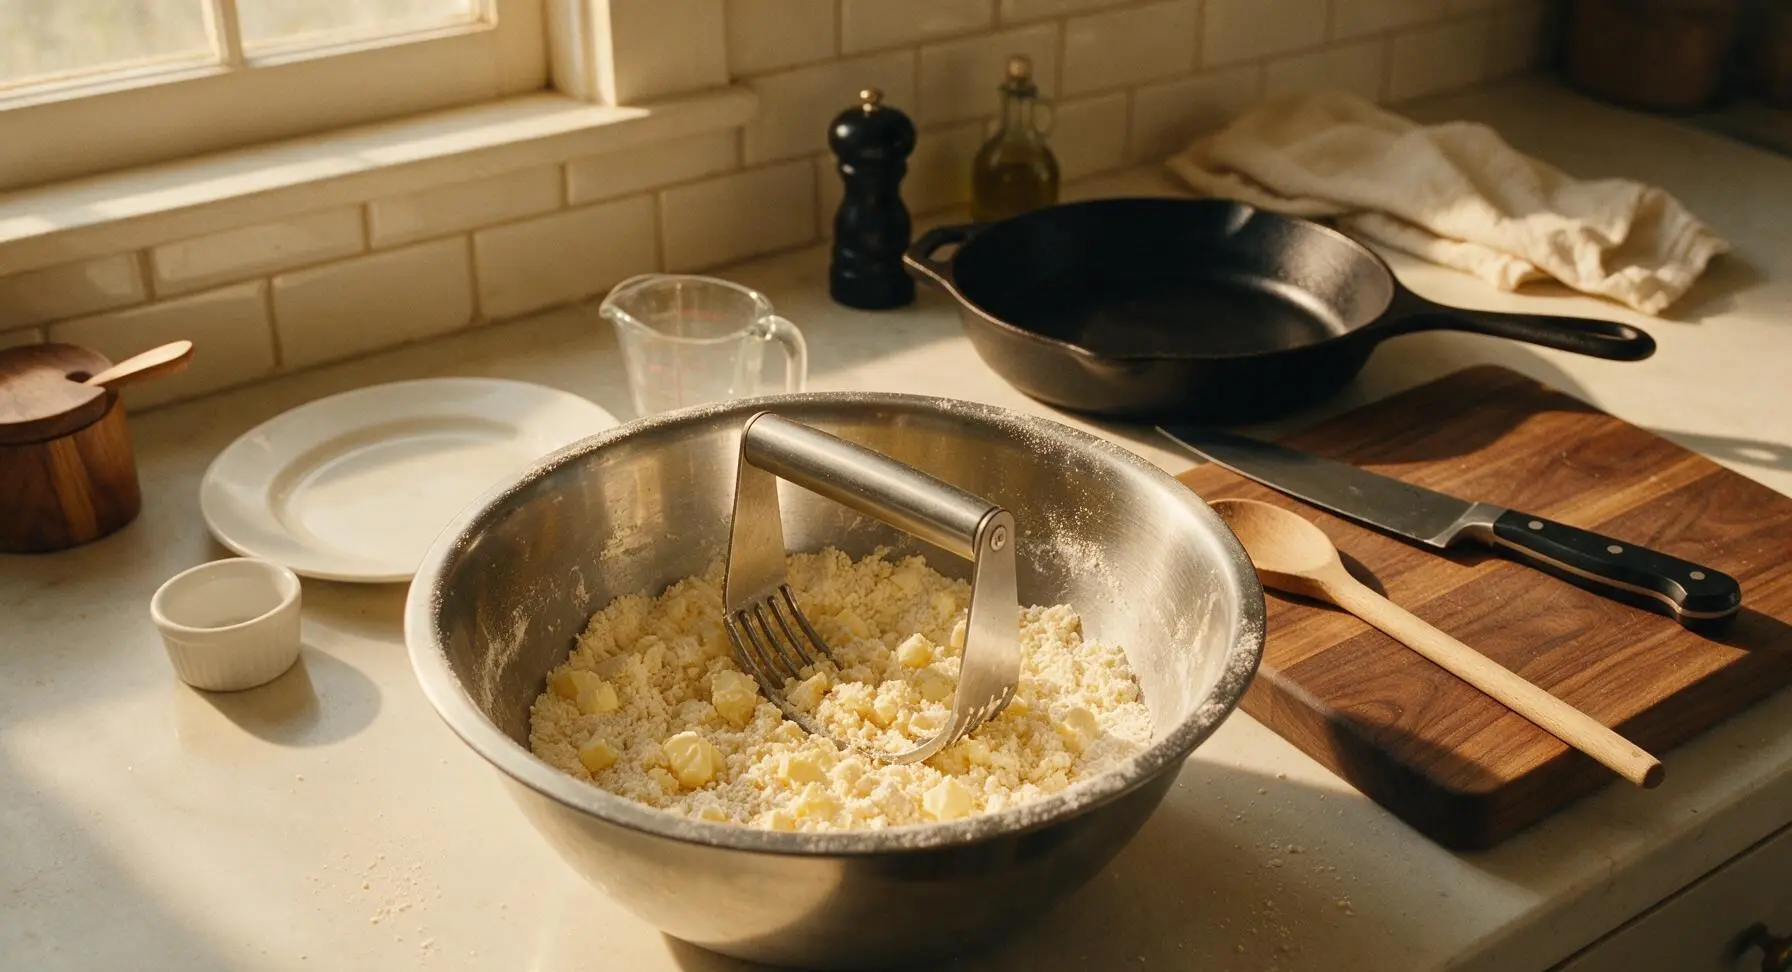
Use the stainless steel pastry blender to press the grated butter into the flour mixture, cutting repeatedly until the mixture resembles coarse crumbs with some pea-sized butter pieces remaining. Do not overmix—those larger butter bits are what create tall, flaky layers. The entire mixture should stay cold; if butter starts to soften, pop the bowl in the fridge for 5 minutes before proceeding.
Step 4
step4:Cut Butter Into Flour
5

Stir in Cold Milk

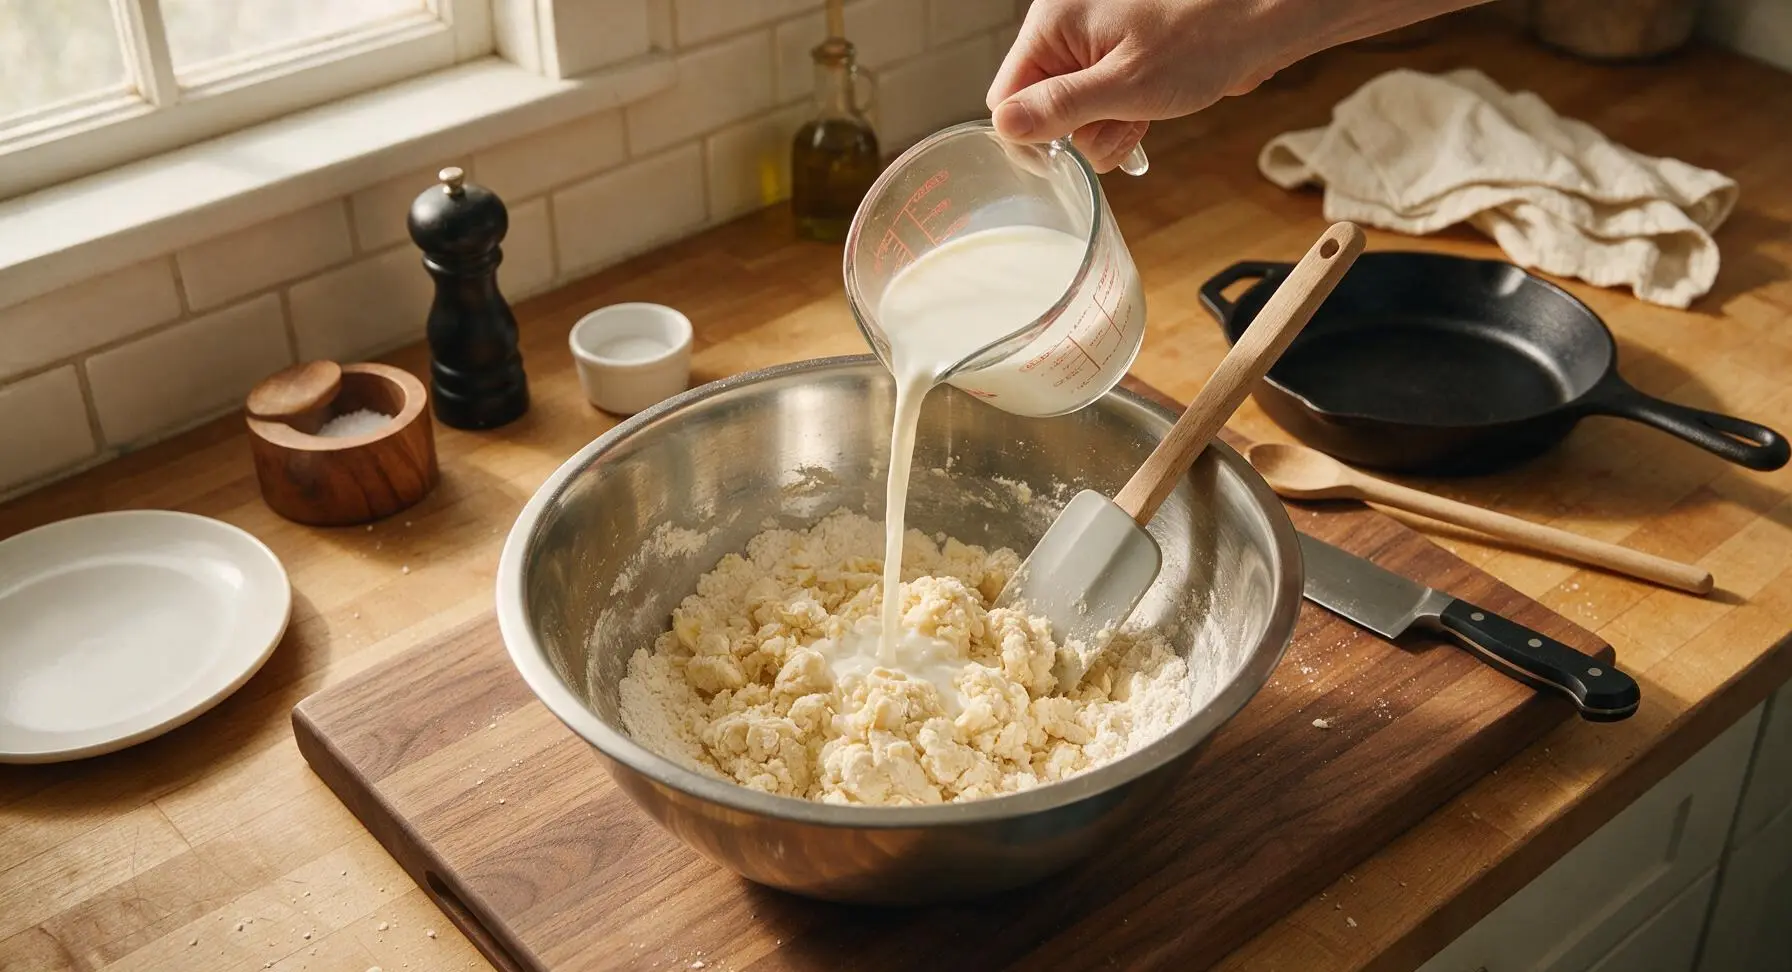
Pour 3/4 cup (180ml) cold whole milk into the flour and butter mixture. Use the matte light grey silicone spatula to stir gently just until a shaggy, slightly sticky dough forms—stop stirring as soon as no dry flour remains at the bottom of the bowl. Overstirring will develop gluten and make tough biscuits, so err on the side of slightly lumpy, shaggy dough.
Step 5
step5:Stir in Cold Milk
6

Roll Dough to Thickness

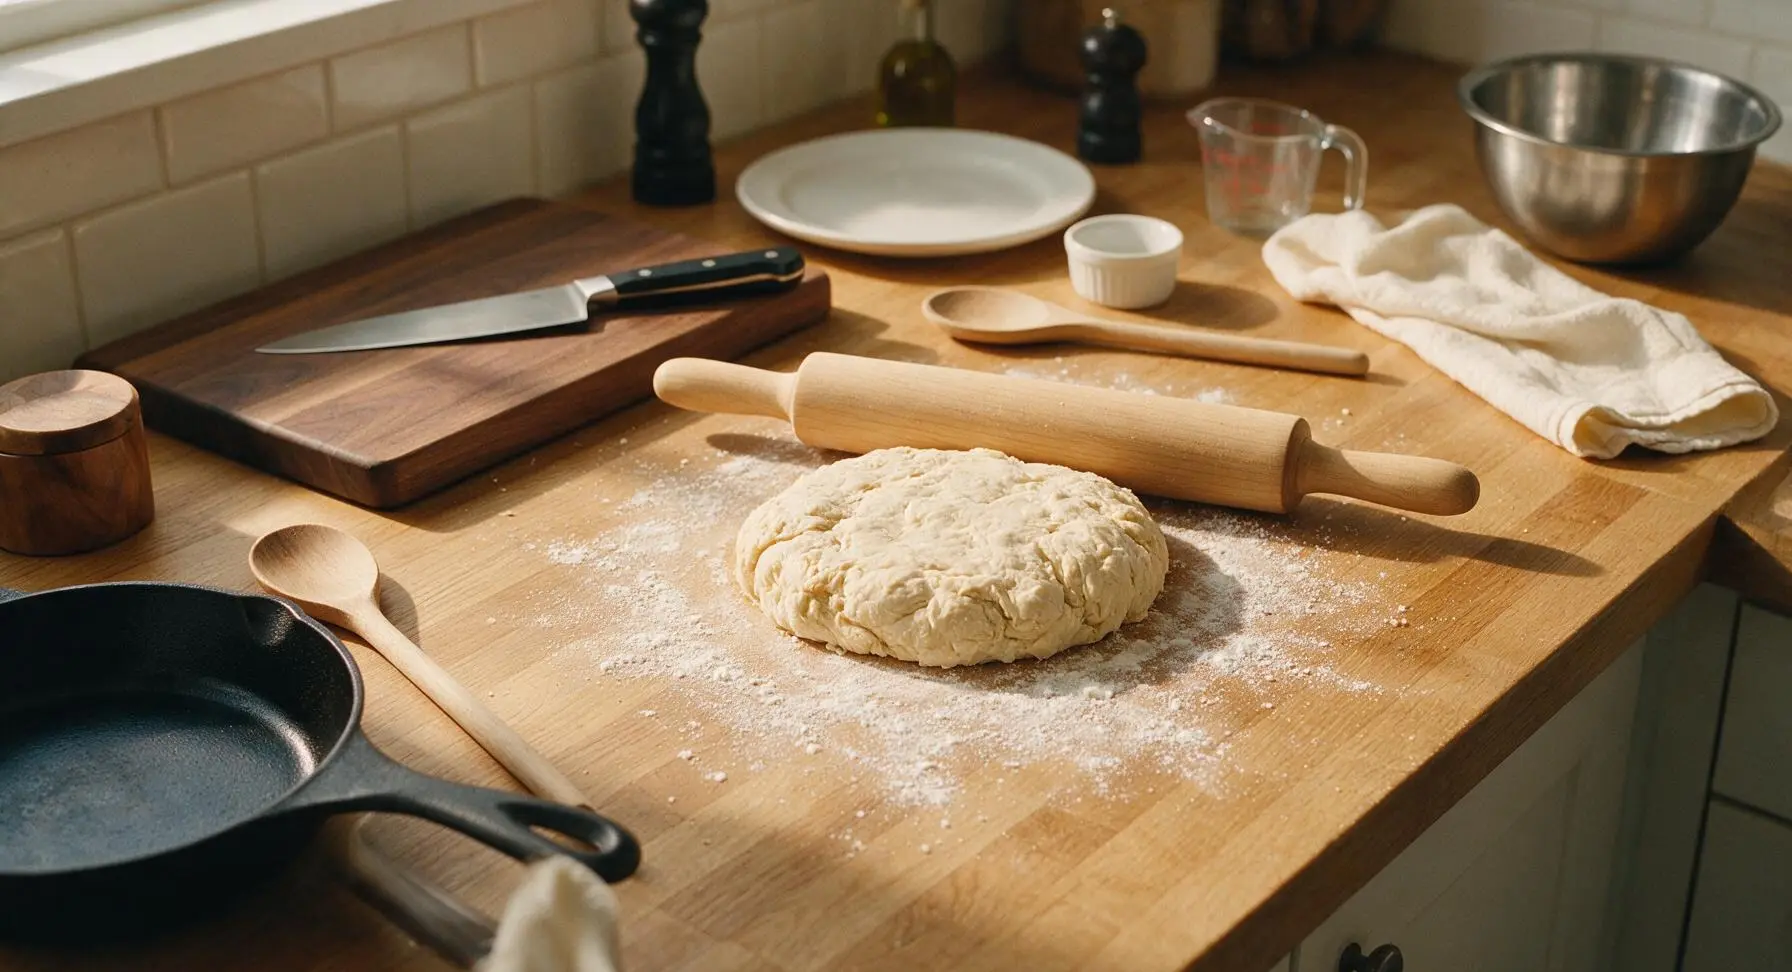
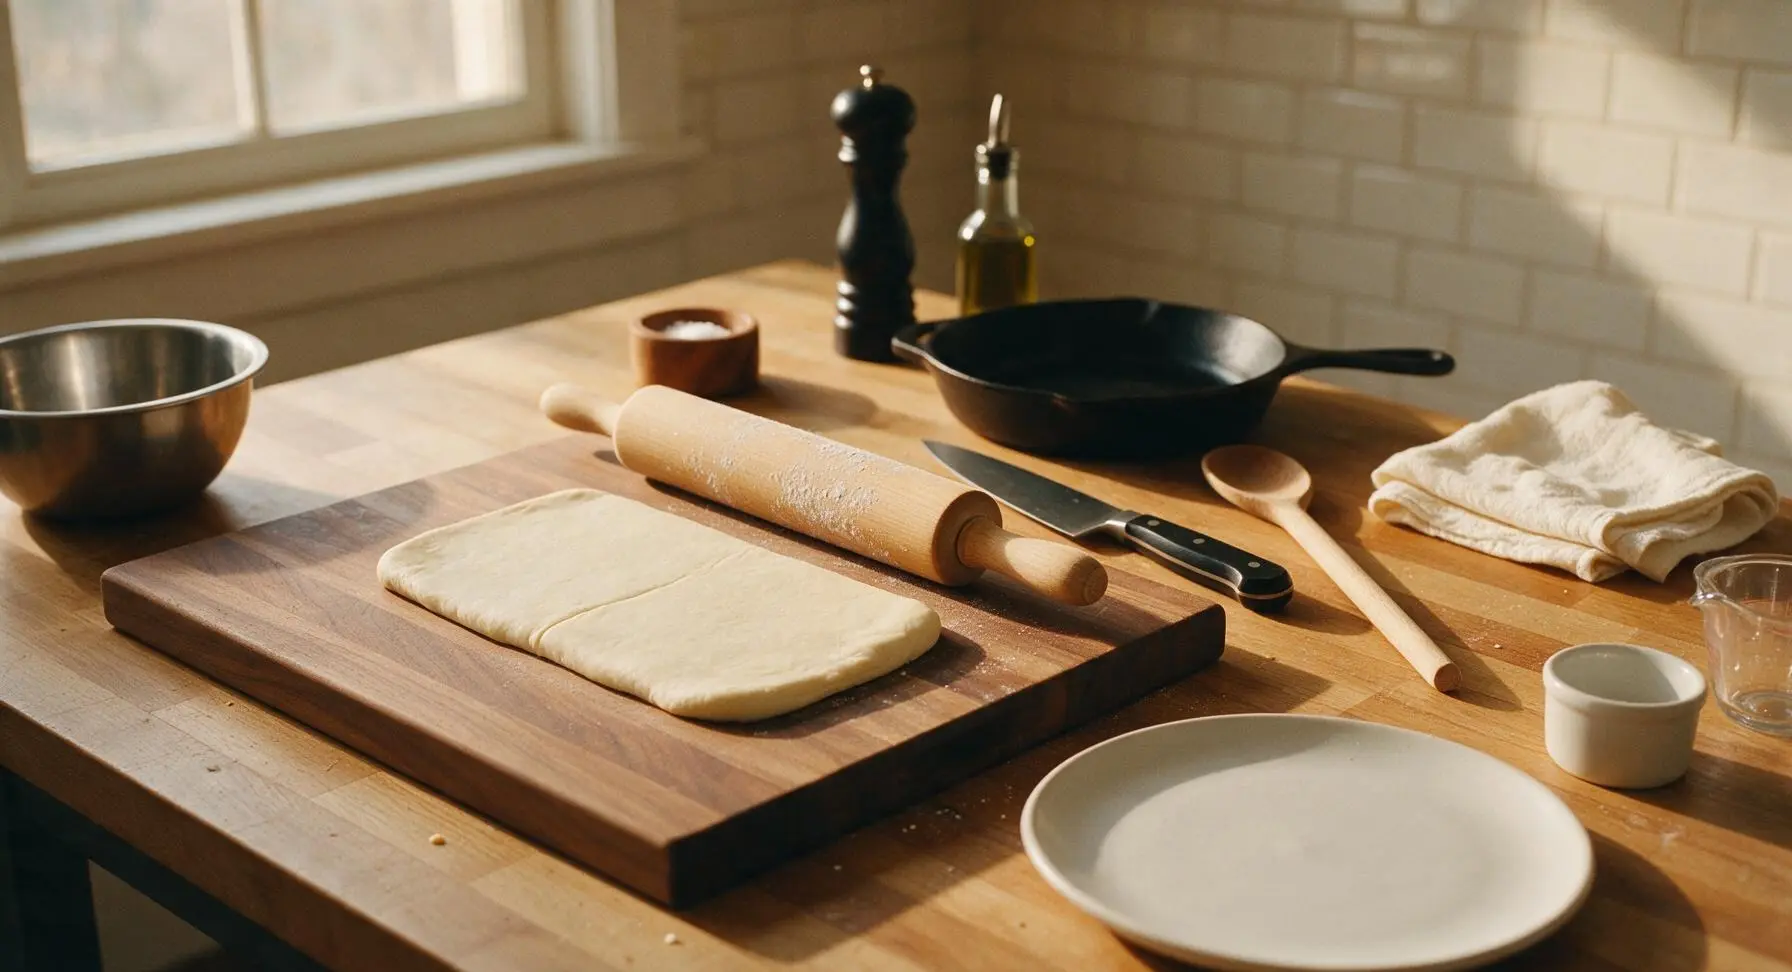
Lightly flour a small section of the countertop. Turn the shaggy dough out onto the lightly floured surface. Pat gently into a rough 2cm (3/4 inch) thick rectangle, then use the smooth maple rolling pin to roll evenly, keeping thickness consistent across the entire dough slab. Fold the dough in half once, then roll back out to 2cm thickness—this simple fold creates extra flaky layers without fancy lamination.
Step 6
step6:Roll Dough to Thickness
Step 6
step6:Roll Dough to Thickness
7

Cut Biscuit Rounds

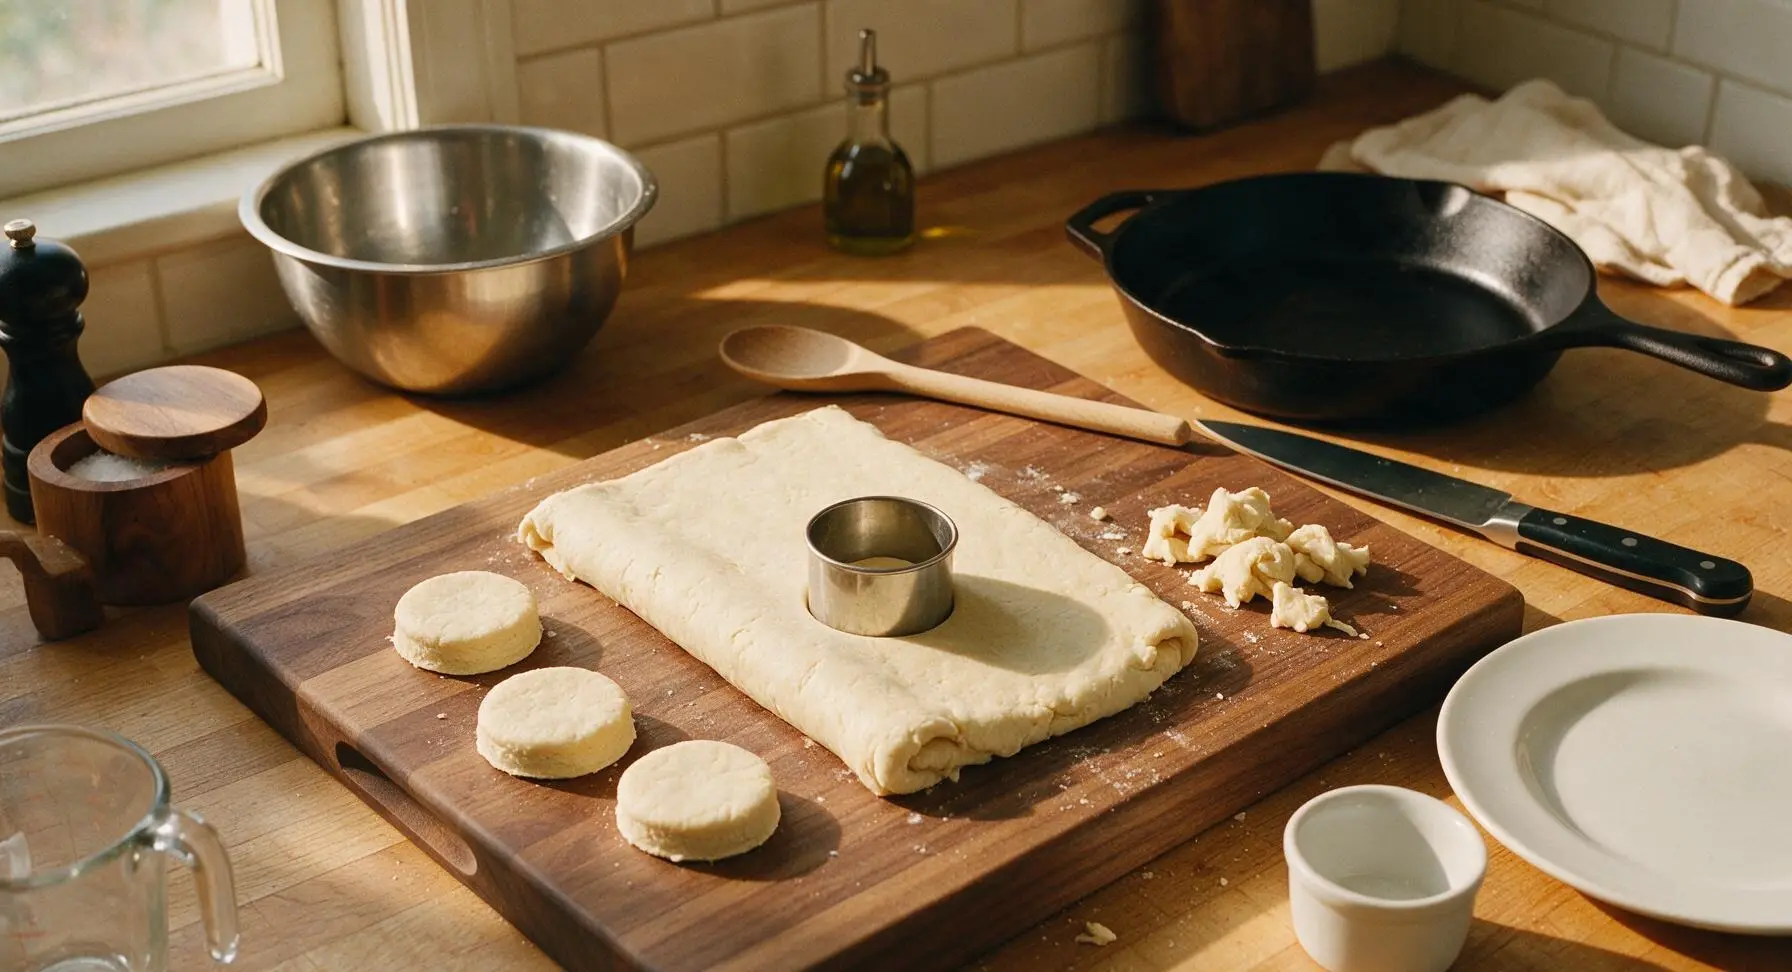
Dip the sharp edge of the 6cm stainless steel biscuit cutter in a little flour to prevent sticking, then press straight down through the dough to cut rounds—do not twist the cutter as you press, as twisting seals the edges and prevents biscuits from rising tall. Gather leftover dough scraps, pat gently back to 2cm thickness, and cut remaining rounds until you have 8 total biscuits.
Step 7
step7:Cut Biscuit Rounds
8

Bake to Golden Brown

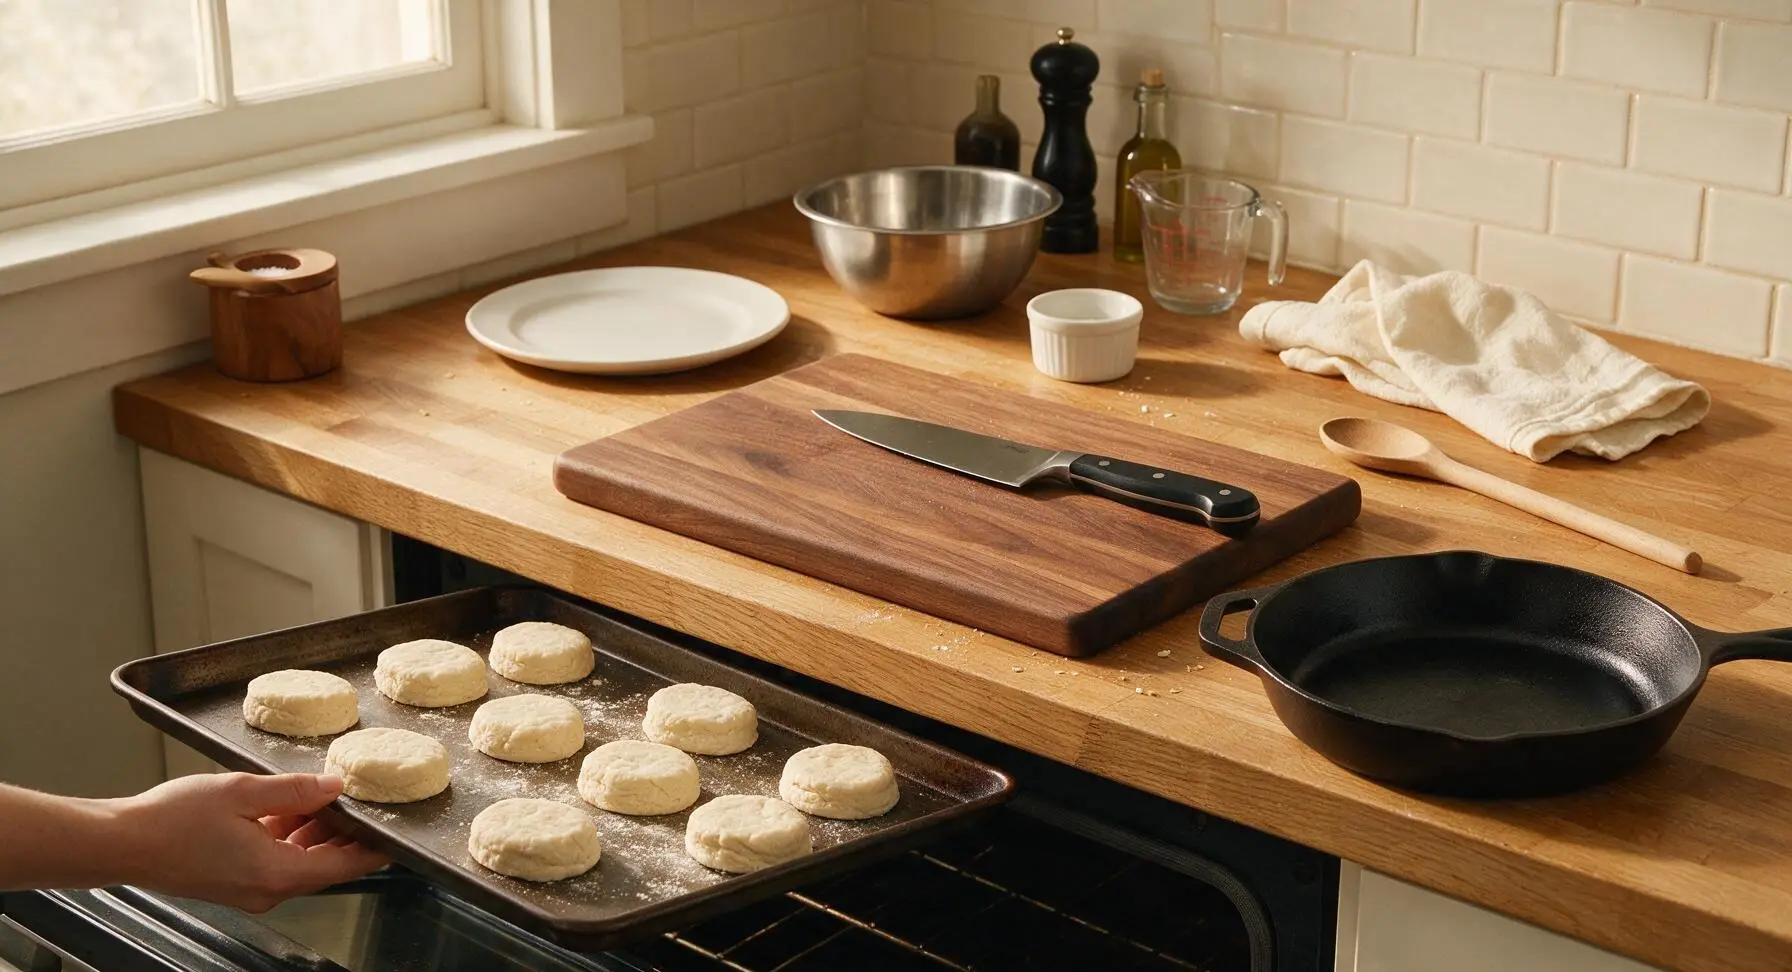
Arrange the cut biscuit rounds on the ungreased dark carbon steel baking sheet, spaced 2cm apart to allow for rise. Place on the middle oven rack and bake for 12-14 minutes, until tops are deep golden brown and biscuits have doubled in height. Do not open the oven door for the first 10 minutes of baking, as sudden temperature drops will cause biscuits to collapse.
Step 8
step8:Bake to Golden Brown
9

Finish and Cool

Remove the baking sheet from the oven once biscuits are deep golden and tall. Immediately brush the tops of the hot biscuits with the 1 tbsp melted unsalted butter using the small silicone pastry brush, for a rich, shiny golden top. Transfer biscuits to the chrome wire cooling rack to cool for 3 minutes before serving—they are best eaten warm.
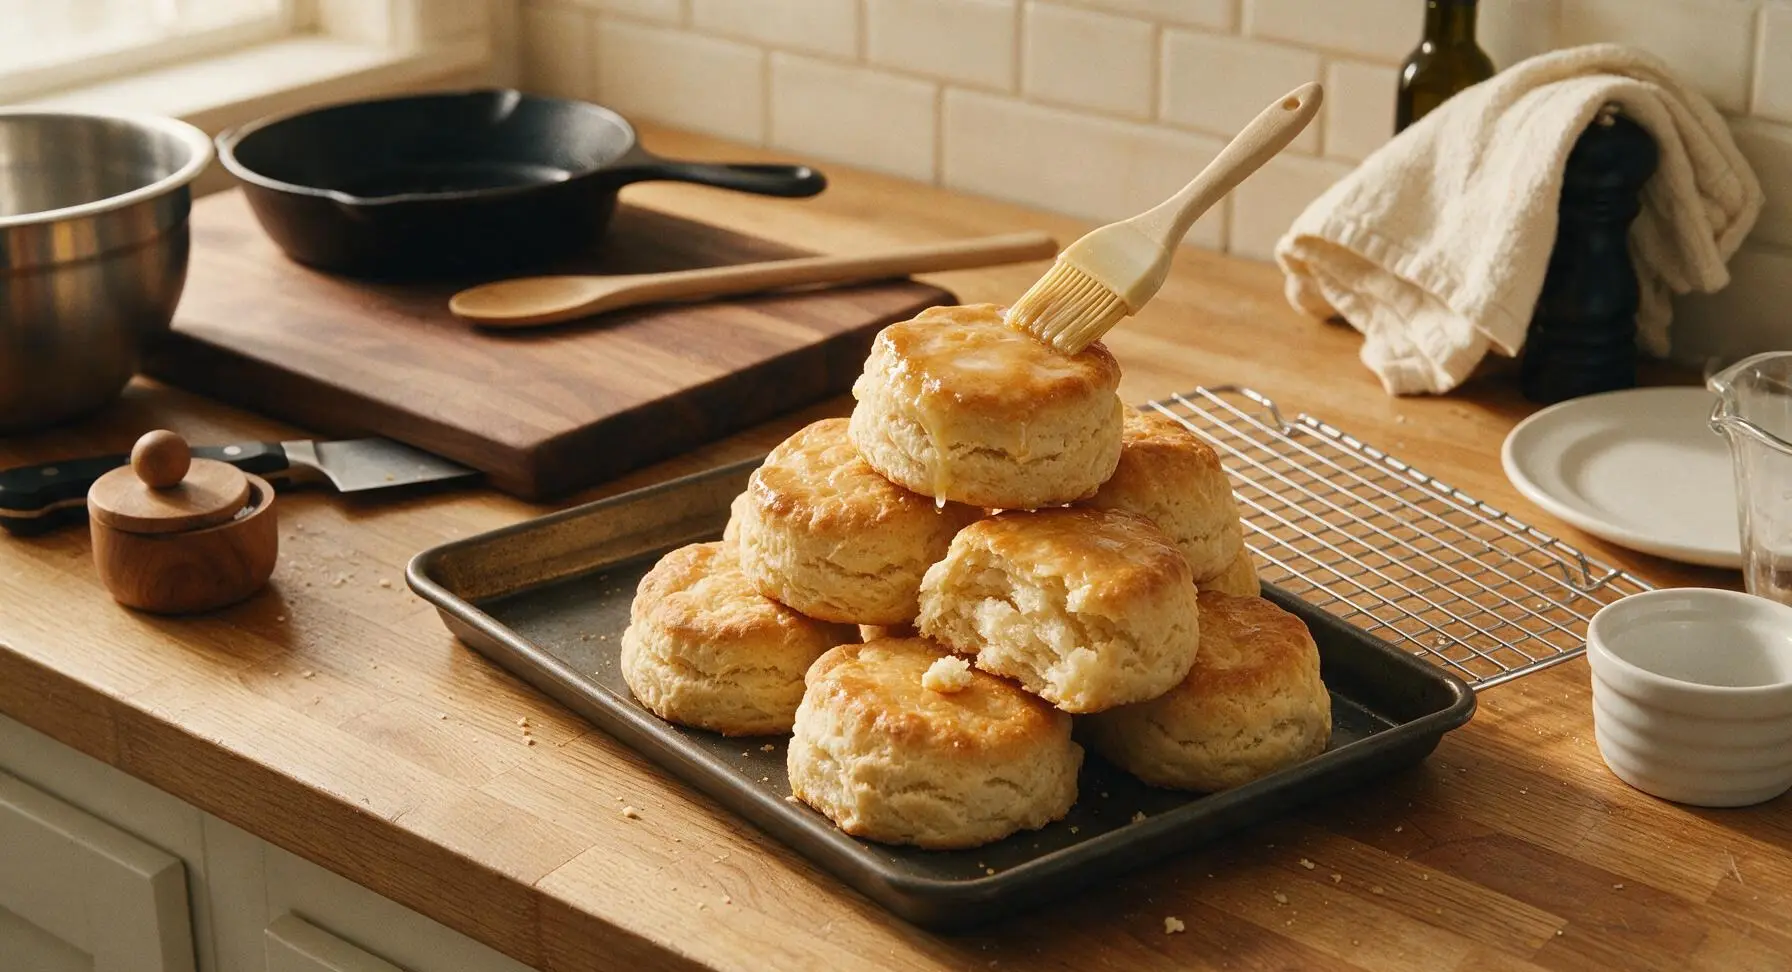
Step 9
step9:Finish and Cool

Tips

1.Keep butter and milk ice-cold until use: Warm fat melts too early in baking, leading to dense, flat biscuits instead of tall, flaky layers. For extra insurance, pop the measured butter in the freezer for 10 minutes before grating.
2.Never twist the biscuit cutter when pressing dough: Twisting pinches the cut dough edges shut, which prevents biscuits from rising straight up into tall, even rounds. Press straight down firmly, then lift the cutter straight up for maximum height.
3.Avoid overmixing the dough: Overstirring or over-kneading develops gluten in the flour, resulting in tough, chewy biscuits instead of tender, crumbly ones. Stop mixing as soon as no dry flour remains, even if the dough looks shaggy and lumpy.


✨ You May Also Like

Desserts & Baking
🍜 Italy

Creamy, coffee-kissed classic Northern Italian no-bake dessert, with layers of rum-spiked mascarpone cream, soft ladyfingers, and a rich cocoa dusting.

⏱️ 4 hours 3Desserts & Baking ★ 4.7
Desserts & Baking
🍜 France

Flaky, shatteringly crisp, buttery French croissants with golden exteriors and soft, airy layered interiors, perfect for pairing with coffee for a special morning treat.

⏱️ 12 hours Desserts & Baking ★ 4.5
Desserts & Baking
🍜 United States

Warm, spiced baked apples topped with a fluffy golden biscuit crust, this cozy dessert pairs perfectly with vanilla ice cream for cool-weather comfort.

⏱️ 55 minuteDesserts & Baking ★ 4.6
Desserts & Baking
🍜 United States

A star-spangled classic American blueberry pie with buttery flaky crust and bright sweet-tart filling, perfect for summer patriotic gatherings.

⏱️ 1 hour 25Desserts & Baking ★ 4.7
Desserts & Baking
🍜 United States

A beloved no-bake regional Maine candy with a chewy coconut-potato center coated in rich dark chocolate, a New England holiday staple since the 1870s.

⏱️ 2 hours 3Desserts & Baking ★ 4.8
Desserts & Baking
🍜 France

Luxuriously creamy, floral frozen custard made with aromatic Tahitian vanilla beans, boasting a smooth, rich texture that melts slowly on the tongue.

⏱️ 3 hours 3Desserts & Baking ★ 4.5

Canadian Tire Biscuits:Frequently Asked Questions

1.Why are these called Canadian Tire Biscuits? ▾
These biscuits get their folksy name because you don’t need fancy, specialty pastry equipment to make them—just basic, affordable kitchen tools you could grab on a quick run to Canadian Tire, or any standard home goods store. No food processor, pastry blender, or custom rolling pin is required, making them ultra accessible for new bakers.
2.Do I really need to use cold butter and cold milk for this recipe? ▾
Absolutely—cold fat and cold liquid are non-negotiable for tall, flaky layers. When cold butter hits the hot oven, it releases steam that creates light, separated layers instead of a dense, flat biscuit. Skip room temperature ingredients here; pop your butter and milk in the freezer for 10 minutes first if your kitchen runs warm.
3.Can I use salted butter instead of unsalted if that’s what I have on hand? ▾
You can absolutely use salted butter, just adjust the added fine sea salt to keep the flavor balanced. For every stick (½ cup) of salted butter you use, cut the added salt in the recipe by ¼ teaspoon. This prevents your biscuits from coming out overly salty while still delivering that rich, buttery flavor everyone loves.
4.What if I don’t have whole milk on hand? Can I use a lower-fat milk instead? ▾
Whole milk’s higher fat content creates a more tender, rich crumb, but you can use 2% milk in a pinch if that’s all you have. Skip skim milk entirely—it will produce drier, less flavorful biscuits. For the closest match to whole milk, stir 1 tablespoon of melted unsalted butter into 1 cup of 2% milk before using.
5.How do I cut in the butter without a pastry cutter or food processor? ▾
That’s the core appeal of this no-fuss recipe! You don’t need specialty tools to cut in cold butter. Grab a standard box grater and grate the frozen-cold butter directly into the flour, then toss the shreds to coat them in flour. You can also use two regular table knives to slice the butter into tiny, pea-sized pieces.
6.Why did my biscuits turn out dense instead of light and flaky? ▾
Dense biscuits almost always trace back to three common mistakes: using warm butter or milk, overworking the dough, or using expired baking powder. First, check that your baking powder is less than 6 months old for proper rise, keep all ingredients ice cold, and only mix the dough just until it comes together to avoid tough gluten development.
7.How thick should I shape the dough to get tall, evenly risen biscuits? ▾
Aim to pat (not roll with a heavy pin) your dough out to a uniform 1-inch thickness before cutting. Patting gently instead of applying hard rolling pressure prevents you from compressing the delicate butter layers you worked to create. Skip shaping thinner than ¾ inch, as that will produce short, flat biscuits that don’t get that signature tall rise.
8.Do I need to flour my biscuit cutter, and should I twist it when cutting out shapes? ▾
Always lightly flour your metal or plastic biscuit cutter before each cut to prevent sticking, but never twist the cutter as you press down. Twisting pinches the edges of the dough shut, which stops the biscuits from rising straight up into those tall, flaky layers. Press straight down firmly, then lift the cutter straight up for the best rise.
9.Can I make these biscuits ahead of time for a weekend brunch? ▾
Absolutely! For the easiest brunch prep, cut out your biscuit shapes, arrange them on a parchment-lined baking sheet, cover tightly with plastic wrap, and chill them in the fridge for up to 24 hours. When you’re ready to bake, pop them straight into the preheated oven—no extra thaw time needed, and they’ll rise just as high as fresh-made dough.
10.Can I freeze these baked biscuits for later use? ▾
Yes, these biscuits freeze beautifully for up to 3 months. Let fully baked biscuits cool completely to room temperature first, then tuck them into a labeled freezer bag, squeezing out as much excess air as possible. Reheat them straight from frozen in a 350°F oven for 8 to 10 minutes, or split and toast them for a quick weekday breakfast.
11.What’s the best way to get that golden, shiny top on finished biscuits? ▾
For that perfect glossy, deep golden top, brush the tops of the cut biscuits with a little extra cold milk or melted butter right before they go into the oven. Make sure you only brush the very top, not the sides—getting liquid on the cut edges can glue them shut and prevent that nice, tall, even rise you’re going for.
12.Can I add mix-ins like cheese, herbs, or bacon to these biscuits? ▾
Absolutely, these simple biscuits are a perfect blank canvas for savory add-ins. Stick to ½ to ¾ cup of total mix-ins per batch, and toss shredded cheese, chopped fresh herbs, or crumbled cooked bacon into the dry ingredients before you add the cold milk. This keeps add-ins evenly distributed without overworking the dough.
13.What oven temperature works best, and do I really need to preheat? ▾
Preheat your oven to 425°F, and give it at least 15 minutes to fully come up to temperature before baking. A hot oven is critical to creating the quick burst of steam from the cold butter that makes biscuits rise tall. If your oven runs cool, use an oven thermometer to confirm the temp, as low heat leads to flat, dense biscuits.
14.How do I store leftover baked biscuits so they don’t get stale quickly? ▾
Store fully cooled leftover biscuits in an airtight container at room temperature for up to 3 days. Skip storing them in the fridge, as the dry, cold air will make them go stale much faster. For the best texture when serving leftovers, warm them for 10 to 15 seconds in the microwave, or split and toast them lightly with a little extra butter.
15.Can I make these biscuits gluten-free for friends with dietary restrictions? ▾
You can make a great gluten-free version by swapping the all-purpose flour for a 1:1 gluten-free baking blend that contains xanthan gum. Keep all other ingredients and steps exactly the same, and avoid overmixing the dough. Note that gluten-free biscuits may be slightly more crumbly than the original, but they’ll still have that rich, buttery, flaky texture.

Comments (9)

2 days ago

OMG these are SO good! I threw these together last minute for our neighborhood potluck and everyone was begging for the recipe. Flaky, buttery, and done in 14 minutes? Game changer! My 3 kids ate 2 each before we even left the house lmao.

yesterday

Wait did you bring any dip with them? I’m making these for my church potluck Sunday and wondering if garlic butter or honey butter goes better!

2 hours ago

So glad your family and neighbors loved them! Both dips are fantastic, but we’re partial to a little honey butter drizzle if you want that sweet-savory kick. Enjoy the potluck!

3 days ago

Wait a second, why are these called Canadian Tire biscuits? I thought I was gonna have to run to the auto parts store for ingredients lmao. Turns out I had everything in my pantry already, these came out perfect for breakfast this morning. Sausage gravy on top? *Chef’s kiss*

2 days ago

Haha the name comes from the classic Canadian camping/road trip hack where folks would bake these in a tire rim over a campfire! No auto parts required, promise. So glad they paired great with your sausage gravy!

1 week ago

Obsessed with how easy these are! I made a double batch on Sunday for meal prep, toasted one up this morning with a little jam, and it tasted just as fresh as day 1. Perfect quick breakfast for busy work mornings. 10/10 will make again.

5 days ago

Okay I’m TERRIBLE at baking, like I burn store-bought cookie dough bad. These were actually foolproof? Mine came out a tiny bit crumbly but still so tasty, I think I might have overworked the dough a little? Definitely trying again next week!

3 days ago

Oh girl I had the same issue my first time! Just fold the dough like 3 times max, don’t knead it like bread dough, that fixes the crumbliness I promise!

2 days ago

So proud of you for giving these a go! @HomeCookKaren is exactly right—overworking the dough develops too much gluten and makes them tough/crumbly. Next time gently pat the dough out instead of rolling it too, that helps!

yesterday

Made these to go with our chili last night for family dinner and they were a HIT. Even my super picky 7 year old who only eats chicken nuggets ate two and asked for more. So quick to throw together while the chili simmers, absolutely adding these to our weekly rotation.

2 weeks ago

Wait these are the EXACT biscuits my dad used to make on our camping trips when I was a kid! I haven’t had them in years, made them over the campfire this weekend in a cast iron and they tasted exactly like I remembered. Total nostalgia bomb, thank you so much for posting this!

1 week ago

That makes my day to hear! These are such a classic camping staple for a reason—nothing beats a warm buttery biscuit after a long hike. So glad this brought back good memories for you!

30 minutes ago

I added a little shredded cheddar and garlic powder to the dough and OMG. Best biscuits I’ve ever made, no cap. My roommate walked in from work and immediately ate 3 straight out of the oven, no butter no nothing. These are dangerous to have in the house tbh.

5 minutes ago

Wait that’s such a good idea! Do you think pepper jack would work too? I have a block I need to use up this week.

just now

Love that cheddar garlic hack! Pepper jack would be absolutely delicious in these—add a little diced jalapeño too if you like a kick, it’s chef’s kiss. Let us know how they turn out!

2 hours ago

I’ve been making biscuits from scratch for 20 years and I’m not even mad that this easy recipe is better than my go-to that takes twice as long. Flaky layers, perfect golden top, zero hassle. I’ll be making these for every Sunday brunch from now on, no questions asked.

5 minutes ago

Made these for our college football tailgate last weekend and they were gone in 10 minutes flat. People were asking if I picked them up from that fancy biscuit spot downtown! So easy to make ahead and wrap in foil for the parking lot, 10/10 will be a regular at every tailgate this season.

just now

Nothing beats a tailgate with warm biscuits! Love that these were a hit with your crew—try adding a little crumbled cooked bacon to the dough next time for an extra tailgate-friendly twist, it’s unreal.



