
Caramel
intro
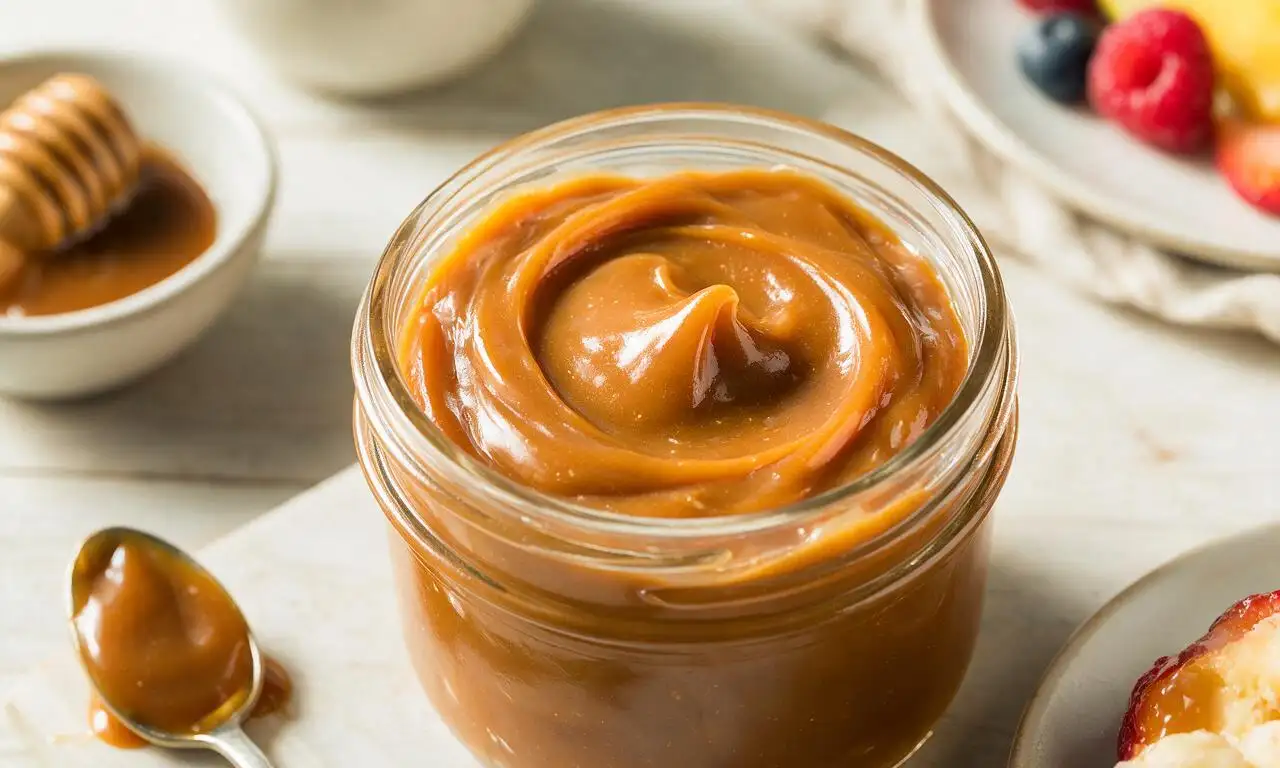
Smooth, glossy, buttery caramel sauce with deep toasty sweetness, perfect for drizzling over desserts, dipping fruit, or using in baked treats.
Ingredients
Steps
Prep all ingredients
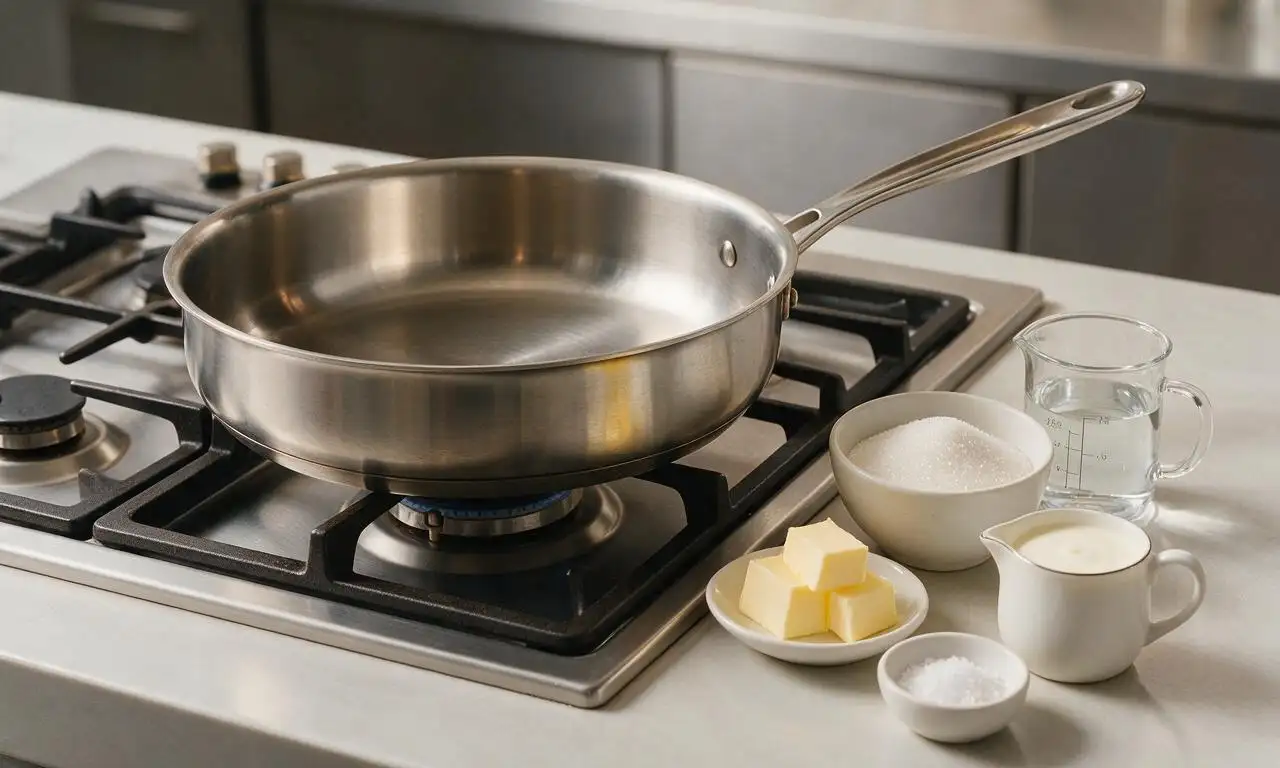
Measure all ingredients before beginning: cut butter into 1cm cubes, warm heavy cream in a small saucepan over low heat for 2 minutes until it reaches 49°C (120°F), and set fine sea salt within arm’s reach of the stovetop. Never start cooking sugar without prepped ingredients, as caramel cooks extremely quickly and cannot be left unattended.
Heat sugar and water
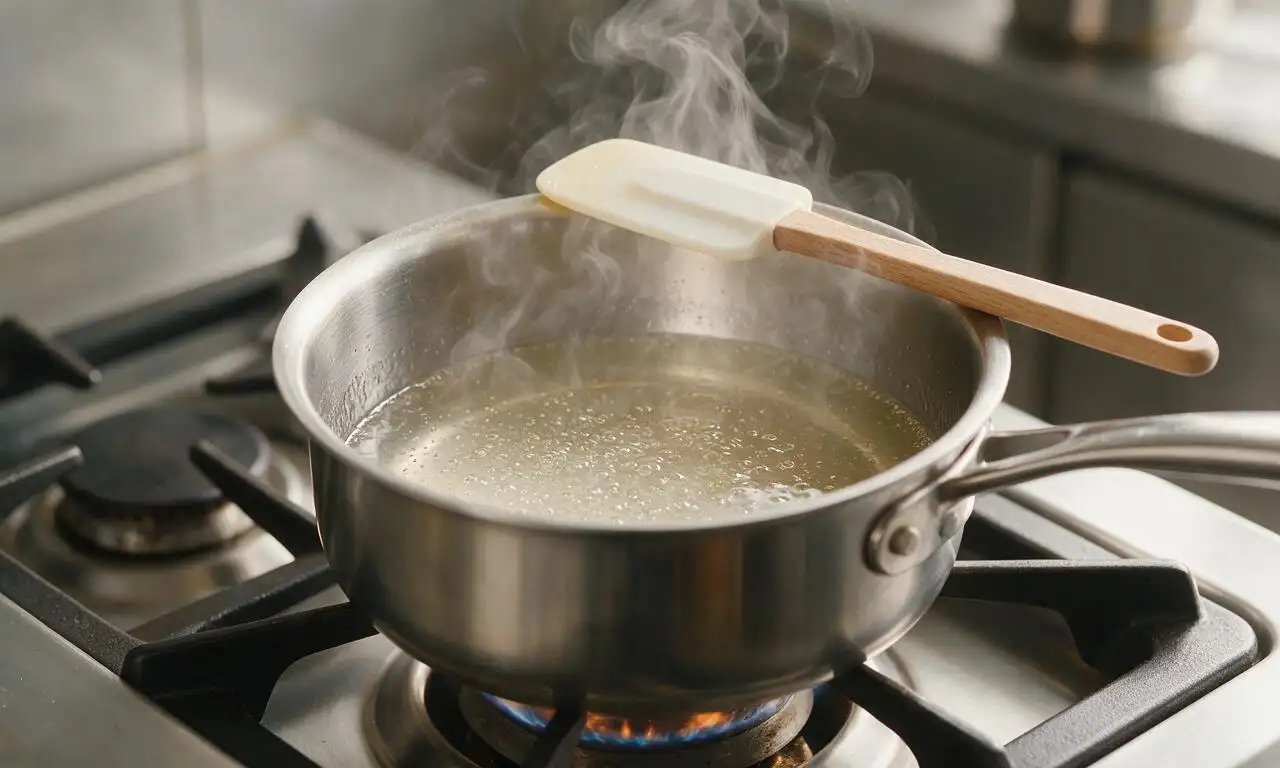
Pour granulated sugar and filtered water into the heavy-bottomed saucepan, stir gently with a heatproof silicone spatula over medium-low heat (stovetop setting 4/10) until all sugar is fully dissolved, about 3–4 minutes. The mixture will be completely clear with small, gentle bubbles once dissolved; do not bring to a rapid boil before sugar dissolves, as this can cause crystallization.
Cook to amber color
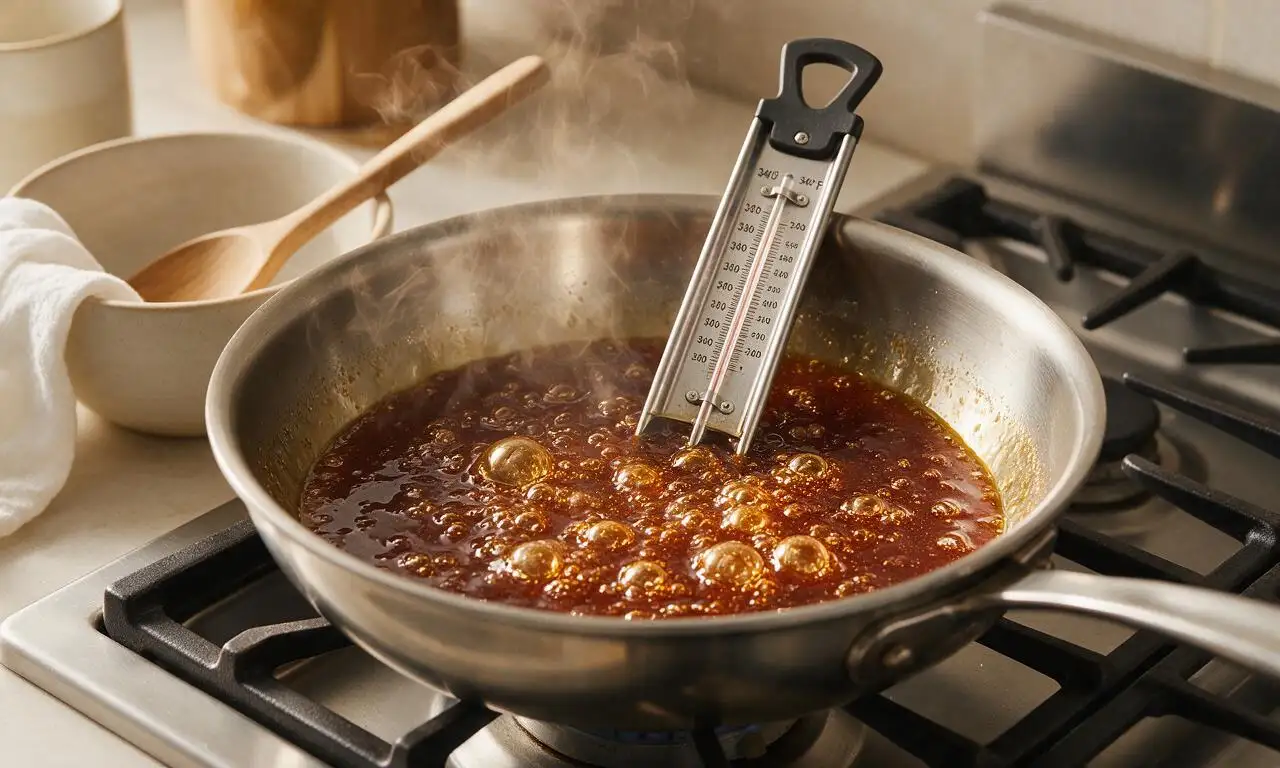
Once sugar is fully dissolved, increase heat to medium (stovetop setting 6/10), stop stirring, and let the syrup boil undisturbed for 6–8 minutes. Swirl the pan gently every 60 seconds to promote even cooking, until the syrup turns a deep copper-penny amber and reaches 171°C (340°F) on a clip-on candy thermometer. Watch closely during the final 2 minutes of cooking, as caramel can burn in as little as 30 seconds.
Stir in cubed butter
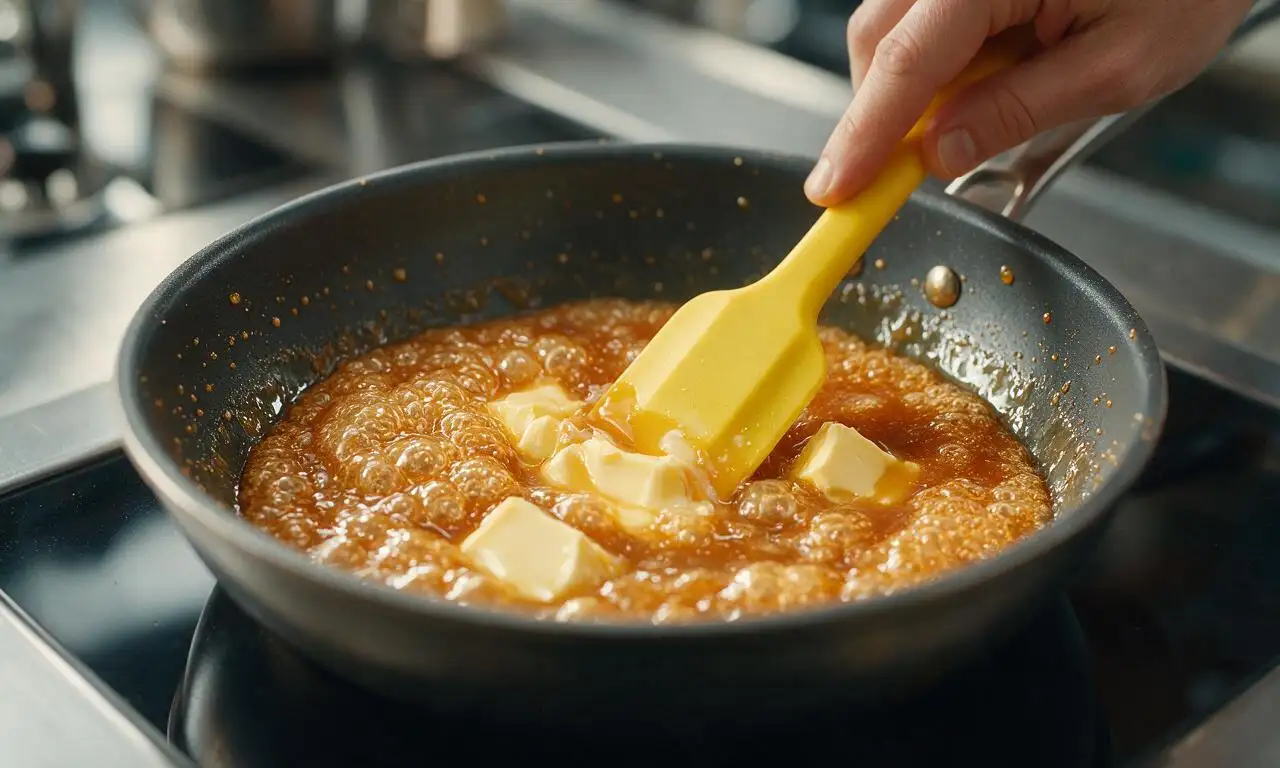
Immediately remove the pan from heat the moment it reaches target color and temperature. Add all cubed unsalted butter at once, stirring constantly with the silicone spatula for 30–45 seconds until butter is fully melted and incorporated into the caramel. Stand slightly back from the pan during this step, as the mixture will bubble vigorously and may splatter.
Add warmed cream
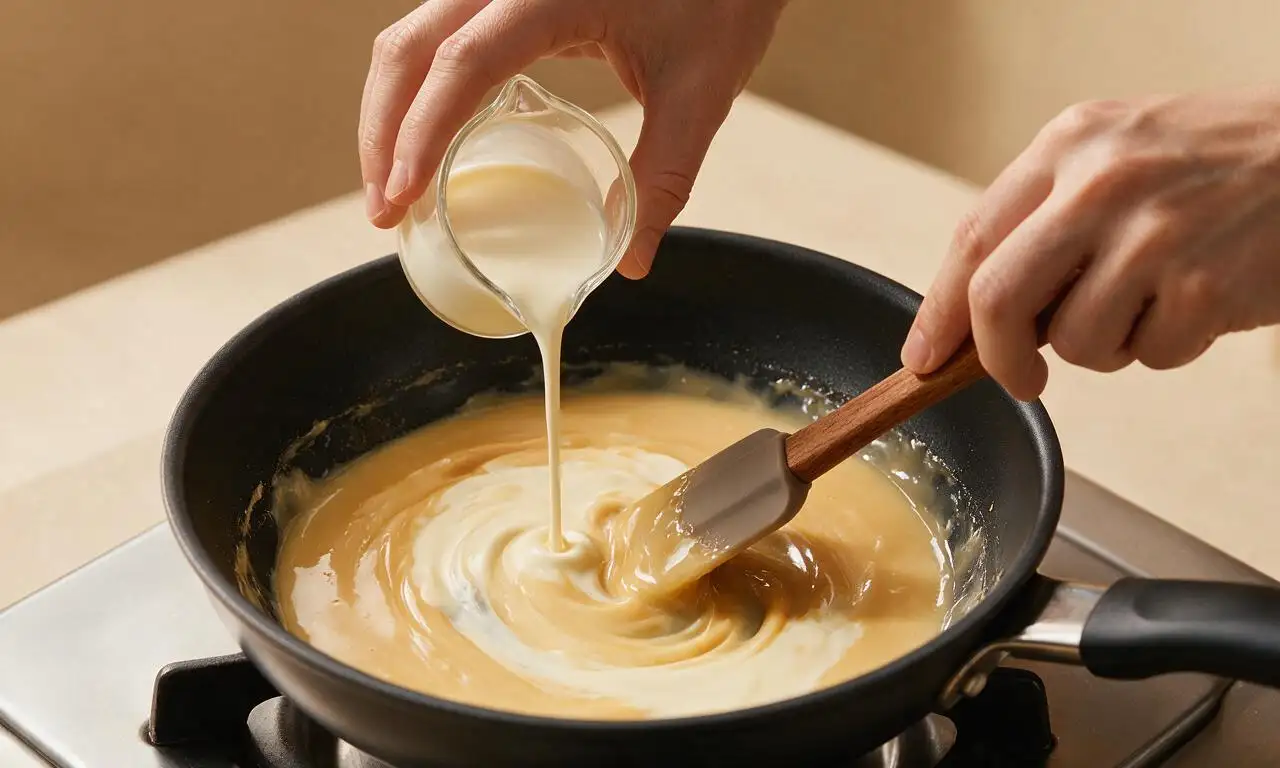
Slowly pour the pre-warmed heavy cream into the caramel in a thin, steady stream while stirring constantly. Pour gradually to prevent the hot mixture from boiling over the pan edges. Continue stirring for 1 full minute after all cream is added, until the caramel is completely smooth with no lumps or separated sections.
Cool and store caramel
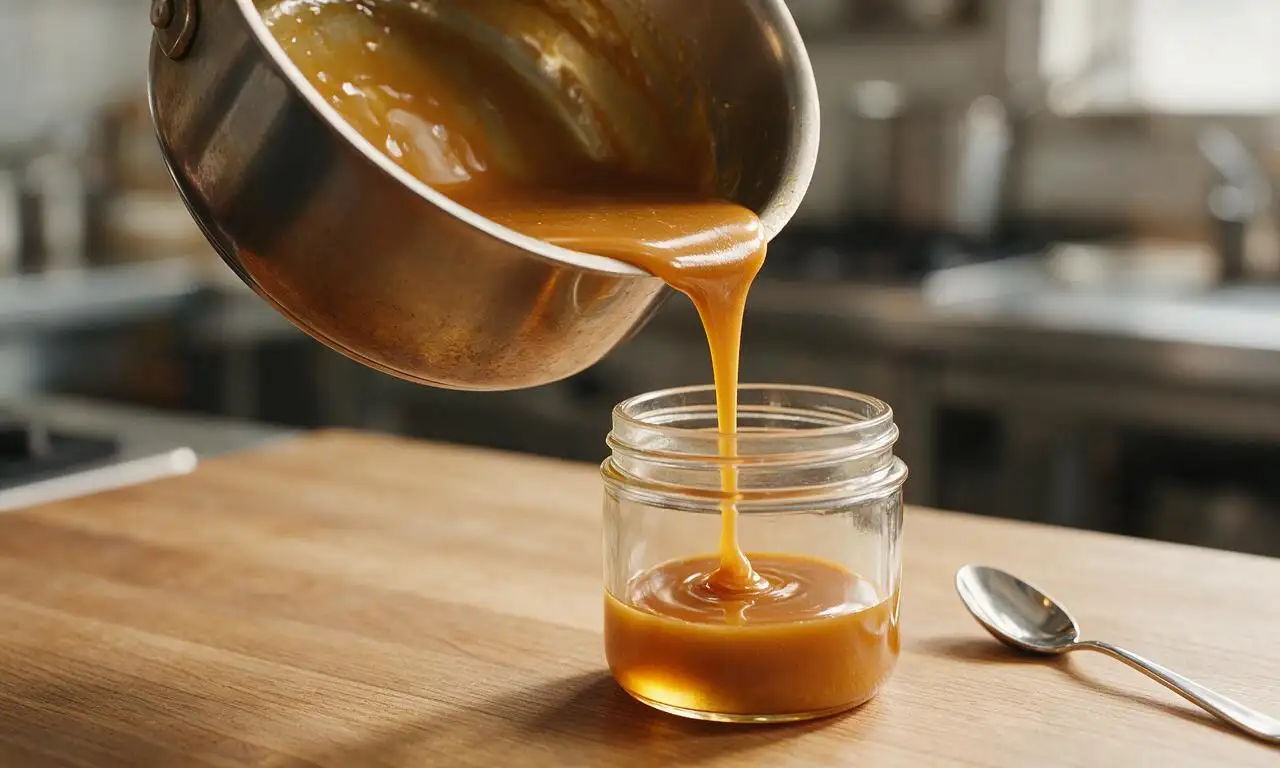
Stir in the fine sea salt until evenly distributed. Let the caramel rest in the pan for 10 minutes to cool slightly, then pour it into a clean, heatproof glass jar. Allow it to cool fully to room temperature (about 1 hour) before sealing the jar; the caramel will thicken to a smooth, drizzling consistency as it cools.
Tips
2.Never add cold butter or cold cream to hot caramel, as the sudden temperature shock will cause the sugar to seize into hard, lumpy clumps that cannot be smoothed out.
3.Stored in a sealed glass jar in the refrigerator, homemade caramel will stay fresh for up to 1 month; reheat in 10-second microwave bursts to return it to a pourable consistency before use.






OMG this caramel sauce is a total game changer!! I’ve burned so many batches of caramel trying other recipes, but this stovetop method was so straightforward even with the medium difficulty rating. Drizzled it over apple slices for my kids’ after-school snack and they went nuts, already asked me to make a double batch for our neighborhood potluck this weekend. 10/10 will be making this on repeat for meal prep to add to ice cream, coffee, you name it! SO good.
Took me a couple tries to get the sugar to melt without crystallizing (pro tip: don’t stir it too much once it starts heating, swirl the pan instead!) but wow the end result is way better than any store-bought caramel I’ve ever bought. I used it to top a bread pudding I made for family dinner last night and everyone was asking for the recipe. Only reason I’m not giving 5 stars is I wish there was a note about what to do if your sugar clumps up mid-cook!
Made this last minute to go with the vanilla ice cream I served at my game night get-together and oh my gosh people were literally licking the jar clean. The 15 minute cook time is no joke, I threw it together while the chocolate chip cookies I baked were cooling and it came together perfectly. Love that it doesn’t require any fancy equipment, just a regular pot and a wooden spoon. Will absolutely be making this for every holiday gathering from here on out!