
casa mamita bean and cheese burritos

title 1
casa mamita bean and cheese burritos
⏱️ cook time 20 minutes
🍽️ servings 4
⚡ Difficulty easy

intro

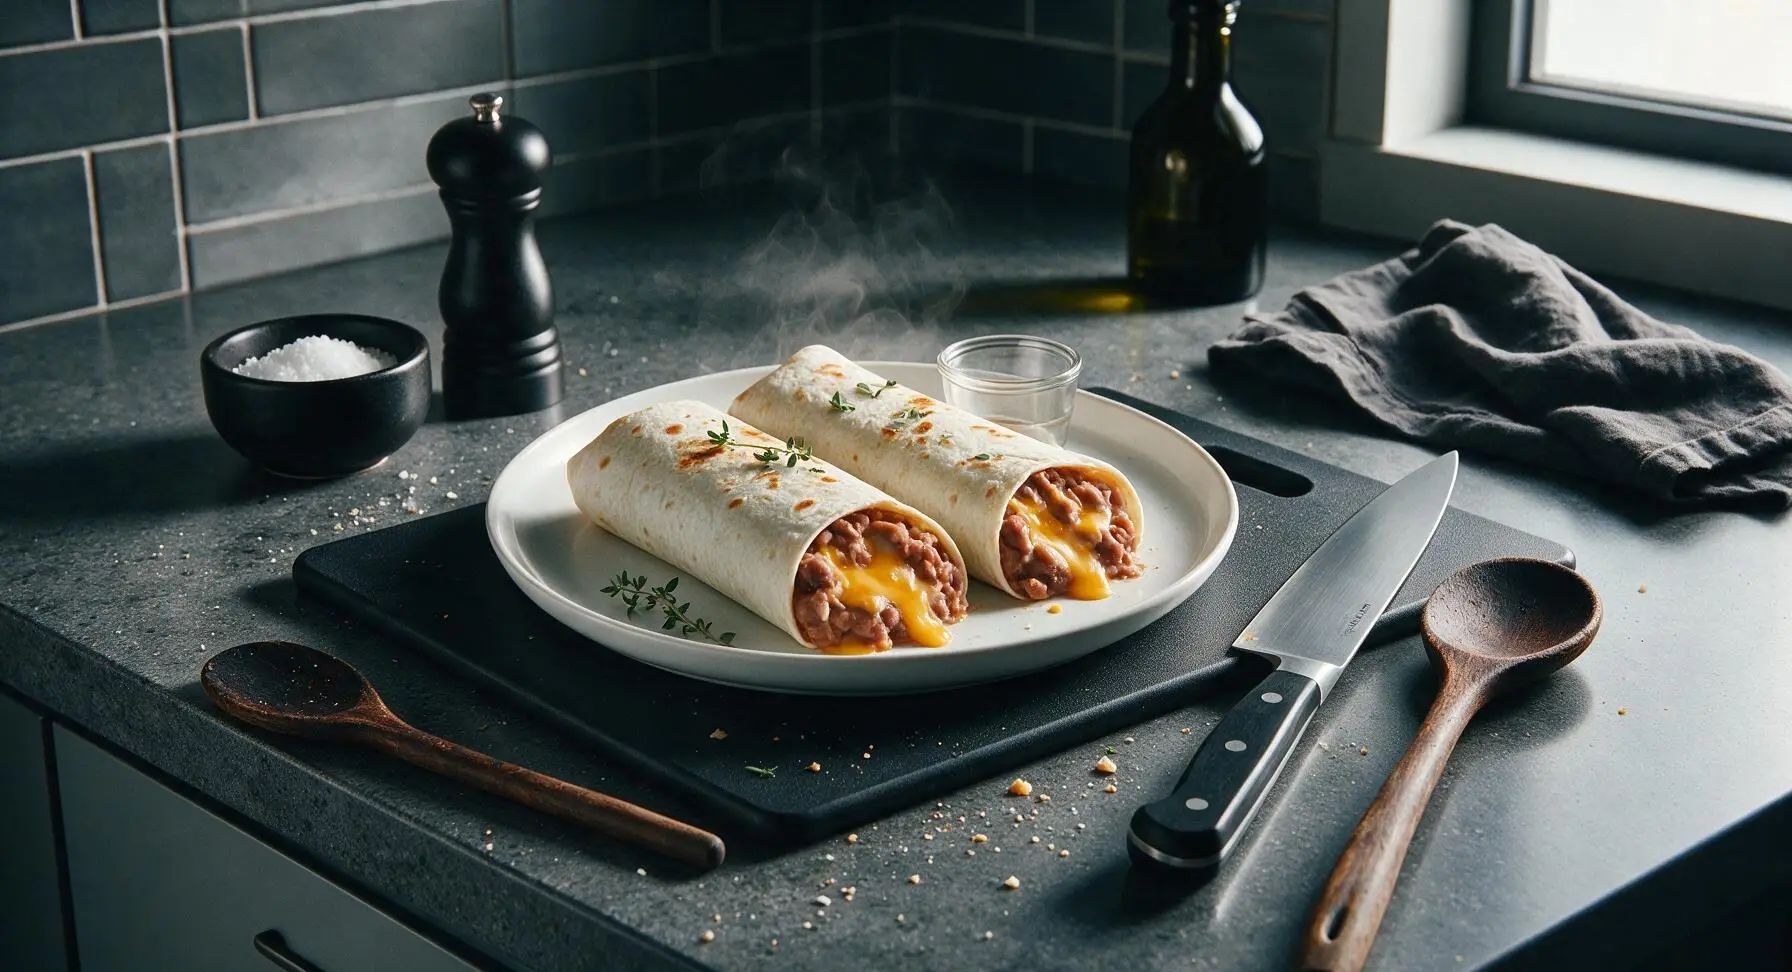
Warm, creamy refried beans, oozing melted cheddar, and soft toasty flour tortillas make these cozy Casa Mamita burritos the ultimate no-fuss comforting weeknight staple.

Ingredients
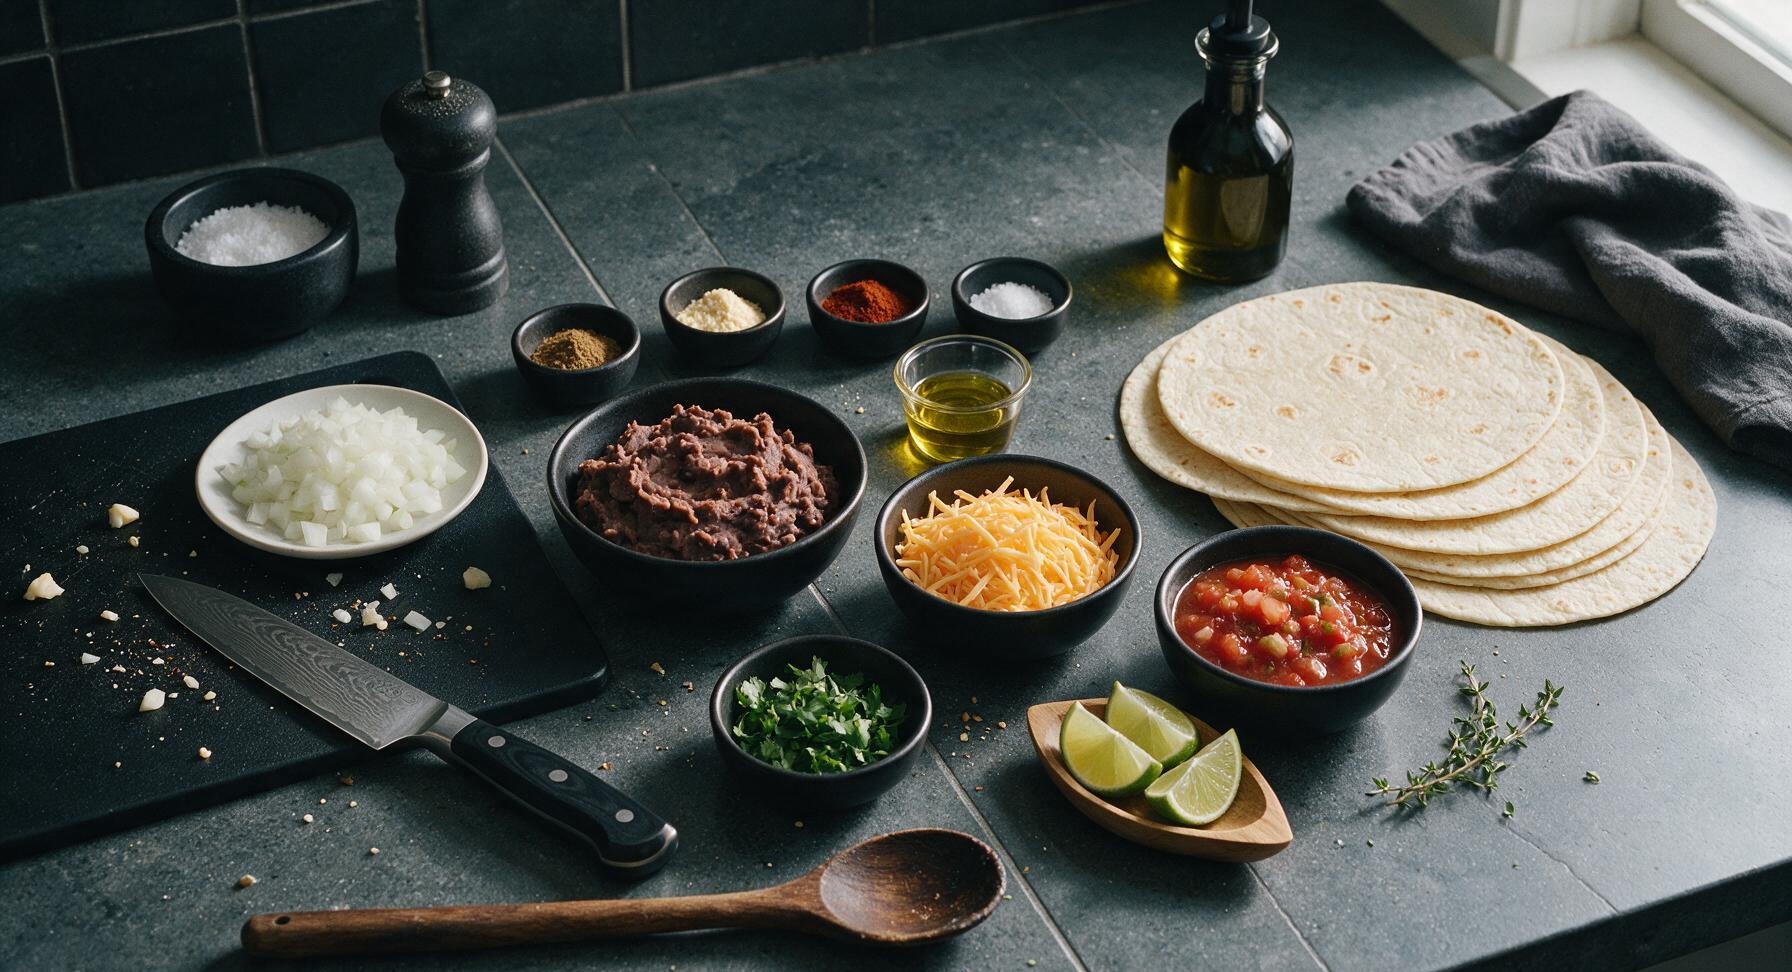
8-inch flour tortillas 8 each
Canned refried pinto beans 1 (16oz/450g) can
Shredded mild cheddar cheese 1.5 cups (170g)
Finely diced white onion 1/2 cup (70g)
Ground cumin 1 tsp
Garlic powder 1/2 tsp
Smoked paprika 1/4 tsp
Kosher salt 1/2 tsp
Extra-virgin olive oil 1 tbsp
Chunky tomato salsa 1/2 cup (120g)
Fresh cilantro 1/4 cup (10g), chopped
Fresh limes 2 whole, cut into wedges

Steps

1

Sauté the Onion

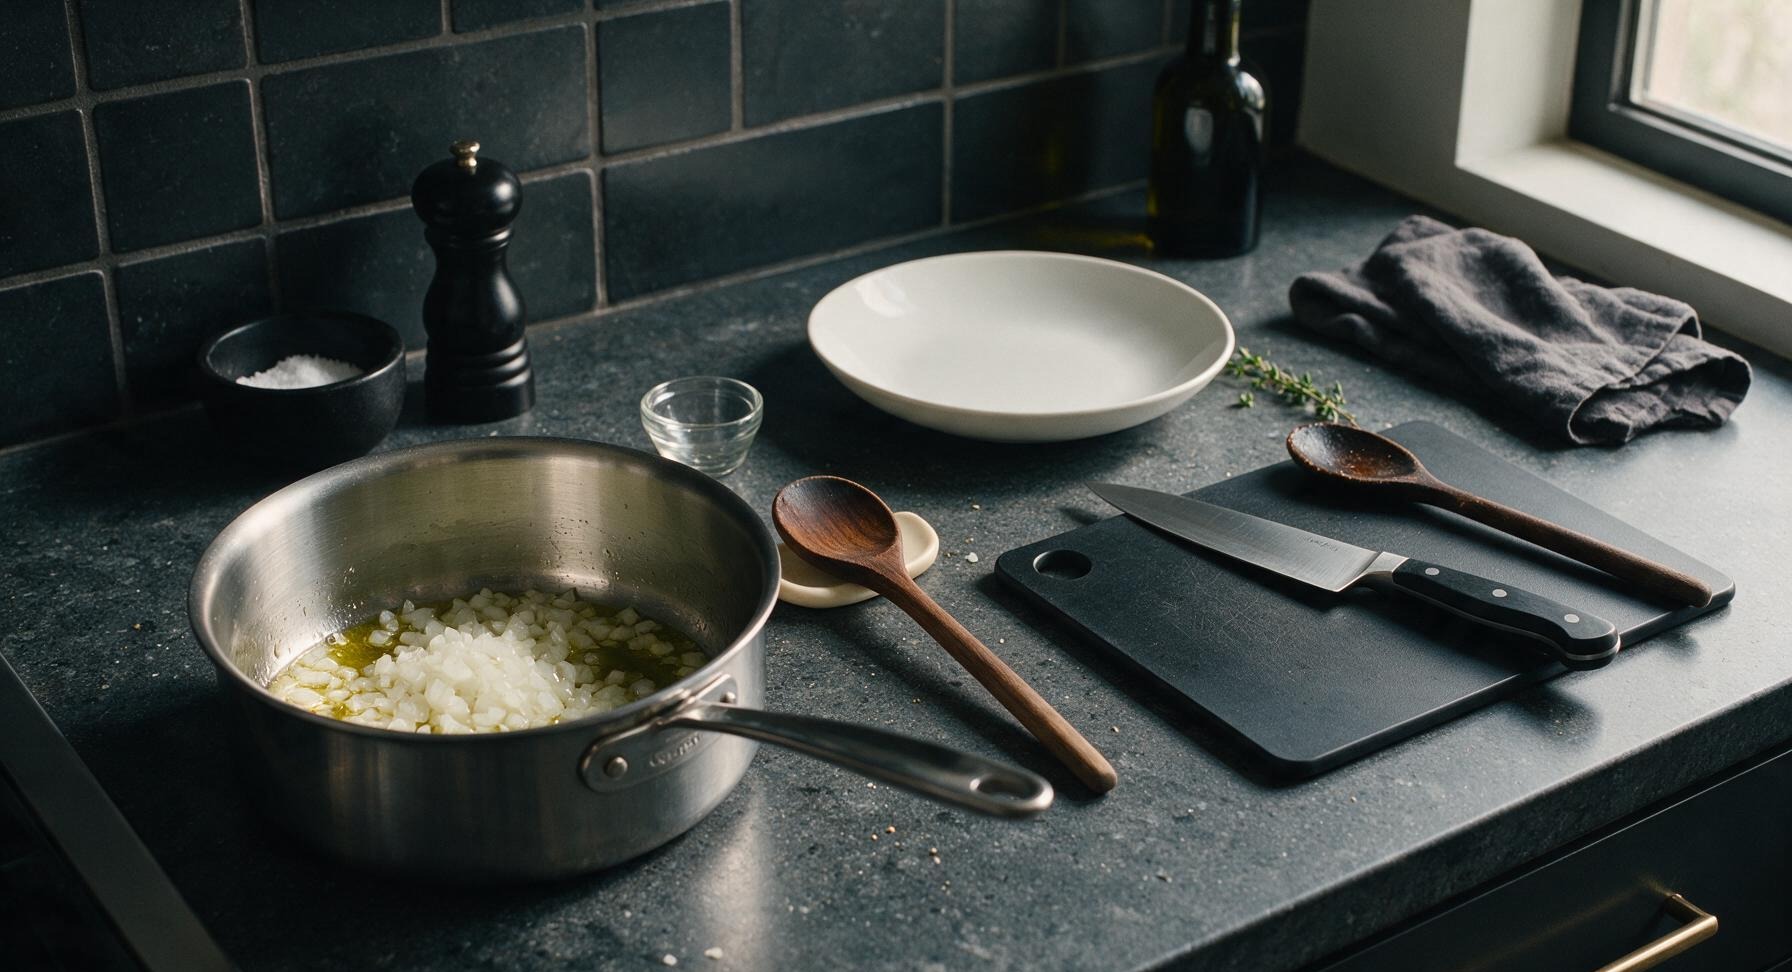
Heat 1 tablespoon olive oil in the 3-quart stainless steel saucepan over medium heat (350°F/175°C). Add the 1/2 cup finely diced white onion, and sauté for 3 minutes until soft and translucent, stirring occasionally with the maple wooden spoon. Do not brown the onion—it should be tender and sweet, not crispy.
Step 1
step1:Sauté the Onion
2

Warm Refried Beans

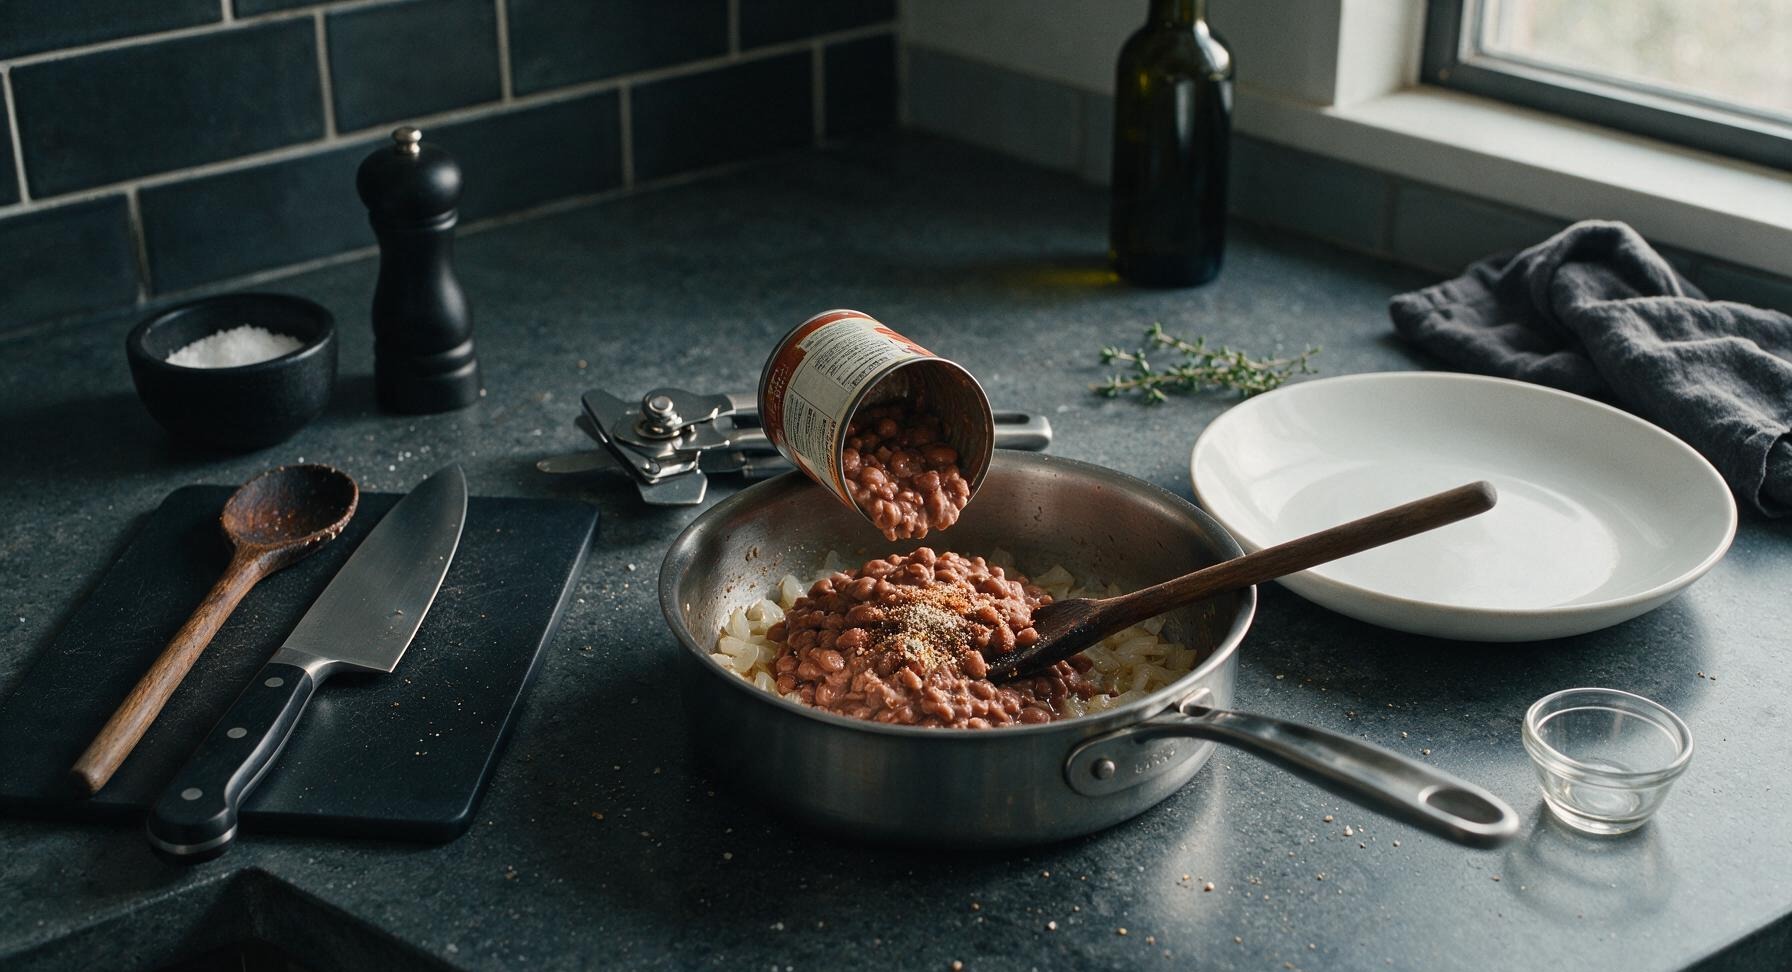
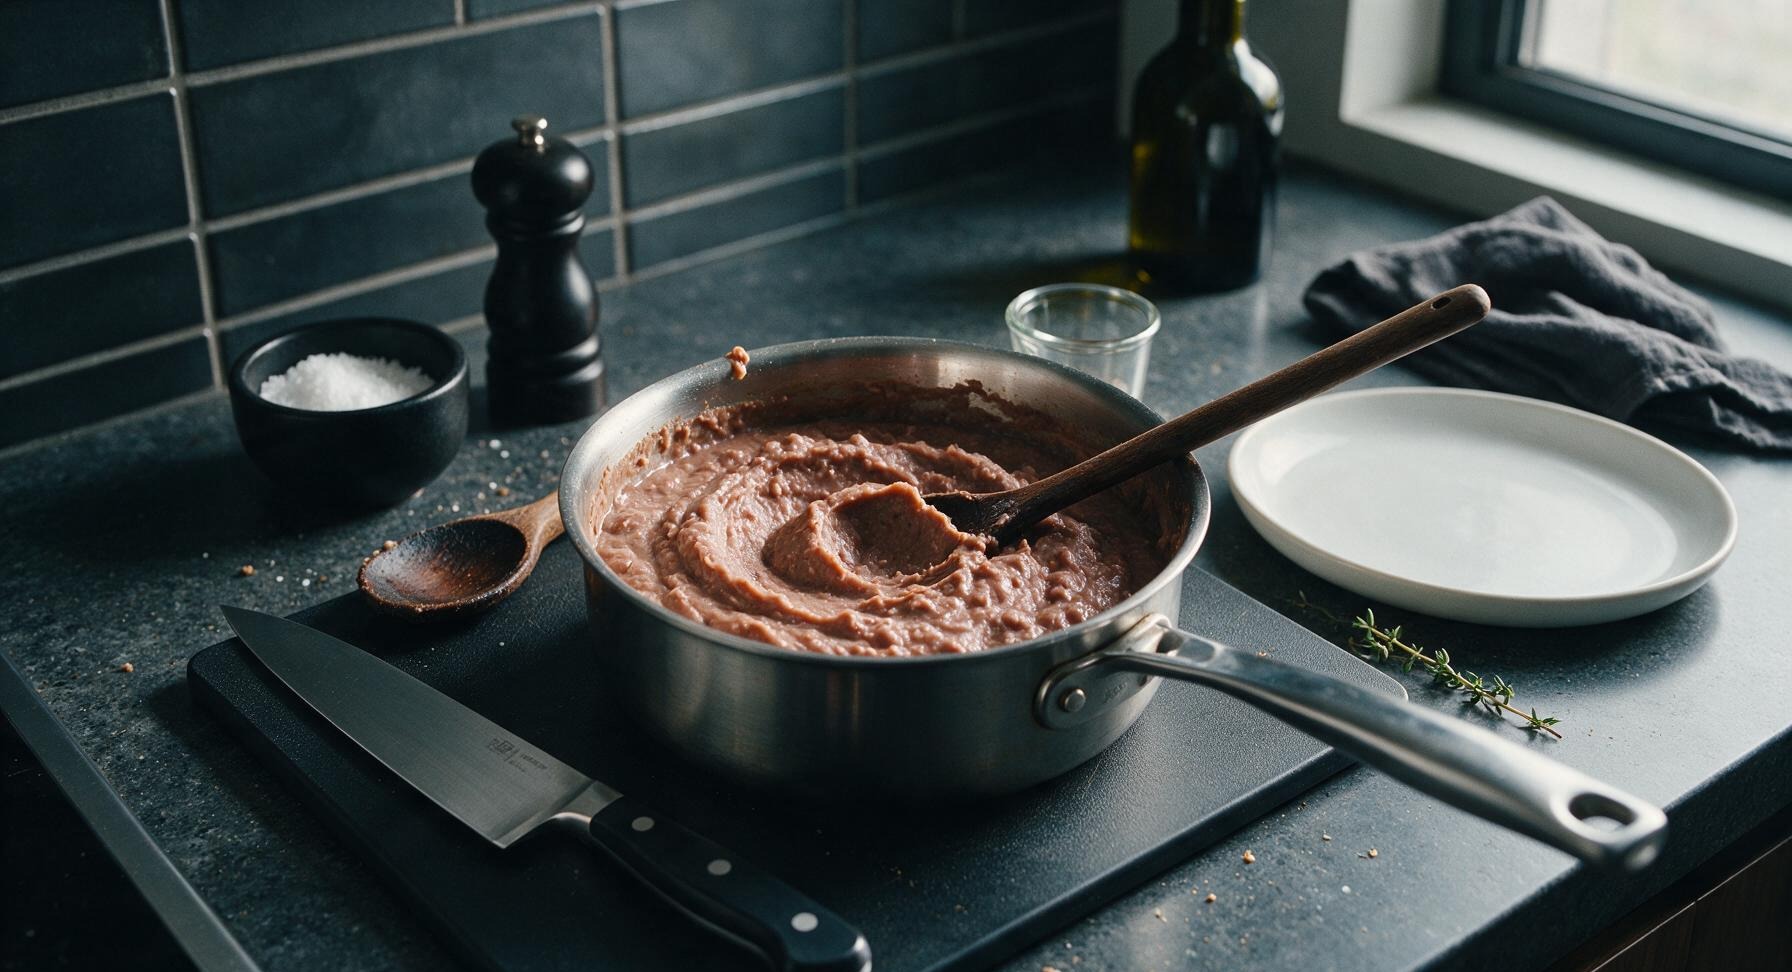
Open the can of refried pinto beans with the stainless steel can opener, then add the full can to the saucepan with the sautéed onion. Stir in 1 teaspoon ground cumin, 1/2 teaspoon garlic powder, 1/4 teaspoon smoked paprika, and 1/2 teaspoon kosher salt. Stir thoroughly with the wooden spoon to combine, then reduce heat to medium-low, cover, and cook for 8 minutes, stirring once halfway through, until the beans are smooth, hot, and thick enough to hold their shape when stirred. If beans are too thick, add 1 tablespoon of water to reach a spreadable consistency.
Step 2
step2:Warm Refried Beans
Step 2
step2:Warm Refried Beans
3

Warm Flour Tortillas

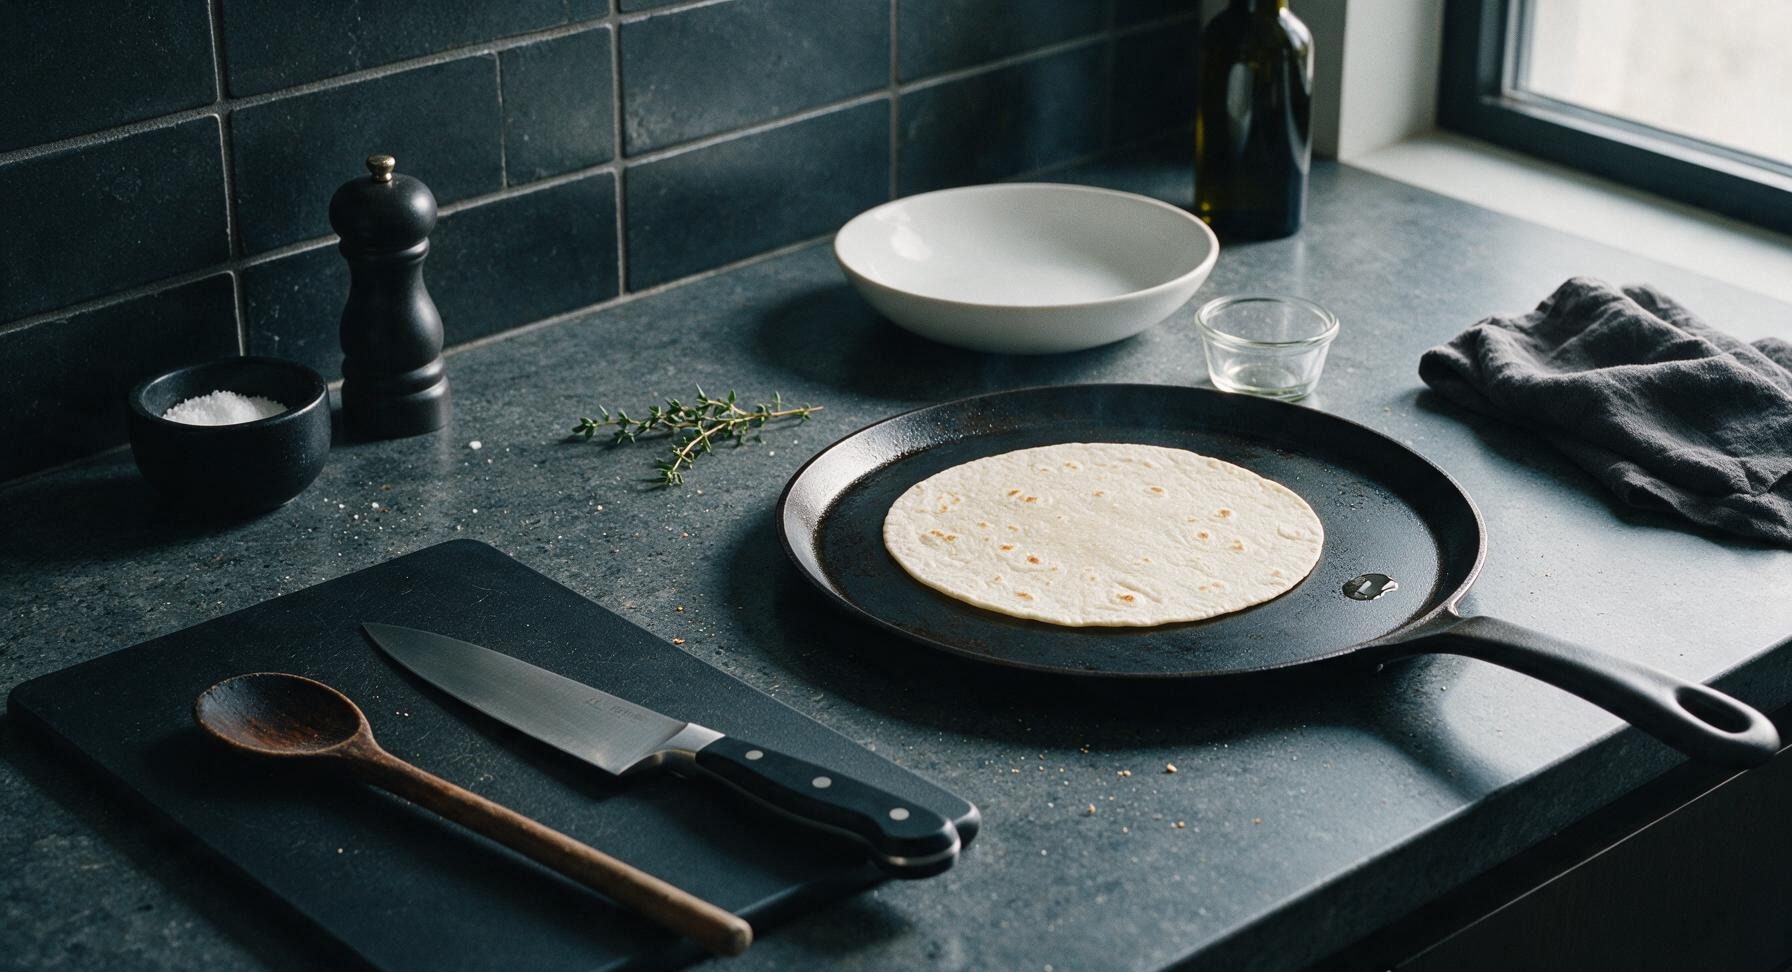
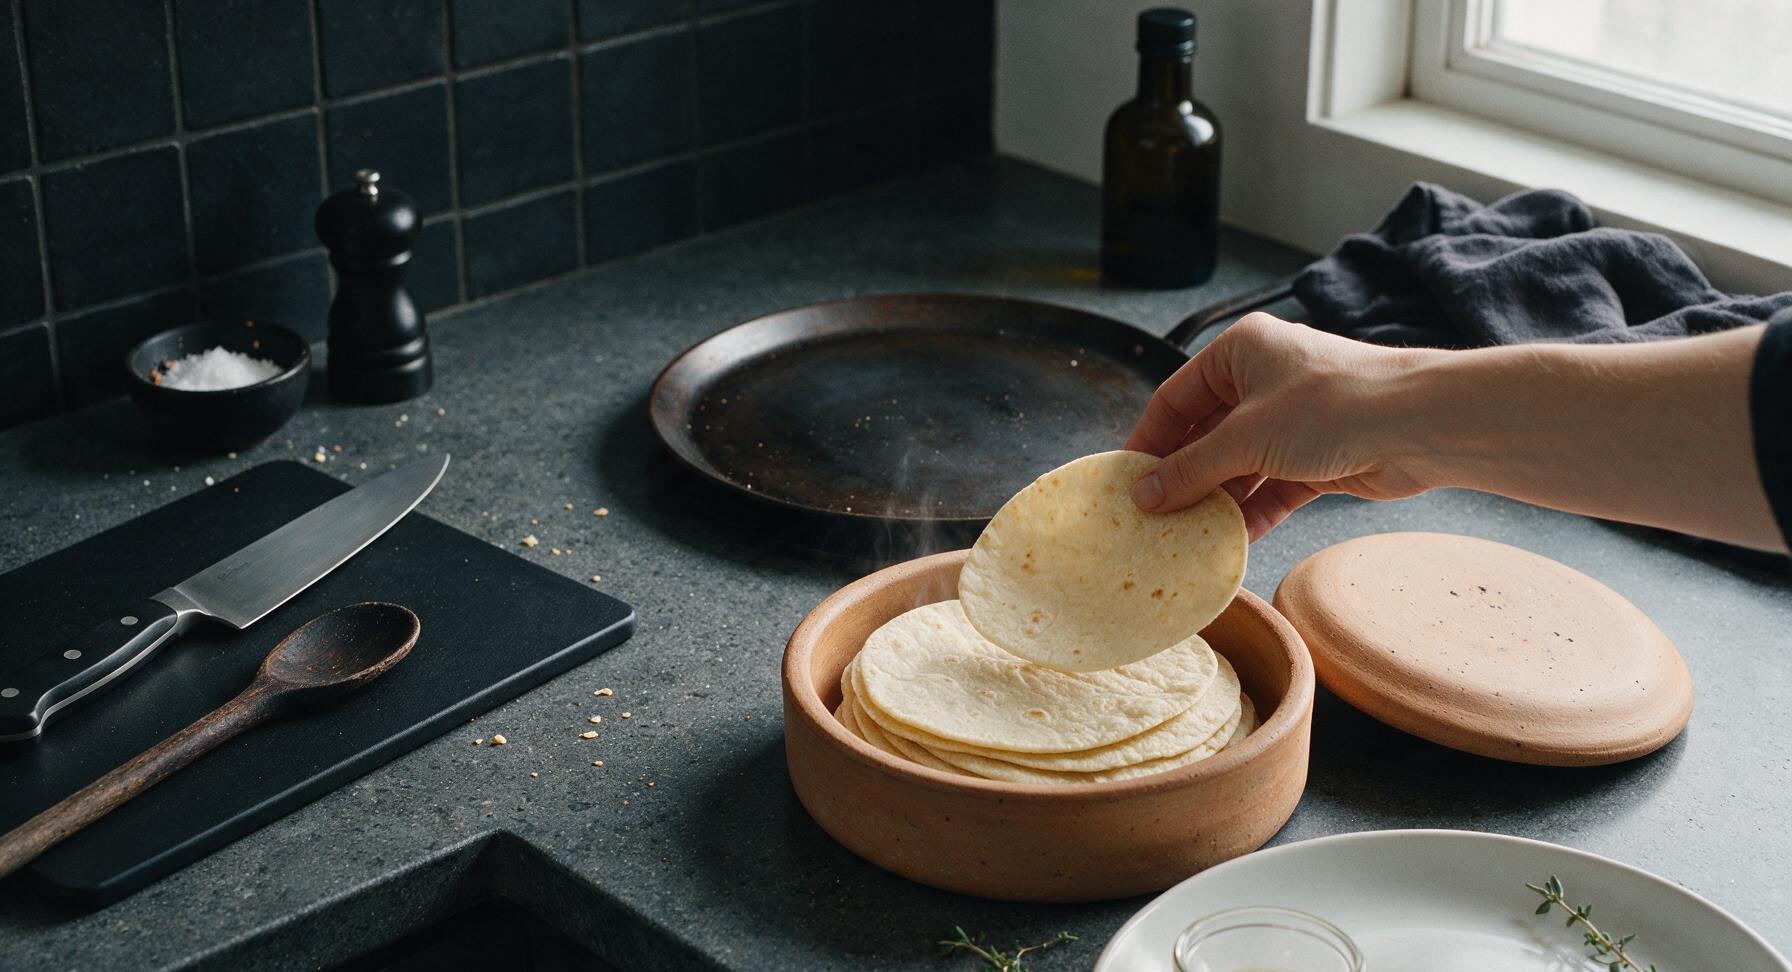
While the beans cook, place the 12-inch carbon steel comal over medium heat on the center-right work zone. Once the comal is hot (test by sprinkling a drop of water—it should sizzle and evaporate in 2 seconds), warm each flour tortilla for 30 seconds per side, until soft, pliable, and dotted with faint light brown toasty spots. As each tortilla is warmed, stack it inside the terracotta tortilla warmer to stay soft and hot. Do not over-toast the tortillas, as they will crack when folding.
Step 3
step3:Warm Flour Tortillas
Step 3
step3:Warm Flour Tortillas
4

Add Bean Filling

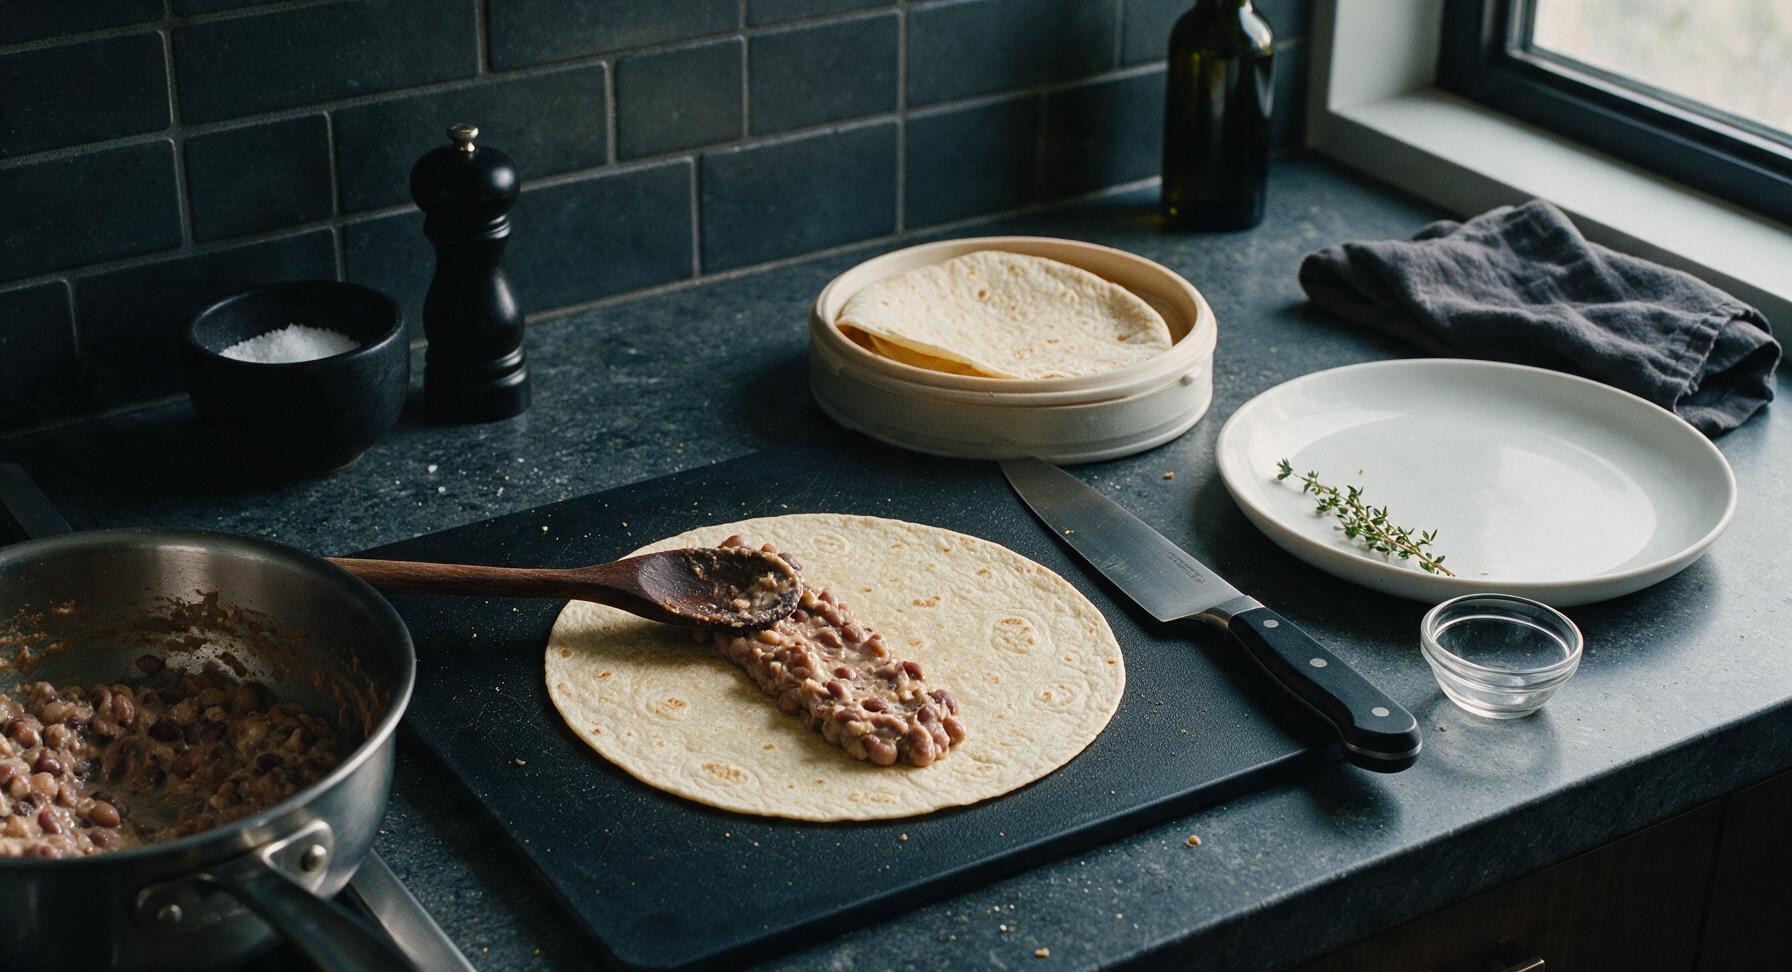
Working one at a time, lay a warm tortilla flat on the bamboo cutting board. Scoop 1/4 cup of the warm seasoned bean mixture down the center third of the tortilla, spreading it in a 1-inch wide log shape, leaving a 1.5-inch border at the top and bottom of the log for folding. Do not overfill, as this will cause the burrito to burst when rolling.
Step 4
step4:Add Bean Filling
5

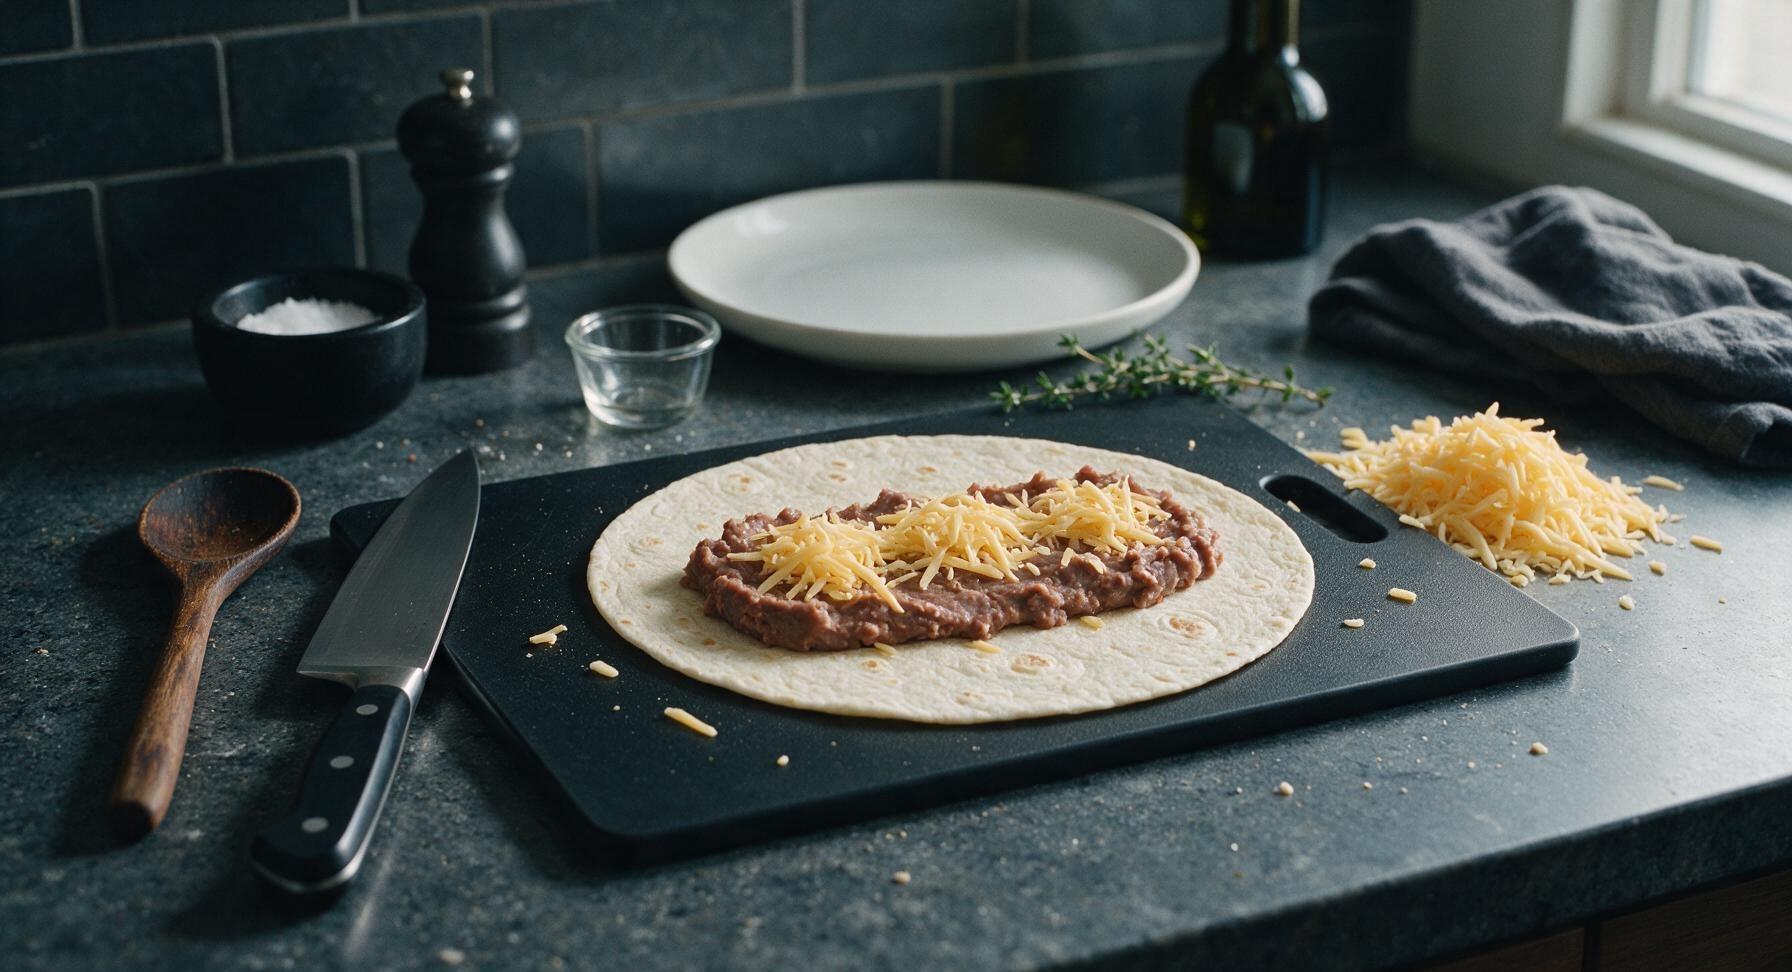
Add Shredded Cheese

Sprinkle 3 tablespoons of shredded mild cheddar cheese evenly over the top of the bean log on each tortilla. The residual heat from the warm beans and tortilla will start to melt the cheese immediately; do not spread the cheese all the way to the edges, as it will ooze out during rolling.
Step 5
step5:Add Shredded Cheese
6

Roll Burritos Tightly

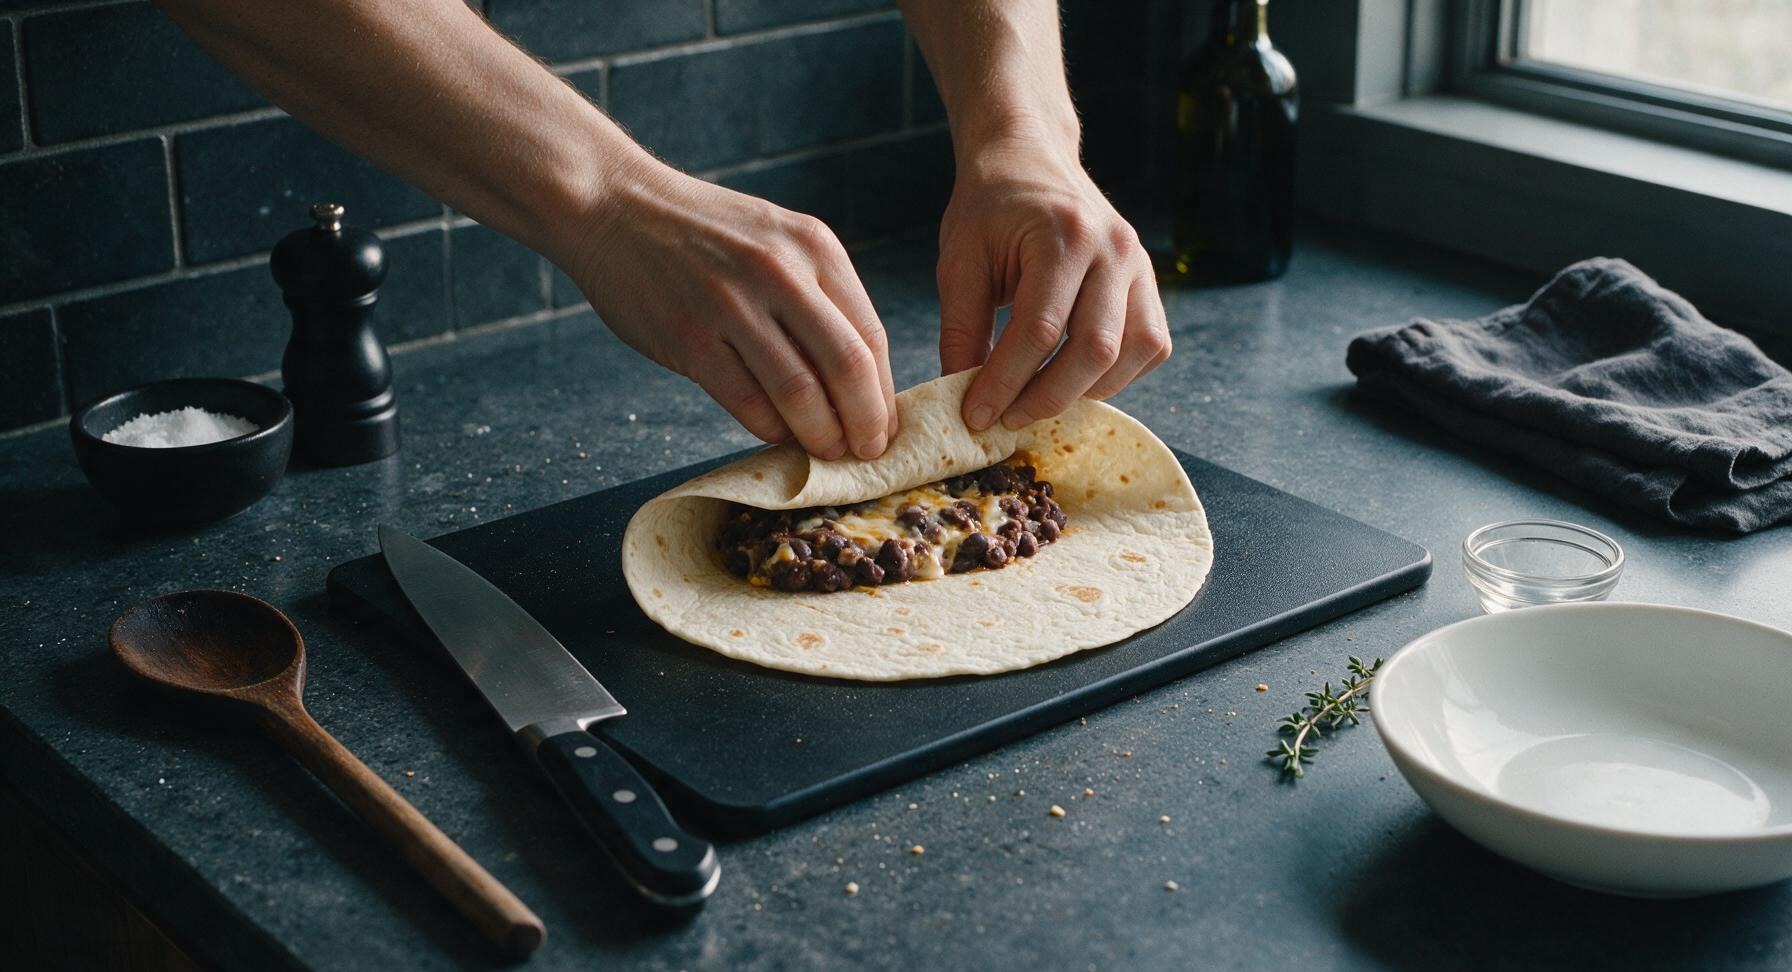
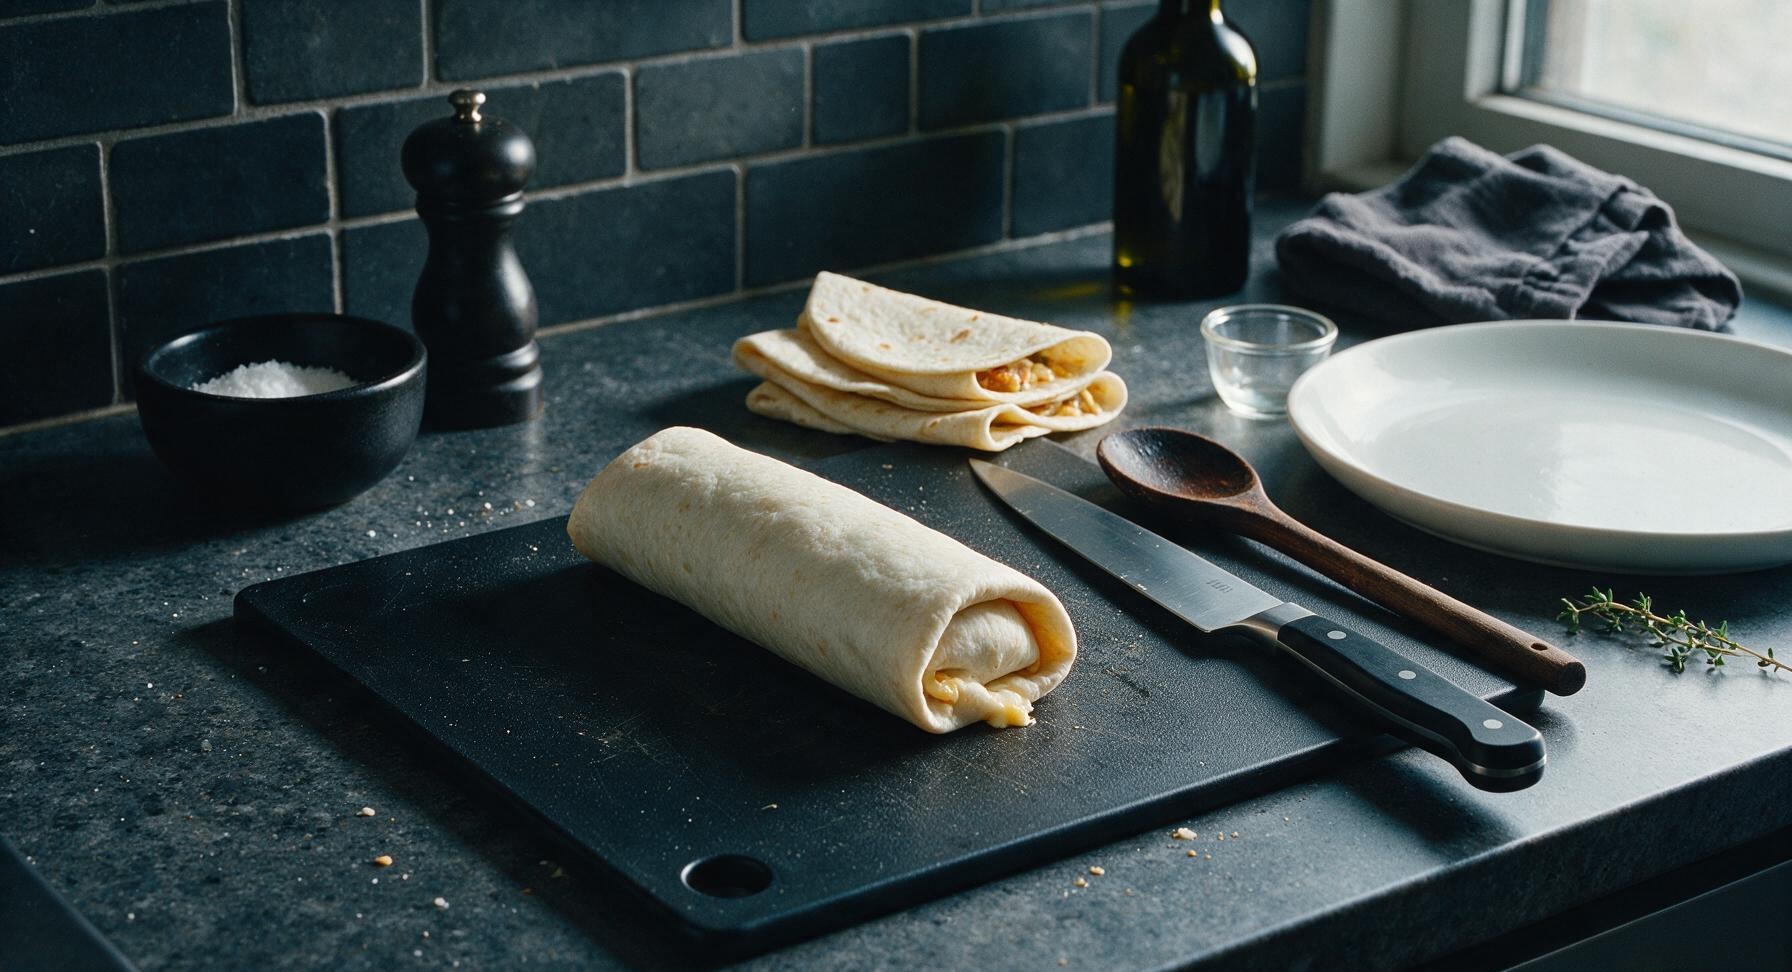
Fold the 1.5-inch top and bottom edges of the tortilla in over the ends of the bean and cheese filling. Then, fold the left side of the tortilla tightly over the filling, tucking it snugly under the log of beans and cheese to eliminate air pockets, and roll firmly from left to right to create a tight, sealed cylinder. Place rolled burritos seam-side down to hold their shape while you finish assembling the remaining burritos.
Step 6
step6:Roll Burritos Tightly
Step 6
step6:Roll Burritos Tightly
7

Toast Sealed Burritos

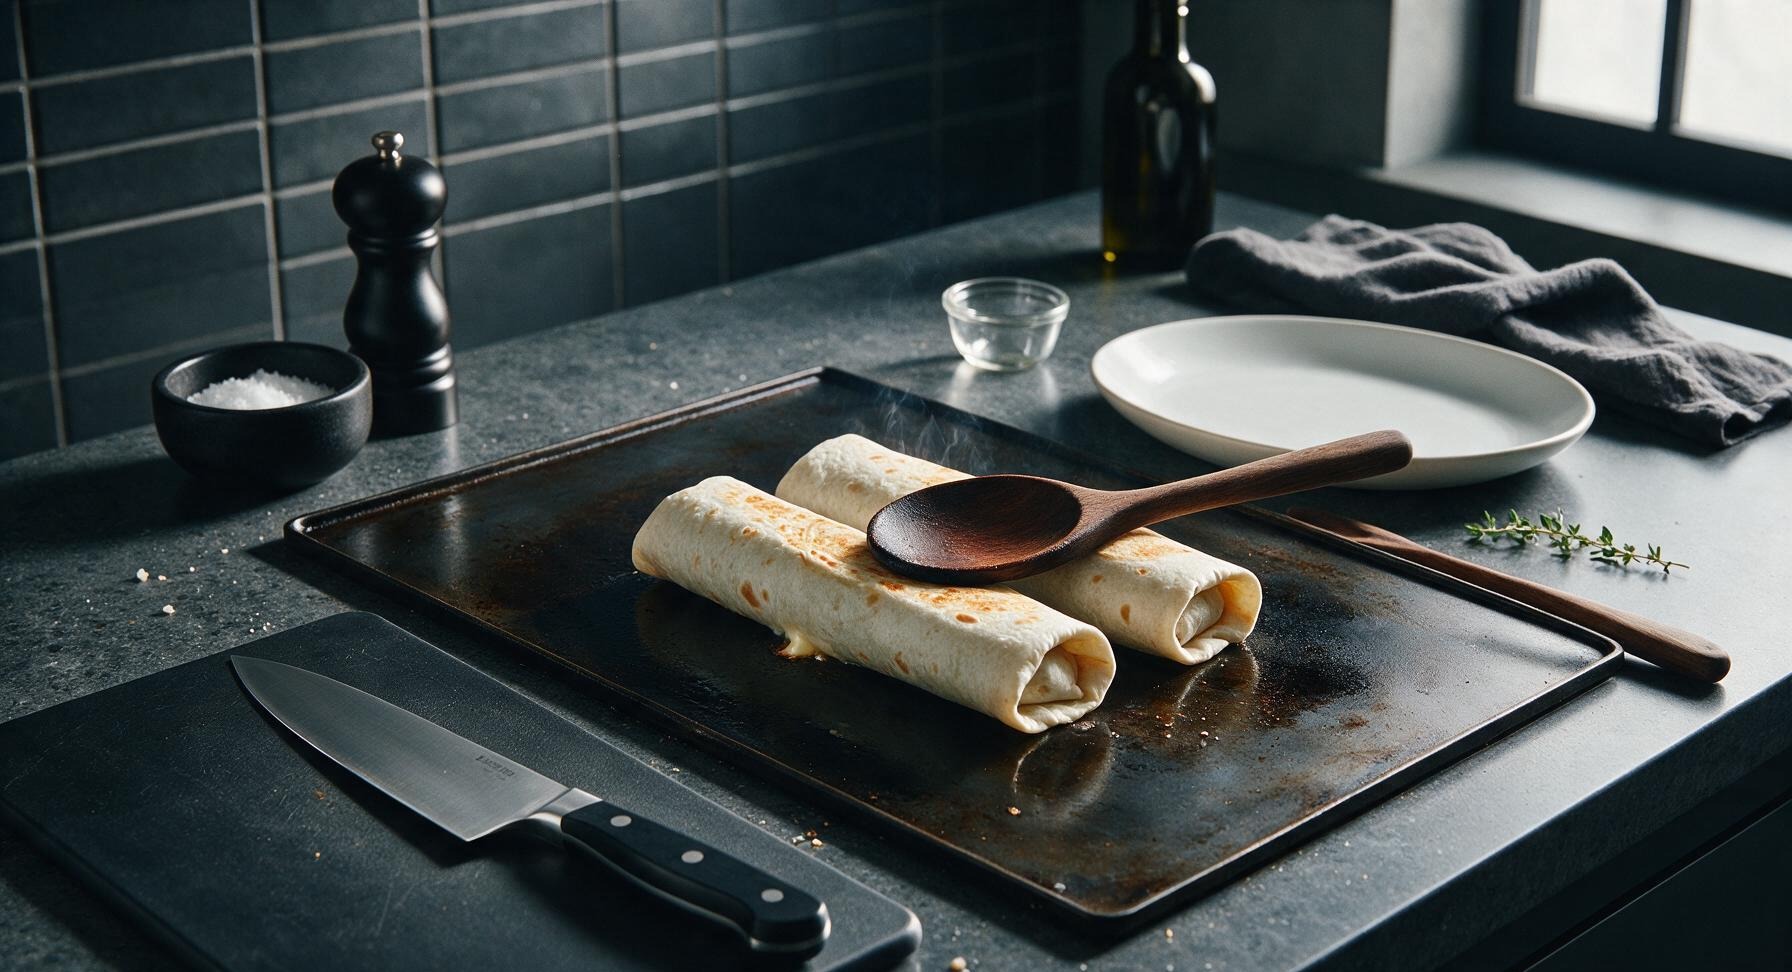
Return the rolled burritos to the hot comal, seam-side down, and cook for 1 minute per side, until the tortilla exterior is lightly golden and crisp in spots, and the cheese inside is fully melted. Press gently on the burritos with the wooden spoon as they toast to help seal the seam and encourage even melting. Do not press too hard, or filling will squeeze out.
Step 7
step7:Toast Sealed Burritos

Tips

1.Keep tortillas in the terracotta warmer while filling and rolling: the porous terracotta traps just enough steam to keep tortillas soft and pliable, preventing cracks and splits that let filling leak out as you roll.
2.Stick to the measured filling amounts per tortilla: overfilling is the most common beginner mistake, leading to burst burritos that leak cheese and beans onto the comal during toasting.
3.For a quick flavor boost, stir 1 tablespoon of pickled jalapeño brine into the bean mixture while heating: the bright, tangy brine cuts through the rich cheese and creamy beans for a more balanced flavor, with no extra chopping or prep required.


✨ You May Also Like

Main Course
🍜 United Kingdom

A showstopping classic of tender seared beef, savory mushroom duxelles, and crisp prosciutto wrapped in flaky golden puff pastry, baked to juicy perfection.

⏱️ 2 hours 1Main Course ★ 4.7
Main Course
🍜 India

Tender charred marinated chicken simmered in a rich, spiced creamy tomato sauce, this iconic Anglo-Indian curry pairs perfectly with basmati rice or warm naan.

⏱️ 50 minuteMain Course ★ 4.6
Main Course
🍜 Thailand

Classic tangy, sweet, and savory Thai stir-fried rice noodles with shrimp, tofu, and crunchy garnishes, balancing all five core Thai flavor profiles.

⏱️ 30 minuteMain Course ★ 4.5
Main Course
🍜 United Kingdom

Crispy golden beer-battered cod and fluffy double-fried chips, served with tangy tartar sauce and malt vinegar: the timeless, beloved British pub comfort classic.

⏱️ 45 minuteMain Course ★ 4.7
Main Course
🍜 Mexico

Smoky, chile-marinated pork tacos with caramelized pineapple, fresh cilantro, and lime: a beloved classic Mexican street food perfect for casual summer gatherings.

⏱️ 1 hour 45Main Course ★ 4.8
Main Course
🍜 United States

Crunchy Fritos corn chips layered with savory beef chili and melted cheddar, topped with cool, zesty fixings for a beloved, cozy Tex-Mex comfort food.

⏱️ 35 minuteMain Course ★ 4.8

casa mamita bean and cheese burritos:Frequently Asked Questions

1.Can I use a different size of flour tortilla instead of the 8-inch ones called for? ▾
You absolutely can, but 8-inch tortillas are ideal for easy folding and perfect single servings. If using larger 10-inch burrito tortillas, scale fillings up by roughly 25% per wrap to avoid sparse, flat burritos. Smaller 6-inch taco tortillas work only for mini snack portions, but they’re trickier to seal without filling leaking during toasting.
2.Do I need to heat the canned refried beans before assembling the burritos? ▾
Yes, a quick pre-heat is highly recommended for the best texture. Cold canned refried beans are thick and stiff, making even spreading difficult and leading to unevenly melted cheese. Warm them on the stovetop or in 30-second microwave bursts, stirring in the ground cumin as they heat, for a smooth, spreadable consistency.
3.Can I swap the mild cheddar cheese for a different variety? ▾
Of course! Mild cheddar is classic for its creamy melt and mellow flavor that doesn’t overpower the beans, but you can swap it for shredded Monterey Jack, pepper jack for a subtle spicy kick, or a Mexican cheese blend. Skip pre-shredded cheese with anti-caking additives if you want the gooiest, most even cheese pull.
4.How do I keep my burritos from leaking filling while I cook them? ▾
Leaks usually come from overfilling or loose folding, and they’re super easy to prevent. First, don’t add more than ¼ cup total filling per 8-inch tortilla, leaving a 1-inch border around all edges. Fold the side edges in first, roll tightly from the bottom, and cook seam-side down first to set the seal before flipping.
5.Can I make these bean and cheese burritos ahead for meal prep? ▾
Absolutely! These burritos are fantastic for quick weeknight meal prep. Assemble un-toasted burritos, wrap each tightly in plastic wrap or foil, and store in the fridge for up to 4 days or the freezer for up to 3 months. When ready to eat, toast them in a skillet or oven straight from chilled or frozen until warmed through.
6.What’s the best way to toast burritos for that perfect soft, slightly crispy exterior? ▾
My go-to method is a dry cast iron or nonstick skillet over medium-low heat. Cook burritos seam-side down for 2 minutes first to set the seal, then flip every 1 to 2 minutes for 6 to 8 total minutes, until the tortilla is lightly golden and the cheese is fully melted. Skip high heat, which burns tortillas before fillings warm.
7.I don’t have ground cumin—what’s a good substitute? ▾
Ground cumin adds that warm, earthy Tex-Mex depth that defines these classic burritos, but you can swap it for an equal amount of mild chili powder for a slightly brighter, peppery kick, or ¼ teaspoon smoked paprika plus a pinch of garlic powder per 1 teaspoon of cumin for a similarly warm, savory flavor.
8.Do I need to cook the finely diced white onion before adding it to the filling? ▾
That’s totally up to your texture preference! Finely diced raw onion adds a sharp, bright crunch that softens just enough when mixed into warm beans, with a pleasant mild bite. If you prefer softer, sweeter onion, sauté it in a tiny bit of oil for 3 minutes before mixing it into the warmed refried beans.
9.Can I add extra mix-ins without ruining the classic bean and cheese flavor? ▾
Definitely—this simple base is super customizable without losing that cozy, comforting core. Great complementary add-ins include a dollop of sour cream mixed into the beans, a spoonful of mild diced green chiles, or a small scoop of seasoned white rice. Just stick to the ¼ cup total filling rule to avoid leaks as you roll.
10.How do I reheat leftover burritos so they don’t get soggy? ▾
Skip the microwave if you want to avoid rubbery, soggy tortillas. Instead, reheat leftovers in a 350°F oven for 10 to 12 minutes (18 to 20 minutes if frozen) wrapped loosely in foil, or in a dry skillet over medium-low heat, flipping occasionally, until the outside is crisp and the center is piping hot.

Comments (4)

2 hours ago

OMG these burritos are SO good! I made them for my kids’ after-school snack yesterday and they devoured every single one, no complaints at all. I added a little extra pickled jalapeño on mine for a kick and it was chef’s kiss. Super easy to throw together on busy weeknights too, total game changer for my meal prep rotation!

30 minutes ago

So happy to hear these were a hit with your kids, Mia! The pickled jalapeño add-in sounds delicious — it’s such an easy way to add a little zing without extra work. We love how quick these are for busy weeknights too, perfect for those days when you don’t have time for a complicated dinner!

3 days ago

Took this to my office potluck last week and people were begging me for the recipe! The bean and cheese ratio is perfect, not too greasy like the frozen burritos you get at the grocery store. 20 minute cook time is no joke, I was shocked how fast these came together even when I was running late. Will be making these again for sure!

5 minutes ago

I made these last night for dinner and they were so cheesy and delicious! Quick question though — do these reheat well? I want to make a big batch on Sunday to bring for work lunches all week, but I hate when burritos get soggy in the fridge. I tried a different bean and cheese burrito recipe a few weeks ago and the tortillas got all mushy by day 2. Fingers crossed the leftovers hold up!

just now

I make these for meal prep every other week! Wrap them tight in foil before you stick them in the fridge, and reheat them in the oven or toaster oven instead of the microwave — tortillas stay crispy on the edges and no sogginess at all. I’ve kept them for up to 4 days and they taste just as good as day 1!

1 week ago

These were really tasty, but I found them a little plain the first time I made them. I added some taco seasoning to the bean mix and a handful of diced green chiles the second go-around and it leveled them up so much! Perfect base recipe that’s super easy to customize for whatever you have in the pantry.

5 days ago

Oh the diced green chiles sound amazing! I’m gonna throw some in when I make these tonight, thanks for the tip! I usually add a little cumin too, I bet that pairs great with the beans.

3 days ago

Love that customization, Sarah! Adding taco seasoning and green chiles is such a tasty twist — this recipe is totally designed to be flexible, so feel free to mix in your favorite add-ins like corn, cilantro, or even a dash of hot sauce to make it your own. So glad you enjoyed it!



