
Cathy's Gluten-Free Oatmeal Waffles

title 1
Cathy's Gluten-Free Oatmeal Waffles
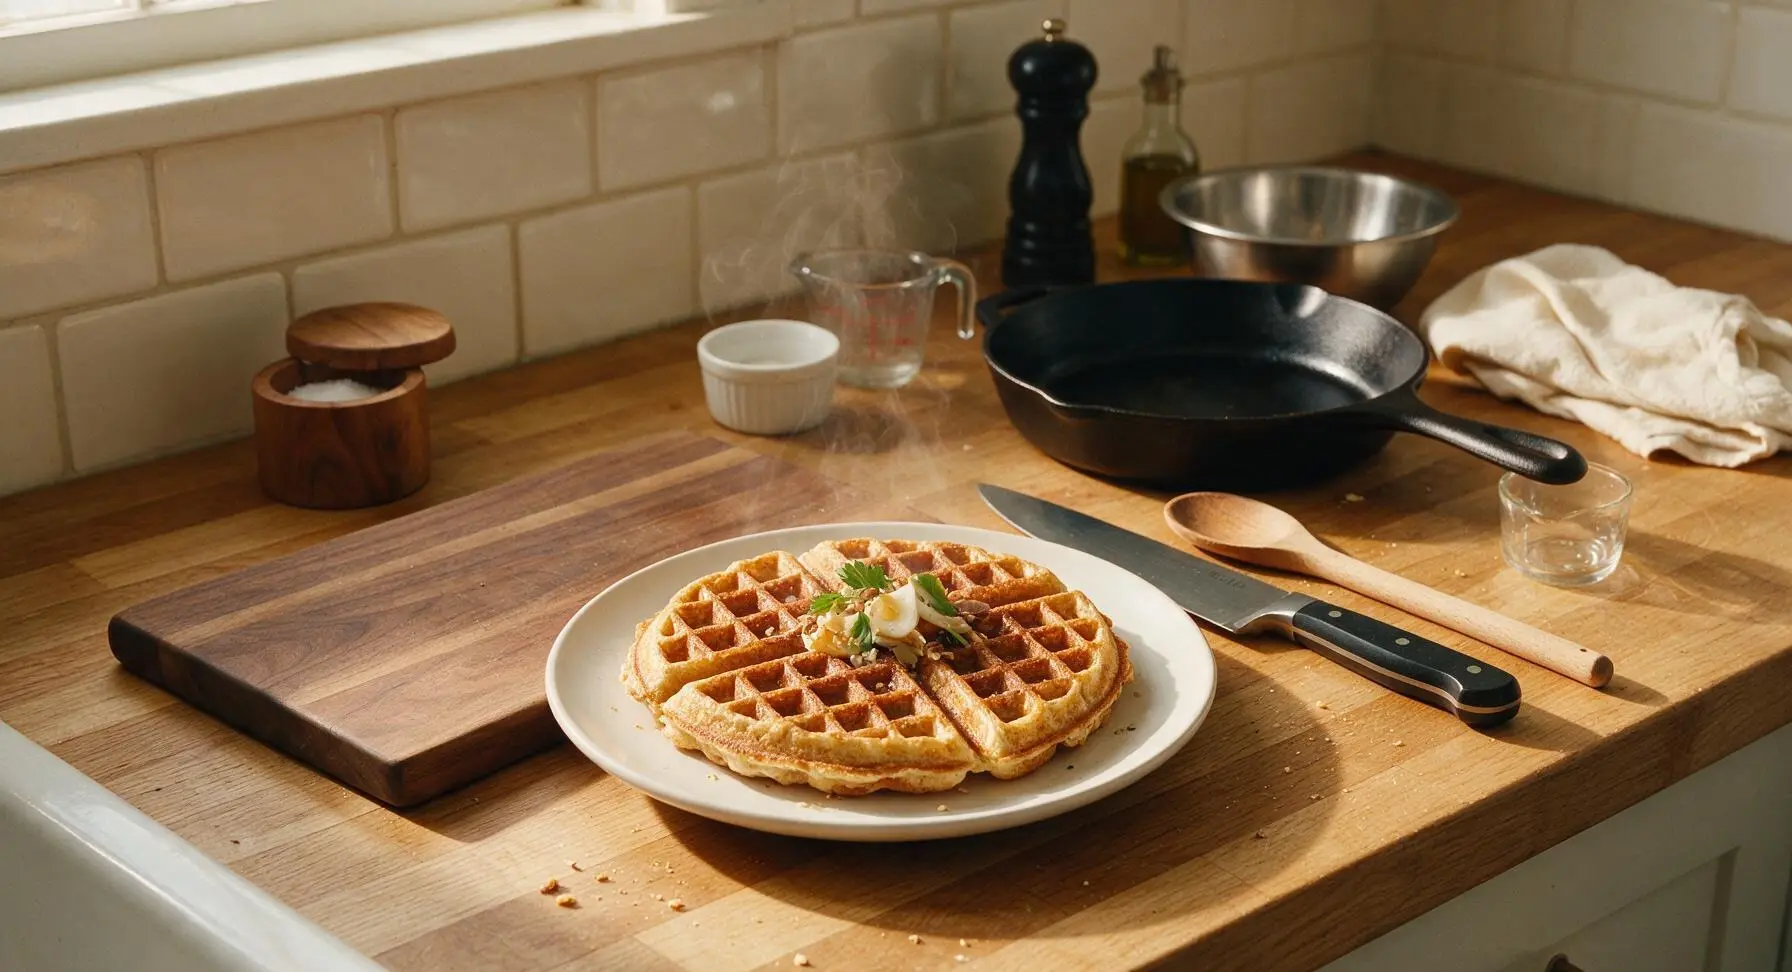
⏱️ cook time 15 minutes
🍽️ servings 4
⚡ Difficulty easy

intro

Crisp, golden-edged, and fluffy inside, these gluten-free oatmeal waffles are made with simple pantry staples, no special flour required, and perfect for fast cozy meals any time of day.

Ingredients
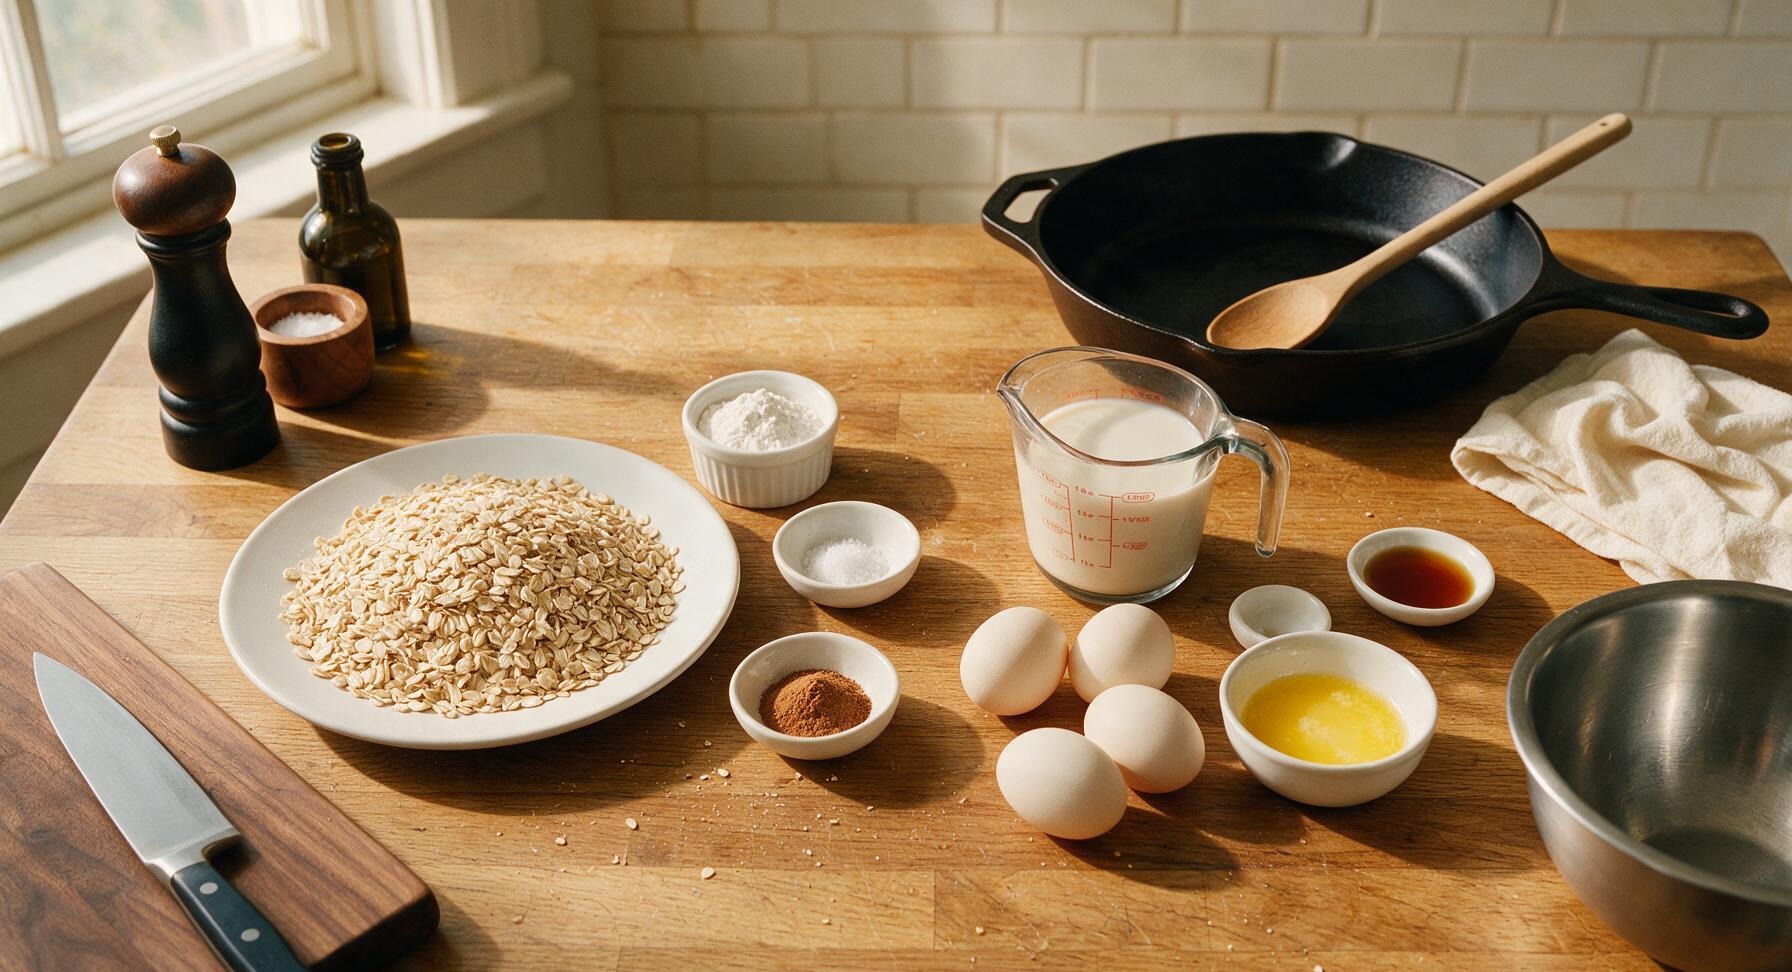
Certified gluten-free rolled oats 2 cups (180g)
Large eggs 2
Unsweetened plain almond milk (or dairy milk) 1.5 cups (360ml)
Unsalted butter, melted and cooled slightly 2 tbsp (28g)
Pure maple syrup 1 tbsp (15ml)
Gluten-free baking powder 2 tsp
Fine sea salt 1/4 tsp
Ground cinnamon 1/2 tsp
Pure vanilla extract 1 tsp

Steps

1

Preheat Waffle Iron

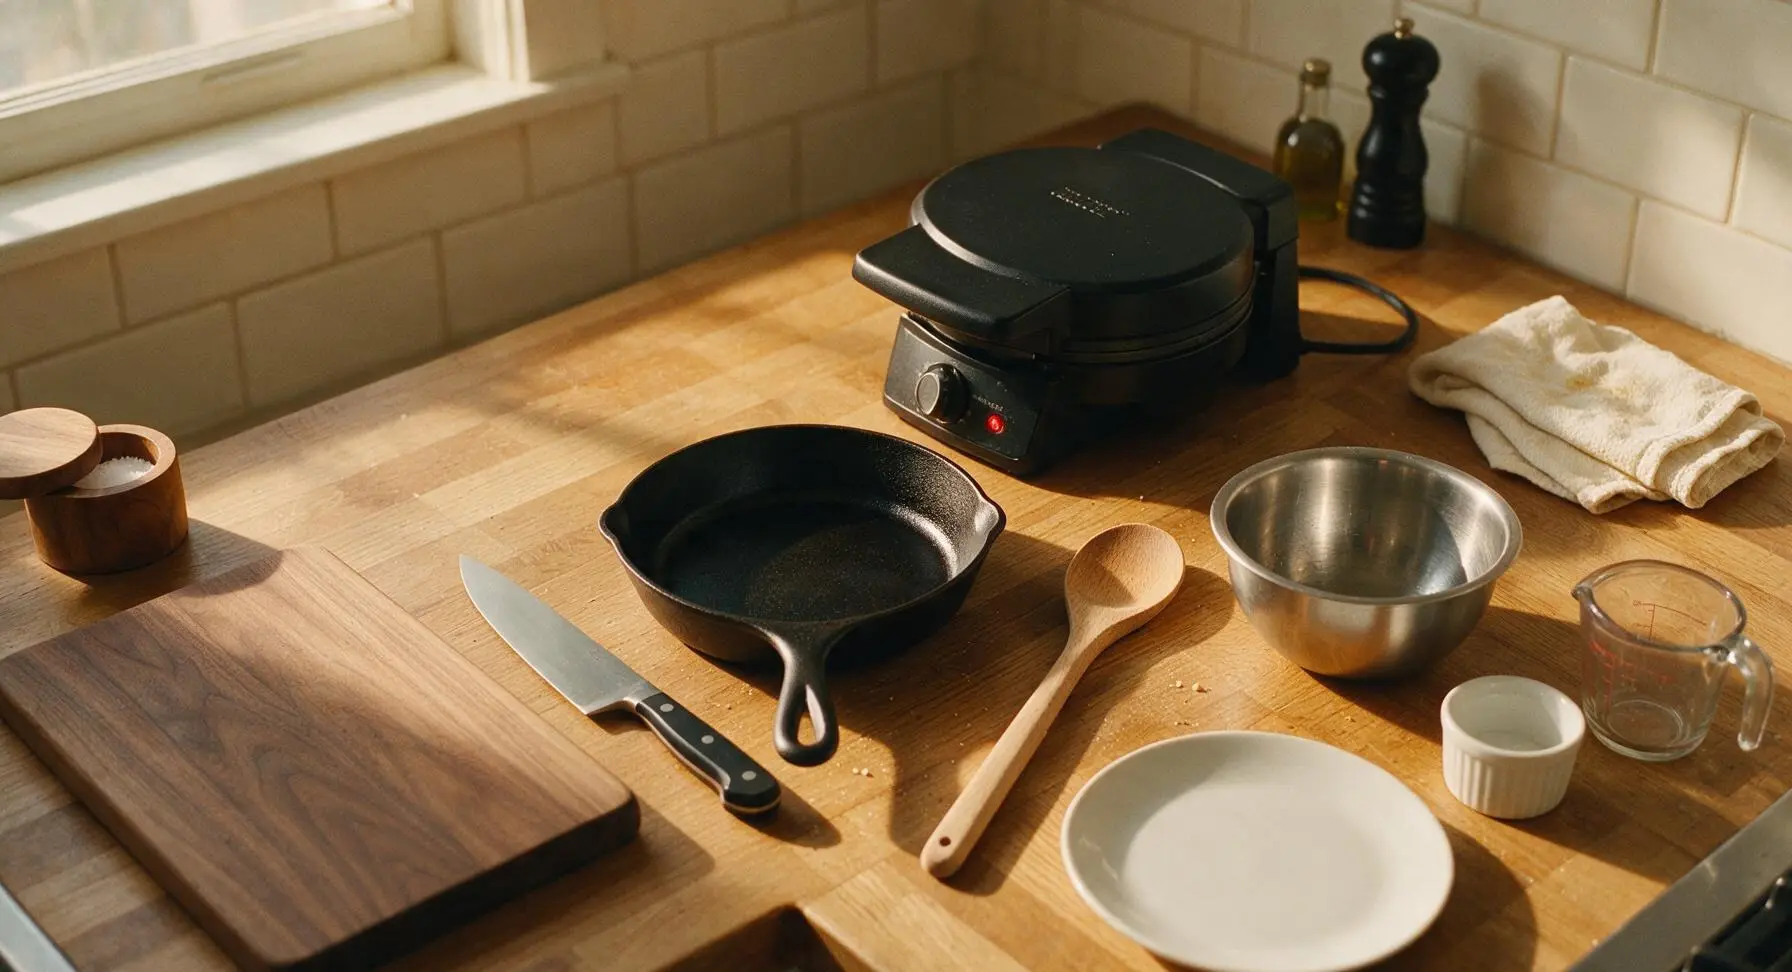
Plug in the matte black Belgian waffle maker and preheat to the medium-high setting (375°F/190°C). The red power light will illuminate when the iron is heating, and the green ready light will turn on once it reaches full temperature, which takes approximately 3 minutes. Preheating while you mix the batter cuts down on total cook time.
Step 1
step1:Preheat Waffle Iron
2

Combine Batter Ingredients

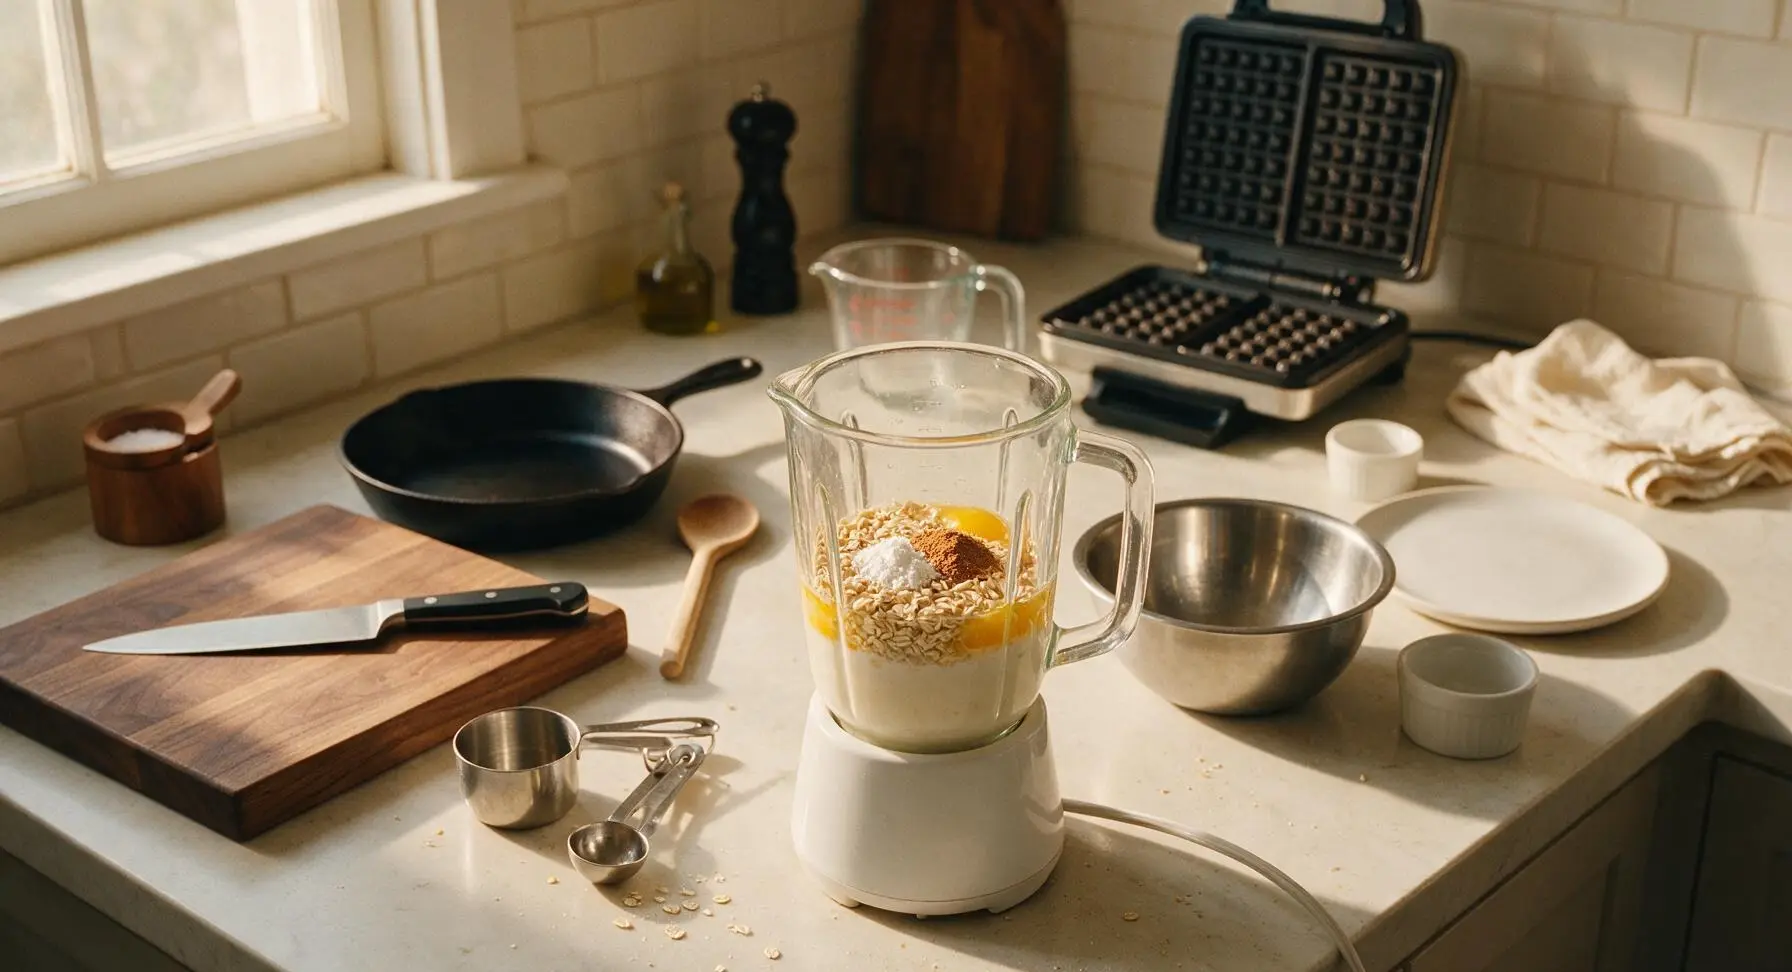
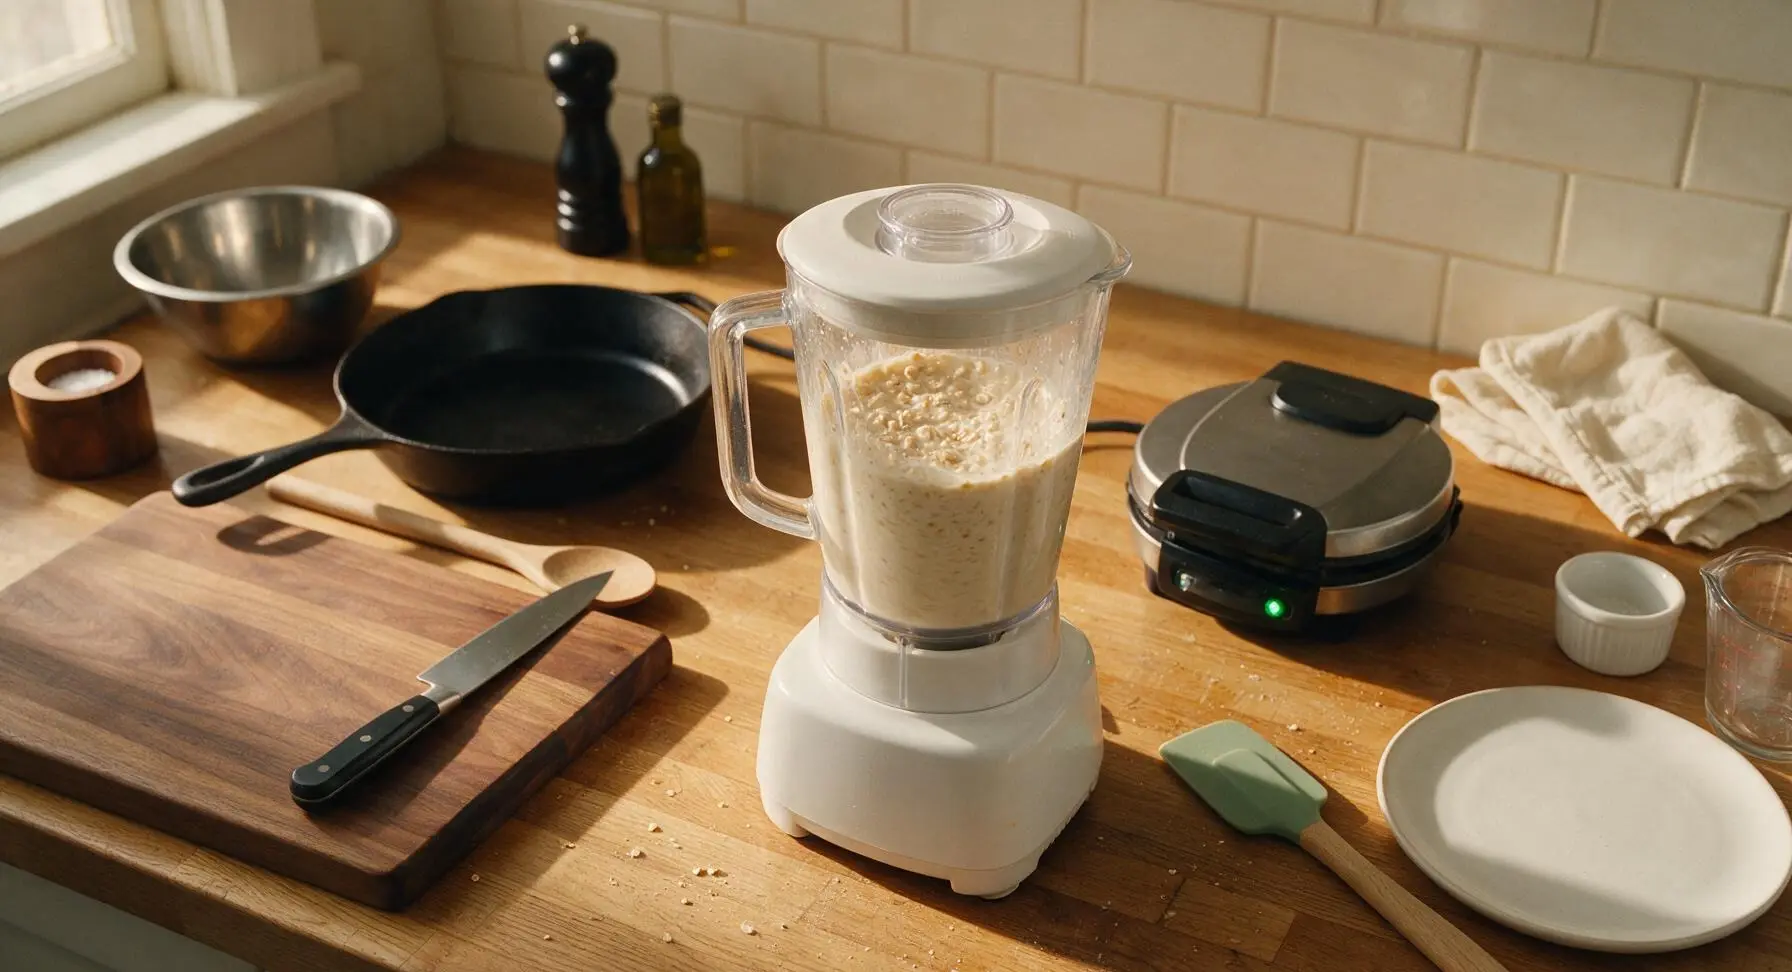
Remove the clear blender jar from its white motor base and set it on the counter. Measure and add all ingredients directly to the jar in this order: almond milk, eggs, melted cooled butter, maple syrup, vanilla, rolled oats, baking powder, sea salt, and ground cinnamon. Adding wet ingredients first prevents dry baking powder from getting stuck under the blender blades and creating clumps in the batter.
Step 2
step2:Combine Batter Ingredients
3

Blend Batter Smooth

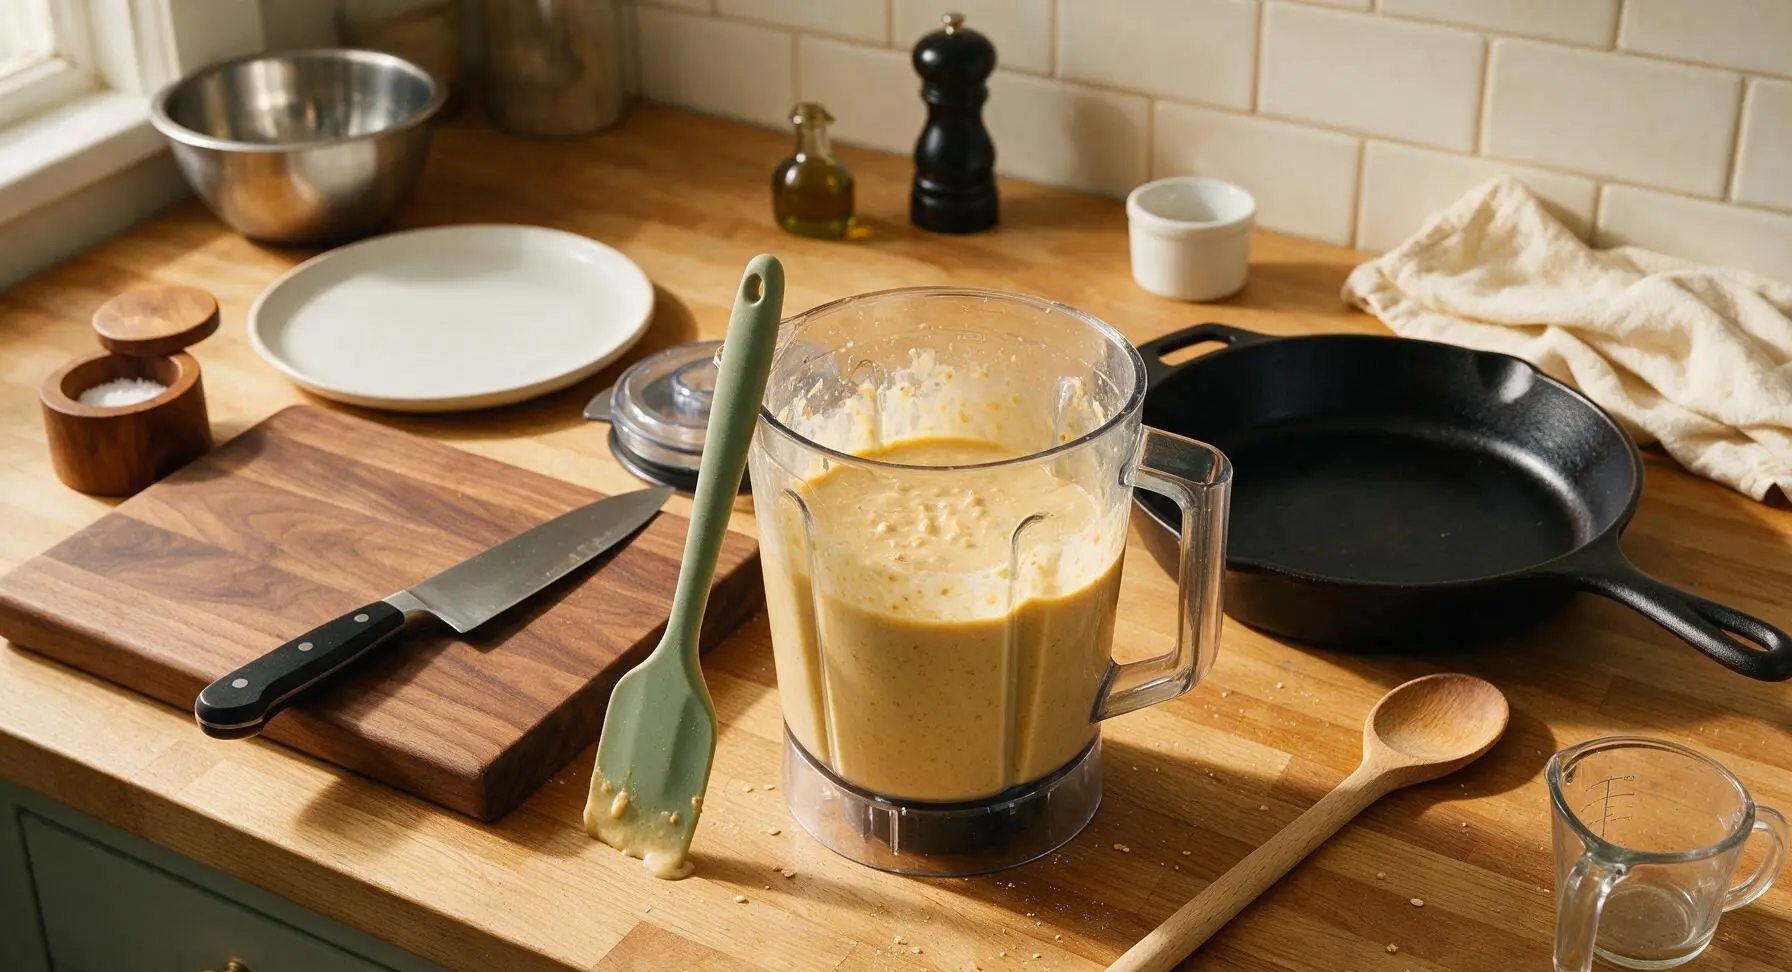
Secure the blender lid tightly. Blend on high speed for 45-60 seconds, stopping once to scrape down the sides of the jar with the sage green silicone spatula if any dry oats stick to the edges. The finished batter should be smooth, pourable, and the consistency of thick heavy cream, with tiny flecks of ground oat visible throughout. Avoid over-blending for longer than 90 seconds, as this can break down the oats too much and make waffles dense rather than fluffy.
Step 3
step3:Blend Batter Smooth
Step 3
step3:Blend Batter Smooth
4

Pour Batter Onto Iron

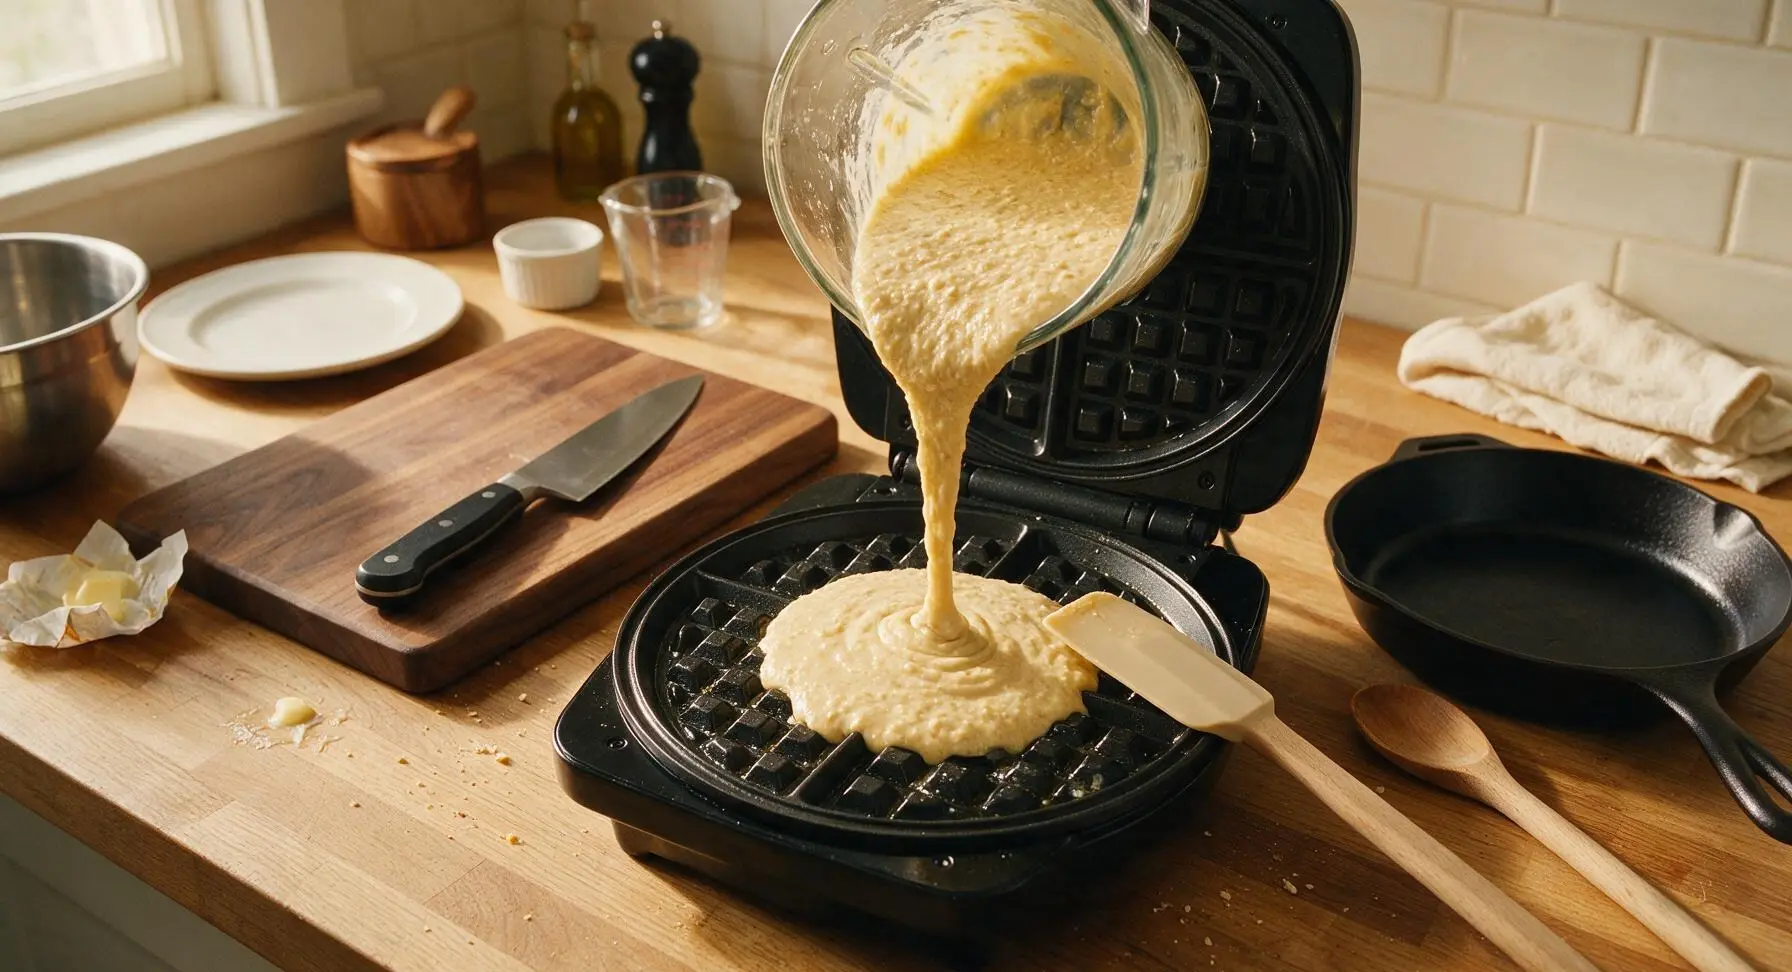
Once the waffle iron is fully preheated (green indicator light illuminated), open the lid and lightly coat the non-stick plates with a thin swipe of cold butter (optional, for extra crisp edges and golden color). Pour 3/4 cup of batter directly into the center of the lower waffle plate, using the silicone spatula to spread it gently to within 1/2 inch of the plate edges. The batter will spread and rise slightly as the lid closes, so do not overfill to avoid batter leaking out the sides.
Step 4
step4:Pour Batter Onto Iron
5

Cook Waffles Through

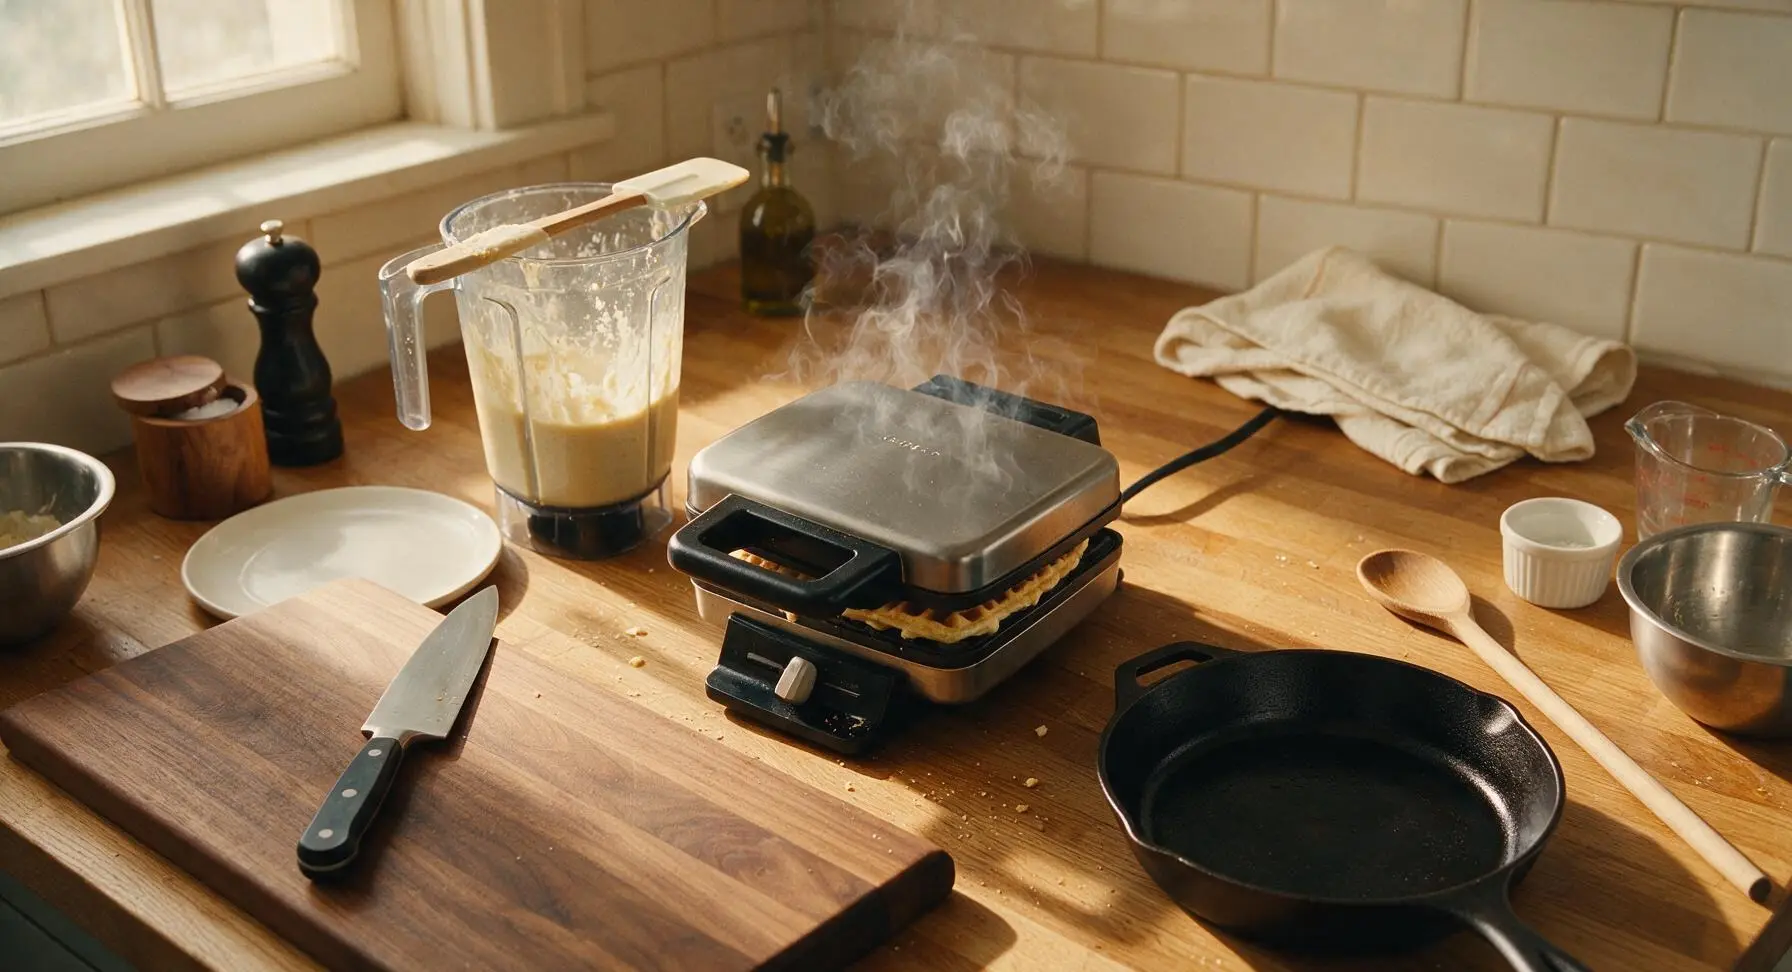
Close the waffle iron lid and cook for 3.5 to 4 minutes, until the waffle is deep golden brown, crisp around the raised ridges, and only a tiny amount of steam escapes from the sides of the iron. Do not open the lid before the 3-minute mark, as this can cause the partially set waffle to split, stick, or deflate. If your waffle iron has a doneness indicator, wait for the alert before checking.
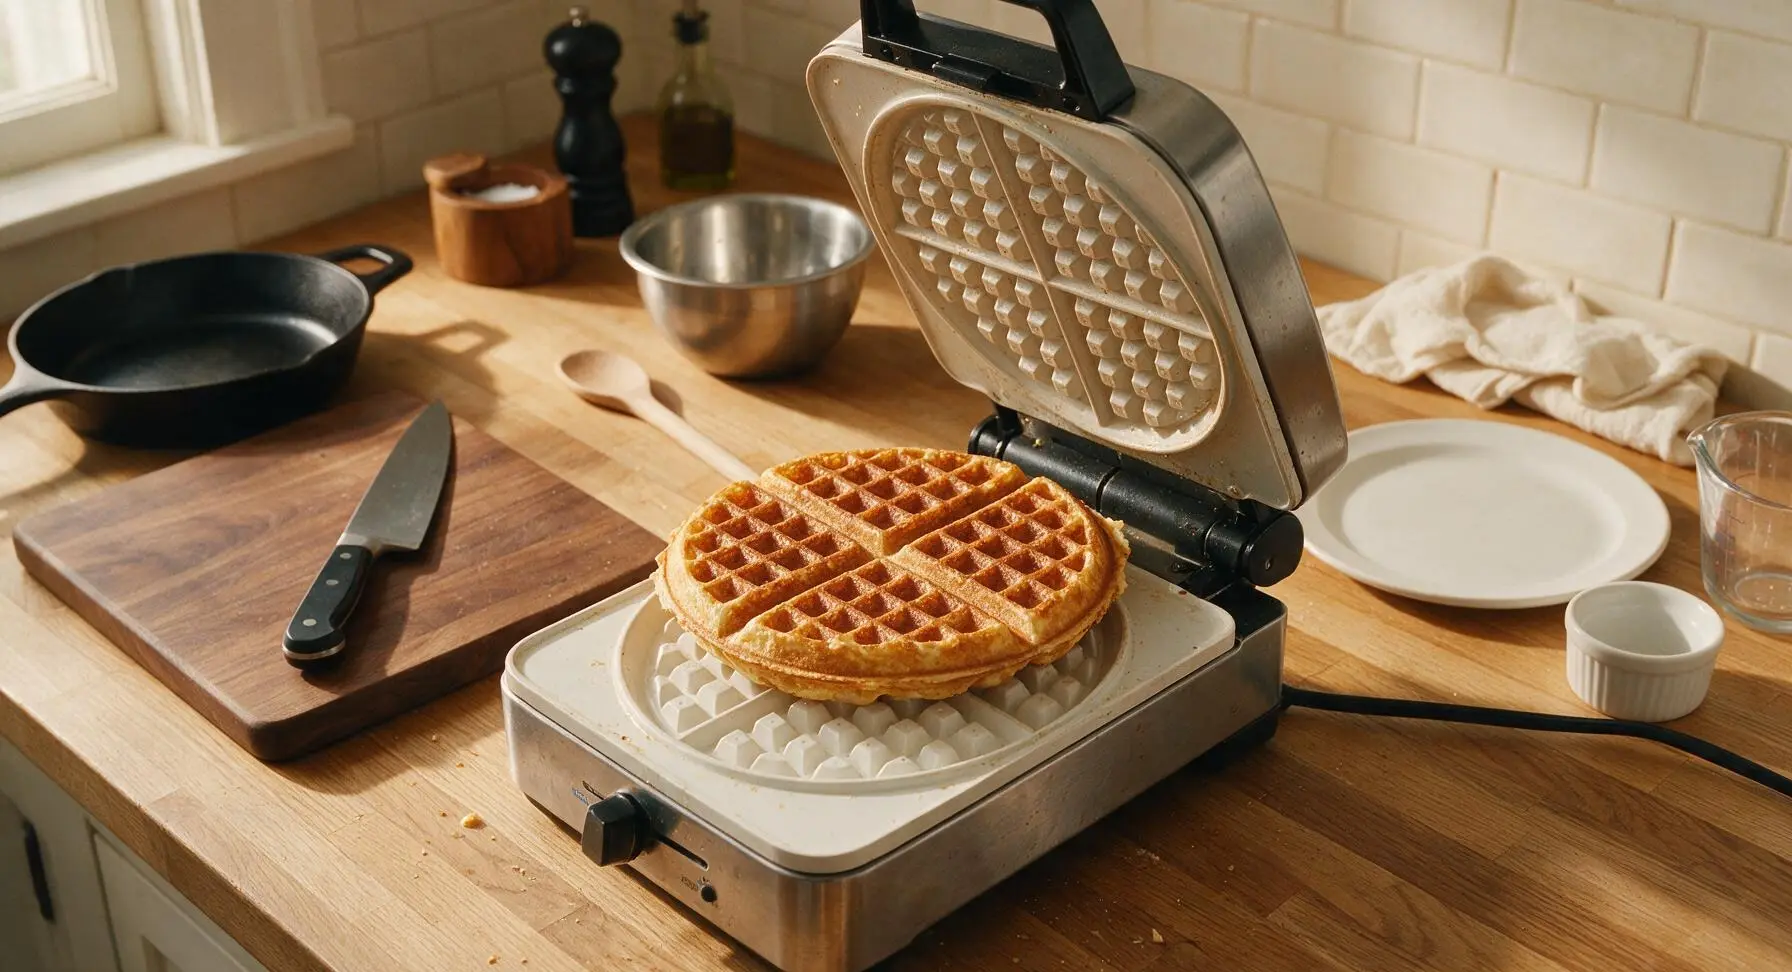
Step 5
step5:Cook Waffles Through
Step 5
step5:Cook Waffles Through
6

Rest Waffles on Rack

Use the tip of the silicone spatula to gently loosen the edges of the cooked waffle from the plates, then lift it carefully and transfer it directly to the chrome wire cooling rack. Do not stack hot waffles directly on a plate or on top of each other immediately, as trapped steam will make crisp edges turn soggy. Rest waffles on the rack for 1 minute to allow air circulation, then repeat the pouring and cooking process with remaining batter to make 4 total 7-inch waffles.
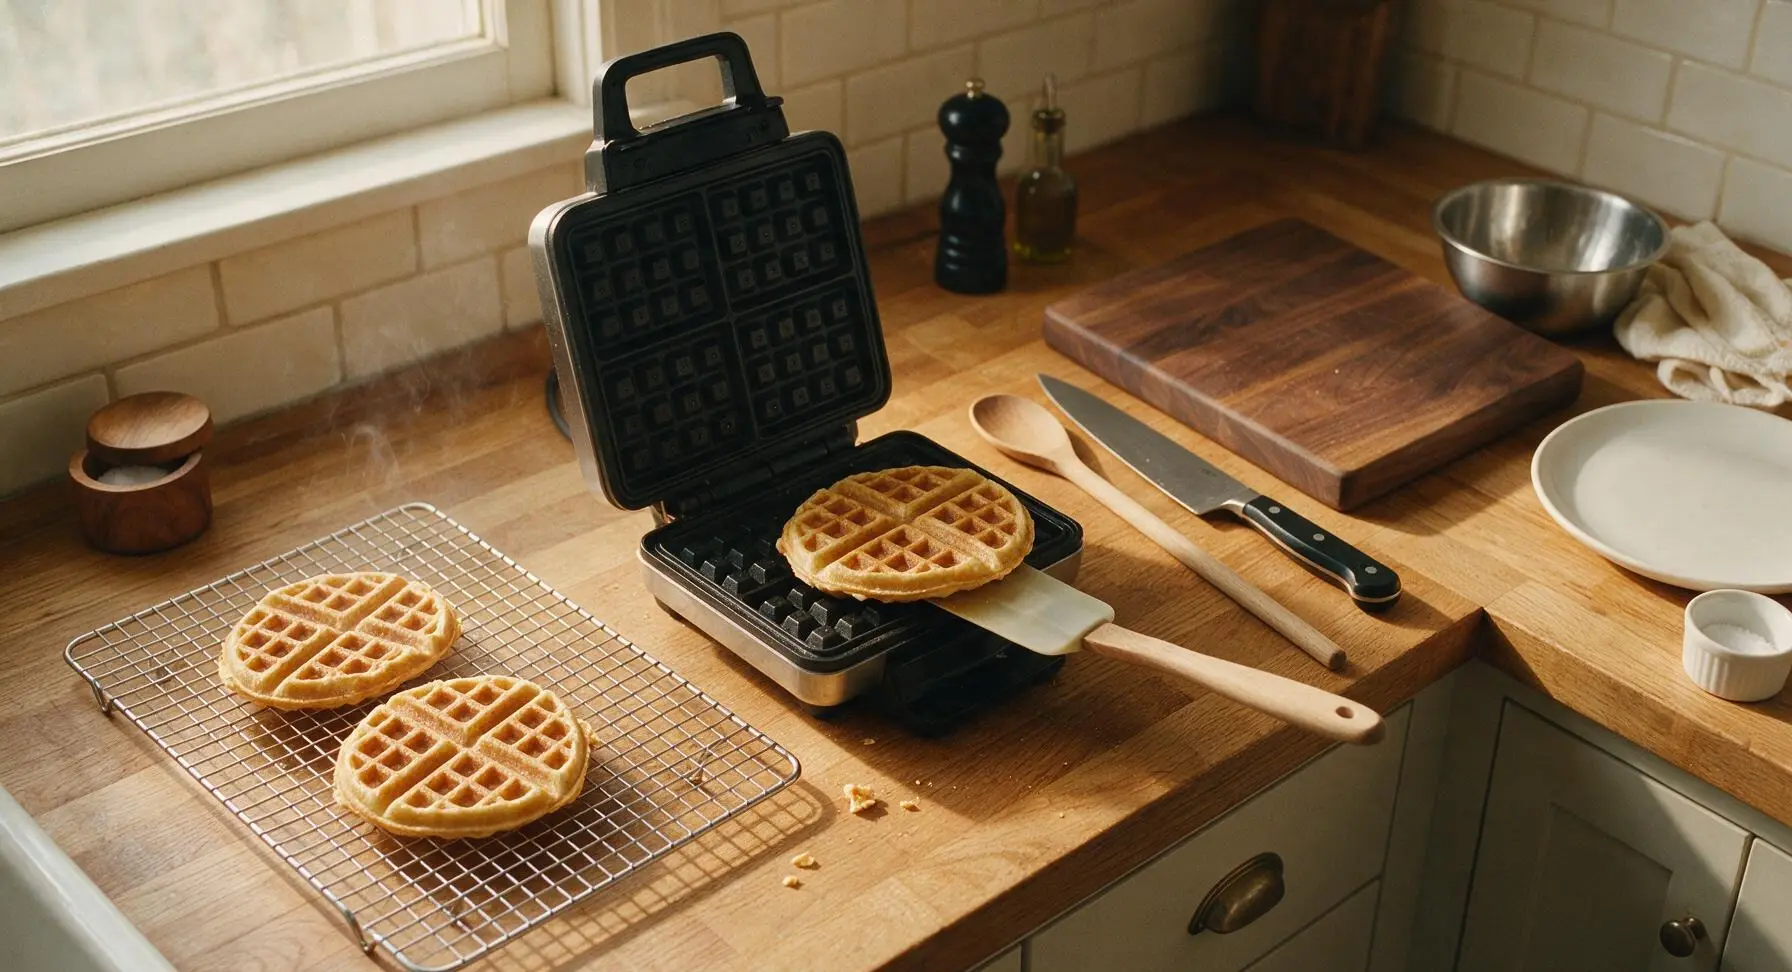
Step 6
step6:Rest Waffles on Rack
7

Plate and Serve

For serving, stack 3 waffles family-style on the matte cream speckled dinner plate (or plate 1 waffle per individual serving). Top with a 1-tsp pat of salted butter, a light drizzle of pure maple syrup, a pinch of ground cinnamon, and a thin slice of fresh Honeycrisp apple for garnish if desired. Serve immediately while waffles are warm and edges are crisp.
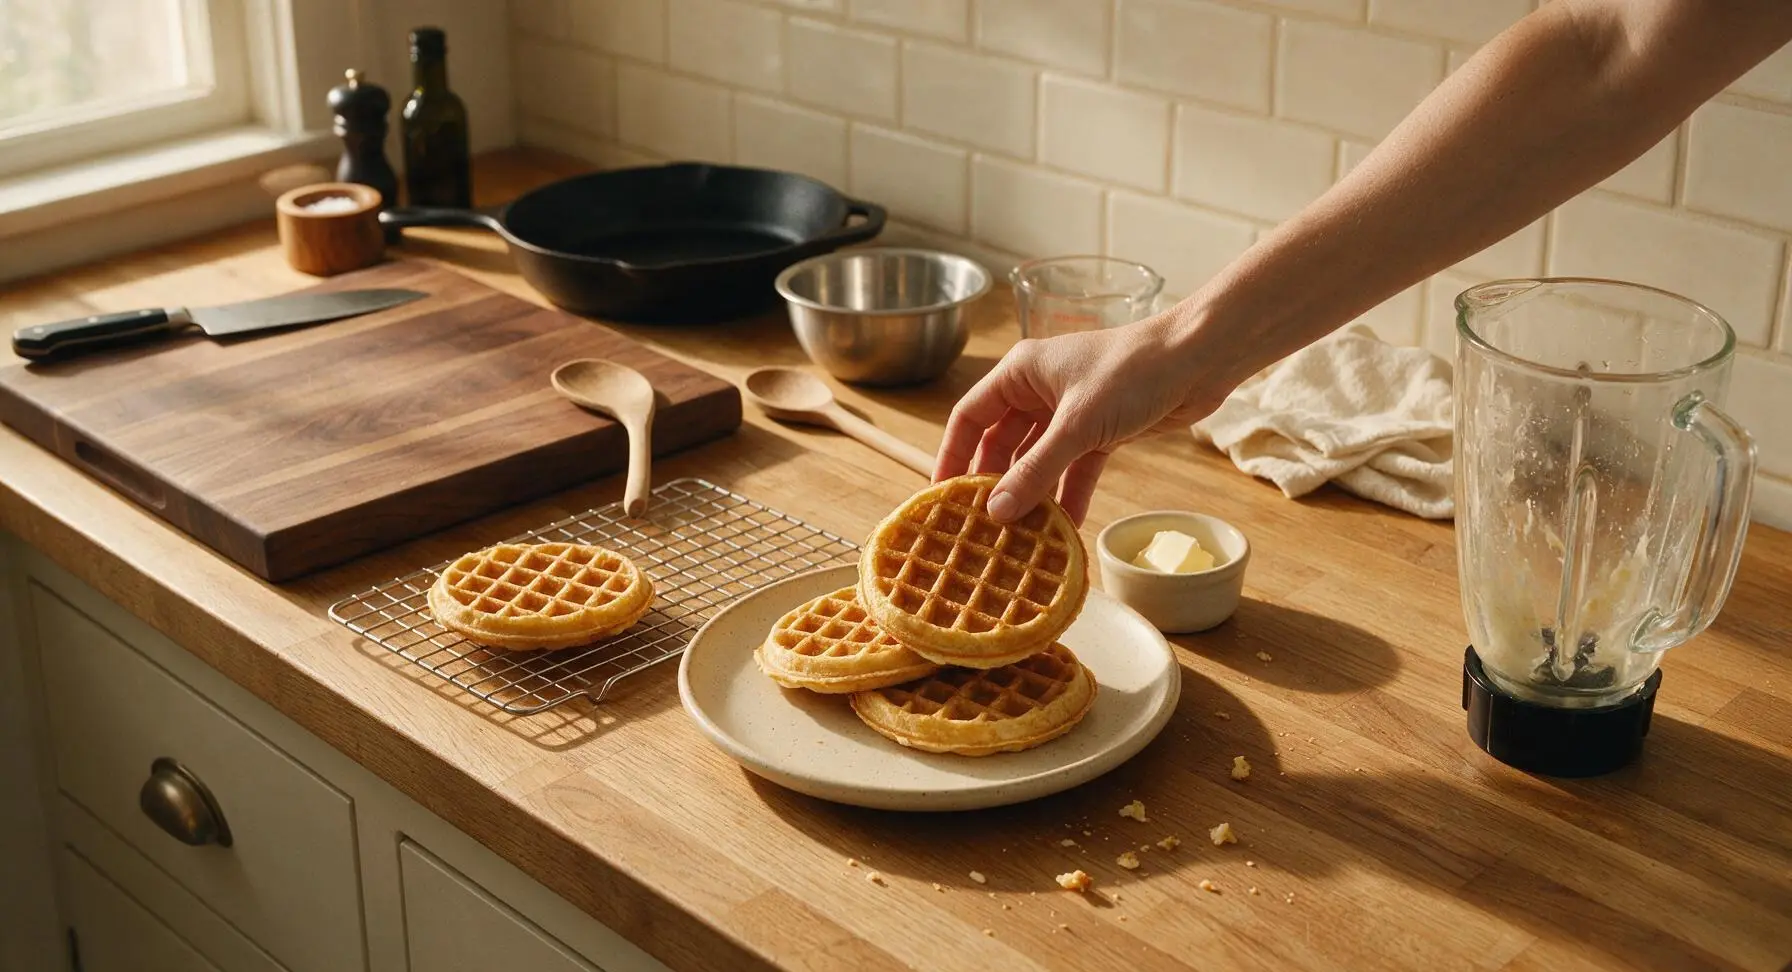
Step 7
step7:Plate and Serve

Tips

1.Always use certified gluten-free rolled oats instead of standard rolled oats to avoid cross-contamination with wheat from shared bulk processing equipment, which is critical for anyone with celiac disease or severe gluten sensitivity.
2.To keep waffles crisp while cooking batches, rest cooked waffles on the wire cooling rack set over a baking sheet in a 200°F (95°C) oven instead of stacking them on a plate; circulating air prevents trapped steam from turning crisp edges soggy.
3.These waffles freeze exceptionally well for quick weekday meals: let cooked waffles cool completely, store in a zip-top freezer bag with parchment paper between each waffle to prevent sticking, and reheat directly from frozen in a toaster for 2 minutes until crisp.


✨ You May Also Like

Breakfast
🍜 United States

Crisp-edged, fluffy lard griddle cakes are a nostalgic homestyle staple, with rich savoriness from rendered lard, perfect topped with maple syrup or savory gravy.

⏱️ 25 minuteBreakfast ★ 4.8
Breakfast
🍜 United States

Flaky, buttery homemade buttermilk biscuits smothered in creamy, peppery pork sausage gravy: a beloved, hearty Southern American comfort food classic.

⏱️ 35 minuteBreakfast ★ 4.8
Breakfast
🍜 United States

Golden, custardy brioche stuffed with sweet cream cheese and fresh berries, pan-fried to crisp perfection. An indulgent, cozy breakfast perfect for slow weekend mornings.

⏱️ 30 minuteBreakfast ★ 4.7
Breakfast
🍜 United States

Flaky, buttery Southern-style biscuits stuffed with savory salty country ham, a portable, satisfying classic perfect for casual on-the-go meals.

⏱️ 25 minuteBreakfast ★ 4.8
Breakfast
🍜 United States

Iconic puffy baked pancake popularized in Seattle, with crisp golden edges and soft custardy center, served warm with classic sweet toppings.

⏱️ 35 minuteBreakfast ★ 4.6
Breakfast
🍜 United States

Fluffy, golden pancakes studded with juicy peak-summer mixed berries, drizzled with maple syrup for a bright, comforting, crowd-pleasing family breakfast.

⏱️ 25 minuteBreakfast ★ 4.7

Cathy's Gluten-Free Oatmeal Waffles:Frequently Asked Questions

1.Do I need a special gluten-free flour blend to make these waffles? ▾
Nope, that’s the best part of this recipe! The entire base is made from certified gluten-free rolled oats, which you’ll blend right into a fine, flour-like consistency at home. No fancy pre-mixed blends, xanthan gum, or hard-to-find ingredients are required to get that perfect fluffy, crisp-edged result every time.
2.Can I use regular rolled oats if I don’t need these waffles to be strictly gluten-free? ▾
Absolutely! If gluten cross-contamination isn’t a concern for you or your household, standard rolled oats work perfectly here for the same crisp, fluffy result. Just skip the certified gluten-free label if you prefer, and avoid instant oats, which get too mushy and won’t hold the waffle structure well during cooking.
3.How do I make sure these waffles come out crisp on the edges instead of soggy? ▾
Two quick tricks make all the difference! First, make sure your waffle iron is fully preheated before pouring in batter—if it’s not hot enough, waffles will steam instead of crisp. Second, let waffles cook 30-60 seconds past when the iron’s “done” indicator goes off for extra golden, snappy edges.
4.Can I substitute the almond milk for a different type of milk? ▾
Definitely! The recipe works great with any unsweetened plant milk you have on hand, including oat, soy, or cashew milk, as well as regular dairy cow’s milk. Just stick to unsweetened varieties if possible to avoid throwing off the subtle warm maple flavor, and note that thicker milks yield a slightly fluffier interior crumb.
5.Can I make this batter ahead of time for busy mornings? ▾
You can prep the dry blended oat base up to 3 days ahead and store it in an airtight container at room temperature, but I don’t recommend mixing full wet and dry batter more than 30 minutes before cooking. Oats absorb too much liquid over time, leading to dense, heavy waffles instead of the light, fluffy texture we want.
6.Why do I need to use certified gluten-free oats for a truly gluten-free result? ▾
Regular, non-certified oats are almost always cross-contaminated with wheat, barley, or rye during growing, harvesting, and processing, even if they don’t list gluten ingredients on the label. Certified gluten-free oats are tested to meet strict FDA gluten-free standards, so they’re safe for anyone with celiac disease or non-celiac gluten sensitivity.
7.Can I freeze leftover waffles for quick meals later? ▾
Absolutely—these freeze beautifully! Let fully cooked waffles cool completely to room temperature, then stack them between small squares of parchment paper to prevent sticking, and tuck them into a sealed freezer bag for up to 3 months. Reheat straight from frozen in a toaster for a fast, cozy breakfast in minutes.
8.What if I don’t have a waffle iron—can I make this as pancakes instead? ▾
You sure can! The batter works perfectly for gluten-free oatmeal pancakes, too. Just heat a lightly greased nonstick skillet or griddle over medium heat, pour ¼-cup portions of batter, and cook 2-3 minutes per side until bubbles form on the surface and edges are set for fluffy, lightly sweet pancakes.
9.Can I replace the eggs to make this recipe vegan? ▾
Yes, with two simple swaps! Replace each large egg with 1 tablespoon of ground flaxseed mixed with 3 tablespoons of water, left to thicken for 5 minutes to make a flax egg. Swap the melted butter for melted vegan butter or refined coconut oil, and use your favorite unsweetened plant milk to keep the recipe 100% vegan.
10.How fine do I need to blend the rolled oats for the batter? ▾
Aim for a fine, almost powdery flour consistency, similar to all-purpose flour, which usually takes 30-45 seconds in a standard high-speed blender. You don’t want large, coarse oat chunks left, because those will make waffles gritty, but a tiny bit of texture is totally fine and won’t ruin the tender result.
11.Can I reduce the amount of maple syrup in the recipe for less sugar? ▾
Definitely! The maple syrup adds a subtle, warm sweetness, but you can cut it in half or leave it out entirely if you prefer less sweet waffles, or if you plan to load them up with sweet toppings. If you leave it out, just add 2 extra tablespoons of milk to keep the batter consistency the same.
12.Why does the recipe call for melted butter that’s cooled slightly? ▾
Adding piping hot melted butter straight to the batter can accidentally cook the raw eggs as you mix, leading to tiny, unappetizing scrambled egg bits in your waffle batter. Letting butter sit for 2-3 minutes after melting brings it to a warm (not scalding) temperature that mixes smoothly without ruining batter texture.
13.What toppings work best with these oatmeal waffles? ▾
The mild, toasty oat flavor pairs with almost any topping you love! Classic sweet options include extra maple syrup, fresh berries, sliced banana, a dollop of Greek yogurt, or a sprinkle of cinnamon. For a savory twist, try them with fried eggs, avocado, a sprinkle of cheese, or hot sauce for a satisfying any-time meal.
14.My waffles are sticking to my waffle iron—what am I doing wrong? ▾
Sticking usually happens for one of three reasons: your iron isn’t fully preheated, you skipped lightly greasing the grids even if they’re nonstick, or you’re trying to lift the waffle too early. Let the iron heat fully, give it a light spritz of nonstick spray or brush with melted butter, and wait until the waffle releases easily before removing it.
15.Can I use instant oats instead of rolled oats for this recipe? ▾
I don’t recommend it! Instant oats are cut much finer and pre-cooked during processing, so they break down way too quickly in the batter, leading to mushy, dense waffles that lack that signature fluffy interior and crisp edge. Stick to old-fashioned rolled oats for the best, most consistent texture every time.
16.How long will leftover cooked waffles stay fresh in the fridge? ▾
Cooked, fully cooled waffles will stay fresh for up to 4 days stored in an airtight container in the refrigerator. When you’re ready to eat, reheat them in a toaster, toaster oven, or 350°F oven for 3-4 minutes instead of the microwave—microwaving makes them soggy, while dry heat brings back their crisp edge.
17.Can I add mix-ins to the batter, like chocolate chips or blueberries? ▾
Absolutely! Fold up to ½ cup of your favorite mix-ins into the batter right before pouring it into the waffle iron. Great options include mini chocolate chips, fresh or frozen blueberries, chopped walnuts or pecans, a teaspoon of cinnamon, or shredded unsweetened coconut—just don’t add too many, or they’ll weigh batter down and make dense waffles.

Comments (18)

2 days ago

OMG these are a total game changer! My youngest has celiac so I’ve been hunting for a gluten-free waffle that doesn’t taste like dry cardboard, and this recipe absolutely nailed it. Crispy on the edges, fluffy in the middle, even my super picky husband asked for seconds. We topped ours with fresh strawberries and pure maple syrup, chef’s kiss. So easy to throw together on busy school mornings too!

yesterday

So glad these were a hit with your whole family, Mia! That crispy edge is my favorite part too—pro tip: let the batter rest 5 minutes before pouring for extra fluff if you have extra time on school mornings.

3 days ago

Wait, quick question—do these freeze well? I do meal prep every Sunday for weekday breakfasts, so if I can make a big batch and pop them in the toaster during the week that would be ideal. Tried making them last night, flavor was incredible, just haven’t tested freezing yet.

2 days ago

I freeze mine all the time! Let them cool completely, stack them with parchment paper between each waffle so they don’t stick, and they keep for up to 3 months. Toast straight from frozen on the light setting, tastes just as good as fresh!

2 days ago

Great question, Jake! Lisa’s tip is spot on—they hold up beautifully in the freezer, which makes them perfect for meal prep. I usually make a double batch on Sundays for exactly that reason.

5 minutes ago

SO good. I added a handful of mini chocolate chips to the batter and my kids lost their minds. Will be making these every weekend from now on, no cap.

1 week ago

Made these for our neighborhood potluck brunch last weekend and every single person asked for the recipe! Half the group didn’t even realize they were gluten-free until I mentioned it. Only note: I added a dash of cinnamon to the batter and it took the flavor up a whole notch. 10/10!

5 days ago

The cinnamon addition is genius! I’m making these for my book club brunch next weekend, definitely stealing that trick.

1 week ago

Wait, I didn’t have rolled oats on hand so I used quick oats, and they turned out super mushy? Did I do something wrong? Flavor was great but texture was way off, I really want to get this right because my partner loves waffles and we’re both trying to cut out gluten.

5 days ago

Oh I did the same thing my first try! Quick oats are way more processed so they make the batter too wet. Stick with old-fashioned rolled oats, and make sure your waffle iron is fully preheated before you pour the batter in—no mushy waffles after that!

3 days ago

So sorry the texture was off your first try! Quick oats absorb liquid differently than rolled oats, which is why the recipe calls for old-fashioned rolled. If you only have quick oats on hand, cut the milk by 2 tablespoons and that should help the texture hold up!

yesterday

15 minute cook time? No way, that’s perfect for me. I’m the worst at early morning cooking before my kids’ soccer practice, and these came together faster than I could brew a pot of coffee. Crispy, not too sweet, perfect with a little peanut butter slathered on top.

2 hours ago

Love the peanut butter topping idea! That’s such a great protein boost for busy sports mornings, I’ll have to try that with my own kids this week.

30 minutes ago

Swapped the eggs for flax eggs and used oat milk instead of dairy, and these still turned out perfectly! Fluffy, crispy, totally customizable. So happy to have a go-to waffle recipe that fits all my dietary restrictions.

2 weeks ago

Wait, has anyone tried making these as pancakes instead? My waffle iron broke last week and I’m dying to make this recipe, don’t want to wait to order a new one.

1 week ago

I did that last month! Just cook them on a greased griddle over medium heat, flip when bubbles form on the top, just like regular pancakes. They’re slightly less crispy but just as delicious!

1 week ago

Great question! Jess is exactly right—this batter works beautifully for pancakes too. Just note they’ll take about 2-3 minutes per side on the griddle, so total cook time is pretty close to the waffle version.

3 days ago

Game. Changer. I’ve been eating protein waffles for years that taste like protein powder cardboard, and these are made with simple, whole ingredients. I added a scoop of vanilla protein powder to the batter and it didn’t mess up the texture at all. Perfect post-workout breakfast.

2 days ago

Oh the protein powder addition is such a good call! I’ve been looking for a better post-gym breakfast, can’t wait to test that out this week.

5 days ago

Guys I am so bad at cooking, like I burn toast 50% of the time. These were SO EASY to make, they came out perfect on the first try. I cannot believe I didn’t mess these up. 10/10, even my roommate said they’re better than the diner waffles down the street.

3 days ago

This makes me so excited to try them! I’m also a terrible cook and have been intimidated by gluten-free baking, this feels doable.

2 days ago

This makes my day to hear! This recipe was designed to be totally foolproof, even for folks who don’t cook often, so I’m thrilled they turned out for you. Can’t beat a good diner-style waffle at home!

2 hours ago

Made these this morning with a side of crispy bacon and fresh blueberries, and my whole family is still raving. The oat flavor is so warm and cozy, way better than regular flour waffles in my opinion.

1 week ago

Finally, a gluten-free waffle that doesn’t leave my stomach upset! A lot of GF mixes have weird fillers that bother me, but this uses simple oats (I make sure to use certified GF oats, obviously) and no weird additives. Thank you so much for sharing this recipe!

5 days ago

So important to note the certified GF oats, thank you for mentioning that! I’m so glad this recipe works for you and doesn’t cause any irritation—nothing beats a worry-free, delicious breakfast.

2 days ago

Wait, how long does the batter stay good in the fridge? I want to mix it up the night before so I don’t have to measure anything in the morning when the kids are running around screaming for breakfast.

yesterday

I keep mine in a sealed mason jar in the fridge for up to 3 days! Give it a quick stir before pouring, and it works perfectly. Saved me so much time on school mornings.

yesterday

Great hack! The batter stays fresh for 2-3 days in the fridge, just give it a good stir before using since the oats will absorb some of the liquid overnight. Perfect for those chaotic mornings!

just now

These are the perfect texture for dipping in coffee, not too crumbly, not too soggy. 10/10, will be making these every Sunday for football watch parties this fall.

3 days ago

I was a little skeptical because most gluten-free baked goods are so dense, but these are light and fluffy! I added a little lemon zest to the batter and served them with lemon curd on top, absolute perfection for a fancy weekend brunch.

yesterday

Lemon zest and lemon curd?! That sounds so fancy and delicious, I’m hosting a brunch next month and that’s going on the menu for sure.

5 days ago

Wait, I don’t have a non-stick waffle iron, mine is super old and cast iron. Do I need to spray it extra? I really don’t want these to stick and waste all the batter, ingredients are so expensive right now.

3 days ago

I have an old cast iron waffle iron too! I brush it with a little melted butter before pouring each waffle, and they pop right out no problem. Just make sure the iron is fully hot before you add the batter.

2 days ago

Great question! For cast iron waffle irons, a light coating of melted butter or avocado oil between each waffle works perfectly to prevent sticking, as the other commenter mentioned. No need for extra oil if you have a non-stick model, but cast iron needs a little extra love!

yesterday

I live in a tiny dorm and only have a mini waffle iron, and these worked perfectly! I just poured smaller amounts of batter and cooked for about 3 minutes per waffle, made 8 mini waffles total. Perfect for late night study snacks, topped with a little Nutella.

2 hours ago

Love the mini waffle hack! These are such a great study snack, and the Nutella topping is *chef’s kiss*. So glad they worked out even with a tiny dorm appliance.

2 weeks ago

I’ve been making waffles for 40 years, and this gluten-free version is right up there with my classic buttermilk recipe. The oat gives it such a nice, nutty depth that regular waffles are missing. Shared the recipe with my whole church group, everyone loved it.



