
chaffle recipes keto
intro
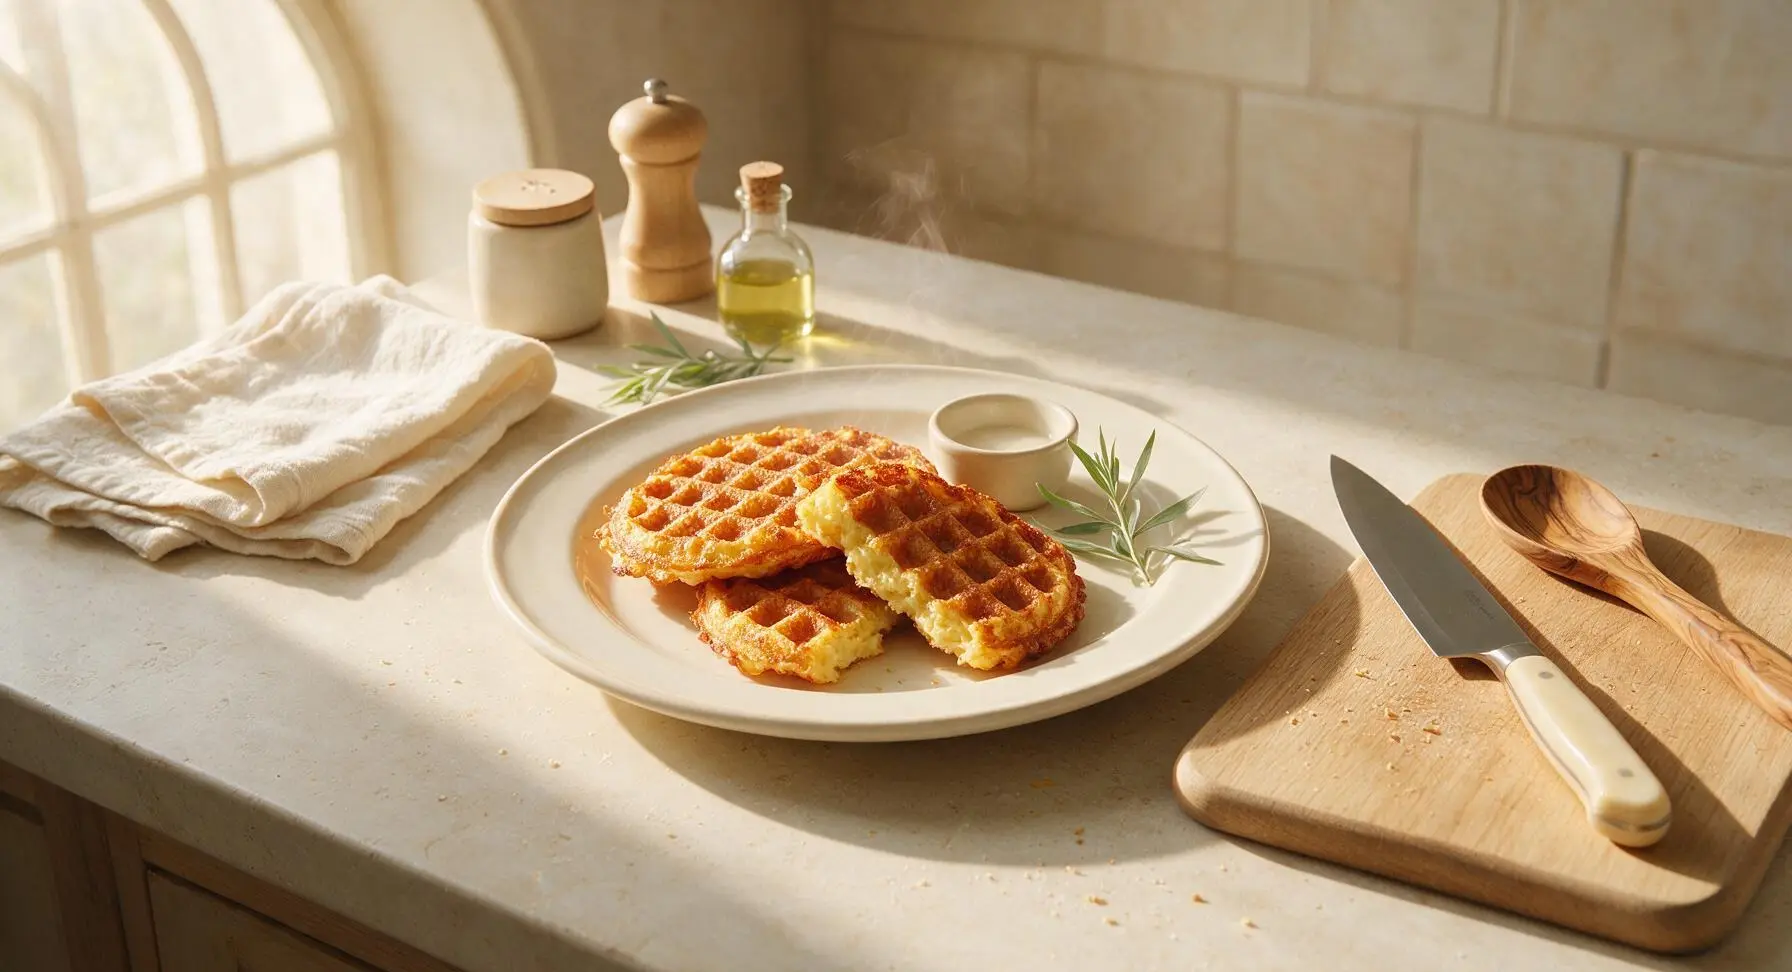
Crispy, cheesy, grain-free keto chaffles are the ultimate low-carb bread replacement, ready in under 20 minutes. With just 2g net carbs per serving, they’re perfect for quick breakfasts, sandwich bases, or light weeknight meals.
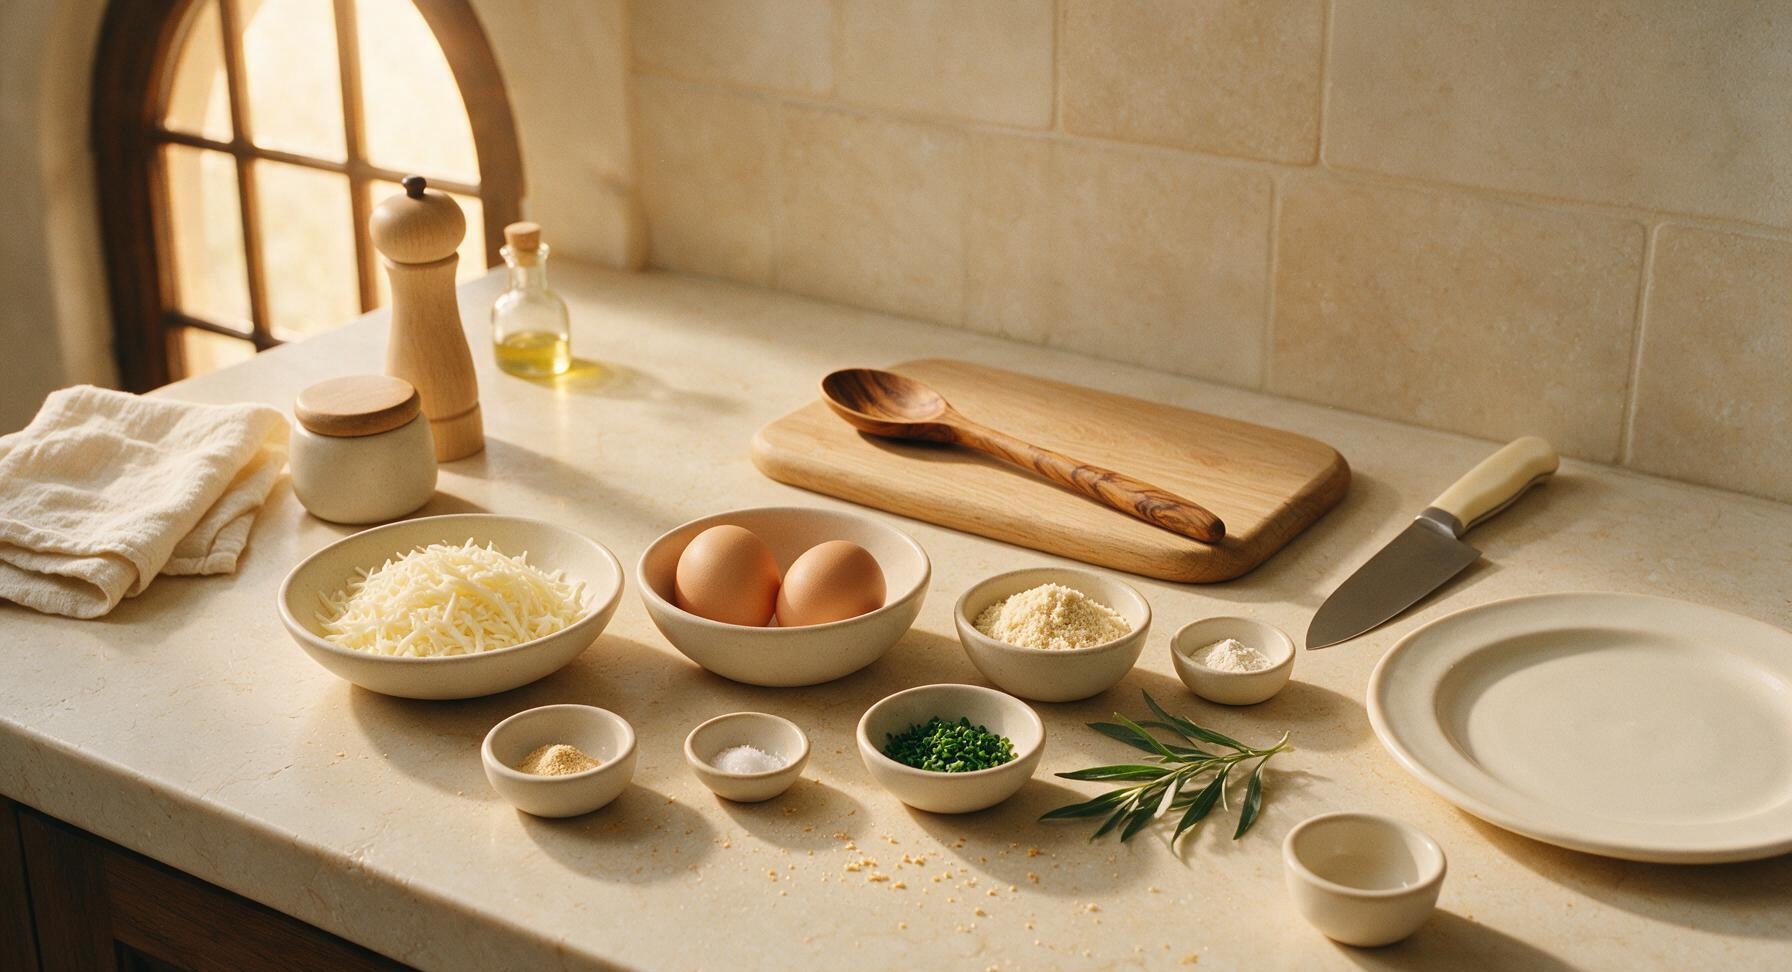
Ingredients
Steps
Preheat Waffle Maker
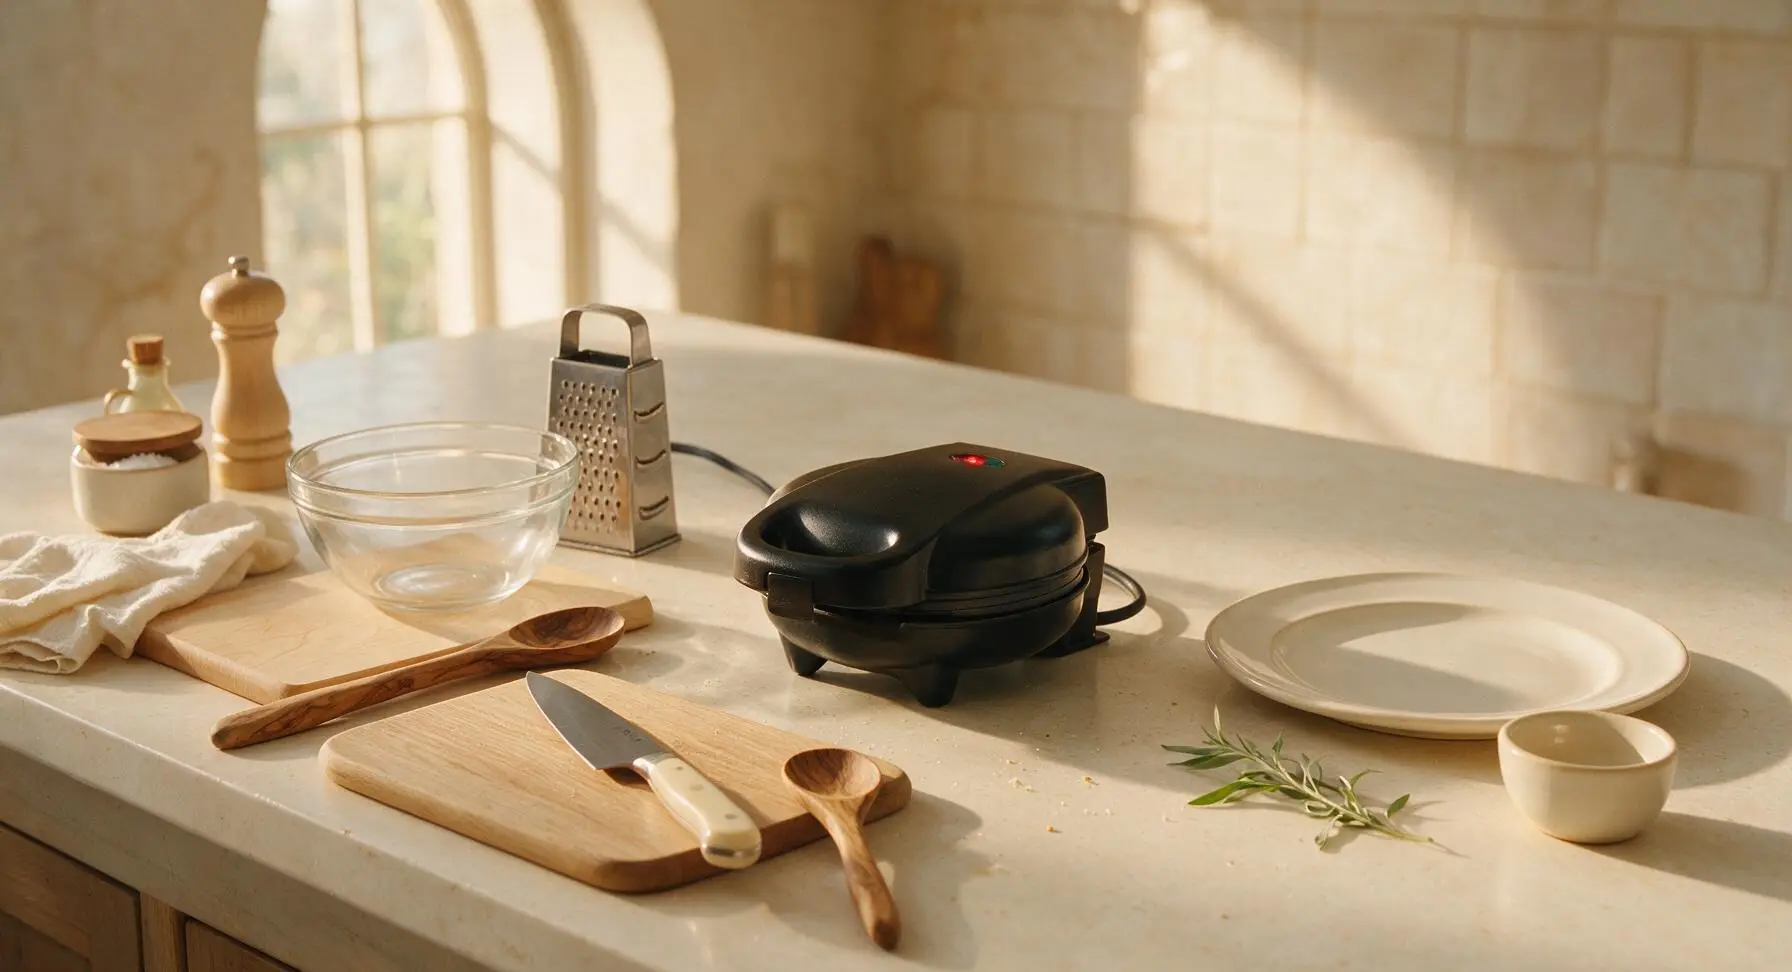
Place your 4-inch mini waffle maker on the center of the counter, plug it in, and close the lid to preheat for 3–4 minutes until the built-in indicator light signals it has reached 400°F (200°C). Do not coat the plates with non-stick spray; the melted mozzarella will release enough natural fat to prevent sticking, and extra spray can make chaffles soggy.
Shred the Mozzarella
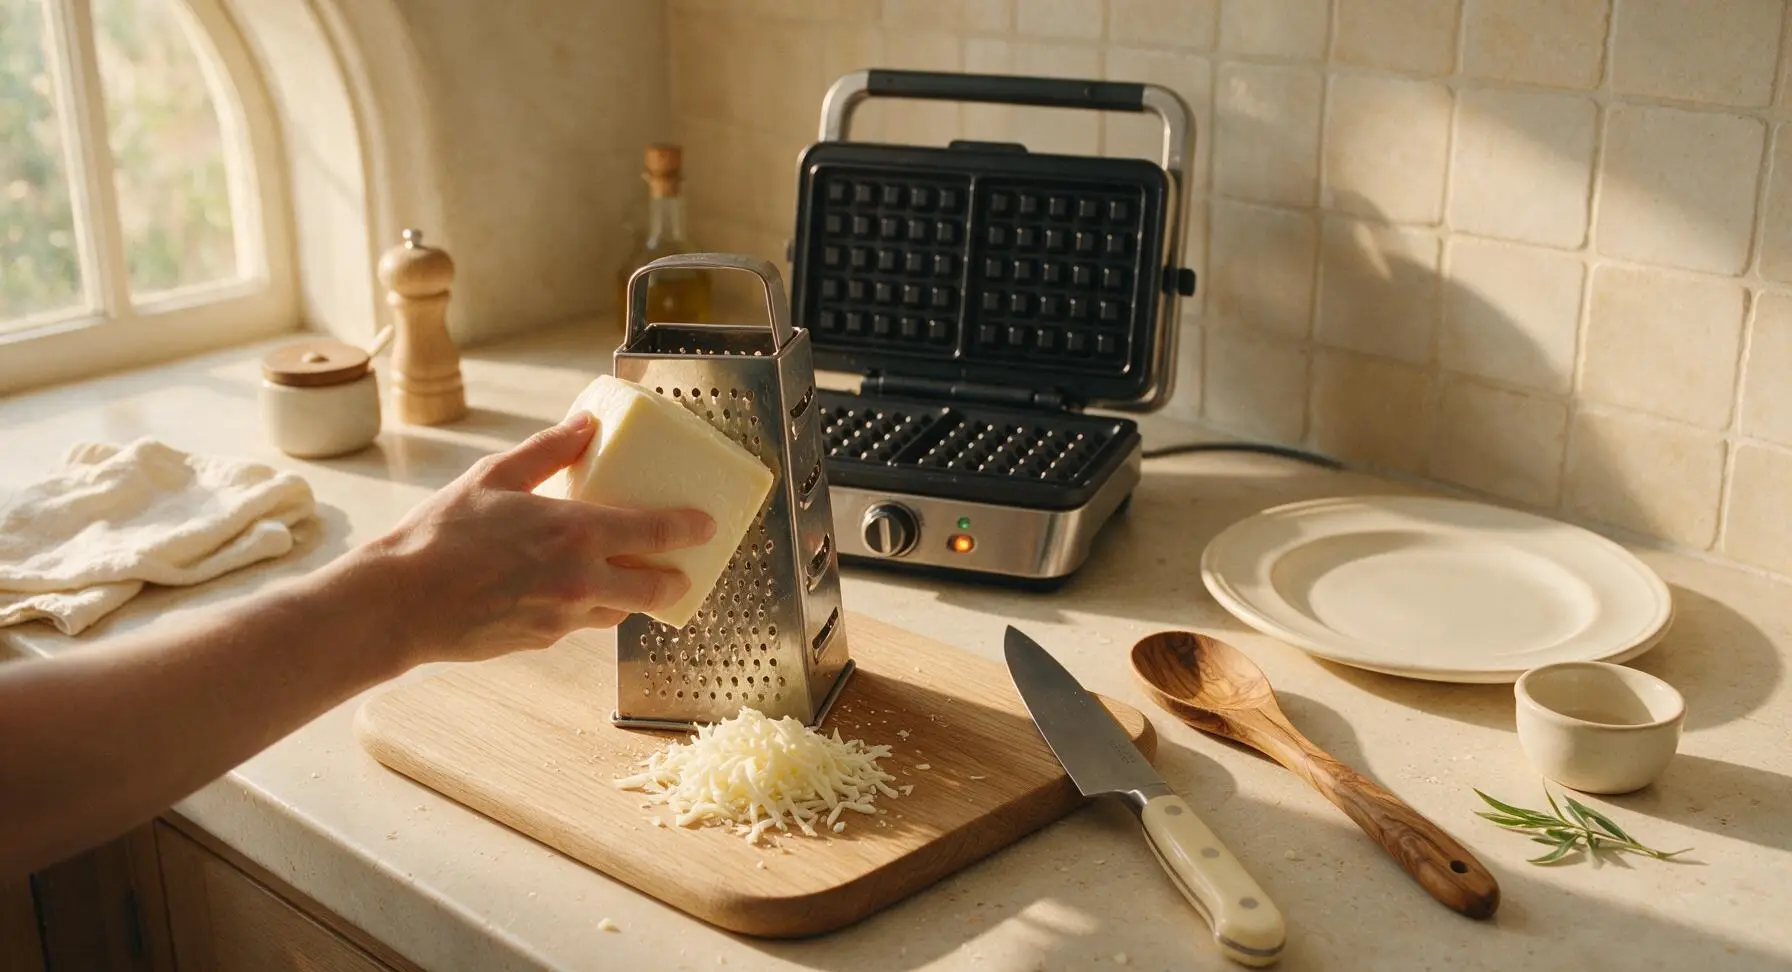
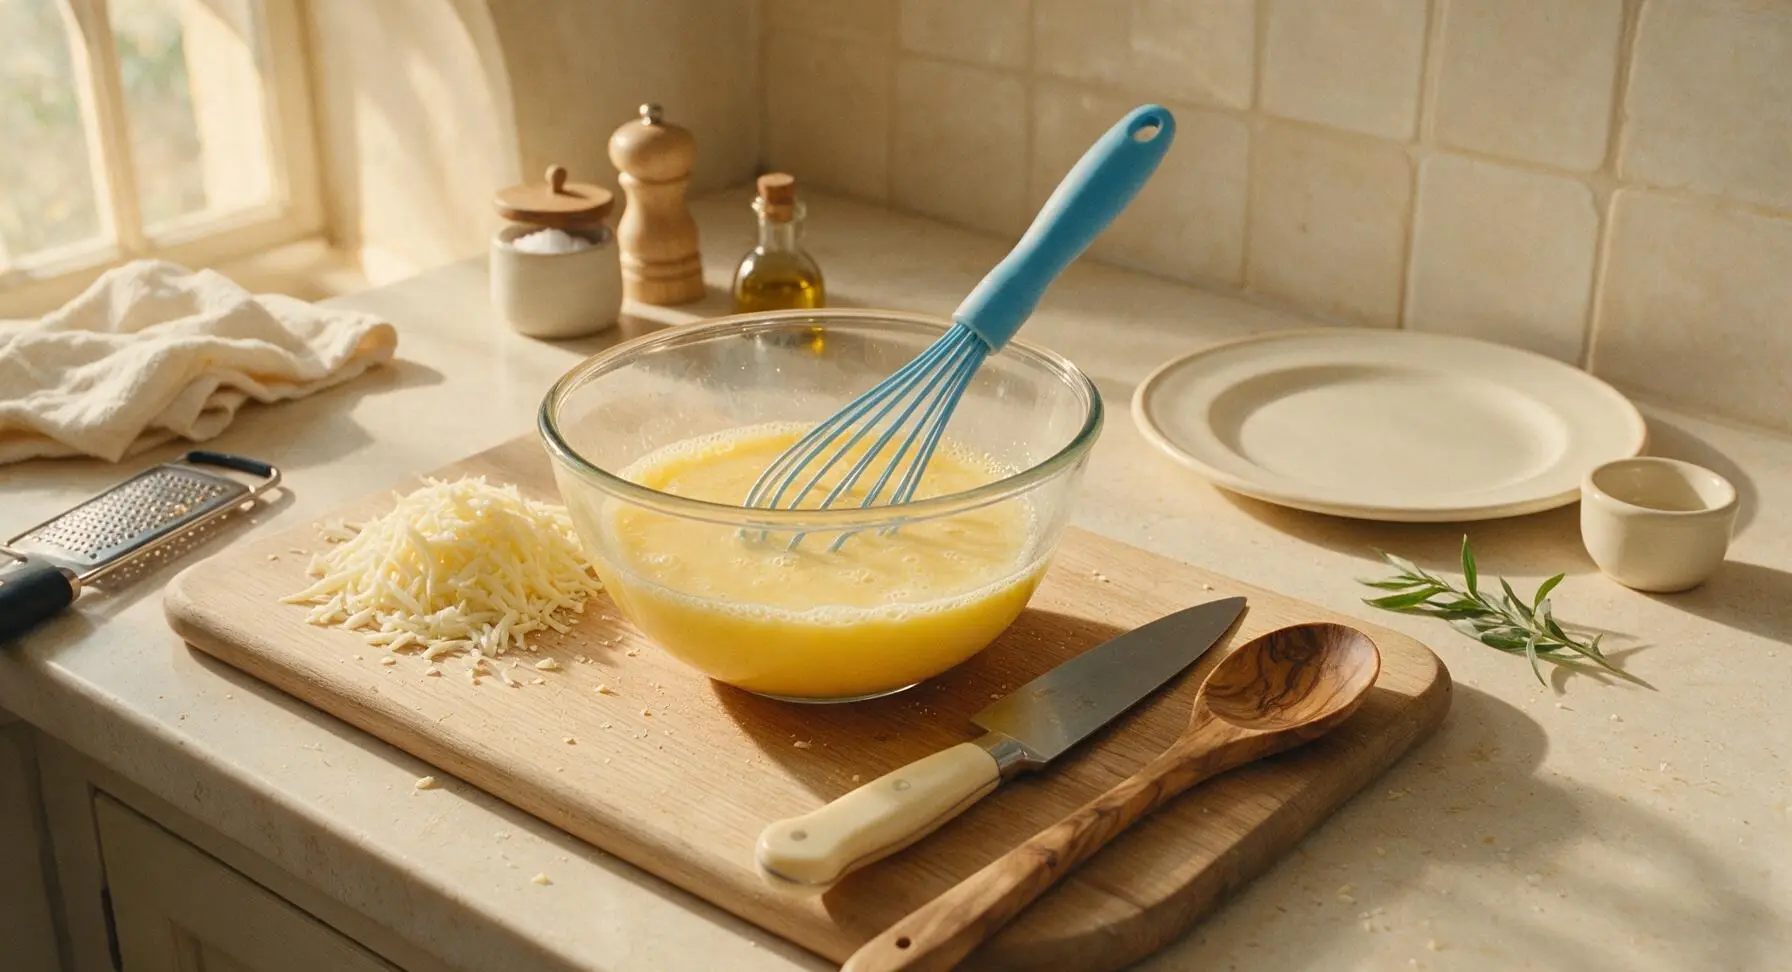
Rest the stainless steel box grater on the birch cutting board. Hold the block of low-moisture whole-milk mozzarella against the coarse grating side, and shred 1 loosely packed cup of cheese, using light, even pressure. Avoid pressing the cheese too hard against the grater, as this creates dense, clumpy shreds that lead to soggy chaffles. Set the shredded cheese aside on the cutting board, and move the grater to the far left counter edge once done.
Whisk Base Eggs
Crack both large eggs into the clear glass mixing bowl set on the center of the cutting board. Use the sky blue silicone whisk to beat the eggs continuously for 30 seconds, until the yolks and whites are fully combined into a uniform pale yellow liquid, with a thin layer of small bubbles across the surface and no visible streaks of clear egg white.
Mix Chaffle Batter
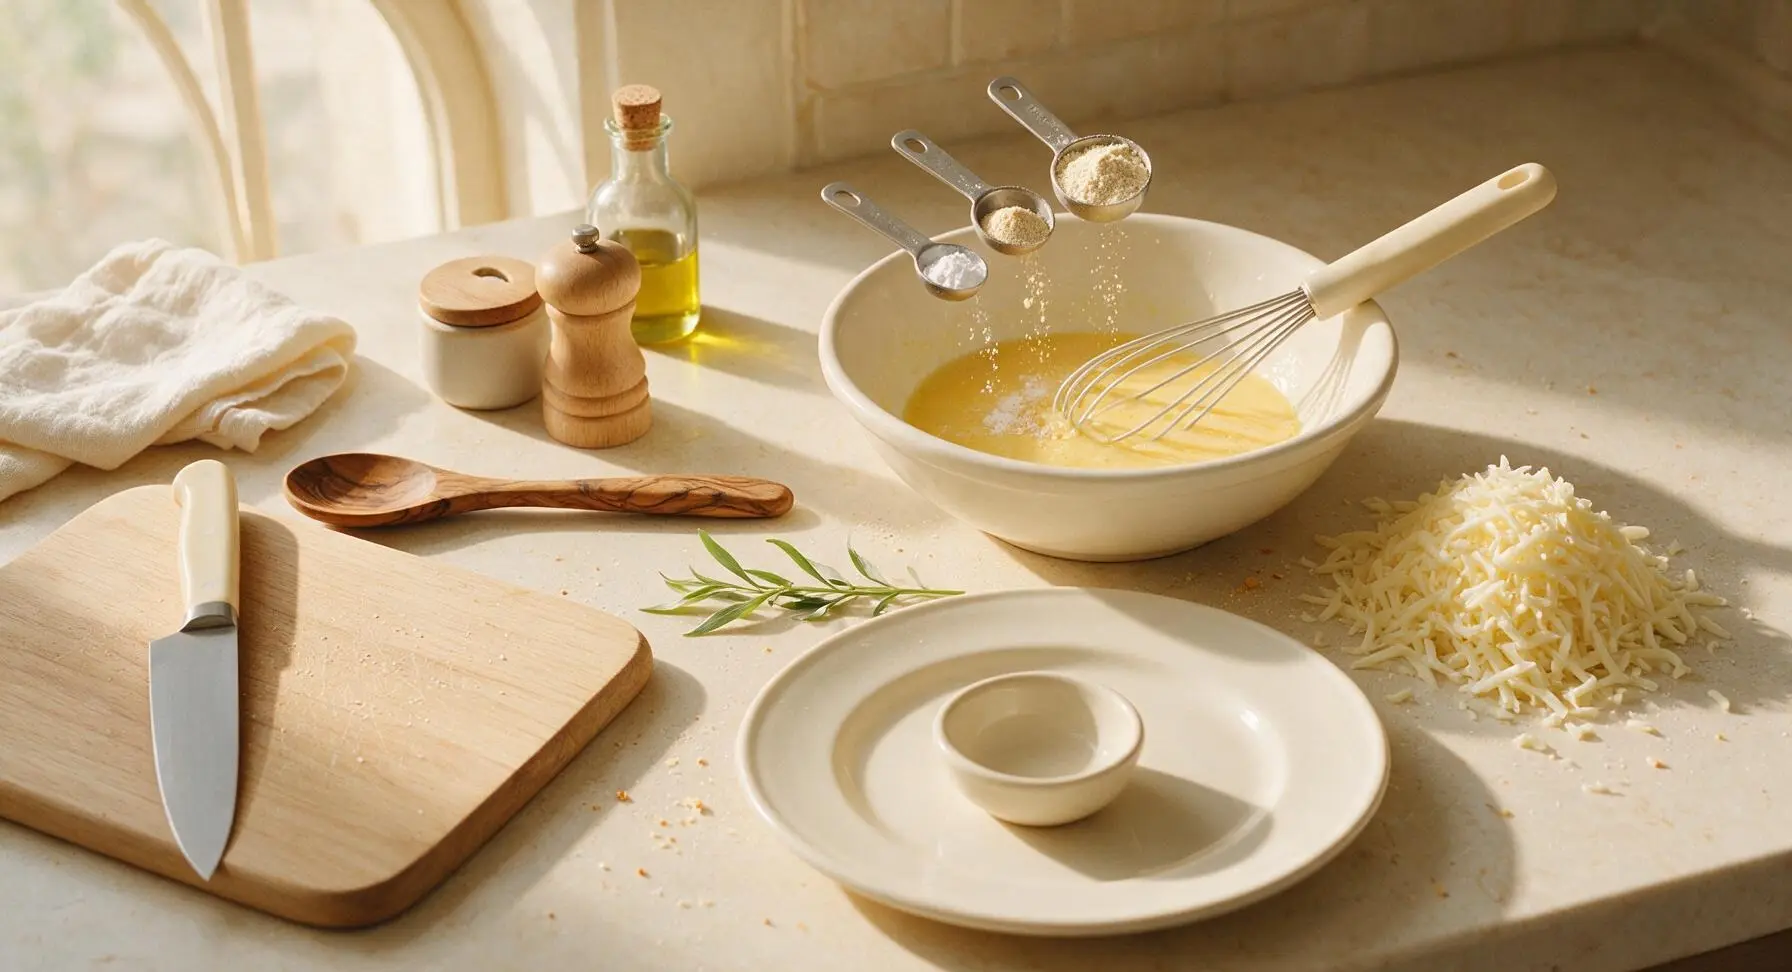
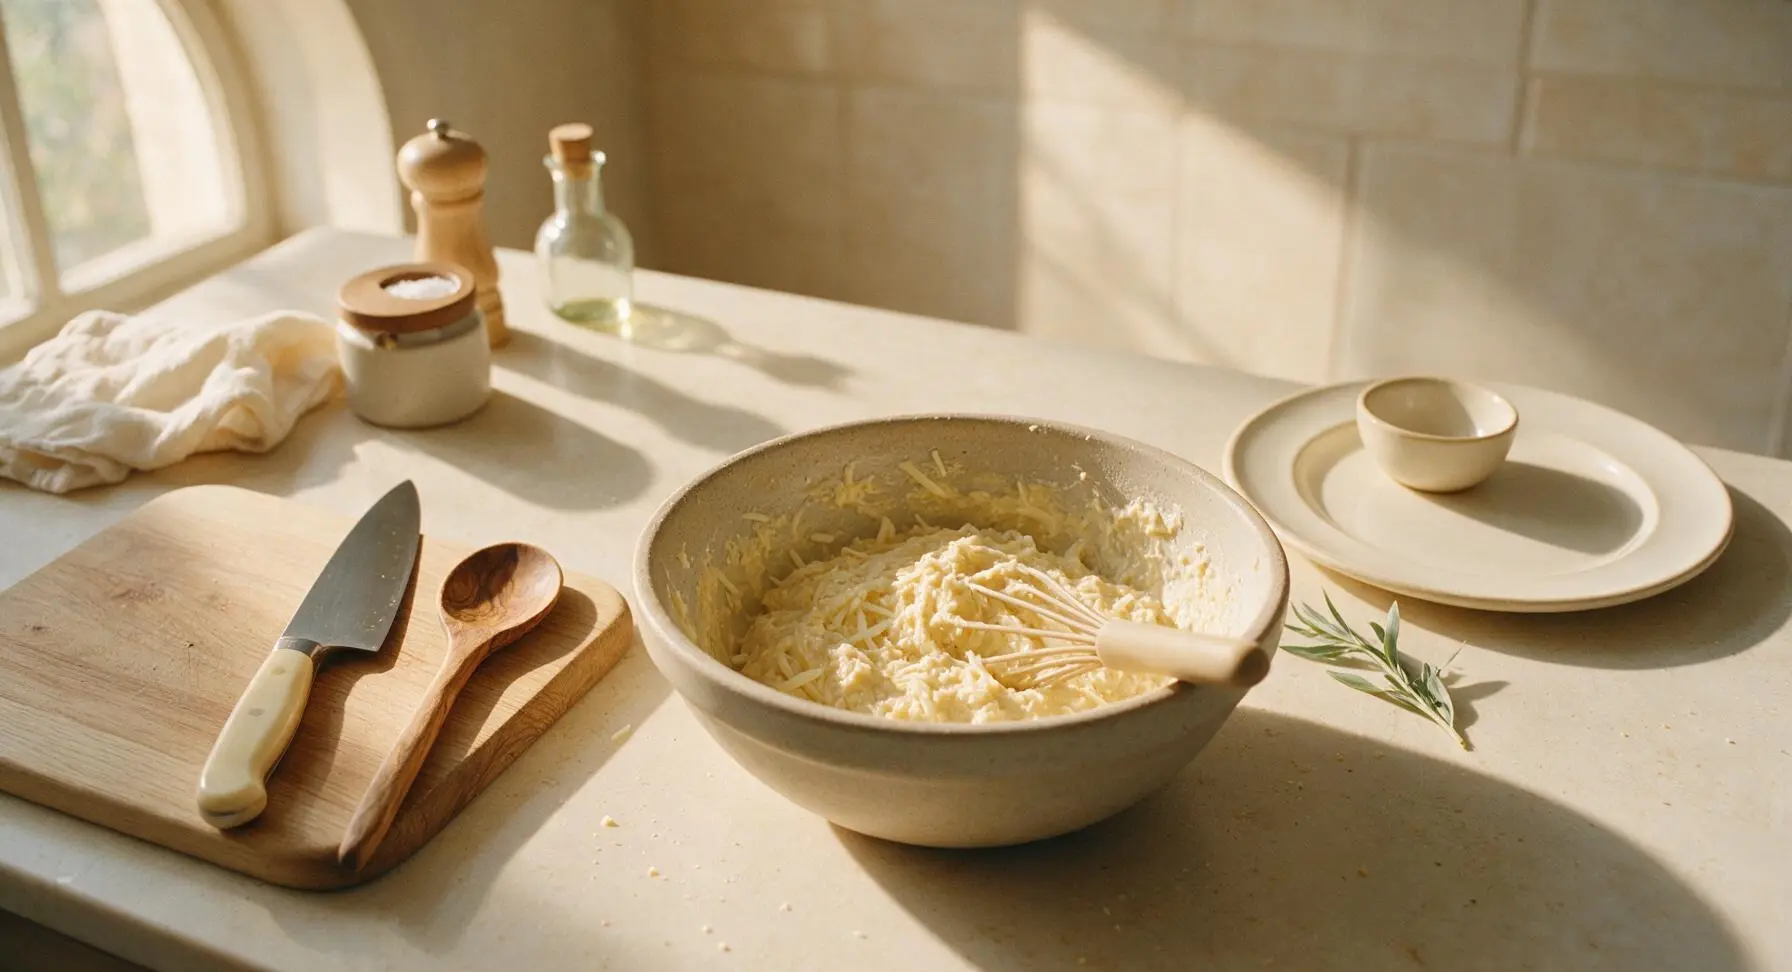
Add the 1 tablespoon superfine almond flour, ¼ teaspoon baking powder, ¼ teaspoon garlic powder, and ⅛ teaspoon fine sea salt to the whisked eggs. Stir gently with the whisk for 15 seconds to work out any lumps of almond flour, then fold in the full 1 cup of shredded mozzarella until every cheese shred is evenly coated in egg mixture. Do not overmix: the batter will be thick and lumpy, with distinct cheese shreds visible throughout, not a smooth paste.
Cook Chaffles in Batches
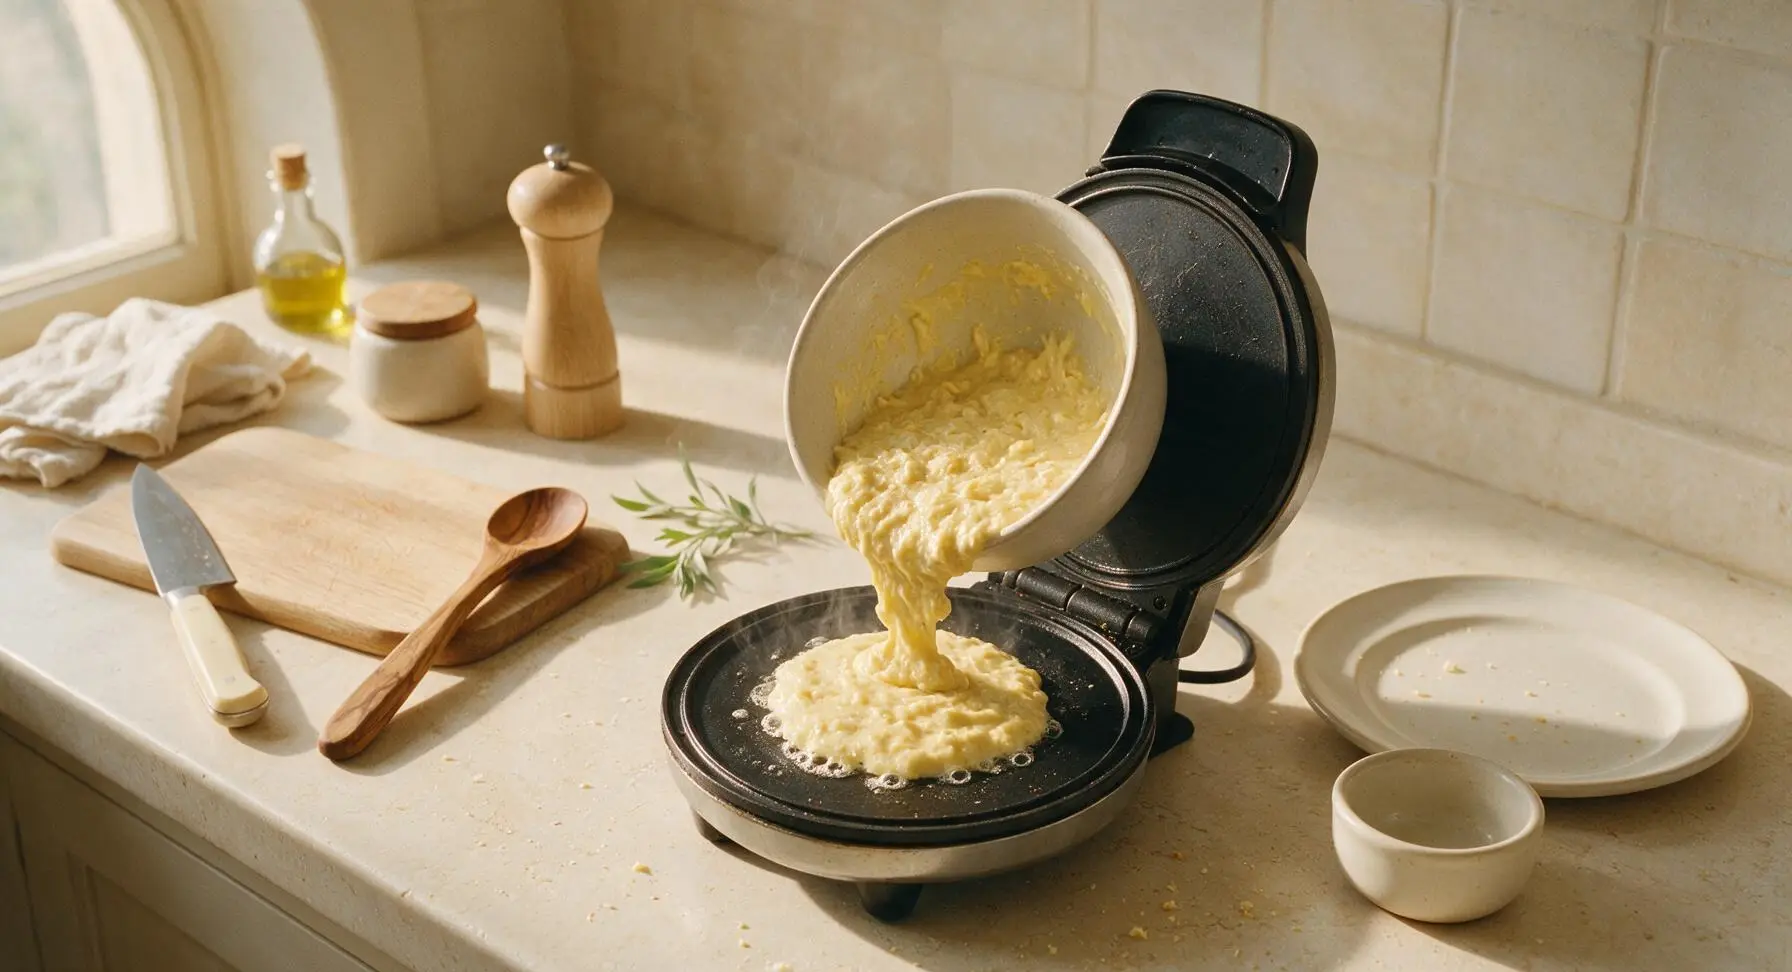
Once the waffle maker is fully preheated, scoop exactly ¼ of the batter (roughly ¼ cup) directly onto the center of the lower waffle plate. Close the lid gently, resting it on top of the batter without pressing down firmly (pressing squeezes batter out the sides and creates thin, floppy chaffles). Cook each chaffle for 3–3.5 minutes, until no more steam escapes from the waffle maker edges; this visual cue means the moisture has cooked off and the chaffle will be crisp, not soft.
Remove and Rest Chaffles
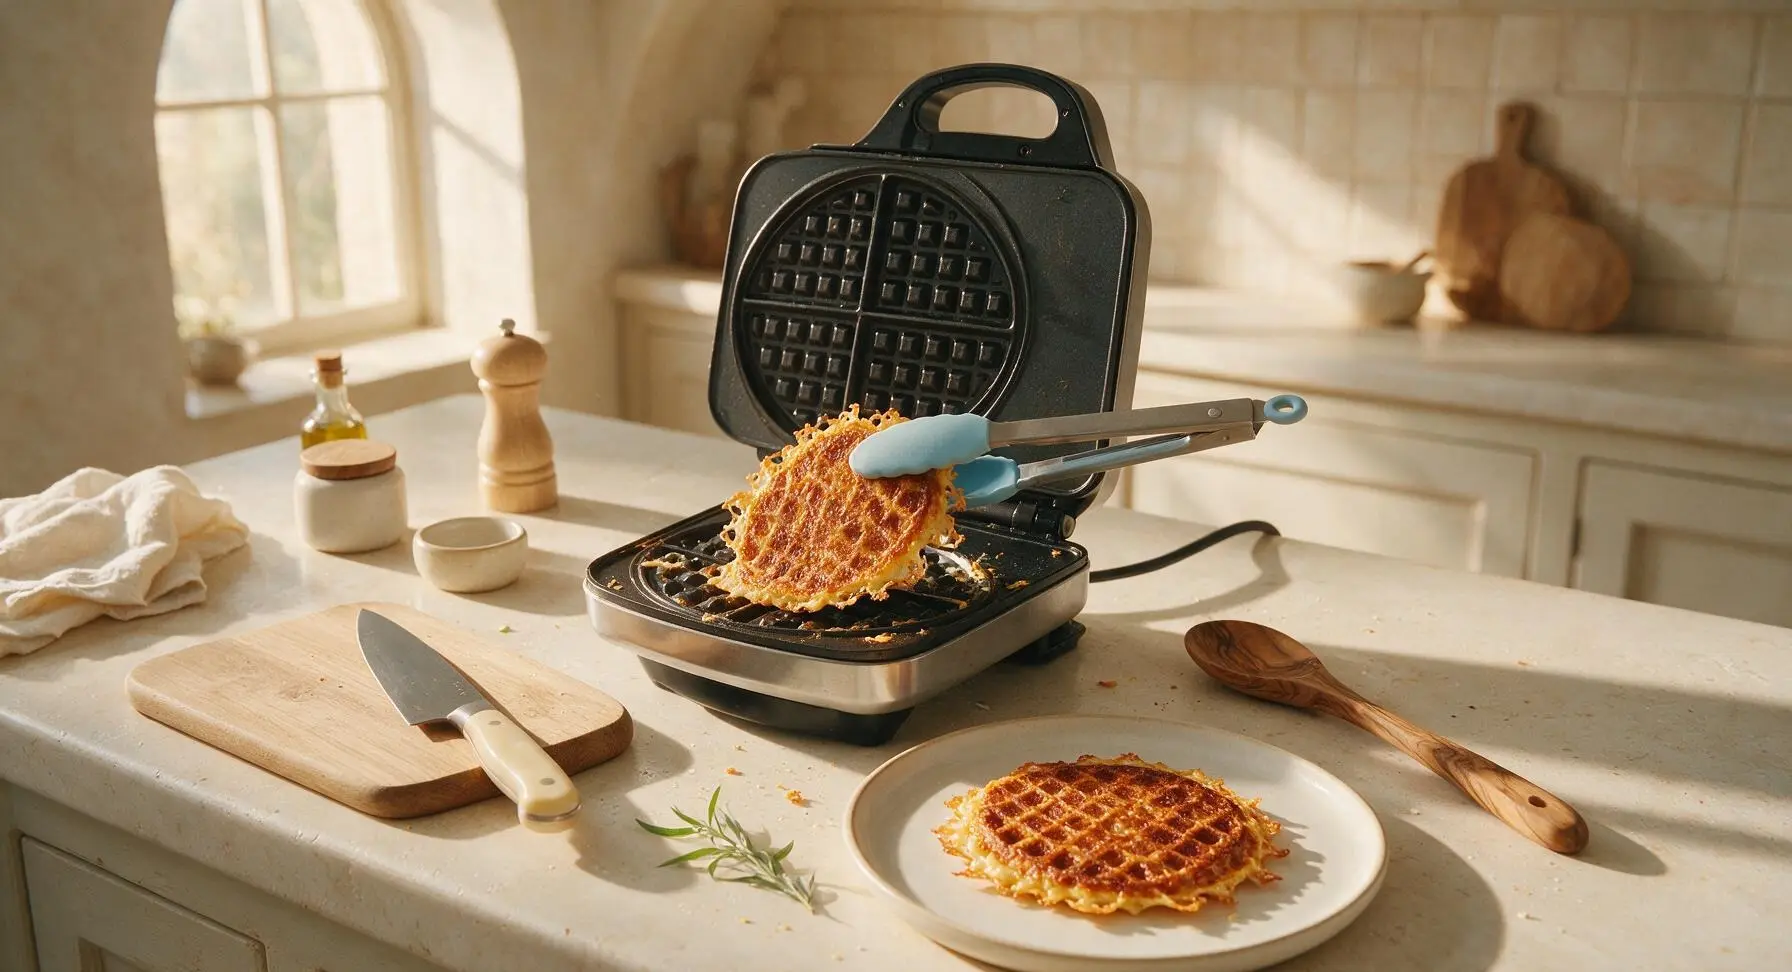
Open the waffle maker lid once steam stops escaping. Use the sky blue silicone-tipped tongs to gently lift the chaffle from the plates, taking care not to tear the lacy, crisp cheese edges. Transfer the finished chaffle to the cream white ceramic dinner plate, and let it rest for 1 full minute before serving; this short rest allows the exterior to crisp up as it cools, rather than staying soft and chewy. Repeat the cooking and resting process with the remaining 3 portions of batter, stacking chaffles loosely on the plate as you go.
Garnish and Serve
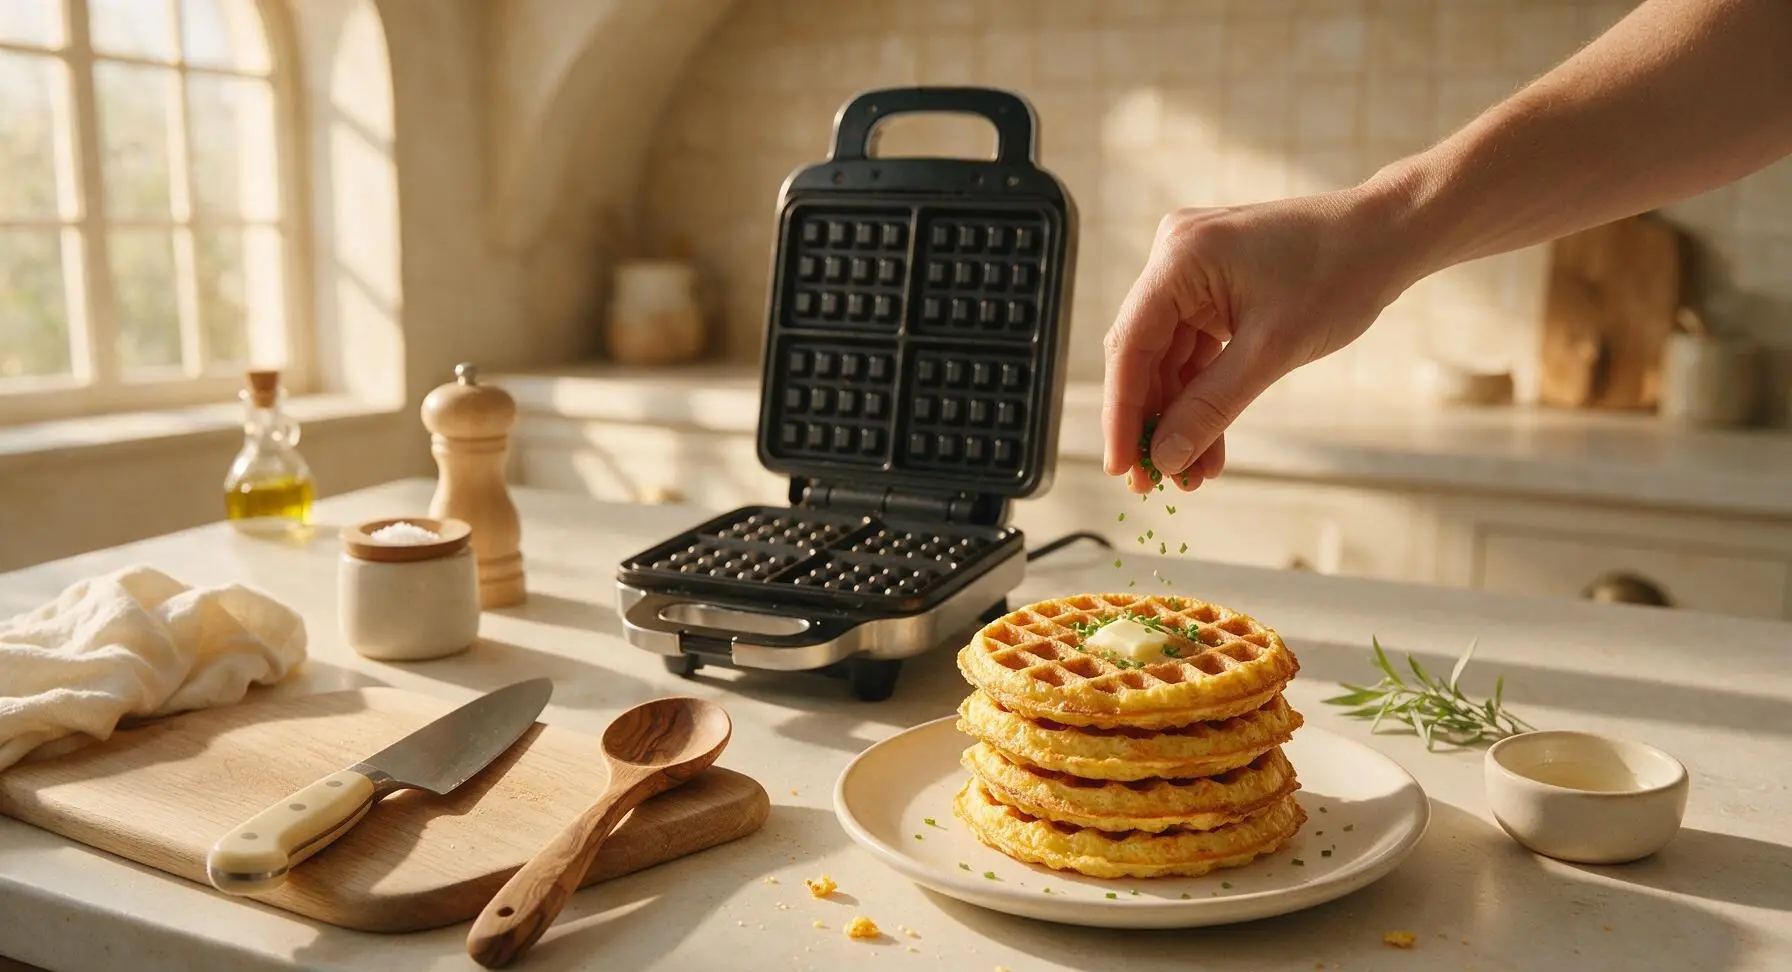
Once all 4 chaffles are cooked and rested, sprinkle 1 tablespoon of freshly chopped chives evenly over the top. For optional extra richness, add a thin 5g pat of salted butter to the top chaffle, letting it melt slightly into the waffle grids. Serve immediately, while the edges are shatteringly crisp and the cheese is warm and melty.
Tips
2.Wait until steam stops escaping from the waffle maker edges before opening the lid: lifting the lid too early causes the half-set chaffle to split and stick to the plates. The end of steam signals that excess moisture has cooked off, forming a stable, crisp cheese crust that releases easily.
3.Let chaffles rest for 1 full minute on the plate after cooking: straight off the waffle iron, chaffles feel soft and flexible, but as they cool slightly, the melted cheese sets to create a firm, bread-like texture perfect for sandwiches or topping. Skipping this rest will result in floppy, overly egg-y chaffles.






OMG these chaffles are a total game changer for my weekday meal prep! I’ve tried so many keto bread substitutes that turn out soggy or weirdly eggy, but these get perfectly crispy in the full 12 minute cook time. My 8 year old even asked for a second one filled with cheese and turkey for his school lunch this week. SO good, I’ll be making a big batch every Sunday from now on.
Super easy recipe, I threw these together before work this morning! I didn’t have a mini waffle maker so I used my regular sized one and just split the batter into two smaller pours, and they turned out perfect. A little sprinkle of garlic powder on top takes these next level for breakfast sausage and egg sandwiches.
Wait, is there a trick to keep these from sticking to my waffle iron? I tried this recipe last night and half the chaffle stuck to the plates even though I sprayed it with nonstick spray first. The flavor was great but the mess was so frustrating!
Made these for our neighborhood potluck last weekend and even the non-keto folks were asking for the recipe! I made a half batch sweet with a little cinnamon and powdered erythritol to go with coffee, and a half batch savory with shredded cheddar to pair with our chili. Total crowd pleaser, so easy to whip up even when you’re running behind to an event.
These are so tasty! I made a single batch earlier this week and loved them, but how long do these stay good in the fridge? I want to make a big batch to grab for quick breakfasts during the work week, but I don’t want them to get soggy after a couple days.
Game. Changer. I’ve been missing crispy breakfast sandwiches since going keto 6 months ago, and these are the perfect replacement for English muffins. I added a little extra parmesan to the batter and they taste exactly like the cheesy bread my grandma used to make. 10/10, no notes.