
chaffles with almond flour

title 1
chaffles with almond flour
⏱️ cook time 10 minutes
🍽️ servings 2
⚡ Difficulty easy

intro

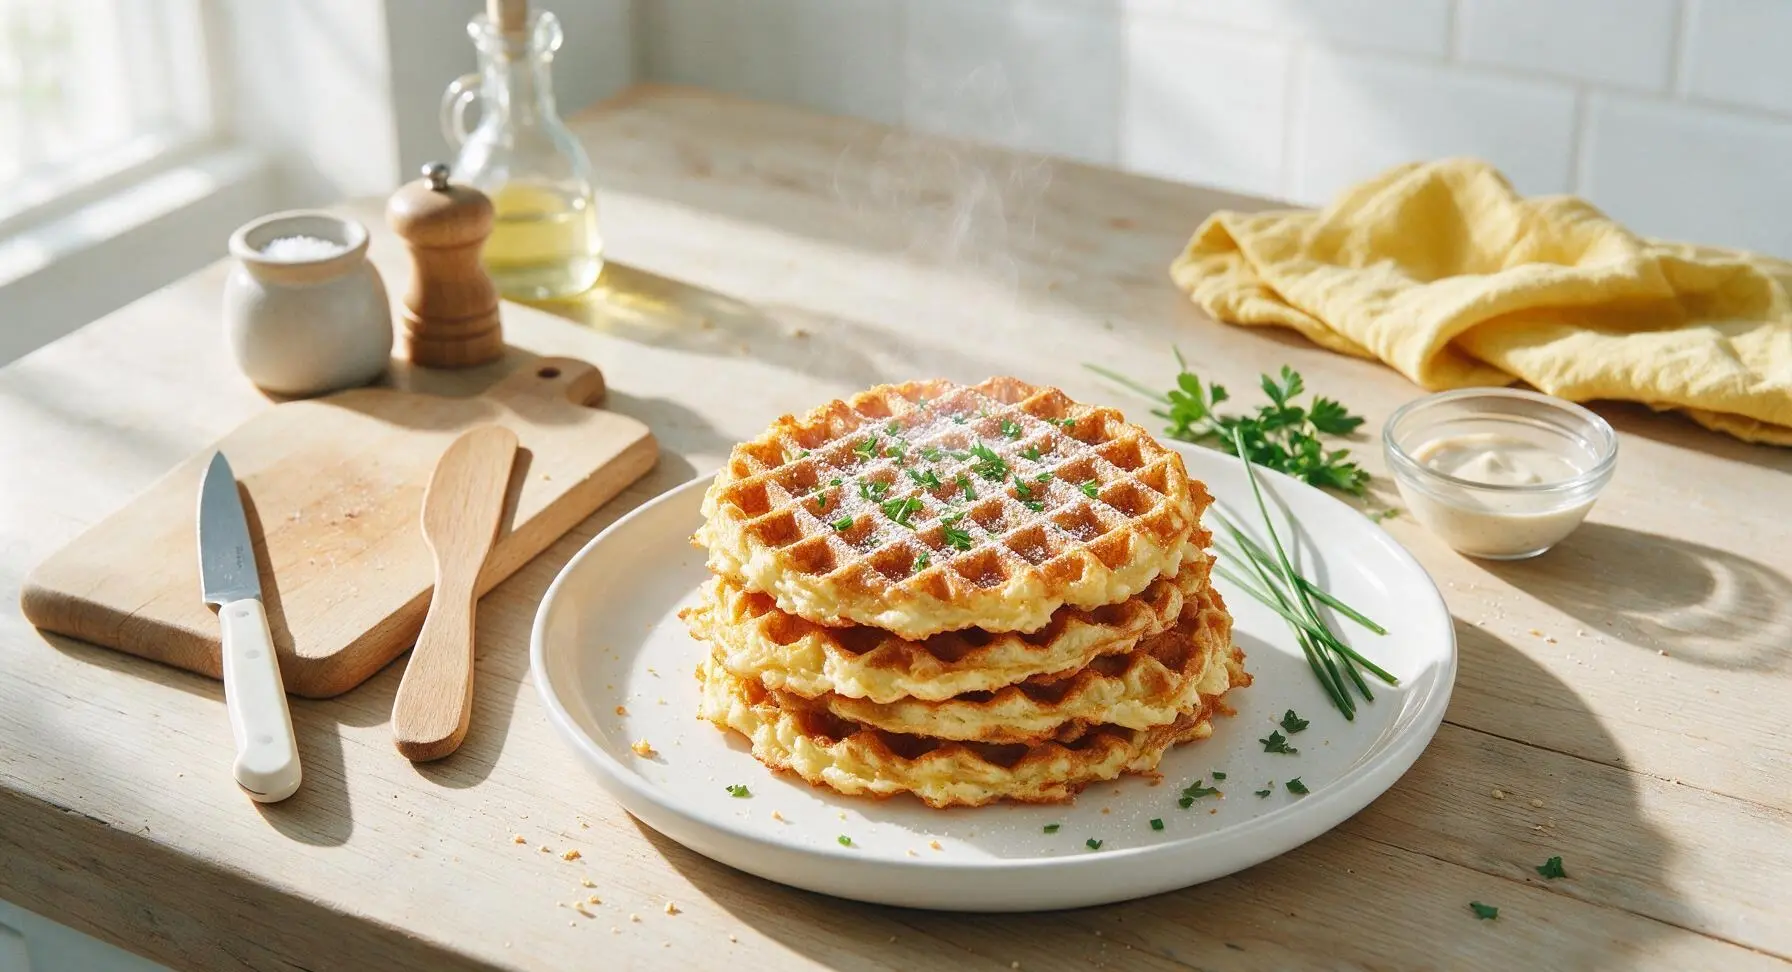
Crispy, cheesy, grain-free almond flour chaffles are a quick, low-carb waffle swap—fluffy inside, golden-crisp outside, ready in just over 10 minutes for a satisfying, fuss-free meal.

Ingredients
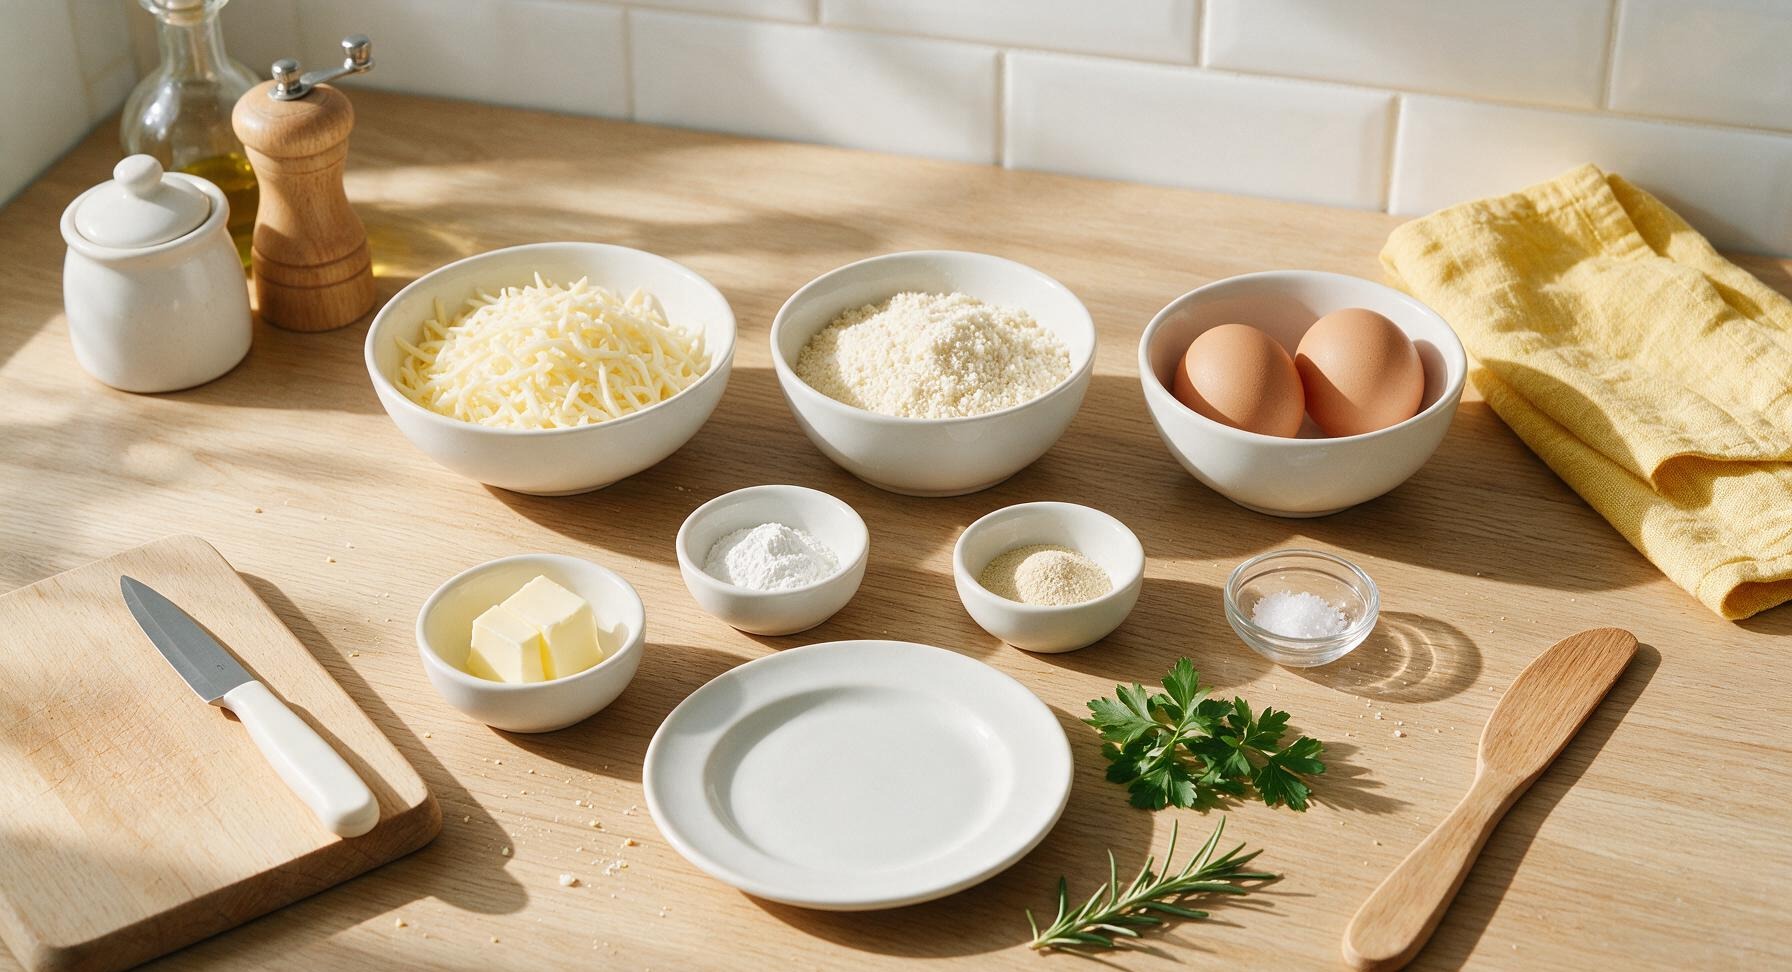
Shredded low-moisture part-skim mozzarella cheese 1 cup (113g)
Blanched superfine almond flour 1/4 cup (28g)
Large eggs 2
Baking powder 1/2 tsp
Garlic powder 1/4 tsp
Fine sea salt 1/8 tsp
Unsalted butter (for serving) 2 tsp
Fresh rosemary (for garnish) 1 small sprig

Steps

1

Preheat Waffle Maker

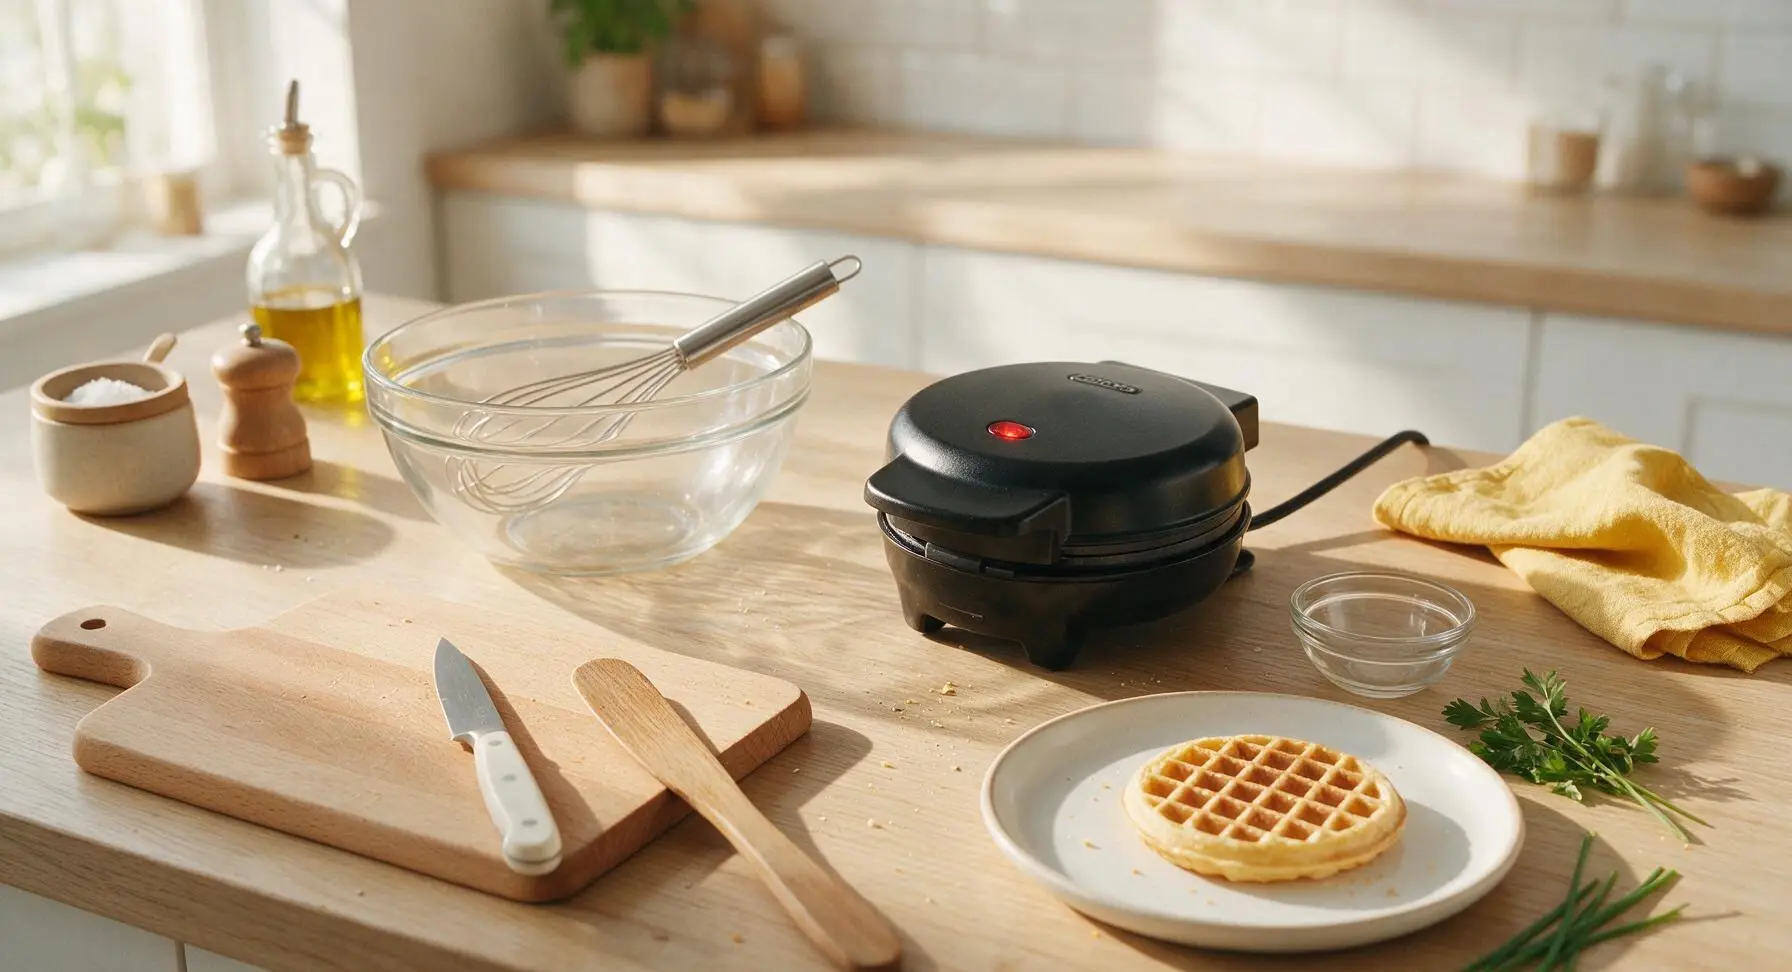
Plug in the mini 4-inch waffle maker and preheat to medium-high (approximately 375°F/190°C) while you prepare the batter. The unit is fully preheated when its built-in ready indicator light turns off; test by flicking a single drop of water onto the plate— it should sizzle and evaporate in 2 seconds. Skip greasing the plates unless your waffle maker has deep scratches, as the cheese in the batter will release enough fat to prevent sticking.
Step 1
step1:Preheat Waffle Maker
2

Whisk Egg Base

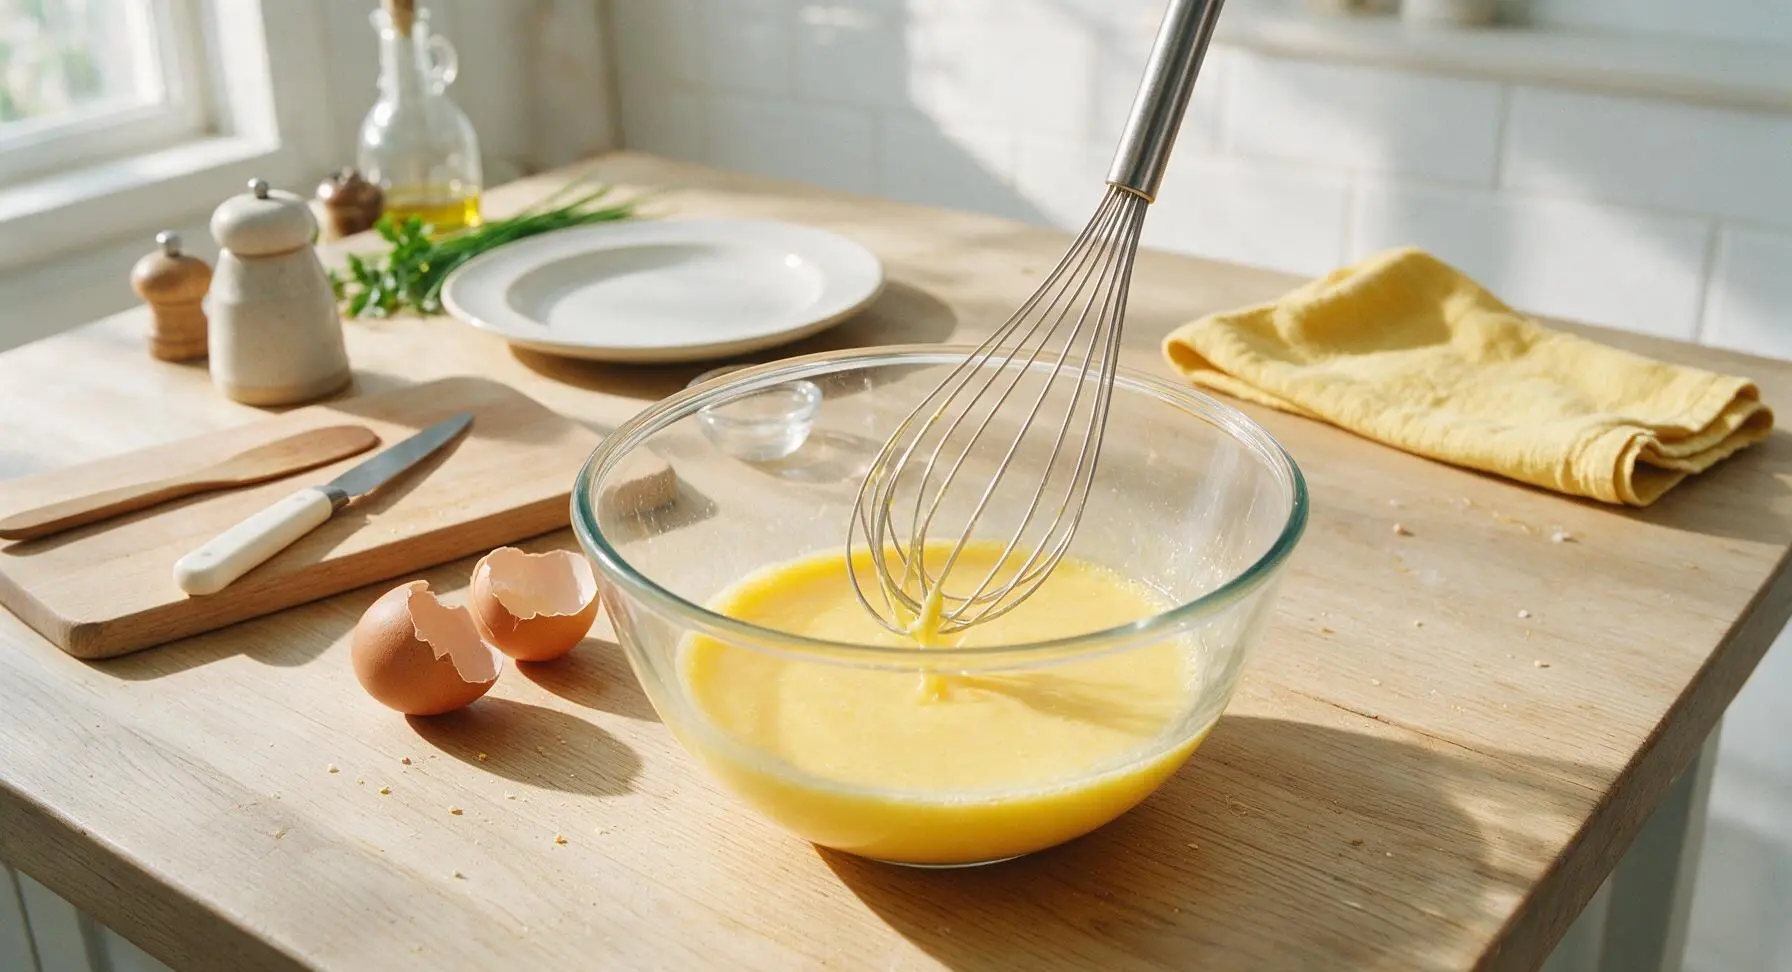
Crack the 2 large eggs into the clear glass mixing bowl. Use the stainless steel wire whisk to beat the eggs vigorously for 30 seconds, until they are fully combined, pale lemon yellow, and slightly frothy across the surface, with no visible streaks of separate egg white or yolk remaining.
Step 2
step2:Whisk Egg Base
3

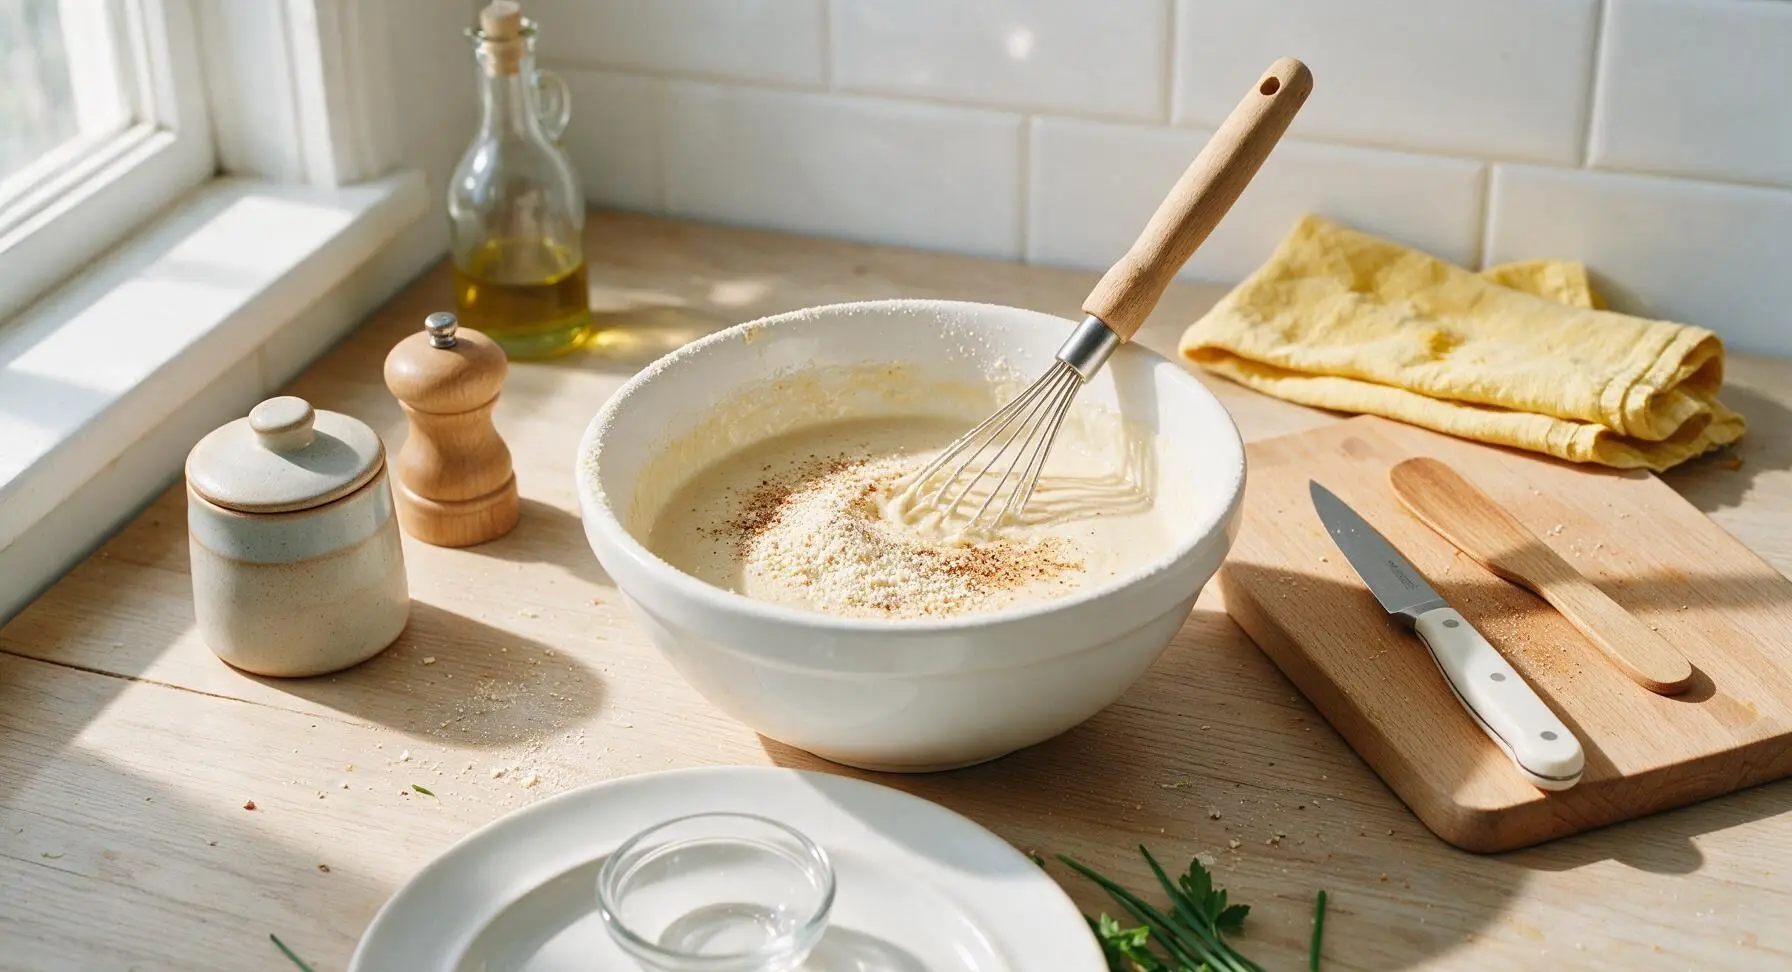
Mix Dry Ingredients

Add the 1/4 cup blanched superfine almond flour, 1/2 tsp baking powder, 1/4 tsp garlic powder, and 1/8 tsp fine sea salt to the beaten eggs. Whisk steadily for 20 seconds until all dry ingredients are fully incorporated, with no visible clumps of almond flour left in the smooth, thin base batter.
Step 3
step3:Mix Dry Ingredients
4

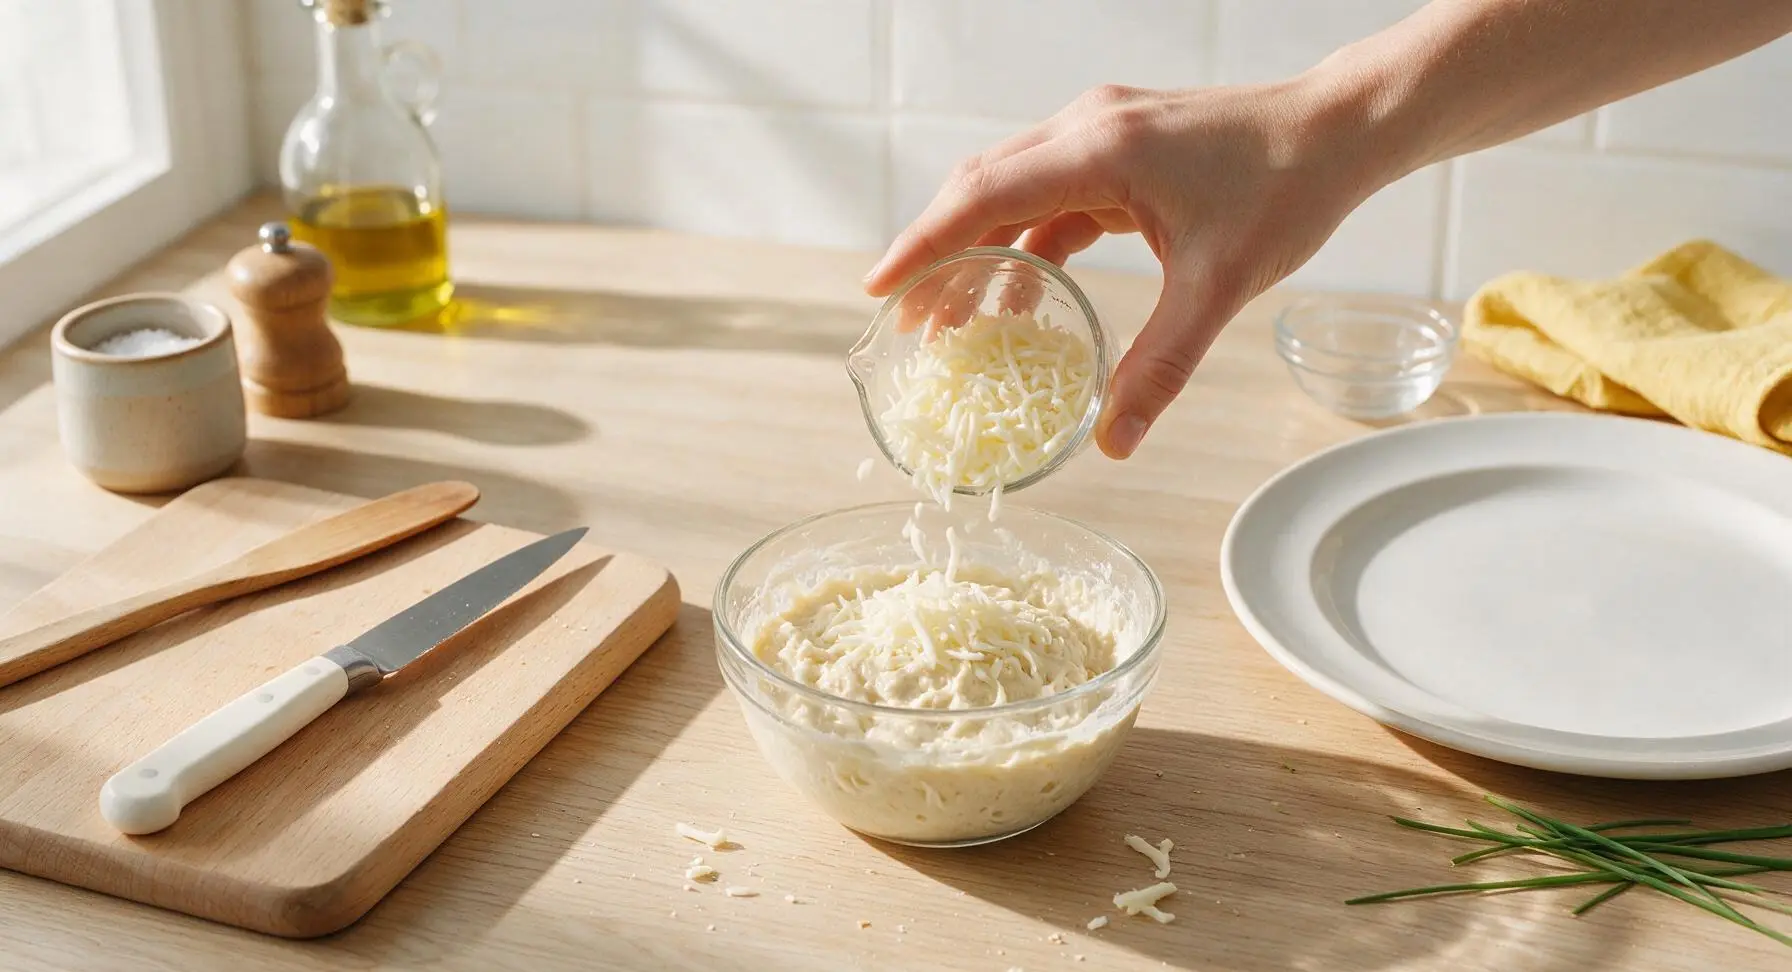
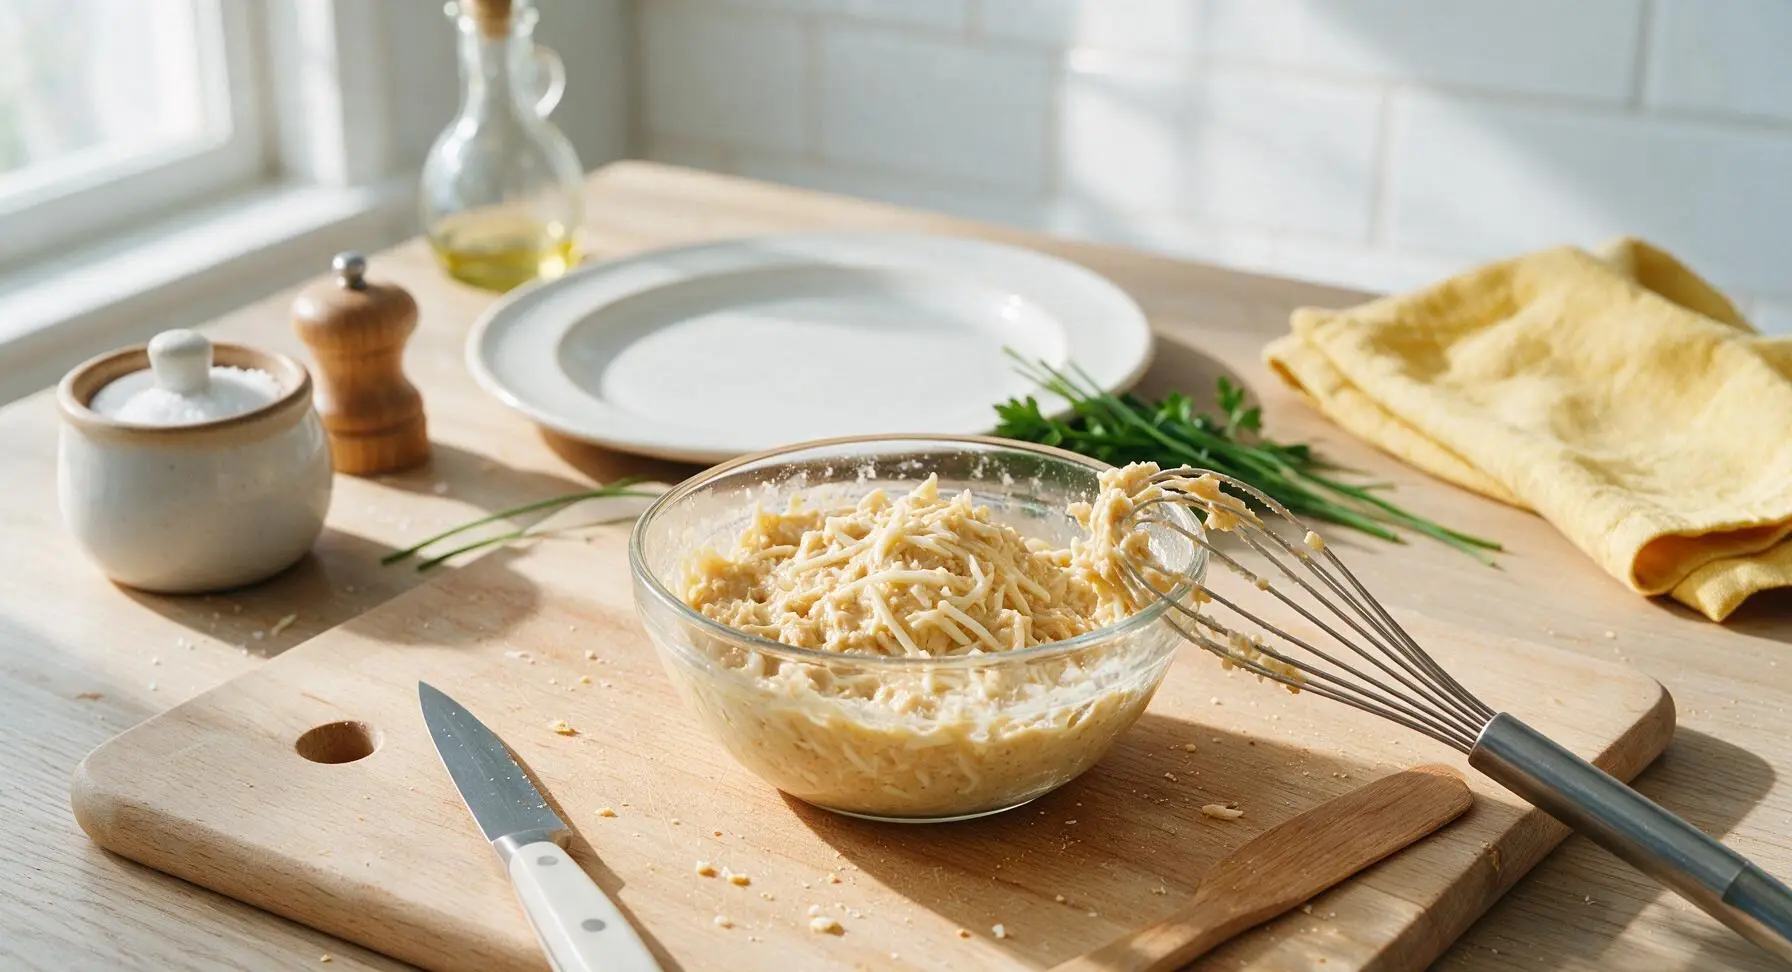
Fold in Shredded Cheese

Add the full 1 cup of shredded low-moisture mozzarella to the batter, using the whisk to gently fold the cheese in until every shred is evenly coated in batter. The finished batter will be thick, lumpy, and slightly stringy from cheese strands— do not overmix to a smooth consistency, as this will create tough chaffles.
Step 4
step4:Fold in Shredded Cheese
Step 4
step4:Fold in Shredded Cheese
5

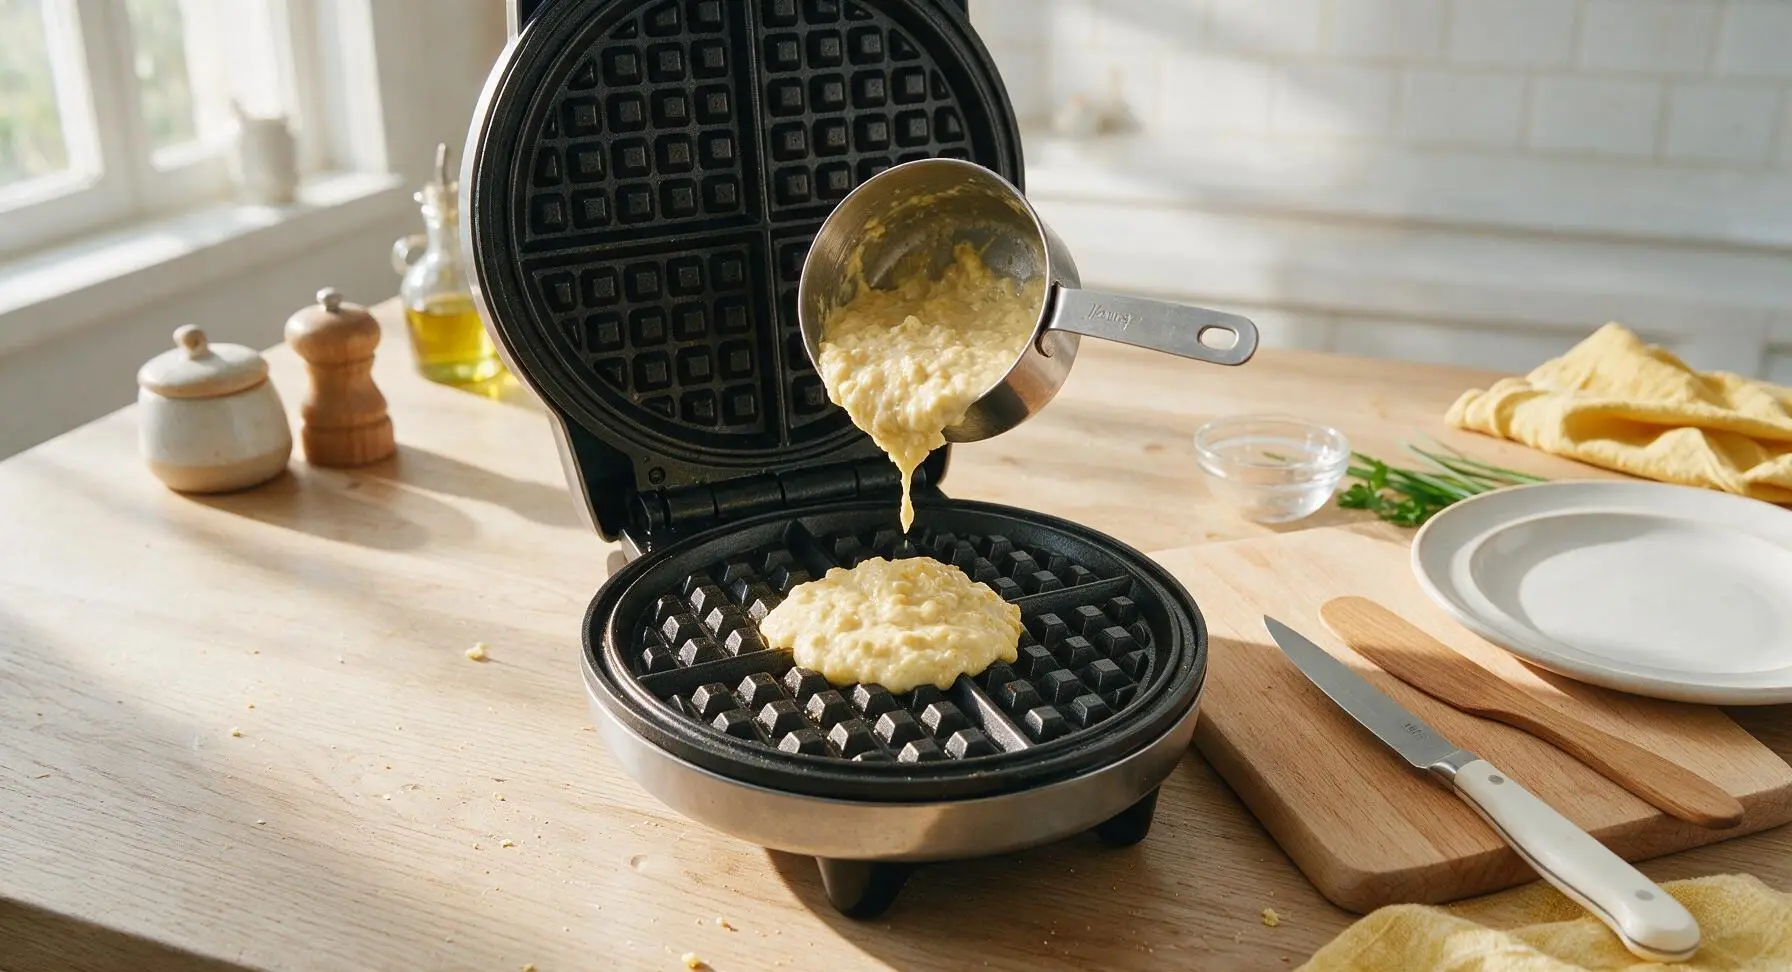
Cook Chaffles in Batches

Scoop 1/4 cup of batter directly onto the center of the preheated waffle maker plate. Close the lid and cook for 2.5 to 3 minutes, resisting the urge to open the lid early (this causes splitting and sticking). The chaffle is done when it is deep golden brown, crispy at the edges, and releases easily from the plate when the lid is lifted. Repeat with remaining batter to make 4 total chaffles.
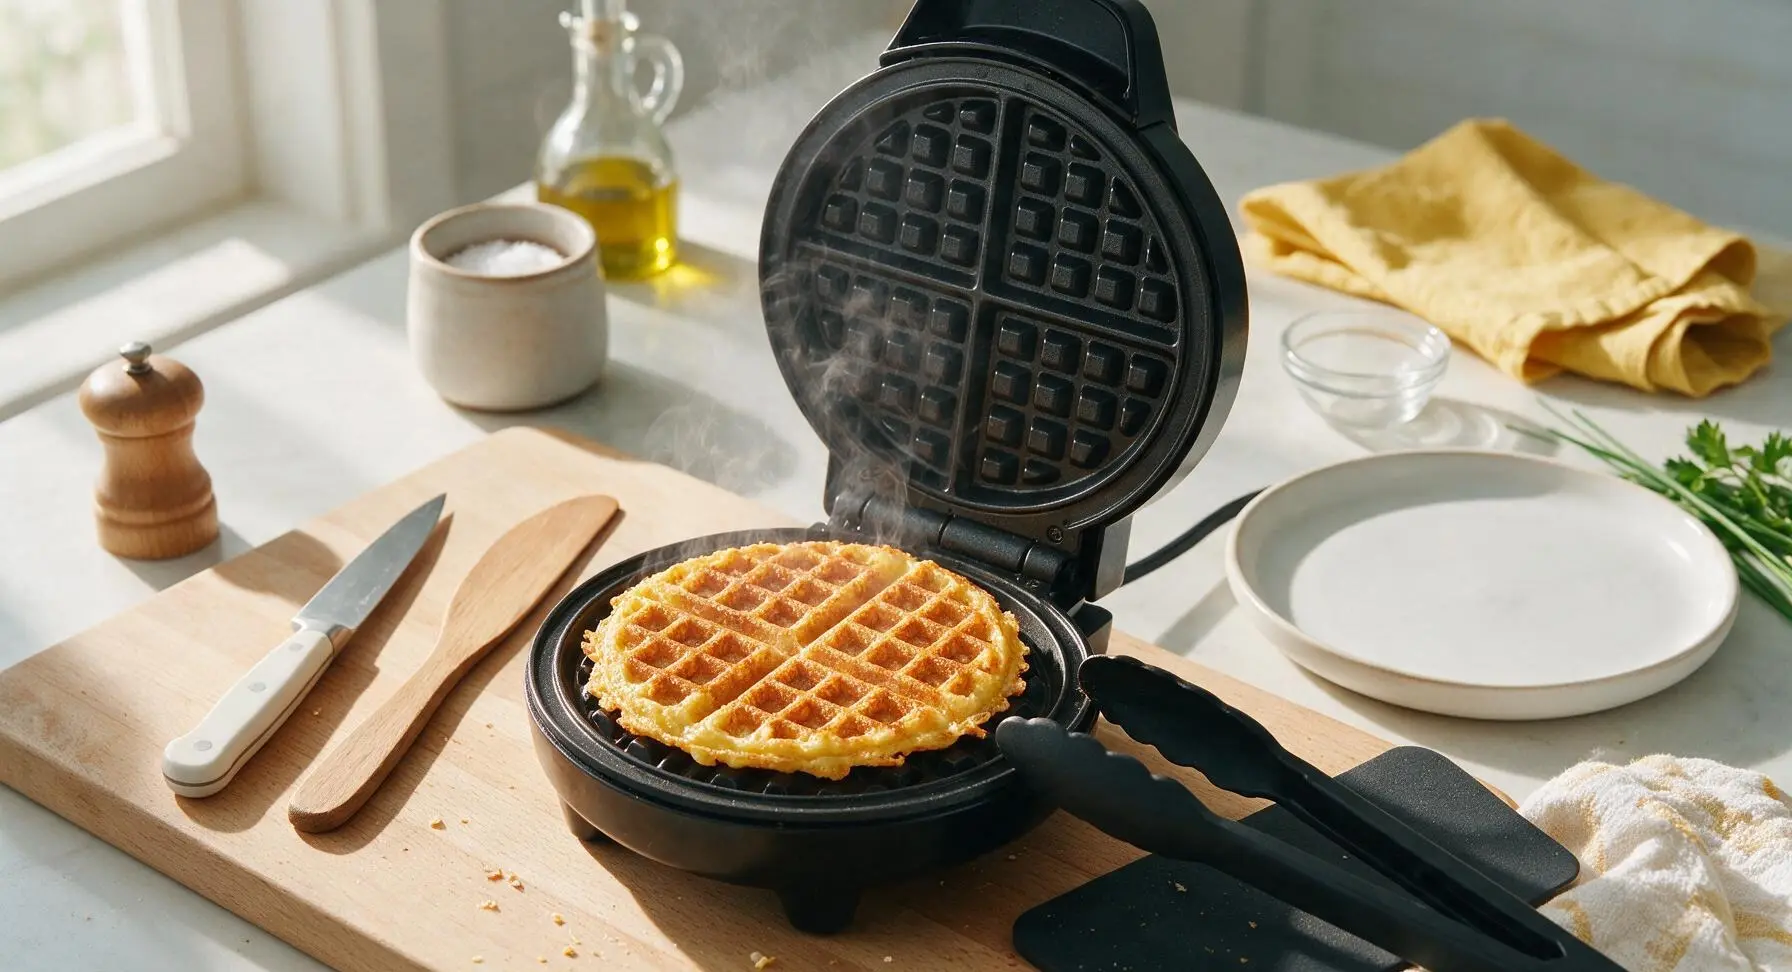
Step 5
step5:Cook Chaffles in Batches
Step 5
step5:Cook Chaffles in Batches
6

Rest for Crispness

As you transfer cooked chaffles to the cream stoneware plate with the tongs, prop them slightly against each other rather than stacking them flat immediately. Let them rest for 1 full minute to allow excess steam to escape, which prevents soggy chaffles and keeps edges shatteringly crisp.
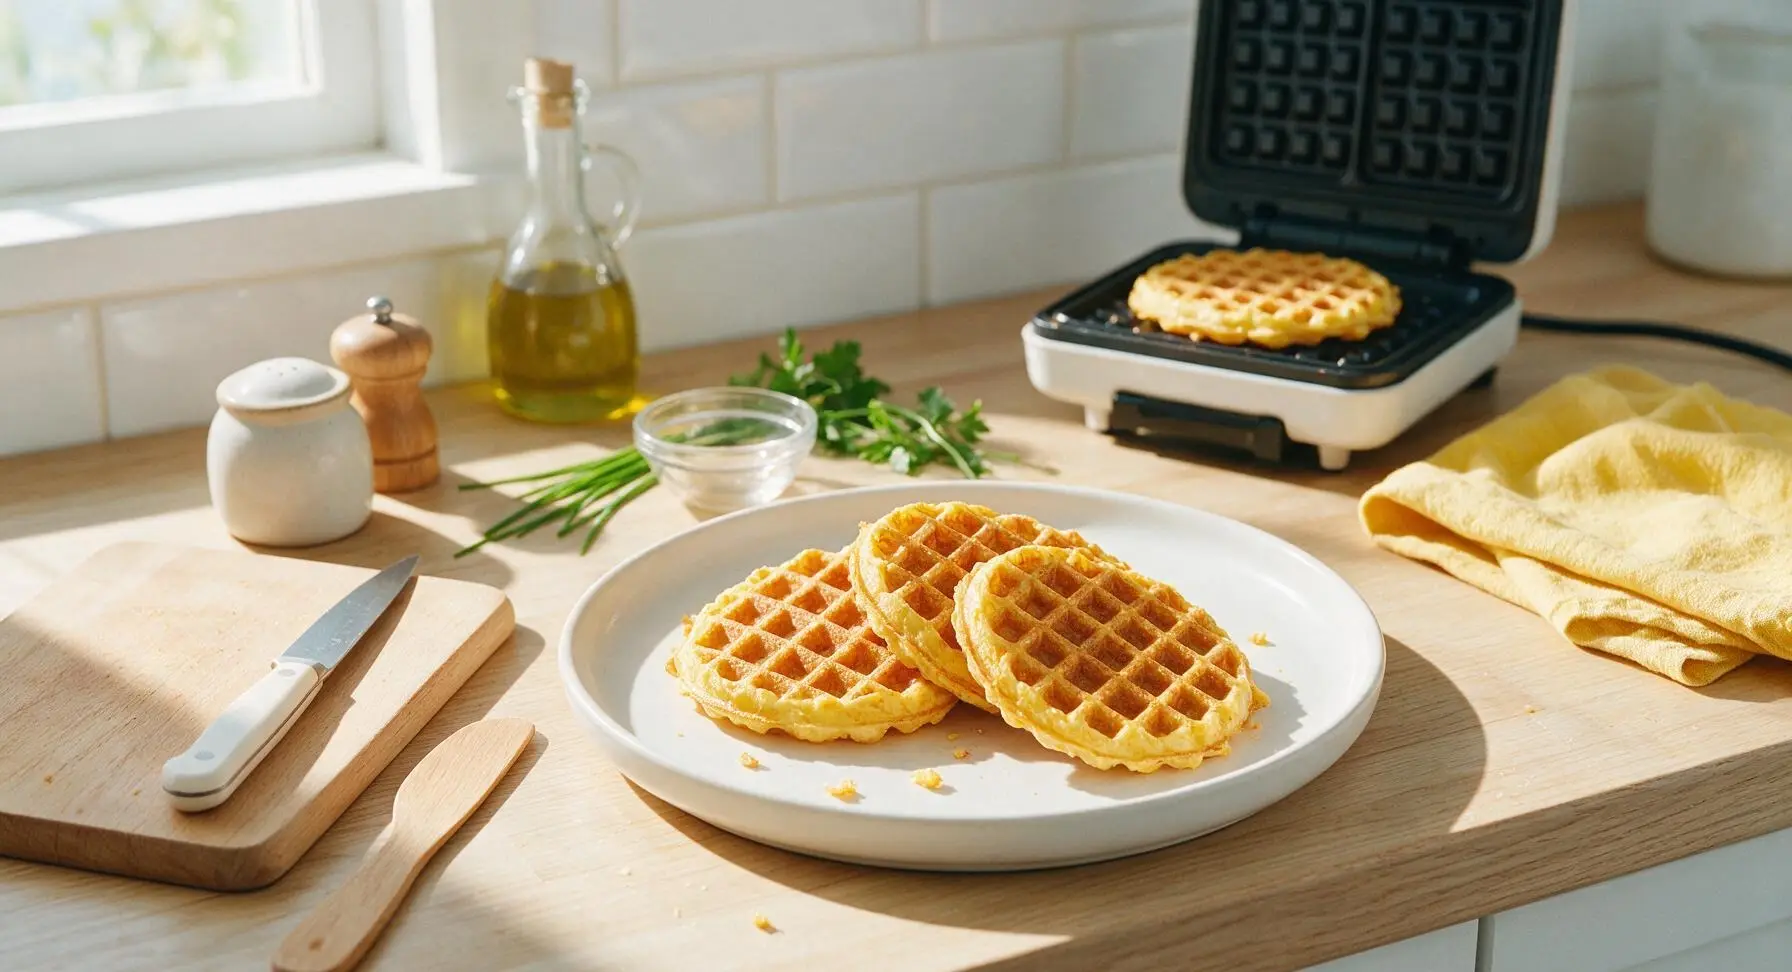
Step 6
step6:Rest for Crispness
7

Garnish and Serve

After resting, stack the chaffles slightly offset on the cream stoneware plate. Top with a 1 tsp pat of unsalted butter, which will melt slowly into the waffle grids, and tuck the fresh rosemary sprig on the plate rim for a bright, savory accent. Serve immediately while chaffles are hot and crisp.
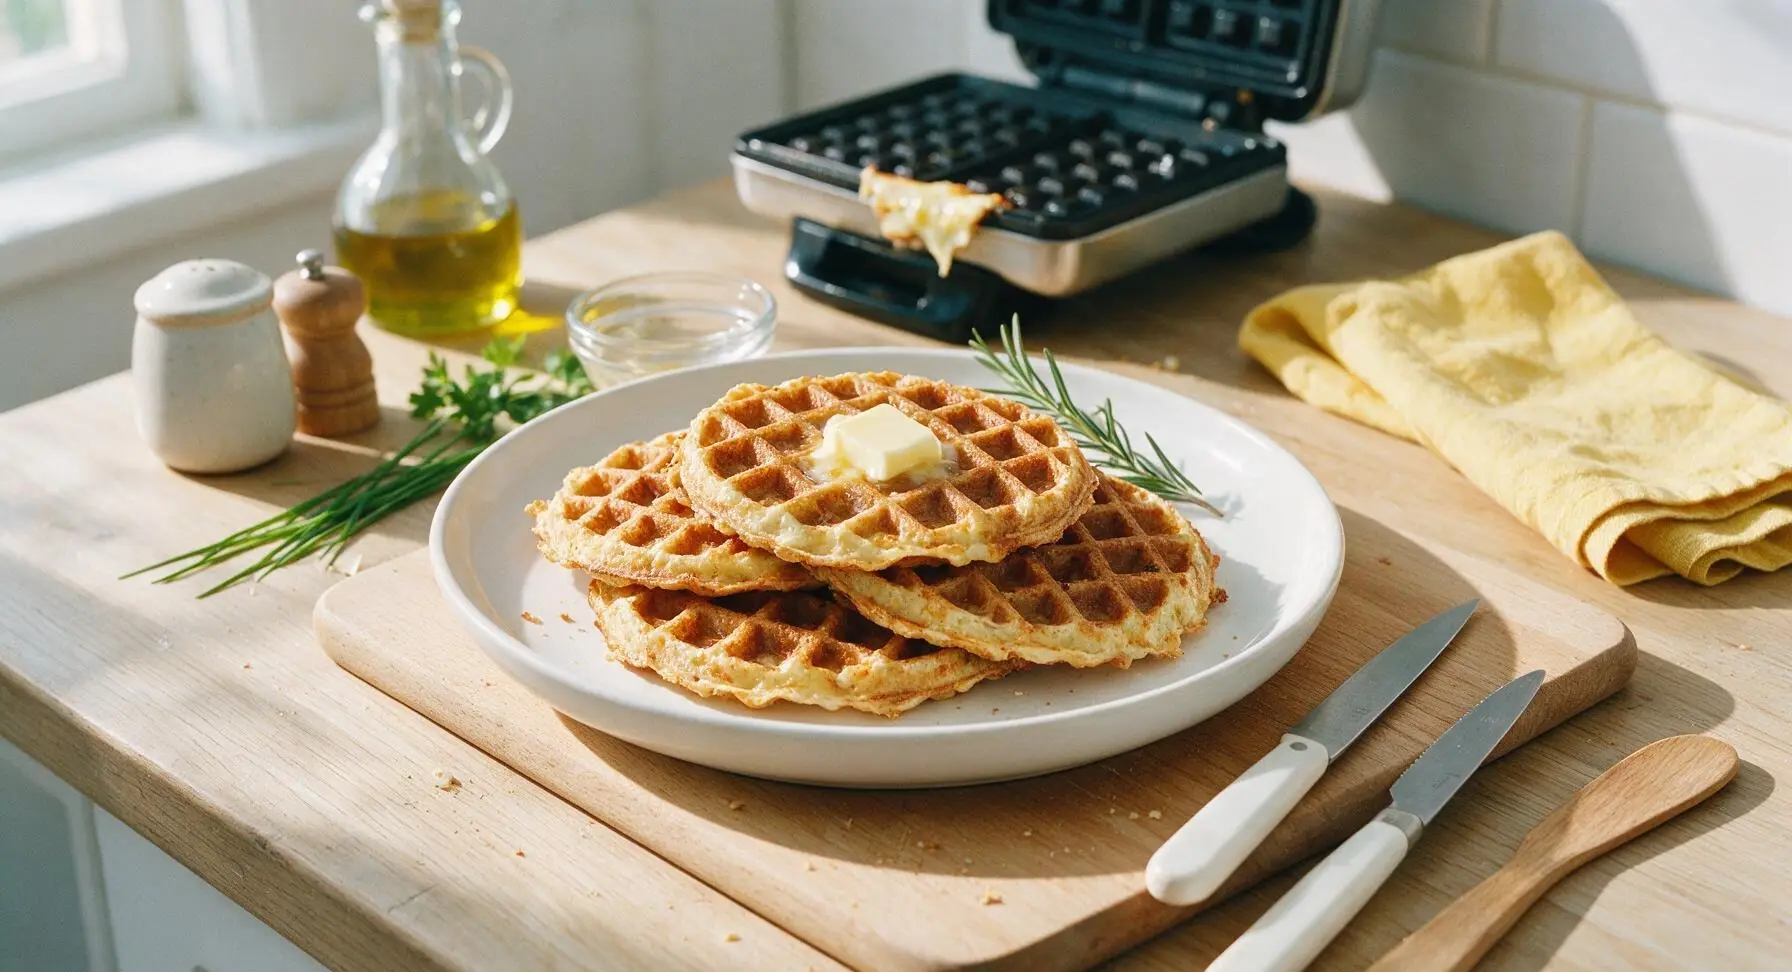
Step 7
step7:Garnish and Serve

Tips

1.Use only low-moisture part-skim mozzarella for this recipe: fresh mozzarella or high-moisture shredded mozzarella contains excess water that will make chaffles soggy, stick to the waffle maker, and prevent crispy edges from forming.
2.Skip non-stick cooking spray for this recipe: the natural fat released from the mozzarella and eggs creates enough non-stick release, and extra spray will make chaffle edges greasy instead of crisp. If you have an old, scratched waffle maker, a single light wipe of avocado oil on the plates before the first batch is all you need.
3.Avoid stacking chaffles immediately after cooking: trapping steam between flat-stacked chaffles will turn crispy edges soft and chewy in 30 seconds or less. Propping them against each other for a 1-minute rest lets steam escape for perfect crispness.


✨ You May Also Like

Breakfast
🍜 United States

Crisp-edged, fluffy lard griddle cakes are a nostalgic homestyle staple, with rich savoriness from rendered lard, perfect topped with maple syrup or savory gravy.

⏱️ 25 minuteBreakfast ★ 4.8
Breakfast
🍜 United States

Flaky, buttery homemade buttermilk biscuits smothered in creamy, peppery pork sausage gravy: a beloved, hearty Southern American comfort food classic.

⏱️ 35 minuteBreakfast ★ 4.8
Breakfast
🍜 United States

Golden, custardy brioche stuffed with sweet cream cheese and fresh berries, pan-fried to crisp perfection. An indulgent, cozy breakfast perfect for slow weekend mornings.

⏱️ 30 minuteBreakfast ★ 4.7
Breakfast
🍜 United States

Flaky, buttery Southern-style biscuits stuffed with savory salty country ham, a portable, satisfying classic perfect for casual on-the-go meals.

⏱️ 25 minuteBreakfast ★ 4.8
Breakfast
🍜 United States

Iconic puffy baked pancake popularized in Seattle, with crisp golden edges and soft custardy center, served warm with classic sweet toppings.

⏱️ 35 minuteBreakfast ★ 4.6
Breakfast
🍜 United States

Fluffy, golden pancakes studded with juicy peak-summer mixed berries, drizzled with maple syrup for a bright, comforting, crowd-pleasing family breakfast.

⏱️ 25 minuteBreakfast ★ 4.7

chaffles with almond flour:Frequently Asked Questions

1.Why do my chaffles turn out soggy instead of crispy like the recipe promises? ▾
Sogginess almost always traces to excess moisture or insufficient cook time! First, stick to low-moisture part-skim mozzarella—fresh mozz holds far too much water for crisp results. Let your waffle iron fully preheat before adding batter, cook chaffles 30–60 seconds past when steam stops escaping, and avoid prying the iron open early.
2.Can I use regular coarse almond meal instead of blanched superfine almond flour? ▾
You can, but expect a slightly different final texture. Blanched superfine almond flour creates the light, fluffy interior and smooth golden crust this recipe is designed for. Coarse unblanched almond meal has visible skin bits and a heavier grain, which makes denser, nuttier, speckled chaffles; add a pinch of extra baking powder to offset that heavier texture if you swap it.
3.Do I need a special mini waffle maker to make these chaffles, or will a standard waffle iron work? ▾
No special gear is required! The popular 4-inch mini waffle makers make perfect sandwich-sized chaffles and heat evenly for crisp edges, but a standard full-size waffle iron works great too. Just pour ¼ cup of batter per waffle section for full-size irons, and add 1–2 minutes of cook time to account for the larger cooking surface.
4.How should I store leftover chaffles, and how do I reheat them to keep them crispy? ▾
Let leftover chaffles cool fully to room temperature first, then stack them between sheets of parchment paper to prevent sticking, and store in an airtight container in the fridge for up to 5 days, or the freezer for up to 3 months. Reheat in a toaster or toaster oven for 1–2 minutes—skip the microwave, which will turn them rubbery and soggy.
5.Can I adjust this recipe to make sweet chaffles instead of savory garlic ones? ▾
Absolutely! The garlic powder is only added to give the base a savorier, bread-like flavor that pairs perfectly with eggs, deli meat, or breakfast sandwiches. Leave it out entirely, swap in ¼ teaspoon vanilla extract and a pinch of cinnamon or low-carb sweetener, and you’ll have a neutral sweet base perfect for berries, sugar-free syrup, or whipped cream.
6.Why do my chaffles stick to my non-stick waffle iron every time I make them? ▾
Sticking almost always happens when you add batter before the iron is fully preheated, or if you’re using a brand new iron that hasn’t built up a seasoned non-stick layer. You won’t need extra cooking spray with this high-cheese batter once your iron is hot, but for new irons, a light swipe of avocado oil on the plates before your first batch eliminates sticking entirely.

Comments (6)

2 hours ago

OMG these are a total game changer for my low carb meal prep! I’ve tried so many chaffle recipes that turn out soggy or eggy, but these get perfectly crispy in 10 minutes flat. My kids even ate them as sandwich bread for their school lunches this week, no complaints! SO good with a little melted cheese on top. 10/10 would make again.

30 minutes ago

Wait do they hold up well if you make them ahead and freeze them? I’m trying to stock my freezer for busy school mornings!

5 minutes ago

Great question! These freeze beautifully for up to 3 months – just pop them in the toaster straight from the freezer to crisp back up, no thawing needed. Perfect for quick breakfasts!

yesterday

Super easy recipe, took me literally 10 minutes like it says! I added a dash of garlic powder and a pinch of parmesan to the batter to make them extra savory for breakfast sandwiches. Only tiny complaint is my first one stuck a little to the waffle maker, I think I forgot to spray it enough. Will definitely be making these weekly.

2 hours ago

So glad you enjoyed them! A quick spritz of non-stick spray (or even a tiny rub of butter on the waffle iron plates) before pouring the batter in totally fixes that sticking issue. The garlic parmesan add-in sounds amazing, I’m going to have to try that myself!

3 days ago

Made these for a neighborhood potluck over the weekend and had three people ask for the recipe! I set out a little toppings bar with cream cheese, smoked salmon, and everything bagel seasoning so people could top their own. No one even guessed they were low carb/keto. Absolute hit!

1 week ago

First time ever making chaffles and these turned out perfect on the first try! I was worried they’d be complicated since I’m terrible at baking, but the instructions were so straightforward. Crispy on the outside, soft inside, no weird eggy aftertaste like other recipes I’ve read about. Thanks for sharing!

5 days ago

Right?! I’m a total beginner too and these were foolproof. I messed up my first batch of a different chaffle recipe so bad I almost gave up, so glad I found this one!

3 days ago

That makes me so happy to hear! This recipe is designed to be super forgiving for new cooks, so it’s awesome to hear it worked out for you. If you ever want to mix up the flavors, try adding a little cinnamon and vanilla for a sweet version!

2 weeks ago

These are my new go-to for weekday breakfasts! I make a double batch every Sunday, store them in the fridge, and toast one up each morning to eat with avocado and a fried egg. They stay crispy way better than regular bread when I top them, no sogginess at all. Cook time is so quick it doesn’t even feel like a chore to make a big batch.

5 minutes ago

As someone who’s gluten free and always looking for easy bread substitutes, these are chef’s kiss! I used a mini waffle maker like the recipe suggests and they came out the perfect size for breakfast sliders. Only thing I’ll do differently next time is add a little more salt, they were just a touch bland for my taste, but that’s an easy fix.

just now

Thanks for the feedback! So glad you love the texture – adding an extra 1/4 tsp of salt to the batter is a great call for folks who prefer a savorier bite, and I’ll add that note to the recipe tips soon!



