
char siu pork tenderloin
intro
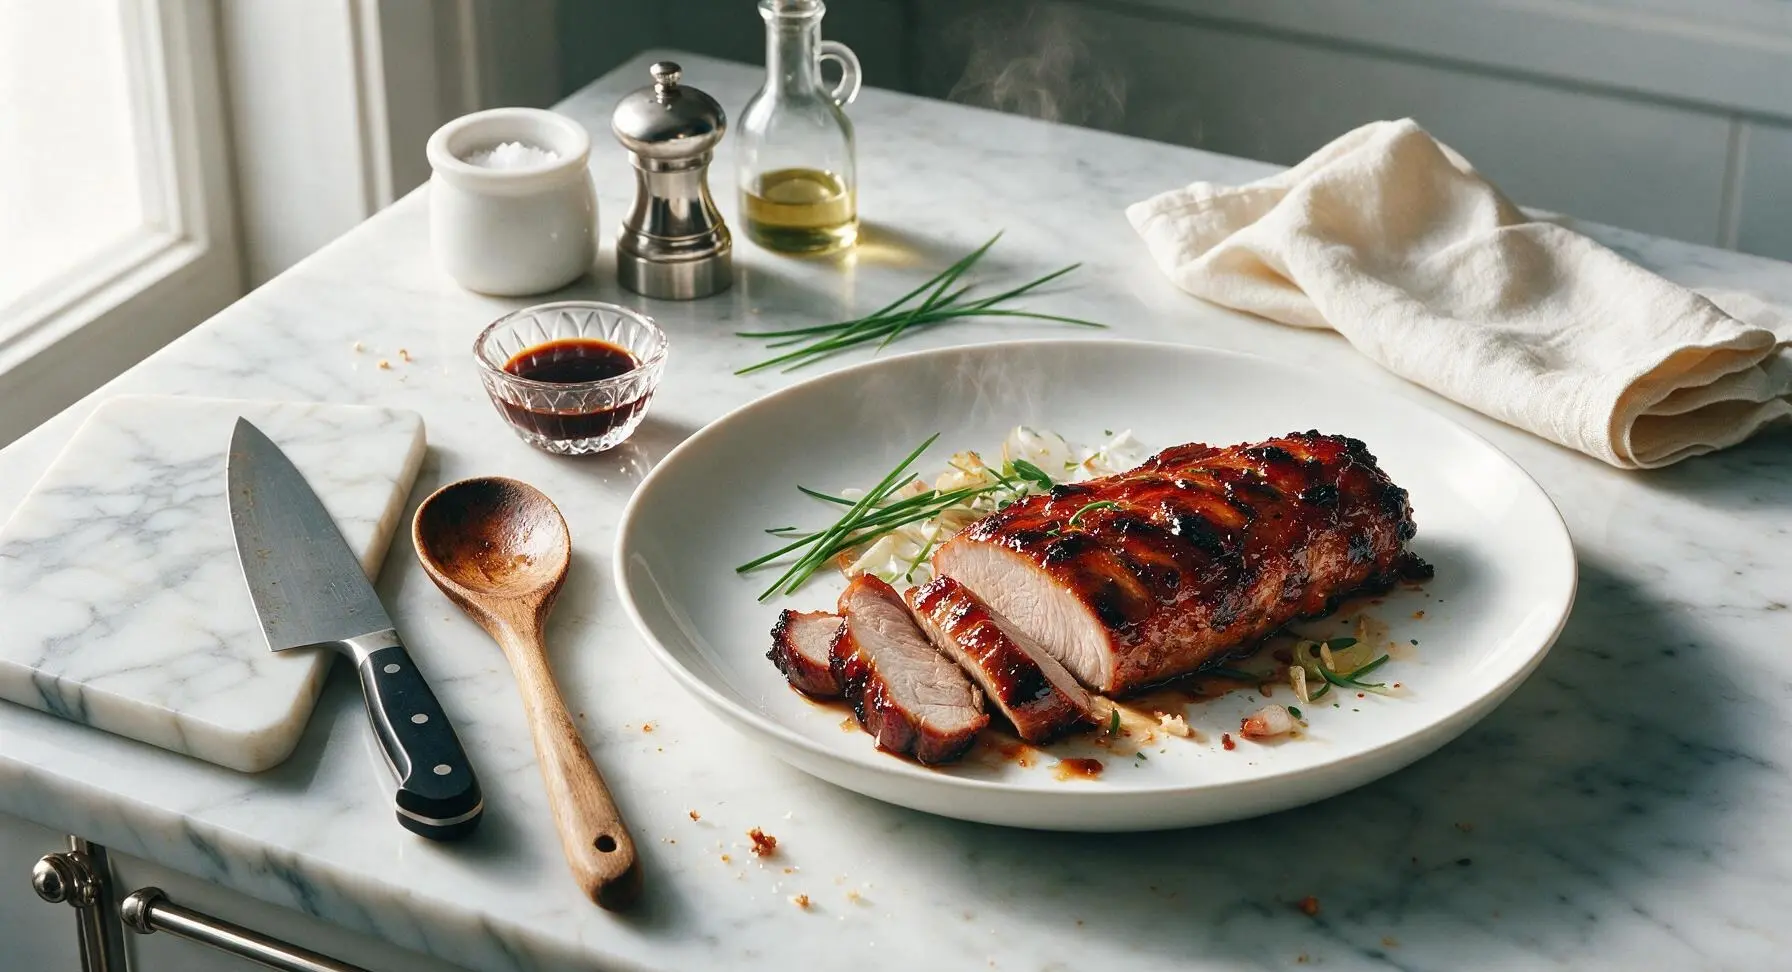
Glossy, sweet-savory Cantonese char siu made with lean pork tenderloin, featuring a sticky caramelized mahogany crust and juicy, tender center, perfect for serving with steamed rice.
Ingredients
Steps
Trim Pork Tenderloin
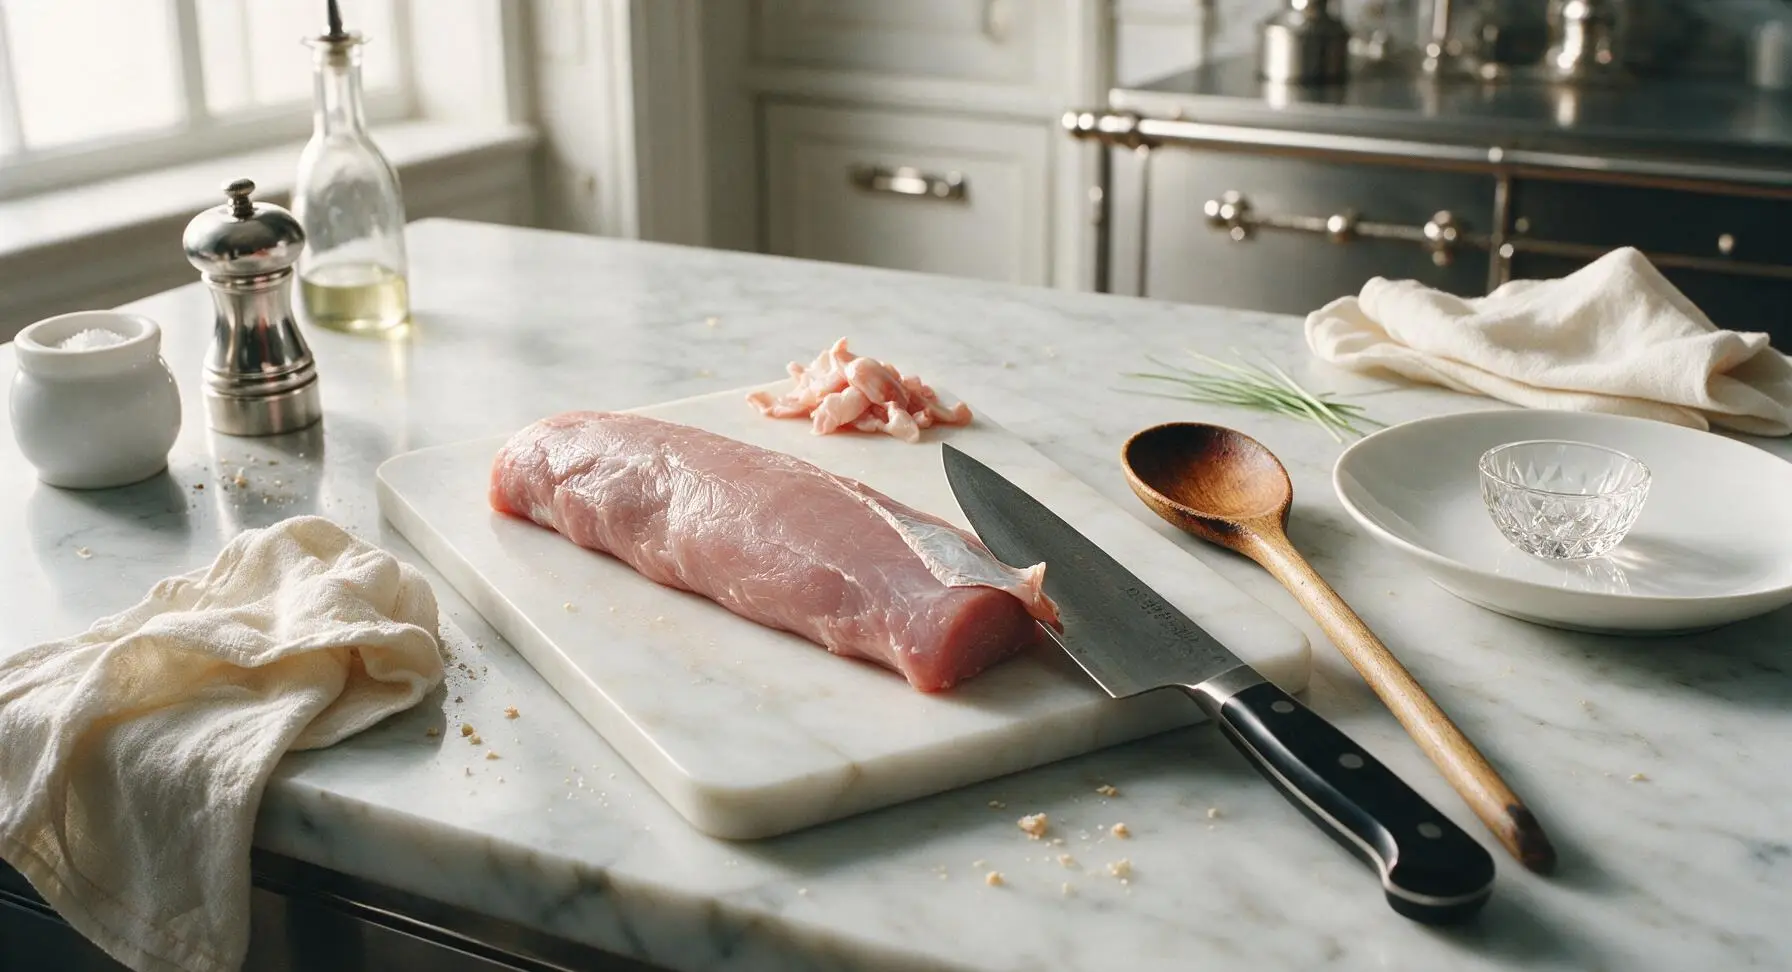
Place the 500g pork tenderloin on the walnut cutting board. Use the 8-inch matte black handled chef knife to carefully trim away all tough, pearlescent silver skin and loose excess fat from the pork surface, making shallow cuts to avoid removing large amounts of lean meat. Pat the trimmed pork completely dry with a corner of the cream linen towel; a fully dry meat surface helps the marinade adhere evenly for a consistent glaze.
Mix Char Siu Marinade
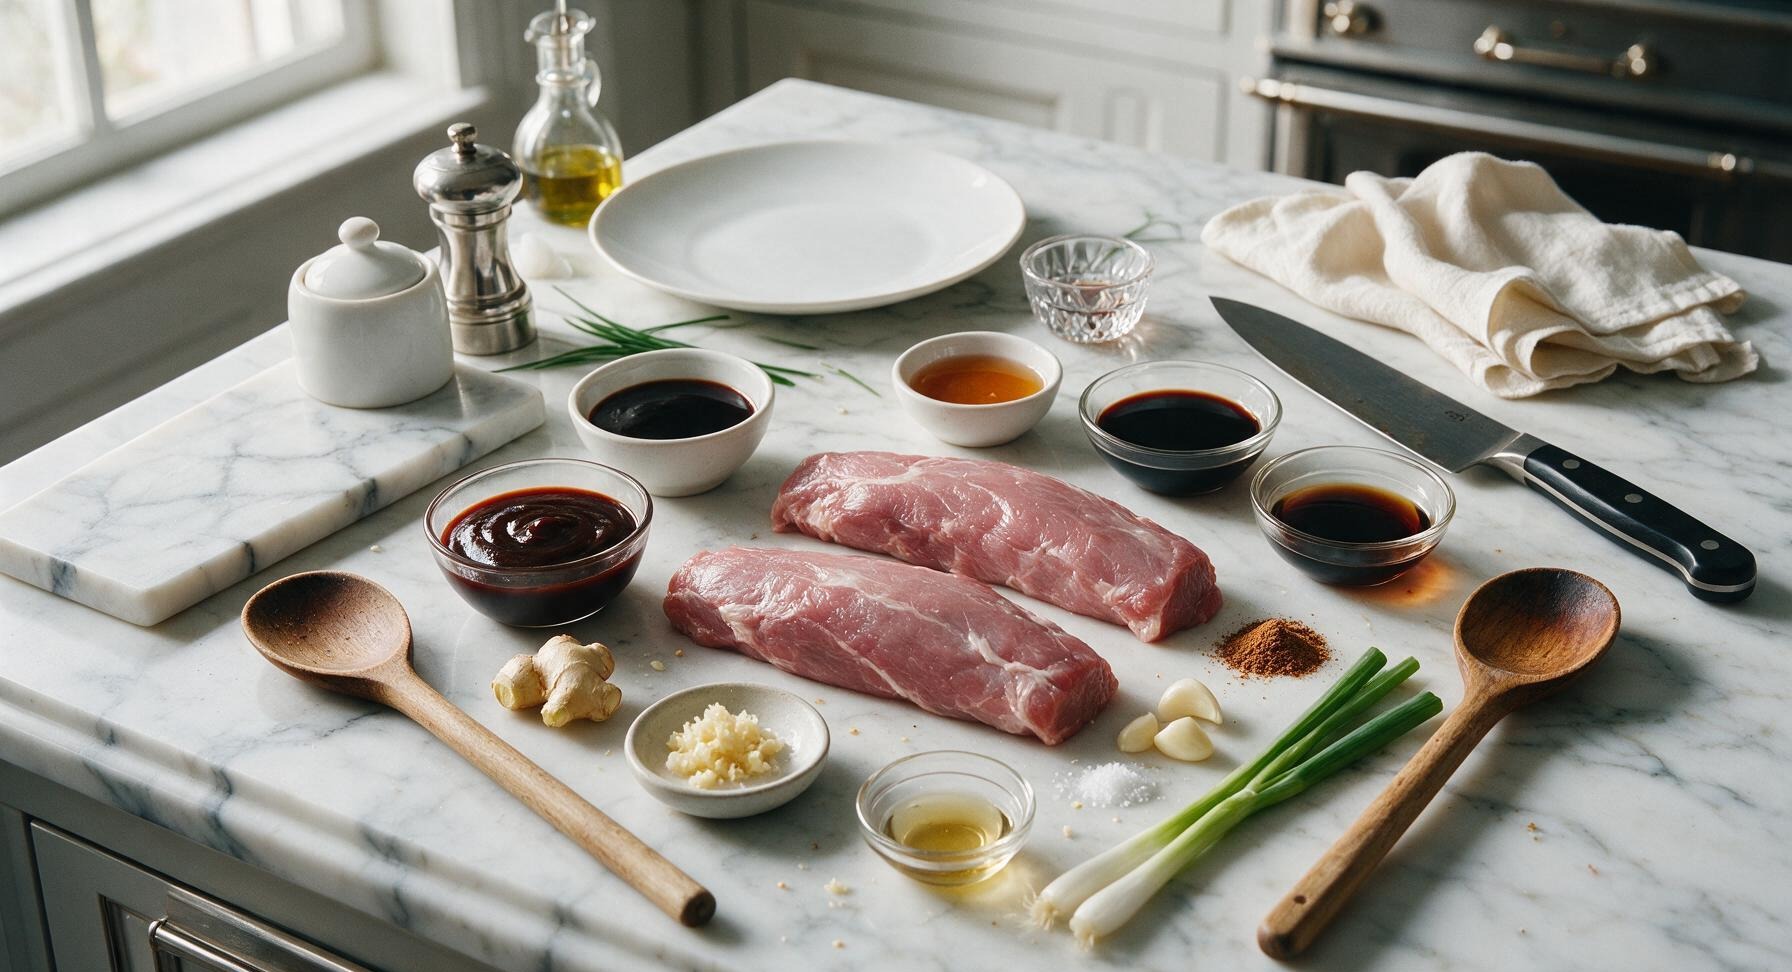
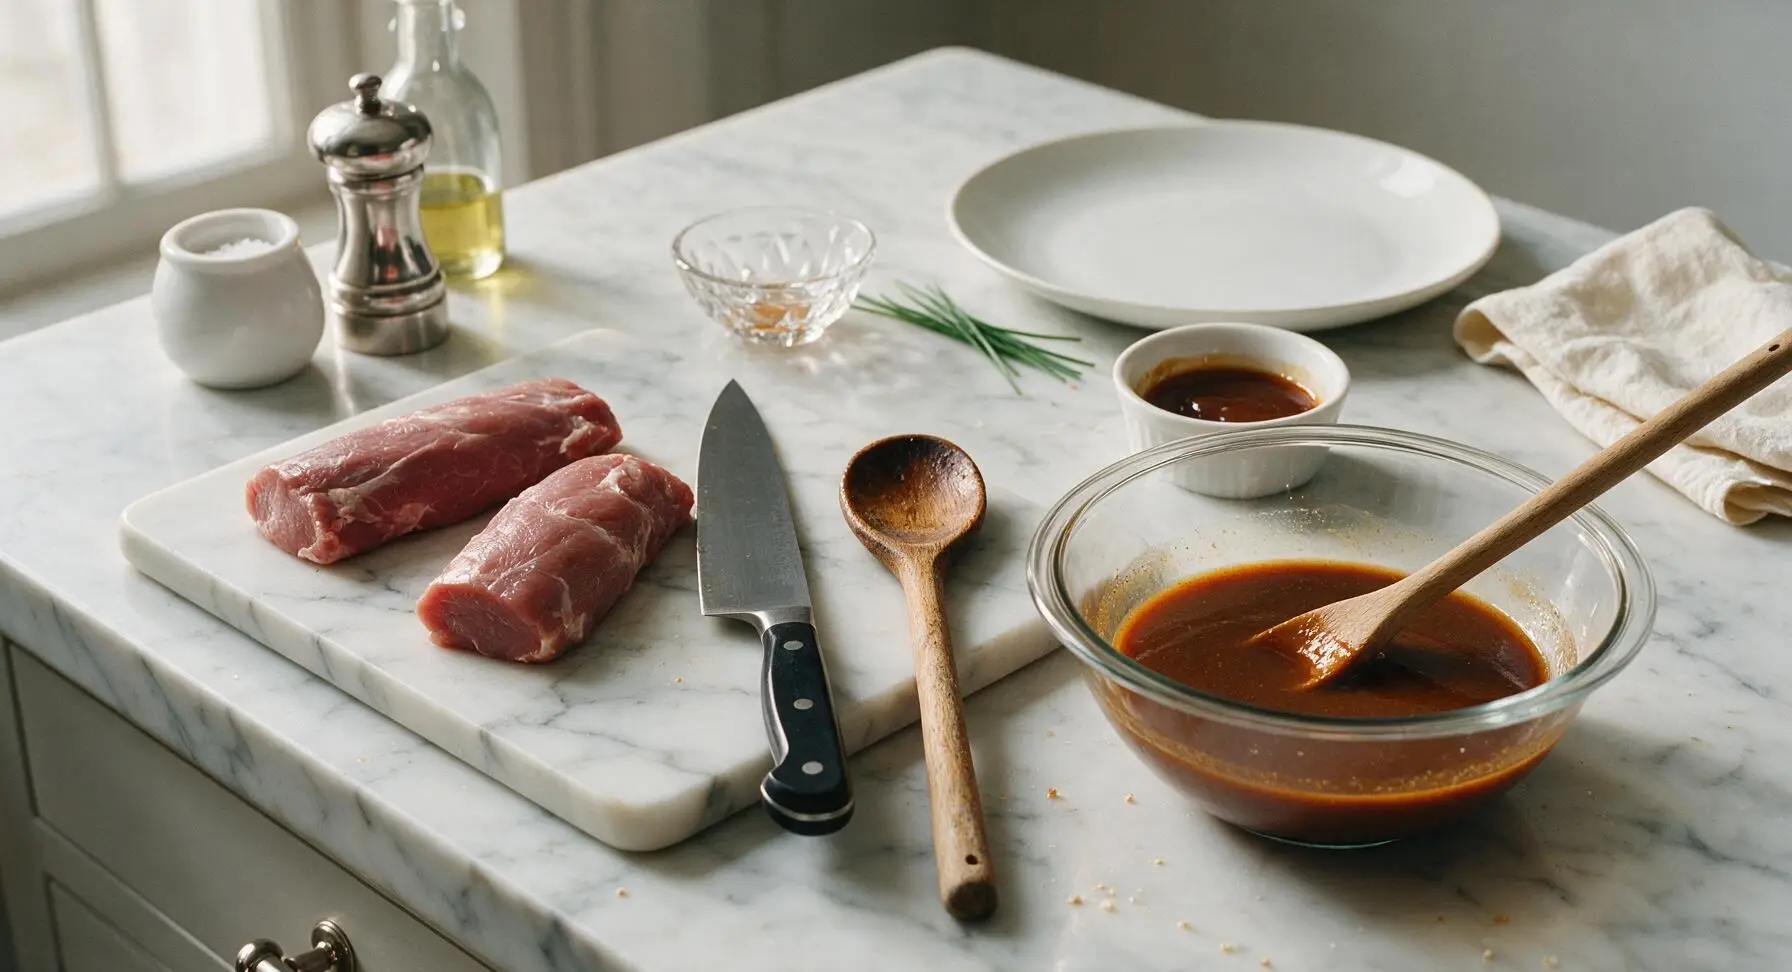
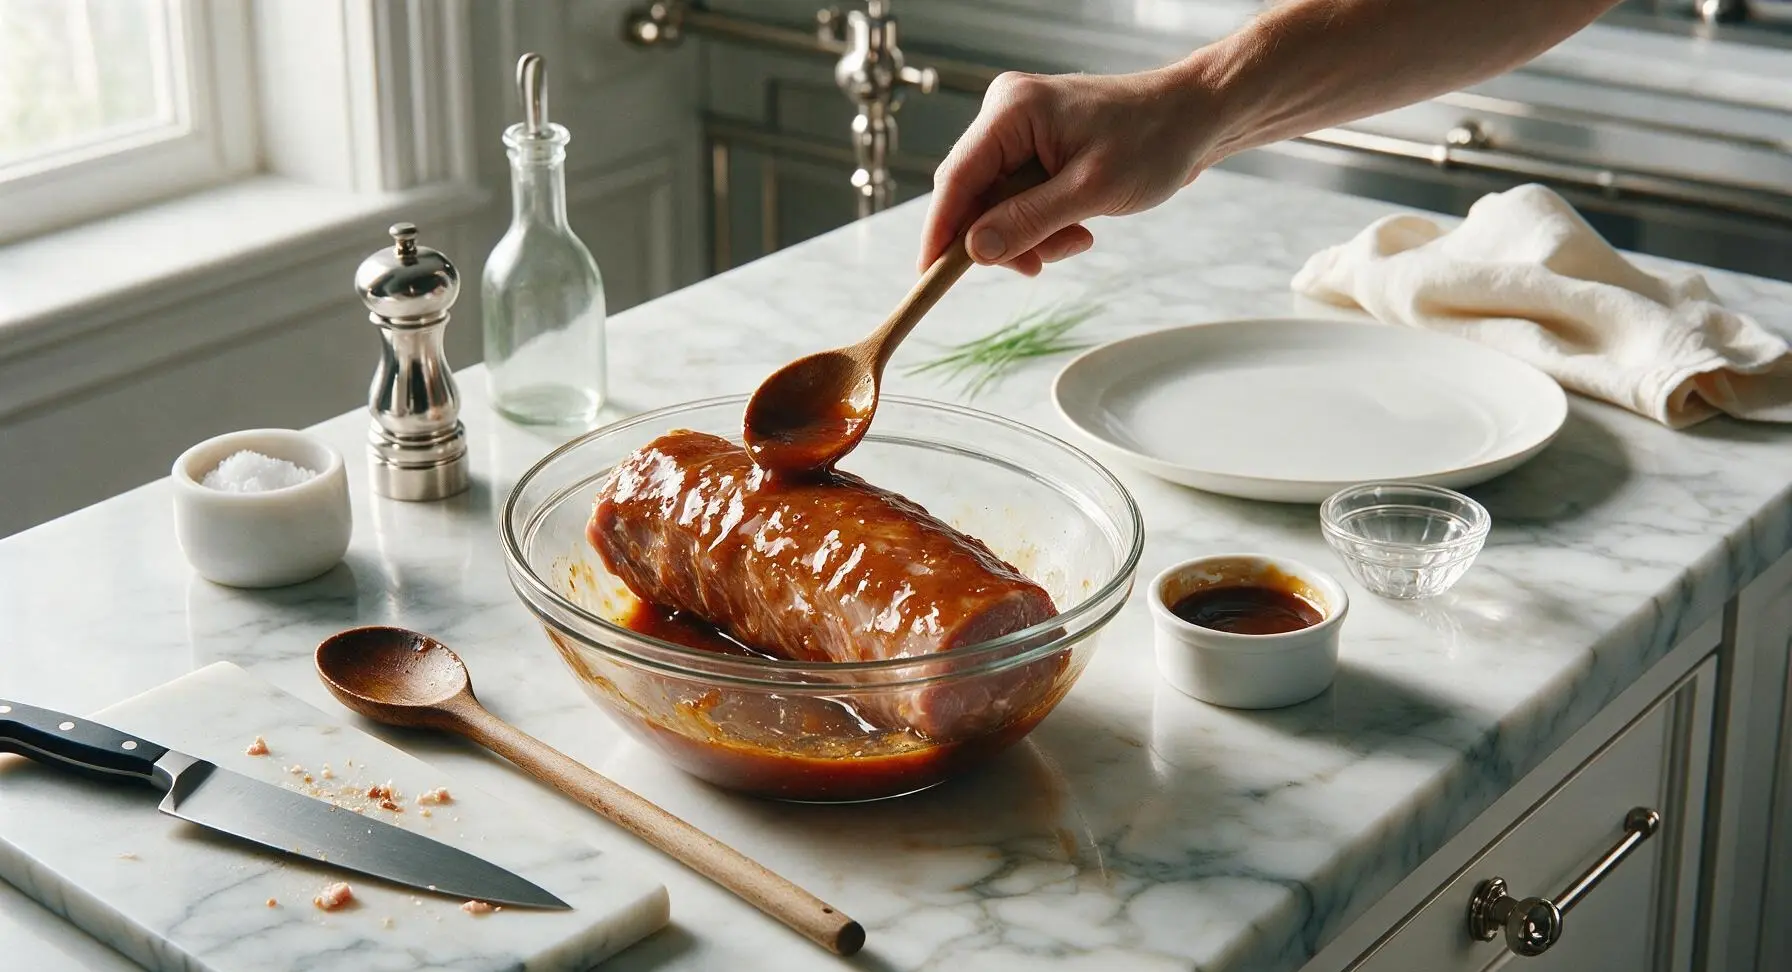
In the clear glass mixing bowl, combine 1/3 cup hoisin sauce, 3 tablespoons honey, 2 tablespoons light soy sauce, 1 tablespoon dark soy sauce, 2 tablespoons Shaoxing rice wine, 1 teaspoon Chinese five-spice powder, 3 cloves minced garlic, 1 tablespoon grated fresh ginger, 1 teaspoon toasted sesame oil, and 1/2 teaspoon kosher salt. Stir thoroughly with the long beech wood mixing spoon until the mixture is completely smooth, with no spice lumps remaining, and a uniform deep glossy amber-brown color. Scoop 2 tablespoons of the mixed marinade into one small white ramekin and set aside; this reserved clean marinade will be used for basting, to avoid cross-contamination.
Marinate the Pork
Place the dried, trimmed pork tenderloin into the mixing bowl with the remaining marinade. Turn the pork repeatedly to coat every surface completely in the thick marinade, using the mixing spoon to scoop marinade over any dry spots. Cover the bowl tightly with plastic wrap, and refrigerate for a minimum of 2 hours (or up to 12 hours overnight for deeper flavor), turning the pork once halfway through the marination period.
Prep for Roasting
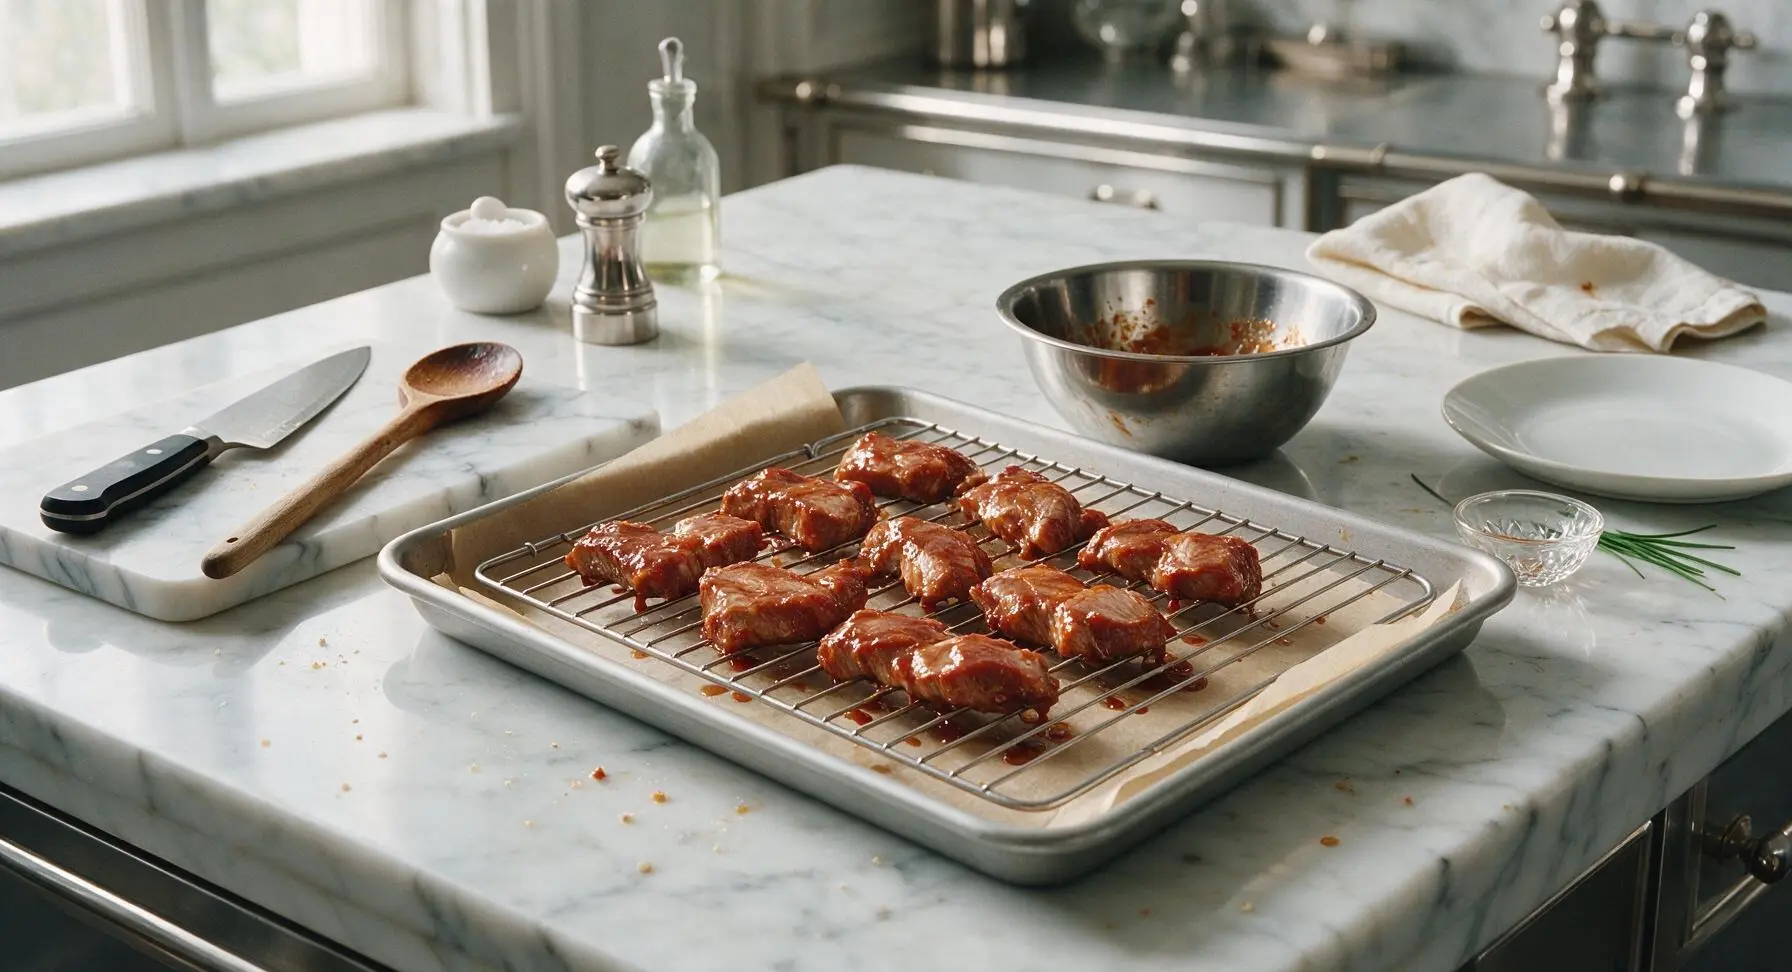
When ready to cook, preheat oven to 200°C / 400°F. Pull the matte silver rimmed baking sheet from its rear storage position, line it with unbleached parchment paper, then set the matte chrome wire baking rack inside the lined sheet. Remove the marinated pork from the refrigerator, and place the pork on the wire rack, leaving 2cm of space between pieces to allow even hot air circulation. Discard any leftover marinade that was in contact with raw pork.
Roast the Tenderloin
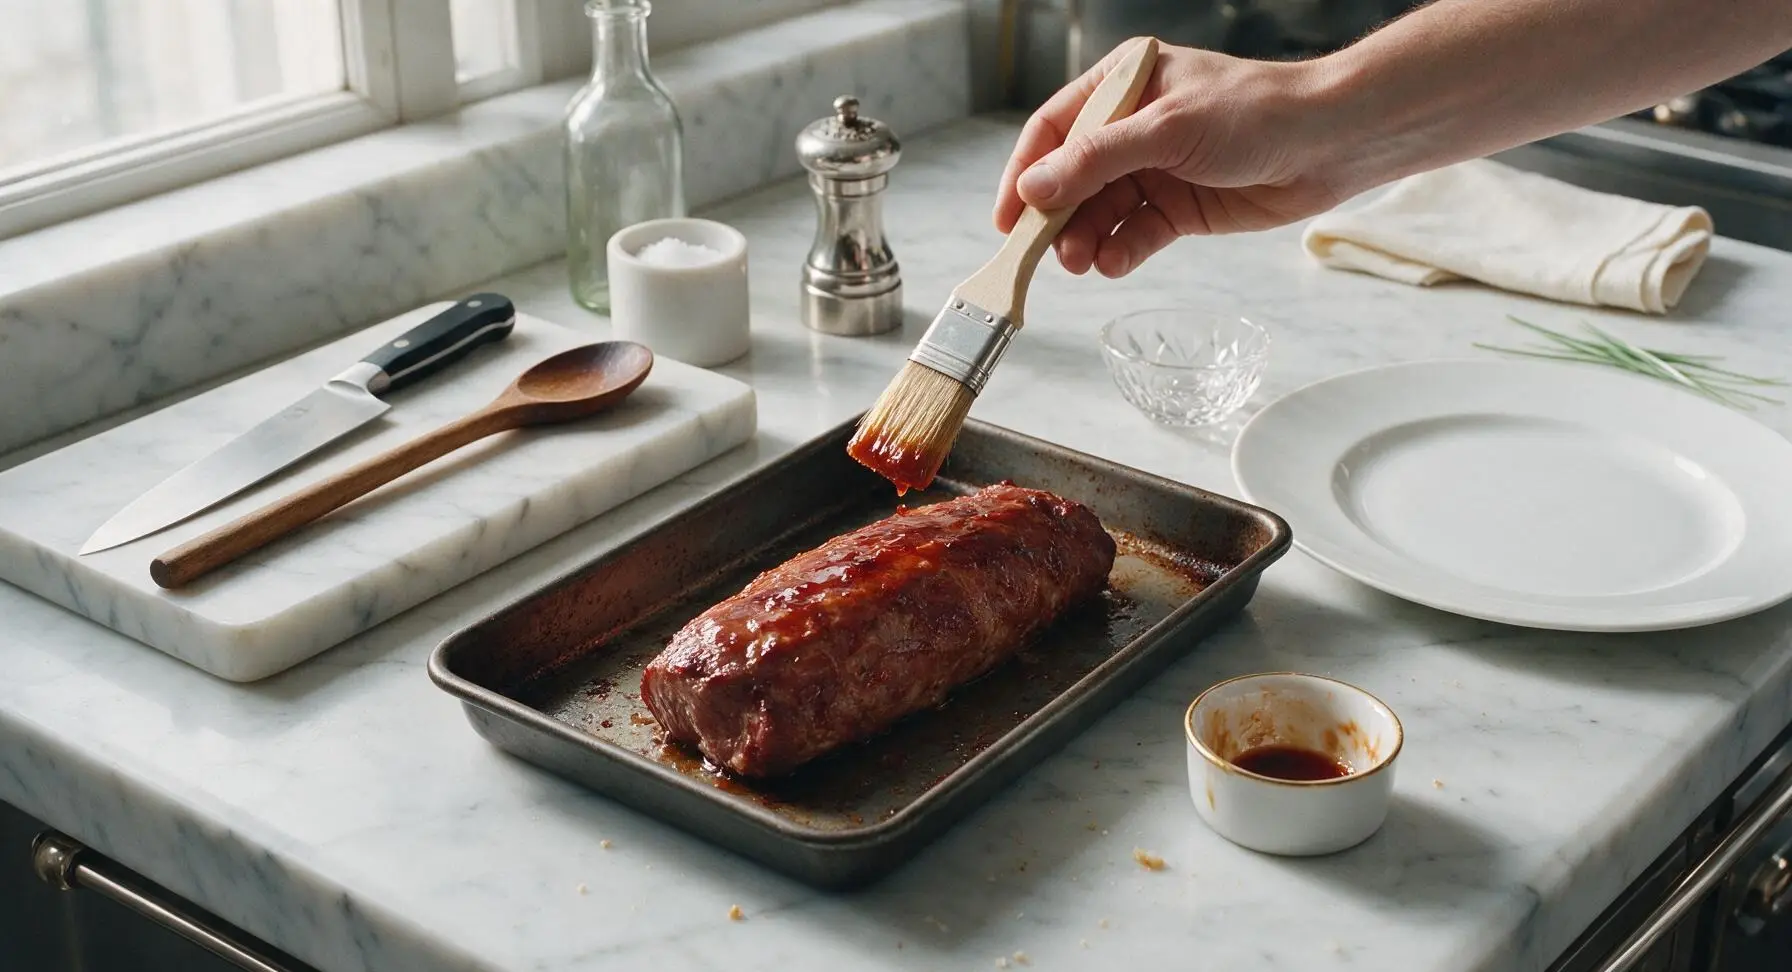
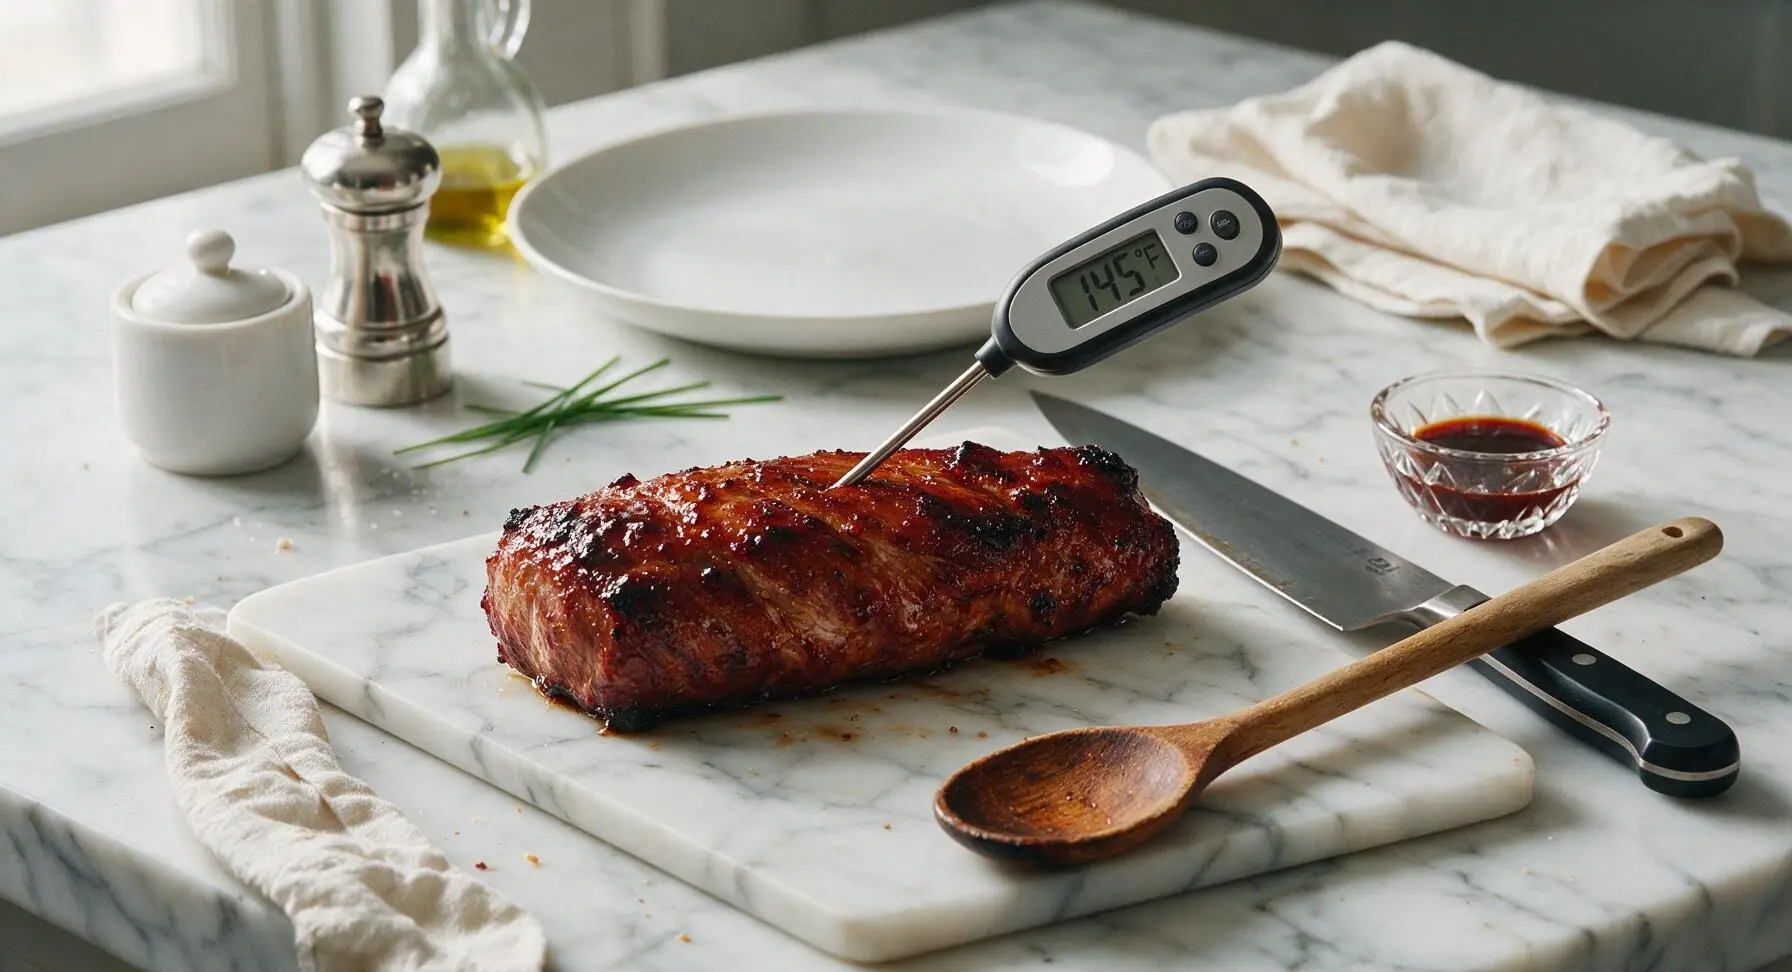
Place the baking sheet with pork on the middle oven rack. Roast for 15 minutes, then pull the sheet out briefly to baste the top of the pork with half the reserved marinade using the boar bristle basting brush. Return to the oven and roast for another 10 minutes, then baste with the remaining reserved marinade. Continue roasting for approximately 5 more minutes, until the internal temperature at the thickest part of the pork reads 63°C / 145°F on the digital instant-read thermometer (total roast time 25-30 minutes).
Rest the Cooked Pork
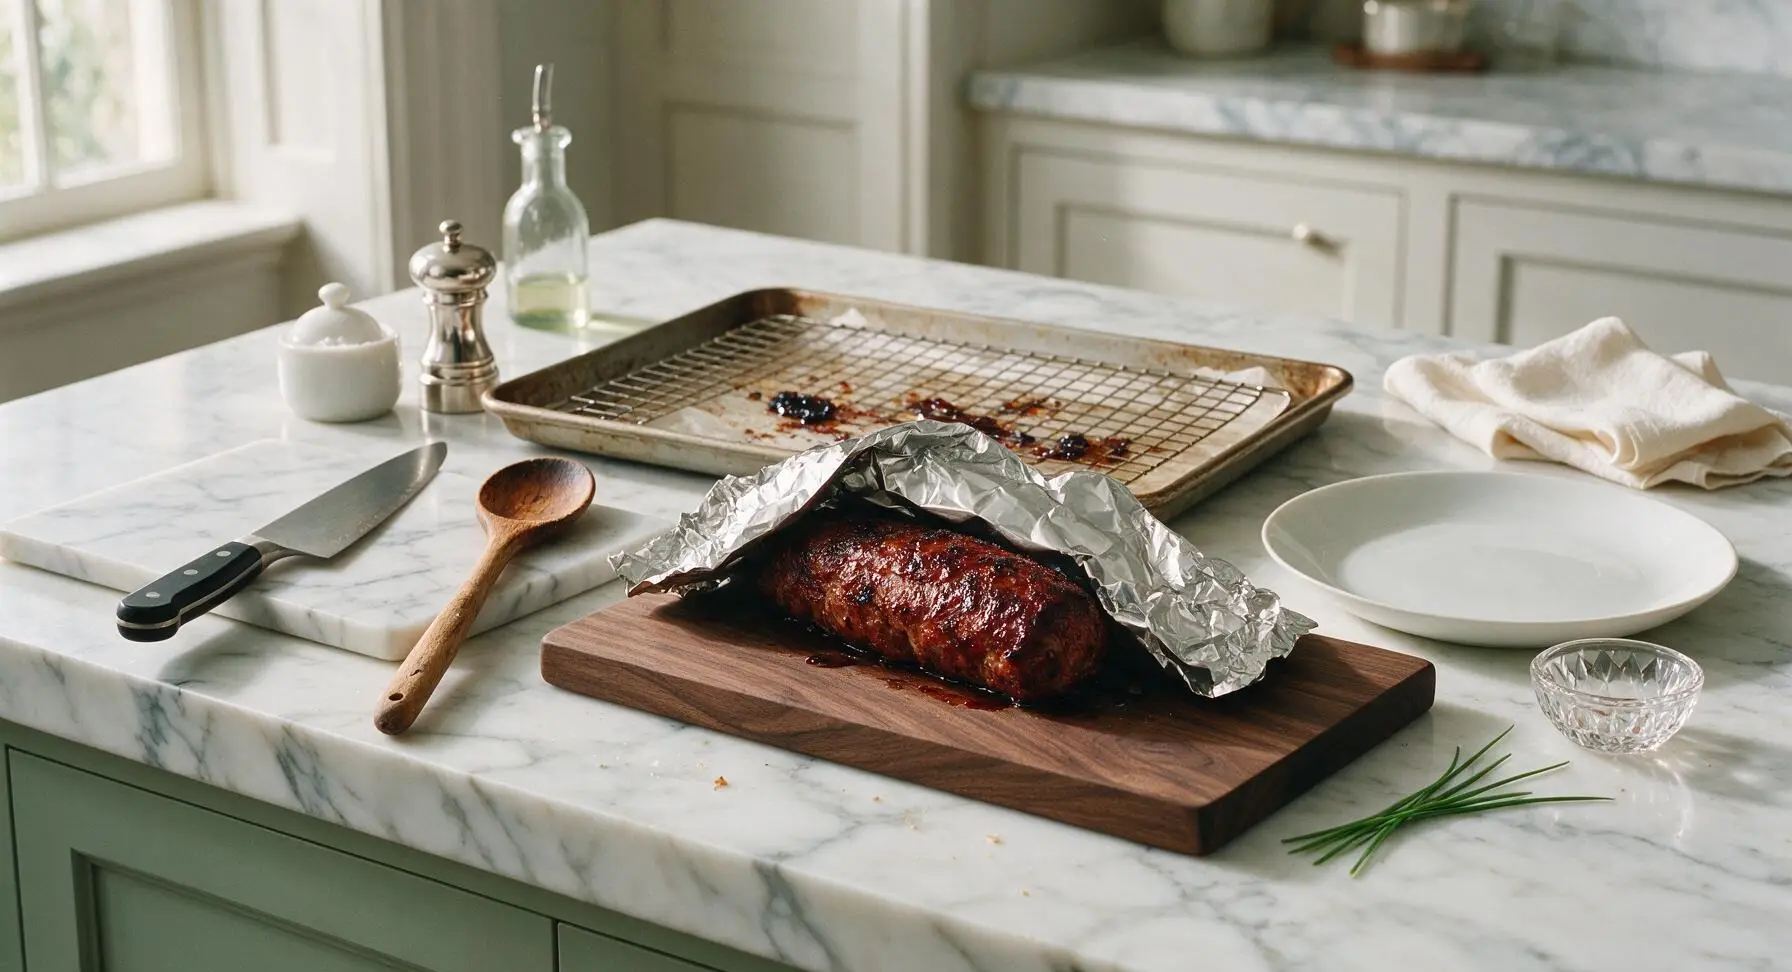
Once the pork reaches the correct internal temperature, carefully remove the baking sheet from the oven. Transfer the pork to the clean walnut cutting board, and tent loosely with a small sheet of aluminum foil. Let the pork rest for 8 minutes to allow muscle fibers to relax and juices to redistribute; this prevents juice from running out when slicing, keeping the meat moist.
Slice Rested Pork
After 8 minutes of resting, remove the foil tent. Use the 8-inch chef knife to slice the pork against the grain into 1cm thick, even slices. The center of each slice should be pale, juicy, and faintly pink, with a dark glossy glazed outer edge. Collect any savory juices that run onto the cutting board to drizzle over the plated pork.
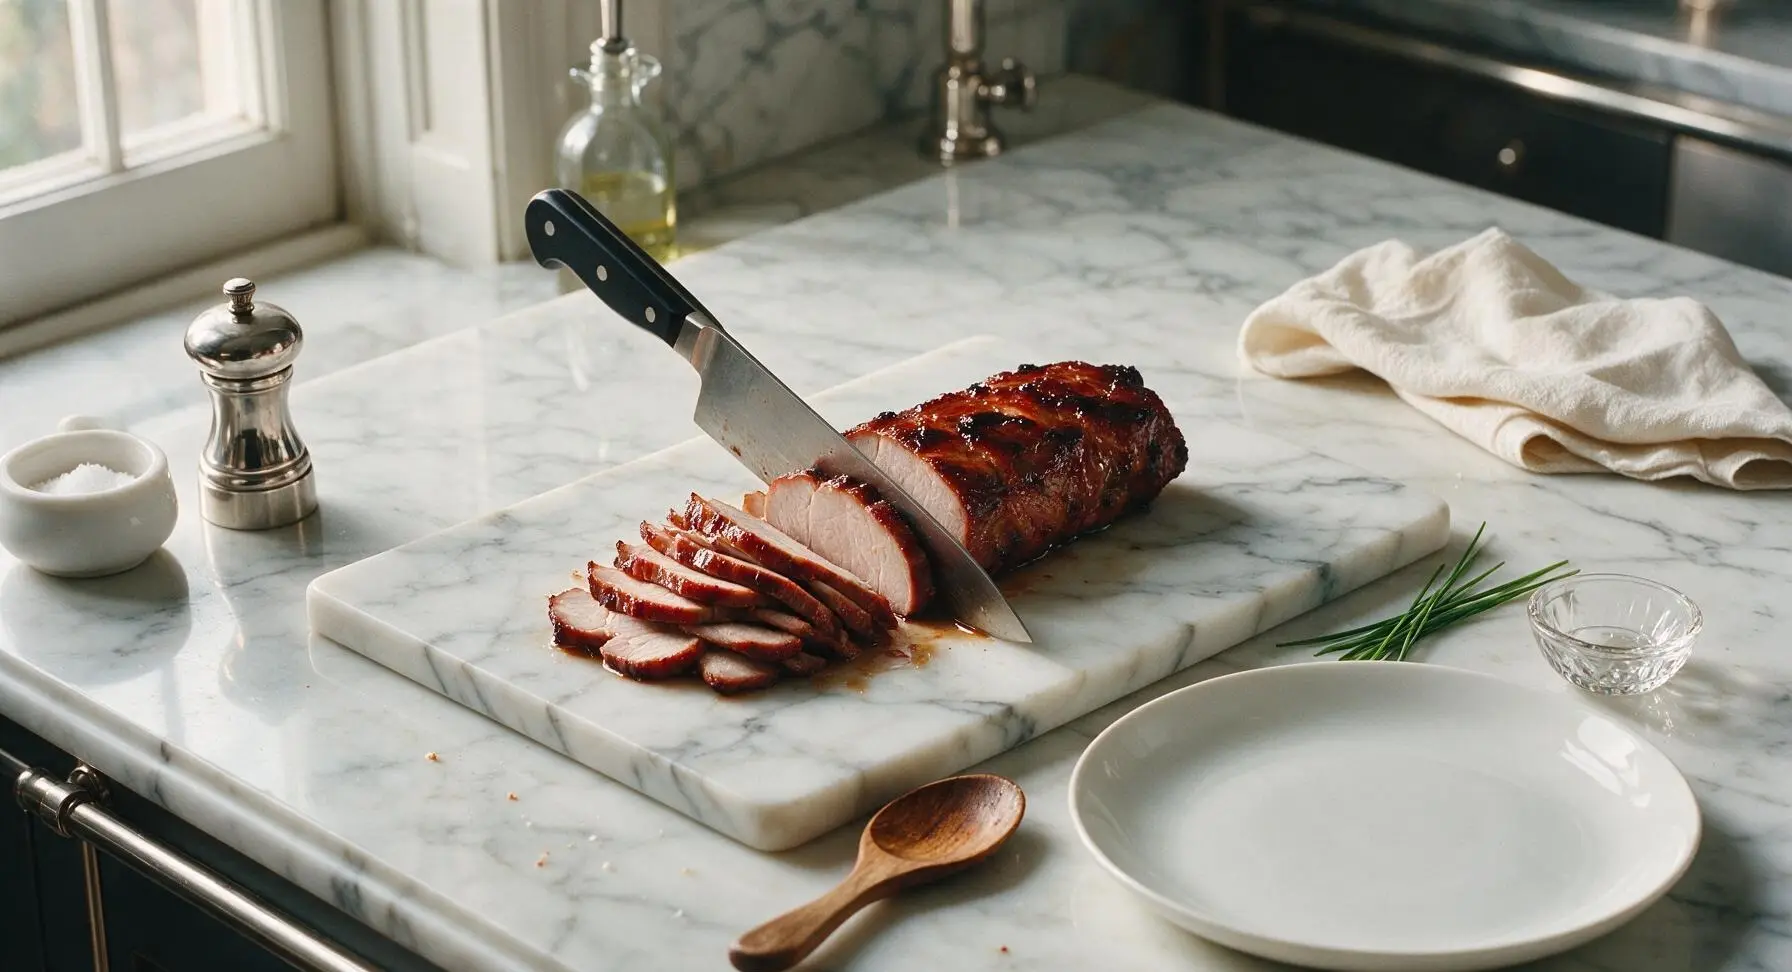
Plate and Garnish
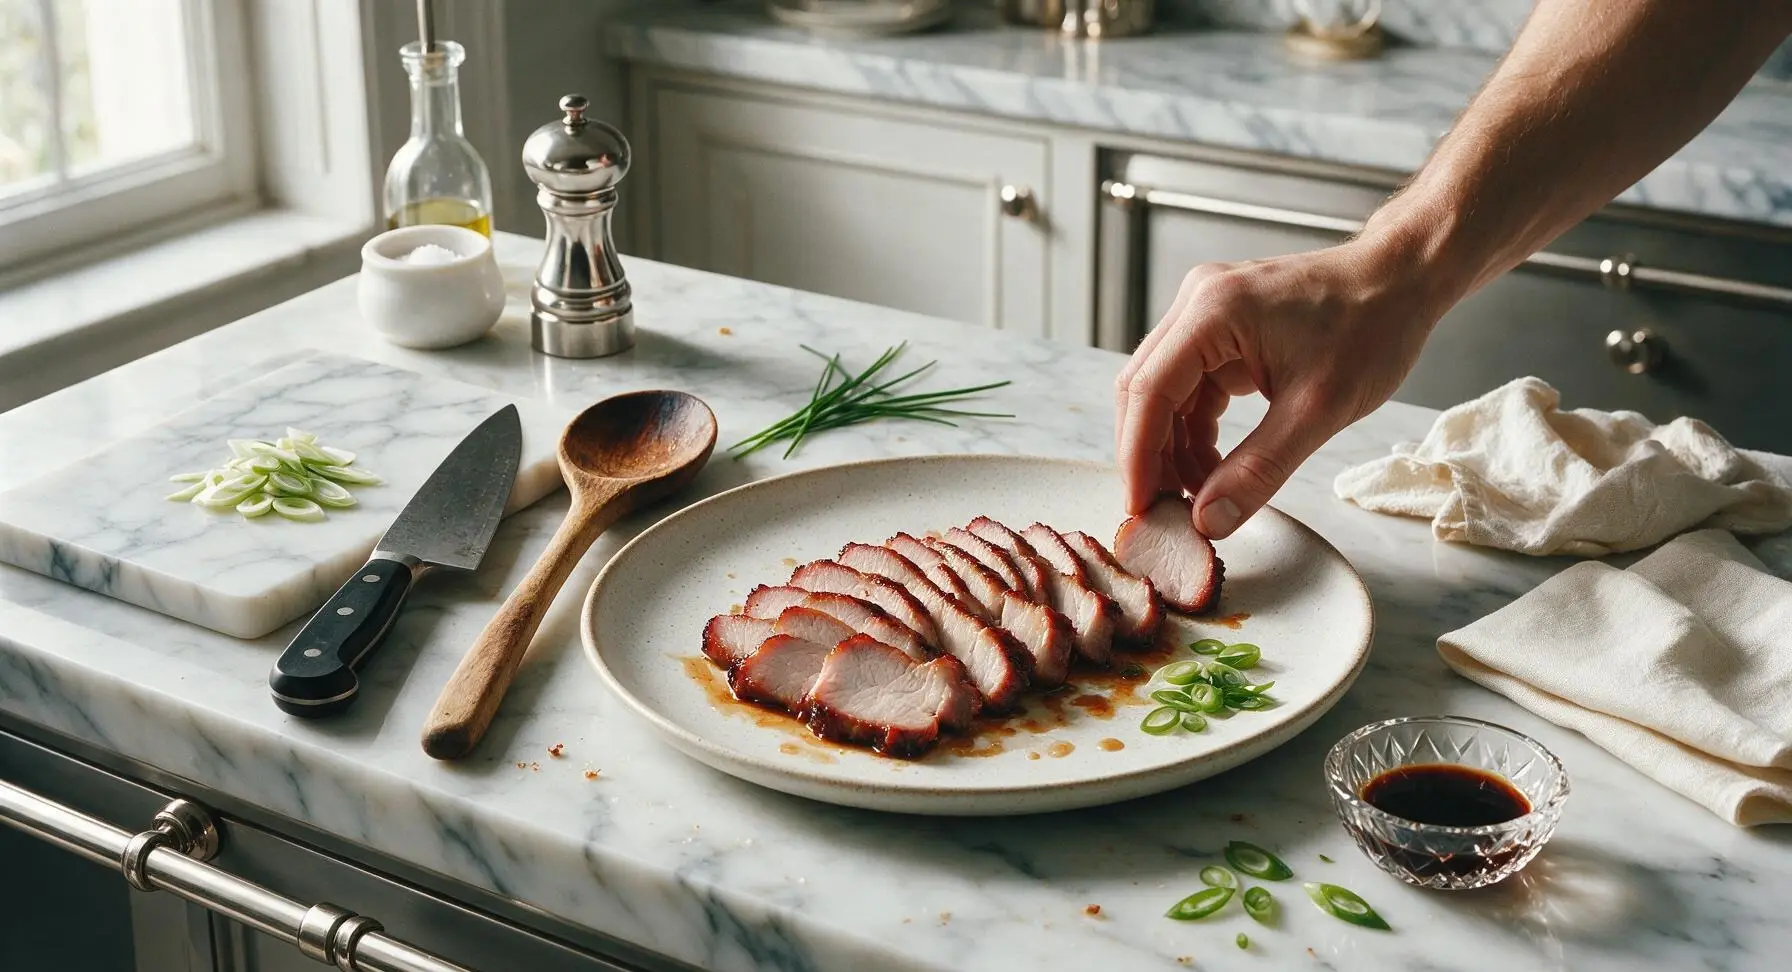
Arrange the sliced pork in an overlapping fan on the off-white speckled ceramic dinner plate. Drizzle any collected meat juices and remaining reserved glaze over the top of the slices. Thinly slice the fresh scallions on the diagonal, and scatter the bright green slices over the pork as a fresh, bright garnish. Serve immediately while warm, ideally with steamed white rice.
Tips
2.Avoid overcooking the lean tenderloin: pull the pork from the oven when the thickest part reaches 145°F (63°C), as residual heat will continue to cook the meat during the 8-minute rest. Cooking past this temperature will result in dry, tough pork instead of juicy, tender slices.
3.Always set aside clean marinade for basting before adding raw pork to the bowl: never baste with marinade that has come into contact with raw pork, as this can cause foodborne illness. Discard all raw-contact marinade after coating the pork.






OMG this char siu was SO good! I made it for our Sunday family dinner and even my super picky 7 year old asked for seconds. The glaze caramelized perfectly on the tenderloin, no dry bits at all. Will absolutely be adding this to our regular rotation!
Meal prepped this on Sunday and ate it all week with jasmine rice and roasted broccoli! The flavor held up so great even after reheating in the microwave, I didn’t get bored of it at all. Way better than the takeout char siu I usually order that’s loaded with way too much added sugar.
Made this for date night last night and my partner thought I ordered takeout from that fancy Cantonese place downtown. Total win! The five spice in the glaze gives it such a deep, warm flavor that doesn’t taste like the flat, store-bought char siu sauce I’ve tried before. 10/10
Tried this last night for a work potluck and people were hounding me for the recipe all afternoon! Only note is I had to leave it marinating a little longer than the recipe said because I ran late getting home from the gym, but it still turned out incredible. Total game changer for weeknight pork!
My grandkids loved it! I served it with steamed bao buns and quick pickled cucumbers, and they said it tasted just like the char siu we get at our favorite dim sum spot in Chinatown. Only thing is I cut back a little on the honey because we don’t love super sweet glazes, and it was perfect for our taste.
Quick question — can I freeze the leftover marinade? I made a double batch because I was planning to make this again next month for my kid’s birthday cookout, and I hate wasting good sauce.
As a total beginner cook I was nervous this would be too hard since it’s marked medium difficulty, but it was actually super straightforward! The only mistake I made was turning the broiler up too high at first and charring a tiny corner, but even that part tasted good lol.
Wait, has anyone tried making this with pork shoulder instead of tenderloin? I have a big shoulder in the freezer I need to use up and I’m wondering if the cook time adjustments would be tricky.
Anyone else’s glaze come out a little runny? I followed the measurements exactly but it didn’t thicken up enough to stick to the pork like the photos show. Flavor was still amazing, just wanted that sticky, glossy finish you get at restaurants!