
cheap frozen burritos

title 1
cheap frozen burritos
⏱️ cook time 25 minutes
🍽️ servings 4
⚡ Difficulty easy

intro

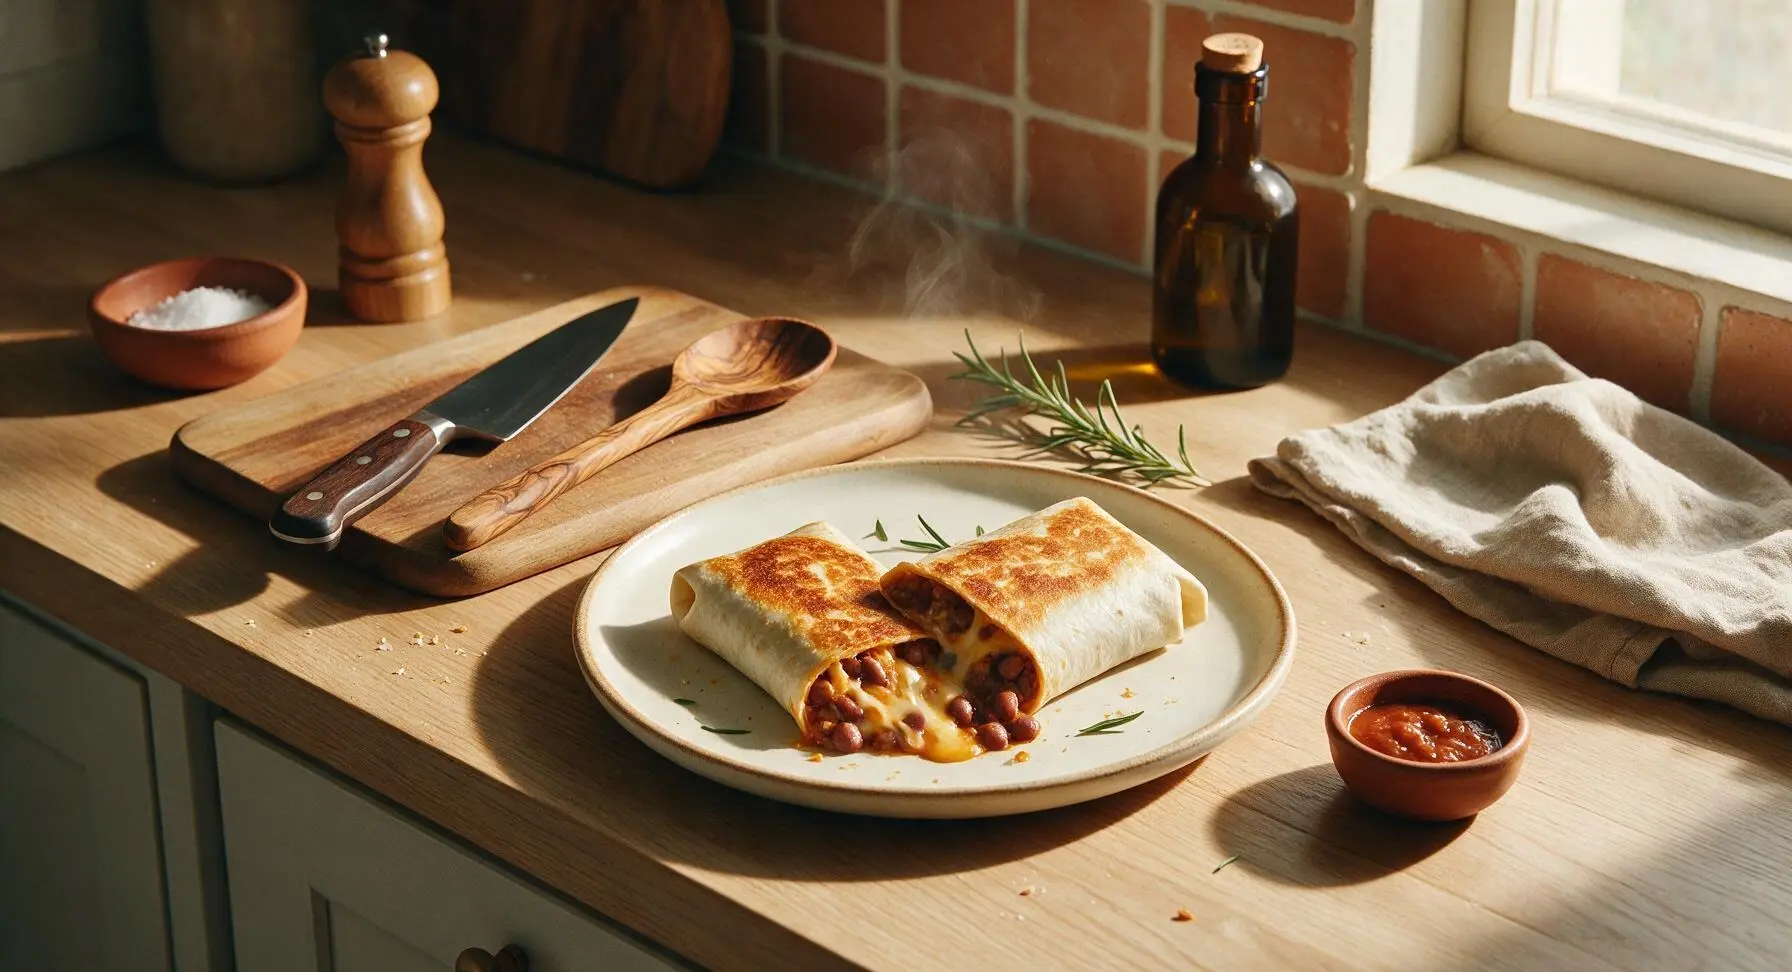
Crisp on the outside, oozing with cheesy bean filling, these ultra-budget homemade frozen burritos cost a fraction of store-bought, stashed for quick, satisfying weeknight meals with zero fancy ingredients.

Ingredients
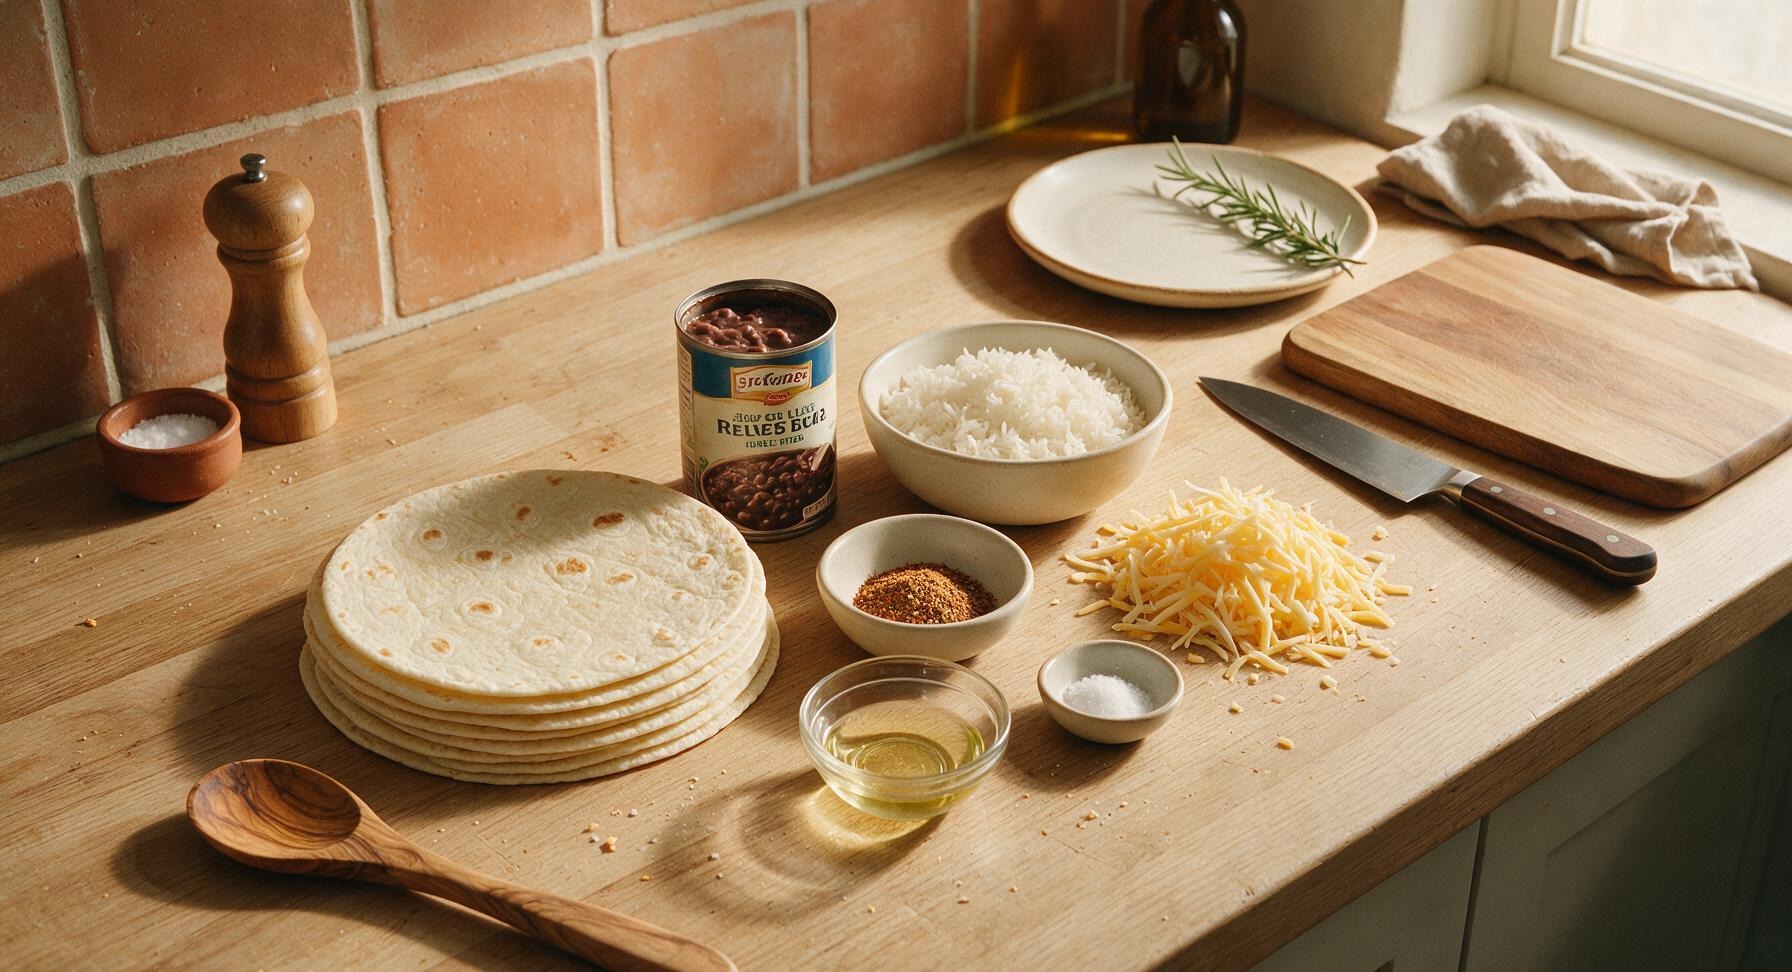
8-inch flour tortillas 8 each
Canned low-sodium refried beans 1 (15oz) can
Cooked long-grain white rice (leftover works perfectly) 2 cups
Mild cheddar cheese, block (shredded at home) 1 cup shredded
Store-brand taco seasoning 1 tablespoon
Table salt 1/4 teaspoon
Black pepper 1/8 teaspoon
Cheap vegetable oil cooking spray 2 seconds of spray

Steps

1

Warm Bean Filling Base

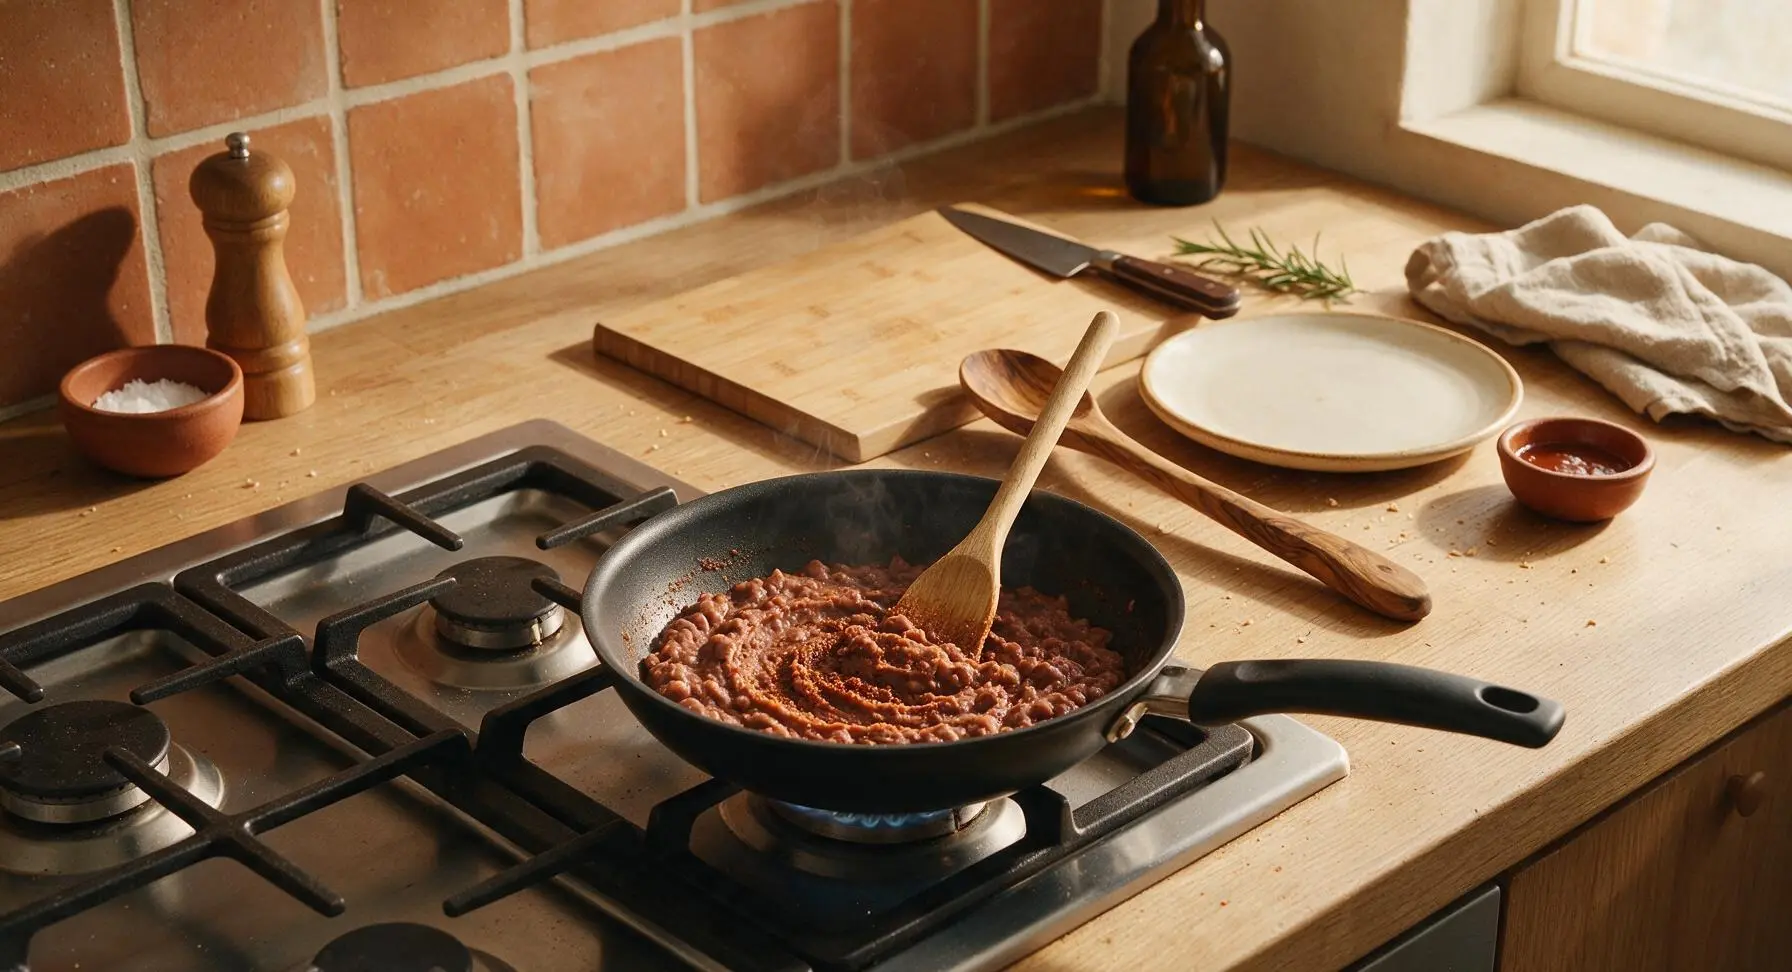
Place the 10-inch matte black non-stick skillet on the front right stovetop burner, set heat to medium. Empty the entire 15oz can of refried beans into the skillet, add 1 tablespoon store-brand taco seasoning, 1/4 teaspoon salt, and 1/8 teaspoon black pepper. Stir with the light pine wooden spoon for 3 minutes, until beans are smooth, heated through, and evenly coated in seasoning with no dry spice clumps remaining. Remove skillet from heat and let the bean mixture cool 5 minutes before assembling.
Step 1
step1:Warm Bean Filling Base
2

Shred Block Cheddar

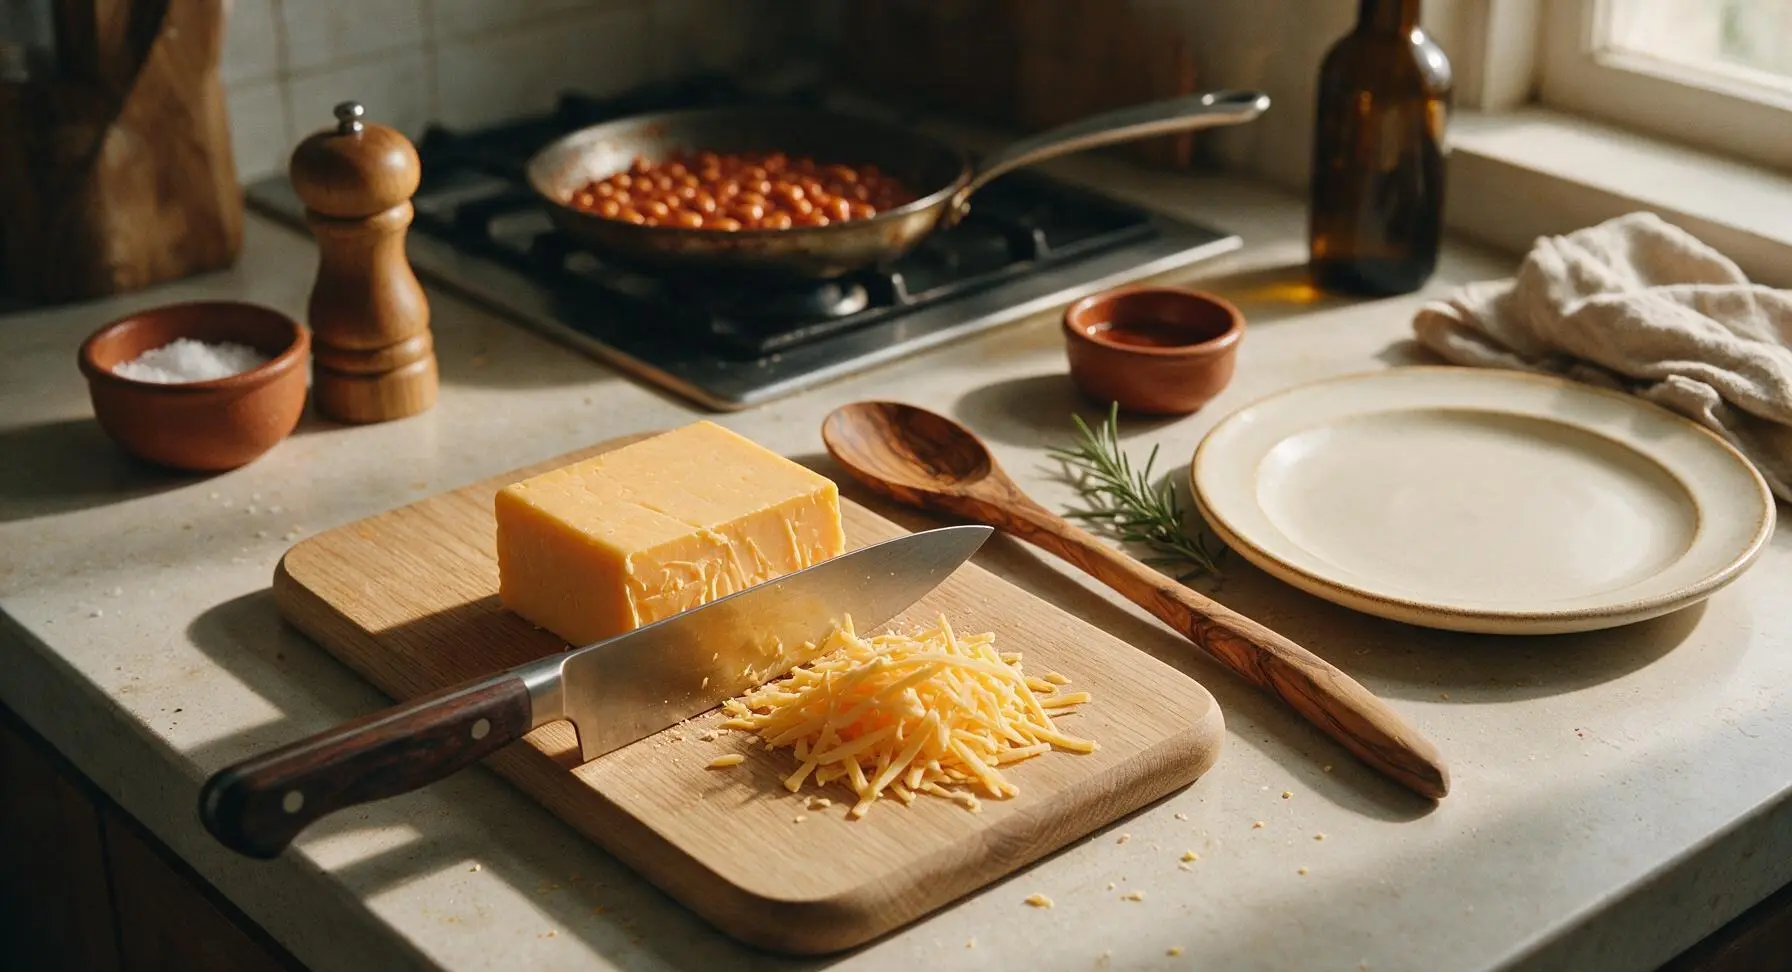
Move the block of mild cheddar from its fixed position next to the bean can to the center of the light bamboo cutting board. Use the 8-inch stainless steel chef knife to cut the cheese into thin shreds (no specialty grater required for budget prep) until you have 1 loosely packed cup, collecting shreds in a small pile on the far edge of the cutting board. Return the knife to its resting position at the top edge of the board when finished.
Step 2
step2:Shred Block Cheddar
3

Prep Tortilla Assembly Station

Open the 12-count bag of flour tortillas from its center back position, lay 8 tortillas in a single, non-overlapping layer across the bamboo cutting board and adjacent counter space to prevent tearing during rolling. Divide the cooled refried bean mixture, 2 cups cooked white rice, and shredded cheddar evenly across the center of each tortilla, placing fillings in a 2-inch wide line down the middle, leaving a full 1 inch of empty tortilla at the top and bottom edge of each to create a tight seal when rolling.
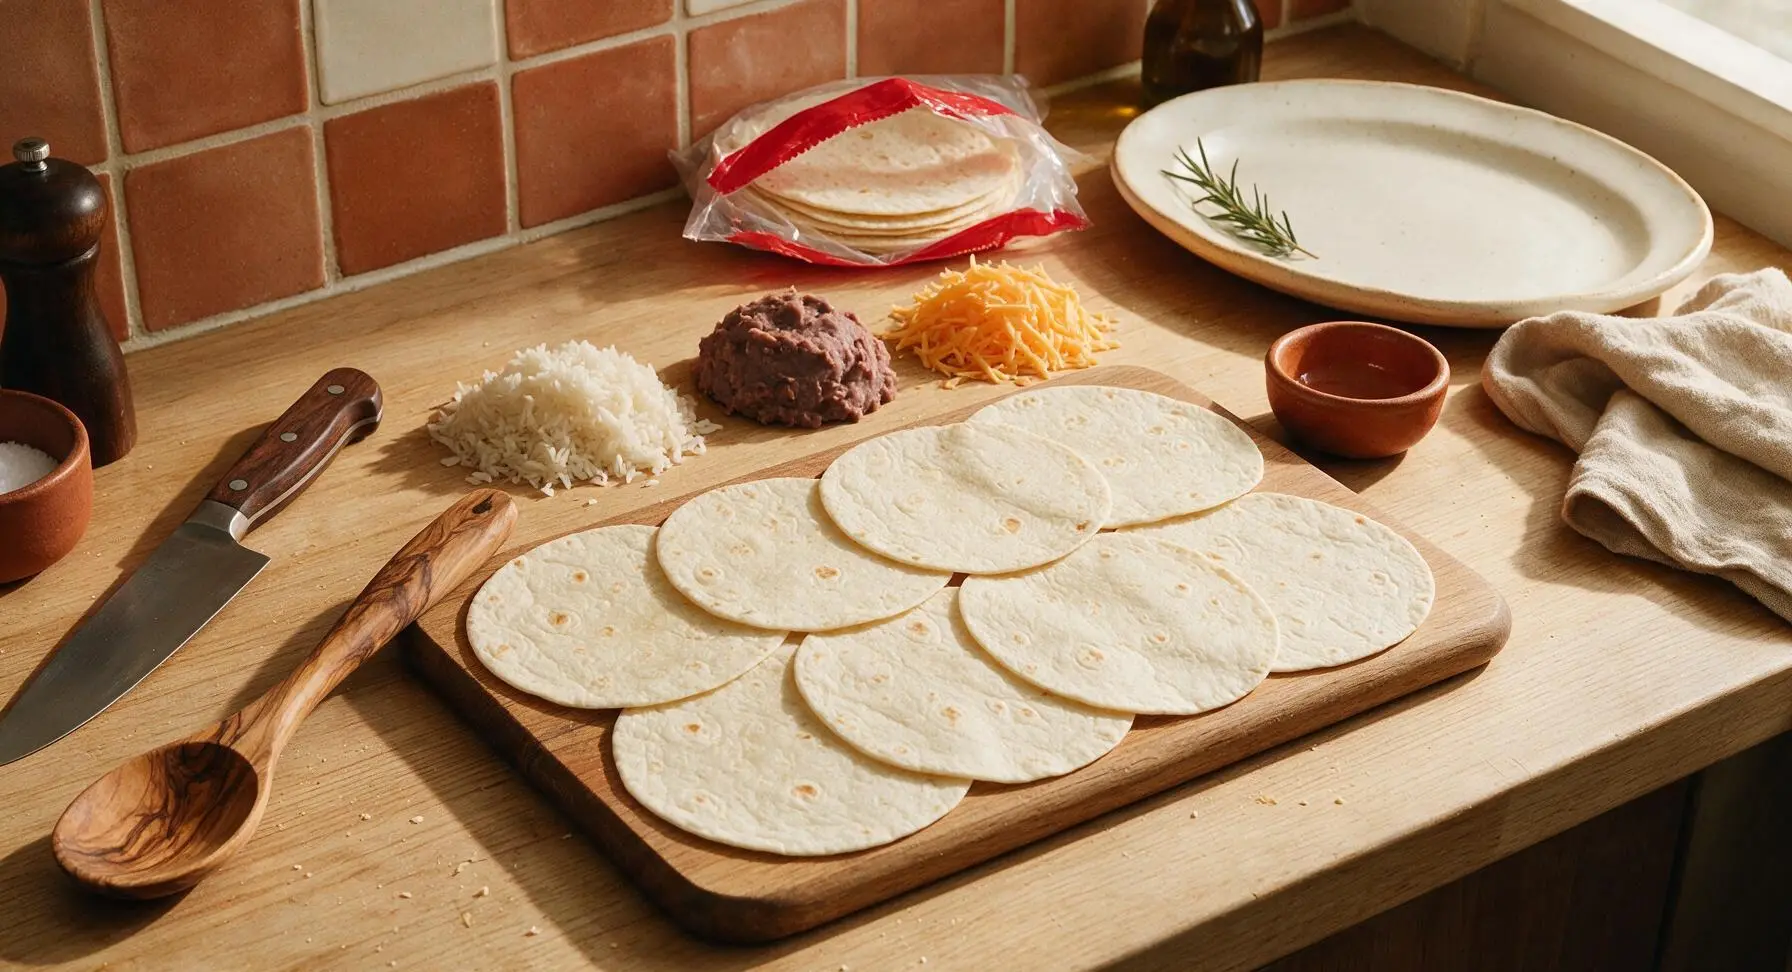
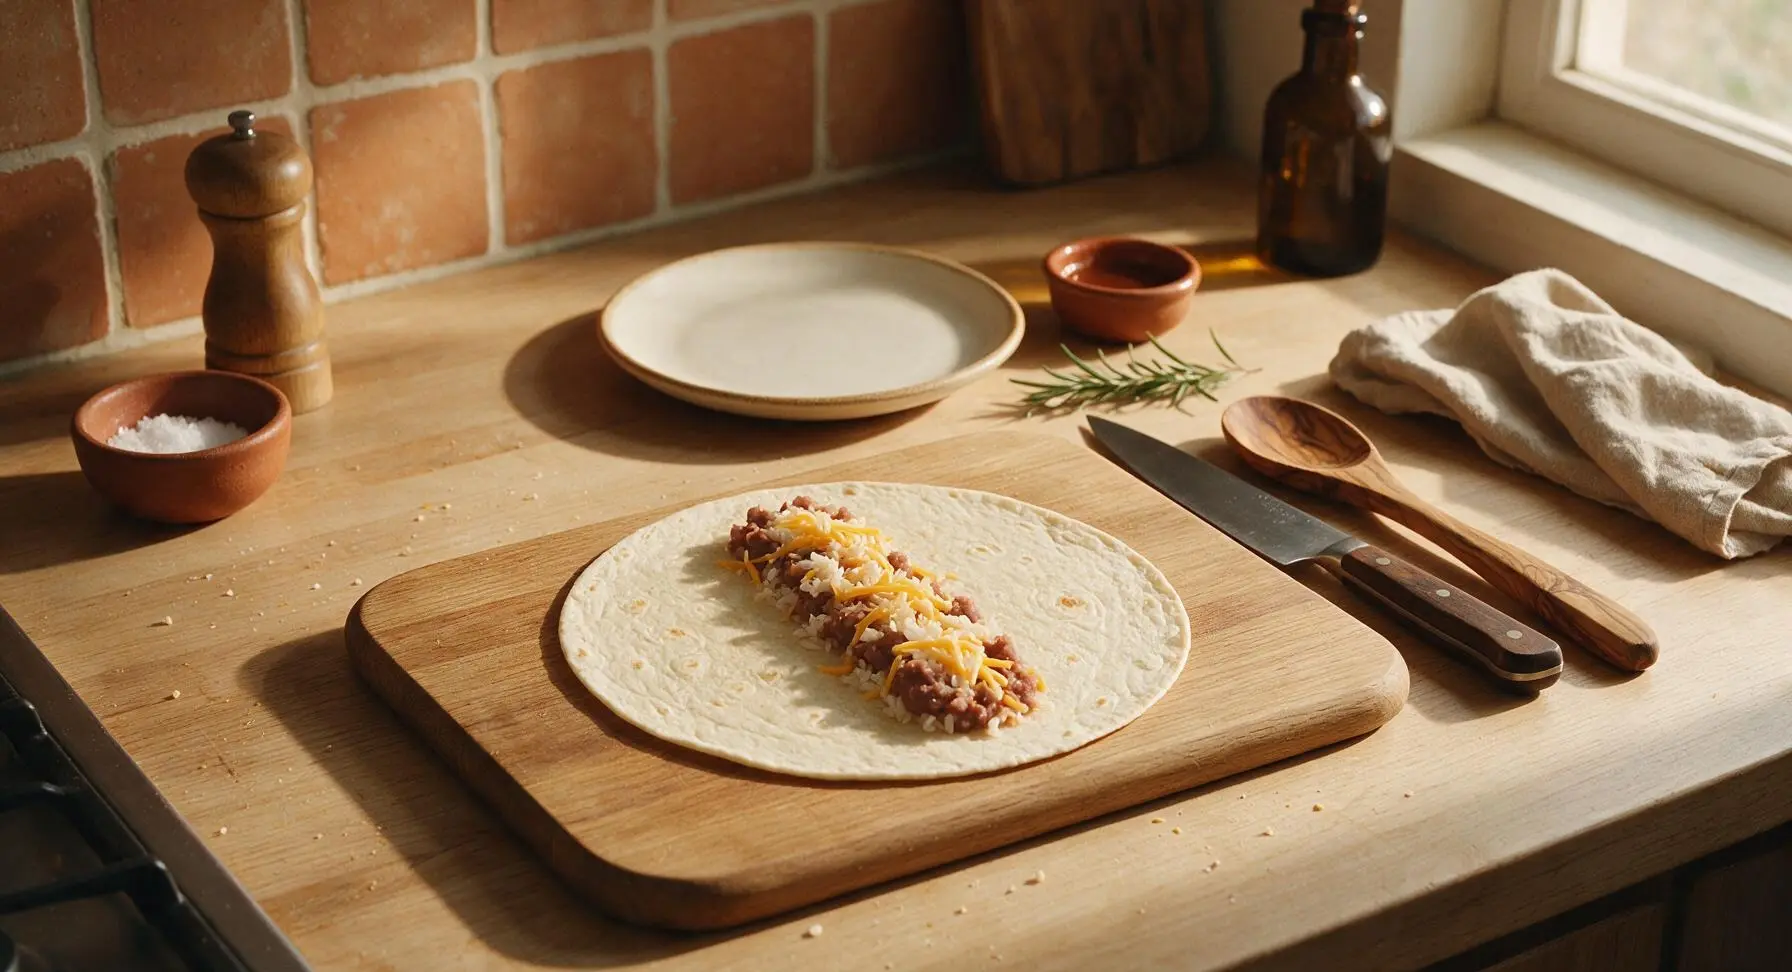
Step 3
step3:Prep Tortilla Assembly Station
Step 3
step3:Prep Tortilla Assembly Station
4

Roll Tight Sealed Burritos

Fold the top and bottom 1-inch empty edges of each tortilla in over the filling first, then roll the tortilla tightly from one long side to the other, pulling gently as you roll to eliminate trapped air pockets (this prevents bursting during freezing and baking). Press the final seam firmly against the rolled burrito to seal, ensuring no filling peeks out of the folded ends.
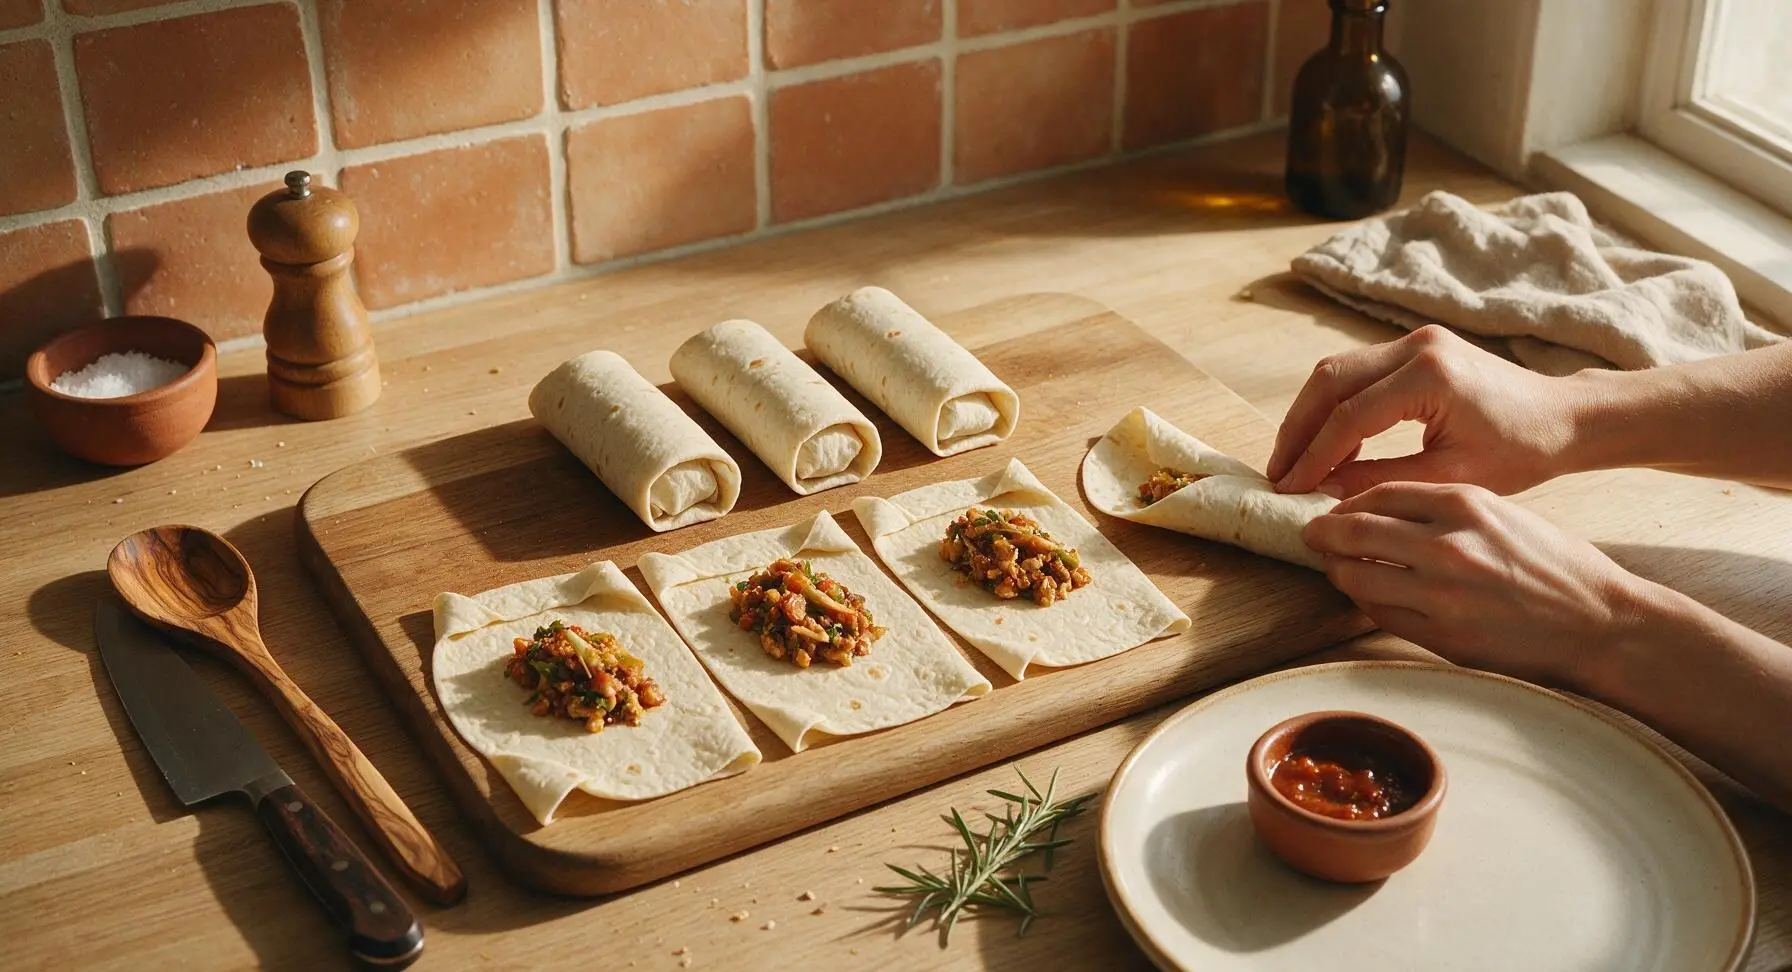
Step 4
step4:Roll Tight Sealed Burritos
5

Package for Freezer Storage

Open the box of quart-sized clear blue-zip freezer bags from the back left counter, place 2 rolled burritos in each bag, positioned seam-side down. Press all excess air out of each bag before zipping the top fully closed. Lay the sealed bags flat in a single layer in the freezer for a minimum of 4 hours, or until burritos are completely solid, to prevent them from sticking together.
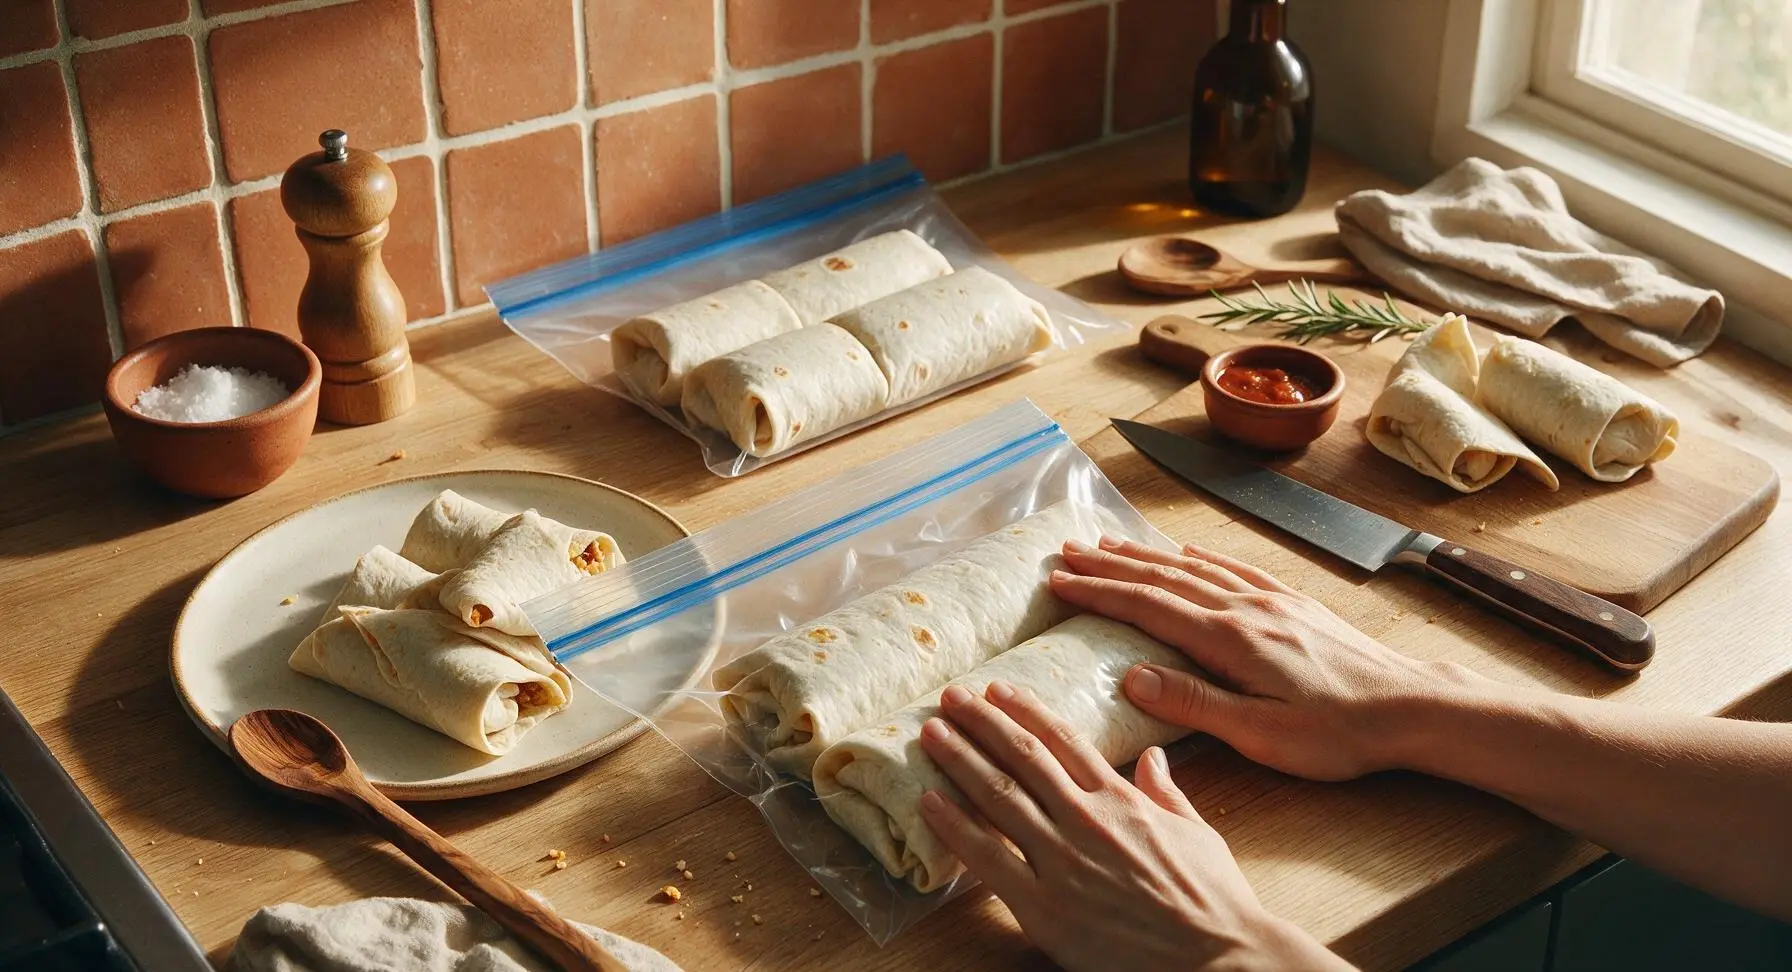
Step 5
step5:Package for Freezer Storage
6

Bake Crispy from Frozen

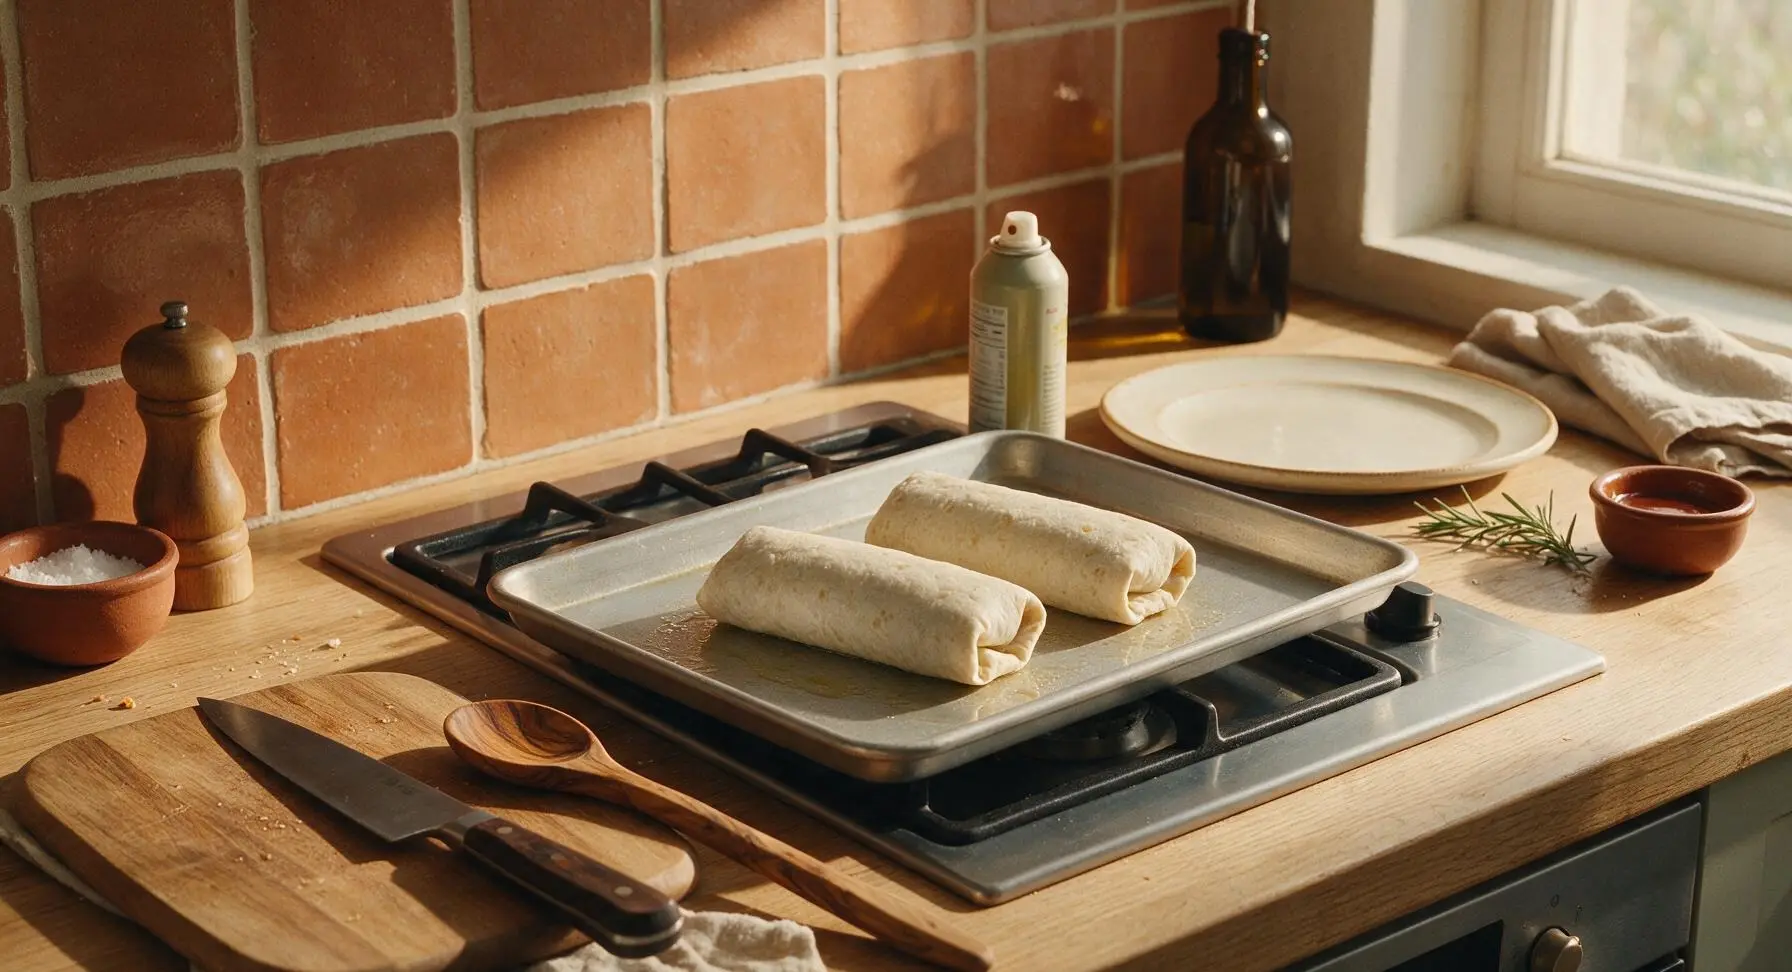
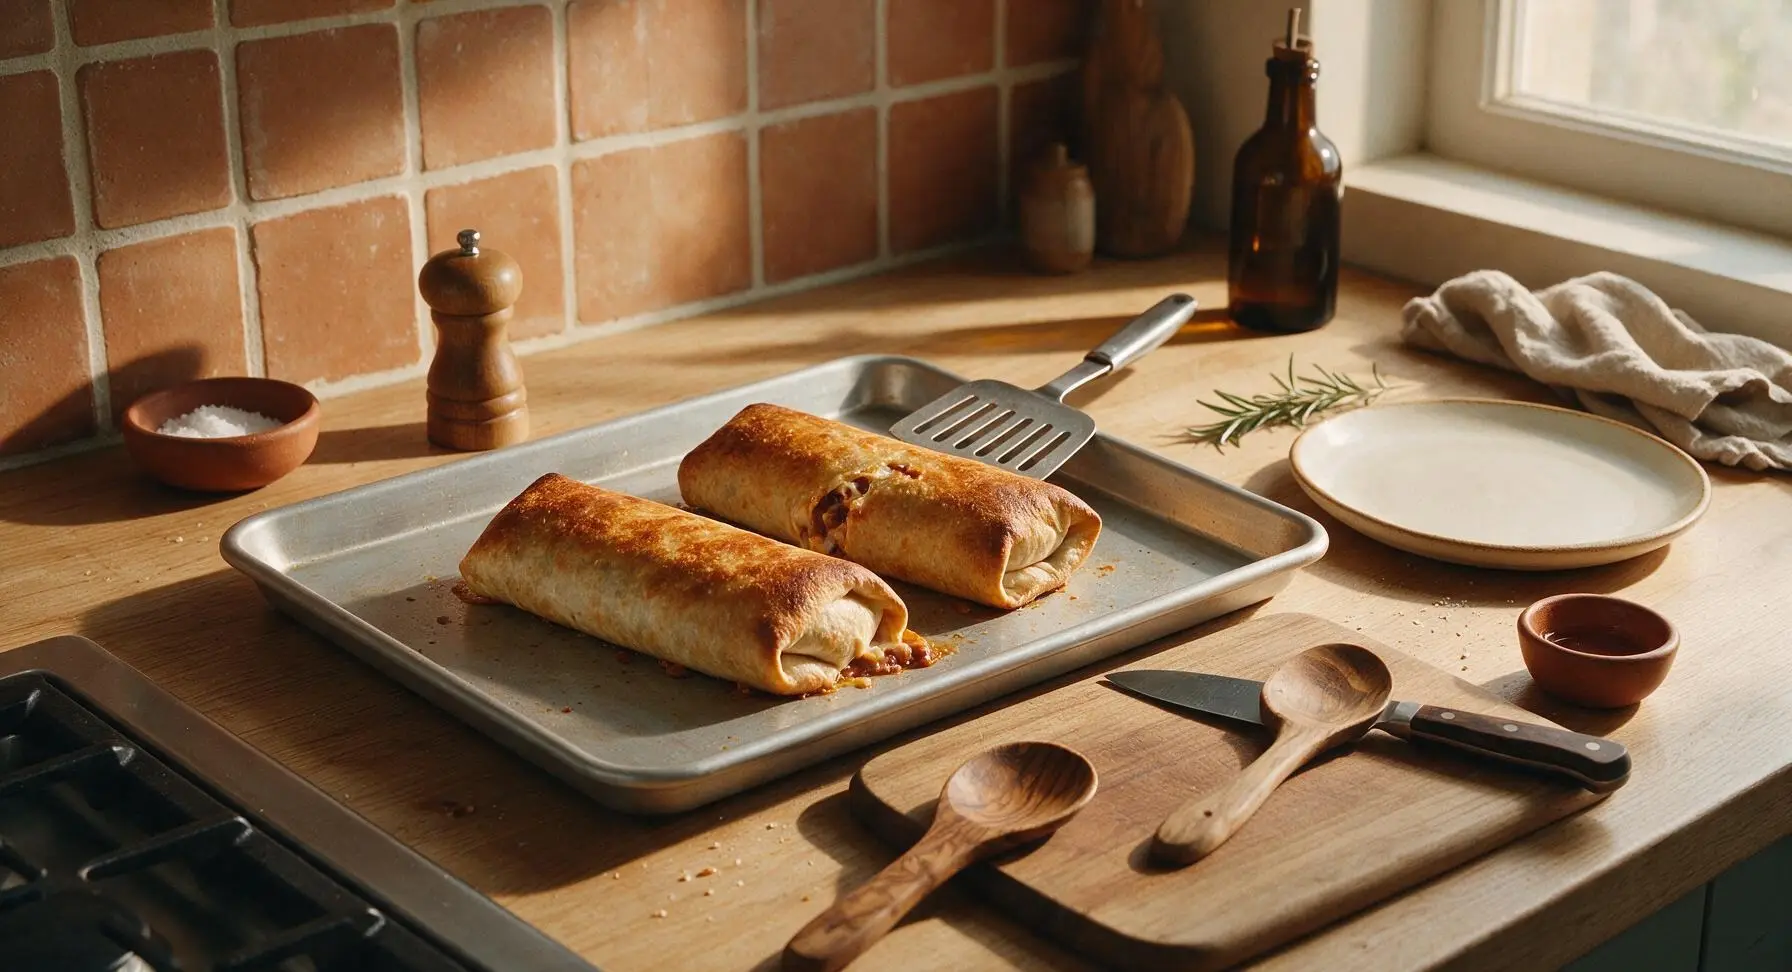
When ready to eat, preheat oven to 425°F (220°C). Pull the 13x9 inch matte aluminum baking sheet from its vertical storage position to the right of the stovetop, spray lightly with cheap vegetable oil cooking spray. Place desired number of frozen burritos seam-side down on the sheet, spaced 1 inch apart. Spray the tops of the burritos lightly with oil. Bake for 22-25 minutes, until tortillas are deep golden and crisp on the outside, and filling bubbles slightly through small seam splits.
Step 6
step6:Bake Crispy from Frozen
Step 6
step6:Bake Crispy from Frozen
7

Plate and Serve Hot

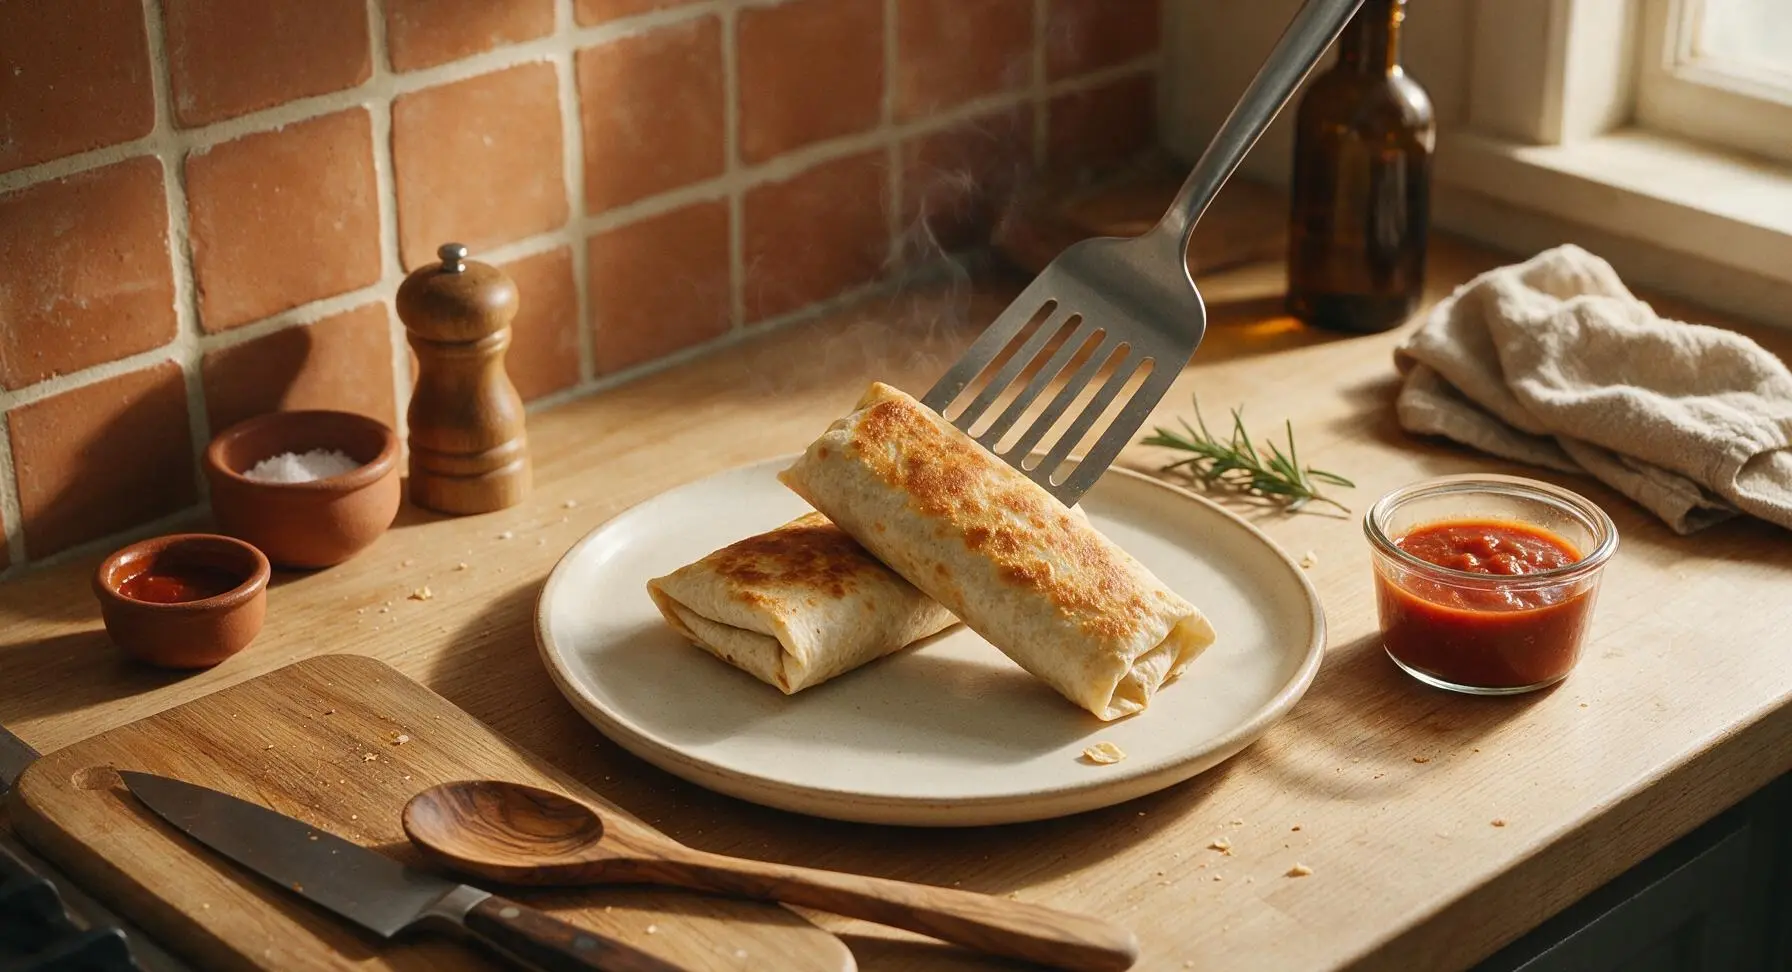
Use the stainless steel slotted turner to transfer the hot baked burritos to the matte off-white ceramic dinner plate. Spoon 2 tablespoons of mild taco sauce into the 10cm clear glass ramekin to serve alongside. Let burritos rest for 2 minutes before eating, as the interior filling will be extremely hot straight from the oven.
Step 7
step7:Plate and Serve Hot

Tips

1.Shred cheese from a block instead of buying pre-shredded: pre-shredded cheese is coated in potato starch anti-caking agents that prevent smooth melting, and block cheese costs 30-50% less per ounce, stretching your budget further.
2.Press every bit of air out of freezer bags before sealing: trapped air causes freezer burn, which makes tortillas turn leathery and filling taste stale, even after 2-3 weeks of frozen storage.
3.Never thaw burritos before baking: cooking directly from frozen keeps the tortilla exterior crisp instead of turning soggy from released moisture as it thaws, and cuts down on total prep time for a faster meal.


✨ You May Also Like

Main Course
🍜 United Kingdom

A showstopping classic of tender seared beef, savory mushroom duxelles, and crisp prosciutto wrapped in flaky golden puff pastry, baked to juicy perfection.

⏱️ 2 hours 1Main Course ★ 4.7
Main Course
🍜 India

Tender charred marinated chicken simmered in a rich, spiced creamy tomato sauce, this iconic Anglo-Indian curry pairs perfectly with basmati rice or warm naan.

⏱️ 50 minuteMain Course ★ 4.6
Main Course
🍜 Thailand

Classic tangy, sweet, and savory Thai stir-fried rice noodles with shrimp, tofu, and crunchy garnishes, balancing all five core Thai flavor profiles.

⏱️ 30 minuteMain Course ★ 4.5
Main Course
🍜 United Kingdom

Crispy golden beer-battered cod and fluffy double-fried chips, served with tangy tartar sauce and malt vinegar: the timeless, beloved British pub comfort classic.

⏱️ 45 minuteMain Course ★ 4.7
Main Course
🍜 Mexico

Smoky, chile-marinated pork tacos with caramelized pineapple, fresh cilantro, and lime: a beloved classic Mexican street food perfect for casual summer gatherings.

⏱️ 1 hour 45Main Course ★ 4.8
Main Course
🍜 United States

Crunchy Fritos corn chips layered with savory beef chili and melted cheddar, topped with cool, zesty fixings for a beloved, cozy Tex-Mex comfort food.

⏱️ 35 minuteMain Course ★ 4.8

cheap frozen burritos:Frequently Asked Questions

1.How much cheaper are these homemade frozen burritos compared to store-bought frozen options? ▾
Using budget store-brand staples, each burrito clocks in at roughly $0.60 to $0.75, compared to $1.50 to $2.50 per name-brand frozen burrito. That’s 50-70% savings per batch, plus you skip the added preservatives, excess sodium, and odd filler ingredients common in pre-made frozen burrito options.
2.Is leftover rice really better to use than freshly cooked rice for these burritos? ▾
Absolutely—cold leftover long-grain white rice is actually ideal for this recipe! Freshly cooked rice is steamy and too moist, which can make your tortillas soggy as the burritos freeze and thaw. If you don’t have leftovers, cook rice 1-2 hours early, spread it on a baking sheet, and chill it fully in the fridge before assembling.
3.Why do you recommend shredding block cheddar at home instead of buying pre-shredded cheese? ▾
Pre-shredded cheese is coated in anti-caking agents like potato starch that keep it from clumping in the bag, but those additives also prevent it from melting into that smooth, oozy burrito filling. Shredding your own block mild cheddar takes 2 extra minutes, melts far better, and is usually cheaper per ounce than pre-shredded bags.
4.How do I roll the burritos so they don’t burst open while freezing or reheating? ▾
Start by warming tortillas for 10 seconds in the microwave so they’re pliable and less likely to crack. Don’t overstuff them—stick to ¼ cup total filling per 8-inch tortilla, placed slightly off-center. Fold the sides in first, then roll tightly from the filling end, tucking the edge under the filling as you go to create a tight seal.
5.What’s the best way to wrap these burritos for the freezer to avoid freezer burn? ▾
First, wrap each tightly rolled burrito individually in a 6-inch square of plastic wrap, pressing out as much air as possible as you wrap. Then tuck all wrapped burritos into a labeled zip-top freezer bag, squeezing out every last bit of excess air before sealing. Stored this way, they’ll stay fresh and free of freezer burn for up to 3 months.
6.Do I need to pre-cook the filling before assembling and freezing the burritos? ▾
No extra cooking is required for the base filling! Canned refried beans are already fully cooked, your rice is pre-cooked, and taco seasoning mixes right into the beans straight from the packet. Just stir the seasoning into the refried beans, layer with cold rice and shredded cheese, roll, and freeze—no pre-baking or sautéing needed.
7.Can I reheat these burritos straight from frozen, or do I need to thaw them first? ▾
You don’t need to thaw them at all—reheating straight from frozen gives the best, crispiest results. For a crunchy exterior, cook in a 400°F oven or air fryer for 18-22 minutes, flipping halfway. For a quick fix, microwave on high for 2.5 to 3 minutes total, flipping halfway, then crisp in a dry pan for 1 minute per side if desired.
8.My frozen burritos always come out soggy—what am I doing wrong? ▾
Sogginess almost always traces back to excess moisture in the filling. Make sure you’re using cold leftover rice (not warm, steamy fresh rice), don’t over-sauce the beans, and skip watery ingredients like fresh salsa or sour cream before freezing—save those for topping after reheating. Rolling burritos too loosely can also trap moisture that softens tortillas.
9.Can I add extra mix-ins to these burritos without ruining them for freezing? ▾
Absolutely, just stick to low-moisture add-ins to avoid sogginess! Great budget-friendly options include well-drained canned corn, cooked crumbled ground beef or sausage, and drained diced green chiles. Skip watery add-ins like fresh tomatoes, sour cream, or guacamole before freezing—those turn mushy when frozen, so add them fresh after reheating.
10.Why use low-sodium canned refried beans instead of regular? ▾
Store-brand taco seasoning already has a solid amount of salt in it, so using regular full-sodium refried beans will leave you with overly salty filling. Low-sodium refried beans let you control the total salt level for that perfect taco flavor. If you only have regular beans on hand, just cut the taco seasoning amount by one-third to compensate.
11.How many burritos does one standard batch of this recipe make? ▾
Using the standard ingredient ratios and 8-inch flour tortillas, one batch makes 8 generously filled but not overstuffed burritos, perfect for a single person’s week of quick lunches or a couple’s easy weeknight dinners. Each burrito is hearty enough to be a full meal, especially paired with a quick side of tortilla chips or a small green salad.
12.Can I use corn tortillas instead of flour tortillas for this recipe? ▾
I don’t recommend corn tortillas for frozen make-ahead burritos, even if you prefer their flavor. Corn tortillas crack easily when rolled, especially when cold from the freezer, and they tend to get soggy and fall apart during reheating. If you want a corn flavor, mix a small handful of crushed tortilla chips into the filling for extra crunch.
13.How long do these burritos stay good in the freezer, and how do I know they’ve gone bad? ▾
When wrapped tightly to keep air out, these burritos will stay at peak quality for up to 3 months in a standard 0°F home freezer. They’re still safe to eat after that, but texture will get drier and off-flavors from freezer burn may develop. Toss any burritos with dry, grayish-white freezer burn patches or odd, rancid smells when unwrapped.
14.Can I make these burritos vegan or dairy-free while still keeping them super cheap? ▾
Totally! For a dairy-free, vegan version that stays budget-friendly, swap the block mild cheddar for a store-brand block vegan cheddar (it shreds and melts far better than pre-shredded vegan cheese) and double-check that your taco seasoning and refried beans have no hidden dairy. The total cost per burrito only goes up by about $0.10, staying under $1 per serving.

Comments (3)

2 days ago

OMG these are such a game changer for my weekday rush! I made a big batch on Sunday with leftover white rice, ground turkey, and canned black beans I already had in the pantry, and the total cost worked out to less than a dollar a burrito. My 8 and 10 year old beg for them for after school snacks too! The only tweak I made was adding a little extra taco seasoning to the bean mix, and they are SO good. 10/10 will be making these every other week for meal prep from now on.

yesterday

So glad these are working out for your family, Jen! Adding extra taco seasoning is such a smart call, I do that too when I have a random jar open in the spice cabinet. Pro tip: if you wrap them in a paper towel before microwaving straight from frozen, they don’t get soggy on the bottom!

2 hours ago

Wait the paper towel trick is total genius! I made these last month and was so annoyed the bottoms were all mushy when I heated them up for work lunches, gonna have to remember that for my next batch.

30 minutes ago

Super easy recipe, perfect for my college dorm meal prep! I don’t have a ton of fancy kitchen equipment, just a cheap frying pan and the dorm microwave, and these came together in like 22 minutes flat – basically right on the listed cook time! I used pinto beans instead of black because that’s what the dollar store by campus had in stock, and they still tasted amazing. Quick question though – how long do these actually last in the freezer without getting gross freezer burn?

5 minutes ago

Awesome to hear these work for dorm cooking, Kai! If you wrap them tightly in plastic wrap first then slide them into a labeled freezer bag with all the air squeezed out, they’ll stay good for up to 3 months in the freezer with zero freezer burn. Enjoy!

1 week ago

Brought a platter of these (heated up, cut in half with a side of salsa and sour cream for dipping) to my neighborhood block party potluck last weekend and people went crazy for them! Multiple neighbors stopped by to ask for the recipe, I can’t believe how cheap and simple they are to throw together. Even my super picky sister who turns her nose up at ‘budget food’ went back for a second one, lmao.



