
cheese and tomato sandwich
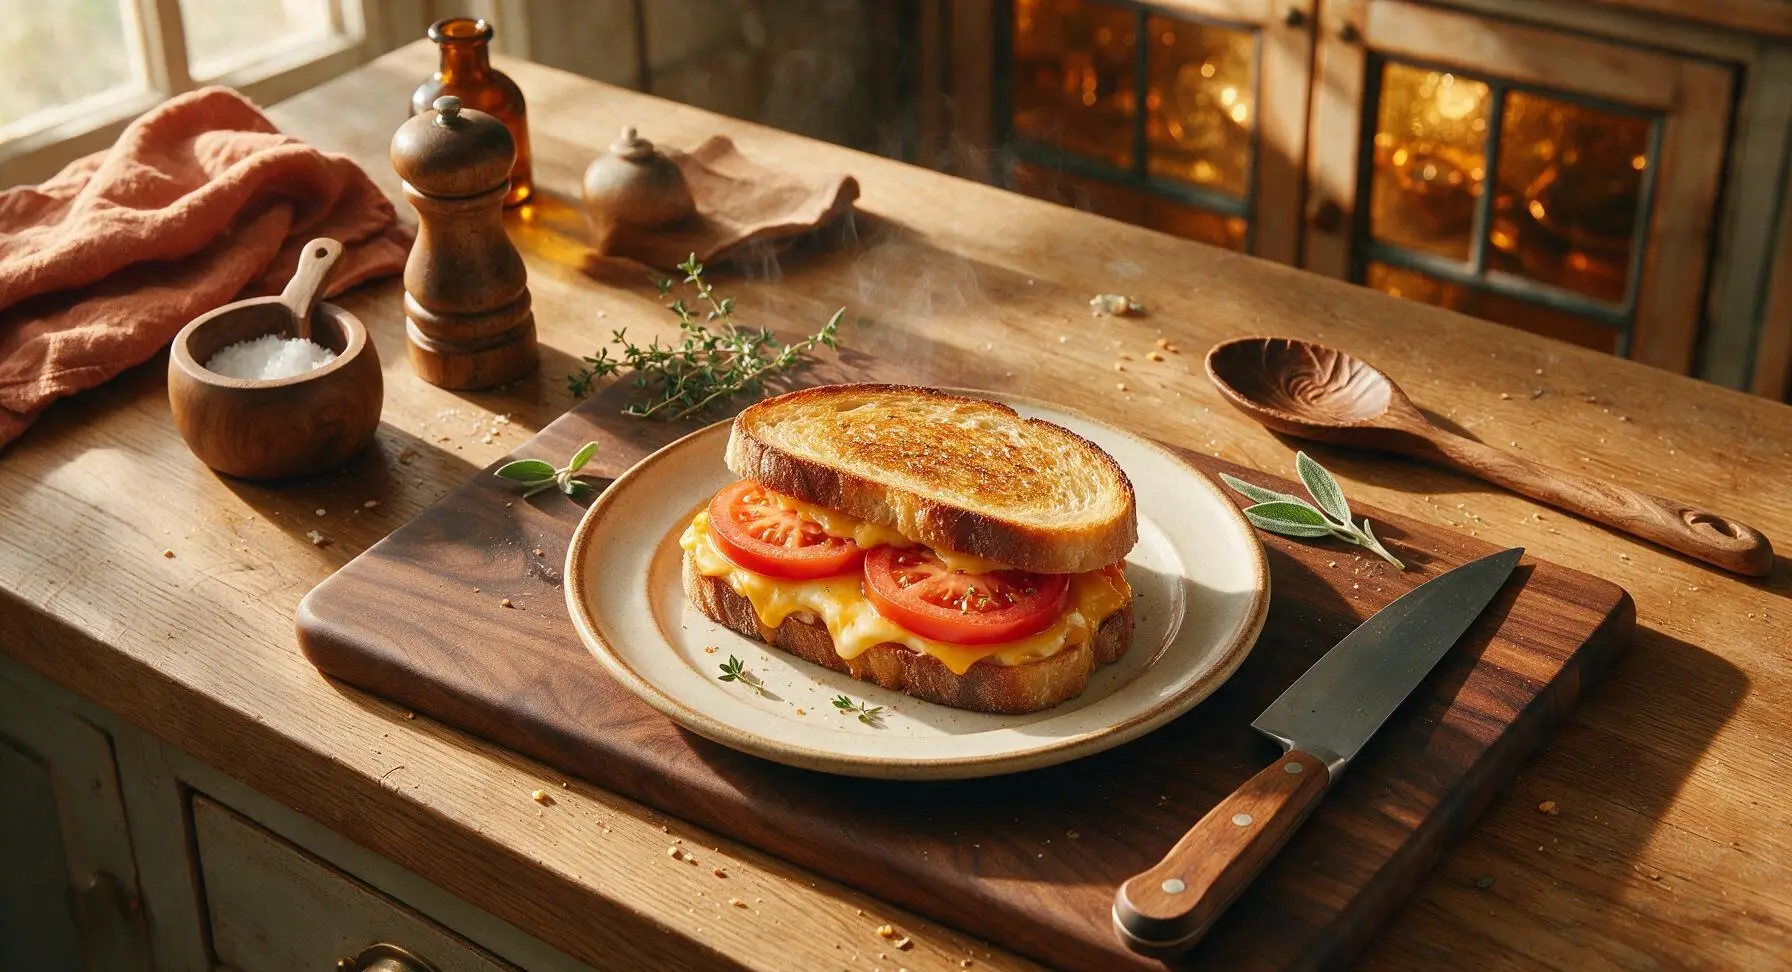
intro
Crisp buttered sourdough, melted sharp cheddar, and juicy ripe summer tomatoes make this simple sandwich a timeless, satisfying warm meal ready in minutes.
Ingredients
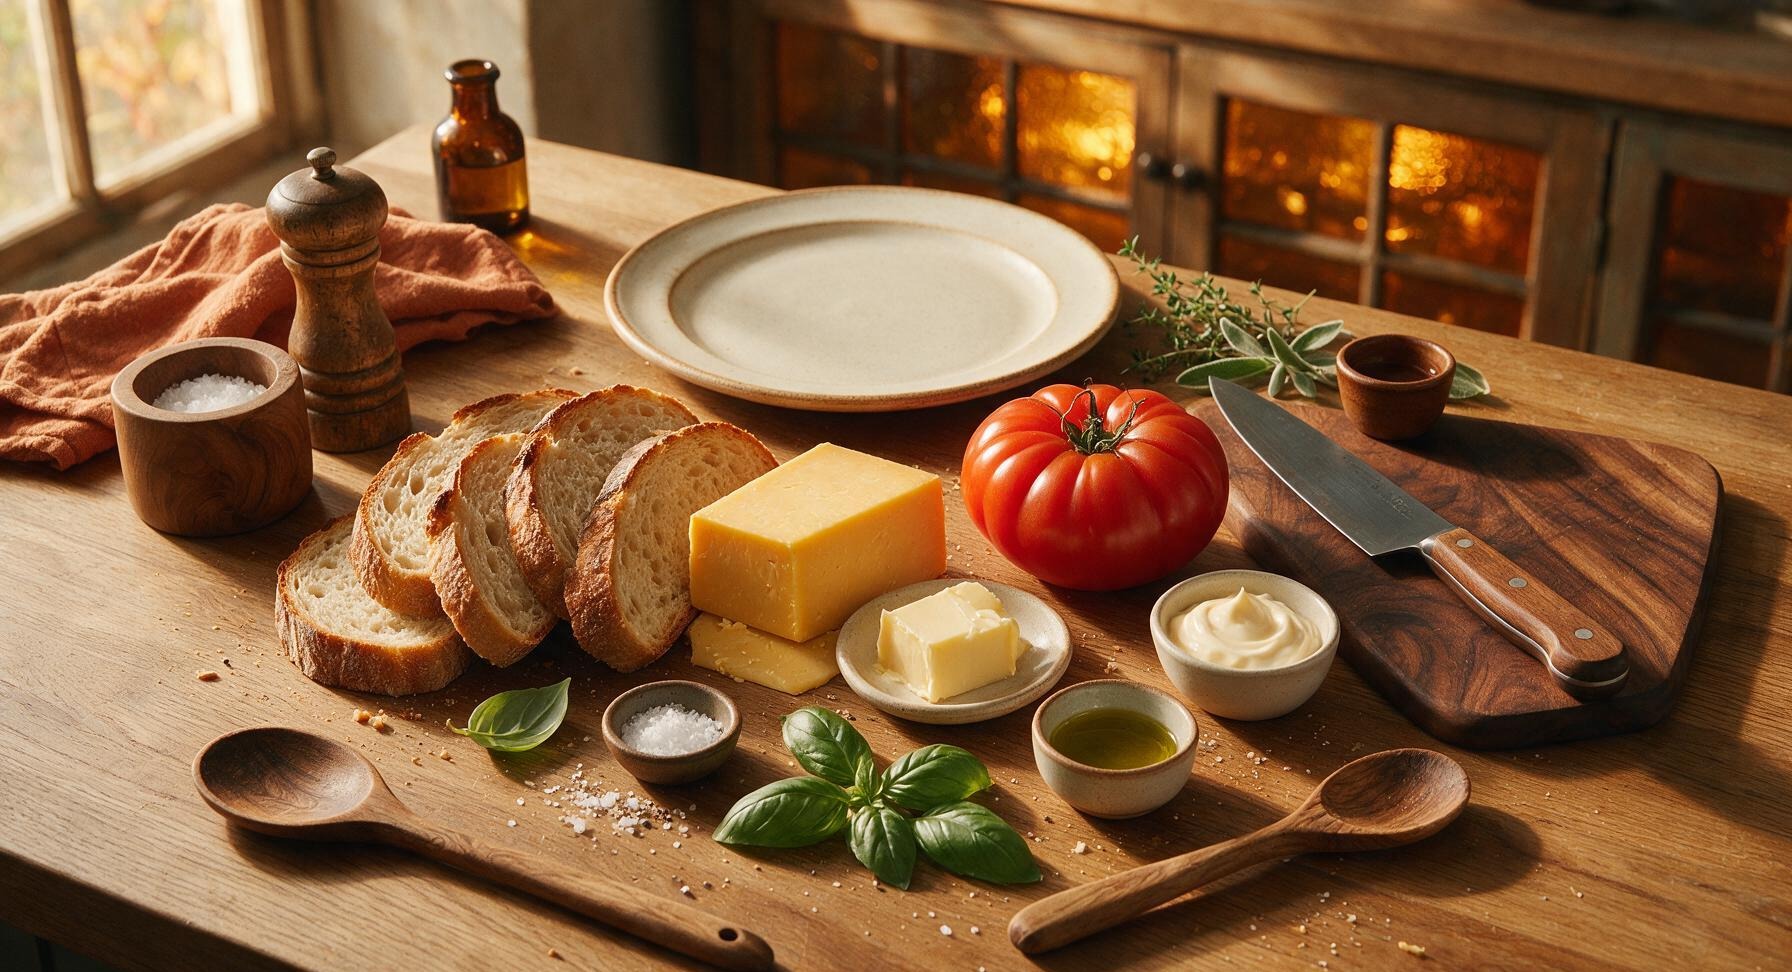
Steps
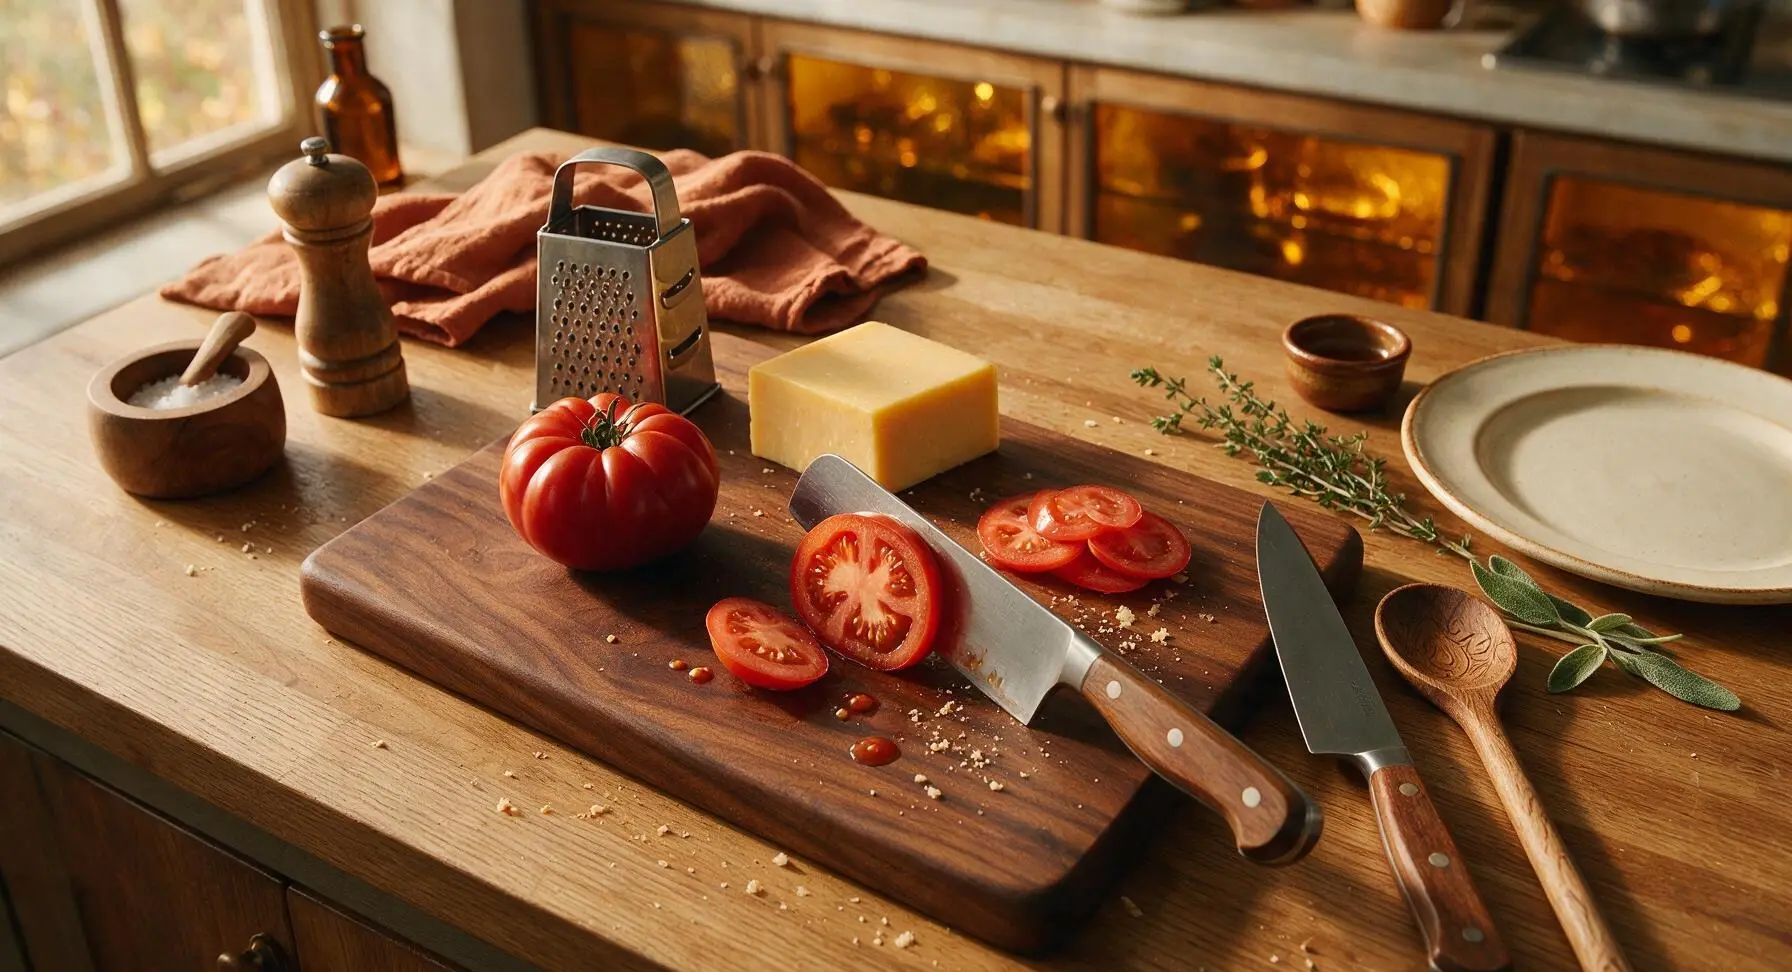
Slice Tomato and Cheese
Place the beefsteak tomato and block of cheddar on the beech wood cutting board. Use the santoku knife to slice the tomato into 1cm thick rounds, discarding the tough stem end. Grate 100g of cheddar using the stainless steel box grater, or slice into thin 3mm slices if you prefer even layers. Pat the tomato slices lightly with the edge of the cotton tea towel to remove excess juice that would make the bread soggy.
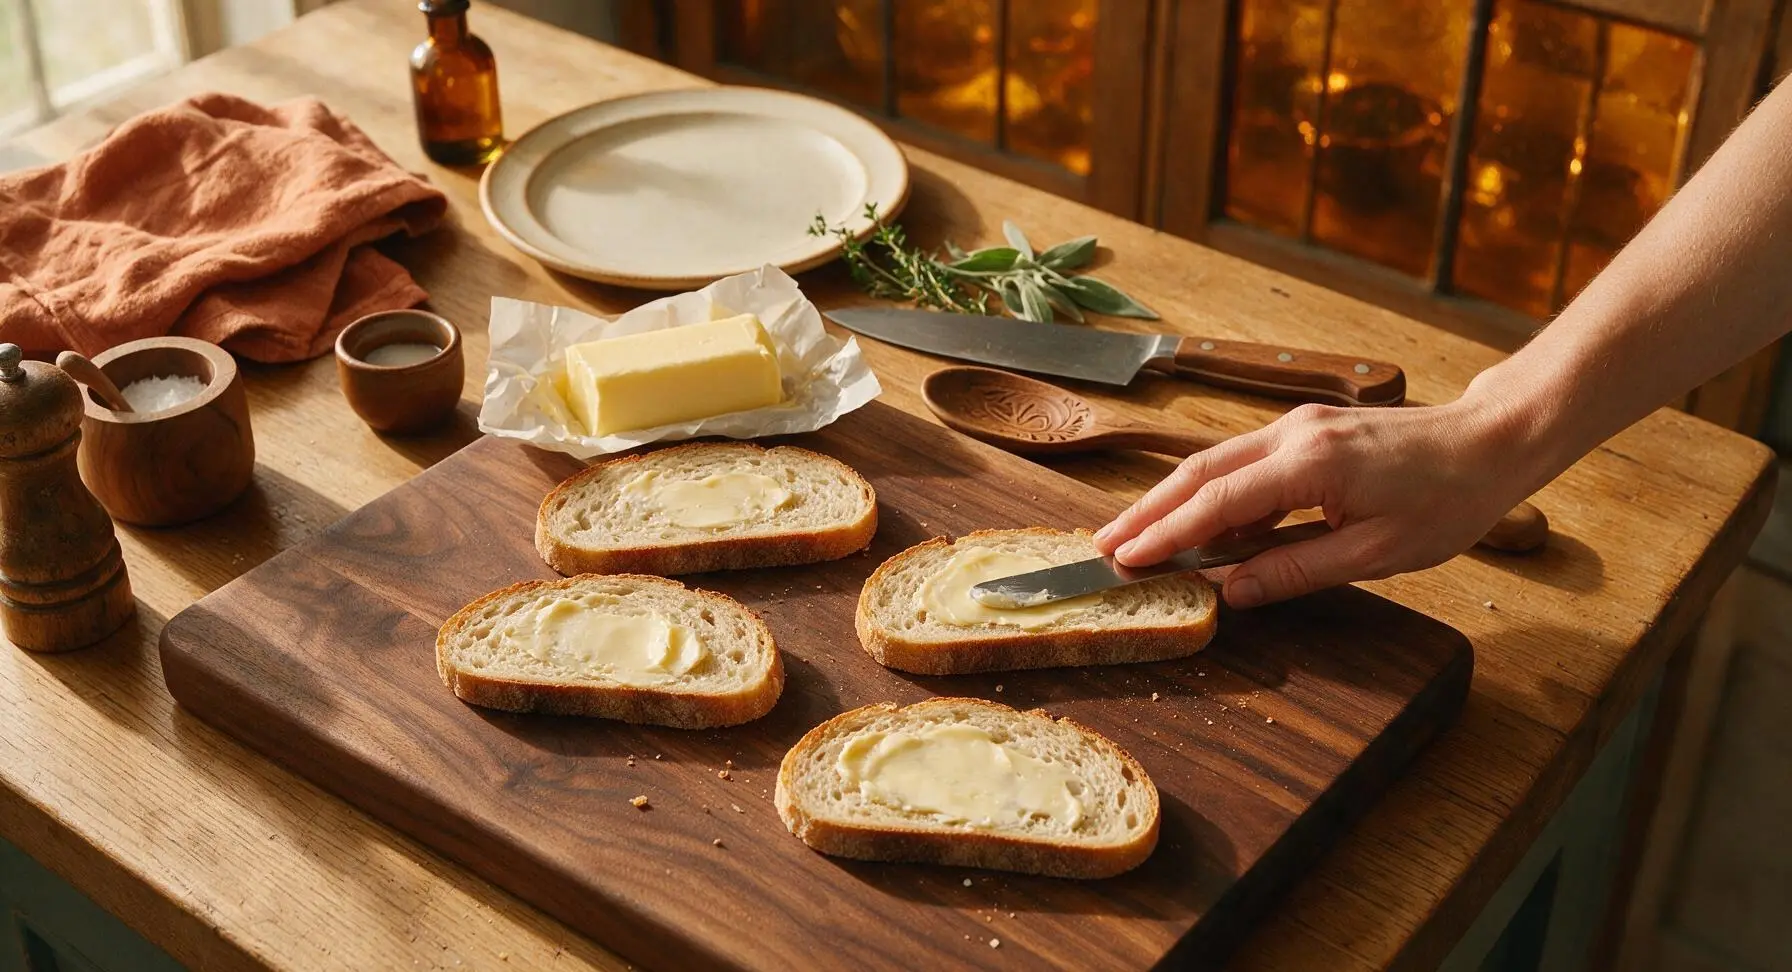
Butter Bread Slices
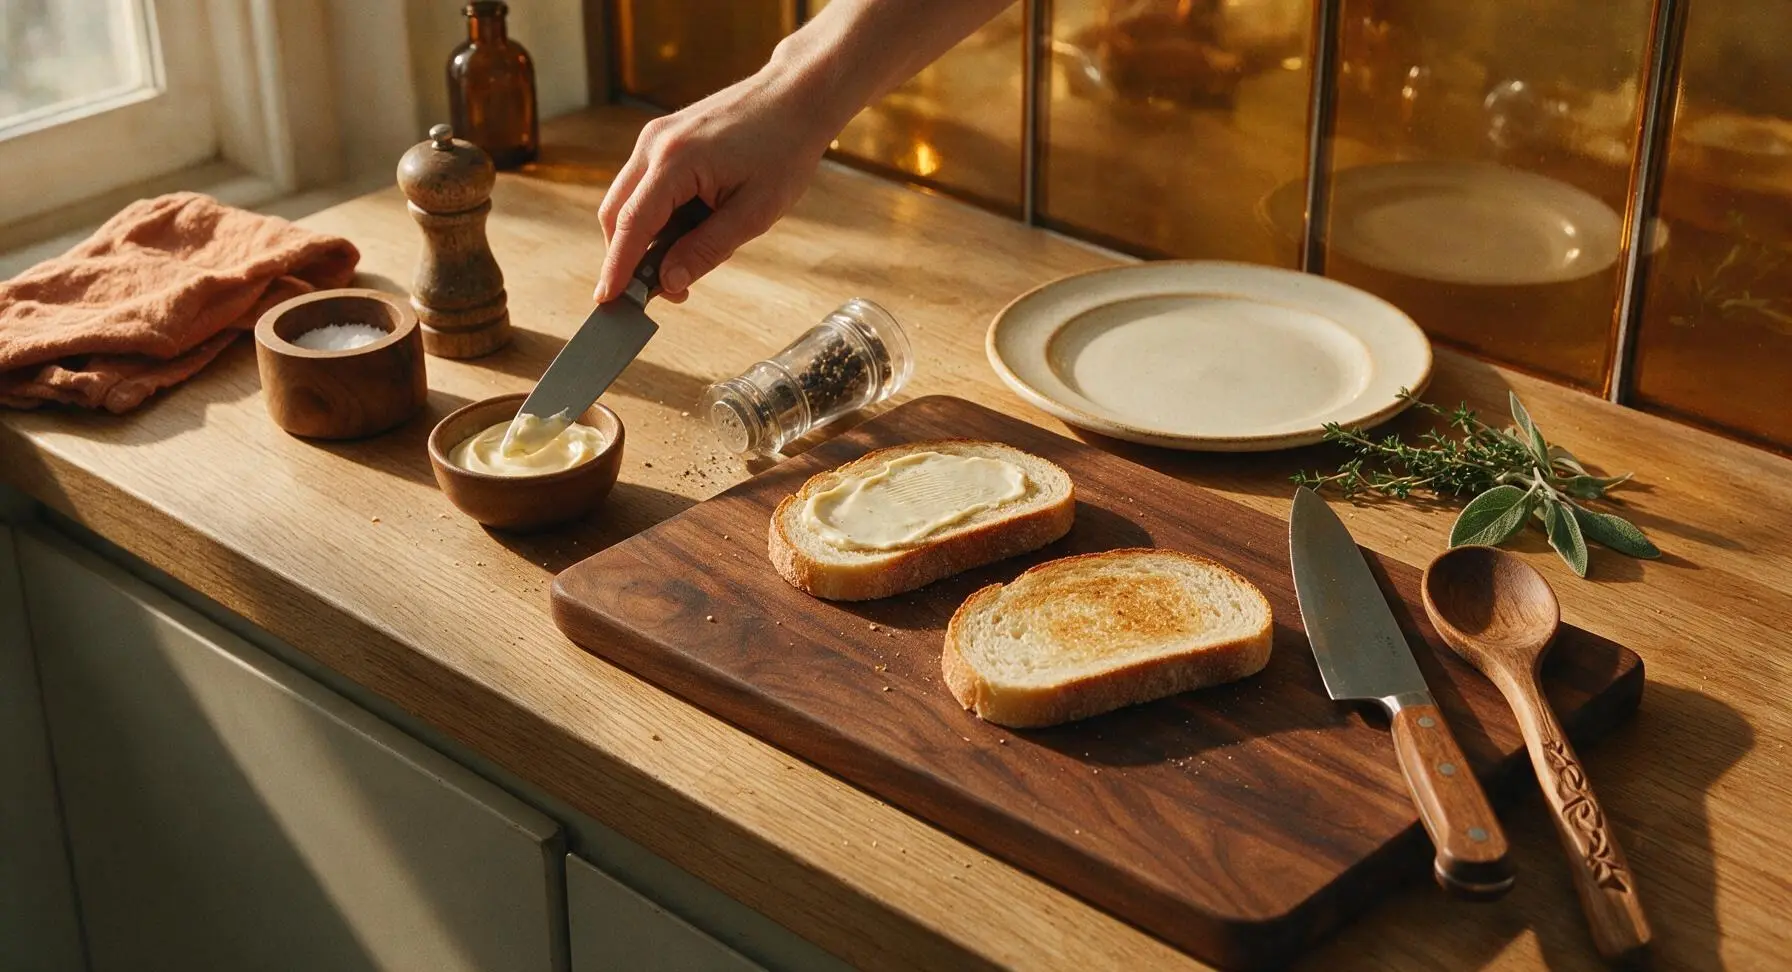
Lay all 4 slices of sourdough flat on the beech wood cutting board. Use the tip of the santoku knife to spread 1/2 tbsp of softened salted butter evenly across one side of each bread slice, making sure to cover all the way to the crusts to create a moisture barrier that prevents sogginess from tomato juice. The buttered side will be the outer, toasted side of the sandwich.
Add Spread to Bread
Flip two of the buttered bread slices over so the unbuttered side faces up. Spoon 1 tbsp of full-fat mayonnaise into the small ceramic ramekin, then spread 1/2 tbsp evenly across the unbuttered surface of these two slices, which will form the inner base of each sandwich. Crack a light pinch of freshly ground black pepper over the mayo for extra depth.
Layer Cheese and Tomato
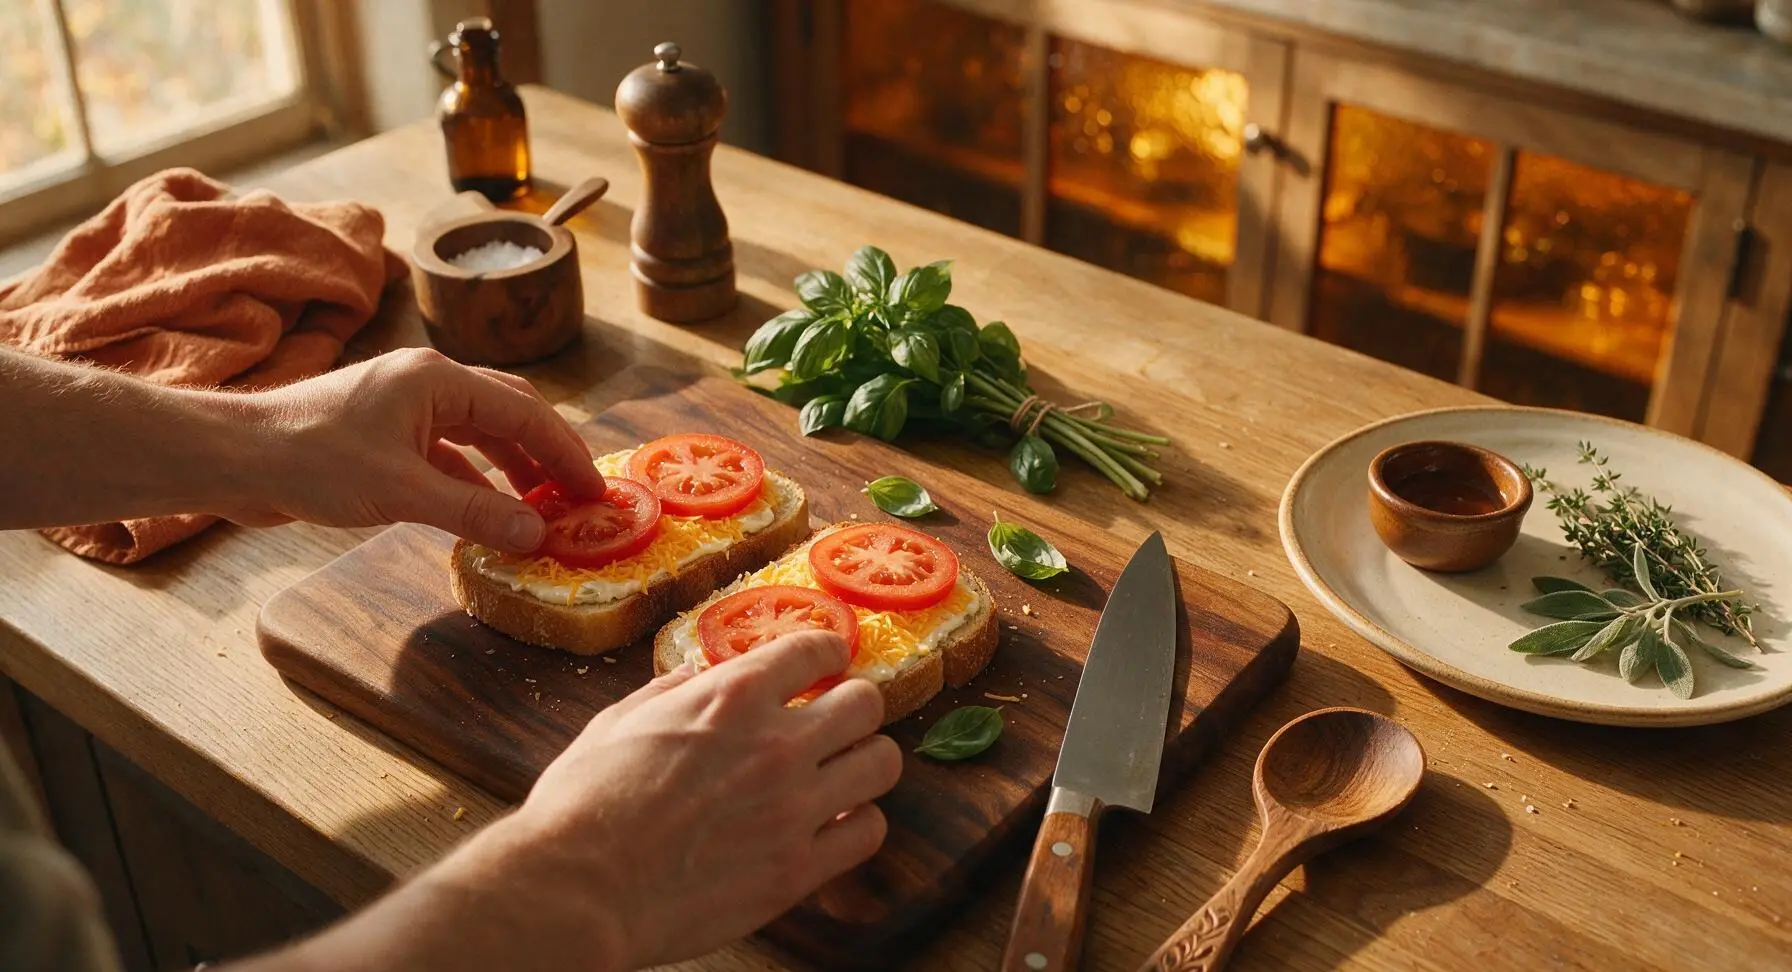
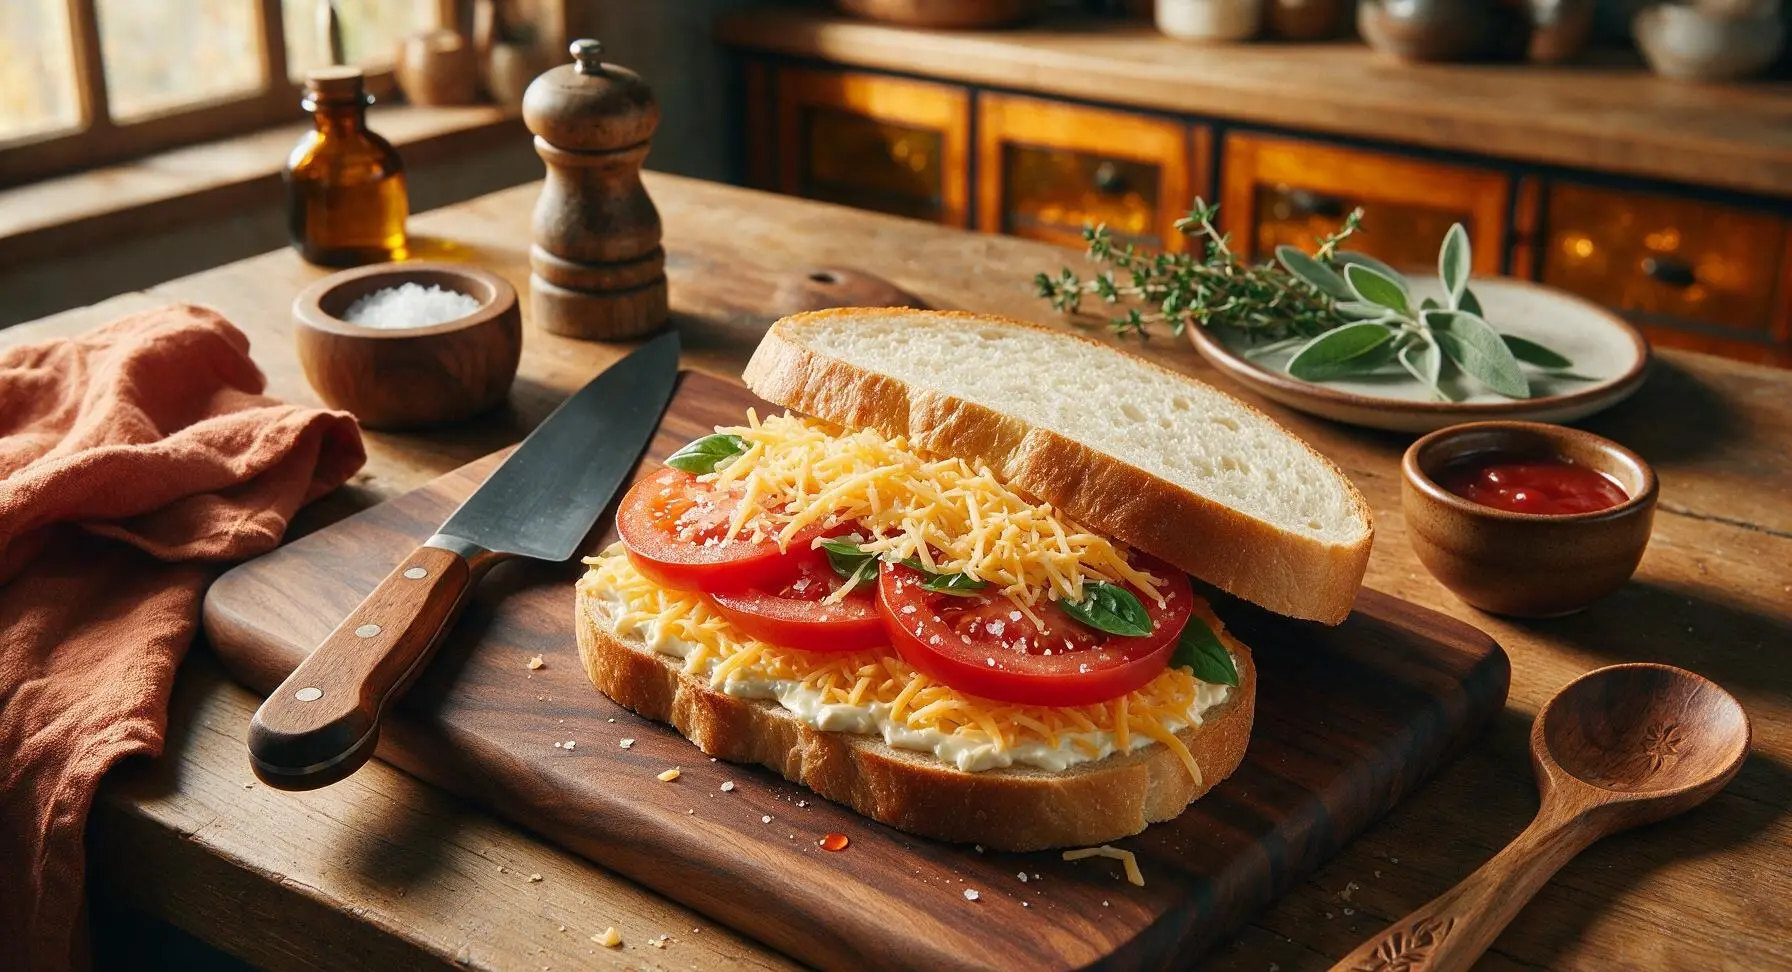
Divide half of the grated (or sliced) cheddar evenly across the two mayo-covered bread slices, pressing it gently into the spread to hold it in place. Arrange 2-3 slices of patted-dry tomato over the cheese on each sandwich, overlapping slightly so every bite has tomato. Sprinkle the 1/4 tsp flaky sea salt evenly over the tomato slices, then tuck 3 fresh basil leaves onto each tomato layer. Top the tomato and basil with the remaining half of the cheddar, so the cheese melts to glue the sandwich together.
Toast Sandwiches Until Crisp
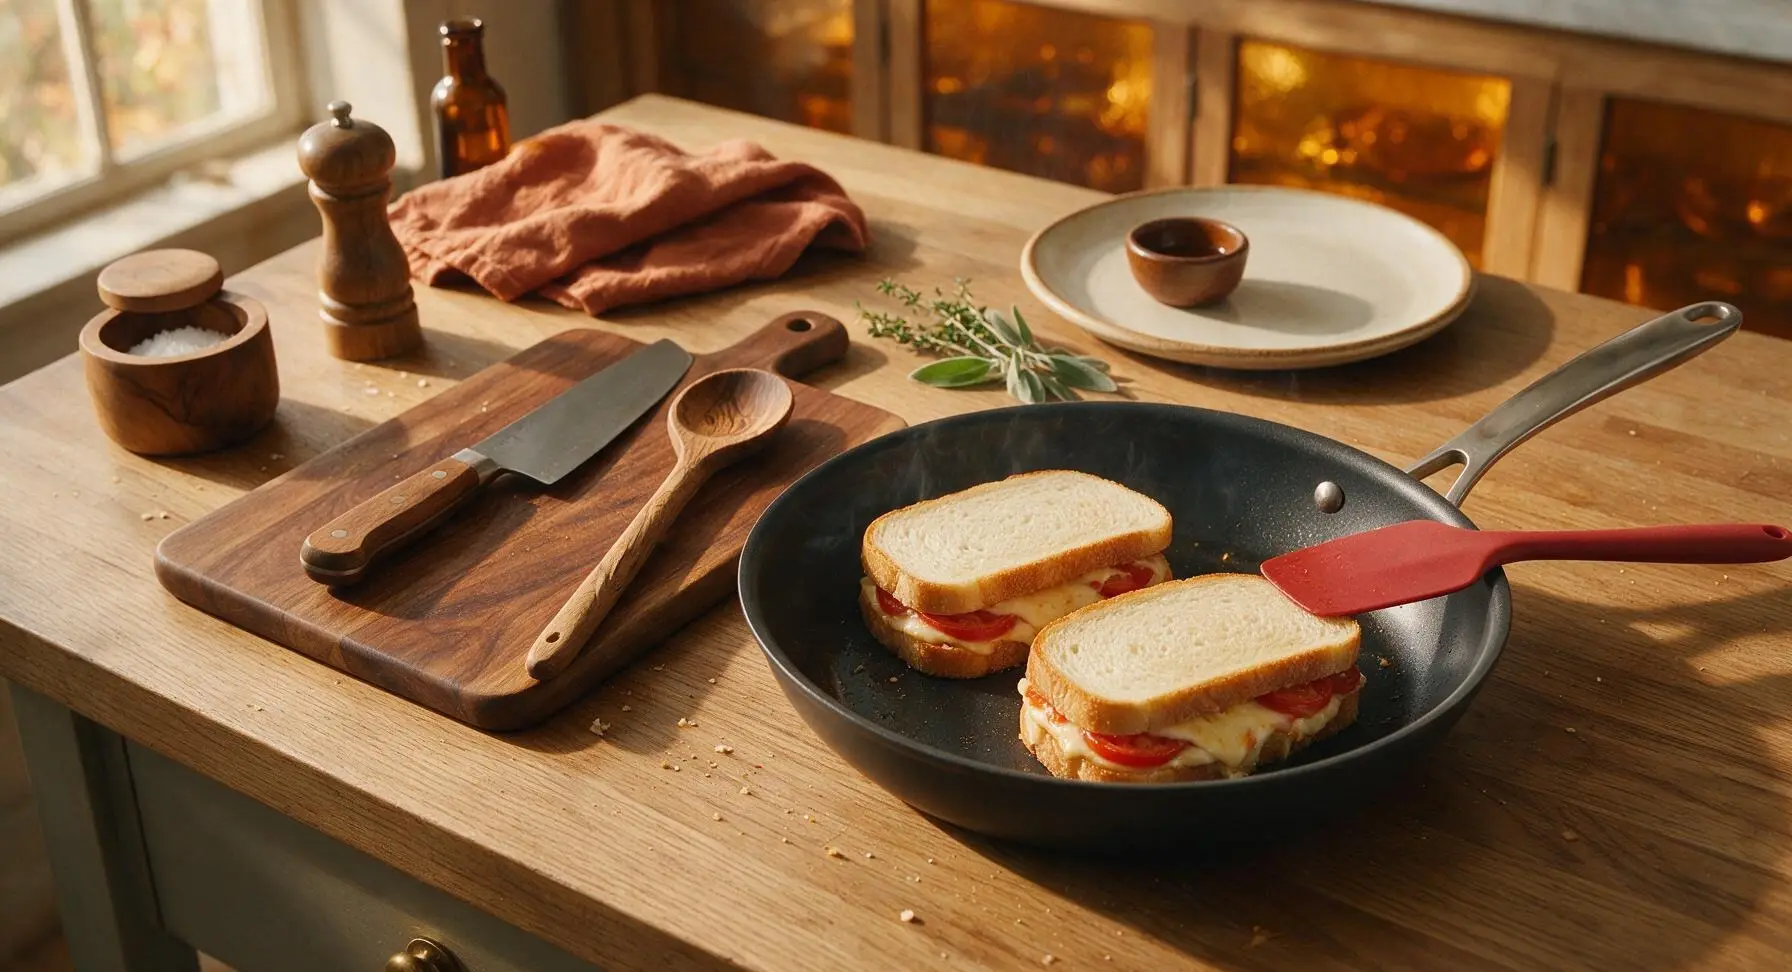
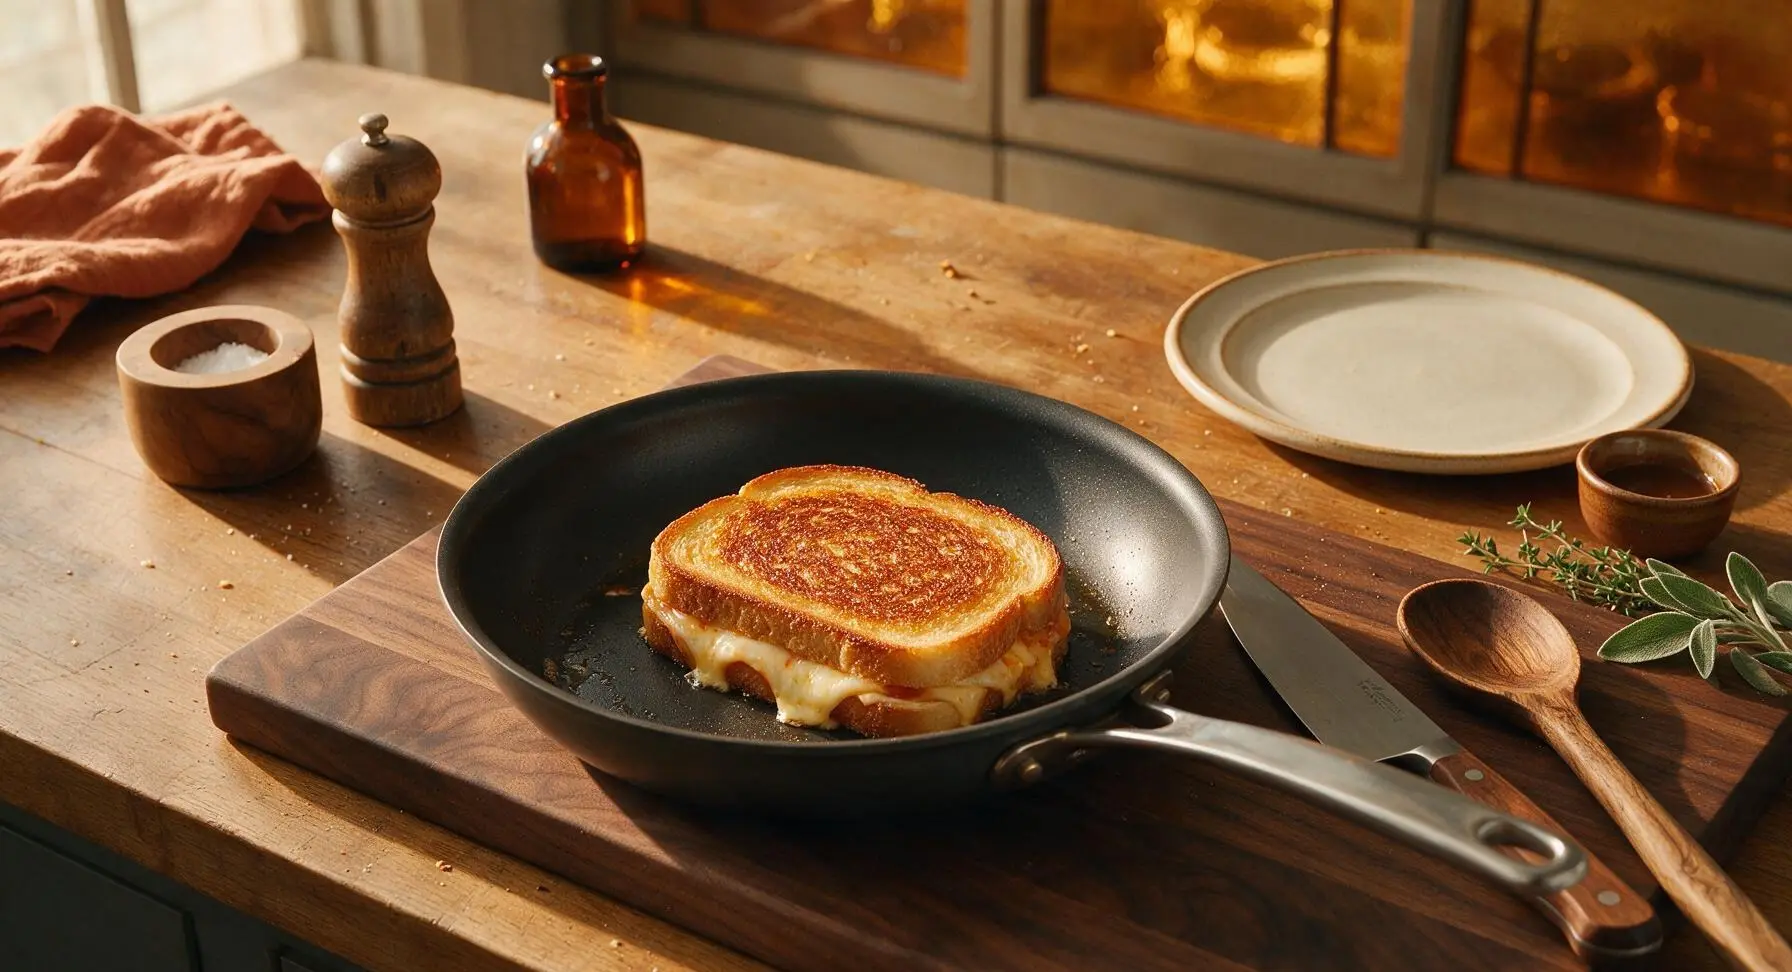
Place the 10-inch non-stick skillet over medium heat (175C / 350F). Once the pan is warm, carefully place the assembled sandwiches buttered-side down into the pan. Place the remaining two bread slices on top, buttered-side facing up. Cook for 3 minutes, until the bottom bread is deep golden brown and crispy, and the bottom layer of cheese starts to melt. Use the matte red silicone spatula to carefully flip each sandwich, then cook for another 3 minutes on the second side, until the crust is crisp and the cheese is fully melted through with no hard, un-melted chunks left.
Rest and Slice Sandwiches
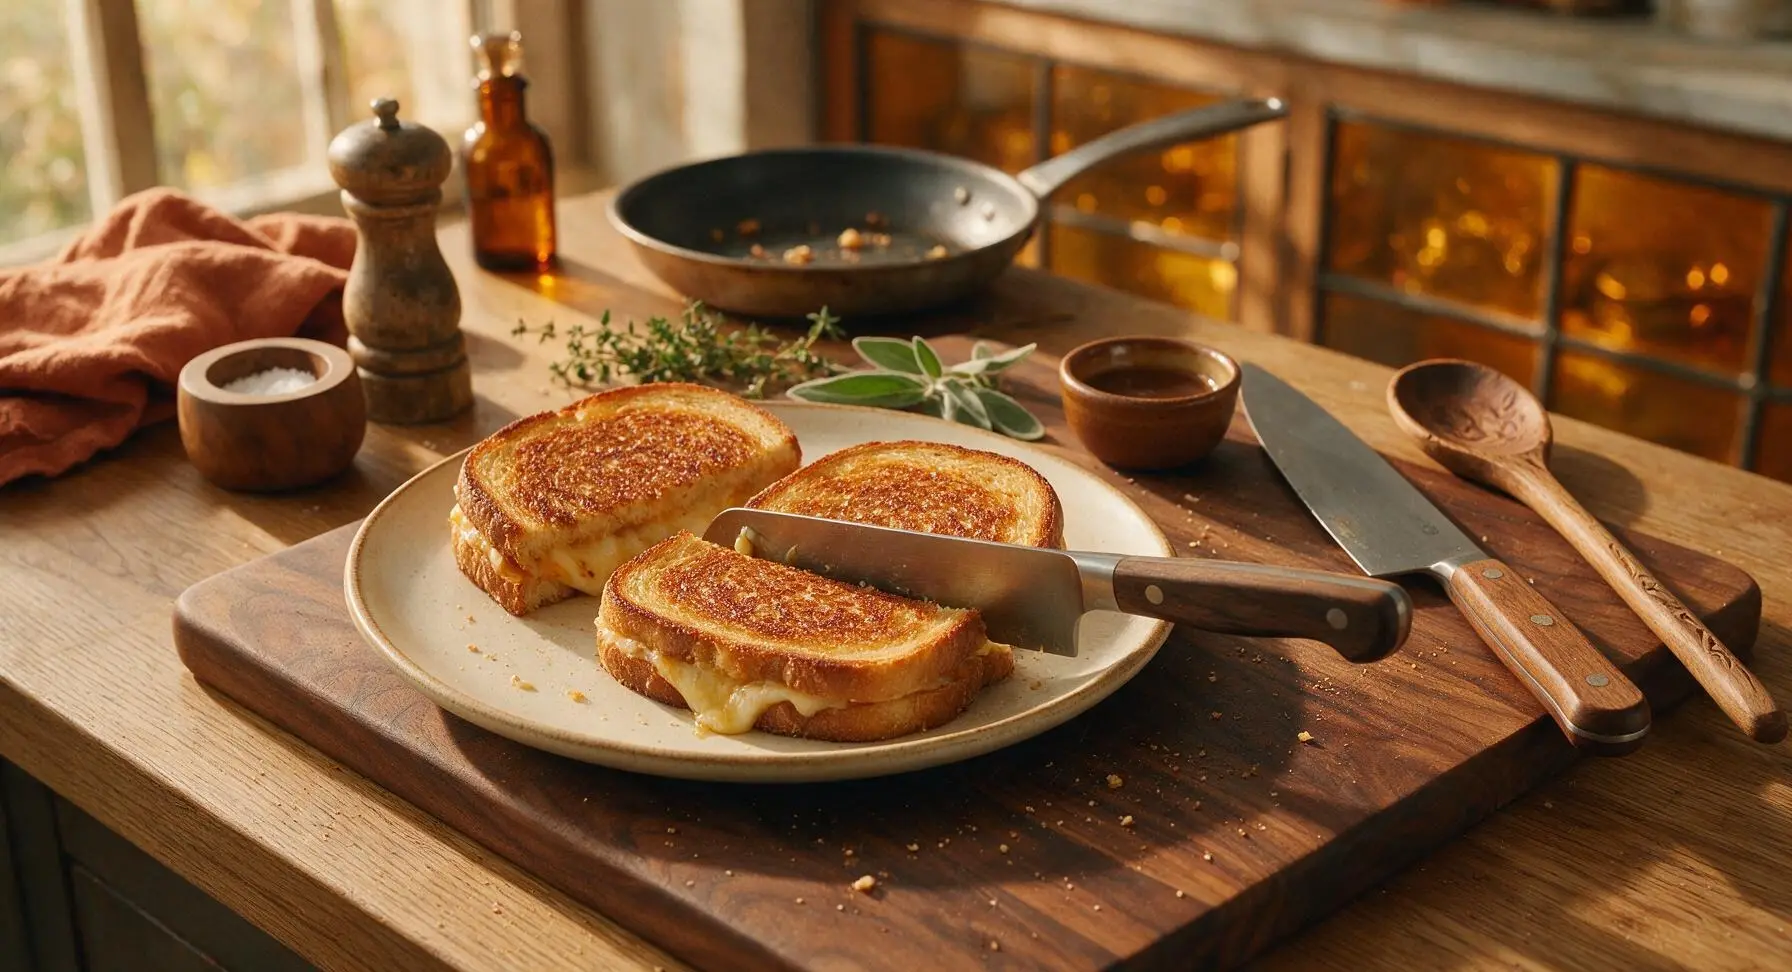
Once both sides are toasted and cheese is fully melted, use the silicone spatula to transfer the sandwiches from the pan to the matte off-white stoneware dinner plate. Let the sandwiches rest for 1 minute to allow the cheese to set slightly, so it doesn't ooze out completely when cut. Use the santoku knife to cut each sandwich diagonally into two triangular halves, wiping the knife blade on the cotton tea towel between cuts for clean edges.
Garnish and Serve
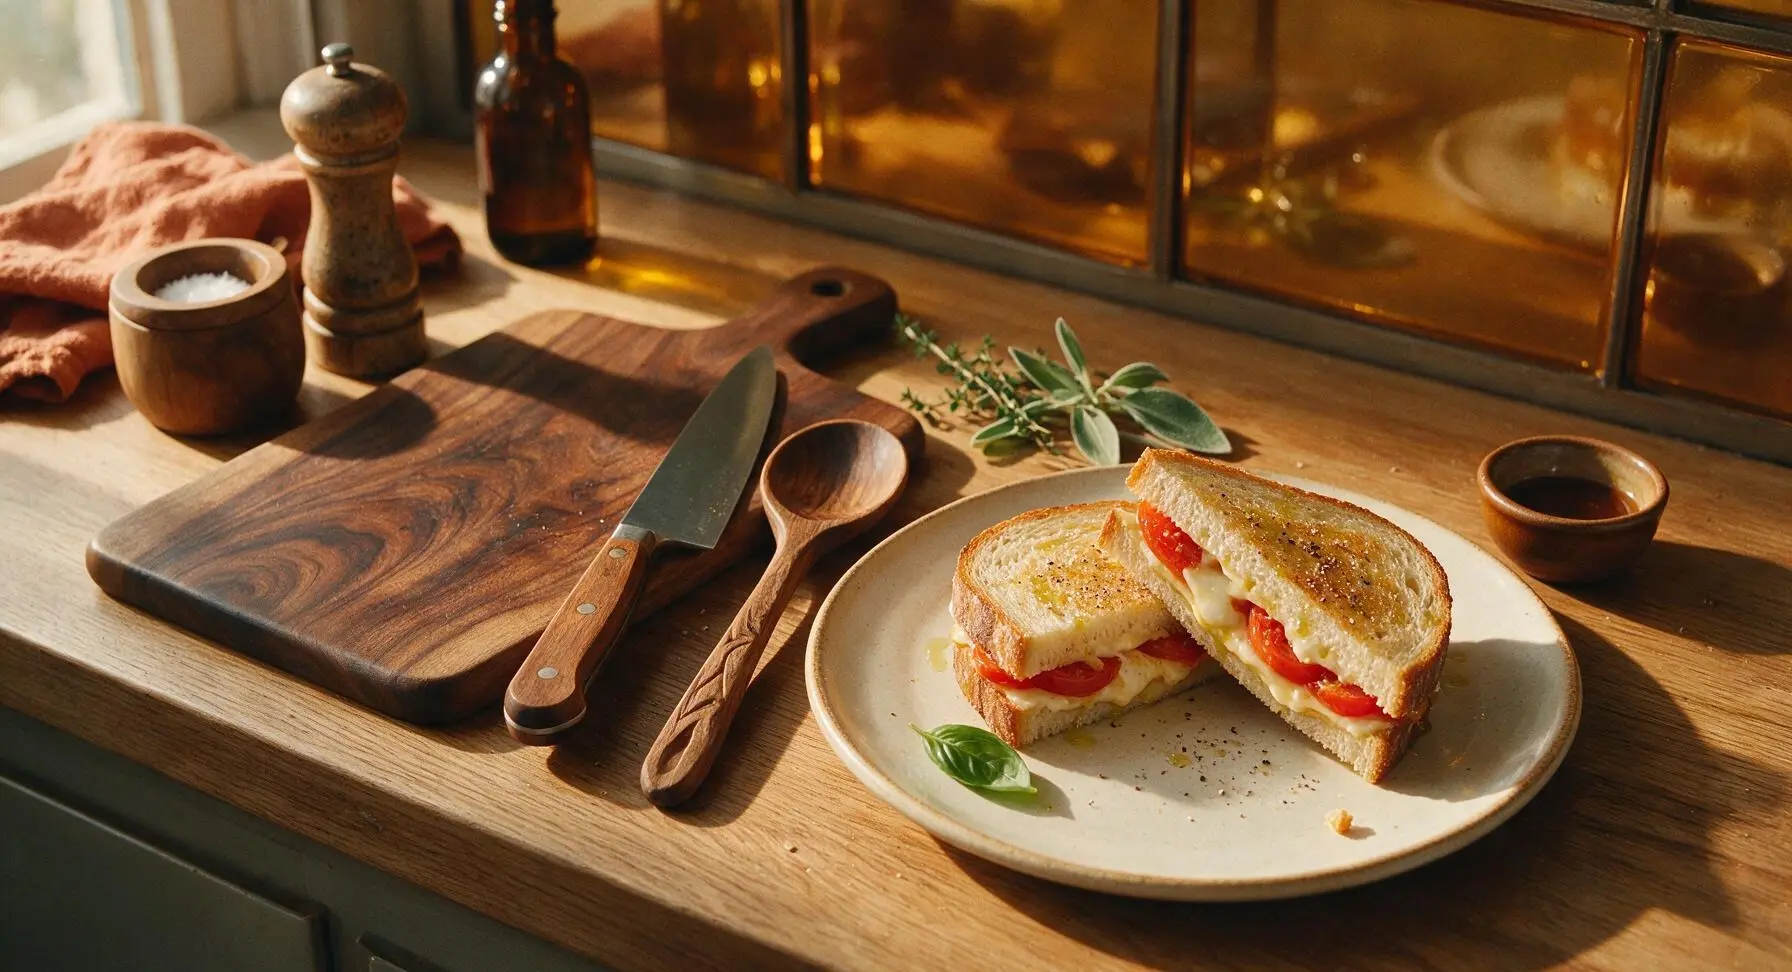
Drizzle the 1 tsp of extra virgin olive oil lightly over the cut edges of the sandwiches, then add a final light crack of black pepper. Tuck a small extra basil leaf next to the sandwiches on the plate for garnish, and serve immediately while warm and crisp.
Tips
2.Layer cheese both below and above the tomato slices: as the cheese melts, it creates a waterproof seal around the juicy tomato to lock in moisture without making the bread wet, and ensures even cheese distribution in every bite.
3.Let the sandwich rest for 1 full minute after cooking: cutting into it immediately will cause molten cheese to gush out onto the plate, while a short rest lets the cheese set just enough to stay between the bread slices for clean, easy eating.






OMG this is the easiest lunch ever! I threw this together in between work meetings today and it hit so hard. Used sourdough instead of white bread and added a little sprinkle of black pepper, chef's kiss. SO good, my 7 year old even asked for a second half!
Solid basic sandwich, nothing fancy but it does the trick. Perfect for when you don't feel like cooking after a long shift. I added a dash of hot sauce for a little kick, would make again.
Game changer for school lunch prep! I make a big batch of these every Sunday night, wrap them up tight, and they hold up perfectly for the boys' lunch boxes all week. No more soggy sandwiches if you pat the tomato slices dry first, pro tip!
Bro this recipe saved me during finals week. I literally only have bread, cheese, and a tomato in my dorm fridge, 6 minutes total and I'm not eating ramen for once. 10/10, no notes.
This is just the classic sandwich I grew up eating! It brings back so many memories of summer picnics with my family. I like to use a nice sharp cheddar and homegrown tomatoes from my garden when they're in season, tastes like summer in every bite.
Wait I tried to make this and my cheese didn't melt all the way? Did I do something wrong? I followed the cook time exactly but the middle of the cheese was still cold.
Brought these to our neighborhood block party potluck last weekend and they were gone in 10 minutes! I cut them into little triangle finger sandwiches and everyone was asking for the recipe. Who knew such a simple sandwich could be such a crowd pleaser?
Perfect quick trail snack! I wrapped these in foil and tossed them in my pack for a day hike last weekend, they held up way better than I thought they would. I added a little avocado to mine for extra calories, was chef's kiss after 5 miles of uphill.
Quick, easy, tasty. I make this for lunch at least twice a week when I'm working from home. Pair it with a cup of tomato soup and it's the perfect cozy rainy day meal, no fuss at all.
So fresh! I used ripe heirloom tomatoes from the farmers market and fresh mozzarella instead of sliced American, it tasted like a caprese sandwich but way easier to throw together for a beach day.
My kids are super picky eaters, so let me tell you—my kids loved it! They both devoured these, I was shocked. Usually they pick the tomatoes out of everything but they ate every last bite. Even asked if we could have them for dinner again tomorrow. Win for dad!
Decent sandwich, pretty basic but that's exactly what it says it is. I added a little mayo and mustard to mine to give it a bit more zing, otherwise it's a little plain for my taste but still good for a quick bite.
Wait do you guys toast the bread first or assemble the sandwich then toast it in the pan? I tried assembling first and the bread got a little too crispy for my liking, wondering if I did the order wrong.
Made this for my partner's lunch today and he texted me 3 times to say how good it was. I used pepper jack cheese for a little kick and added a slice of crispy bacon, next level. Will absolutely be adding this to our weekly rotation.
Wait can you make these ahead and freeze them? I'm trying to stock my freezer with easy work lunches and these seem like they'd be perfect if they freeze well.