
cheese tater tot casserole
intro
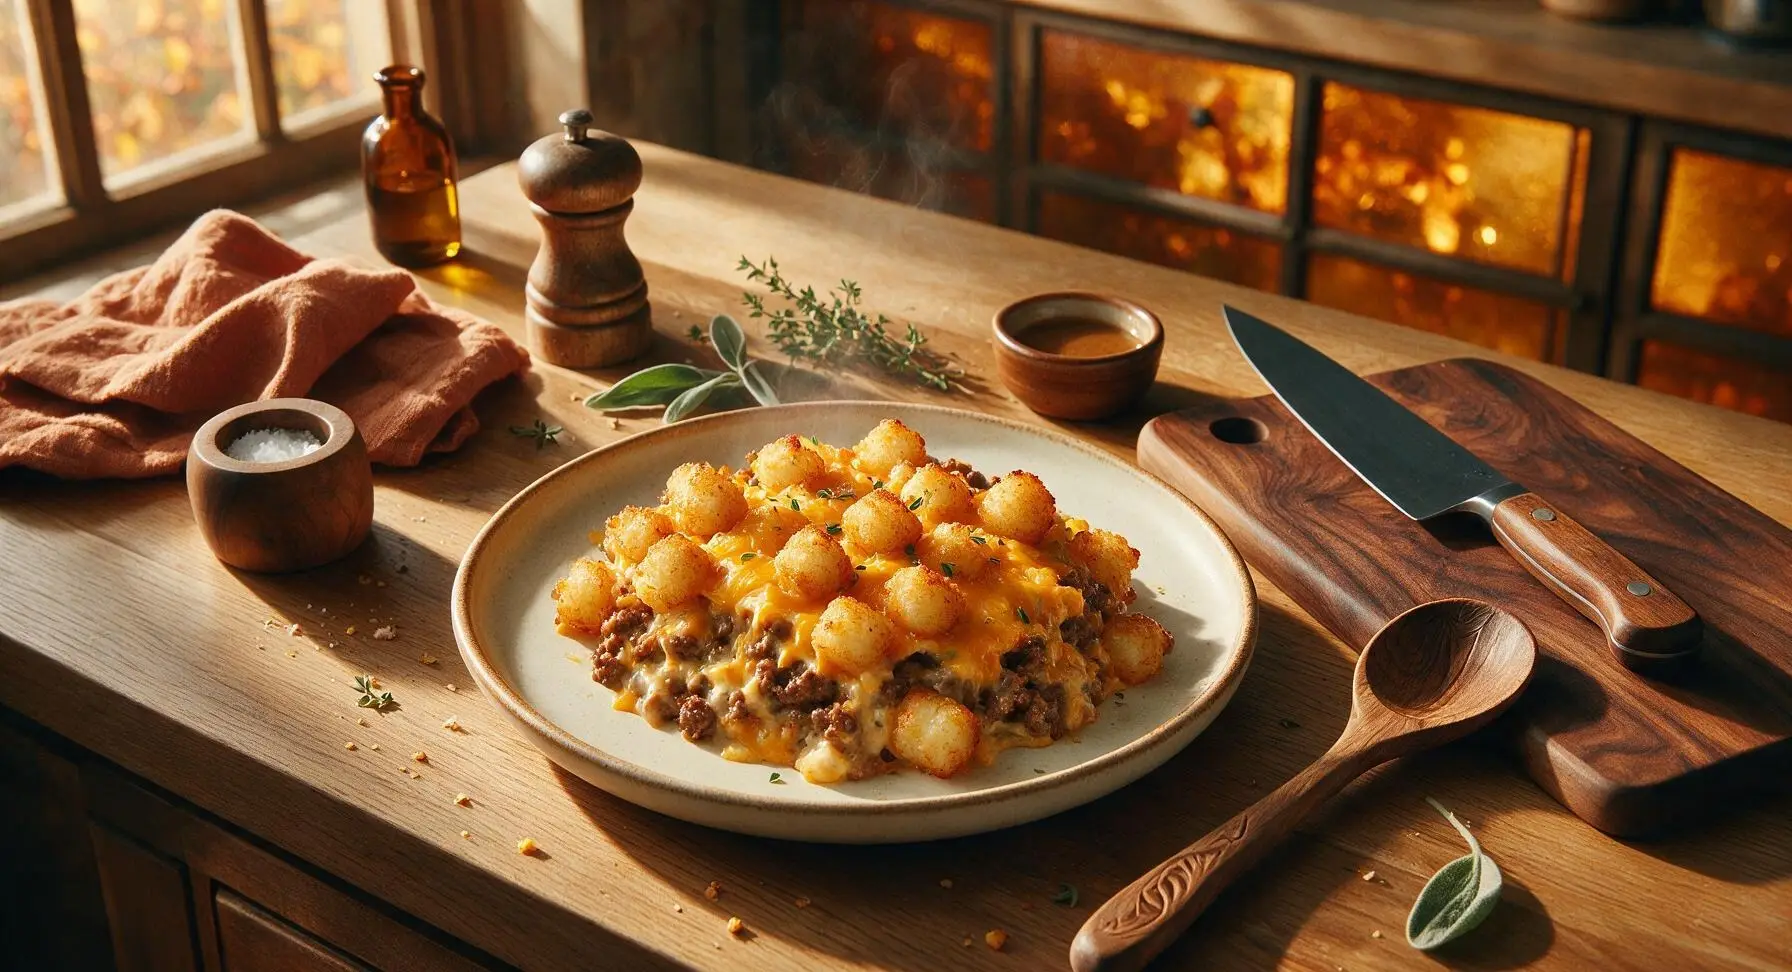
Crispy golden tater tots, melted sharp cheddar, savory ground beef, and creamy sauce bake into nostalgic, crowd-pleasing comfort perfect for gathering around the table.
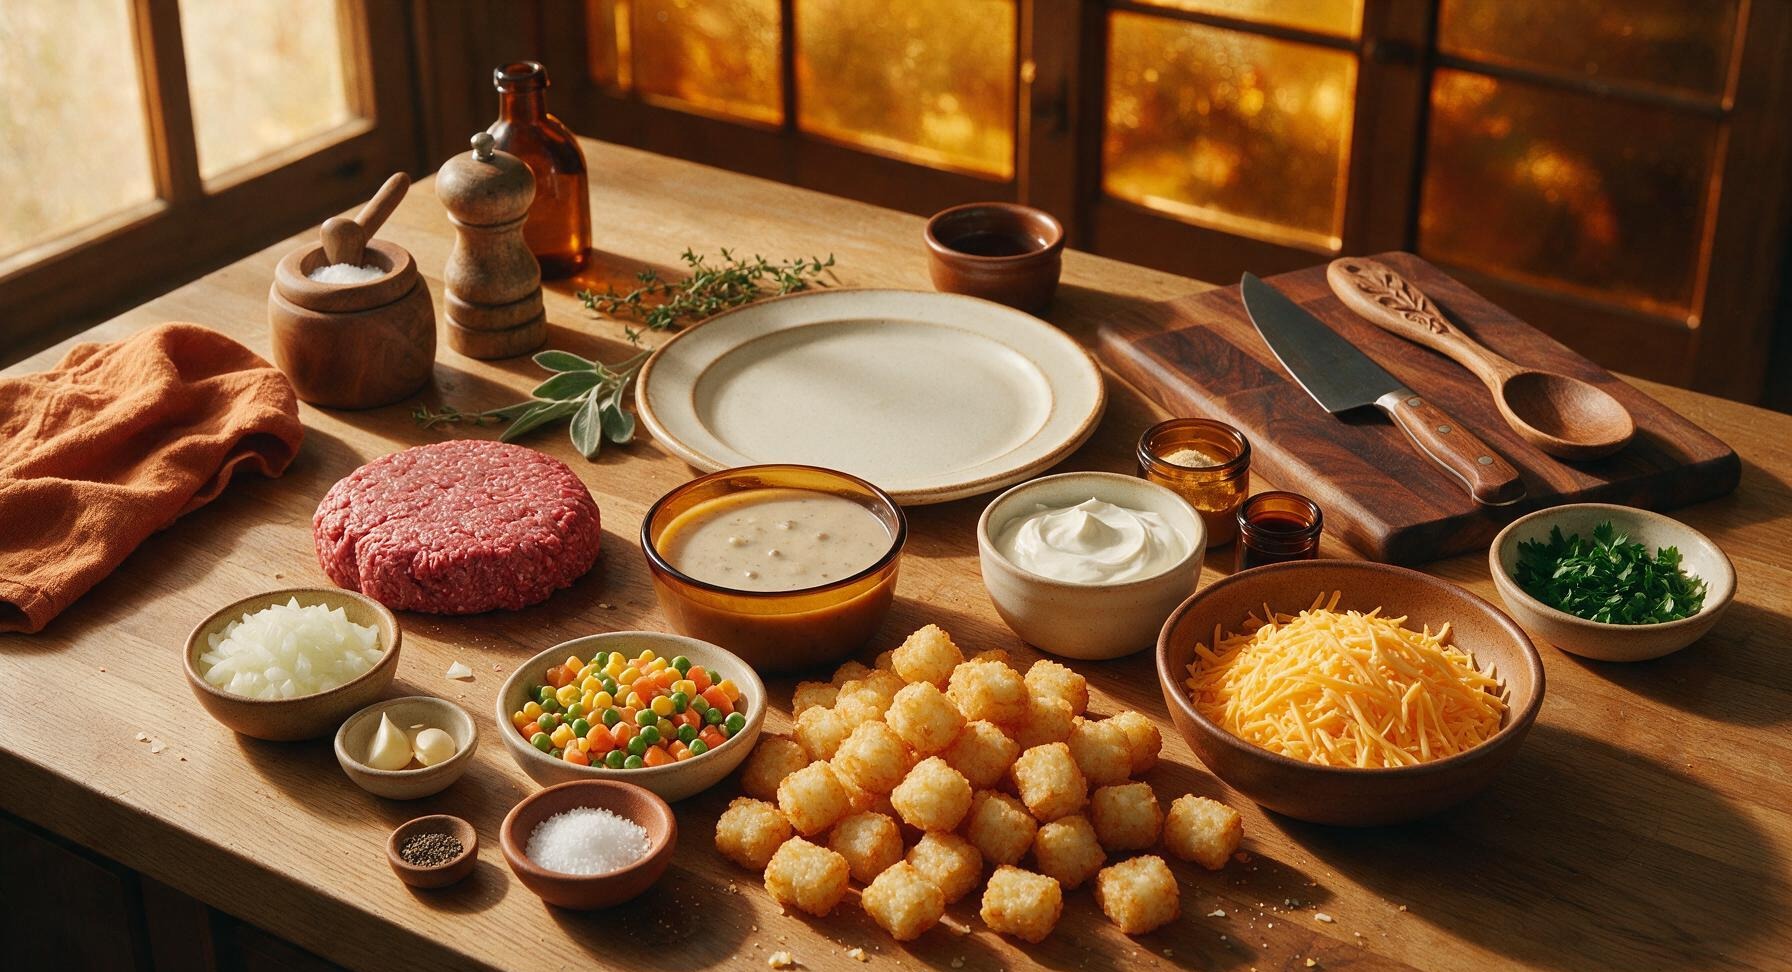
Ingredients
Steps
Preheat and Prep Dish
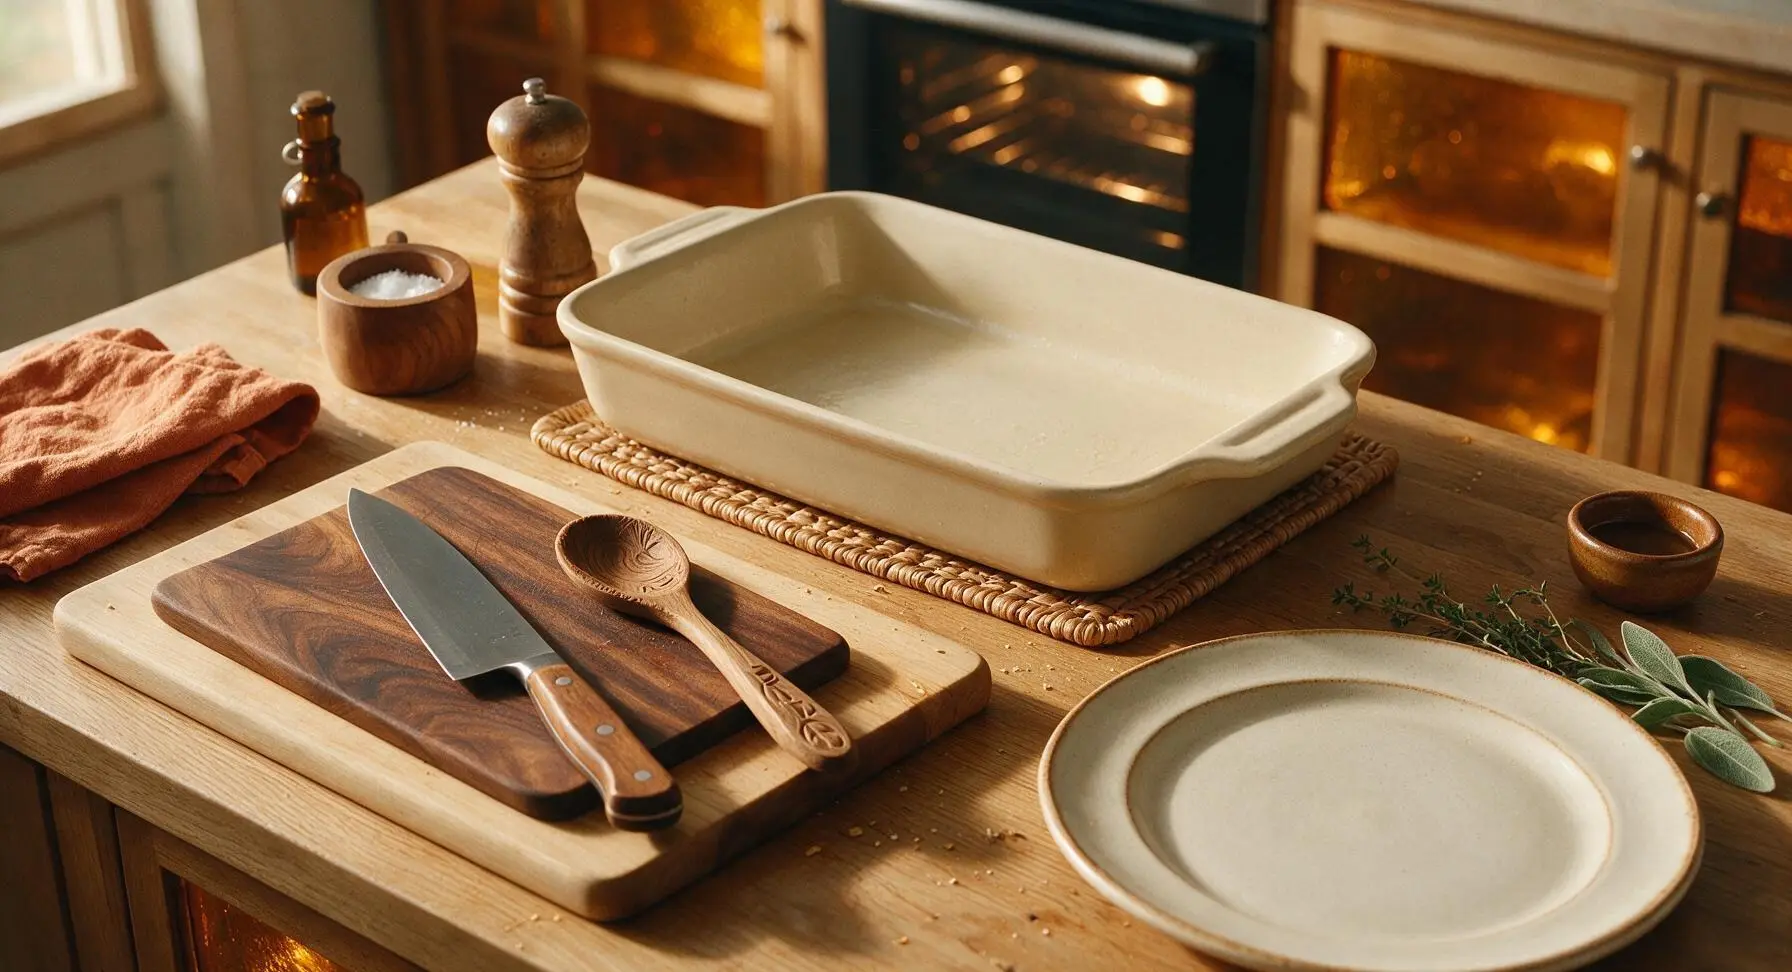
Adjust your oven rack to the middle position, then preheat the oven to 200C (400F). Retrieve the 9x13 inch matte cream ceramic baking dish from the lower cabinet, and lightly coat the entire interior surface with a thin layer of non-stick spray or softened butter to prevent sticking. Set the prepared dish on the rattan trivet at the rear center of the counter while you prep the filling.
Brown the Ground Beef
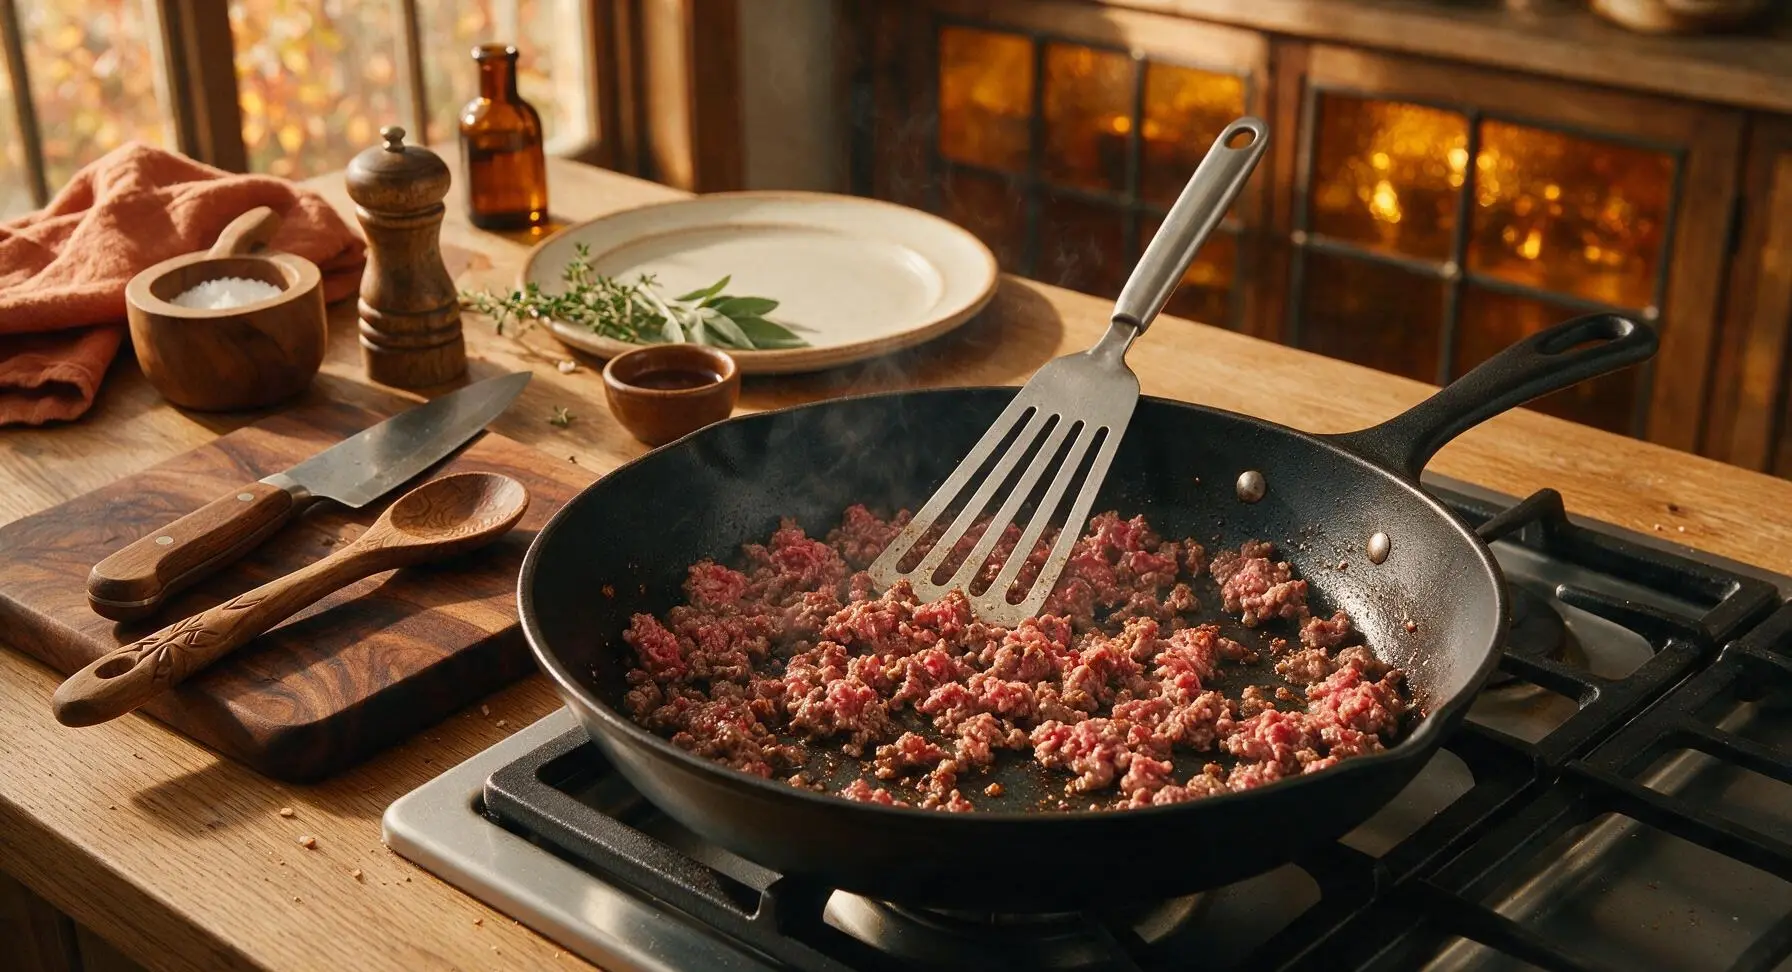
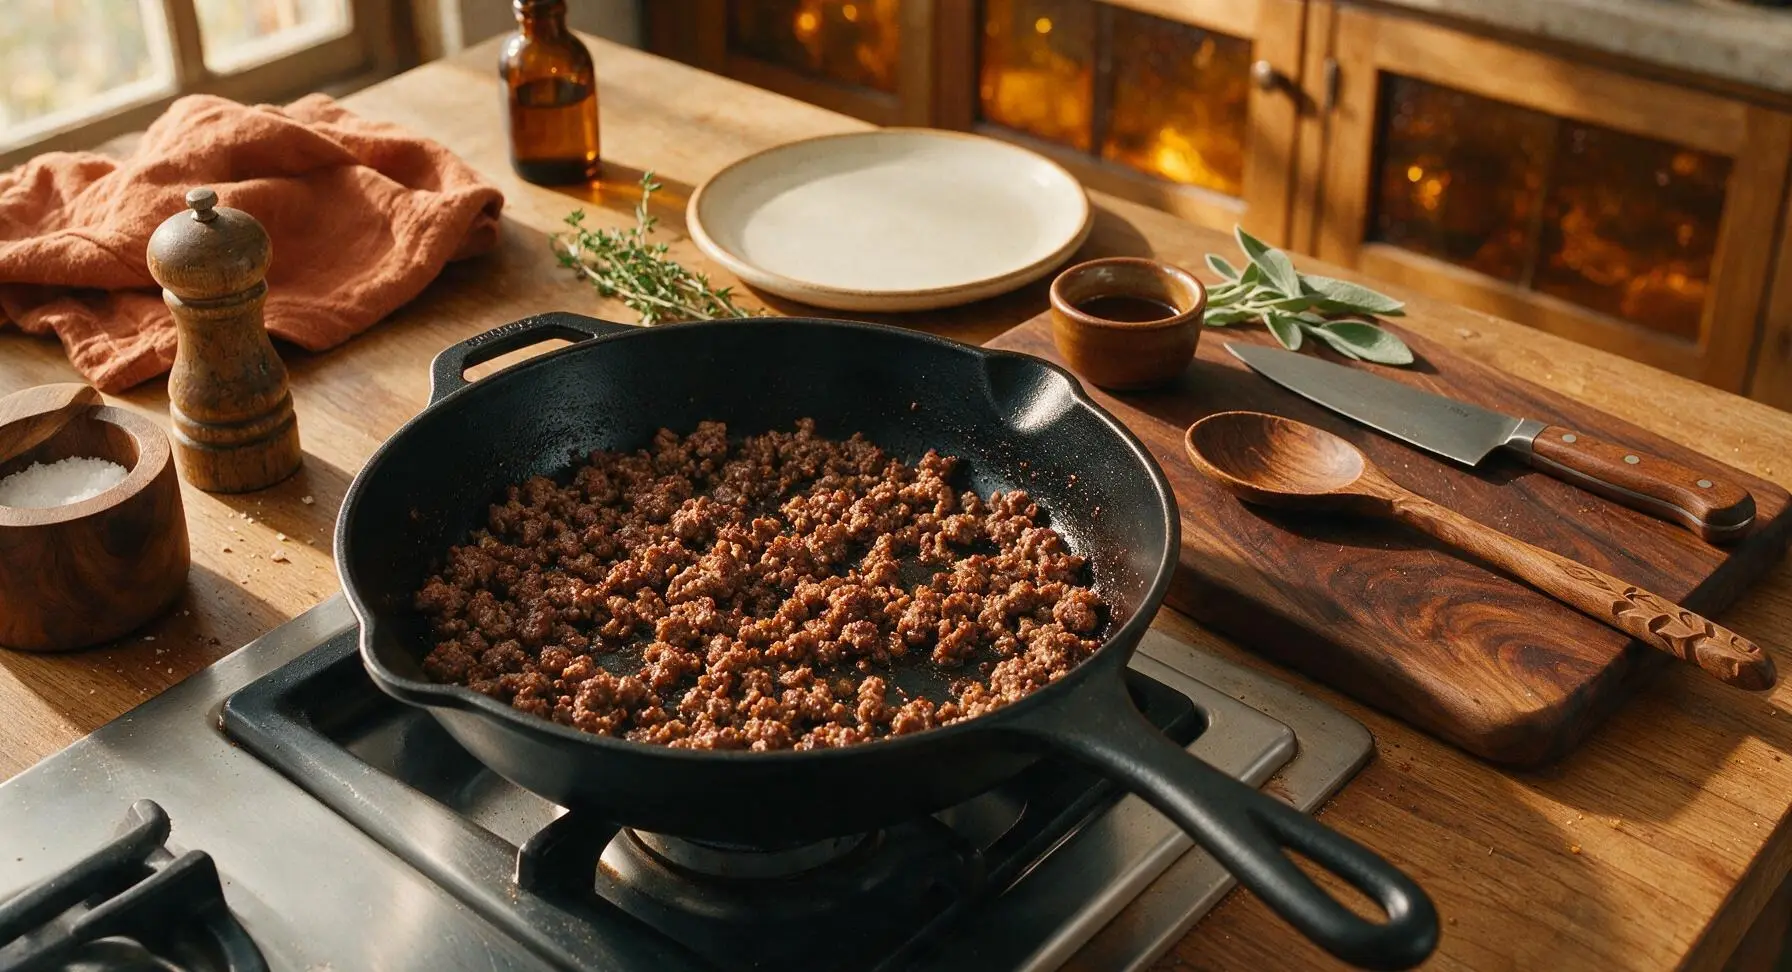
Place the 10-inch matte black enamel skillet on a stovetop burner set to medium heat. Add the 450g 80/20 ground beef to the pan, breaking it into small crumbles with the stainless steel slotted turner as it cooks. Cook for 7-8 minutes, stirring occasionally, until the beef is fully browned with no trace of pink remaining, and small crispy browned bits form on the pan bottom. Carefully tilt the pan and drain off all excess rendered grease, leaving roughly 1 teaspoon of fat in the pan to cook the vegetables.
Sauté Aromatic Vegetables
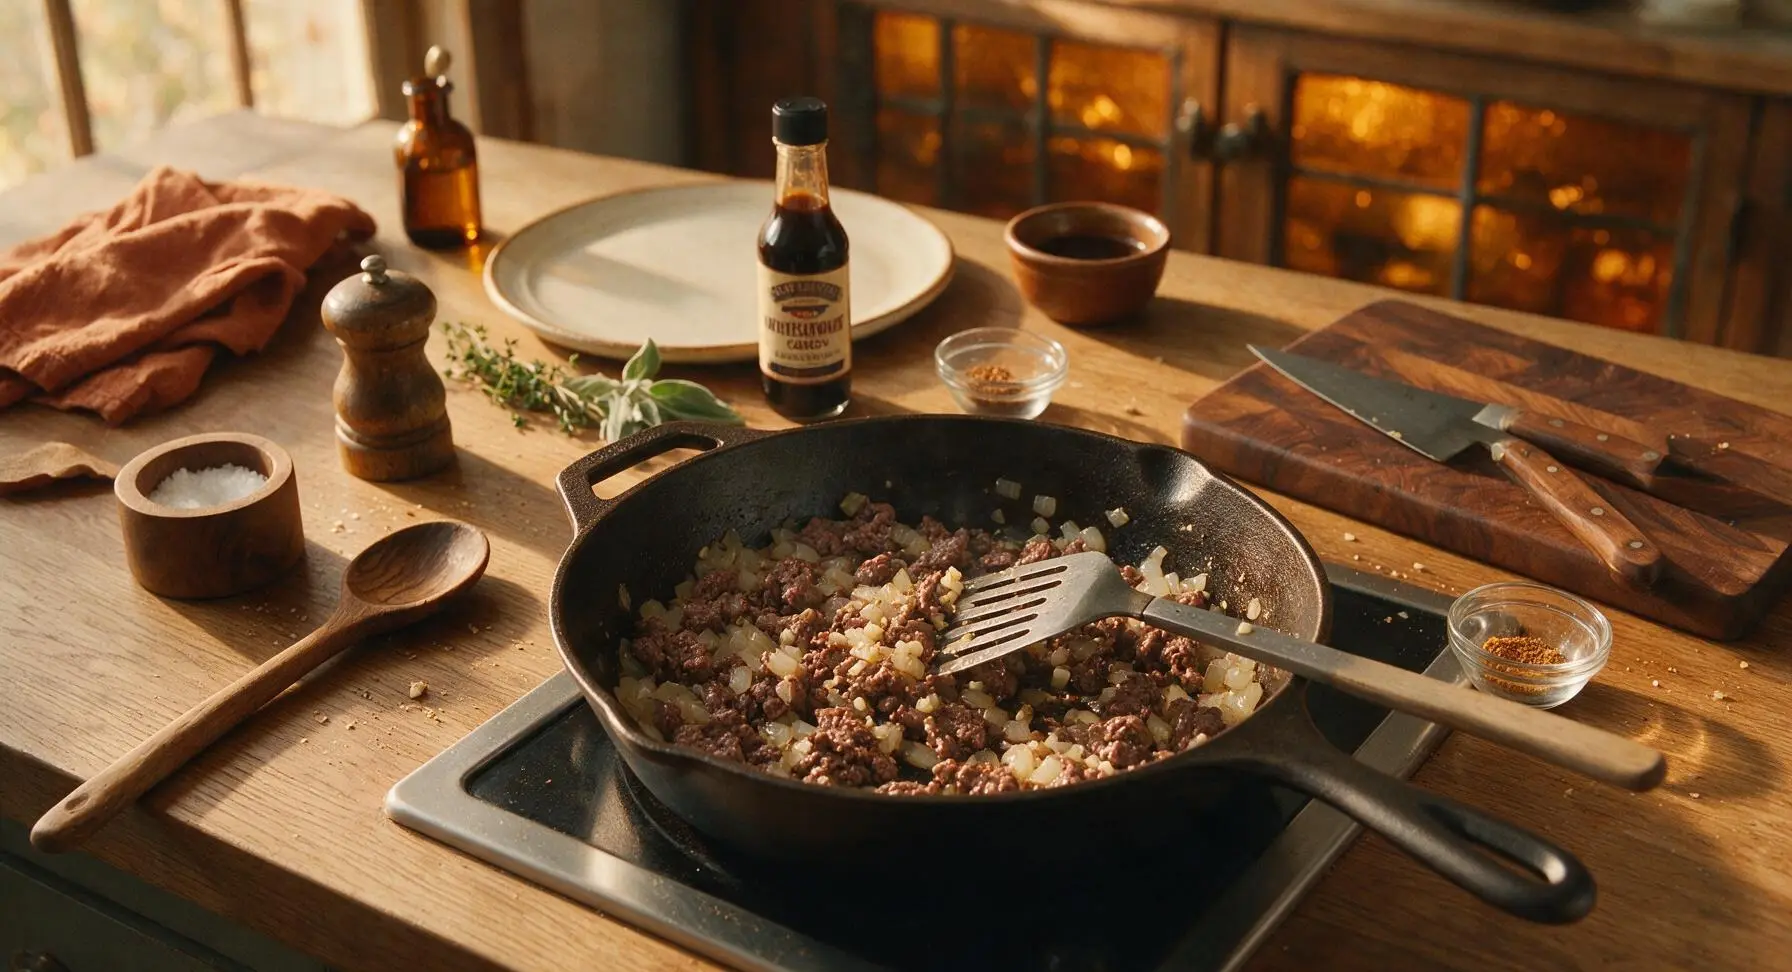
Return the skillet with drained beef to medium stovetop heat. Dice the yellow onion into 1cm pieces, mince the two garlic cloves, and add both to the skillet with the beef. Sauté for 3 minutes, stirring occasionally, until the onion turns soft and translucent, and the garlic releases a warm, fragrant aroma. Stir in 1 tablespoon Worcestershire sauce, 1/2 teaspoon kosher salt, 1/2 teaspoon ground black pepper, and 1/2 teaspoon garlic powder, tossing to coat the beef and onions evenly.
Mix Creamy Filling
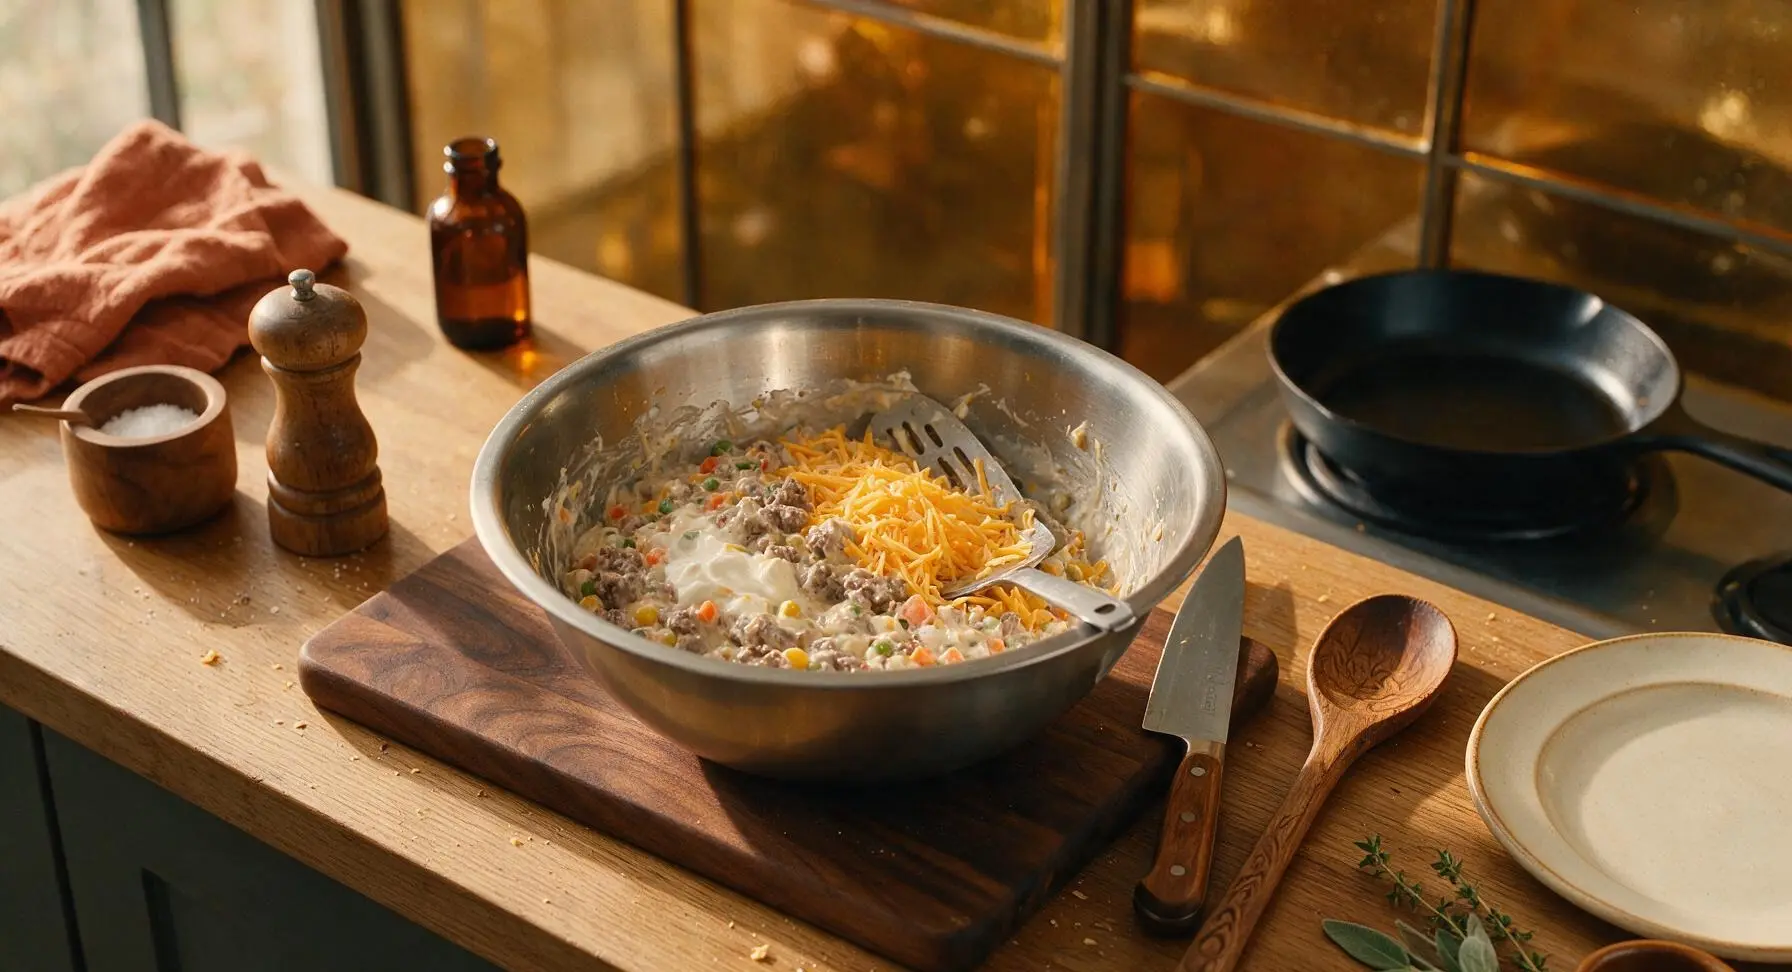
Transfer the entire cooked beef, onion, and spice mixture from the skillet into the medium brushed stainless steel mixing bowl, set on the light oak cutting board. Add the full can of condensed cream of mushroom soup, 120g sour cream, 150g frozen mixed vegetables, and 115g (1 cup) of the shredded sharp cheddar cheese to the bowl. Stir thoroughly with the slotted turner until all ingredients are evenly combined, with no dry clumps of sour cream or soup remaining.
Layer Casserole Base
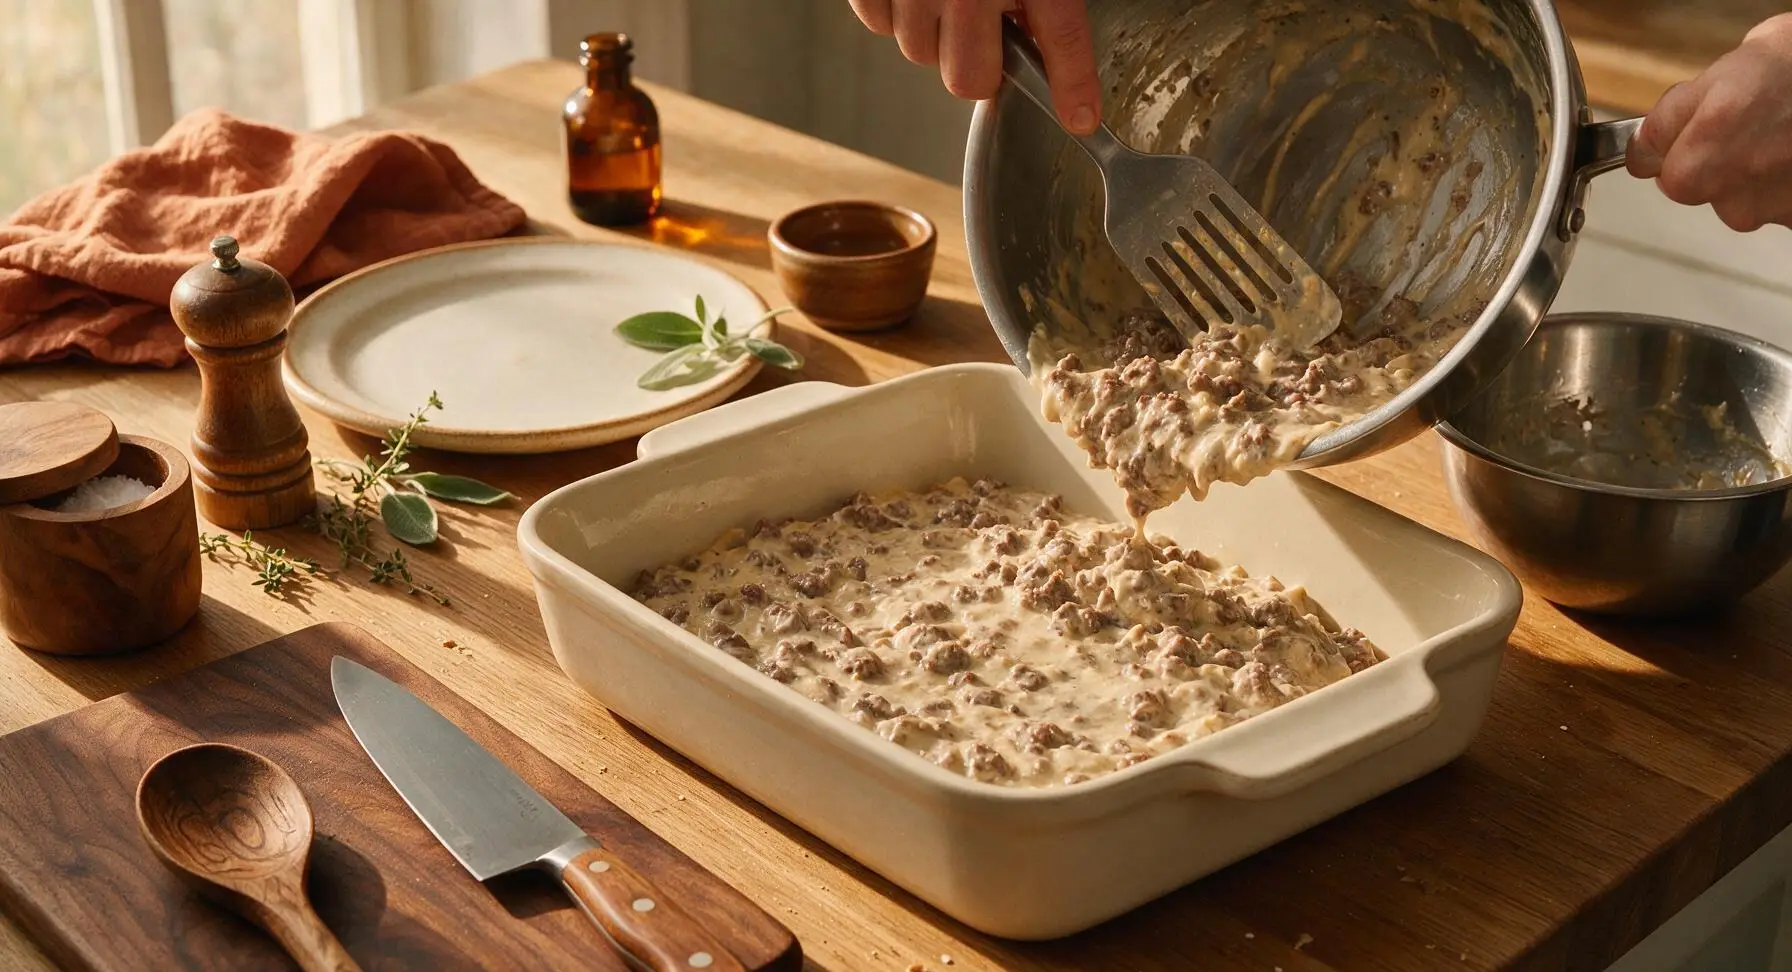
Pour the entire creamy beef and vegetable mixture from the mixing bowl into the prepared 9x13 inch baking dish. Use the slotted turner to spread the mixture into a smooth, even, flat layer across the entire bottom of the dish. Sprinkle the remaining 110g (1 cup) of shredded sharp cheddar cheese in an even layer across the top of the beef mixture, covering it completely.
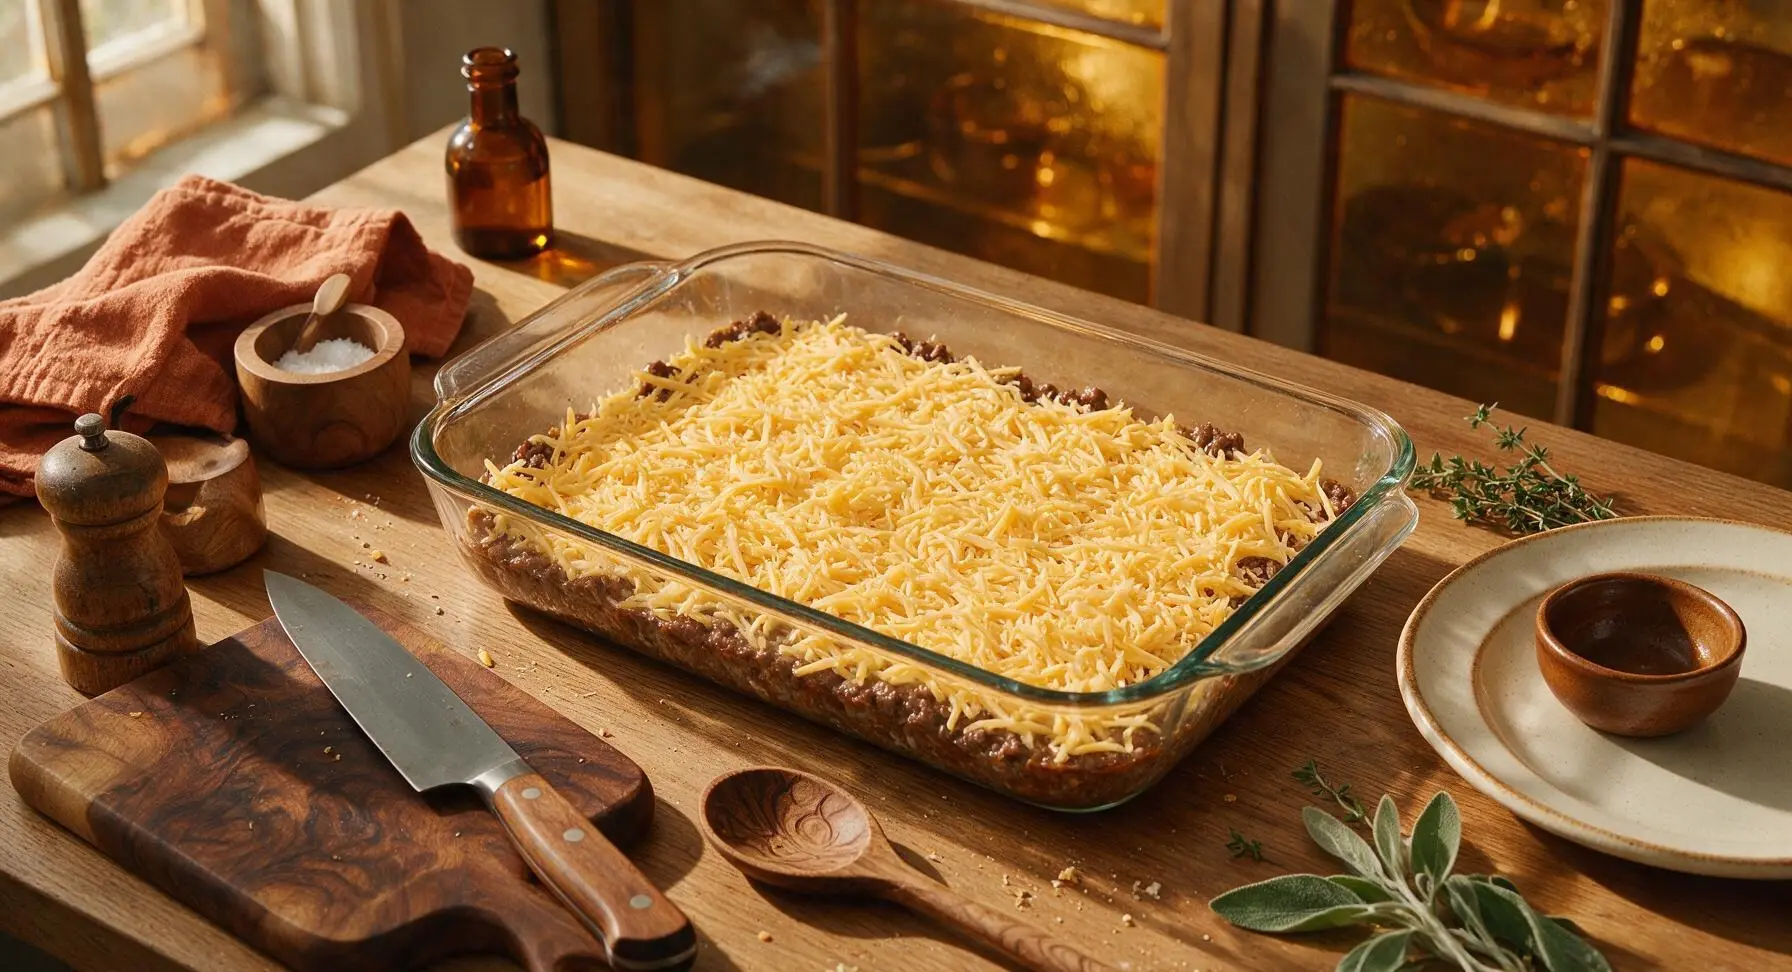
Top with Tater Tots
Retrieve the frozen tater tots from the freezer, and arrange them in a single, tight, evenly spaced layer across the top of the cheese layer, flat side down. Do not press the tots down into the cheese—simply set them on the surface so they crisp evenly as they bake. Ensure there are no large gaps between tots for a uniform, crispy top layer.
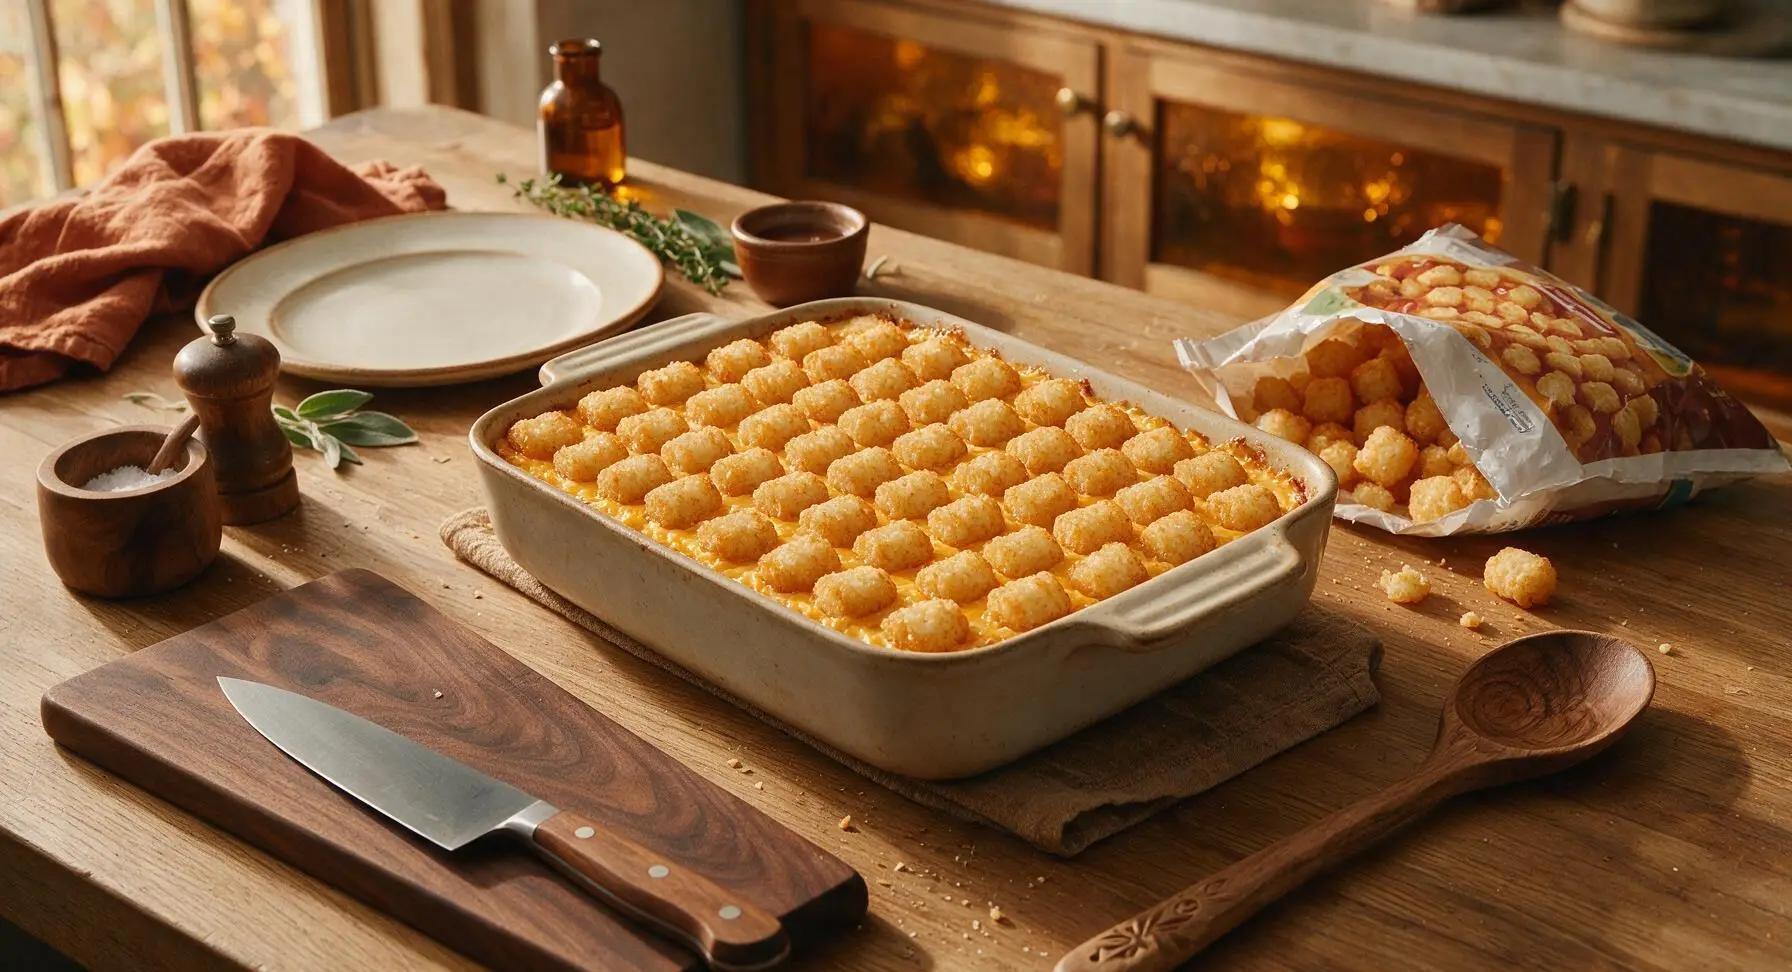
Bake Until Bubbly
Carefully transfer the assembled, uncooked casserole to the middle rack of the preheated oven. Bake uncovered for 35 minutes, until the sauce around the edges of the dish is bubbling vigorously, the cheese is fully melted, and the tater tots are deep golden brown and crispy on top. If the tots begin to darken too quickly before the filling bubbles, lay a loose sheet of aluminum foil over the top of the dish for the final 10 minutes of baking to prevent burning.
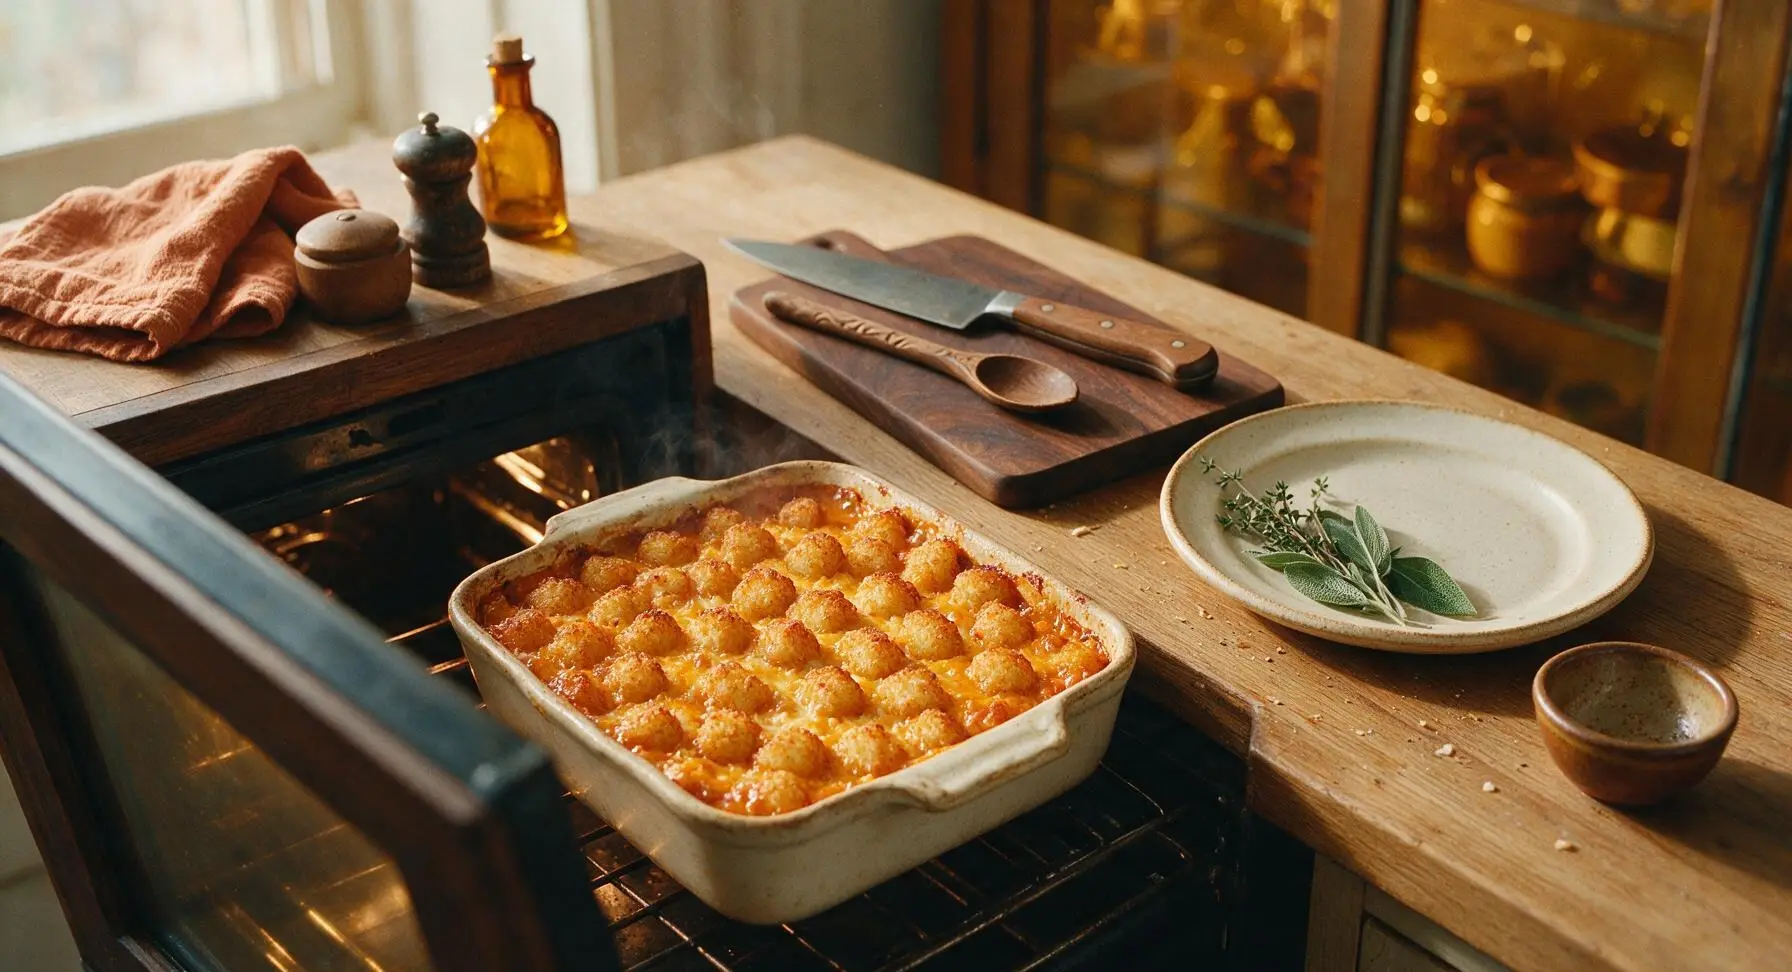
Rest and Garnish
Use oven mitts to remove the fully baked casserole from the oven, and set it on the rattan trivet on the counter to rest for 5 minutes—this allows the hot filling to set so portions hold their shape when served. While the casserole rests, chop the fresh flat-leaf parsley and sprinkle it evenly across the top of the hot tater tot layer.
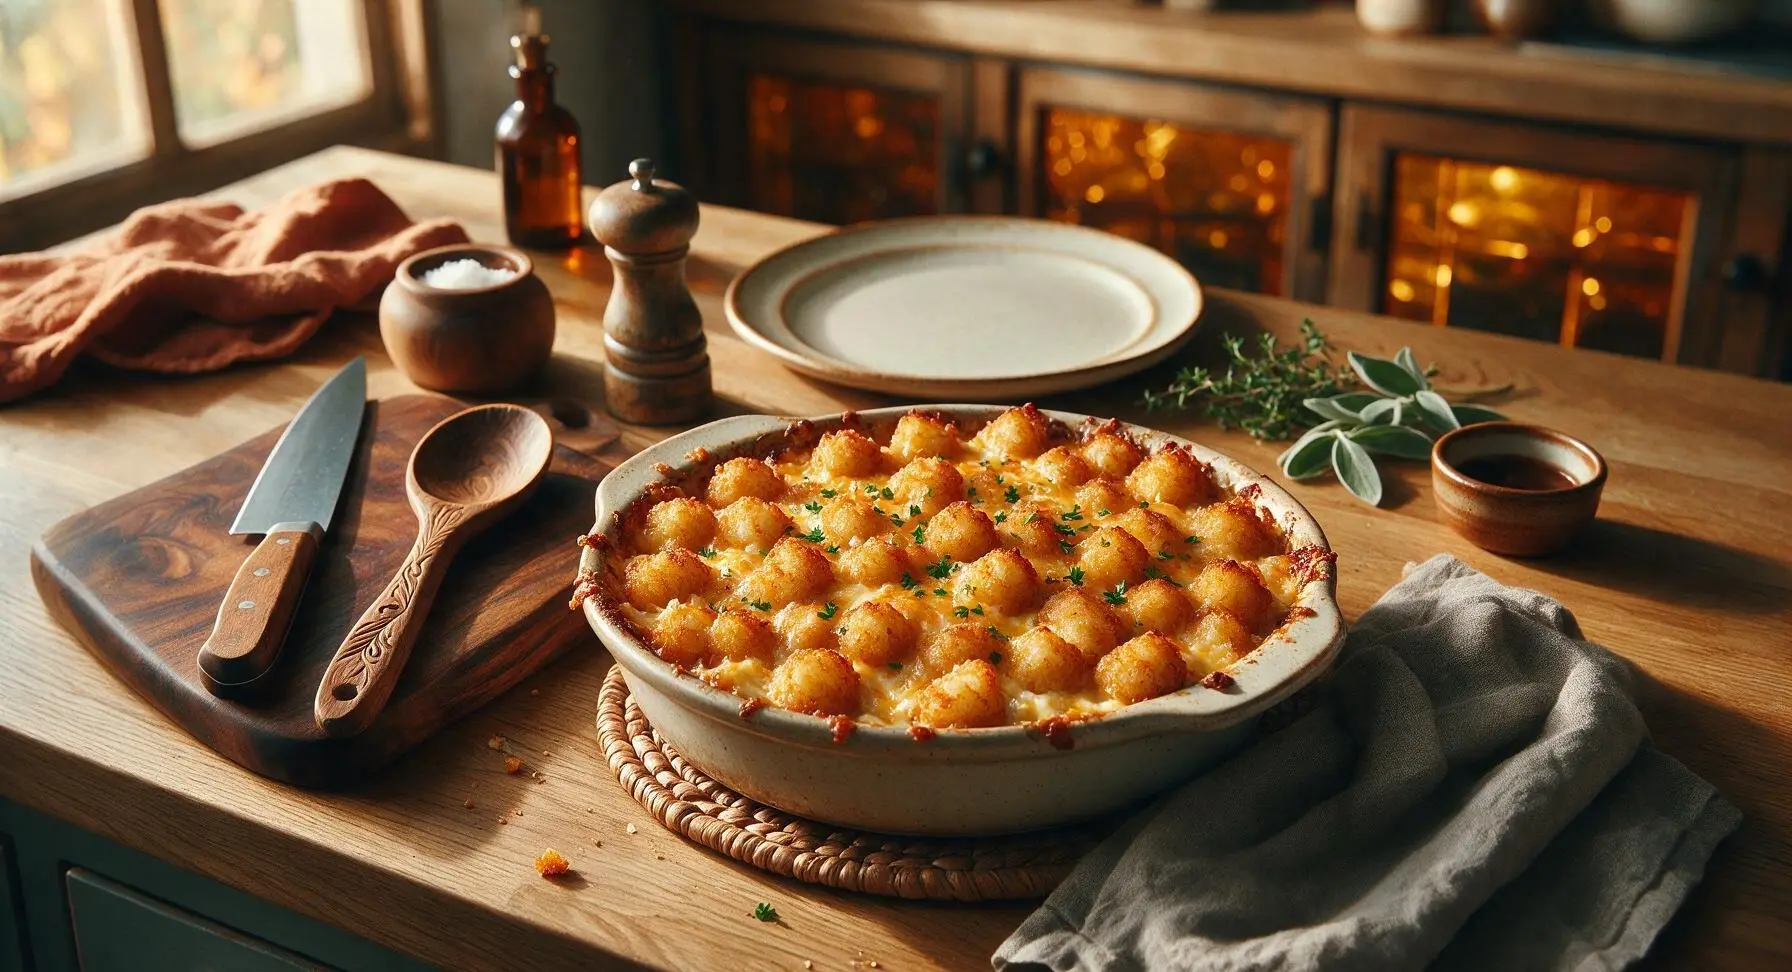
Tips
2.For extra crunchy tater tot tops, spritz the arranged frozen tots lightly with olive oil cooking spray before baking: the thin layer of oil helps the potato exterior crisp and brown evenly, rather than drying out and turning leathery in the hot oven.
3.Resist the urge to serve the casserole immediately after pulling it from the oven: the 5-minute rest period lets the hot, loose creamy filling thicken and set, so portions cut cleanly and hold their shape instead of sliding apart on the plate.






OMG this was the easiest weeknight dinner ever! Threw it together after soccer practice and my whole family devoured it. The crispy tater tots on top with that gooey cheese? *Chef’s kiss* Will be adding this to our regular rotation for sure.
I brought this to my neighborhood block party potluck last weekend and people were asking me for the recipe before I even set the dish down! It was gone in 15 minutes flat. Only note is I added a layer of ground beef in the middle because my husband insists on meat with every meal, and it worked perfectly.
Made this in my tiny dorm kitchen with stuff I grabbed from the campus grocery store and it came out so good? Literally no fancy skills needed, even I didn’t burn it. 10/10 for broke college students who don’t want to eat ramen for the third night in a row.
Game. Changer. I made a big pan of this on Sunday for my weekly meal prep and it reheats like a DREAM. No soggy tots, the cheese stays creamy, it’s way better than the sad office cafeteria food I used to eat every day.
So happy this recipe is super easy to adapt for gluten free! I swapped regular cream of mushroom soup for the GF version and used GF tater tots, and no one at my dinner table even noticed a difference. My picky 7 year old went back for seconds!
Pretty solid base recipe! I tossed in a handful of pickled jalapeños and a sprinkle of hot sauce on top before baking to give it a little kick, and it was chef’s kiss. Super easy to tweak to your taste.
Uh, quick question—when do you add the extra cheese? I might have missed that step and dumped all the cheese in with the soup layer instead of saving some for the top. It still came out okay but I want to make it right next time!
My kids loved this so much they asked for it for their birthday dinner instead of pizza! I can’t believe how simple it is, only 5 minutes of prep and then the oven does all the work. Perfect for those nights when I don’t feel like standing over the stove for an hour.
Made this in my RV oven while we were camping last weekend and it was such a hit with the whole campsite! It’s so forgiving even with wonky RV oven temperatures, which is a huge win for camp cooking. We ate the whole pan in one sitting.
SO good. I used a mix of sharp cheddar and pepper jack for the cheese layer and it was so flavorful. The crispy tot crust on top is the best part, don’t even try to convince me otherwise. Will be making this at least once a month.
I was skeptical because leftover casseroles can be so hit or miss, but this was even better the second day! The flavors melded together so much overnight, I ate a cold bite straight from the fridge when I got home from work last night no shame.
This recipe is so affordable! I added up all the ingredients and it cost me less than $12 to make a whole pan that feeds 6 people. Way cheaper than ordering takeout for the family, and it tastes way better too.
Wait who says this is only for dinner? I made this for a lazy Sunday brunch with mimosas and it was the perfect hangover food. Served it with a side of scrambled eggs and it hit every single spot.
I swapped the cream of chicken for cream of celery, added a layer of steamed broccoli and corn under the tots, and it made for the coziest vegetarian meal. Even my meat-loving brother said he’d eat the veggie version again! Super customizable.
Tasty overall, but my tots came out a little soggier than I wanted them to. I think I crowded the pan too much? Next time I’ll spread them in a single layer a little more evenly, and maybe bake it a few minutes longer to get that crunch I love.
Made this for our football watch party last Sunday and it was the perfect game day snack. I served it with little bowls of sour cream and green onions for dipping, and everyone was going back for bite after bite. No leftovers at all.
I’m literally 19 and this is the first thing I’ve ever baked that didn’t come out burnt or totally bland! My roommate said it tasted like something our moms would make. I feel like a real adult now lmao
Great base recipe! I added a sprinkle of smoked paprika and garlic powder to the cheese sauce and it gave it such a deep, smoky flavor that took it to the next level. Will definitely be experimenting with more seasonings next time.
I made this for our post-Thanksgiving leftover night and mixed in some leftover chopped turkey and cranberry sauce drizzles, and it was insane. Who knew leftovers could taste that good? 10/10 for repurposing holiday food.
Picked this recipe because it only takes 45 minutes total, which is perfect for nights when I get home late from work and don’t have the energy for a big production. My 10 year old said it’s “better than McDonald’s” which is the highest possible rating in our house.