
Chicken and Rice Casserole

title 1
Chicken and Rice Casserole
⏱️ cook time 50 minutes
🍽️ servings 4
⚡ Difficulty easy

intro

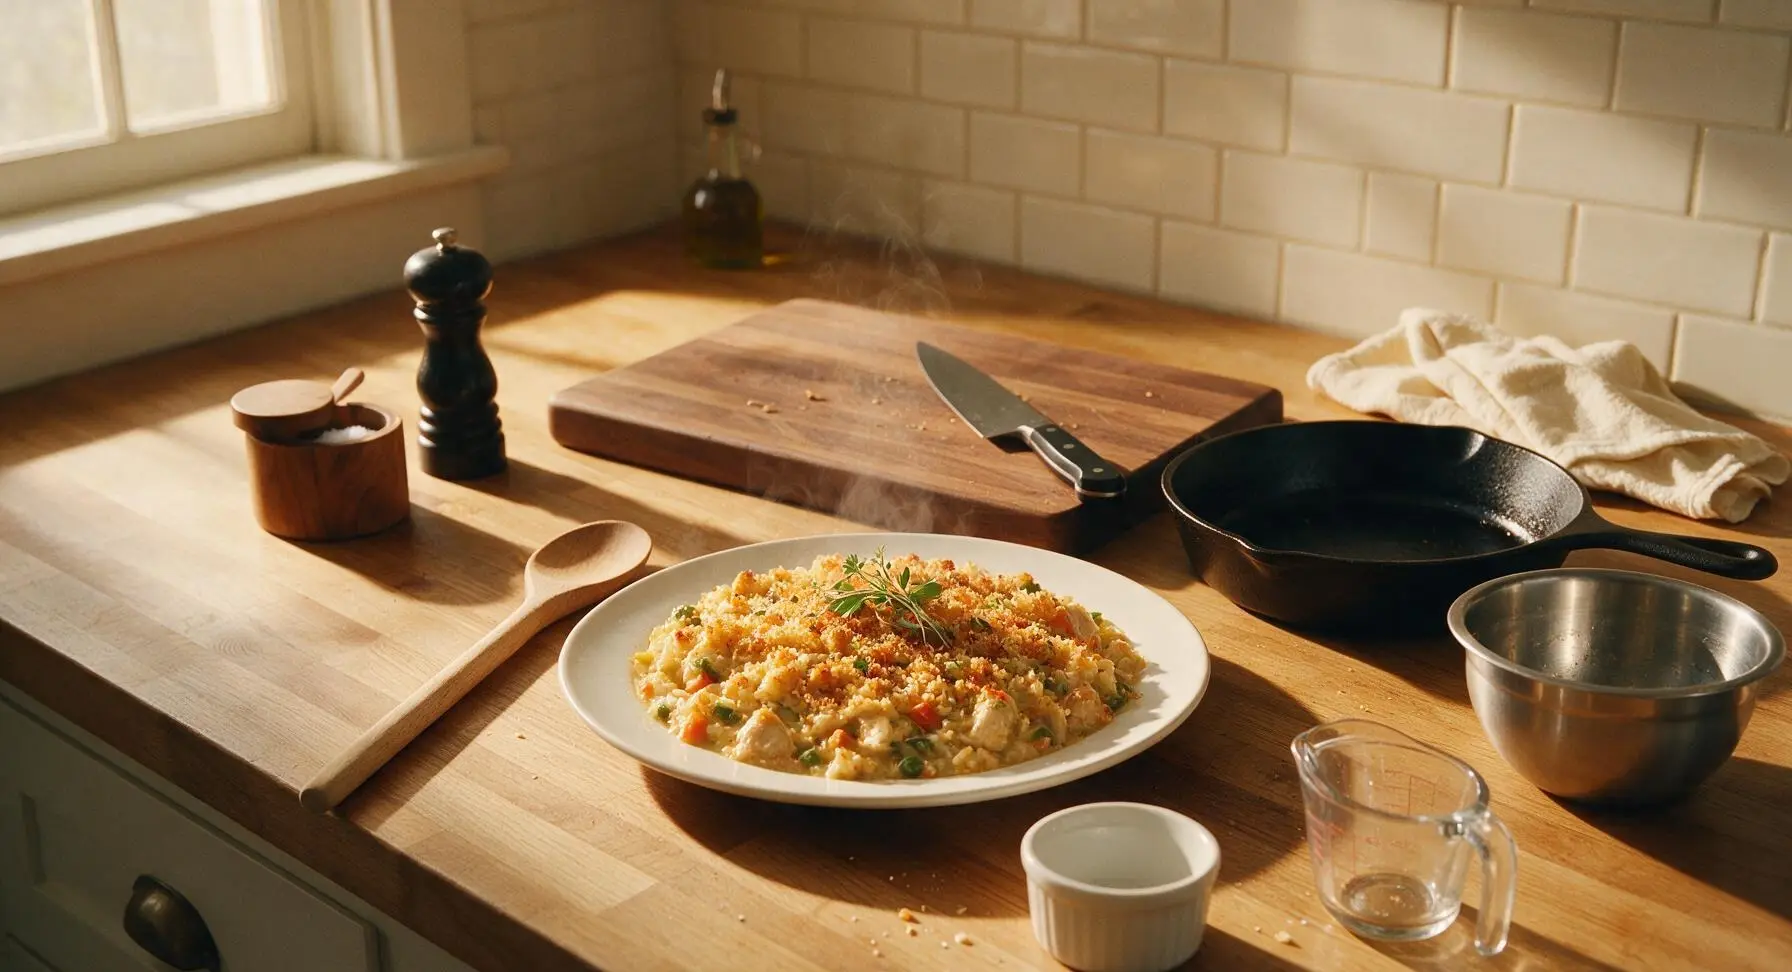
Creamy, savory baked chicken and rice casserole with tender vegetables, a crispy breadcrumb top, and nostalgic comfort flavor perfect for gathering around the table.

Ingredients
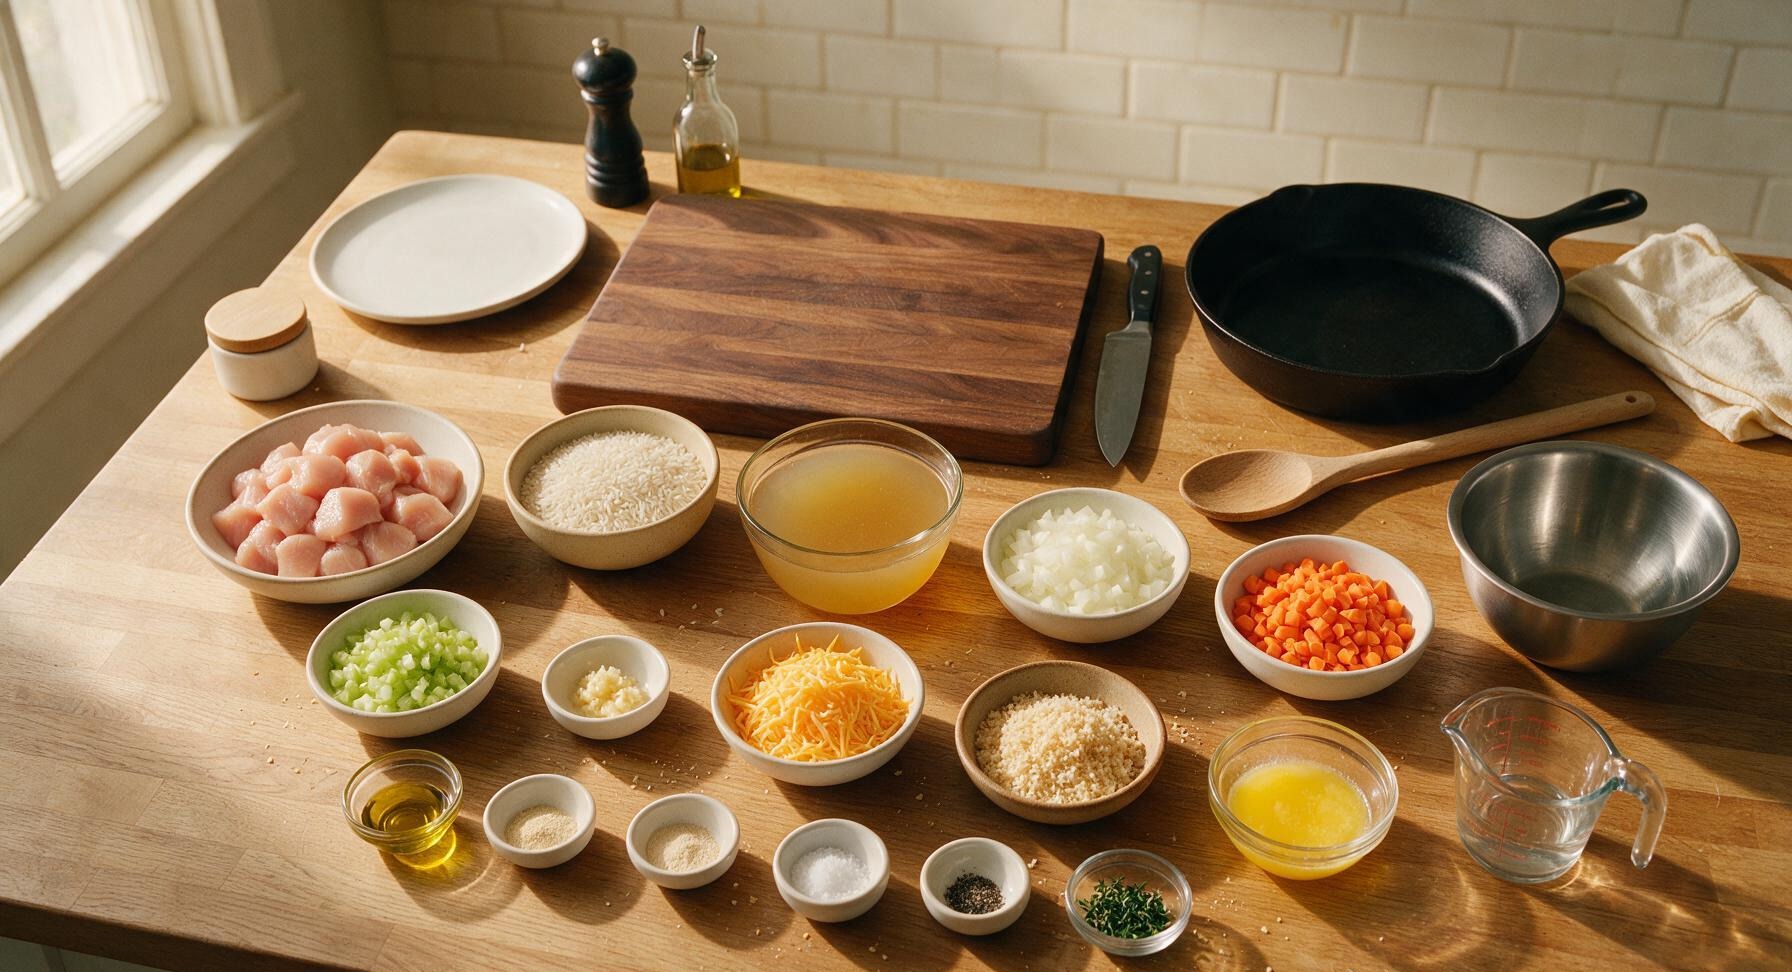
Boneless, skinless chicken breasts, cut into 2cm cubes 450g
Long-grain white rice, uncooked 1 cup (185g)
Low-sodium chicken broth 2 cups (480ml)
Yellow onion, finely diced 1 medium (150g)
Carrot, finely diced 1 medium (100g)
Celery stalk, finely diced 1 (70g)
Garlic, minced 2 cloves (6g)
Shredded sharp cheddar cheese 1/2 cup (55g)
Panko breadcrumbs 1/3 cup (30g)
Unsalted butter, melted 2 tbsp (28g)
Olive oil 1 tbsp (15ml)
Garlic powder 1 tsp
Onion powder 1 tsp
Kosher salt 1 tsp
Black pepper 1/2 tsp
Fresh thyme leaves 1 tsp

Steps

1

Prep Core Ingredients

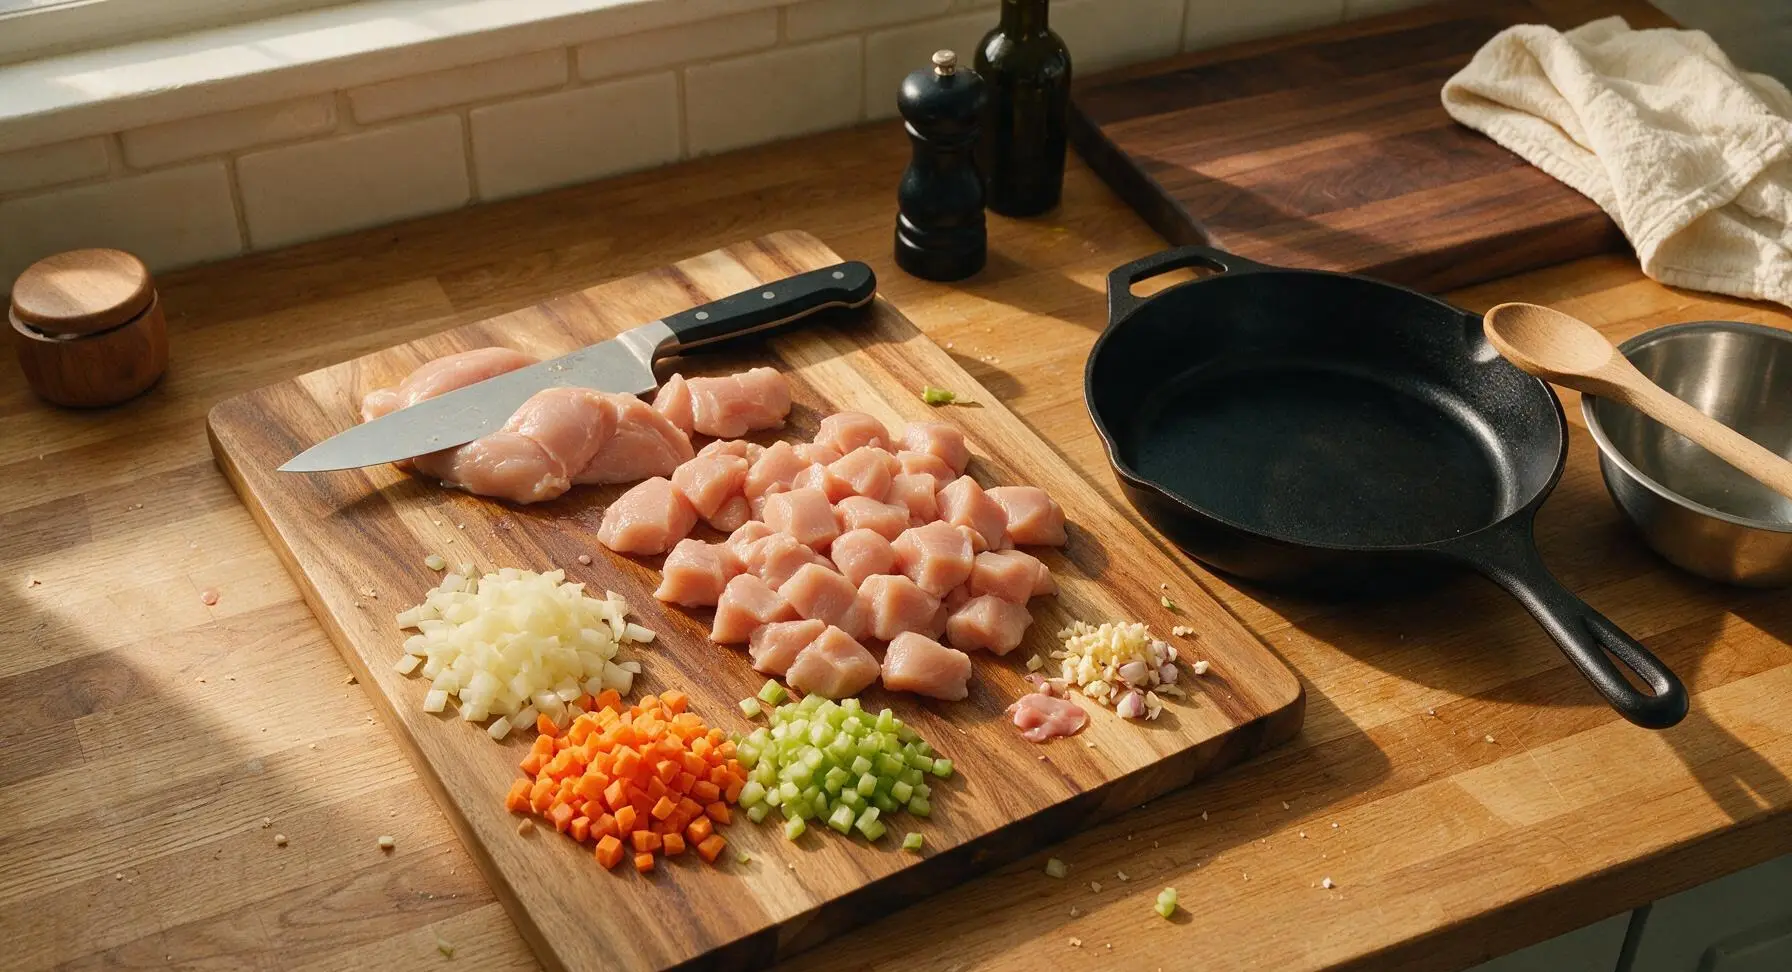
Place the acacia wood cutting board on the center of the counter. Use the 8-inch chef knife to cut chicken breasts into uniform 2cm cubes, then finely dice the yellow onion, carrot, and celery, and mince the garlic cloves. Keep each prepped ingredient in a small separate pile on the edge of the cutting board to avoid cross-contamination. Cut all vegetable pieces to a rough 0.5cm dice to ensure they cook at the same rate as the rice.
Step 1
step1:Prep Core Ingredients
2

Sauté Chicken and Veggies

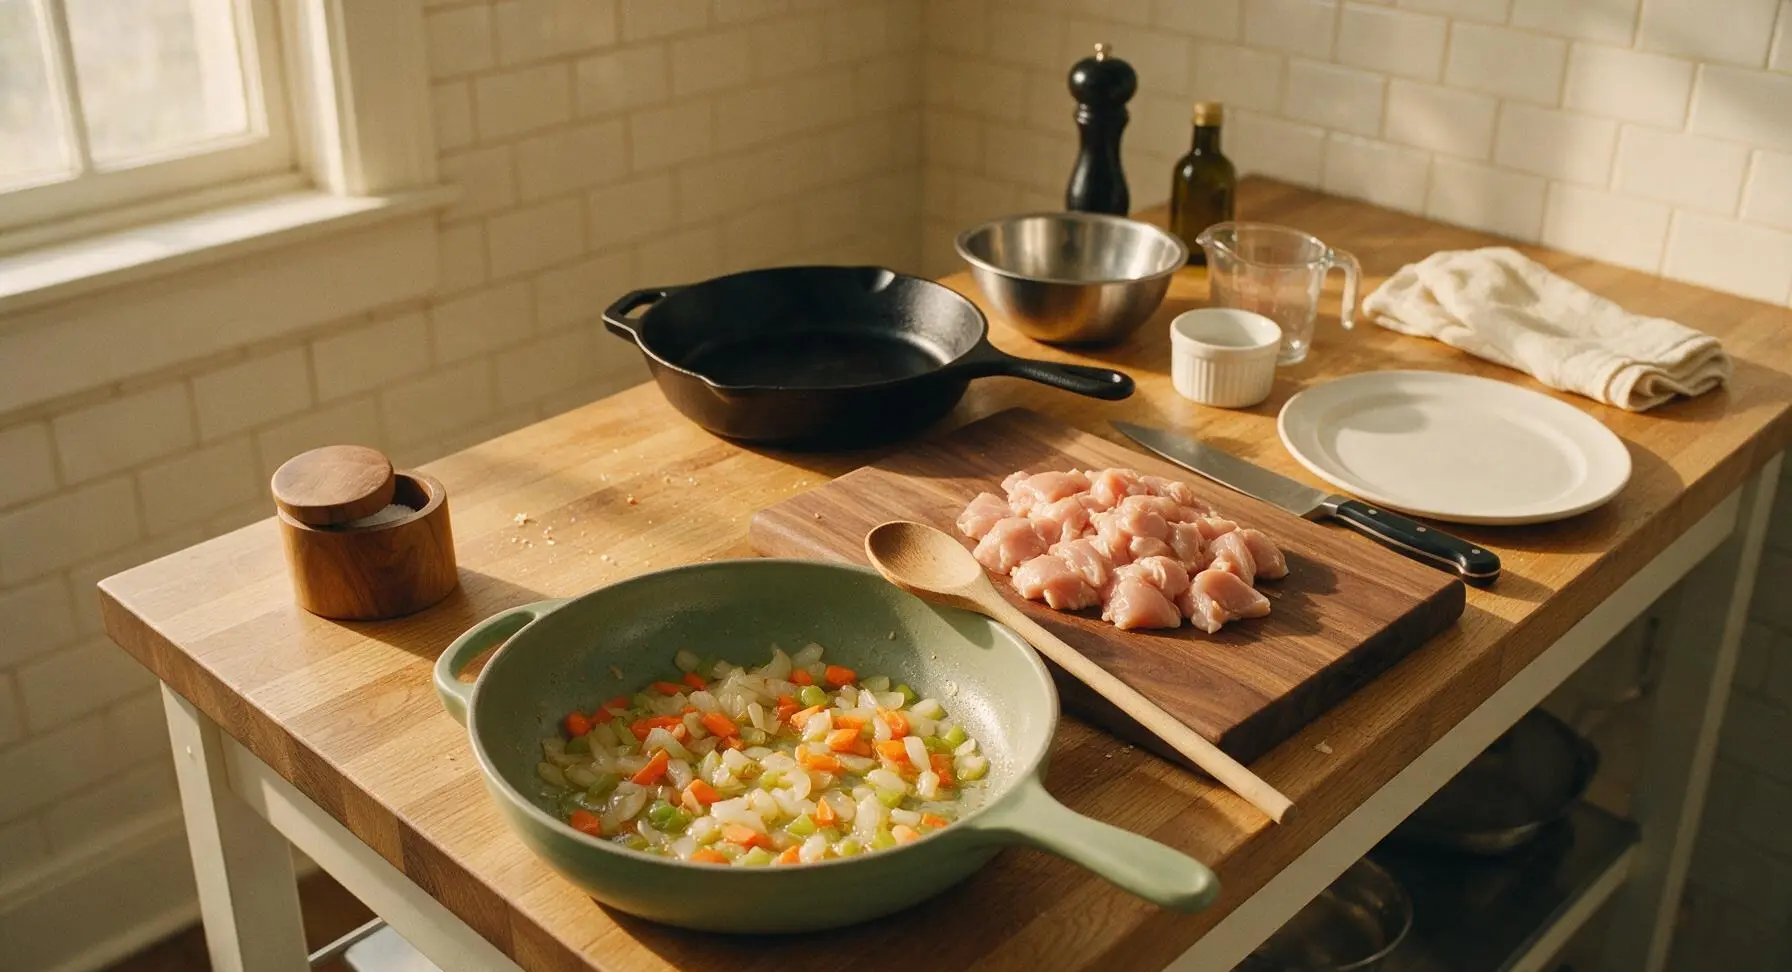
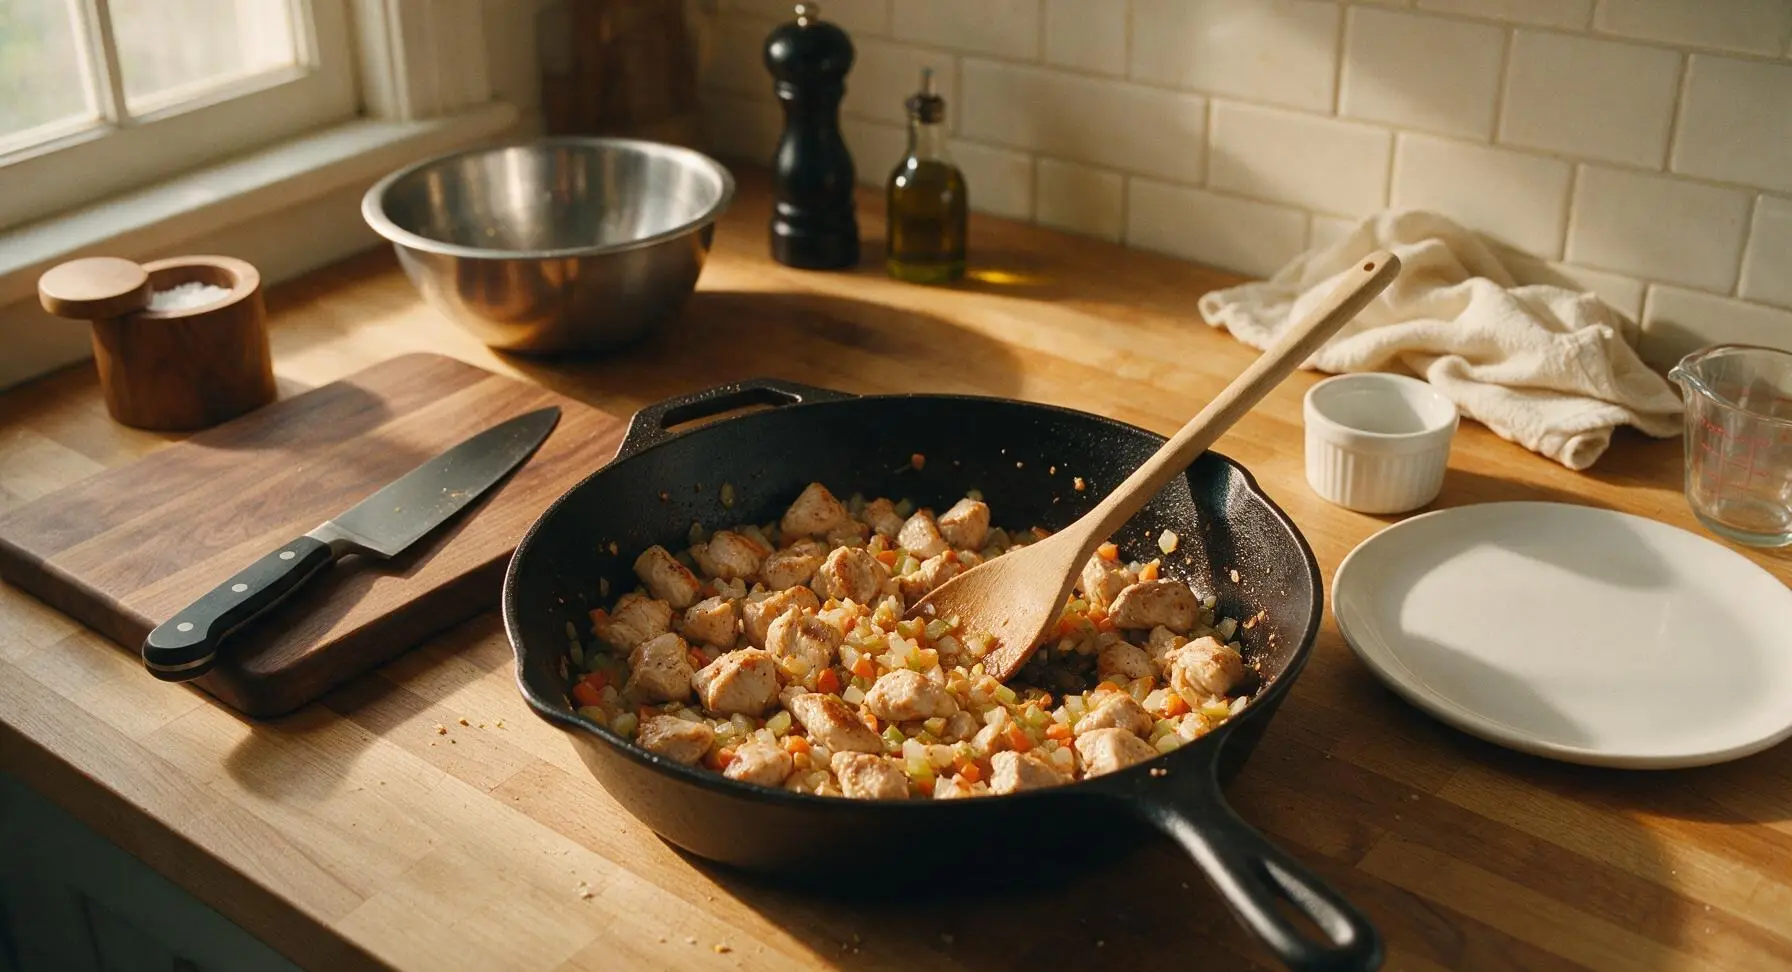
Place the matte sage green ceramic skillet on the stovetop adjacent to the work counter over medium heat (175C/350F). Add 1 tablespoon of olive oil, then toss in the diced onion, carrot, and celery. Sauté for 3 minutes until vegetables soften slightly and turn translucent at the edges, then add minced garlic and cook for 30 seconds until fragrant. Add the cubed chicken, season with 1/2 teaspoon kosher salt, 1/4 teaspoon black pepper, garlic powder, and onion powder, and cook for 4 minutes, stirring occasionally with the beech wood spoon, until chicken is lightly browned on all sides but not fully cooked through (it will finish cooking in the oven).
Step 2
step2:Sauté Chicken and Veggies
Step 2
step2:Sauté Chicken and Veggies
3

Combine Rice and Broth

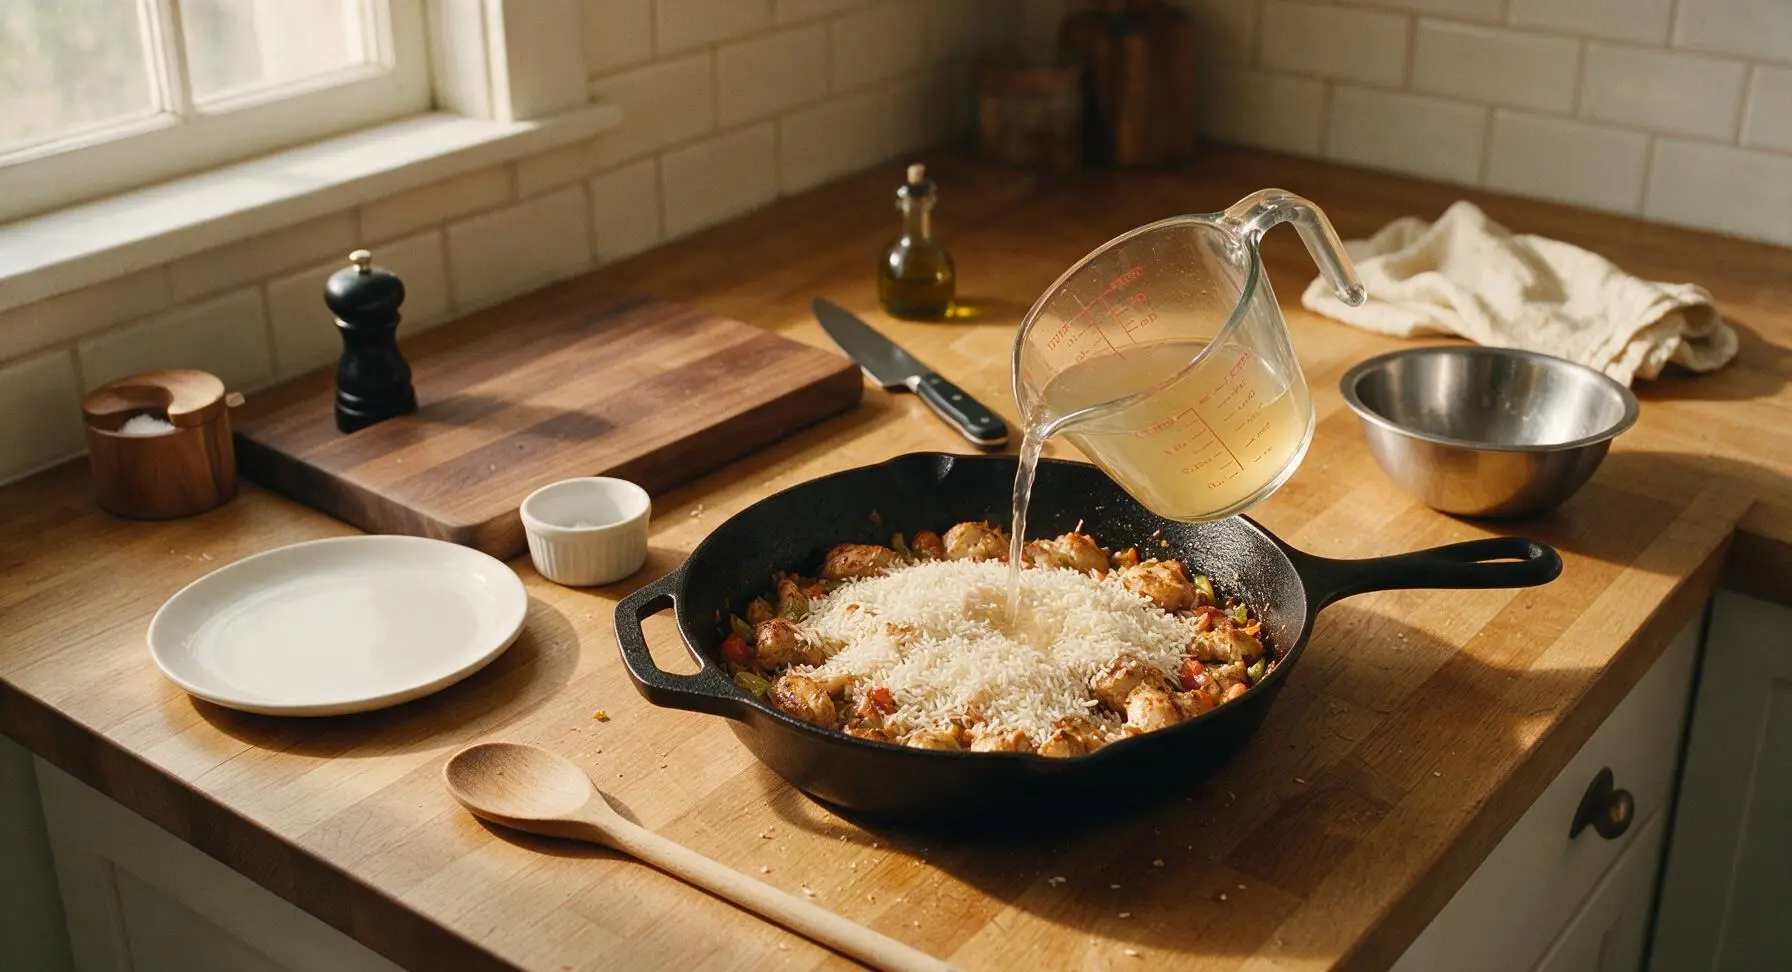
Pour the uncooked long-grain white rice into the skillet with the chicken and vegetables, stirring for 1 minute with the beech wood spoon to toast the rice lightly until the grain edges turn slightly translucent. Pour in 2 cups of low-sodium chicken broth, measured in the clear glass 1L measuring cup, and add the remaining 1/2 teaspoon kosher salt and 1/4 teaspoon black pepper. Stir to combine, then bring the mixture to a gentle simmer, scraping any browned bits from the bottom of the pan to incorporate into the liquid for extra flavor.
Step 3
step3:Combine Rice and Broth
4

Bake Until Rice Tender

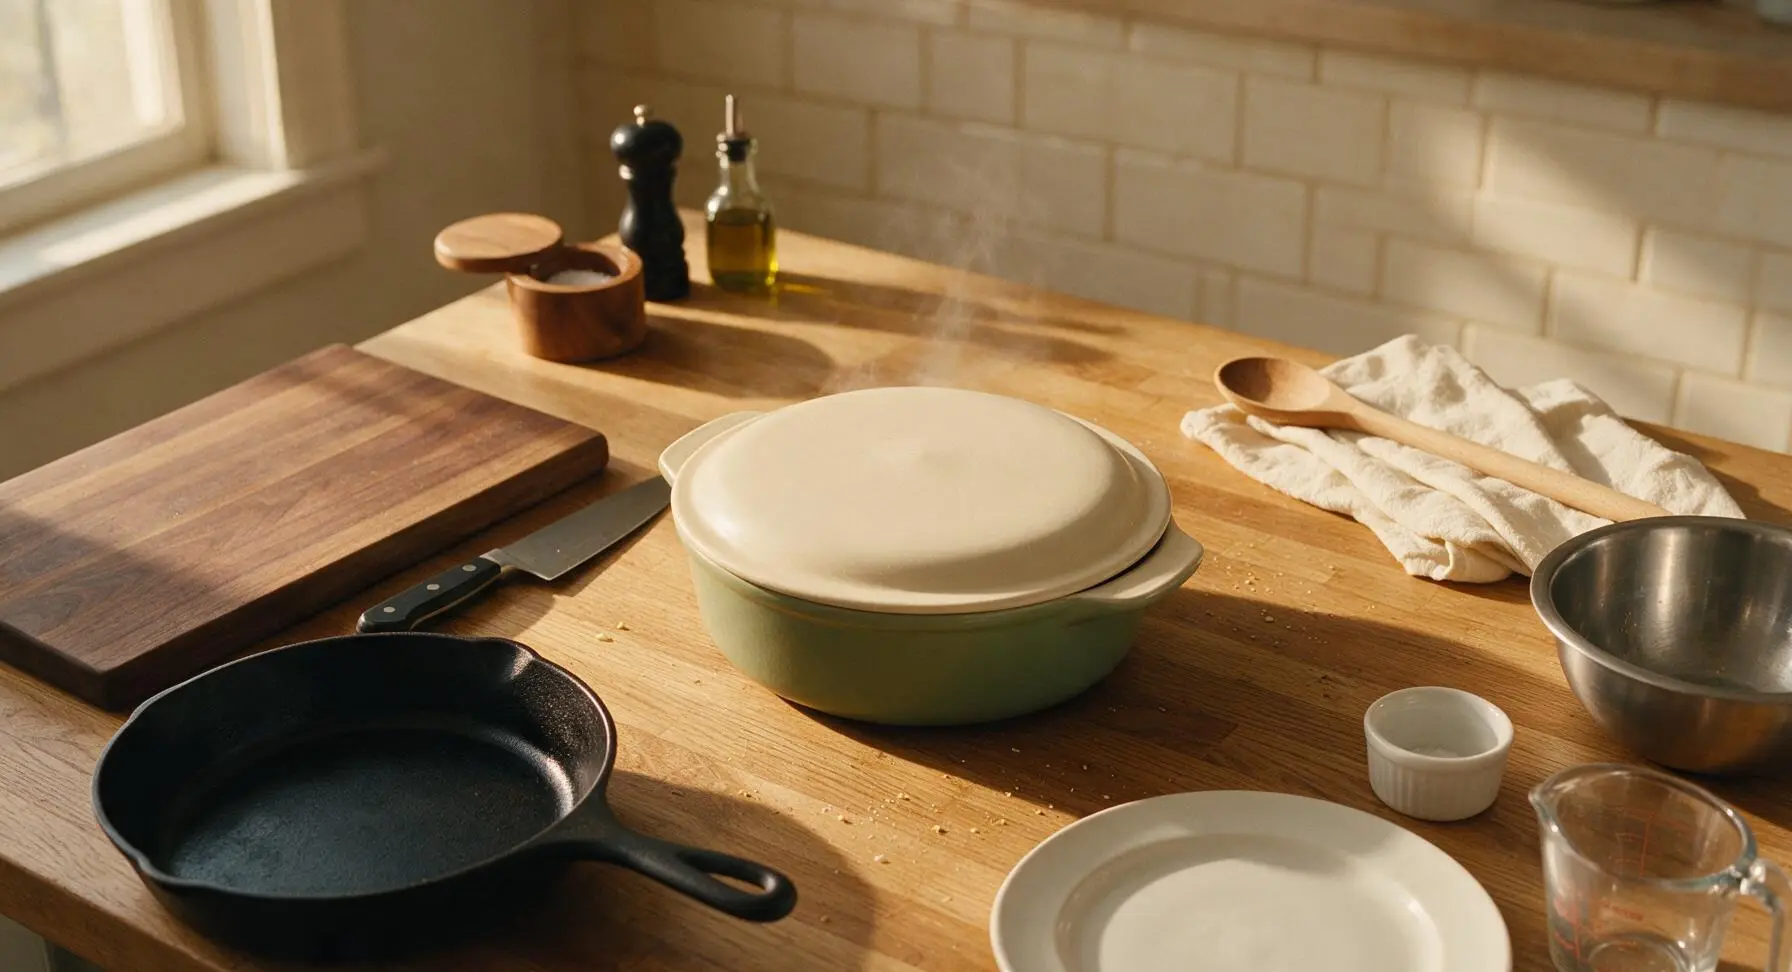
Cover the skillet tightly with its matching matte cream lid, then transfer to a preheated oven set to 190C/375F. Bake covered for 30 minutes, then carefully remove the lid to check doneness: the rice should have absorbed nearly all the liquid, be tender but not mushy, and the chicken should reach an internal temperature of 74C/165F. If more than 2 tablespoons of free liquid remains, bake uncovered for 5 additional minutes until absorbed.
Step 4
step4:Bake Until Rice Tender
5

Make Crispy Topping

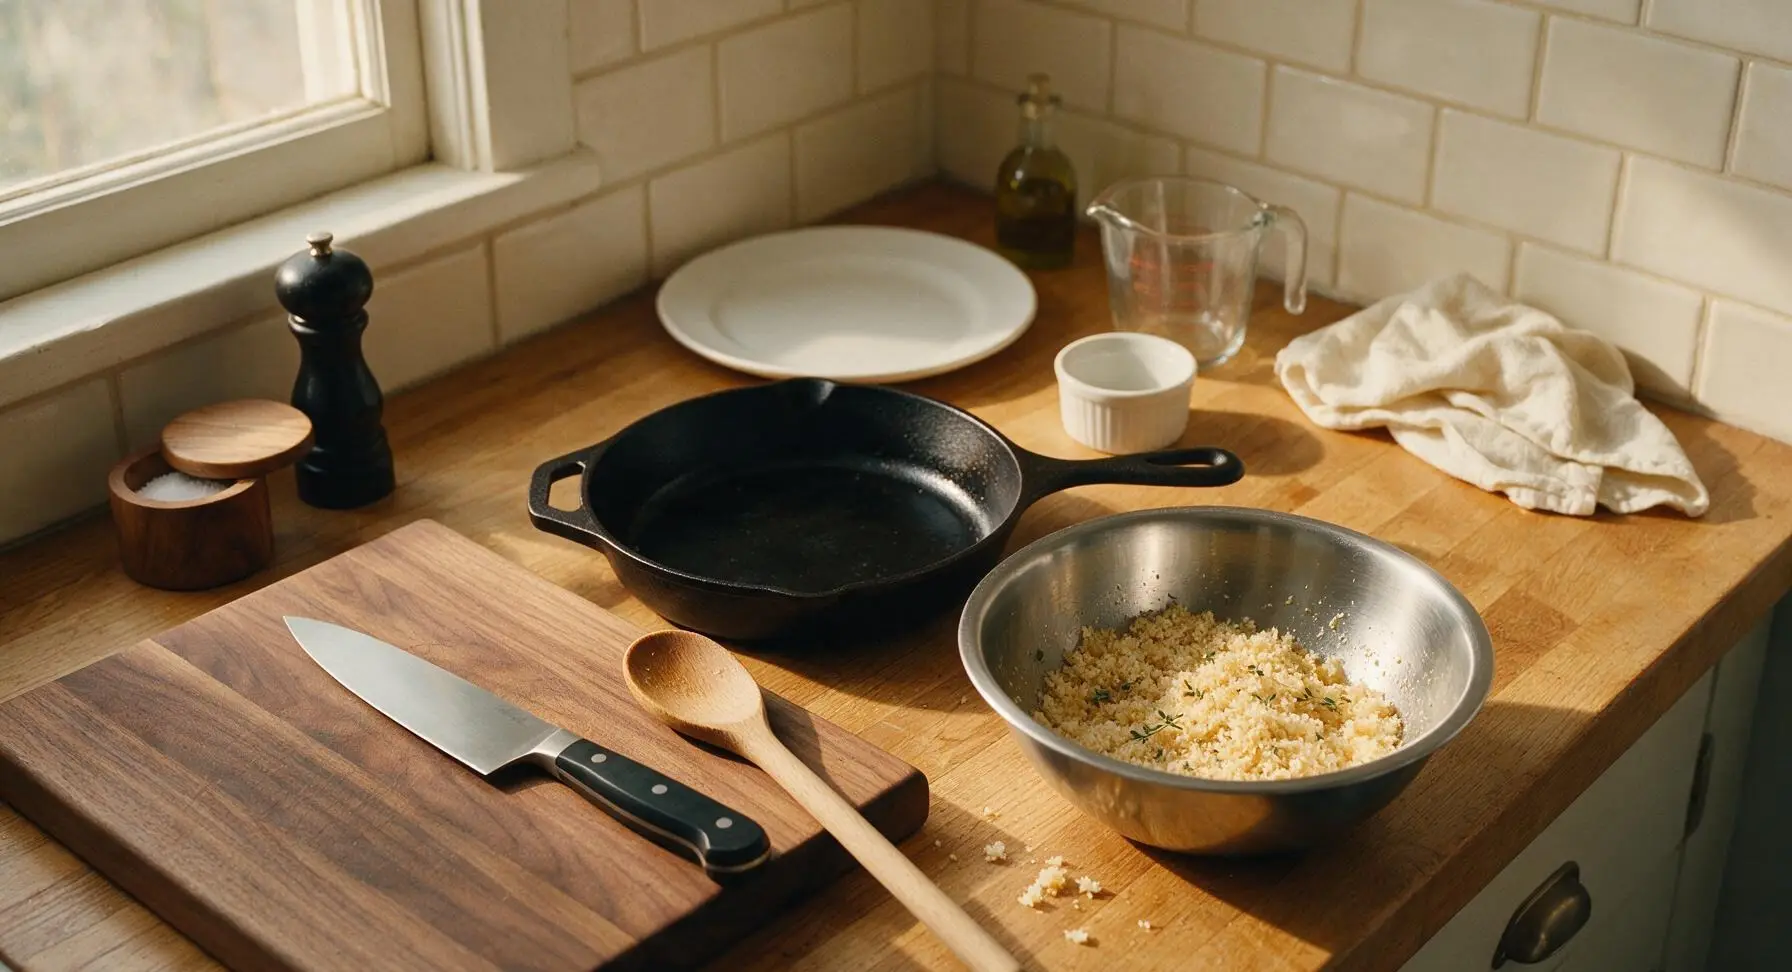
While the casserole bakes, add panko breadcrumbs, melted butter (poured from the small glass ramekin), fresh thyme leaves, and 2 tablespoons of the shredded sharp cheddar to the medium stainless steel mixing bowl. Toss with a spoon until all breadcrumbs are evenly coated in melted butter, forming a crumbly, slightly clumpy texture. Set the topping mixture aside until the casserole finishes its initial 30-minute bake.
Step 5
step5:Make Crispy Topping
6

Top and Finish Baking

Carefully remove the hot skillet from the oven once the rice is tender. Sprinkle the remaining shredded sharp cheddar evenly over the top of the casserole, then spread the buttered panko breadcrumb mixture in a uniform thin layer over the cheese. Return the uncovered skillet to the oven and bake for 10 more minutes at 190C/375F, until the breadcrumb topping is deep golden brown and crispy, and the cheese is fully melted and bubbling around the pan edges.
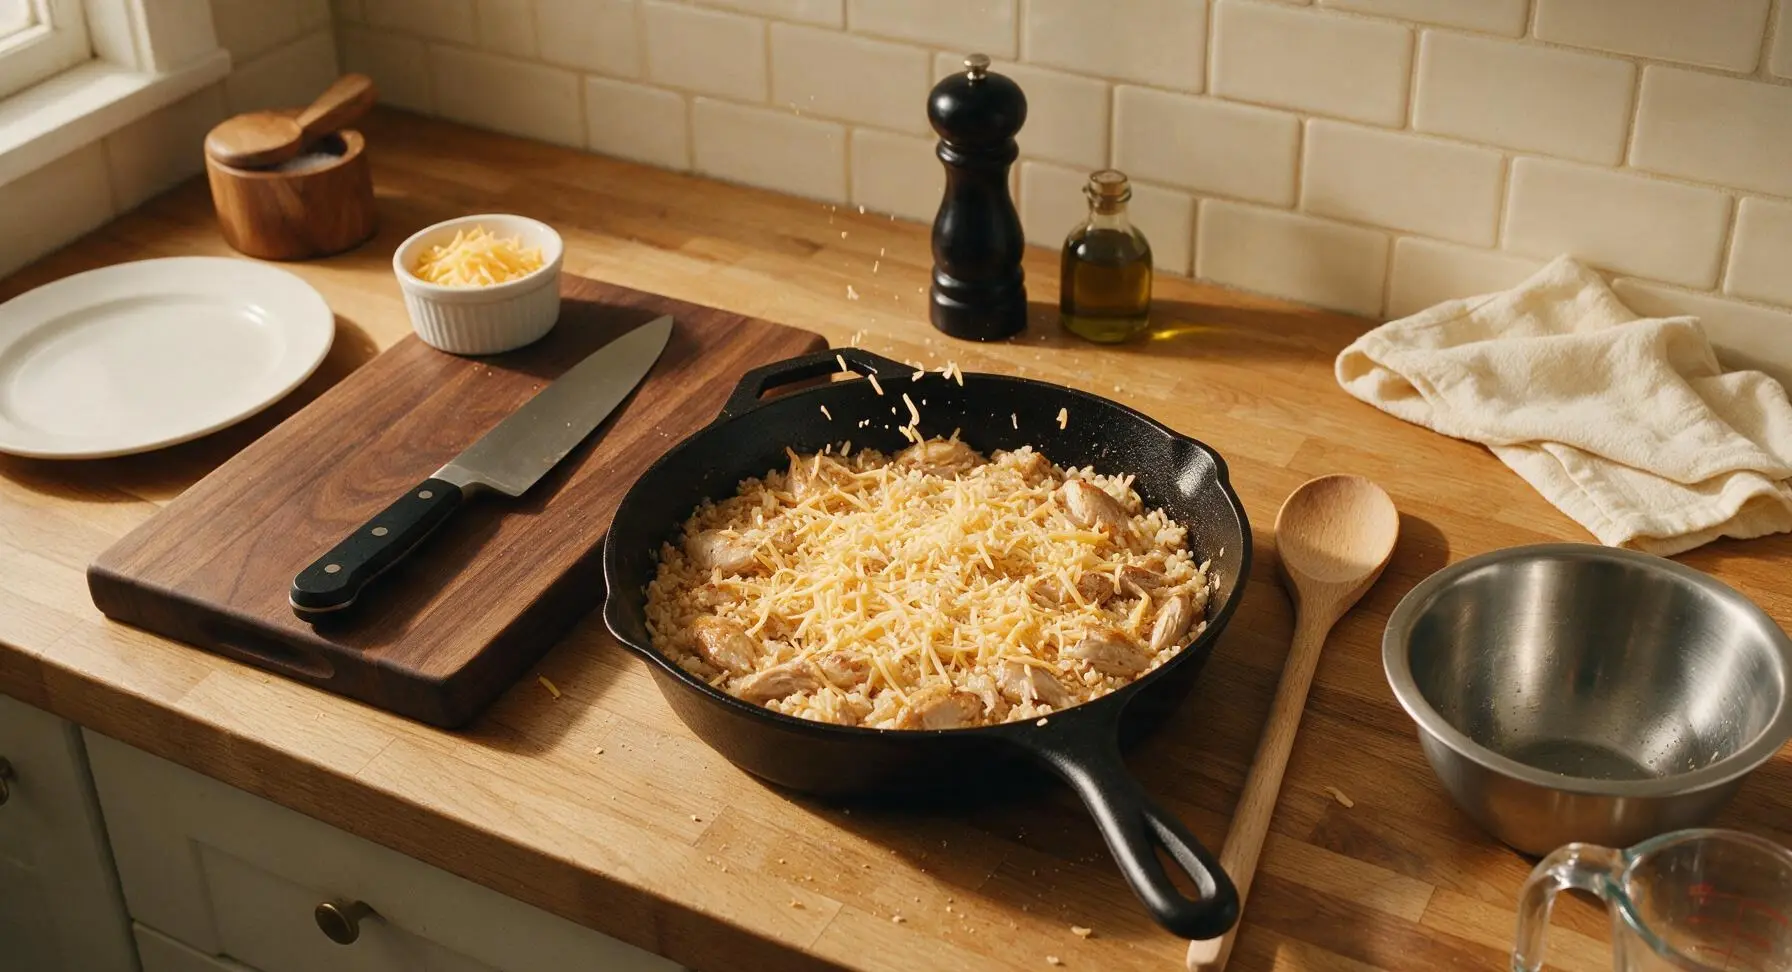
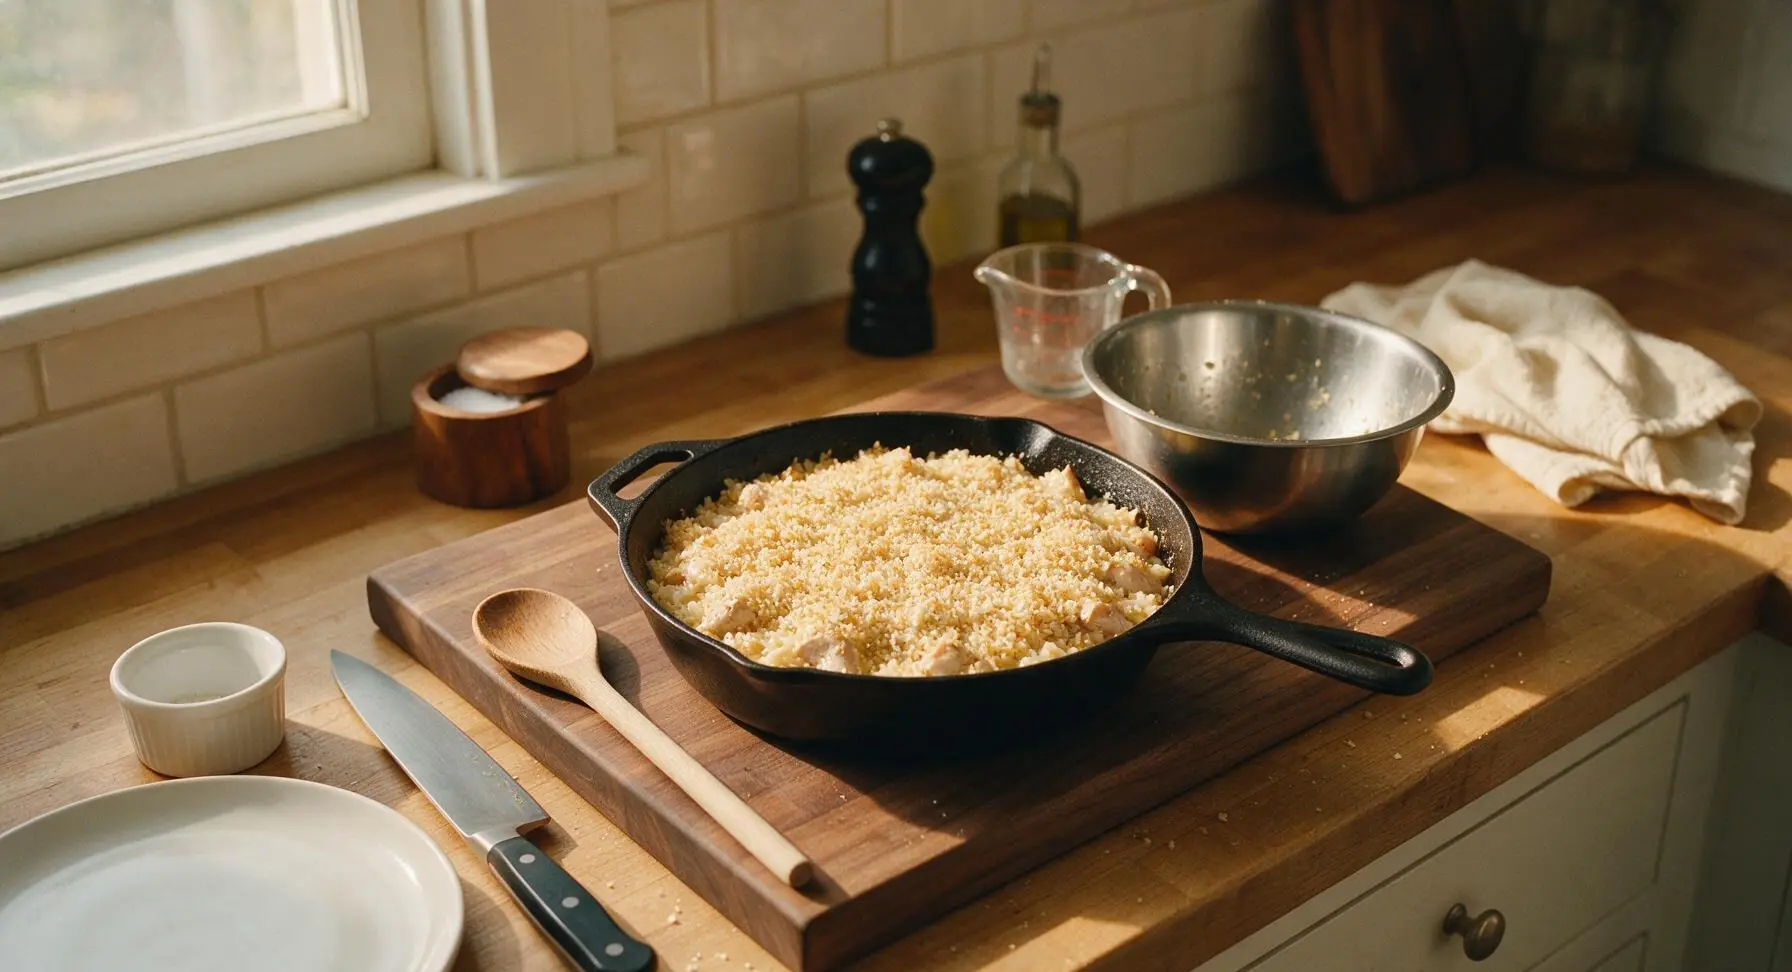
Step 6
step6:Top and Finish Baking
Step 6
step6:Top and Finish Baking
7

Rest Before Serving

Once the topping is deep golden and crispy, remove the casserole from the oven and let it rest for 5 minutes on the counter. This resting period allows the starchy sauce to thicken and set, creating clean, scoopable portions instead of a runny texture. Garnish with a few extra fresh thyme leaves before scooping servings onto the off-white dinner plates.
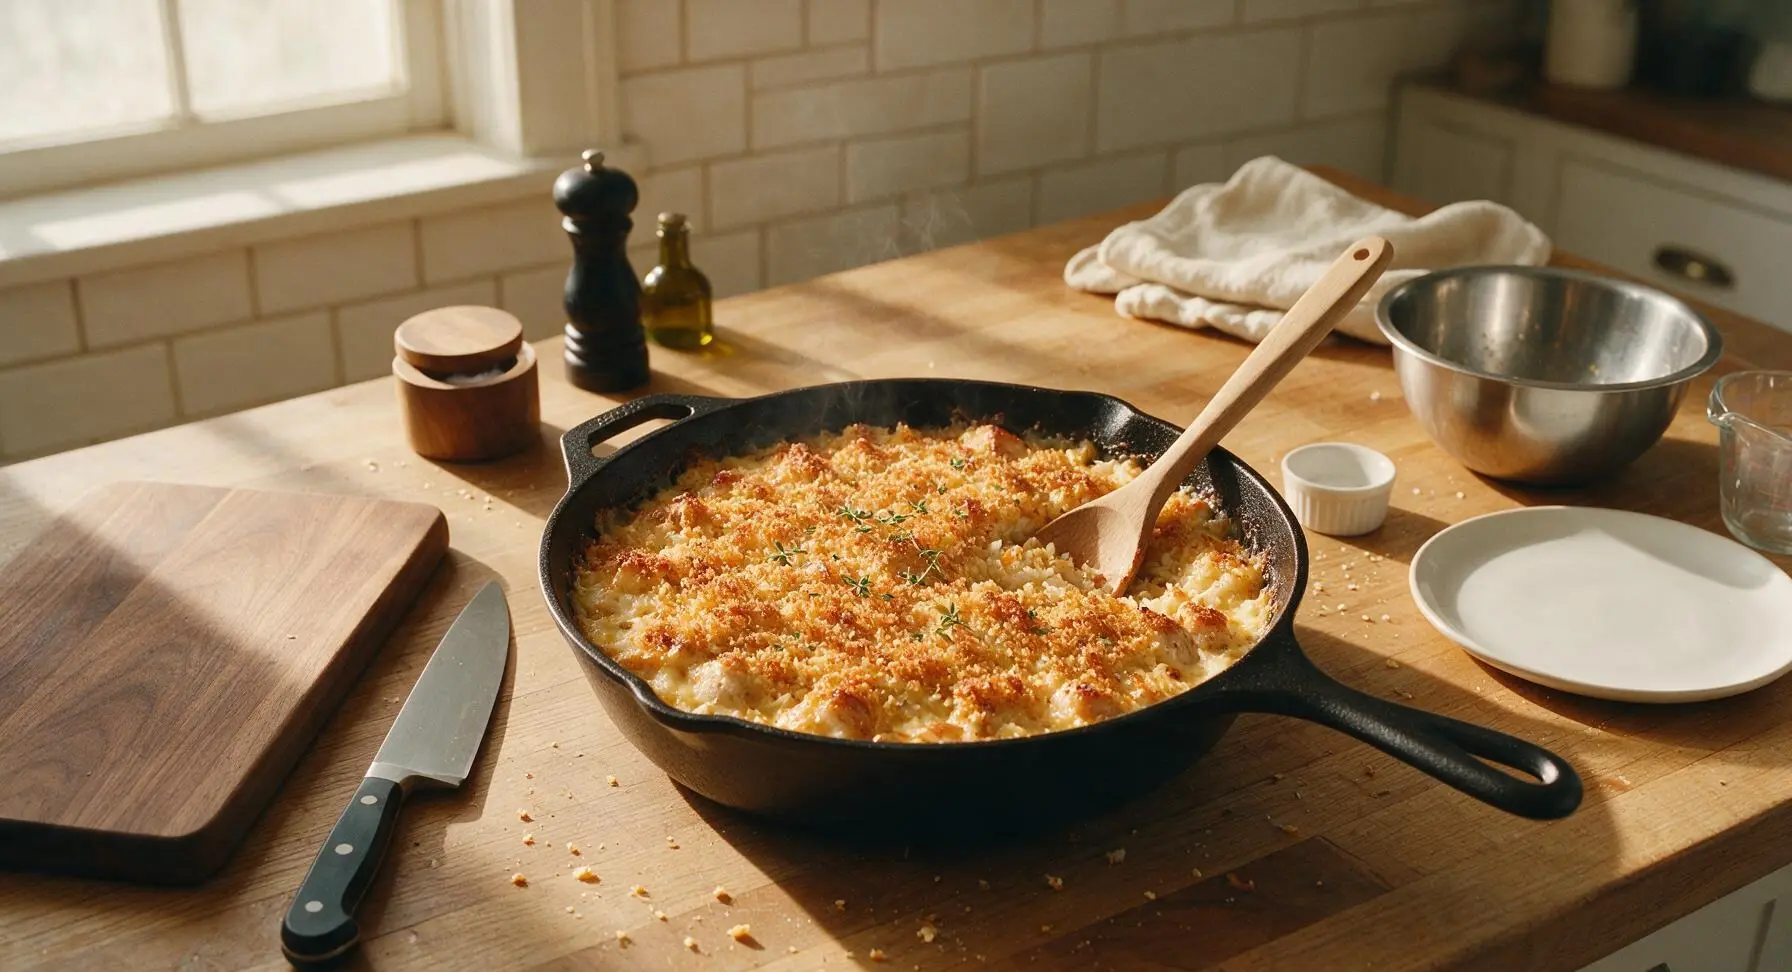
Step 7
step7:Rest Before Serving

Tips

1.Skip rinsing the uncooked long-grain rice before toasting it in the skillet: the thin layer of surface starch on the rice grains helps thicken the light, creamy sauce without needing canned condensed soup or heavy cream, for a brighter, less processed flavor.
2.Cut all mirepoix vegetables (onion, carrot, celery) to a uniform 0.5cm dice: this ensures they cook at the exact same rate as the rice, so you won’t end up with crunchy undercooked carrot or mushy, overcooked celery in the finished dish.
3.Resist the urge to serve the casserole immediately after taking it out of the oven: the full 5-minute rest lets the rice absorb the last of the liquid and the starch set, so portions hold their shape instead of sliding apart into a runny mess on the plate.


✨ You May Also Like

Main Course
🍜 United Kingdom

A showstopping classic of tender seared beef, savory mushroom duxelles, and crisp prosciutto wrapped in flaky golden puff pastry, baked to juicy perfection.

⏱️ 2 hours 1Main Course ★ 4.7
Main Course
🍜 India

Tender charred marinated chicken simmered in a rich, spiced creamy tomato sauce, this iconic Anglo-Indian curry pairs perfectly with basmati rice or warm naan.

⏱️ 50 minuteMain Course ★ 4.6
Main Course
🍜 Thailand

Classic tangy, sweet, and savory Thai stir-fried rice noodles with shrimp, tofu, and crunchy garnishes, balancing all five core Thai flavor profiles.

⏱️ 30 minuteMain Course ★ 4.5
Main Course
🍜 United Kingdom

Crispy golden beer-battered cod and fluffy double-fried chips, served with tangy tartar sauce and malt vinegar: the timeless, beloved British pub comfort classic.

⏱️ 45 minuteMain Course ★ 4.7
Main Course
🍜 Mexico

Smoky, chile-marinated pork tacos with caramelized pineapple, fresh cilantro, and lime: a beloved classic Mexican street food perfect for casual summer gatherings.

⏱️ 1 hour 45Main Course ★ 4.8
Main Course
🍜 United States

Crunchy Fritos corn chips layered with savory beef chili and melted cheddar, topped with cool, zesty fixings for a beloved, cozy Tex-Mex comfort food.

⏱️ 35 minuteMain Course ★ 4.8

Chicken and Rice Casserole:Frequently Asked Questions

1.Can I use brown rice instead of long-grain white rice for this casserole? ▾
You absolutely can, but you’ll need two small adjustments to avoid crunchy, undercooked rice. Add an extra ½ cup of low-sodium chicken broth to account for brown rice’s higher liquid absorption, and extend covered bake time by 15 to 20 minutes. Test rice tenderness at the 45-minute mark before adding your breadcrumb topping.
2.Do I really need to cut the chicken into exactly 2cm cubes? ▾
Cutting chicken into uniform 2cm cubes isn’t a rigid, fussy rule, but it ensures every piece cooks at the same rate, so you won’t get undercooked large chunks or dry, overcooked tiny bits. If you don’t want to measure, just aim for bite-sized pieces roughly ¾ of an inch across for consistent, even results.
3.Why does the recipe call for low-sodium chicken broth instead of regular? ▾
Low-sodium broth gives you full control over the final salt level of the casserole, so you won’t end up with an overly salty dish after seasoning chicken, vegetables, or adding optional cheese. If you only have regular broth on hand, skip extra salt during the veggie sauté step and taste before adjusting seasoning at the end.
4.My rice always comes out mushy in casseroles—how do I prevent that? ▾
Mushy rice usually comes from using too much liquid, lifting the foil lid too early while baking (which lets critical steam escape and leads to overcompensating with extra liquid), or using short-grain sticky rice instead of long-grain white. Stick to measured broth amounts, keep foil sealed for the first 30 minutes, and don’t over-rinse your rice.
5.Can I prep this casserole ahead of time for a busy weeknight meal? ▾
Absolutely! Assemble the uncooked casserole (hold off on adding the breadcrumb topping) in a tightly covered baking dish, and refrigerate it for up to 24 hours before baking. When you’re ready to cook, add 5 minutes to the covered bake time to account for the cold dish, then top with breadcrumbs to finish crisping.
6.What if I don’t have boneless, skinless chicken breasts on hand? ▾
You can easily swap in boneless, skinless chicken thighs for a richer, juicier result—they hold up great to long bake times without drying out. If you use bone-in chicken, just remove all bones and skin before cubing, and note that dark meat will add a slightly deeper, savorier flavor to the finished dish.
7.Why do the onion and carrot need to be finely diced? ▾
Finely dicing your yellow onion and carrot ensures they cook fully and soften during bake time without leaving big, crunchy, sharp-tasting veggie chunks in every bite. It also distributes that sweet, savory mirepoix flavor evenly throughout the rice and chicken, so every bite has balanced, cozy flavor without overwhelming texture.
8.How do I get that perfectly crispy breadcrumb top without burning it? ▾
Wait to add your breadcrumb topping until the last 12 to 15 minutes of baking, after the rice and chicken are fully cooked through. Toss breadcrumbs with a tiny bit of melted butter first to help them brown evenly, and keep an eye on them as they bake—if they darken too fast, tent a small piece of foil over the top.
9.Can I add extra vegetables to this casserole? ▾
Of course! This recipe is super flexible for mix-ins. Just stick to firm, low-moisture veggies like frozen peas, diced celery, or chopped bell peppers, and pat any wet veggies (like thawed frozen spinach) completely dry before adding, so extra moisture doesn’t turn your rice mushy. Limit extra add-ins to 1 cup total to keep proportions balanced.
10.What internal temperature should the chicken reach to be safe to eat? ▾
For food safety, the cubed chicken in your casserole should reach an internal temperature of 165°F when measured with an instant-read thermometer inserted into the thickest chunk. Since the chicken is cut into small, uniform 2cm pieces, it usually hits this temp right as rice is tender, but a quick check removes all guesswork.
11.Can I freeze this casserole for later make-ahead meals? ▾
Yes, this casserole freezes beautifully for up to 3 months. You can freeze it either unbaked (wrapped tightly in two layers of foil and plastic wrap) or fully cooked and portioned. Thaw frozen unbaked casserole in the fridge overnight before baking, and add 10 minutes to total covered cook time to heat it all the way through.
12.Why is my rice still crunchy even after following the listed bake time? ▾
Crunchy, undercooked rice usually happens if your oven runs cooler than its set temperature, if you lifted the foil too often and let critical steam escape, or if your baking dish is much deeper than a standard 9x13 inch pan. Add ¼ cup extra broth, re-cover tightly, and bake 8 to 10 more minutes until rice is tender.
13.Do I need to sauté the onions and carrots first before baking? ▾
While you can technically toss raw onions and carrots straight into the baking dish, sautéing them for 3 to 4 minutes over medium heat first brings out their natural sweet, savory flavor and gives them a head start on softening, so you won’t get crunchy, sharp-tasting veggie bits in the finished casserole. It’s a small step with a big flavor payoff.
14.Can I add cheese to this casserole for extra richness? ▾
Absolutely, cheese is a delicious addition if you want an extra creamy, indulgent bite. Stir ½ cup of shredded sharp cheddar or Gruyère into the rice and chicken mixture right before baking, and sprinkle an extra 2 tablespoons over the breadcrumb topping for a cheesy, crispy crust. Avoid adding too much, or it can make the casserole greasy instead of creamy.
15.What size baking dish works best for this recipe? ▾
A standard 9x13 inch (3-quart) glass or ceramic baking dish is ideal for this recipe, because it creates an even layer of rice and chicken that cooks consistently all the way through. If you use a smaller, deeper dish, you’ll need to add 10 to 15 minutes of covered bake time to make sure the center cooks fully without burning edges.
16.My chicken came out dry when I made this before—what did I do wrong? ▾
Dry chicken usually happens if your cubes are cut too large and required extra bake time that dried out smaller pieces, if you used too little broth, or if you baked the casserole uncovered for too long before the rice was done. Stick to uniform 2cm cubes, keep foil sealed for the first 30 minutes, and use the full measured amount of broth for juicy results.
17.Can I use pre-cooked leftover or rotisserie chicken for this recipe? ▾
You can, but you’ll want to adjust the method to avoid overcooking the chicken into tough, rubbery bits. Cut the pre-cooked chicken into the same 2cm cubes, and stir it into the rice mixture during the last 10 minutes of covered bake time, so it heats through without sitting in the hot oven for the full cook cycle.
18.What are good serving sides to pair with this casserole? ▾
This rich, creamy, comforting casserole pairs beautifully with light, bright sides to cut through its richness. Try a simple green salad tossed with tangy vinaigrette, roasted broccoli, buttered green beans, or a side of tangy pickled vegetables. You don’t need heavy sides, since the casserole itself is already a filling, hearty main dish.

Comments (11)

2 days ago

OMG this was SO good! I threw this together last night for family dinner after soccer practice and all three of my boys cleaned their plates, even the picky one who refuses to eat anything with veggies! I tossed in a handful of frozen peas I had in the freezer and it worked perfectly. 10/10 will be adding this to our weekly rotation.

yesterday

So glad your crew loved it! Adding frozen veggies is such a smart hack to sneak in extra greens without extra prep—great call!

3 days ago

Absolute game changer for my Sunday meal prep! This reheats like a dream in the microwave all week, no soggy rice or dry chicken at all. I doubled the recipe so I have lunches for the whole work week, and my coworker already asked for the recipe when he smelled it in the break room. So easy to throw together too, zero fancy ingredients needed.

1 week ago

Brought this to our neighborhood block party potluck last weekend and the entire pan was gone in 15 minutes! Multiple people came up to ask for the recipe, I felt like a celebrity. Only thing I changed was adding a little extra shredded cheddar on top for the last 10 minutes of baking, chef’s kiss.

5 days ago

Wait the extra cheese top sounds insane! Did you use sharp cheddar or the mild stuff? I’m making this for my book club next week and want to copy that hack.

3 days ago

Love the potluck win! Extra cheese is never a bad call in our book—sharp cheddar adds a great tang, but mild works perfectly too if that’s what you have on hand!

5 minutes ago

Wait this is actually foolproof? I’m a terrible cook, I burn toast half the time, and this turned out perfect on my first try! Cook time was exactly as written, no weird steps, and I already had all the ingredients in my dorm pantry. Way better than the takeout I was gonna order tonight.

just now

Right?! I made this last month in my dorm’s tiny oven and it worked too! Pro tip: add a packet of ranch seasoning mix if you want a little extra zing, it slaps.

2 hours ago

Super solid weeknight recipe! I swapped the regular cream of chicken soup for the gluten free version and it turned out great, my husband didn’t even notice the difference. Only reason it’s not 5 stars is I wish the rice cooked a little more evenly in my oven, next time I’ll let it rest 10 minutes before serving like I usually do for baked rice dishes. Still really tasty!

yesterday

Made this for my parents who came to visit yesterday and my dad, who swears he hates casseroles, went back for seconds! It’s so creamy and cozy, perfect for the random cold snap we got here in Georgia this week. I used bone-in chicken thighs instead of breast because that’s what I had, it was so juicy.

2 hours ago

Oh I bet thighs were amazing! I always think chicken breast gets too dry in bakes, I’m definitely making it with thighs like you did next time.

30 minutes ago

Right?! Casseroles are the best cold weather food. I’m making this this weekend when it’s supposed to snow here, can’t wait.

30 minutes ago

Quick question before I make this tonight—can I use brown rice instead of white? I’m trying to eat a little more whole grains but don’t want to mess up the cook time or liquid ratios. Any tips would be awesome, this looks so good!

5 minutes ago

Great question! Brown rice works, but you’ll need to add about 1/2 cup extra chicken broth and increase the covered bake time by 15-20 minutes to make sure the rice gets tender all the way through. Enjoy!

5 days ago

Who knew leftover chicken and rice casserole could taste even better the next day? I had a serving for lunch today after making it Sunday, and the flavors had melded so much more overnight. I added a dash of hot sauce on top and it was chef’s kiss. No sad desk lunch here!

2 weeks ago

I’ve tried so many chicken and rice casserole recipes over the years and this one is easily top tier. No weird canned vegetable add-ins that make it all mushy, the seasoning is just right, and it doesn’t require pre-cooking the rice which saves so much time. My only tiny note is I added a sprinkle of paprika on top for color, it made it look so pretty for serving.

1 week ago

The no pre-cook rice is why I keep coming back to this recipe! I used to make one that required boiling rice first and it was such a hassle on busy nights. The paprika sprinkle is such a good call, I’m stealing that.

3 days ago

This was really tasty! I think my oven runs a little hot because the edges got a bit crispier than I wanted, but the middle was perfect. Next time I’ll turn the temp down 25 degrees and it’ll be spot on. Even with the crispy edges my toddler devoured it, so that’s a win in my book!

2 days ago

So glad you and your toddler enjoyed it! Oven temp variations are so common, your adjustment for next time sounds perfect. If you want extra insurance next bake, you can cover the pan with foil for the first 30 minutes to keep the edges from browning too fast.

1 week ago

This recipe saved my grocery budget this week! I already had rice and chicken in the freezer, picked up a can of soup for under a dollar, and fed my whole family of four for less than $8 total. Tastes way better than the expensive fast food we usually grab on busy weeknights. Will be making this at least twice a month for sure.

5 days ago

Wait that’s such a good point! I never added up the cost but this is way cheaper than ordering pizza for the family. I wonder if it freezes well? I want to make a couple pans to keep in the deep freezer for crazy weeks.

3 days ago

Love that this works for your budget! This freezes beautifully—just assemble the unbaked casserole, cover tightly with foil, and freeze for up to 3 months. When you’re ready to bake, add 15-20 minutes to the cook time (no need to thaw first!) and you’re good to go.



