
Chicken Fajita Casserole

title 1
Chicken Fajita Casserole
⏱️ cook time 35 minutes
🍽️ servings 6
⚡ Difficulty easy

intro

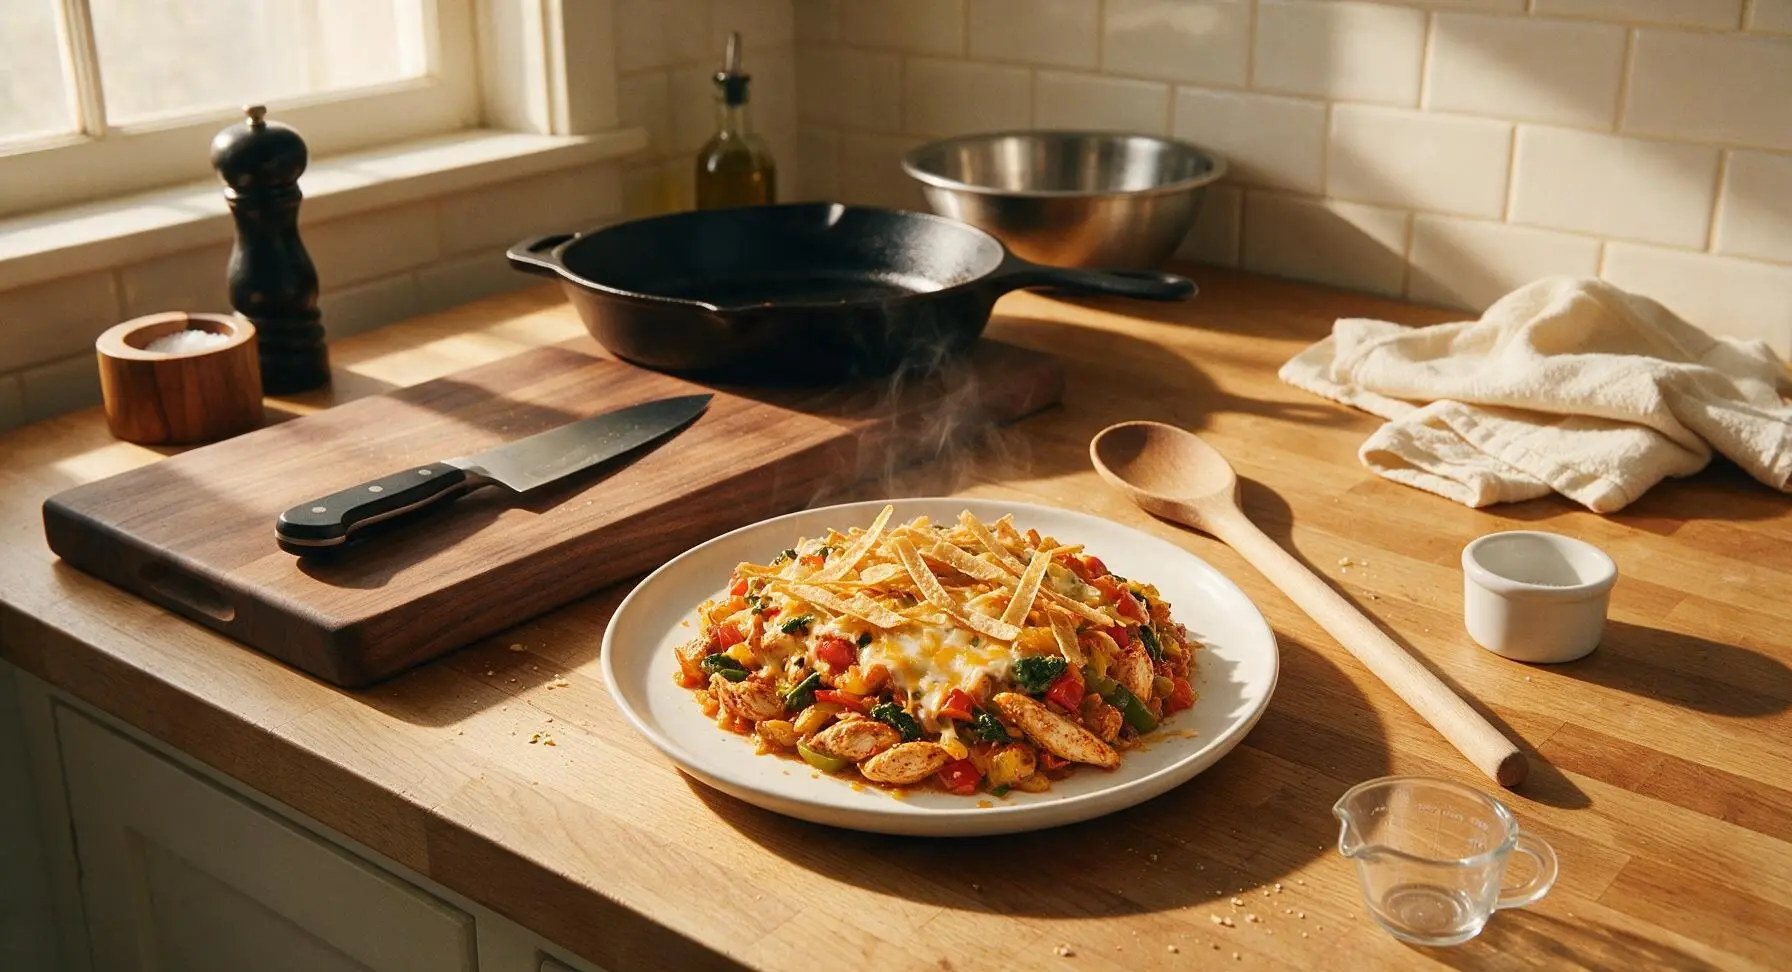
A cozy, veggie-packed Tex-Mex bake with tender spiced chicken, melted cheese, and crisp tortilla strips, delivering classic fajita flavor with minimal weeknight effort.

Ingredients
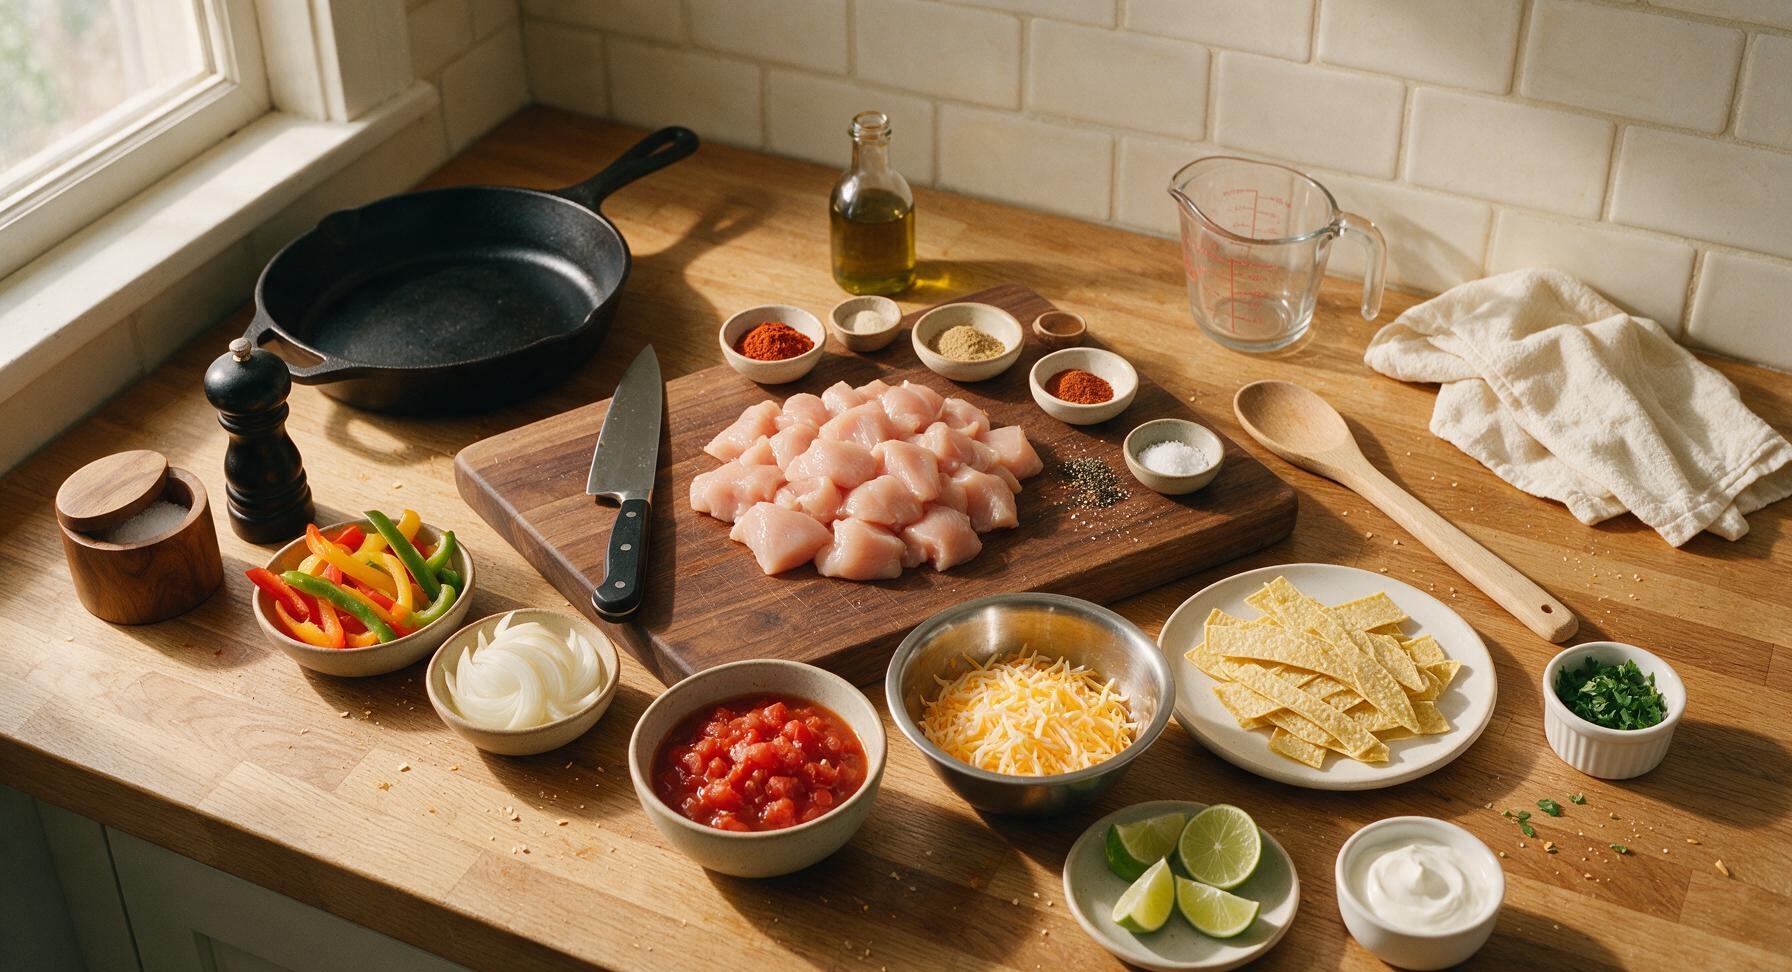
Boneless skinless chicken breasts, cut into 1-inch cubes 680g (1.5 lbs)
Tri-color bell peppers (red, yellow, green), sliced into 1/2-inch strips 3 medium (450g total)
Yellow onion, sliced into 1/2-inch half-moons 1 large (220g)
Olive oil 2 tbsp
Chili powder 2 tbsp
Ground cumin 1 tbsp
Smoked paprika 1 tsp
Garlic powder 1 tsp
Kosher salt 1 tsp
Freshly ground black pepper 1/2 tsp
Fire-roasted diced tomatoes, well drained 1 (400g/14.5oz) can
Shredded cheddar-Monterey Jack cheese blend 2 cups (220g)
6-inch corn tortillas, cut into 1-inch strips 6 pieces (120g total)
Fresh cilantro, chopped 1/4 cup (10g)
Fresh lime, cut into wedges 1 whole (60g)
Sour cream, for serving 1/2 cup (113g)

Steps

1

Prep and Preheat Oven

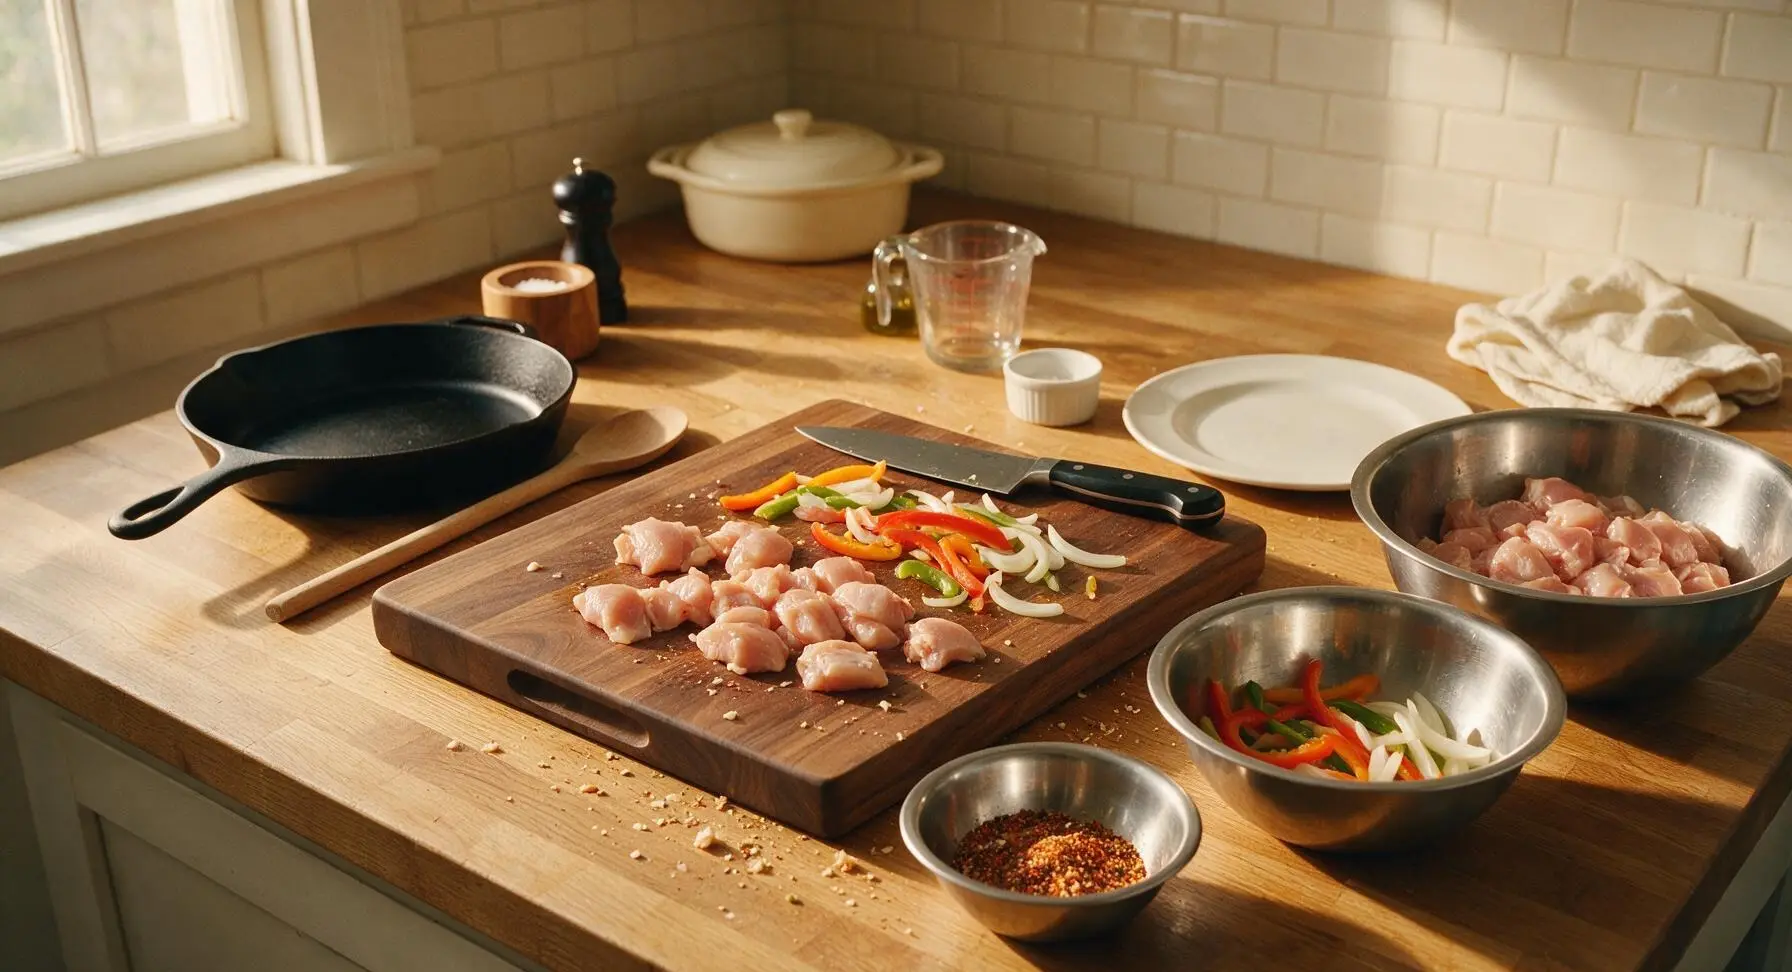
Adjust oven rack to the middle position, preheat oven to 190C (375F). Place the walnut cutting board on the center of the counter. Cut chicken into 1-inch cubes, slice bell peppers into 1/2-inch strips, and slice onion into 1/2-inch half-moons using the chef knife. Place prepped veggies in the medium stainless steel mixing bowl, cubed chicken in the large stainless steel mixing bowl, and set aside. Combine all spices (chili powder, cumin, smoked paprika, garlic powder, salt, pepper) in the small stainless steel mixing bowl, stir to mix evenly.
Step 1
step1:Prep and Preheat Oven
2

Sauté Aromatic Veggies

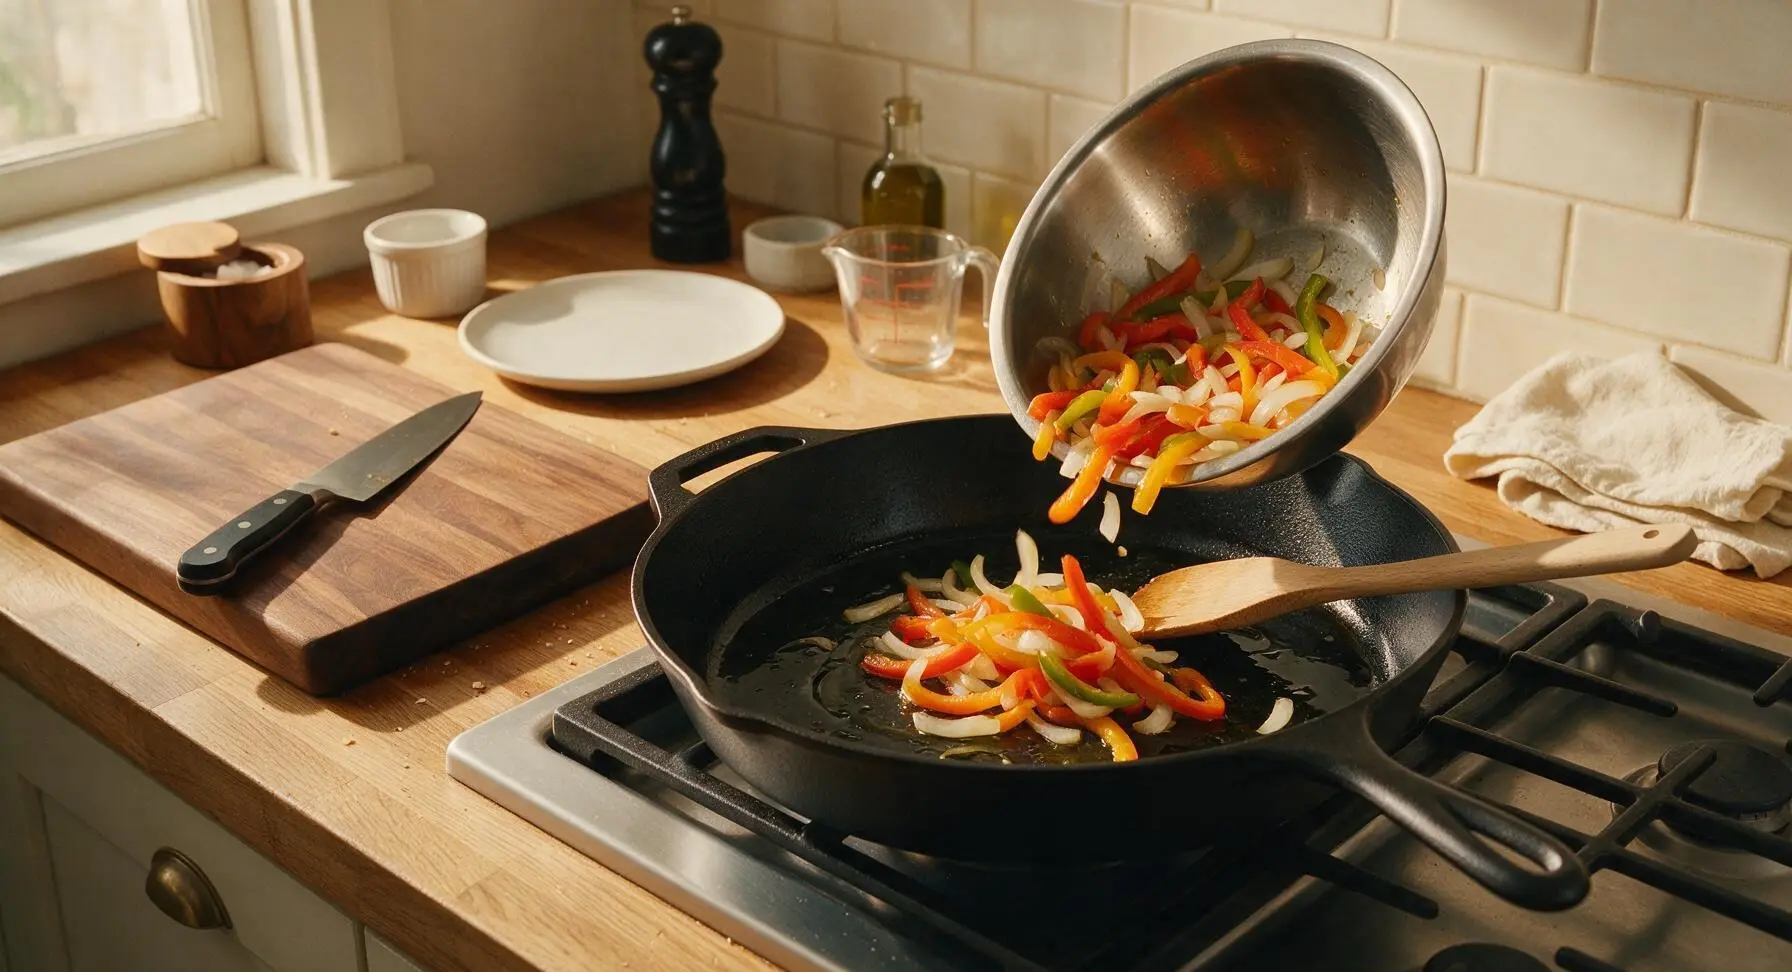
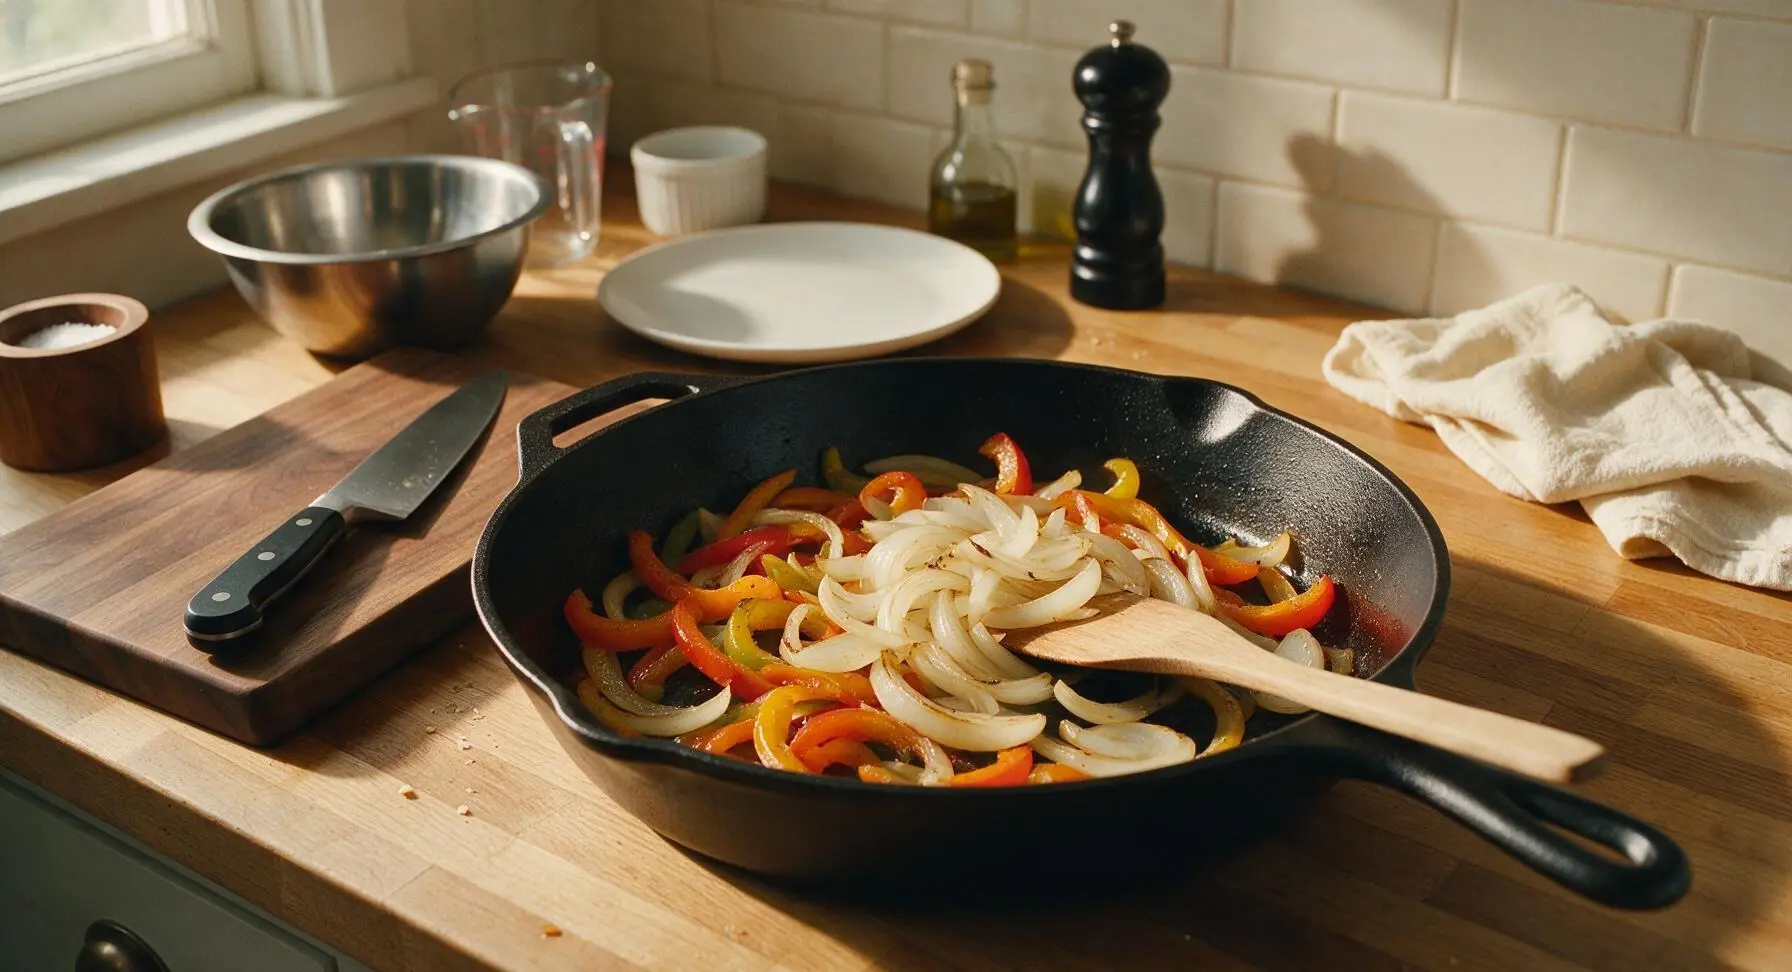
Place the 12-inch matte black nonstick skillet on the stovetop over medium heat, add 1 tablespoon of olive oil. Once oil shimmers (about 1 minute), add sliced bell peppers and onion from the medium mixing bowl. Sauté for 5 minutes, stirring occasionally with the beech wood turner, until veggies are slightly softened with light golden charred edges. Do not overcook—veggies should retain a slight crisp-tender texture.
Step 2
step2:Sauté Aromatic Veggies
Step 2
step2:Sauté Aromatic Veggies
3

Season and Cook Chicken

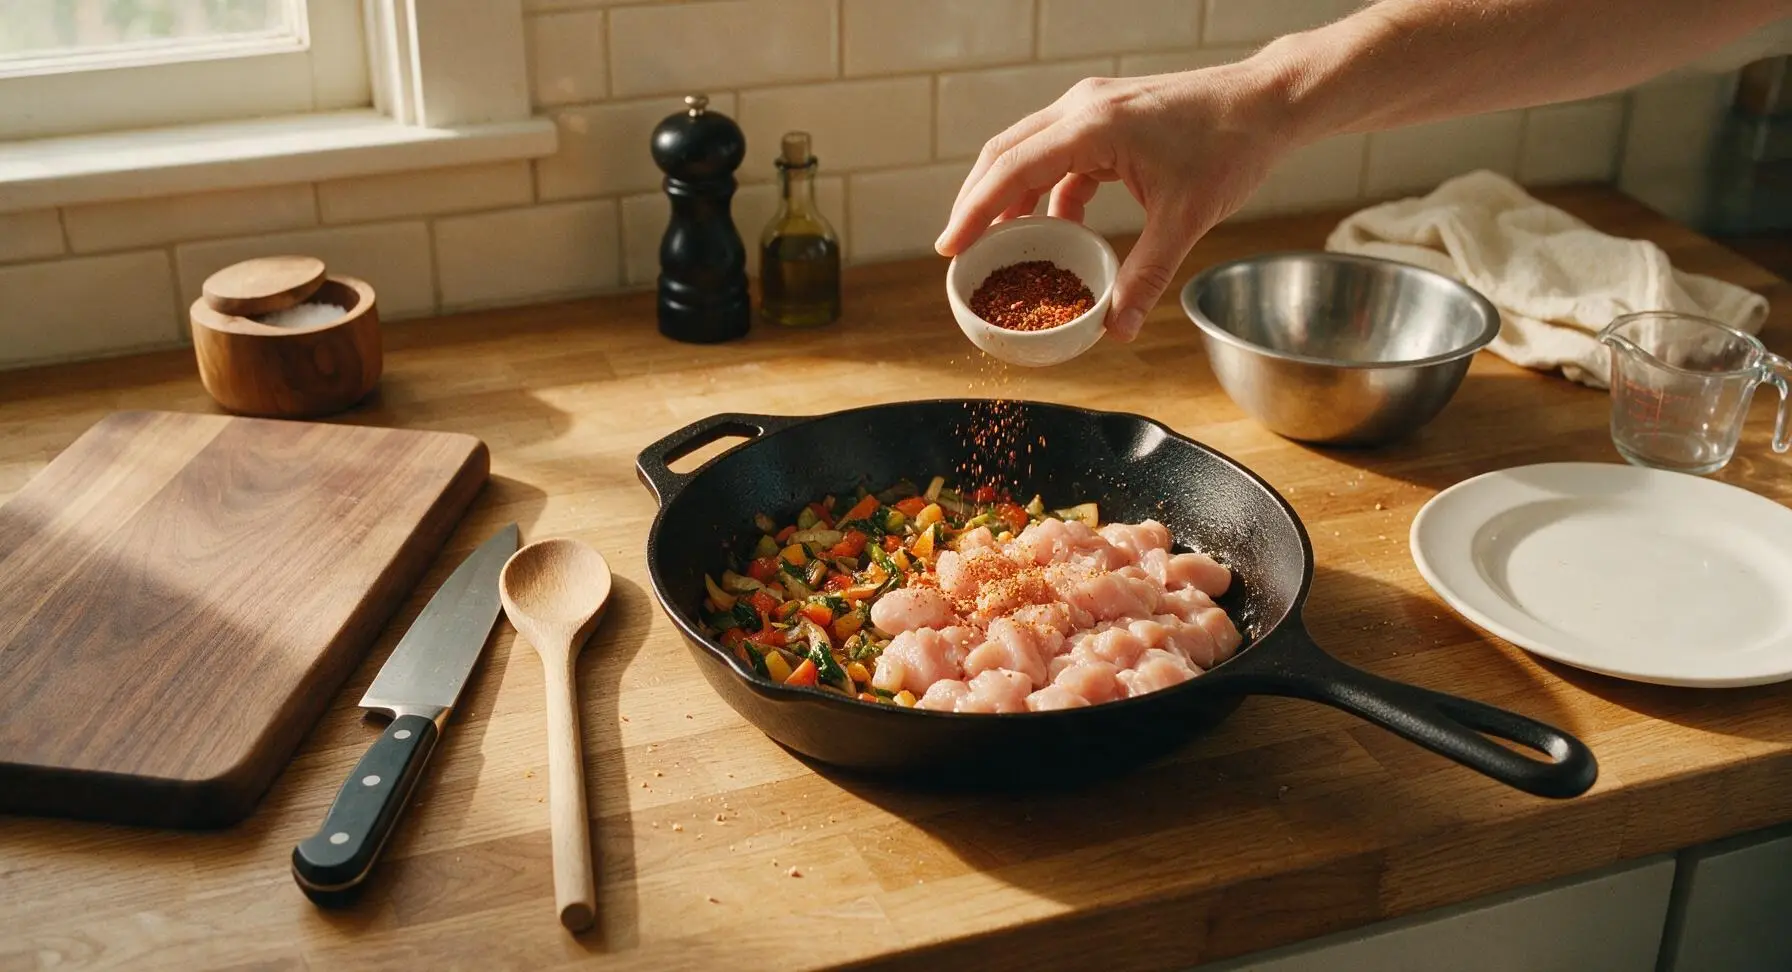
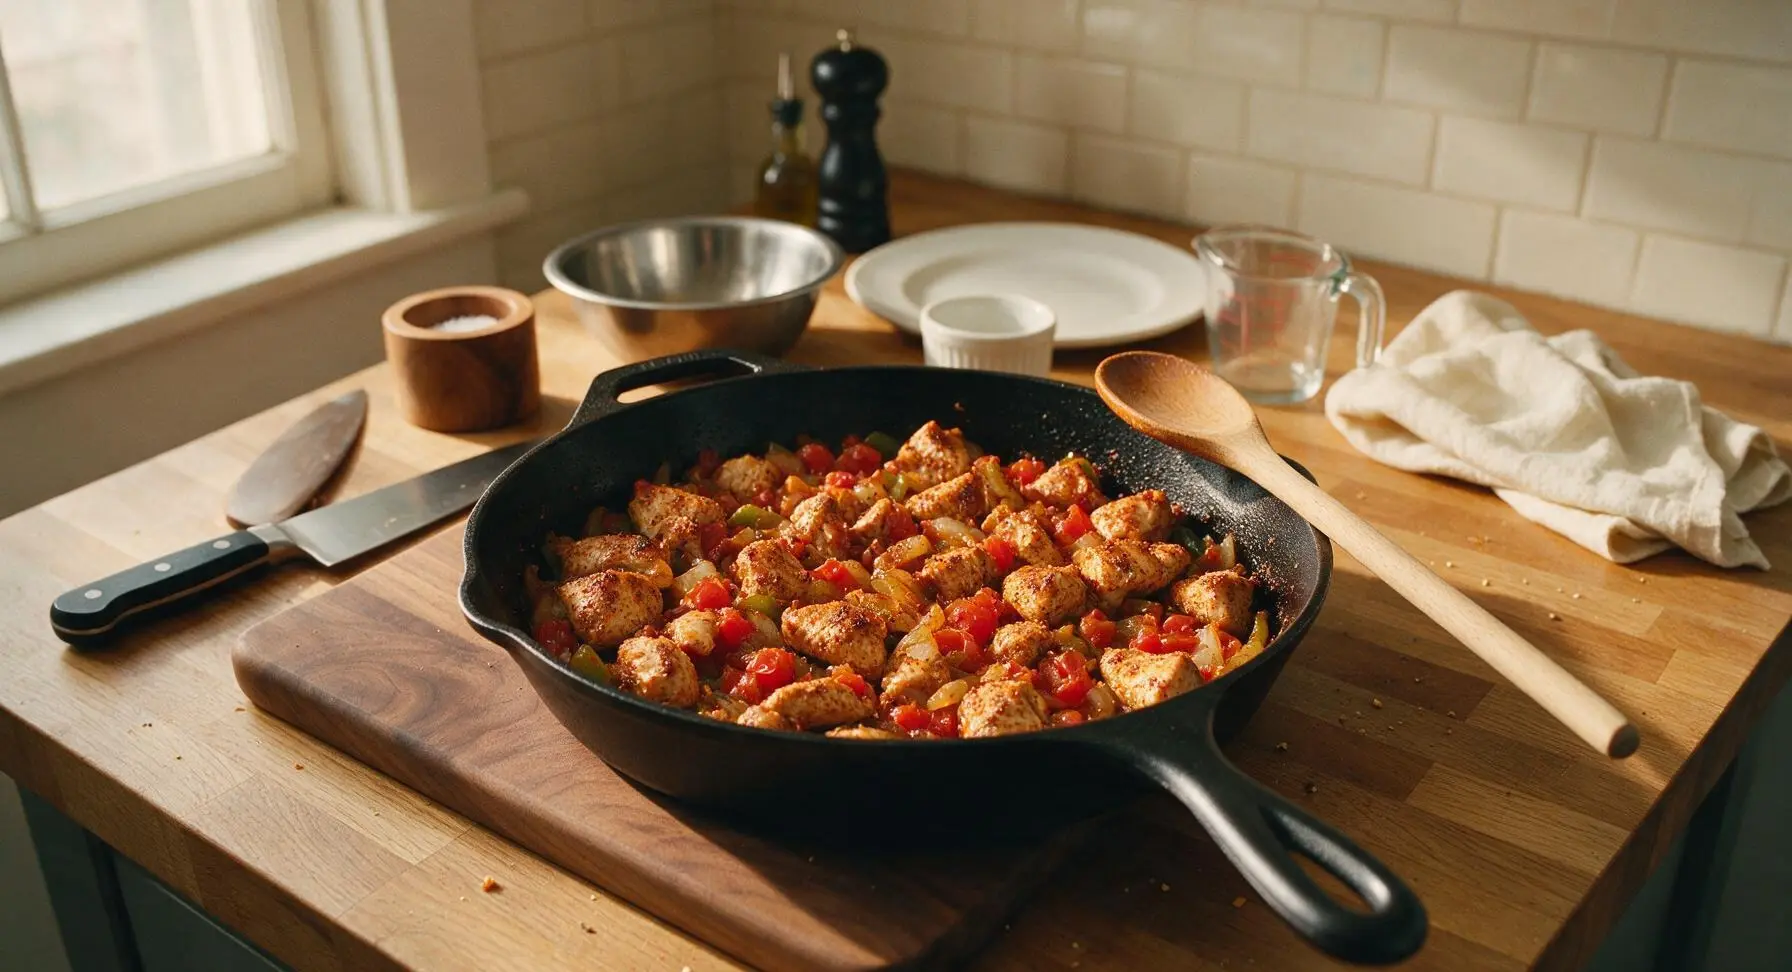
Push the sautéed veggies to one side of the skillet, add the remaining 1 tablespoon olive oil to the empty side. Add the cubed chicken from the large mixing bowl, sprinkle 2/3 of the prepared spice mix over the chicken and veggies. Cook for 6-7 minutes, stirring occasionally with the beech wood turner, until chicken is browned on all sides and cooked through to an internal temperature of 74C (165F). Stir in the drained fire-roasted tomatoes, mix to combine with the chicken and veggies.
Step 3
step3:Season and Cook Chicken
Step 3
step3:Season and Cook Chicken
4

Layer Casserole Base

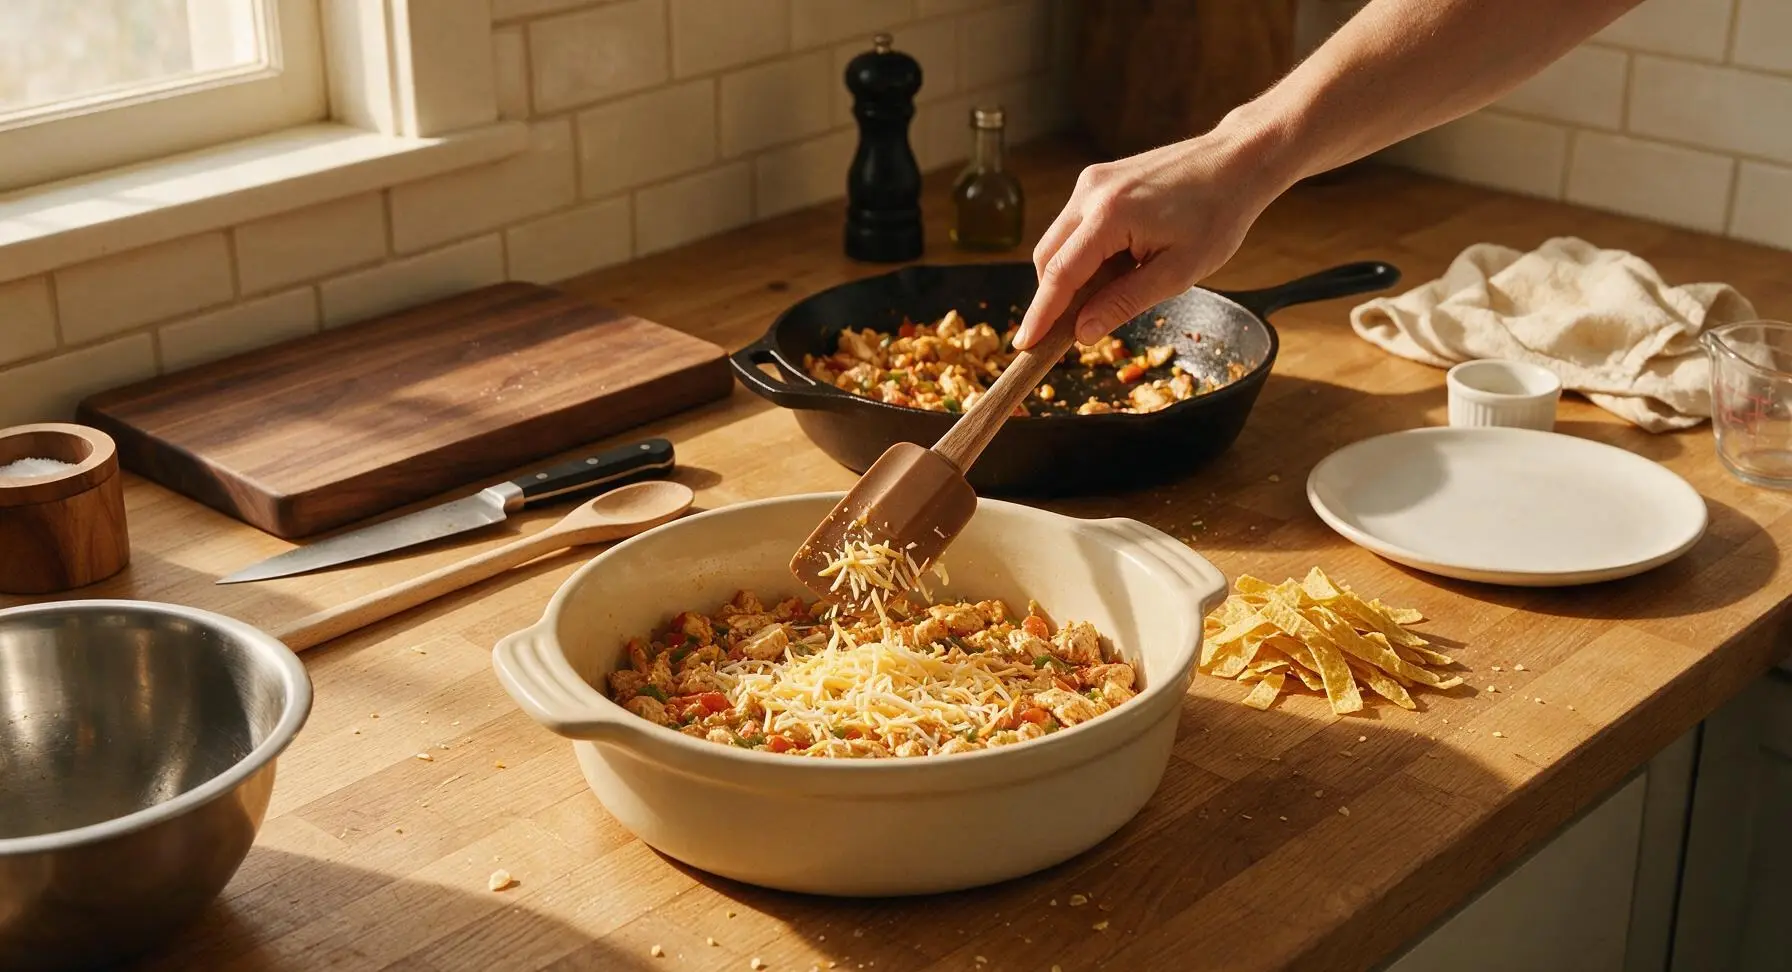
Remove the skillet from heat. Spread half of the chicken and veggie mixture evenly across the bottom of the matte cream ceramic casserole dish, using the silicone spatula to smooth the layer. Top with 1 cup of the shredded cheese blend, then arrange half of the cut corn tortilla strips in a single even layer over the cheese.
Step 4
step4:Layer Casserole Base
5

Add Final Layers

Spread the remaining chicken and veggie mixture over the tortilla strip layer, smoothing evenly with the silicone spatula. Top with the remaining 1 cup of shredded cheese, then arrange the remaining tortilla strips across the top in a loose, even layer. Sprinkle the remaining 1/3 of the spice mix lightly over the top tortilla strips for extra color and flavor.
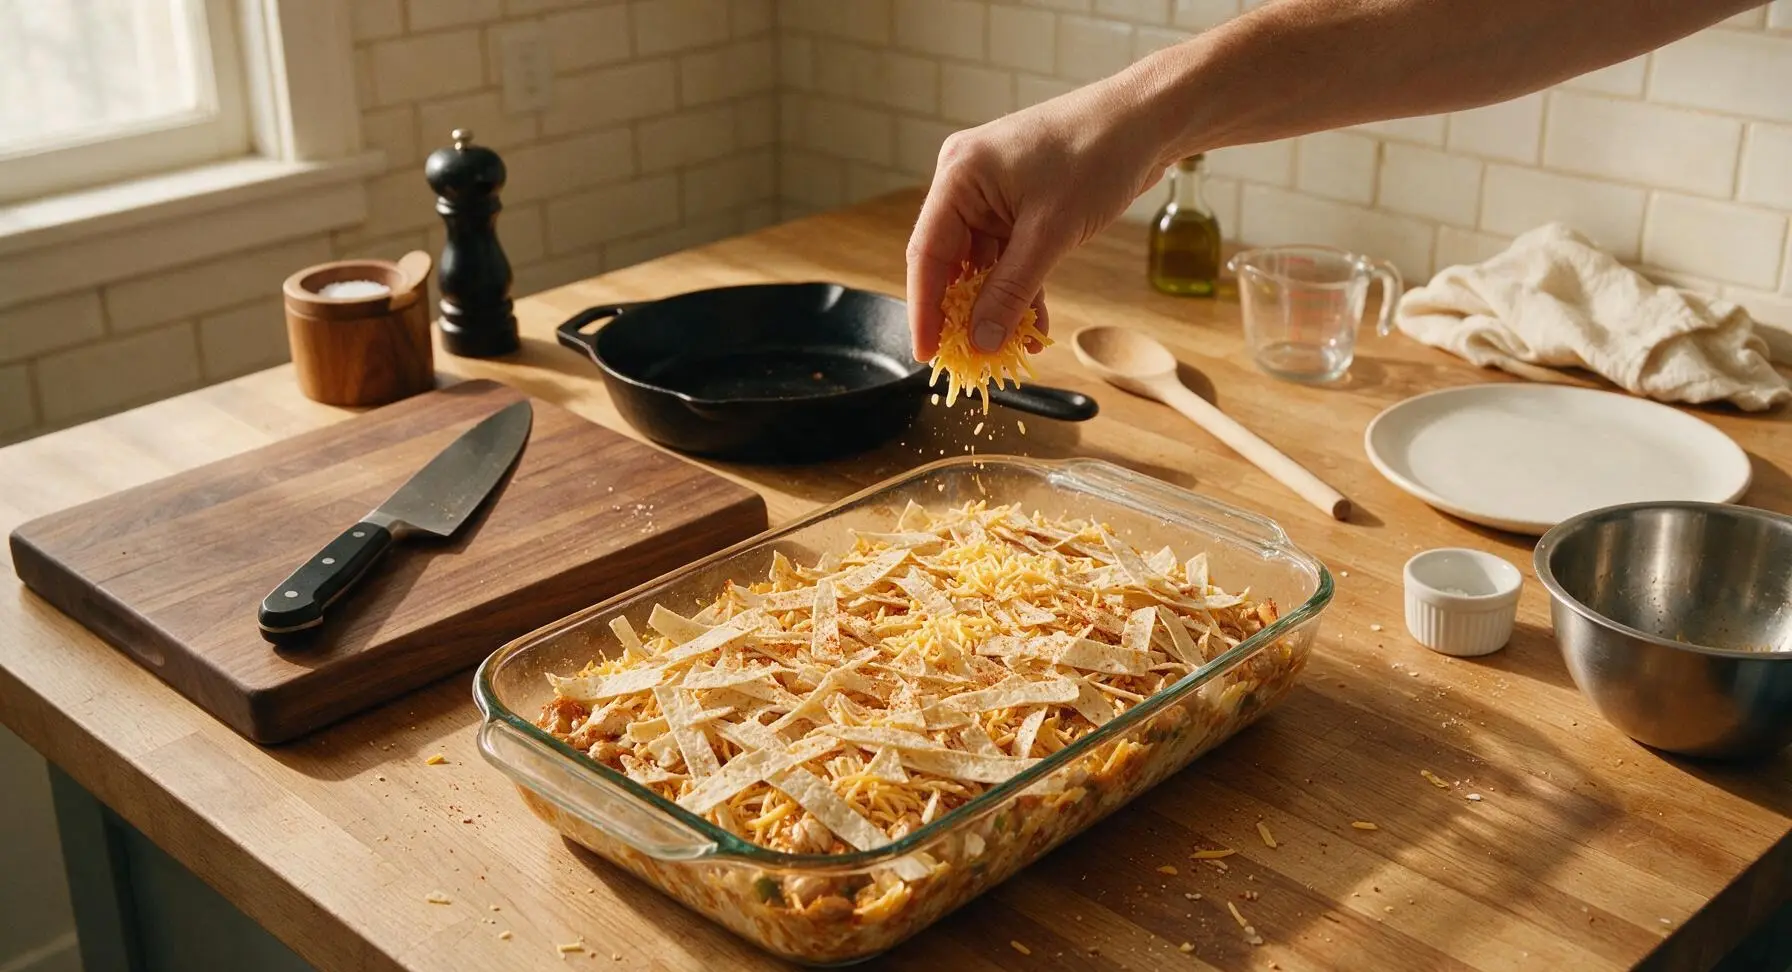
Step 5
step5:Add Final Layers
6

Bake Until Bubbly

Carefully place the assembled casserole on the middle oven rack, bake for 20 minutes, until the cheese is fully melted and bubbly around the edges, and the top tortilla strips are crisp and light golden brown. Use the quilted cream oven mitts to remove the hot casserole from the oven, set it on a heat-safe trivet on the counter to rest for 5 minutes before serving.
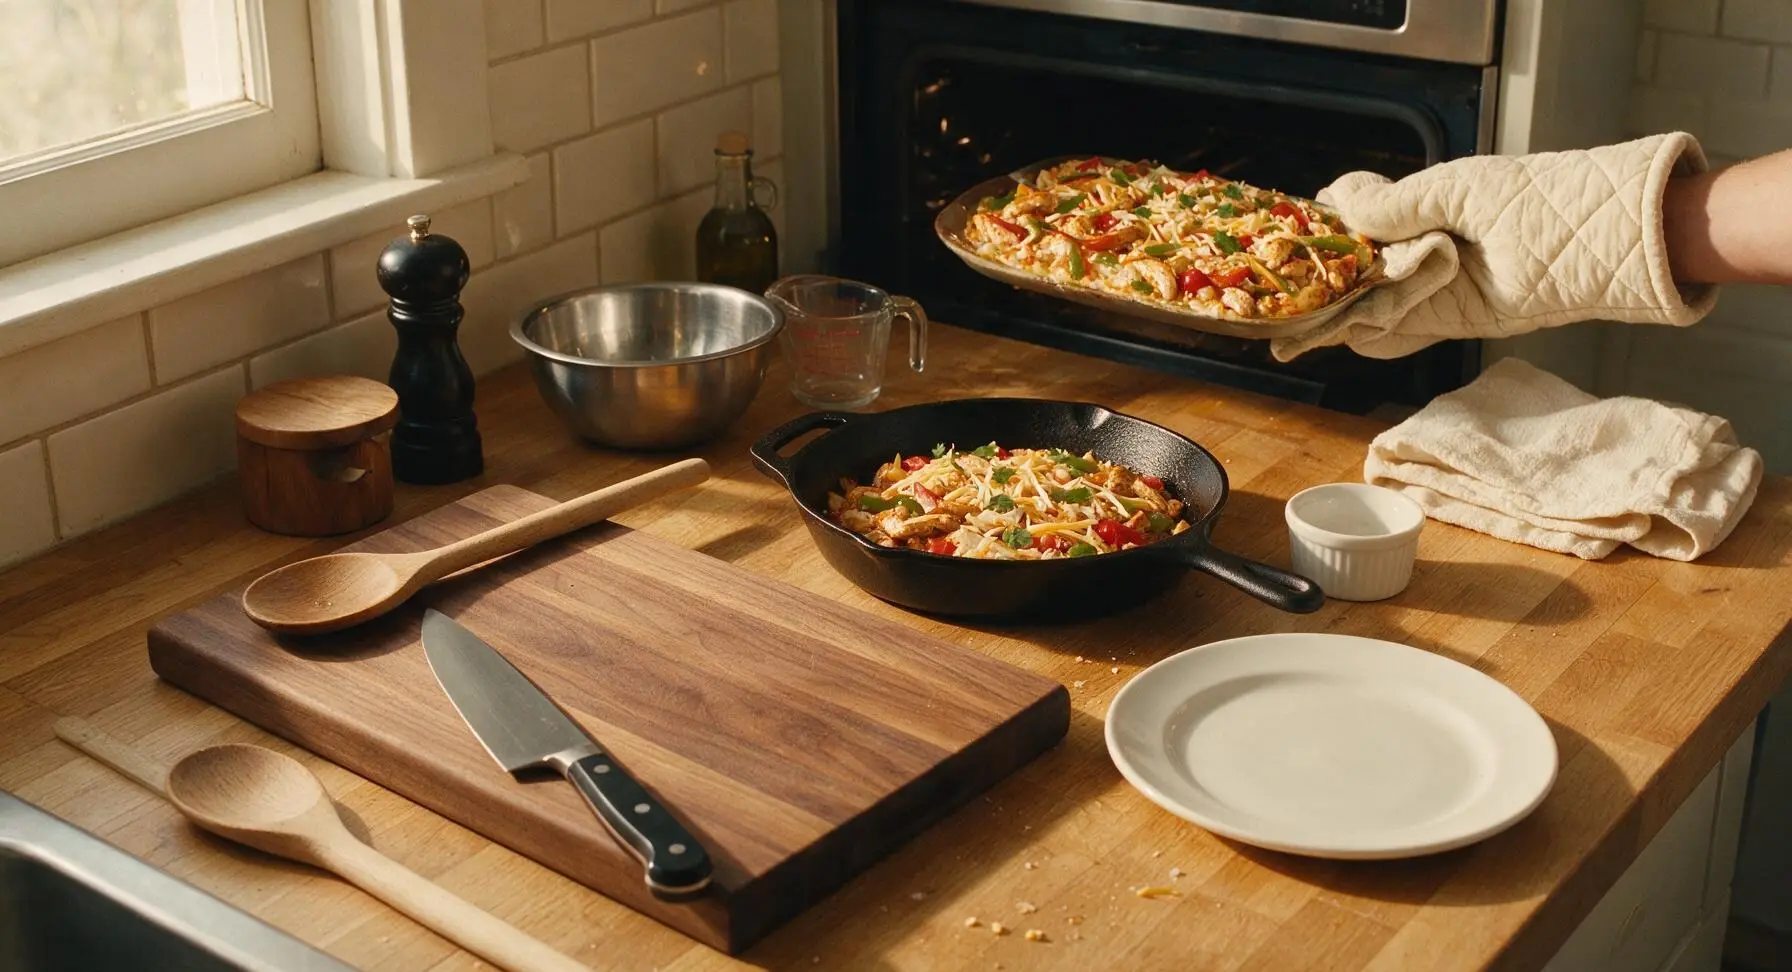
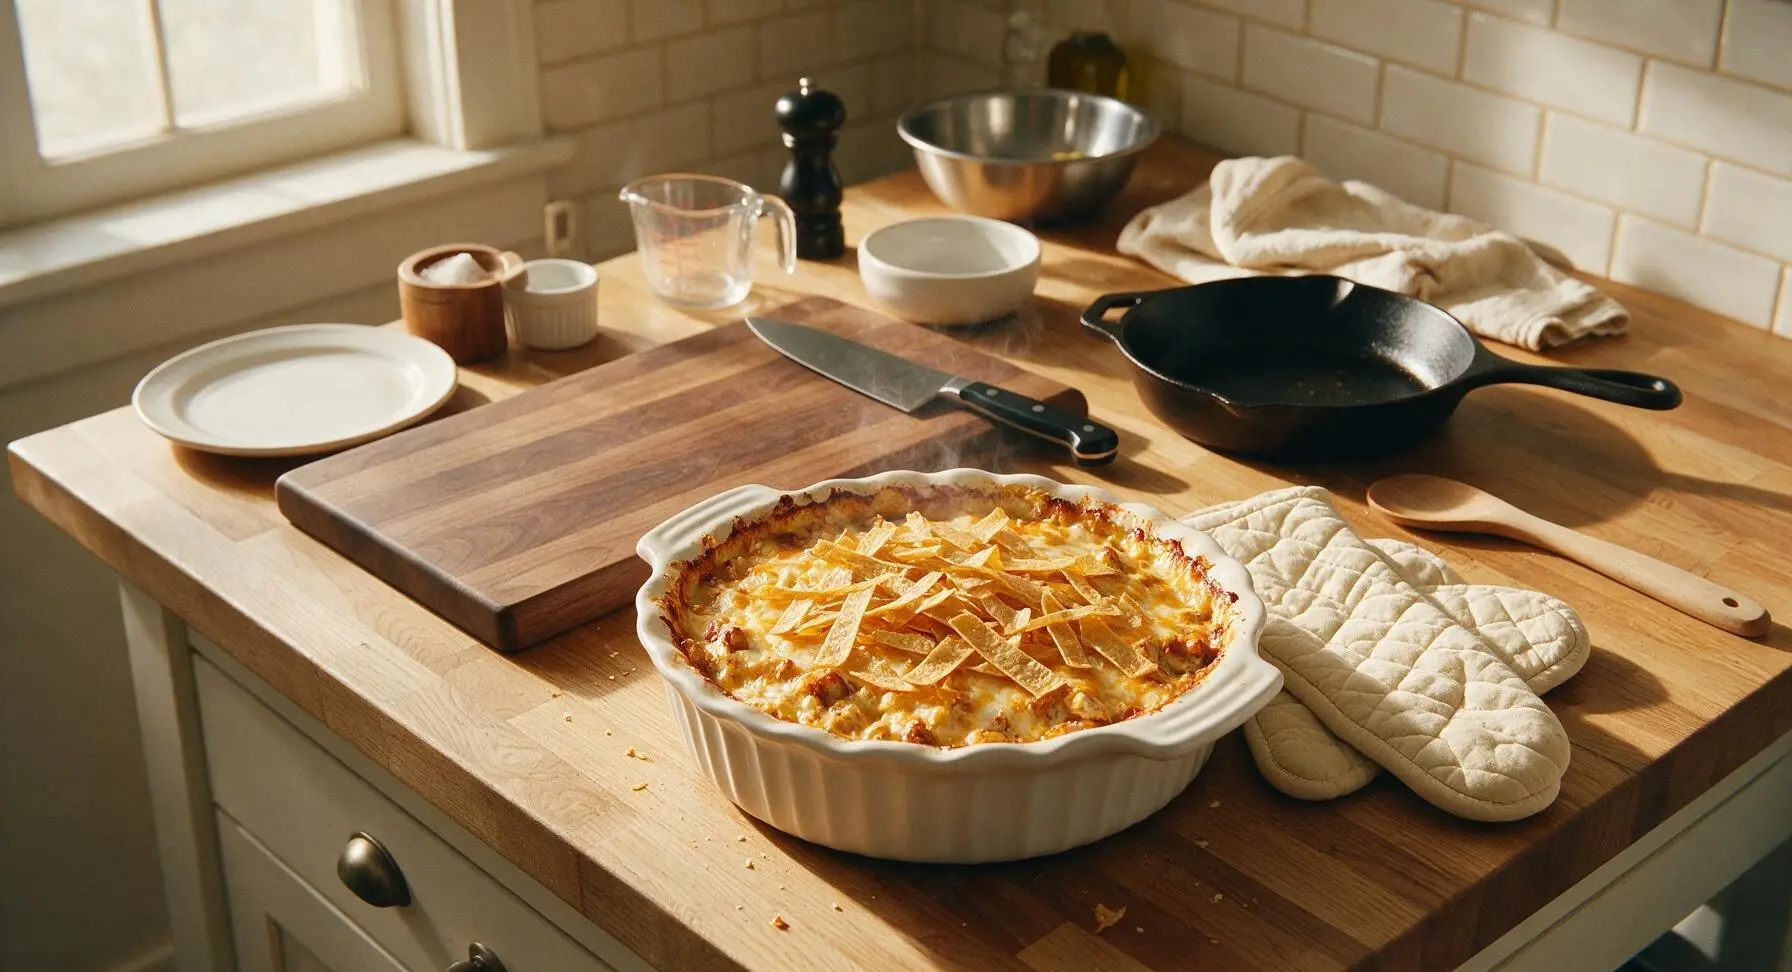
Step 6
step6:Bake Until Bubbly
Step 6
step6:Bake Until Bubbly
7

Garnish and Serve

Sprinkle the top of the rested casserole with fresh chopped cilantro. Scoop generous portions onto the off-white stoneware dinner plates, serve with lime wedges and small ramekins of sour cream on the side for topping, as desired.
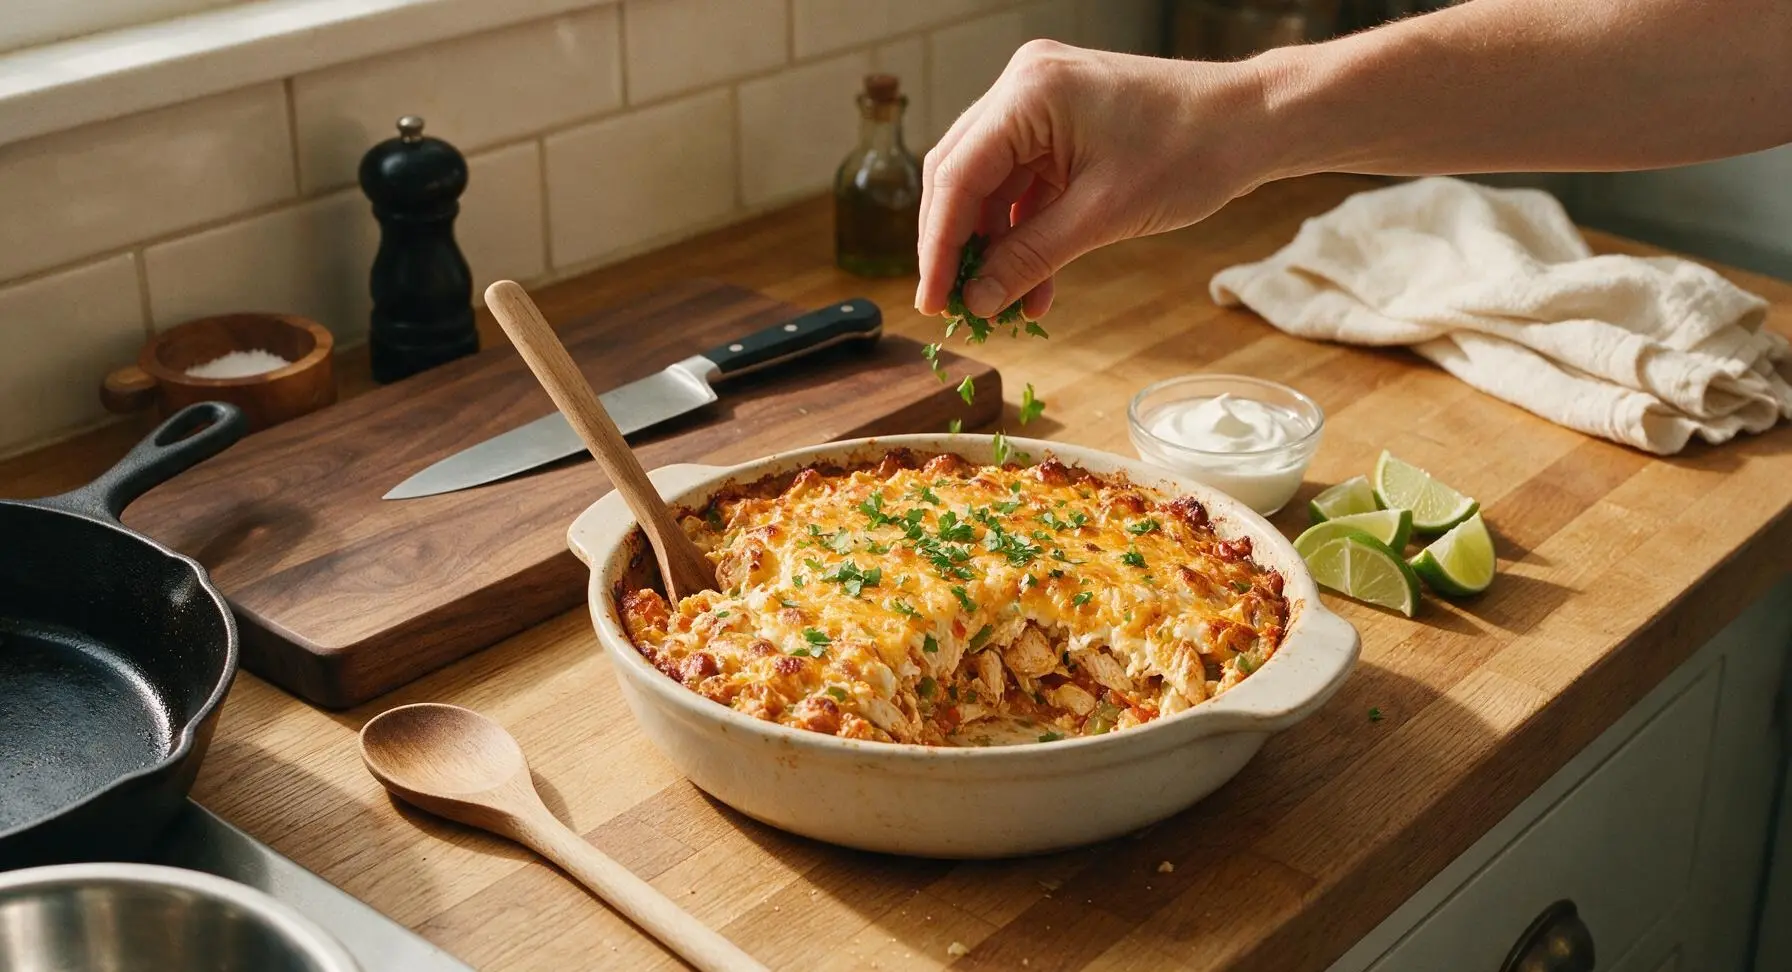
Step 7
step7:Garnish and Serve

Tips

1.Avoid overcooking bell peppers and onions during the initial sauté: they will continue to soften as the casserole bakes, and retaining a slight crisp-tender texture prevents the final dish from turning mushy.
2.For extra-crispy top tortilla strips, toss them with 1 teaspoon of olive oil before adding them to the top layer: this helps them turn golden and crunchy instead of drying out or becoming soggy under melted cheese.
3.This casserole can be fully assembled up to 24 hours ahead and stored covered in the refrigerator: add 5-7 minutes to the bake time if cooking straight from chilled, until the center is bubbly and reaches 74C (165F) throughout.


✨ You May Also Like

Main Course
🍜 United Kingdom

A showstopping classic of tender seared beef, savory mushroom duxelles, and crisp prosciutto wrapped in flaky golden puff pastry, baked to juicy perfection.

⏱️ 2 hours 1Main Course ★ 4.7
Main Course
🍜 India

Tender charred marinated chicken simmered in a rich, spiced creamy tomato sauce, this iconic Anglo-Indian curry pairs perfectly with basmati rice or warm naan.

⏱️ 50 minuteMain Course ★ 4.6
Main Course
🍜 Thailand

Classic tangy, sweet, and savory Thai stir-fried rice noodles with shrimp, tofu, and crunchy garnishes, balancing all five core Thai flavor profiles.

⏱️ 30 minuteMain Course ★ 4.5
Main Course
🍜 United Kingdom

Crispy golden beer-battered cod and fluffy double-fried chips, served with tangy tartar sauce and malt vinegar: the timeless, beloved British pub comfort classic.

⏱️ 45 minuteMain Course ★ 4.7
Main Course
🍜 Mexico

Smoky, chile-marinated pork tacos with caramelized pineapple, fresh cilantro, and lime: a beloved classic Mexican street food perfect for casual summer gatherings.

⏱️ 1 hour 45Main Course ★ 4.8
Main Course
🍜 United States

Crunchy Fritos corn chips layered with savory beef chili and melted cheddar, topped with cool, zesty fixings for a beloved, cozy Tex-Mex comfort food.

⏱️ 35 minuteMain Course ★ 4.8

Chicken Fajita Casserole:Frequently Asked Questions

1.How do I keep my Chicken Fajita Casserole from getting soggy? ▾
Great question! Soggy casserole usually comes from excess veggie moisture or adding tortilla strips too early. Sauté your bell peppers and onions for 3-4 minutes first to release extra surface water, and reserve half your tortilla strips to sprinkle on top during the last 10 minutes of baking so they stay crisp instead of soaking up pan juices.
2.Can I use pre-cooked rotisserie chicken instead of raw chicken breasts? ▾
Absolutely! Rotisserie chicken is a fantastic weeknight shortcut for this recipe. Use about 3 cups of shredded or cubed rotisserie chicken, toss it directly with the chili powder and any other fajita seasonings you’re using, and skip the raw chicken sauté step to avoid drying out the already cooked meat during baking.
3.What kind of tortillas work best for the tortilla strips? ▾
Corn tortillas are my top pick for that classic, slightly crisp Tex-Mex texture, but flour tortillas work great too if that’s what you have on hand. Cut them into 1/2-inch strips, toss with a tiny pinch of salt, and for extra crunch, toast them lightly in a dry skillet for 2 minutes before adding them to the casserole.
4.Can I make this casserole ahead of time for meal prep? ▾
Definitely! You can fully assemble the uncooked casserole (hold back the top layer of tortilla strips) up to 24 hours in advance, cover it tightly, and store it in the fridge. When you’re ready to bake, let it sit on the counter for 15 minutes while your oven preheats, then bake as directed, adding the reserved strips at the 10-minute mark.
5.How do I adjust the spice level if I’m serving this to kids? ▾
It’s super easy to tweak the heat for sensitive palates! Cut the chili powder amount in half, skip any added cayenne or hot sauce, and opt for a mild, melty cheese like Monterey Jack instead of pepper jack. You can always set out sliced jalapeños or hot sauce on the side for people who want an extra kick.
6.Can I freeze this Chicken Fajita Casserole? ▾
Yes, this casserole freezes really well! Assemble it without the top tortilla strips, wrap it tightly in a double layer of plastic wrap and foil, and freeze for up to 3 months. Thaw it completely in the fridge overnight before baking, and add the reserved crispy tortilla strips during the final 10 minutes of cook time.
7.What cheese pairs best with this fajita casserole? ▾
A blend of shredded Monterey Jack and sharp cheddar is my go-to for that perfect melty, balanced flavor. Monterey Jack melts ultra-smooth for that classic cheesy pull, while sharp cheddar adds a nice tang that cuts through the rich spices and sweet roasted veggies. Skip pre-shredded cheese with anti-caking agents for the best melt.
8.Can I swap chicken breasts for a different protein? ▾
Absolutely! Boneless, skinless chicken thighs work beautifully if you prefer juicier, more flavorful dark meat—just cut them into 1-inch cubes the same as the breasts. For a vegetarian swap, use 2 cans of rinsed black beans and 1 cup of corn, or cubed firm pressed tofu tossed in the same fajita spice blend.
9.How do I know when the casserole is fully done baking? ▾
You’ll know it’s ready when the cheese on top is fully melted and bubbly around the edges, the chicken reaches an internal temperature of 165°F when checked with a meat thermometer, and the peppers and onions are tender but still have a slight crisp-tender bite, not mushy. This usually takes 25-30 minutes at 375°F.
10.What are good toppings to serve with this casserole? ▾
My go-to fresh toppings really make the dish feel like classic fajitas! Set out bowls of diced avocado, sour cream, fresh chopped cilantro, lime wedges, pico de gallo, sliced pickled jalapeños, and a dollop of guacamole so everyone can customize their serving exactly how they like it.
11.Can I use frozen bell peppers and onions instead of fresh? ▾
You can, but take one extra step to avoid sogginess! Thaw the frozen pepper and onion strips completely first, then pat them very dry with paper towels and sauté for 5 minutes to cook off excess moisture before layering them in the casserole. Fresh veggies will give you the best crisp-tender texture, but frozen works in a pinch.
12.How long do leftovers stay good in the fridge? ▾
Properly stored in an airtight container, leftover Chicken Fajita Casserole will stay fresh for 3-4 days in the refrigerator. Reheat individual portions in the microwave or in a 350°F oven for 10 minutes until warmed through; note that tortilla strips will soften in storage, so add a few fresh crushed tortilla chips on top for crunch if you’d like.
13.Do I need to cover the casserole with foil while it bakes? ▾
Great question! Cover the casserole with foil for the first 20 minutes of baking to help the chicken cook evenly and prevent the cheese from burning before the rest of the dish is heated through. Remove the foil for the last 10 minutes, add your reserved tortilla strips and a little extra cheese, then bake uncovered until bubbly and crisp on top.

Comments (9)

2 days ago

OMG this chicken fajita casserole was a total weeknight game changer! I threw it together after soccer practice with my 3 kids hanging all over me and it was done in no time. All three kids asked for seconds, even my super picky 7 year old who turns his nose up at anything with bell peppers. SO good, will be adding this to our regular dinner rotation for sure!

1 week ago

Perfect for Sunday meal prep! I made a big pan of this last weekend and portioned it out for lunches all week, it reheats like a dream. I added a little extra taco seasoning and a handful of black beans because I had them in the pantry, and it’s chef’s kiss. Easy enough that even I, a guy who burns toast half the time, didn’t mess it up.

5 days ago

So glad it worked out for your meal prep! Adding black beans is such a great call, extra protein and fiber never hurts. So happy even a self-proclaimed toast-burner could nail it 😊

2 weeks ago

Brought this to our neighborhood block party potluck a couple weeks back and people were coming up to me asking for the recipe before I even finished my first serving! I topped it with a little dollop of sour cream and some fresh cilantro before serving, it was a total hit. Only thing is I wish I made a double batch, it was gone in 10 minutes flat!

1 week ago

Wait I was at that potluck! I had two helpings of this, no lie it was the best dish there. I looked up the recipe tonight because I couldn’t stop thinking about it, so funny seeing your comment here!

5 days ago

So happy this recipe is naturally gluten free when you use the right taco seasoning! I’ve been searching for easy casserole recipes that don’t require a million weird substitute ingredients, and this fits the bill. I topped mine with crushed gluten free tortilla chips for a little extra crunch, 10/10.

3 days ago

Great tip about the gluten free taco seasoning! The crushed tortilla chip topping sounds absolutely delicious, I’m going to have to try that next time I make it myself. Thanks for sharing!

30 minutes ago

Made this in my tiny dorm oven last night and my roommates lost their minds. Super cheap to make, uses basic ingredients, and the whole apartment smelled amazing for hours. Way better than the takeout fajitas we usually order, and cheaper too. I used pre-cooked grilled chicken strips from the grocery store to save time and it worked perfectly. Knocked a star off because I totally forgot to add shredded cheese on top before baking, but that’s 100% my mistake, not the recipe’s fault!

yesterday

Wait, cook time says 35 minutes? Is that total? I’m usually skeptical of ‘easy’ weeknight recipes that claim to be fast but have a million prep steps, so I want to be sure before I add this to my menu plan for next week. Looks so good though, my whole family loves fajita night!

2 hours ago

I made this last week! Total time is actually 35 minutes if you use pre-sliced veggies from the grocery store, I swear. The only prep is dumping everything in the casserole dish, no fancy steps. You’ve got this!

30 minutes ago

Great question! That 35 minutes is total cook time, prep is only about 5-10 minutes if you’re slicing your own peppers and onions, even faster if you grab pre-cut veggies like Kelly mentioned. Hope your family loves it!

2 hours ago

This was so good, but I kicked up the heat a ton by adding a diced jalapeño and a sprinkle of cayenne pepper. I’m the kind of person who puts hot sauce on everything, so the base recipe was a little mild for my taste, but it was the perfect canvas to add extra spice. My partner who hates spicy food ate the plain version and loved it too, so it’s super customizable!

30 minutes ago

Thanks for the heads up about the spice level! I’m a total wimp when it comes to heat, so it’s good to know the base is mild enough for me, and I can add a side of hot sauce for my boyfriend who douses everything in it.

5 minutes ago

How do the leftovers hold up? I’m cooking for just me and my roommate, so a whole casserole will definitely leave us with leftovers for a couple days. I hate when casseroles get soggy in the fridge, so I’m curious if this one stays good!

just now

I had leftovers for 3 days after making this! It doesn’t get soggy at all, I just stored it in an airtight container and popped servings in the microwave for a minute when I was ready to eat. Tasted just as good as night one!

just now

Great question! This casserole stores really well in the fridge for up to 4 days in an airtight container, and you can even freeze individual portions for up to 3 months if you want to save some for later. No sogginess, promise!

just now

Made this for our extended family Sunday dinner last night and my mom asked for the recipe before she even left! I served it with warm tortillas on the side so people could make little fajita wraps if they wanted, and with a side of Mexican rice. It was the perfect low-fuss Sunday meal, no standing over the stove stirring for hours like regular stovetop fajitas. 10/10, will make again and again.



