
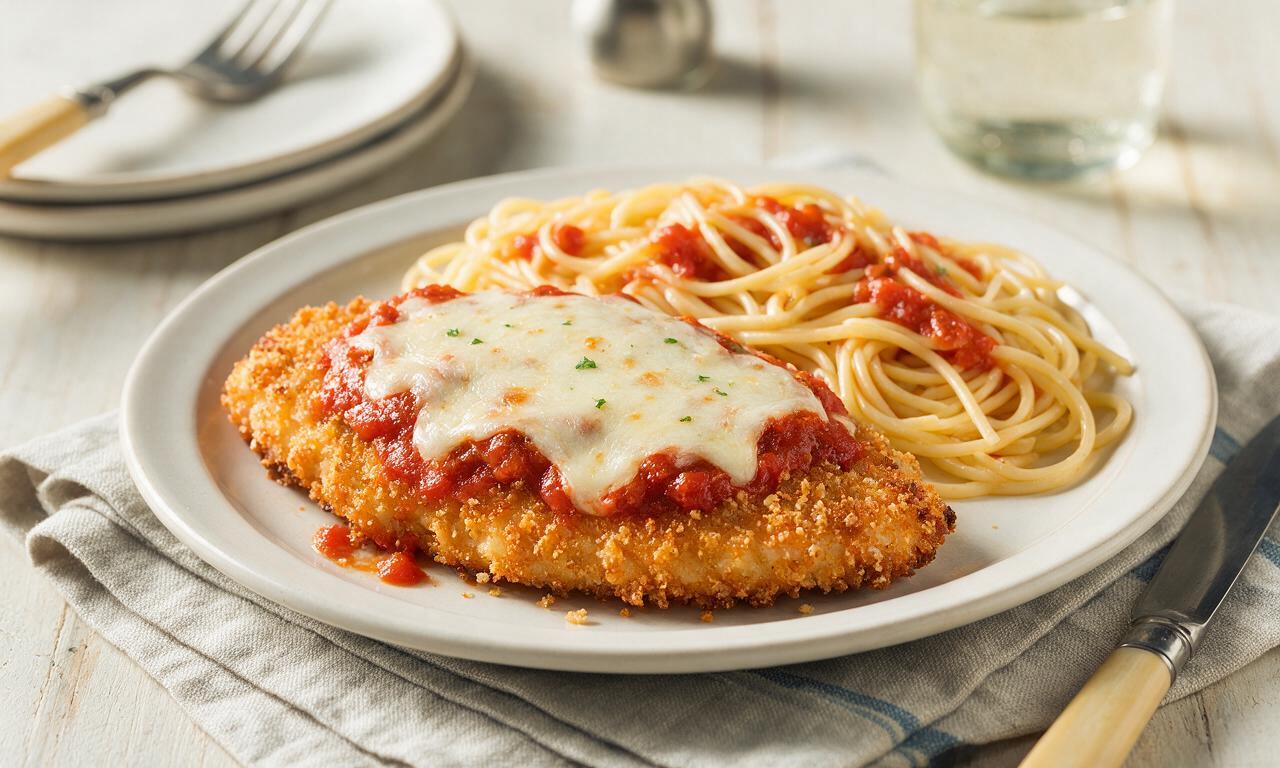
Chicken Parmesan

Chicken Parmesan
⏱️ cook time 50 minutes
🍽️ servings 4
⚡ Difficulty medium

intro

Crispy panko-breaded chicken cutlets baked with tangy marinara and gooey melted cheese, served with spaghetti for a cozy, beloved Italian-American comfort meal.

Ingredients

Boneless skinless chicken breasts 680g (4 pieces, pounded to 1cm uniform thickness)
All-purpose flour 80g
Large eggs 2 large, beaten
Whole milk 30ml
Panko breadcrumbs 150g
Grated Parmesan cheese 50g (30g for breading, 20g for topping)
Garlic powder 1 teaspoon (3g)
Dried oregano 1 teaspoon (2g)
Kosher salt 1.5 teaspoons (9g)
Ground black pepper ½ teaspoon (1g)
Extra-virgin olive oil 60ml (for pan-frying)
Marinara sauce 480ml (2 cups)
Low-moisture mozzarella cheese 225g (shredded, patted dry)
Fresh basil 10g (leaves, for garnish)
Dried spaghetti 340g (cooked al dente for serving)

Steps

1

Prep breading stations

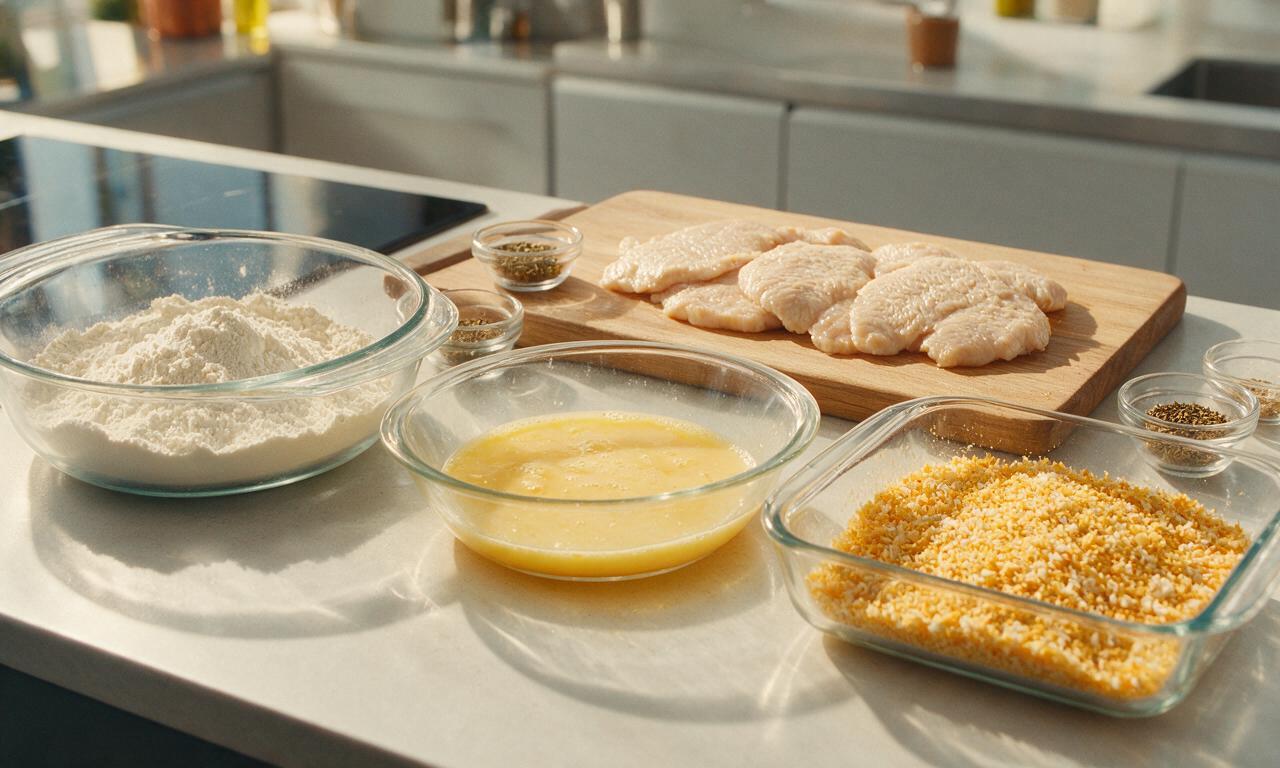
Pat the 680g pounded chicken cutlets completely dry with paper towels, season both sides with ½ teaspoon kosher salt and ¼ teaspoon ground black pepper. Set up three shallow dishes in a line: the first holding 80g all-purpose flour mixed with ¼ teaspoon kosher salt; the second holding 2 beaten large eggs whisked with 30ml whole milk; the third holding 150g panko breadcrumbs, 30g grated Parmesan, 1 teaspoon garlic powder, 1 teaspoon dried oregano, remaining ¾ teaspoon kosher salt and ¼ teaspoon black pepper, stirred to fully combine.
Step 1
step1:Prep breading stations
2

Bread chicken cutlets

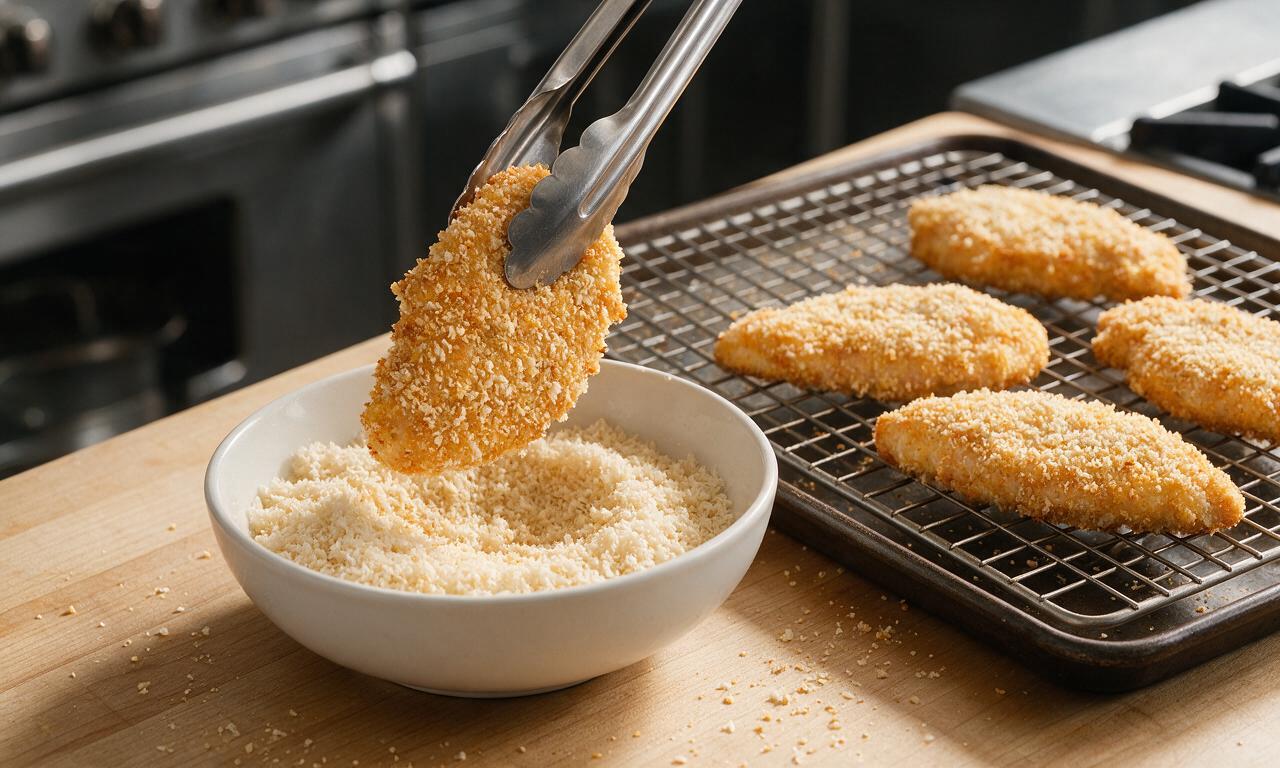
Working one cutlet at a time, dredge fully in the seasoned flour, shaking off all excess to leave a thin, even coat. Dip the floured cutlet fully into the egg mixture, letting excess egg drip off for 2 seconds, then press firmly into the panko-Parmesan mixture on both sides, ensuring every surface is coated with crumbs. Place breaded cutlets on a wire rack set over a rimmed baking sheet, and let rest 10 minutes at room temperature to help the breading adhere during frying.
Step 2
step2:Bread chicken cutlets
3

Pan-fry breaded cutlets

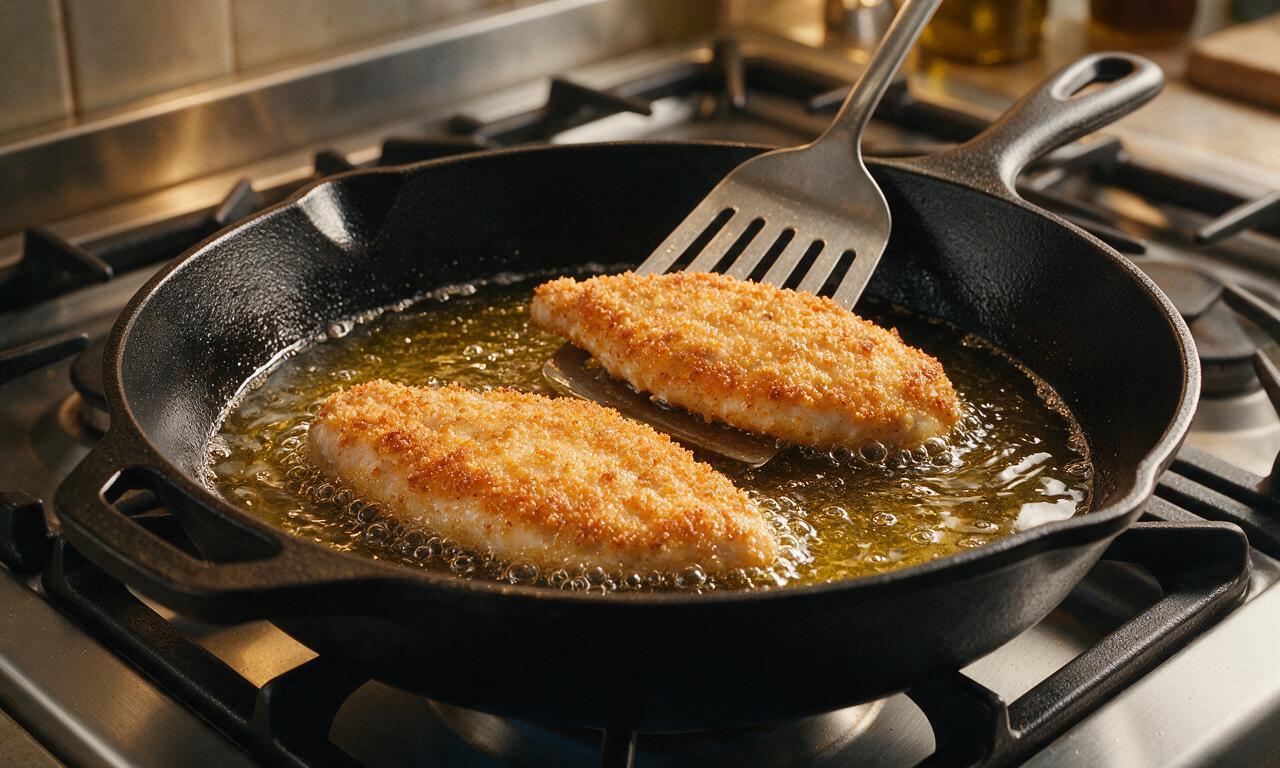
Heat 60ml extra-virgin olive oil in a large heavy-bottomed skillet over medium heat until the oil reaches 175C/350F (test by dropping a single panko crumb: it should sizzle immediately but not turn black within 5 seconds). Fry cutlets two at a time to avoid crowding the pan (which drops oil temperature and makes breading soggy), cooking 3 minutes per side until the breading is deep golden brown and crispy. Transfer fried cutlets back to the wire rack (do not stack cutlets, as this traps steam and sogs the crust) as you finish each batch.
Step 3
step3:Pan-fry breaded cutlets
4

Assemble baking dish

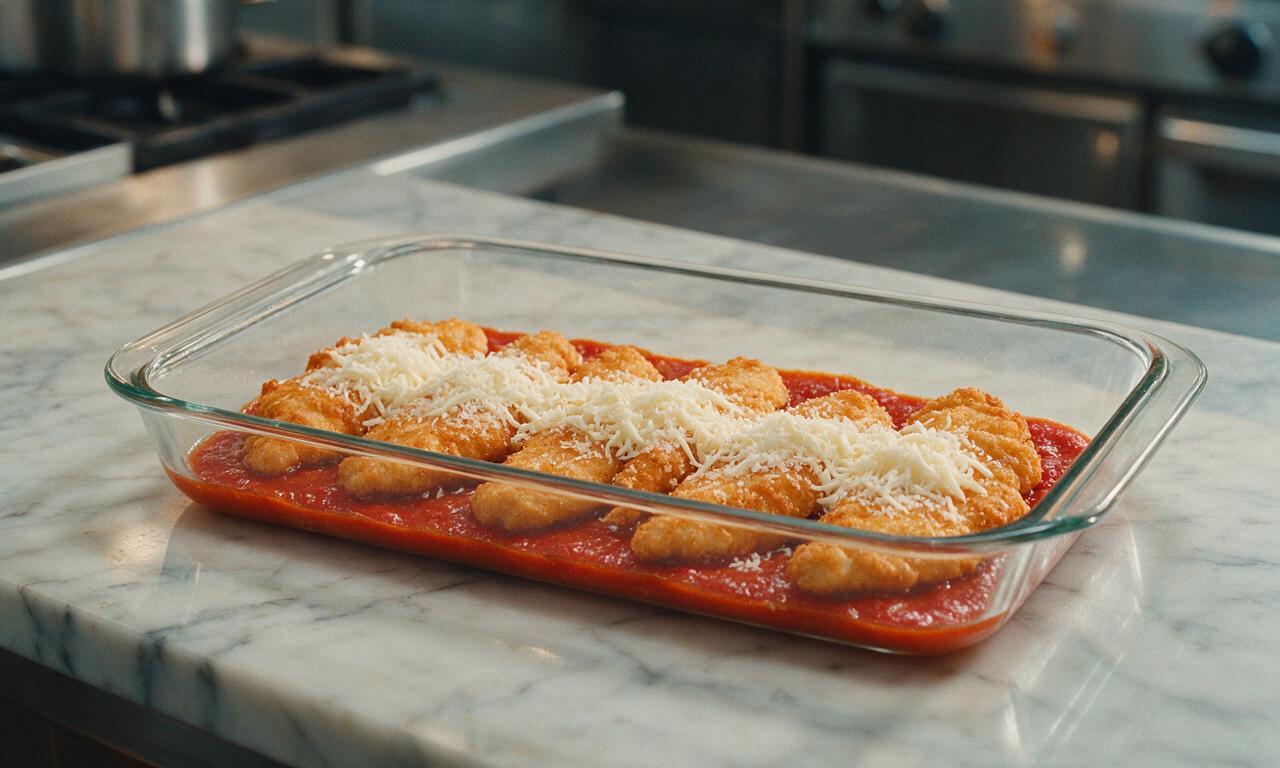
Preheat oven to 200C/400F. Spoon 240ml (1 cup) of marinara sauce evenly across the bottom of a 23x33cm (9x13 inch) glass baking dish. Arrange the fried chicken cutlets in a single, even layer over the base sauce, then top each cutlet with 2 tablespoons of remaining marinara, spreading it lightly (do not cover the entire cutlet surface, to keep breaded edges crispy). Divide the 225g shredded mozzarella and remaining 20g grated Parmesan evenly over the sauced tops of each cutlet.
Step 4
step4:Assemble baking dish
5

Bake to melty finish

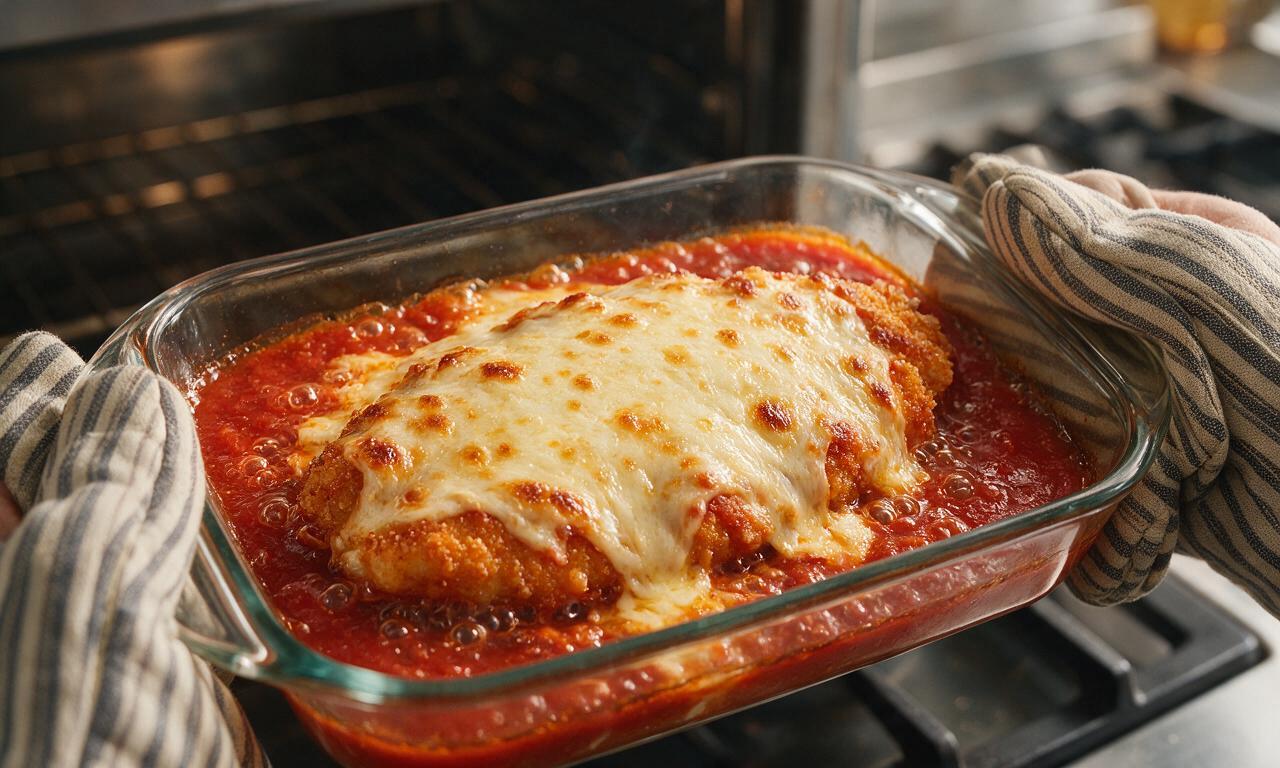
Place the assembled baking dish on the middle rack of the preheated oven, and bake for 15 minutes, until the cheese is fully melted, bubbly, and dotted with light golden brown spots, and the thickest part of the chicken reaches an internal temperature of 75C/165F when measured with a meat thermometer. Remove the dish from the oven and let the chicken rest 5 minutes before serving to let the cheese set.
Step 5
step5:Bake to melty finish
6

Plate and serve

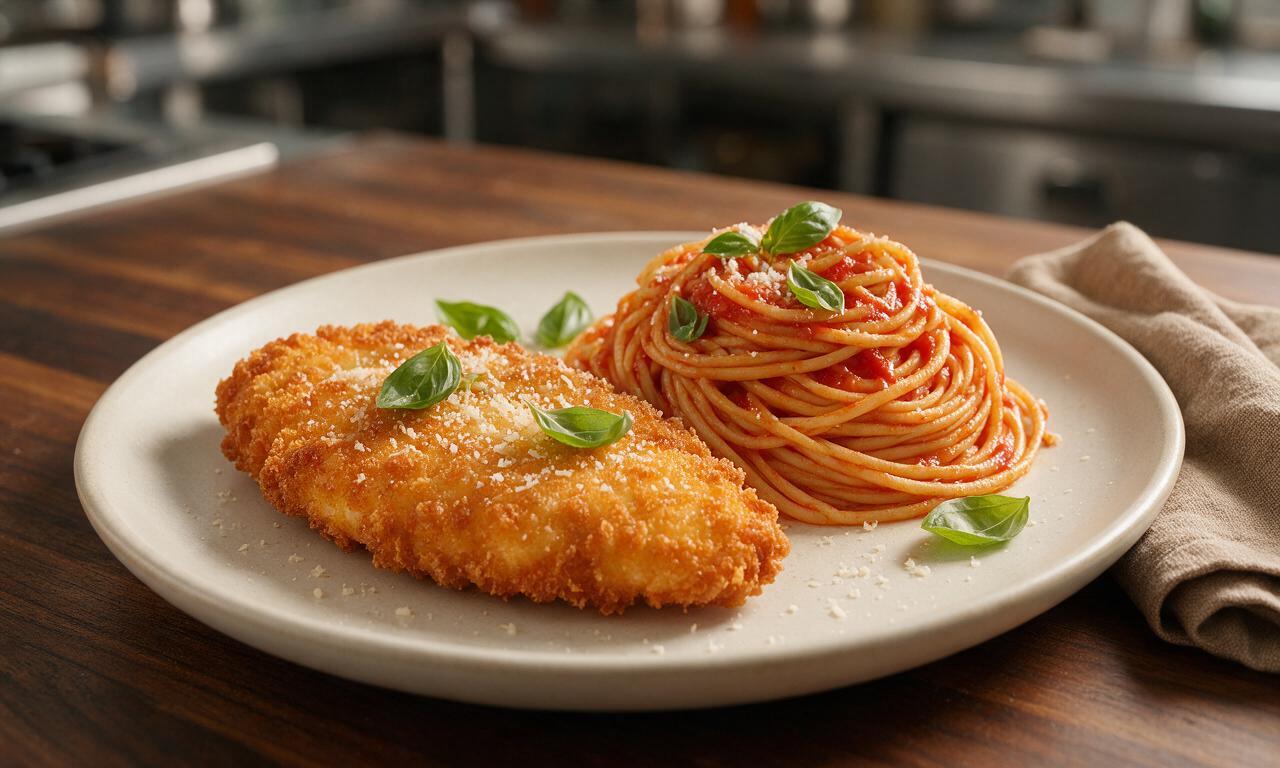
While the chicken bakes, cook 340g dried spaghetti in heavily salted boiling water according to package directions until al dente (tender with a slight firm bite in the center), then drain. Serve one chicken cutlet per plate alongside a 1-cup portion of spaghetti, topped with any extra warmed marinara, and garnish with fresh whole basil leaves.
Step 6
step6:Plate and serve

Tips

1.Pound chicken to a uniform 1cm thickness before breading to ensure even cooking, so thin edges do not overcook and dry out before the thickest portion reaches a safe temperature.
2.Pat shredded low-moisture mozzarella dry with paper towels before topping the cutlets; excess moisture in cheese will create watery sauce and soggy breading, a common beginner error.
3.Never stack fried or baked cutlets directly on top of each other, as trapped steam will quickly soften the crispy panko crust—always use a wire rack for resting to keep air circulating around the breading.


✨ You May Also Like

Main Course
🍜 United Kingdom

A showstopping classic of tender seared beef, savory mushroom duxelles, and crisp prosciutto wrapped in flaky golden puff pastry, baked to juicy perfection.

⏱️ 2 hours 1Main Course ★ 4.7
Main Course
🍜 India

Tender charred marinated chicken simmered in a rich, spiced creamy tomato sauce, this iconic Anglo-Indian curry pairs perfectly with basmati rice or warm naan.

⏱️ 50 minuteMain Course ★ 4.8
Main Course
🍜 Thailand

Classic tangy, sweet, and savory Thai stir-fried rice noodles with shrimp, tofu, and crunchy garnishes, balancing all five core Thai flavor profiles.

⏱️ 30 minuteMain Course ★ 4.6
Main Course
🍜 United Kingdom

Crispy golden beer-battered cod and fluffy double-fried chips, served with tangy tartar sauce and malt vinegar: the timeless, beloved British pub comfort classic.

⏱️ 45 minuteMain Course ★ 4.9
Main Course
🍜 Mexico

Smoky, chile-marinated pork tacos with caramelized pineapple, fresh cilantro, and lime: a beloved classic Mexican street food perfect for casual summer gatherings.

⏱️ 1 hour 45Main Course ★ 4.7
Main Course
🍜 United States

Crunchy Fritos corn chips layered with savory beef chili and melted cheddar, topped with cool, zesty fixings for a beloved, cozy Tex-Mex comfort food.

⏱️ 35 minuteMain Course ★ 4.9

Chicken Parmesan:Frequently Asked Questions

1.Why does my chicken parmesan breading always fall off during cooking?
That’s such a common, easy fix! First, pat your chicken completely dry before breading—excess surface moisture makes coating slip right off. Dredge fully in flour, shake off excess, dip completely in the egg-milk wash, let excess drip, then press panko firmly to adhere. Let breaded cutlets rest 10 minutes before cooking to let the coating set, which drastically reduces slipping.
2.Can I make this chicken parmesan without deep frying to cut down on oil?
Absolutely! For that signature crispy texture without gallons of oil, spray panko-breaded cutlets lightly with olive oil cooking spray, arrange on a wire rack set over a baking sheet, and bake at 425°F for 15-18 minutes, flipping halfway, until golden. The elevated rack lets hot air circulate all around so you don’t end up with soggy, steamed breading on the cutlet bottoms.
3.What’s the difference between panko and regular breadcrumbs for this recipe?
Great question! Panko are coarser, flakier Japanese-style breadcrumbs that stay crisp far better than fine, dense regular breadcrumbs, even when topped with marinara and melted cheese. Regular breadcrumbs create a softer, denser coating that gets soggy much faster, so I strongly recommend sticking to panko for that classic crispy chicken parm crunch.
4.How thin should I pound my chicken breasts for even cooking?
Aim for a uniform ¼-inch thickness across the entire cutlet! If your chicken is bulbous and thick in the middle but thin on the edges, the thin parts will overcook and dry out long before the thick center hits a safe temperature. Place chicken between two sheets of plastic wrap before pounding with a meat mallet or heavy skillet to avoid splatters.
5.Can I prep this chicken parmesan ahead for easy weeknight meals?
You totally can! Bread raw chicken cutlets, store them in a single layer on a parchment-lined tray in the fridge for up to 24 hours before cooking, or freeze them for up to 3 months. Skip adding marinara and cheese ahead of time, though—those moisture-heavy toppings will turn the crispy panko coating soft and soggy if left to sit on the raw chicken.
6.Why does my baked chicken parm always come out soggy instead of crispy?
The #1 culprit is skipping an elevated wire rack when baking! If you set breaded cutlets directly on a baking sheet, the bottom traps moisture and steams instead of crisping up. Also, don’t drown cutlets in marinara right away—bake chicken until crisp first, then add a thin layer of sauce and cheese for the last 5 minutes of cook time.
7.What cheeses work best for that classic gooey chicken parm melt?
For the perfect balance of flavor and stretch, I use a mix of low-moisture, part-skim mozzarella for that iconic gooey cheese pull, plus a handful of freshly grated parmesan for nutty, salty depth. Skip fresh mozzarella unless you pat it extremely dry—it releases tons of water as it melts that will turn crispy breading soggy fast.
8.Do I have to use whole milk in the egg wash, or can I use lower-fat milk?
You absolutely can swap in 2%, 1%, or even skim milk if that’s what you have on hand! The beaten egg is the real workhorse that helps panko stick to the floured chicken, so the milk fat just adds a tiny bit of subtle richness. If you’re out of milk entirely, a splash of water to thin the eggs works just fine for adhesion.
9.How do I check if the chicken is done without drying it out?
Skip cutting into the chicken to check—that lets all the juicy, flavorful moisture run right out! Instead, use an instant-read meat thermometer inserted into the thickest part of the cutlet: it should read 165°F when fully cooked. Since you pounded chicken to an even ¼-inch thickness, this takes about 15-18 minutes at 425°F with zero dry, tough meat.
10.Can I use boneless chicken thighs instead of chicken breasts for this recipe?
Definitely! Boneless, skinless chicken thighs work beautifully here if you prefer richer, juicier dark meat. Just pound them to that same ¼-inch thickness, follow the exact same breading and cooking steps, and check for that same 165°F internal temp. Thighs are extra forgiving if you overcook them by a minute or two, thanks to their higher fat content.
11.How much marinara should I add per cutlet to avoid sogginess?
Stick to about 2 tablespoons of marinara per cutlet, spread in a thin, even layer across the top—you never want to submerge the chicken! Think of sauce as a light complement to the crispy chicken and cheese, not a pool for the cutlet to sit in. Warm marinara first before adding it, too, so it doesn’t drop the oven temp and make chicken steam.
12.How do I get panko to stick evenly without clumpy, bare spots?
The trick is to use one hand for dry ingredients (flour, panko) and one hand for the wet egg wash, so you don’t end up with gummy, caked fingers that pull coating off the chicken. After dipping floured chicken in egg wash, let excess drip for 2-3 seconds, then set it in panko and press crumbs firmly onto every surface instead of tossing loosely.
13.Can I adapt this recipe to be gluten-free for guests with dietary restrictions?
Absolutely! Just swap the all-purpose flour for a 1:1 gluten-free all-purpose flour blend, and pick up certified gluten-free panko breadcrumbs, which most major grocery stores carry now. Double check that your marinara has no hidden gluten additives, and you’ll get the same crispy, cheesy, cozy chicken parm that’s totally safe for gluten-free eaters.
14.Should I season each layer of the breading, or just the chicken itself?
Don’t just season the bare chicken! For the most flavorful, well-rounded coating, add a pinch of salt, black pepper, and a little garlic powder to the flour, the egg wash, and the panko crumbs. If you only season the chicken, the breading itself will taste bland no matter how perfectly you cook it. A light pinch in each layer goes a very long way.
15.What’s the best way to reheat leftover chicken parmesan so it stays crispy?
Skip the microwave—it turns breading soggy and chewy in seconds! Instead, reheat leftovers on a wire rack set over a baking sheet in a 375°F oven for 10-12 minutes, until the chicken is crisp again and the cheese is bubbly. If you’re serving with leftover spaghetti, warm the pasta separately so it doesn’t leach moisture and soften the chicken coating.

Comments (3)

2 days ago

OMG this chicken parm was SUCH a hit at our Sunday family dinner! The crust stayed perfectly crispy even under the sauce and cheese, which is always the problem I run into with other recipes. My kids went back for seconds and even my picky husband asked if I could make this again next week. Total game changer for weeknights too, I prepped the breaded chicken cutlets the night before and it cut down cook time so much!

yesterday

Really solid recipe! The only issue I had was my crust kept sliding off the chicken when I fried it — did I do something wrong? Flavor was 10/10 even with that mishap, though. I brought the leftovers to my office potluck yesterday and everyone was hounding me for the recipe link, so it’s definitely a crowd pleaser even when you mess up a step.

30 minutes ago

So glad the flavor was a hit even with the crust slip! That usually happens if the chicken isn’t patted totally dry before breading, or if you skip letting the breaded cutlets rest for 10 minutes before frying so the coating can set. Give that a shot next time and you’ll get that perfect, stuck-on crisp every time!

1 week ago

Made this for my anniversary dinner with my partner and we both agreed it tasted better than the chicken parm at our favorite local Italian spot! The crispy panko crust, the melty fresh mozzarella, the bright herby marinara — chef’s kiss. I added a little extra grated parmesan to the breading mix like my grandma used to do and it elevated it even more. SO good, this is going to be in our regular dinner rotation forever.

3 days ago

Wait, has anyone tried this with gluten-free panko? I’m hosting a girls’ night next week and need a main that works for my celiac bestie, wondering if the crust stays just as crispy with the GF swap!

2 days ago

Great question! We’ve tested this recipe with gluten-free panko a handful of times and it works beautifully as a 1:1 swap — just make sure to give the breaded cutlets that 10-minute rest before frying (the pro tip in step 3!) and you’ll get that same perfect shatteringly crisp crust. Hope your girls’ night is so fun!



