
Chicken parmesan
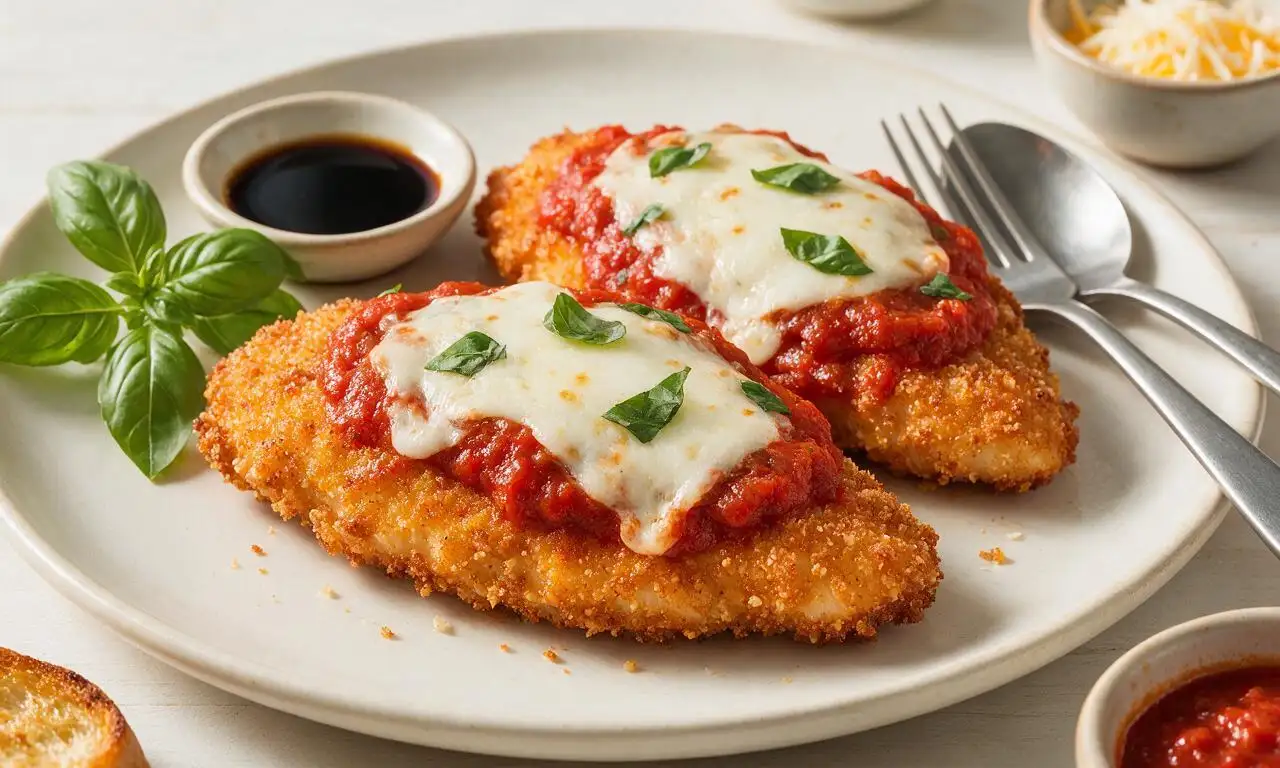
intro
Crispy panko-breaded chicken cutlets smothered in tangy marinara and melted mozzarella, a beloved Italian-American comfort food classic.
Ingredients
Steps
Prep chicken and breading
Pat 680g of boneless, skinless chicken breasts completely dry with paper towels, then pound evenly to 1cm thickness between two sheets of plastic wrap; season both sides with 1 tsp kosher salt and all the ground black pepper. Arrange three shallow dishes in a line: fill the first with 120g all-purpose flour mixed with 0.25 tsp salt, the second with 2 beaten large eggs, and the third with 180g panko breadcrumbs, 40g grated Parmesan, 1 tsp garlic powder, 1 tsp dried oregano, and remaining 0.25 tsp salt, stirred to fully combine.
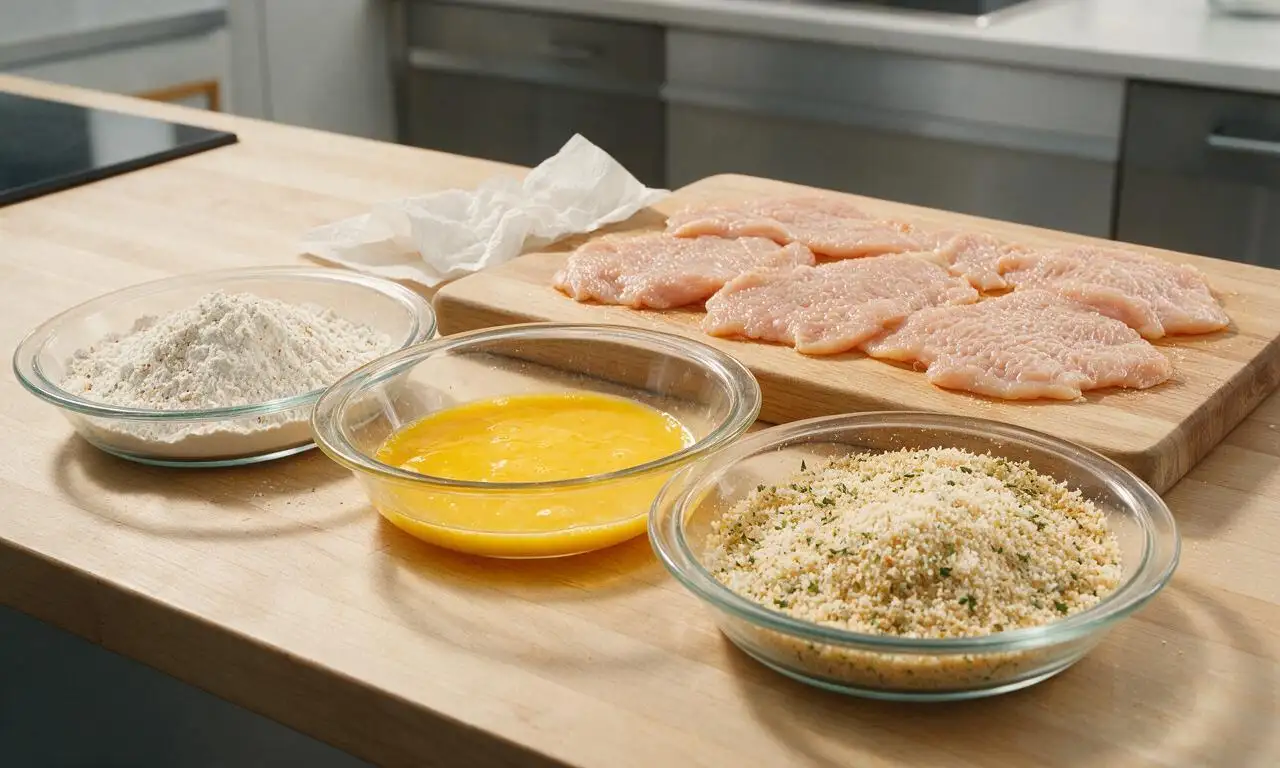
Bread chicken cutlets
Working one cutlet at a time, dredge first in the seasoned flour, shaking off all excess to leave a thin, even coating. Next, dip the floured cutlet fully in beaten egg, letting excess drip off for 2 seconds. Finally, press firmly into the panko mixture on both sides, ensuring every surface is coated with tightly adhering crumbs. Place breaded cutlets on a wire rack set over a baking sheet, and rest 10 minutes at room temperature to set the coating.
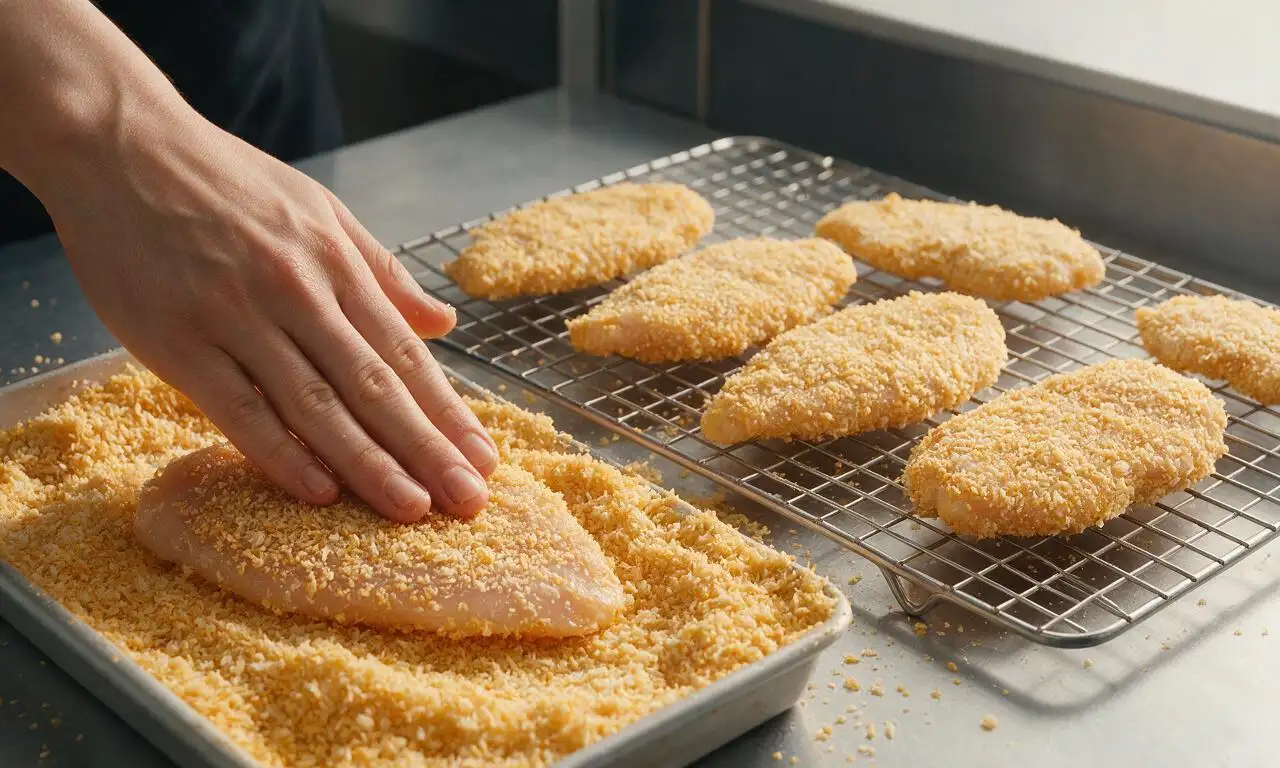
Pan-fry cutlets until crisp
Heat 60ml extra-virgin olive oil in a large heavy-bottomed skillet over medium heat, until the oil shimmers and reaches 175C/350F (do not let it smoke). Cook cutlets in 2 batches to avoid overcrowding the pan, frying 2.5 minutes per side until the breading is deep golden brown and crisp. Transfer fried cutlets back to the wire rack (do not stack) to preserve crispness.
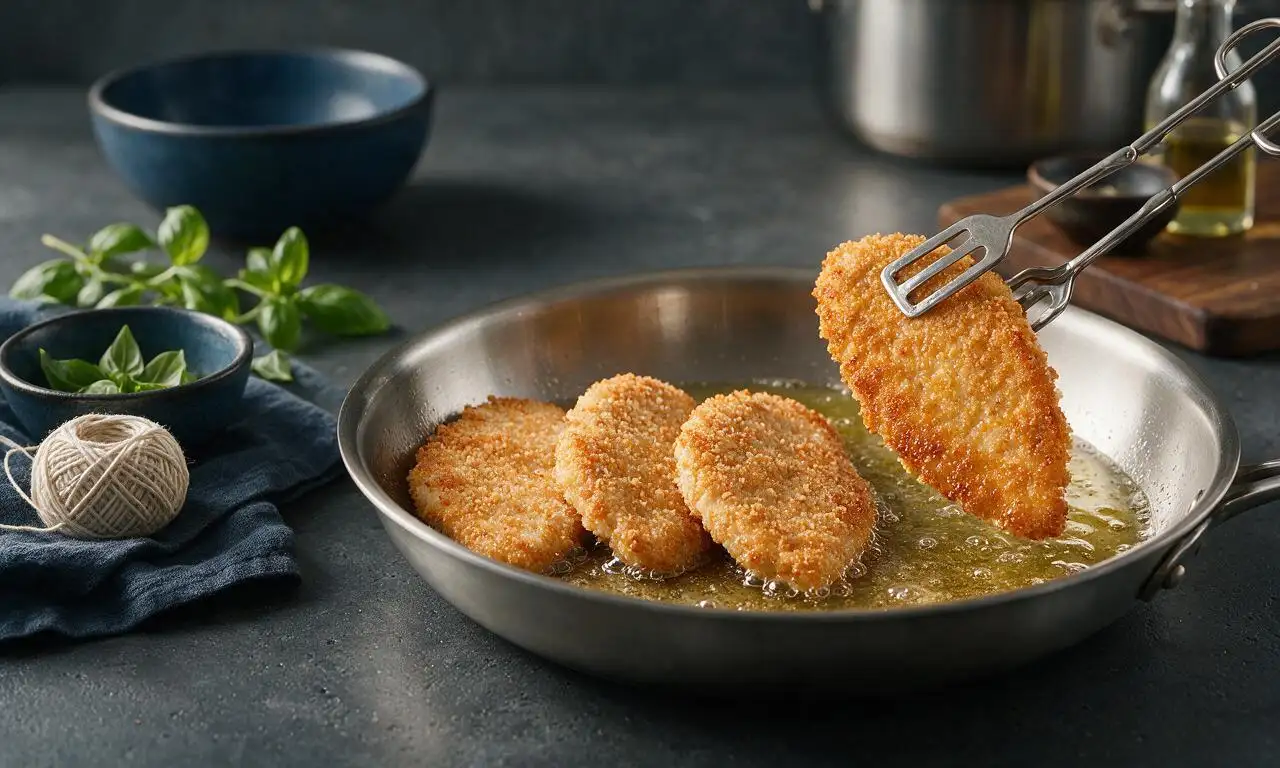
Assemble baking dish
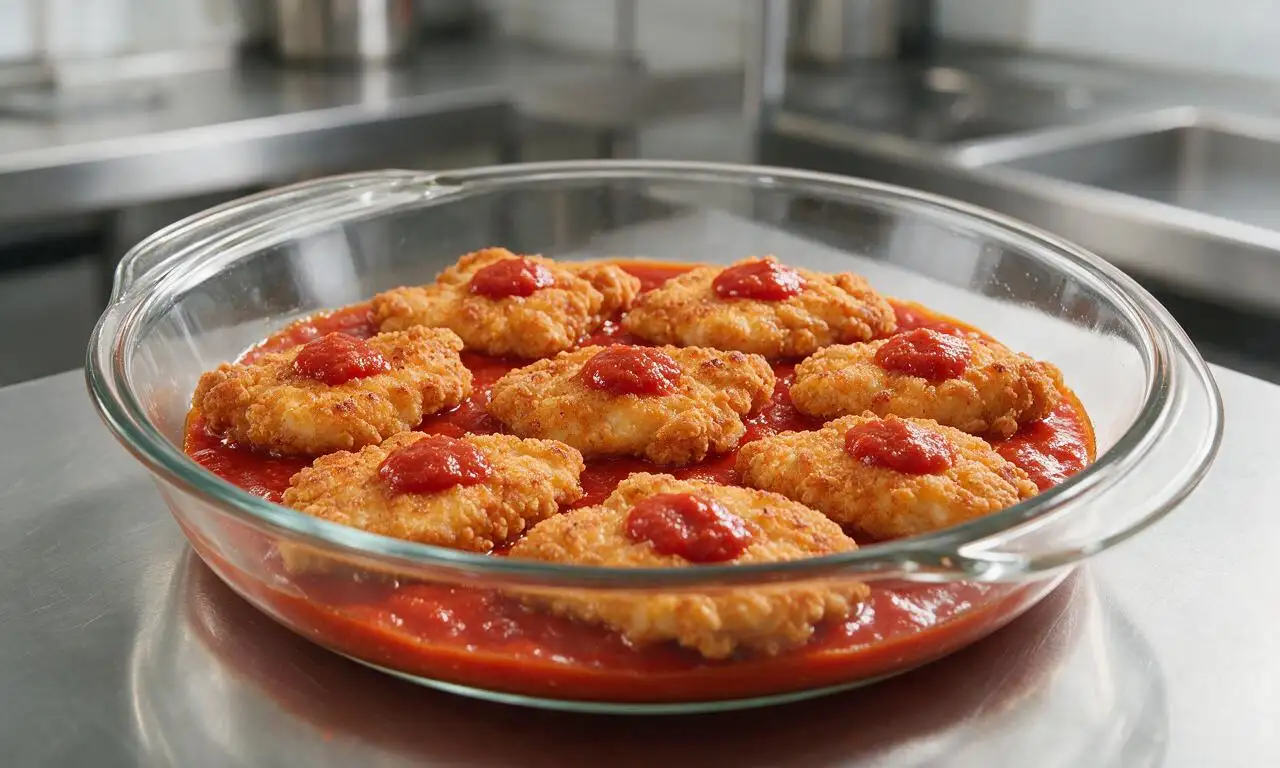
Preheat oven to 200C/400F. Spread 250ml (half) of the marinara sauce evenly across the bottom of a 23x33cm (9x13 inch) glass baking dish. Arrange fried cutlets in a single layer over the sauce, leaving small gaps between pieces. Spoon 2 tablespoons of remaining marinara only on the center of each cutlet, leaving crispy edges exposed to prevent sogginess; reserve any leftover sauce for serving alongside.
Add cheese and bake
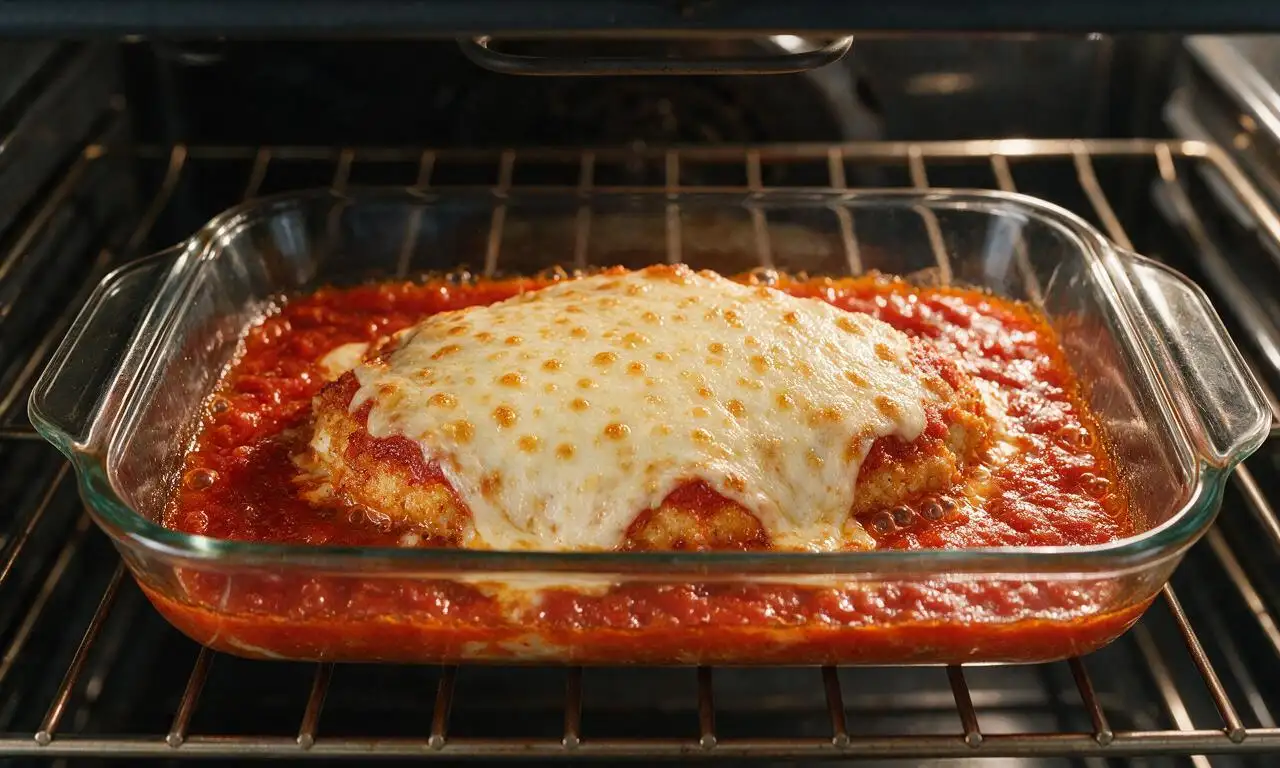
Sprinkle the remaining 40g grated Parmesan evenly over the sauced centers of the cutlets, then divide the 220g shredded low-moisture mozzarella evenly over each cutlet. Bake on the middle oven rack for 12-15 minutes, until cheese is fully melted, bubbly, and lightly golden at the edges, and chicken reaches a safe internal temperature of 75C/165F.
Rest and serve hot
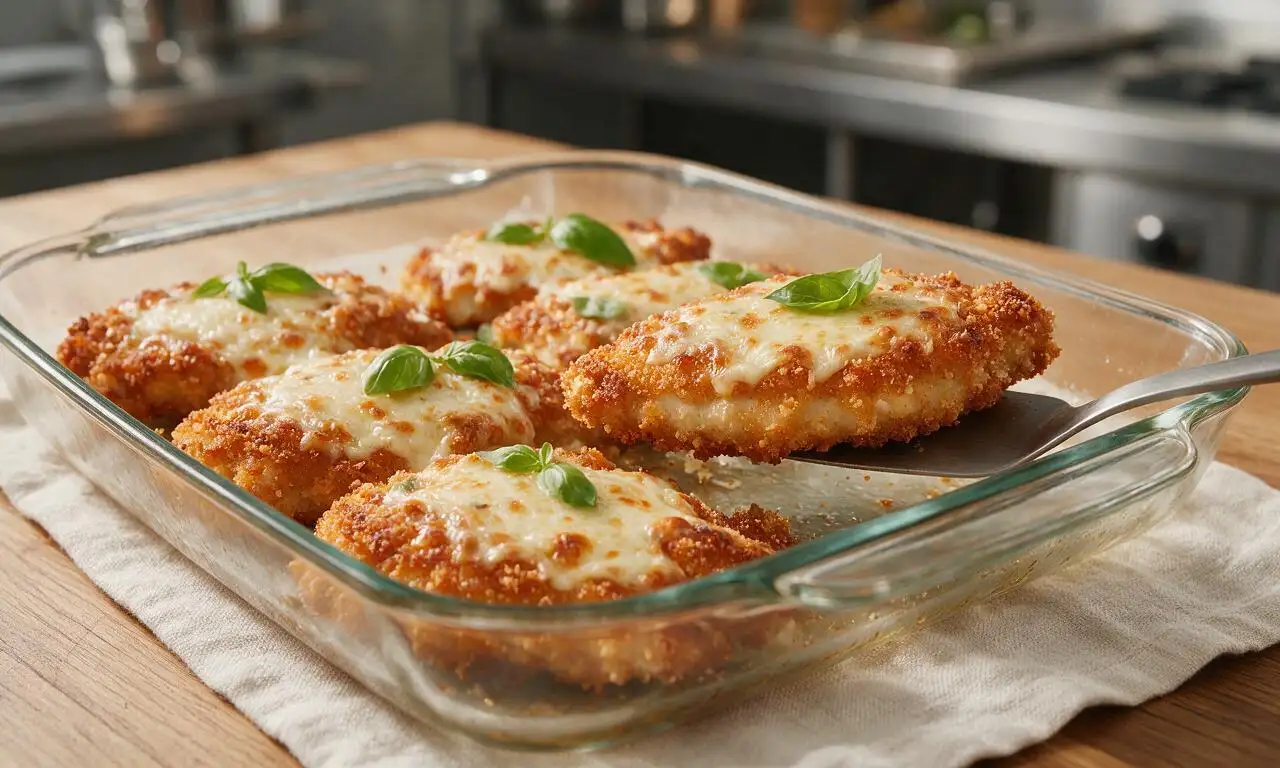
Remove the baking dish from the oven, and let the chicken parmesan rest for 5 minutes to allow the cheese to set. Garnish with 10g torn fresh basil leaves before serving, paired with al dente pasta or crusty garlic bread if desired.
Tips
2.Never stack fried or baked cutlets directly on top of each other, as trapped steam will soften the crisp panko crust; always rest cutlets on a wire rack to keep air circulating and maintain crunch.
3.Don’t skip the 10-minute rest after breading the cutlets: this resting period lets the crumb coating adhere tightly, so it won’t slide off during frying or serving.






OMG this chicken parm was a total game changer for our Sunday family dinner! The crust stayed so crispy even after I topped it with sauce and cheese, my kids went back for seconds and asked me to make it again next week. I used panko instead of regular breadcrumbs like I usually do and wow, what a difference. 10/10 will be adding this to our regular meal rotation!
SO good, even with my tiny adjustments for meal prep! I pre-breaded the chicken cutlets on Sunday and stored them in the fridge, then cooked them up last night after work and they still got perfectly crispy. My only note is that I cut the cook time by 3 minutes because my oven runs a little hot, so watch that if you’ve got a finicky oven too.
Really solid recipe! I swapped the regular breadcrumbs for gluten free panko and it turned out great, though I wish the recipe noted how long to let the chicken rest after frying before adding toppings — mine got a tiny bit soggy when I topped it too fast. Still tasted amazing though, will definitely tweak that next time.
First time ever making chicken parm and I was so nervous because the difficulty says medium, but it was way easier than I thought! I did burn the first batch of breadcrumbs a little because I had my oil too hot, but once I turned it down the rest came out perfect. My roommates are obsessed, they said it tastes better than the Italian place down the street from our dorm.
Made this for our neighborhood block party last weekend and people were lined up to get seconds! I doubled the recipe and it fed 10 people easily, everyone was asking for the recipe. I added a little extra parmesan to the breading mix because I’m a cheese fiend and it was chef’s kiss.
Taste was incredible, but 55 minutes cook time ended up being closer to 75 for me because I had to pound out 6 chicken breasts to the right thickness. Probably my bad for not prepping the chicken ahead, but just a heads up for other folks making this for a weeknight dinner — budget extra time if your cutlets are thick when you buy them.
Wait, did I do something wrong? My breading kept sliding off the chicken when I was frying it, I ended up with half the breading in the bottom of the pan. It still tasted good but it wasn’t crispy like the pictures show. Any ideas what I messed up?
Made this for my anniversary dinner with my partner last night and they were so impressed! I served it with garlic butter pasta and roasted broccoli, and we had leftovers for lunch today that were still crispy (I stored the chicken separate from the sauce like I saw someone recommend in another comment). Will 100% be making this for date nights from now on.
I’ve been making chicken parm for 40 years and I have to say, this recipe is as close to my nonna’s as I’ve ever found online! The ratio of cheese to sauce to chicken is perfect, no soggy crust, just that perfect crispy crunch every bite. My grandkids devoured it, which is the highest praise possible.
Added a teaspoon of red pepper flakes to the breading and a dash of hot honey on top after baking and OH MY GOODNESS, that sweet and spicy kick took this to the next level. If you love a little heat, you have to try this hack, it’s unreal.
Has anyone tried making this in the air fryer instead of frying and baking? I’m trying to cut down on oil but I don’t want to lose that crispy crust. I’m obsessed with my air fryer and use it for everything but I’m scared to mess up such a classic recipe!