chicken parmesan sub

title 1
chicken parmesan sub
⏱️ cook time 20 minutes
🍽️ servings 4
⚡ Difficulty easy

intro

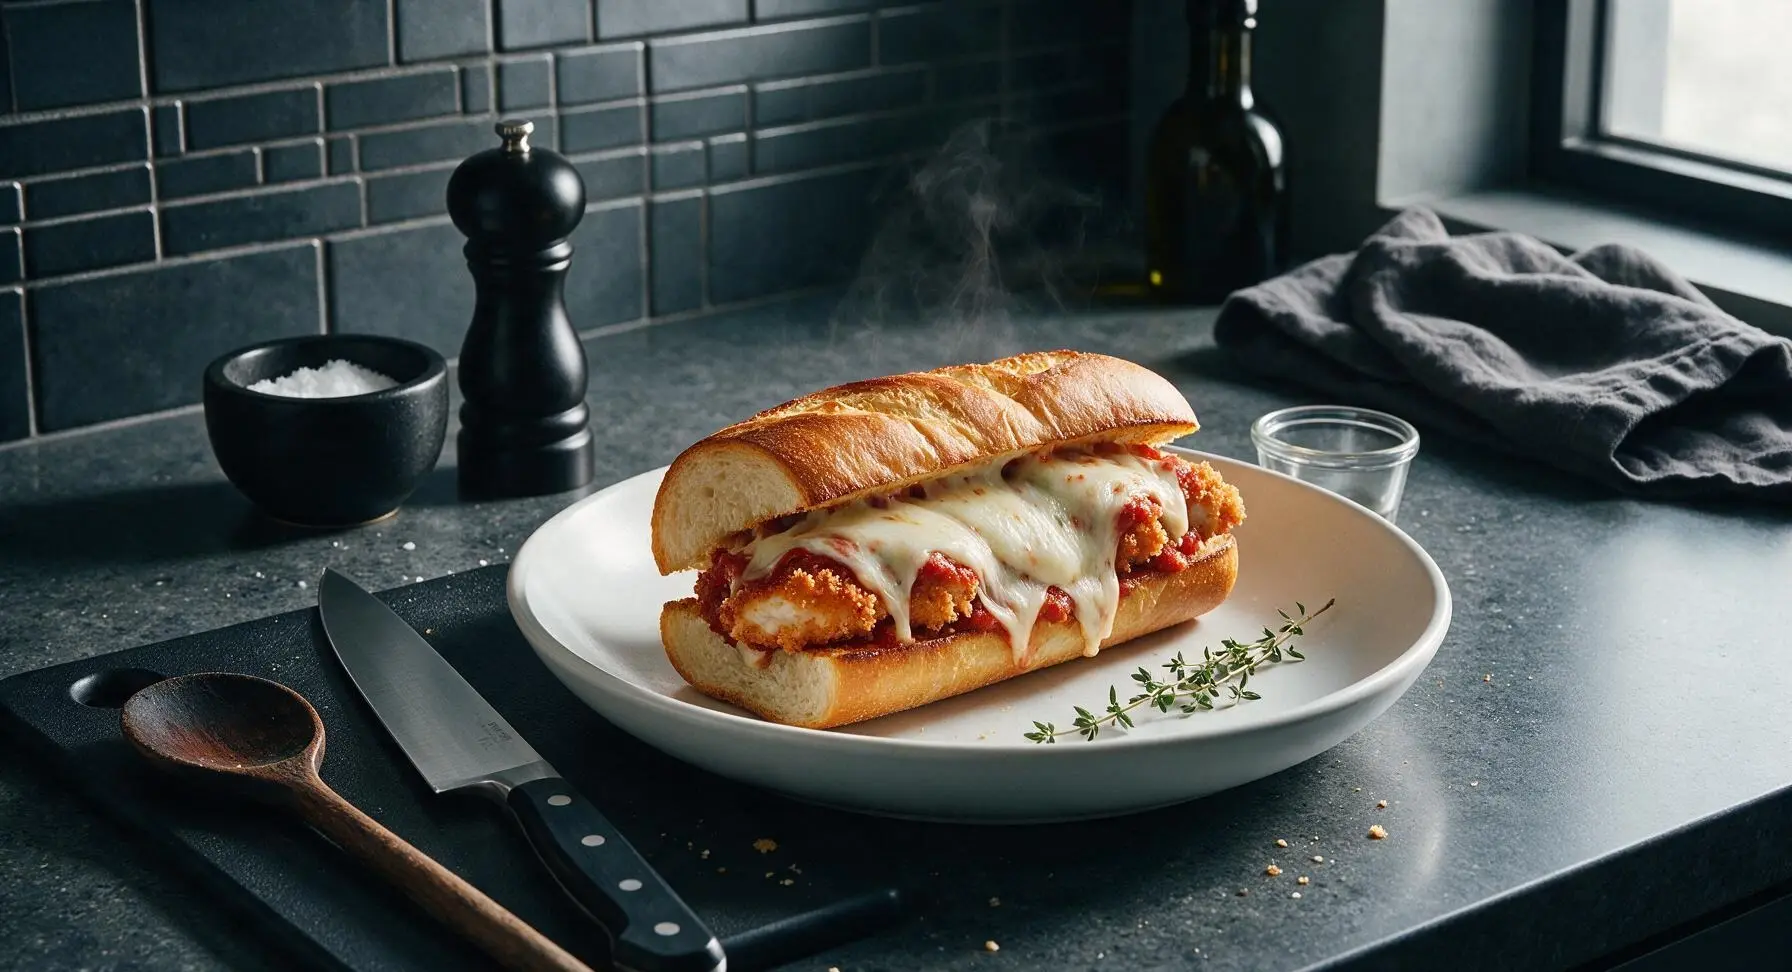
Crispy golden breaded chicken, tangy marinara, stretchy melted mozzarella, and toasty hoagie rolls come together in this hearty, comforting Italian-American sub perfect for busy weeknights.

Ingredients
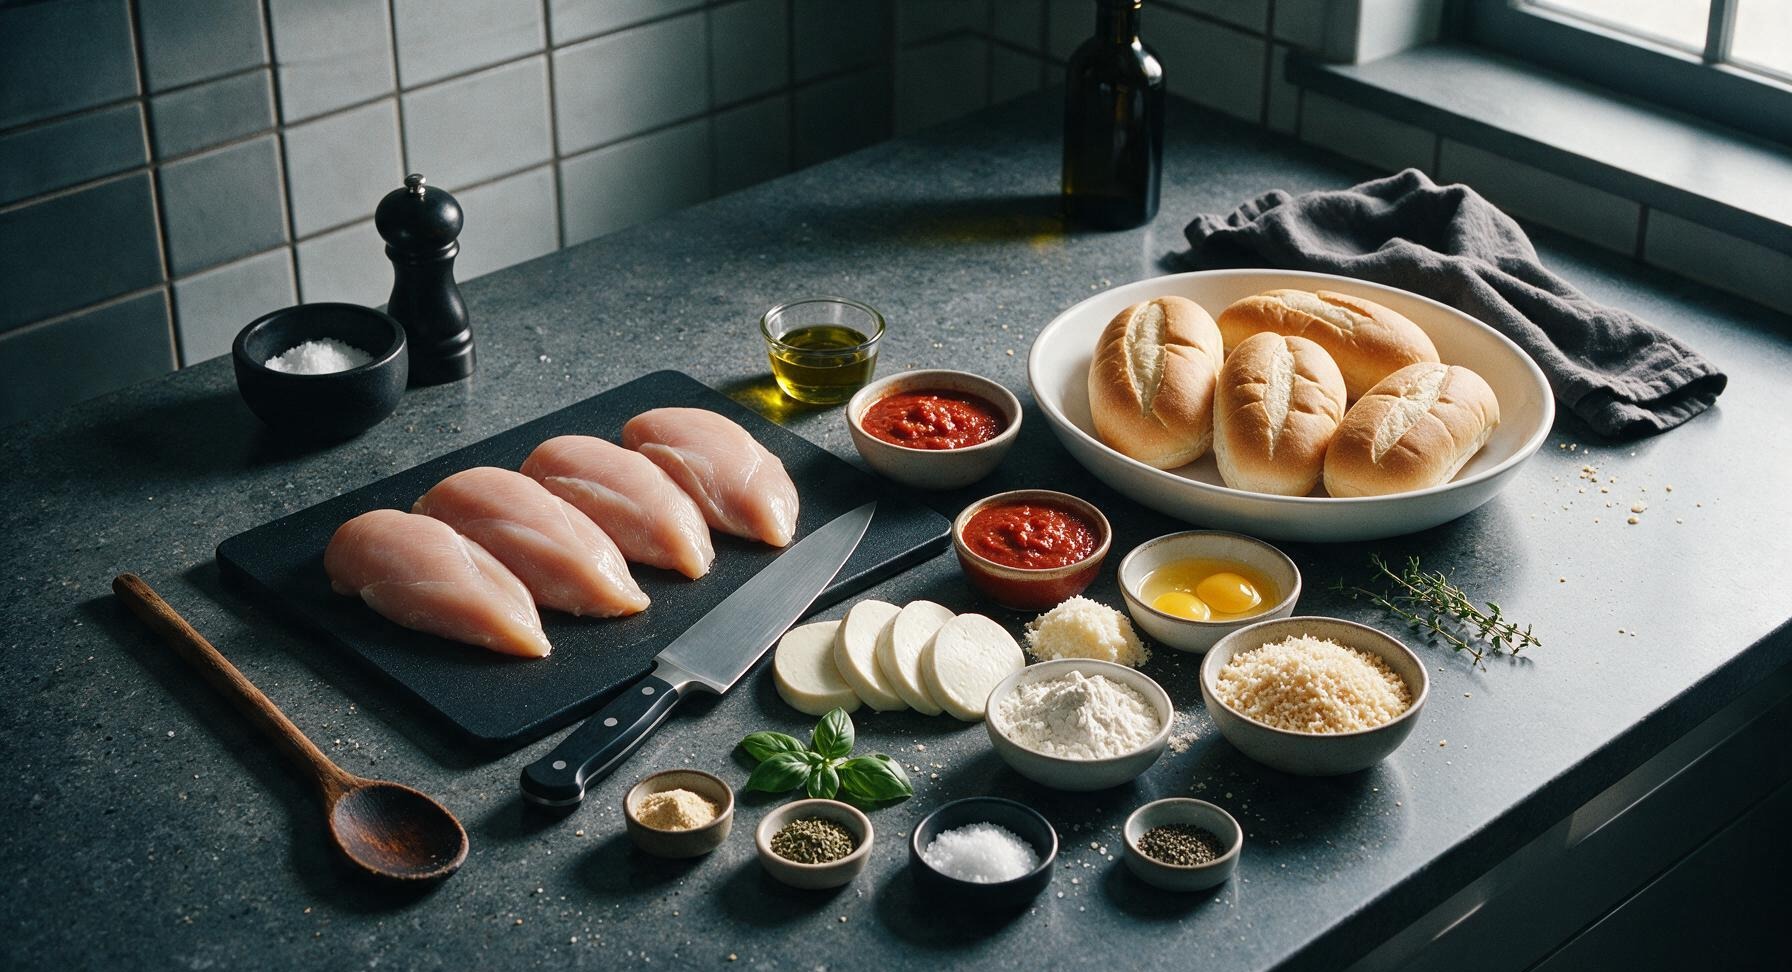
Boneless skinless chicken breasts 600g (4 x 150g pieces)
Soft Italian hoagie rolls 4 (15cm each)
Low-moisture mozzarella cheese 220g, sliced 1cm thick
Marinara sauce 360ml
Finely grated parmesan cheese 40g
All-purpose flour 60g
Large eggs 2, beaten
Panko breadcrumbs 120g
Garlic powder 1 tsp
Dried oregano 1 tsp
Kosher salt 1.5 tsp
Freshly ground black pepper 0.5 tsp
Extra-virgin olive oil 60ml
Fresh basil leaves 8 leaves

Steps

1

Pound chicken cutlets evenly

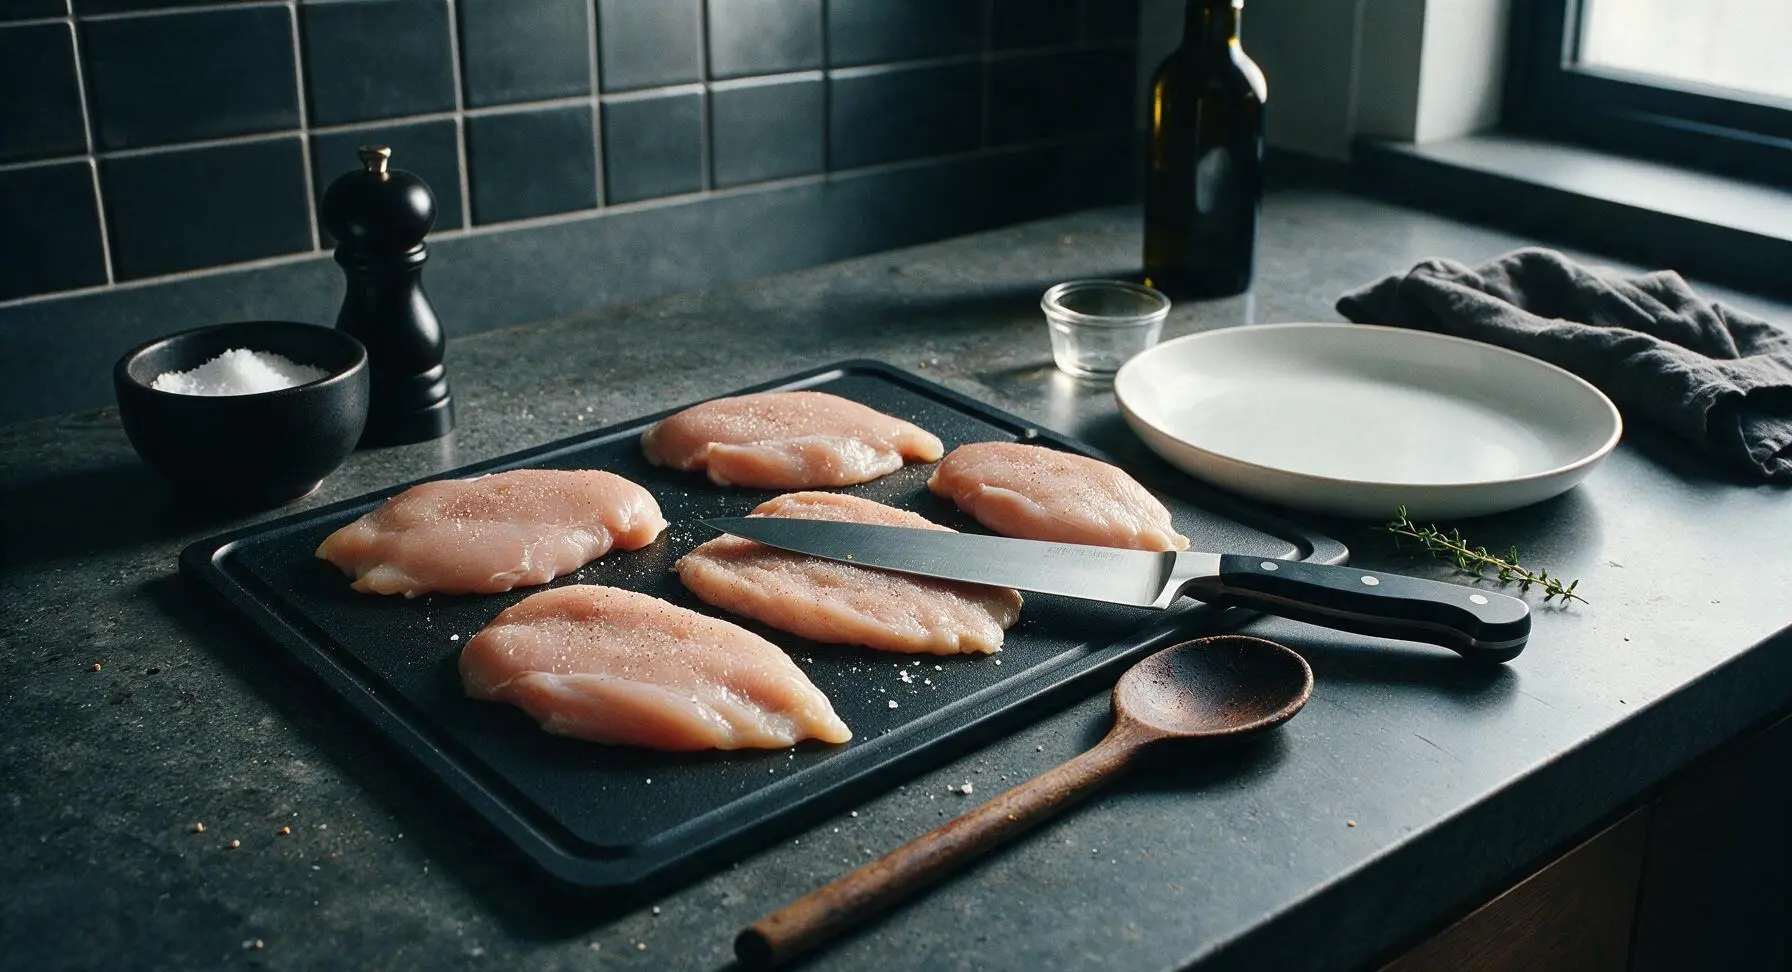
Place the 4 boneless skinless chicken breasts on the bamboo cutting board. Cover with a piece of plastic wrap, then use the flat side of the chef knife to pound each to an even 1cm thickness. Season both sides lightly with ½ tsp kosher salt and ¼ tsp black pepper. The cutlets should be uniform so they cook at the same rate, with no thick spots remaining.
Step 1
step1:Pound chicken cutlets evenly
2

Arrange breading station

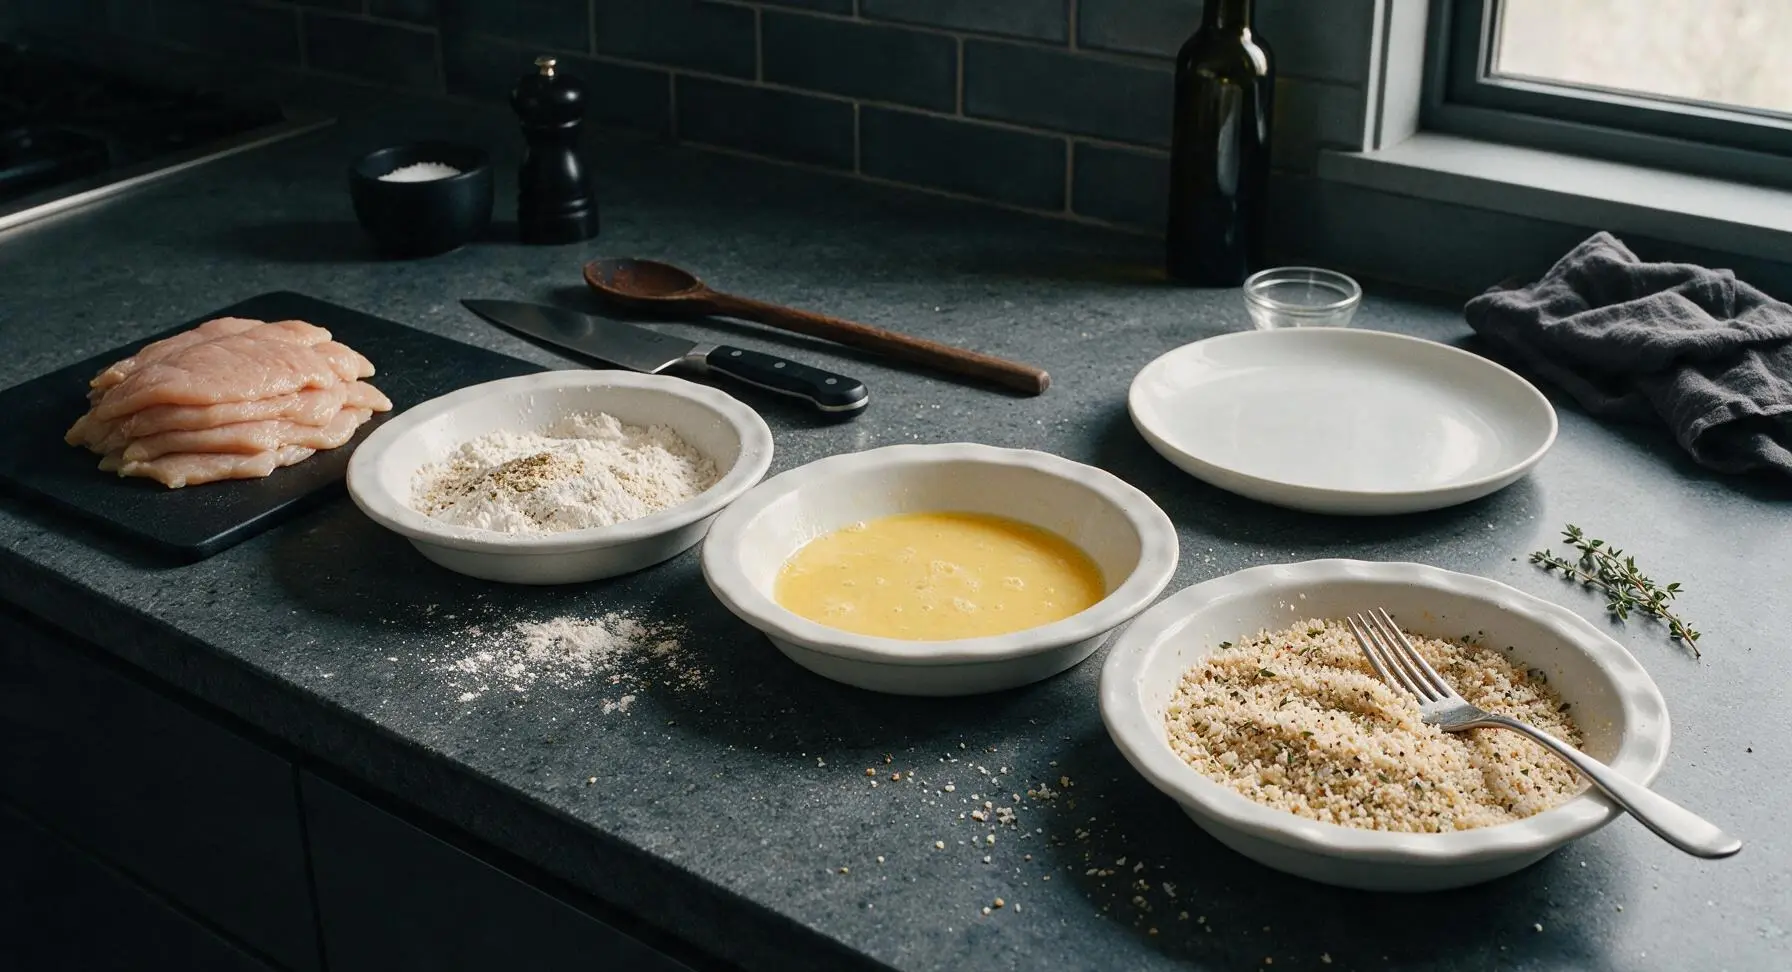
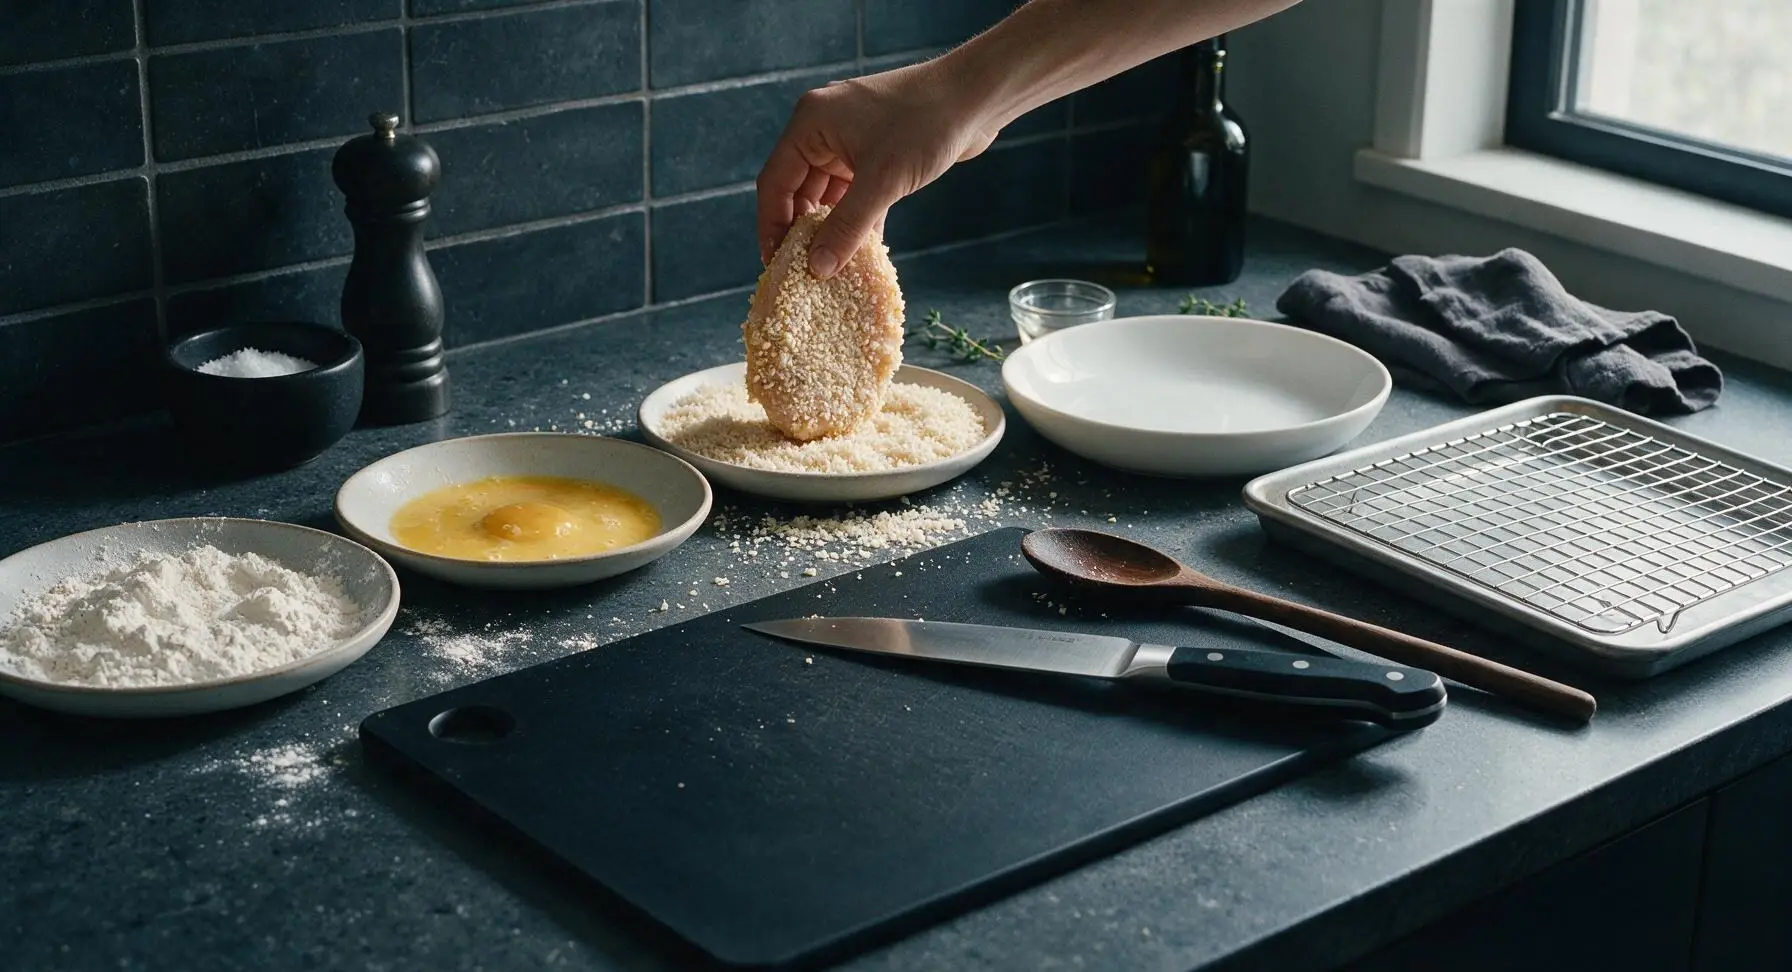
Set the three matte white ceramic pie plates in a row on the counter left to right: first plate with 60g all-purpose flour mixed with ¼ tsp garlic powder and ¼ tsp dried oregano, second plate with 2 large eggs beaten until smooth, third plate with 120g panko breadcrumbs mixed with remaining ½ tsp garlic powder, ¾ tsp dried oregano, 1 tsp kosher salt, and ¼ tsp black pepper. Stir each mixture with the stainless steel dinner fork to evenly combine spices.
Step 2
step2:Arrange breading station
3

Bread chicken cutlets thoroughly

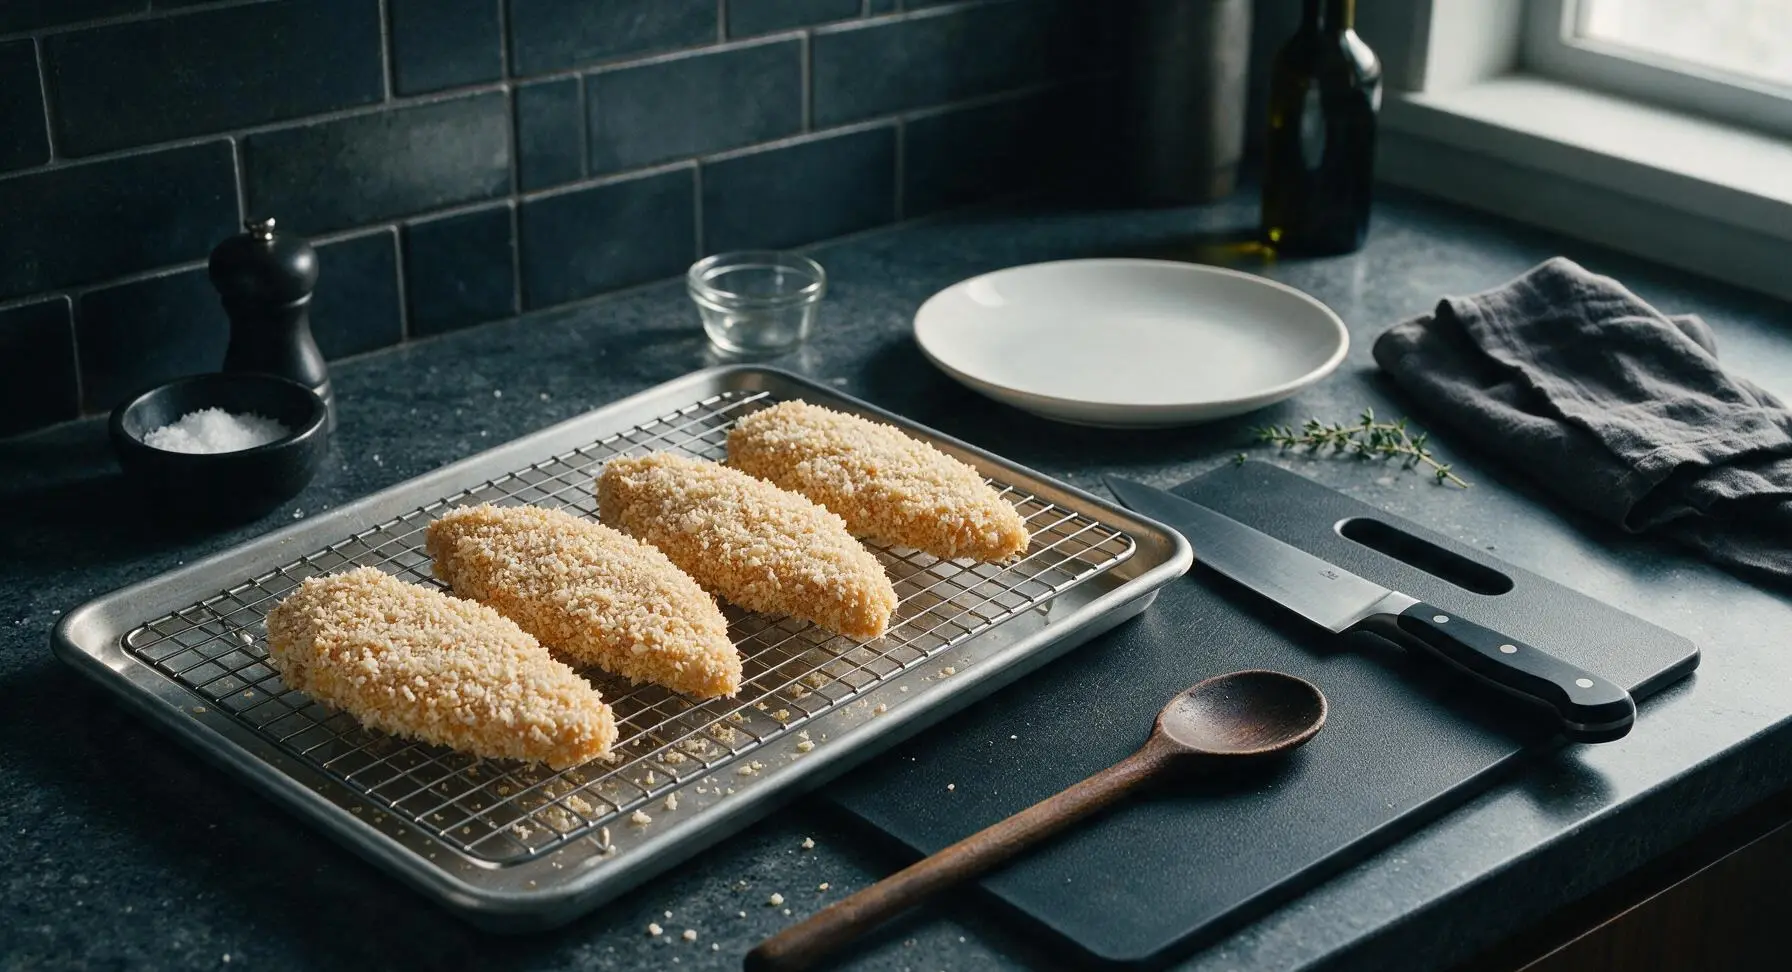
Working one cutlet at a time, dredge first in the seasoned flour, shaking off all excess so only a thin dry coating remains. Dip fully into the beaten egg, letting excess drip off for 2 seconds, then press firmly into the panko mixture to coat every side, pressing crumbs so they adhere evenly. Place breaded cutlets on the wire rack set over the aluminum baking sheet, and let rest 5 minutes so the coating sets before frying—this prevents crumbs from falling off during cooking.
Step 3
step3:Bread chicken cutlets thoroughly
Step 3
step3:Bread chicken cutlets thoroughly
4

Pan-fry cutlets until crispy

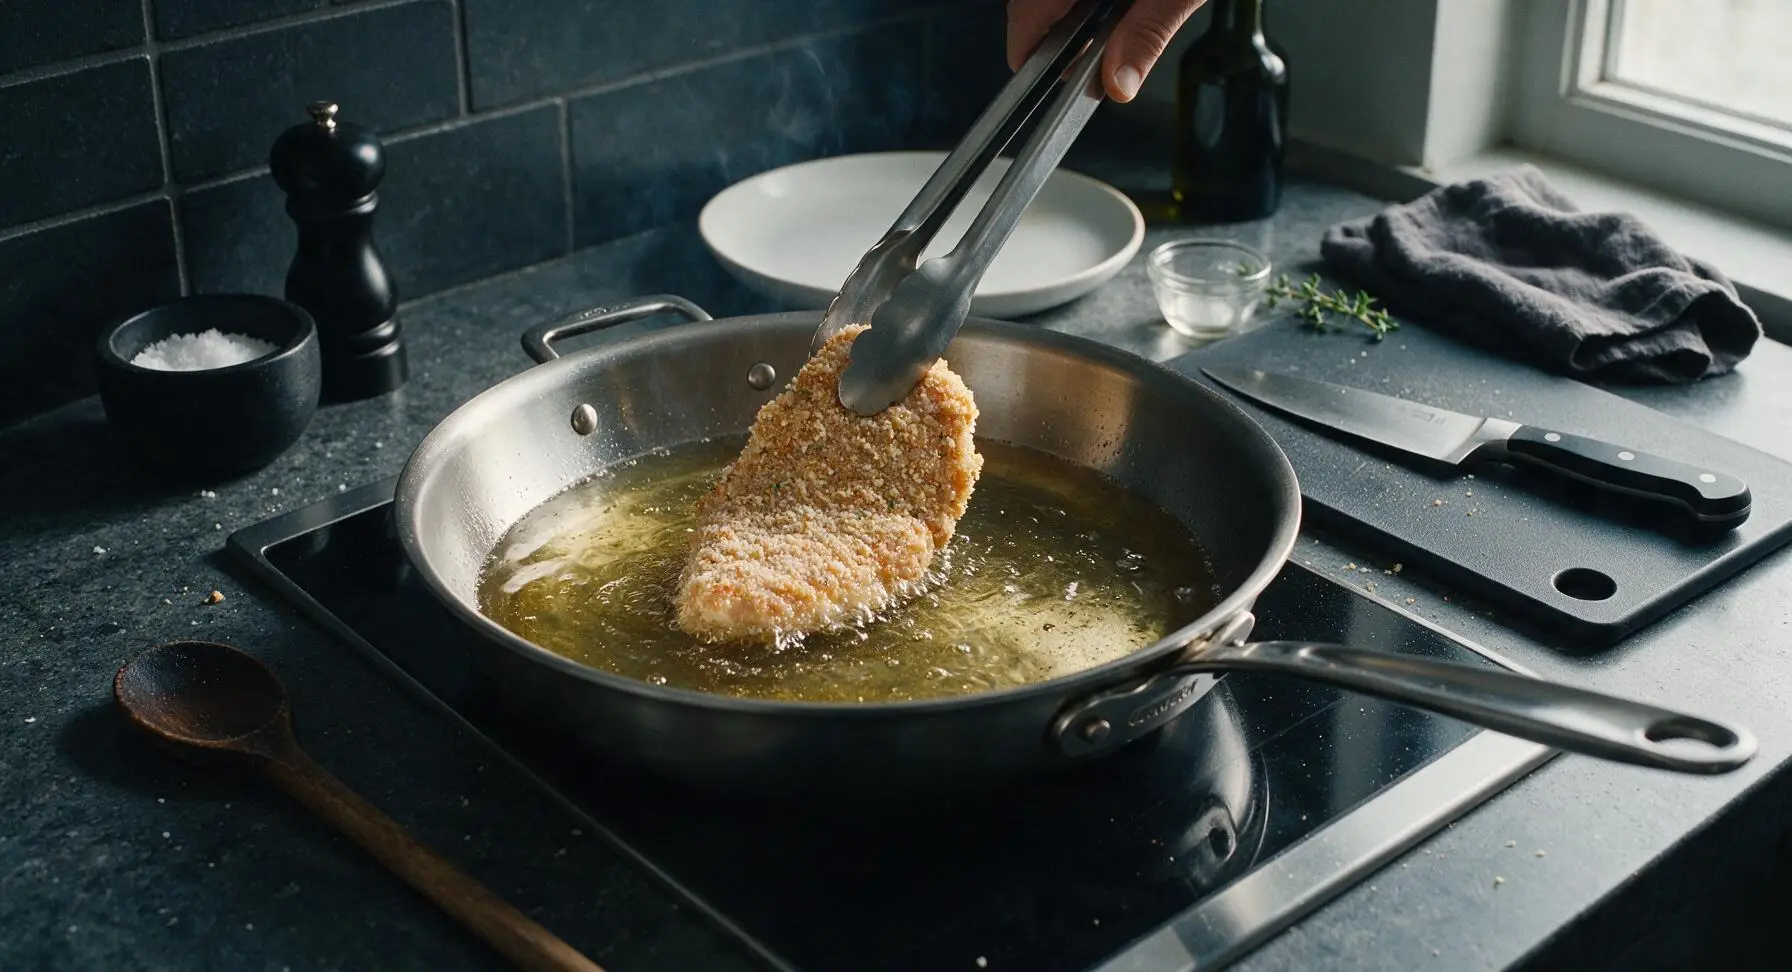
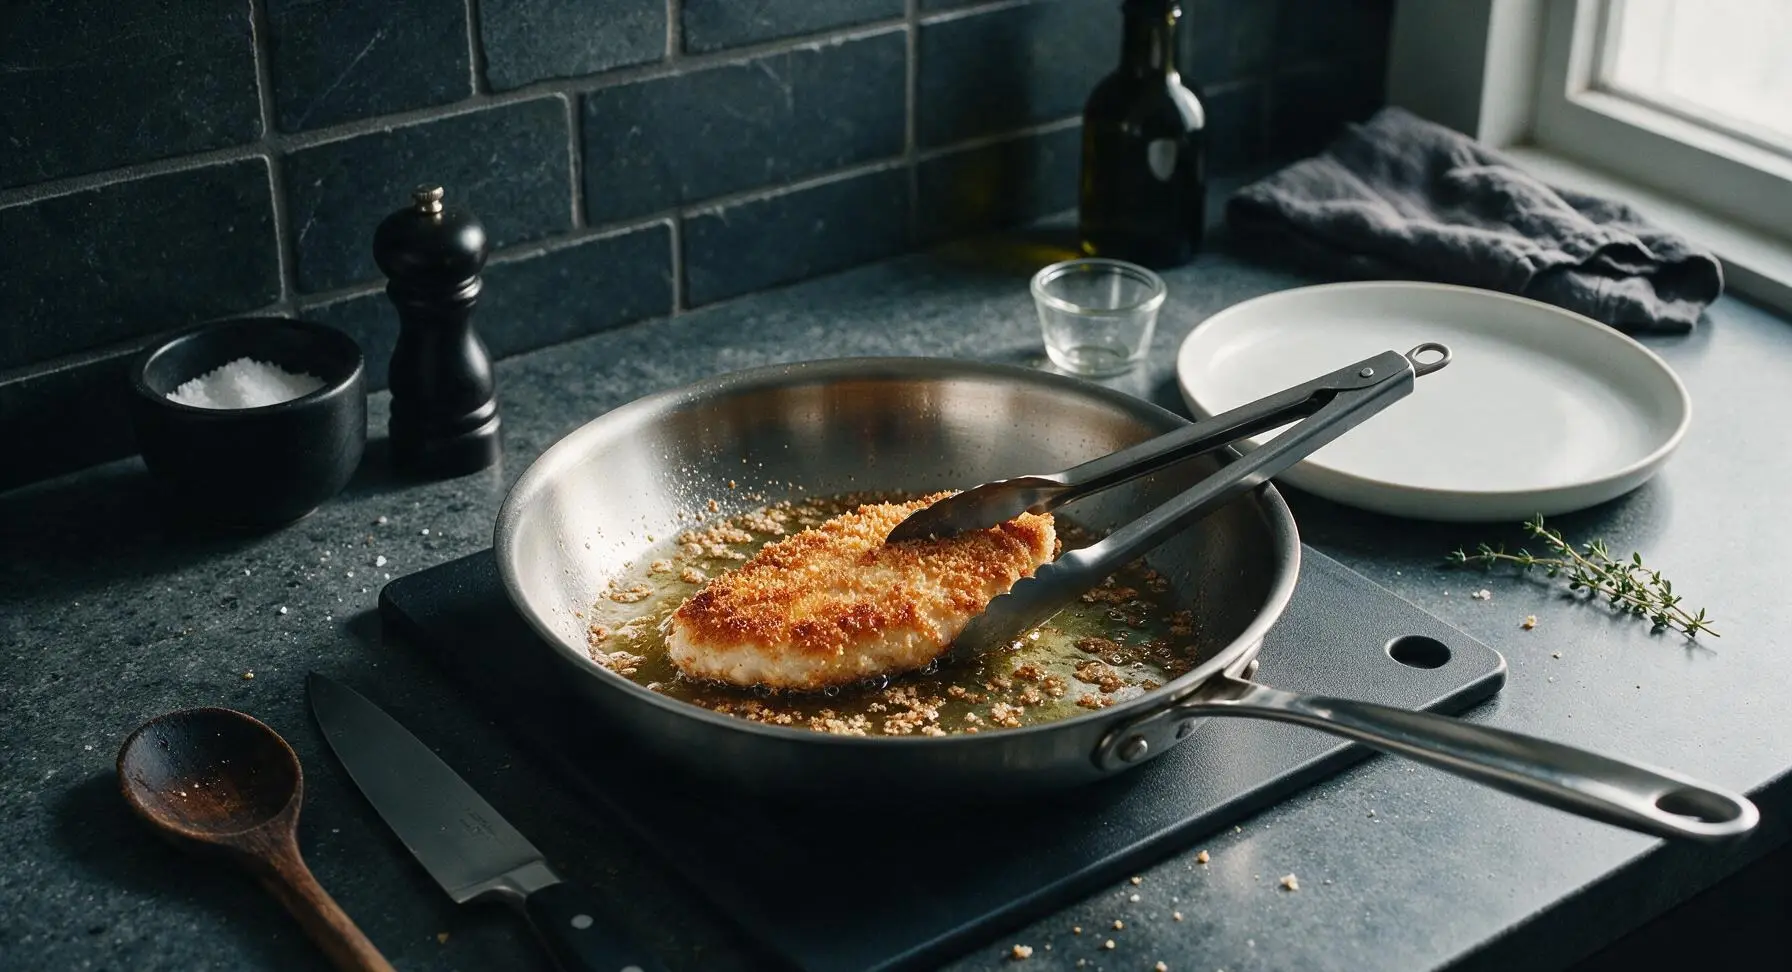
Heat 60ml olive oil in the 12-inch stainless steel skillet over medium heat until the oil shimmers (about 3 minutes, 175C/350F). Working in two batches to avoid crowding the pan, place breaded cutlets in the skillet and cook 3-4 minutes per side, until deep golden brown and crispy on the outside, internal temperature reaching 74C/165F. Use the stainless steel tongs to transfer cooked cutlets back to the wire rack to drain excess oil.
Step 4
step4:Pan-fry cutlets until crispy
Step 4
step4:Pan-fry cutlets until crispy
5

Toast rolls and melt cheese

Split the 4 hoagie rolls lengthwise, leaving one edge attached so they open like a book. Use the pastry brush to spread a thin layer of olive oil on the cut sides of the rolls. Place 2 slices of mozzarella (total 55g per sub) evenly on both cut sides of each roll. Transfer the cooked chicken cutlets from the wire rack to the bamboo cutting board temporarily, then place rolls open-faced on the wire rack set over the baking sheet and broil on high for 2-3 minutes, until the cheese is fully melted and bubbly, and the roll edges are lightly toasted. Watch closely to avoid burning, as broilers heat very quickly.
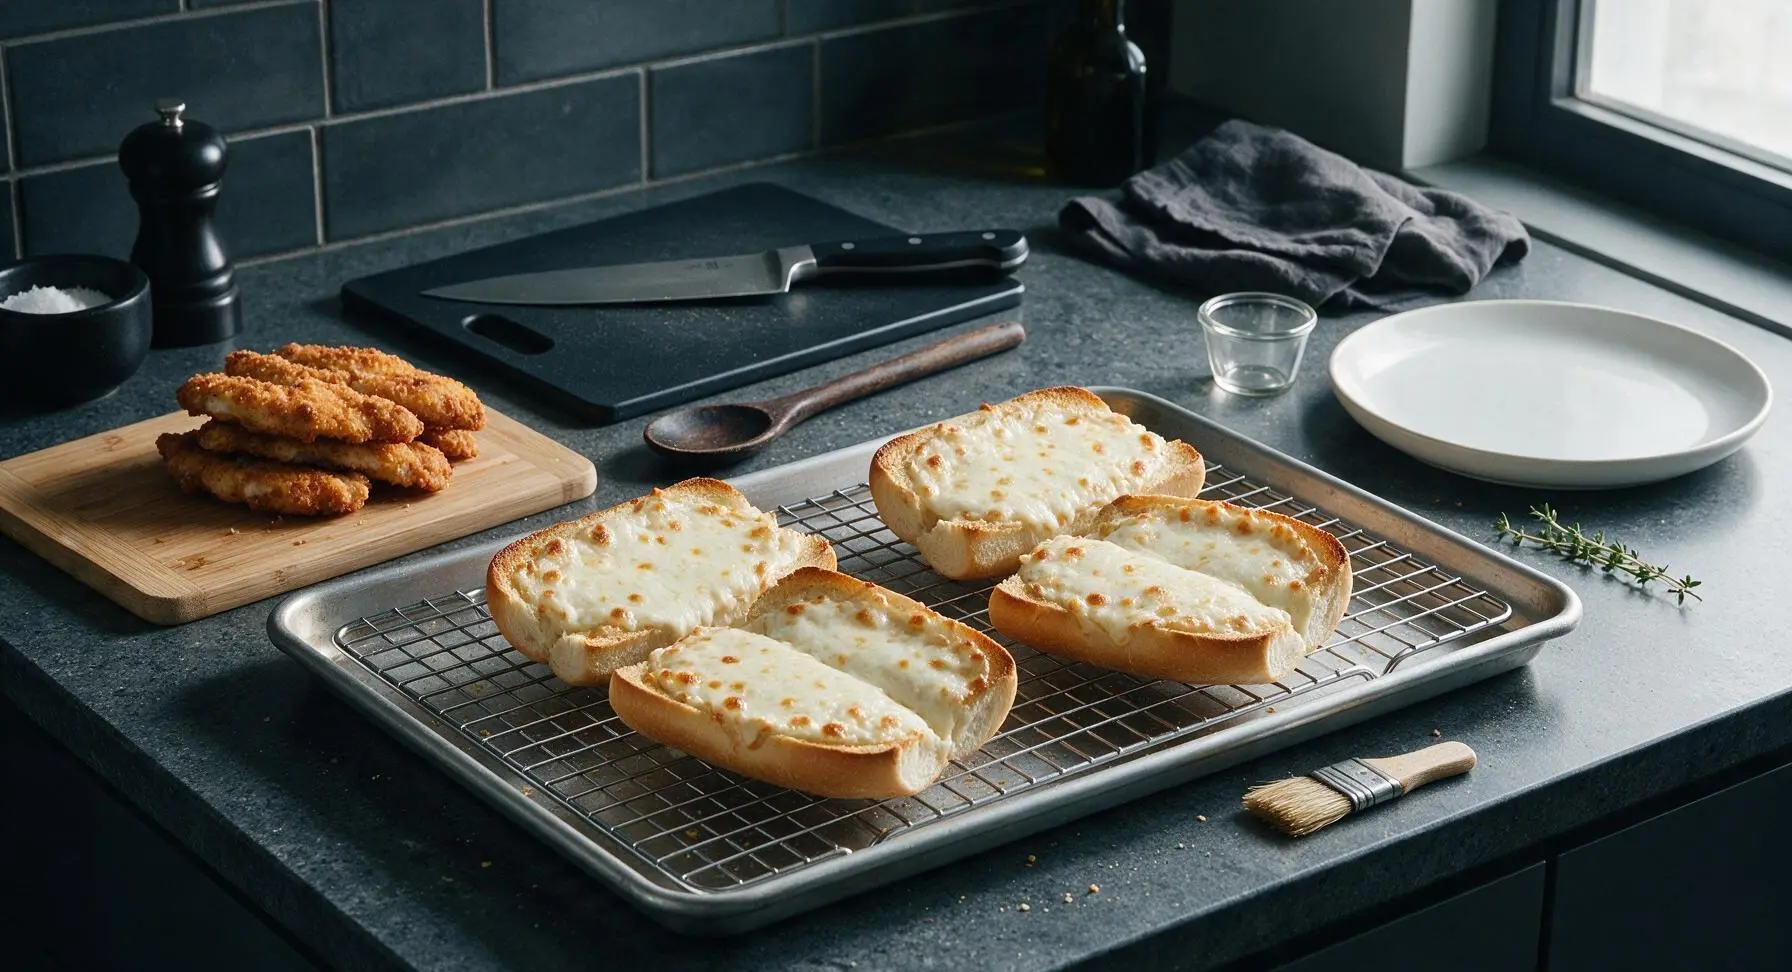
Step 5
step5:Toast rolls and melt cheese
6

Layer chicken and marinara

Spoon 45ml (3 tbsp) of warm marinara sauce on the bottom half of each toasted roll, then place one crispy chicken cutlet on top of the sauce. Spoon another 45ml of marinara over the chicken, then top with 10g of finely grated parmesan cheese and 2 fresh basil leaves. Close the top of the roll, pressing down gently so the filling adheres, and let rest 1 minute so flavors meld.
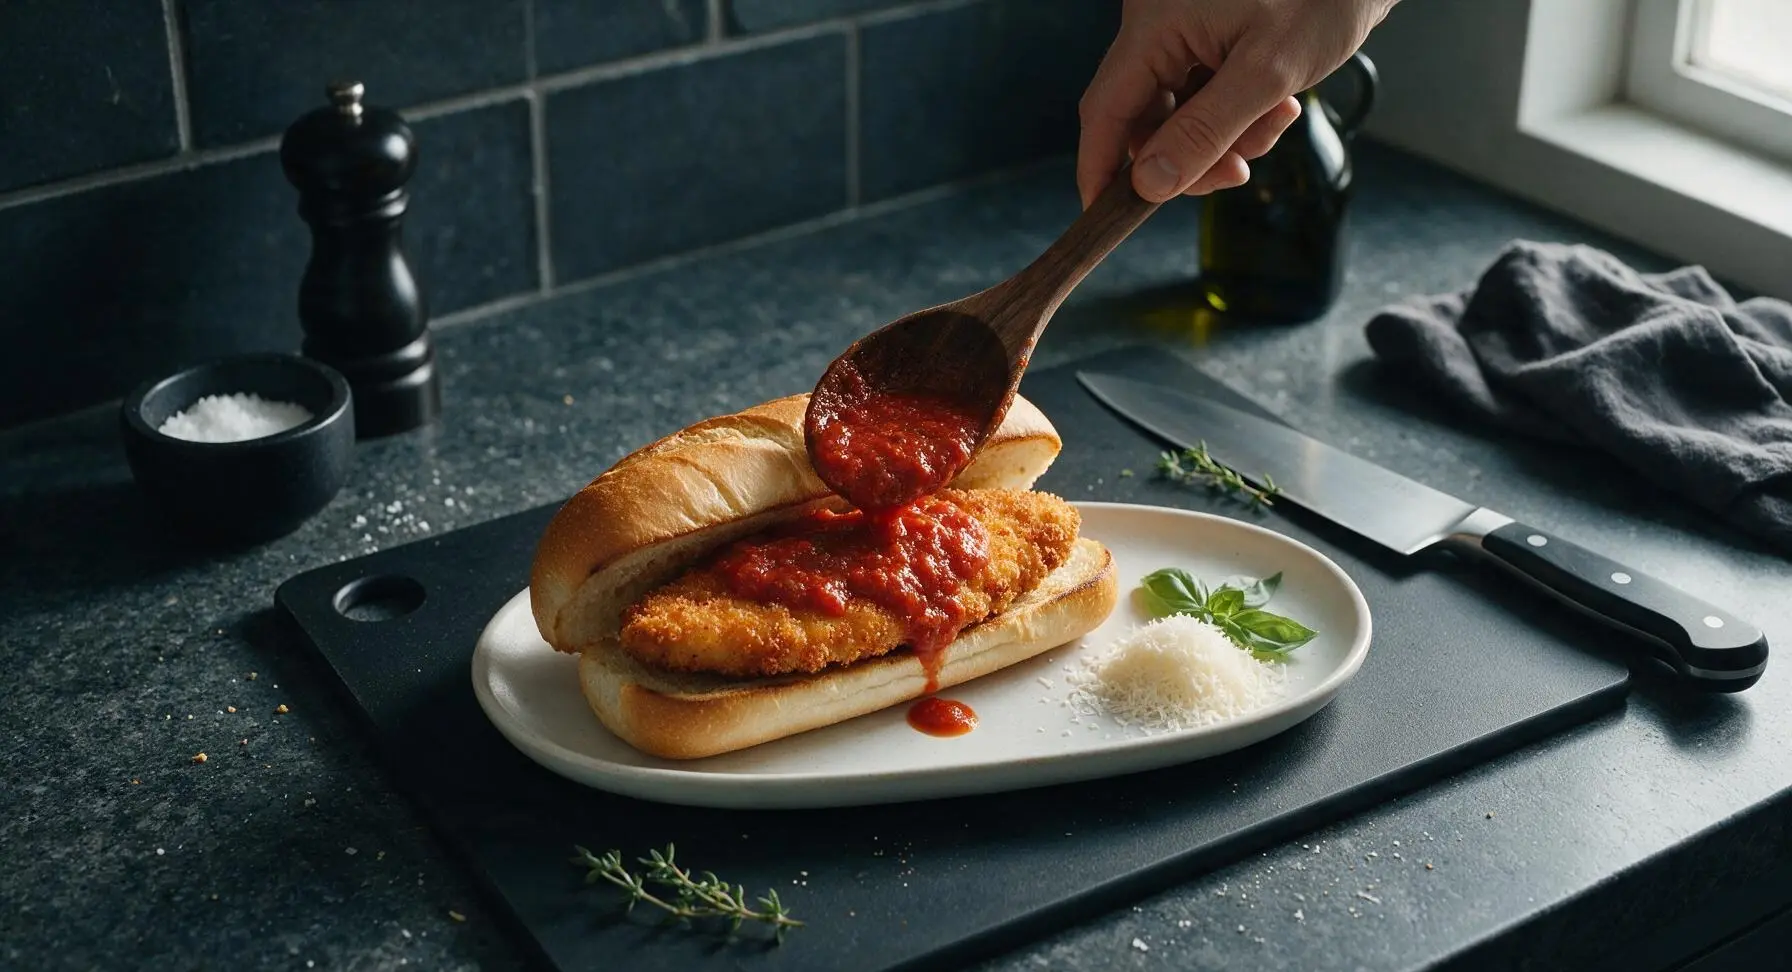
Step 6
step6:Layer chicken and marinara
7

Warm through and serve

Place assembled subs back on the wire rack and bake at 180C/350F for 2 minutes, just until the marinara is warm and the roll exterior is slightly crisp. Transfer one sub diagonally to the matte white oblong sub plate, and let rest 30 seconds before serving so hot filling does not spill out when bitten.
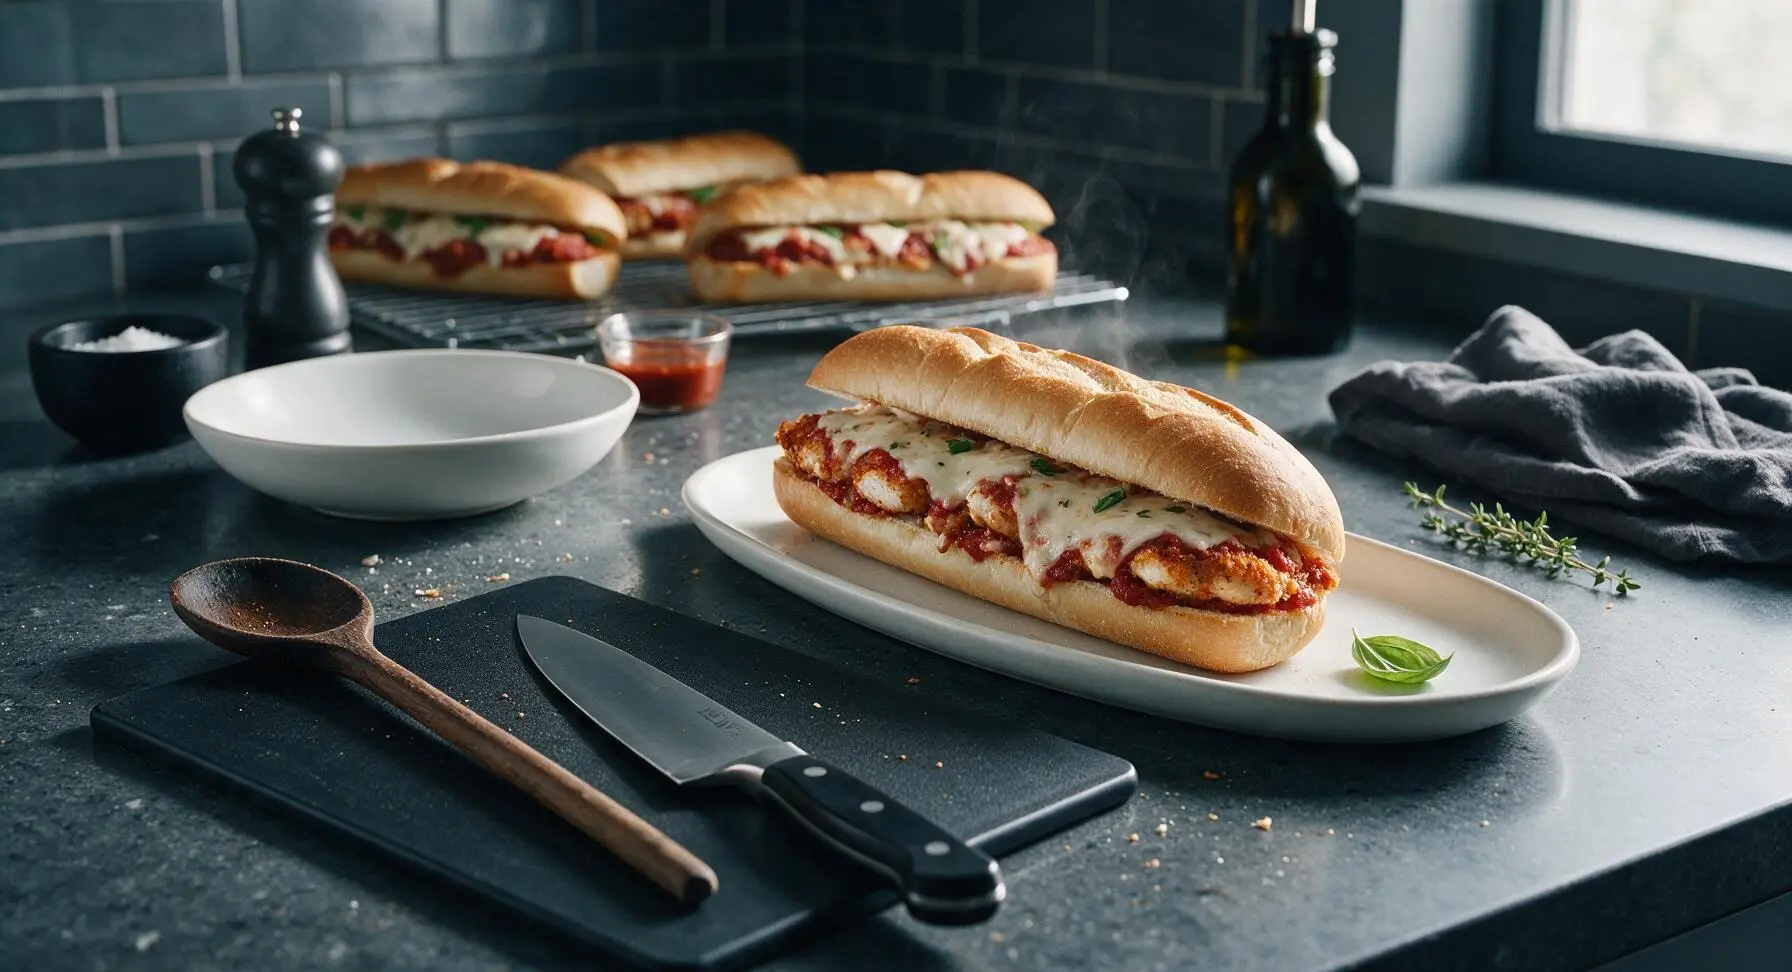
Step 7
step7:Warm through and serve

Tips

1.Let breaded cutlets rest for 5 minutes before frying: this resting period allows the flour, egg, and panko coating to adhere firmly to the chicken, preventing crumbs from falling off into the oil or sliding off the cutlet when you take a bite.
2.Fry cutlets in batches without crowding the skillet: overcrowding drops the oil temperature rapidly, leading to soggy, grease-soaked crust instead of the light, crispy exterior that defines a great chicken parm sub.
3.Stick to low-moisture mozzarella instead of fresh mozzarella: fresh mozzarella releases excess water as it melts, which will soak through the toasted roll and make the sub soggy, while low-moisture mozzarella melts into a stretchy, creamy layer without added moisture.
✨ You May Also Like

Dinner
🍜 United States

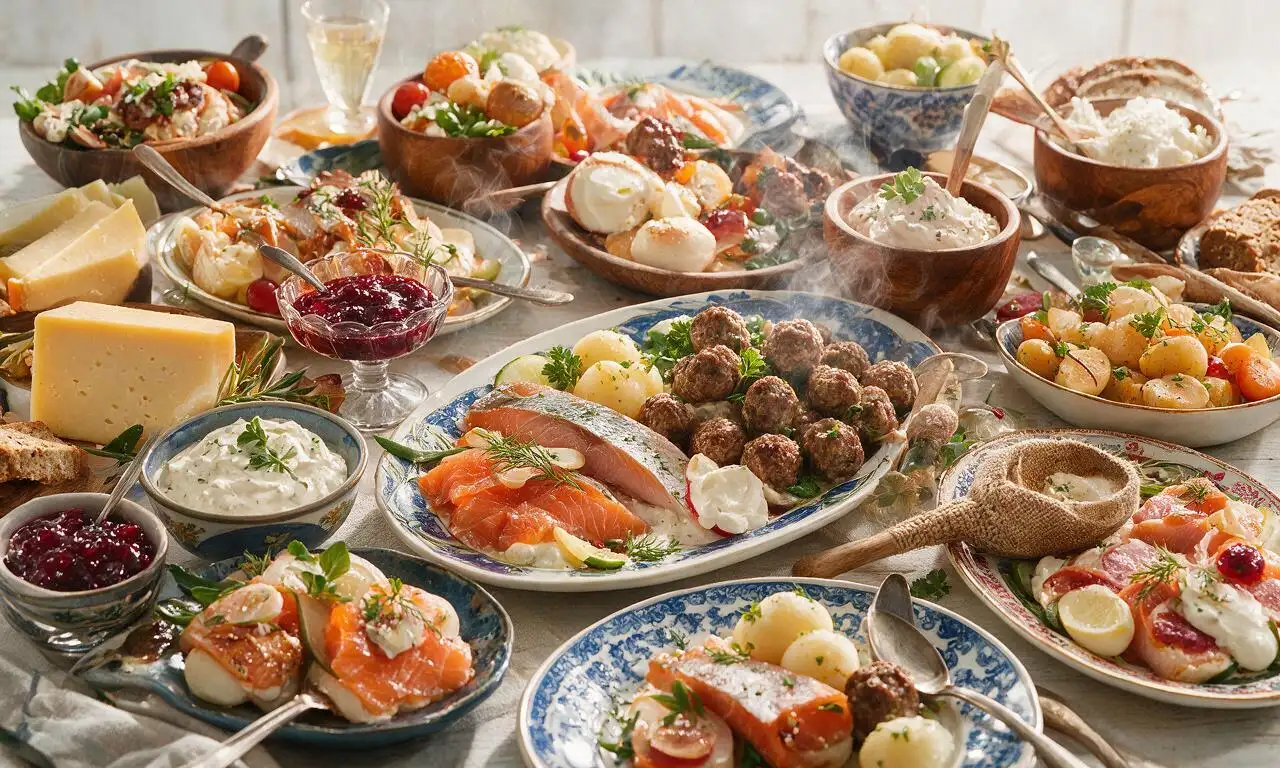
A festive, hearty spread of classic Swedish small plates, featuring cured fish, tender meatballs, cheese, and seasonal sides, perfect for holiday gatherings.

⏱️ 2 hoursDinner ★ 4.8
Dinner
🍜 United States

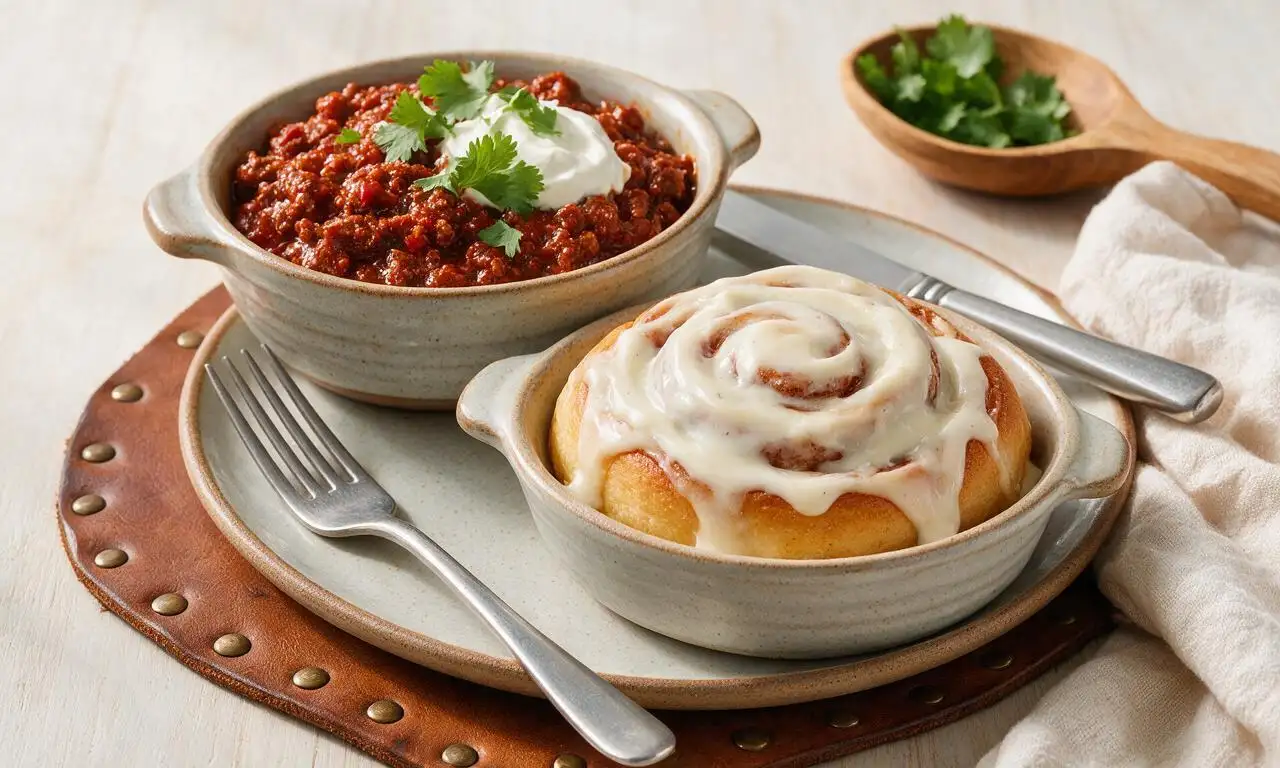
Iconic Midwestern comfort meal pairing rich, spiced beef chili with soft, frosted cinnamon rolls for the perfect sweet-savory cold-weather bite.

⏱️ 1 hour 45Dinner ★ 4.7
Dinner
🍜 Canada

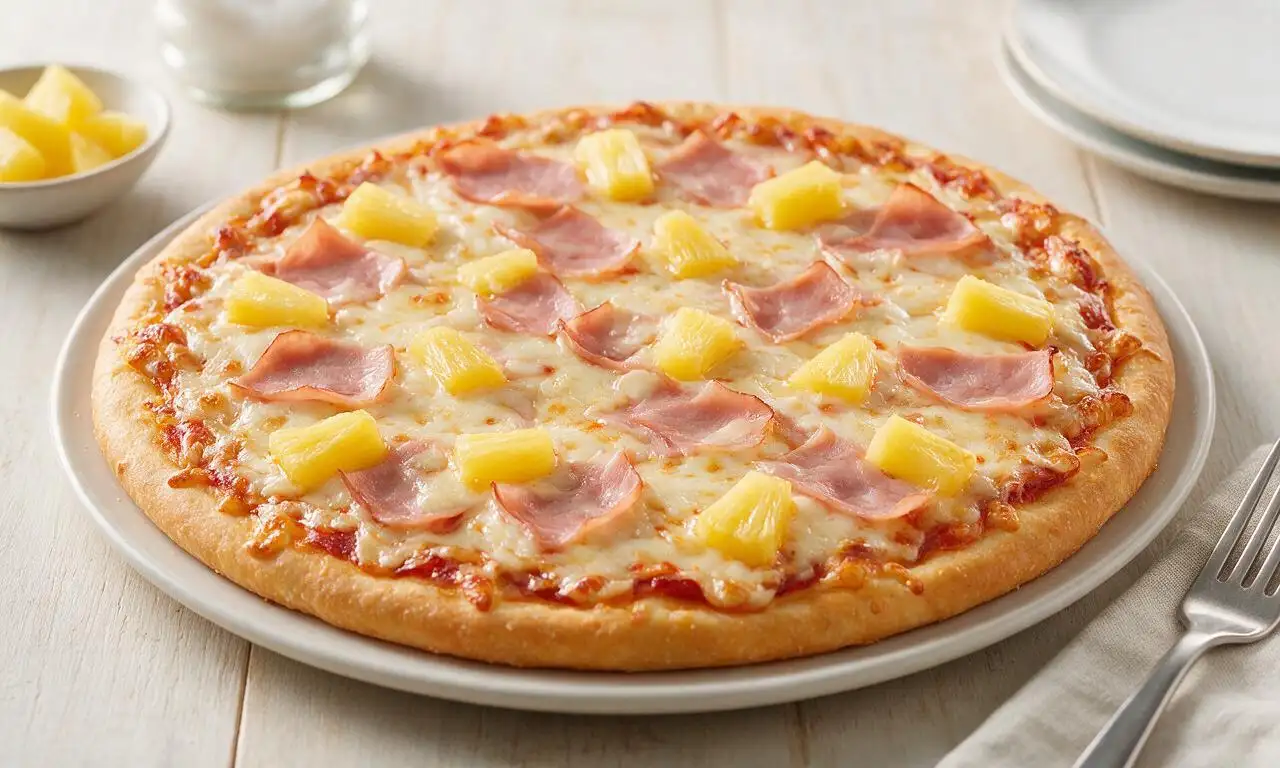
A beloved sweet-savory pizza loaded with smoky ham, juicy pineapple, and gooey melted cheese on a crisp golden crust, perfect for casual shared meals.

⏱️ 25 minuteDinner ★ 4.9
Dinner
🍜 United States

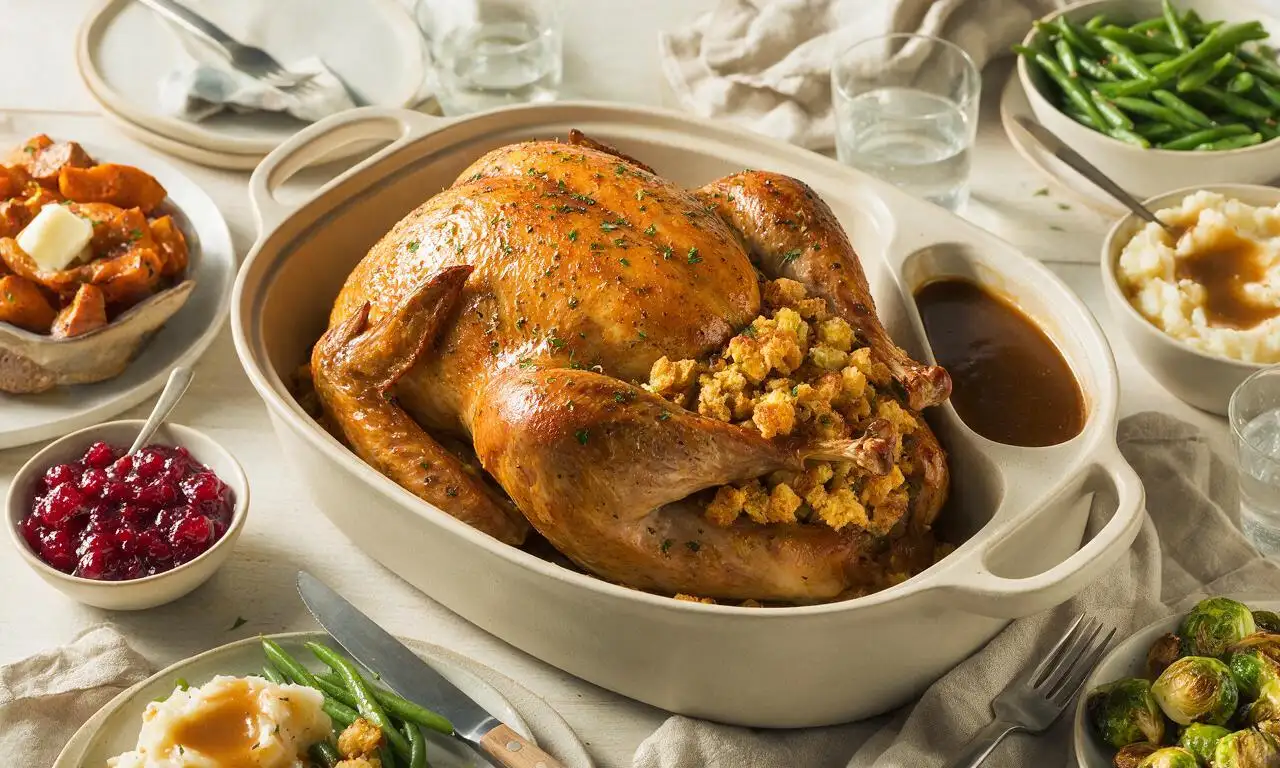
Juicy herb-roasted turkey with savory sourdough stuffing and rich pan gravy, the iconic cozy holiday meal made for gathering loved ones around the table.

⏱️ 4 hours 3Dinner ★ 4.9
Dinner
🍜 Italy

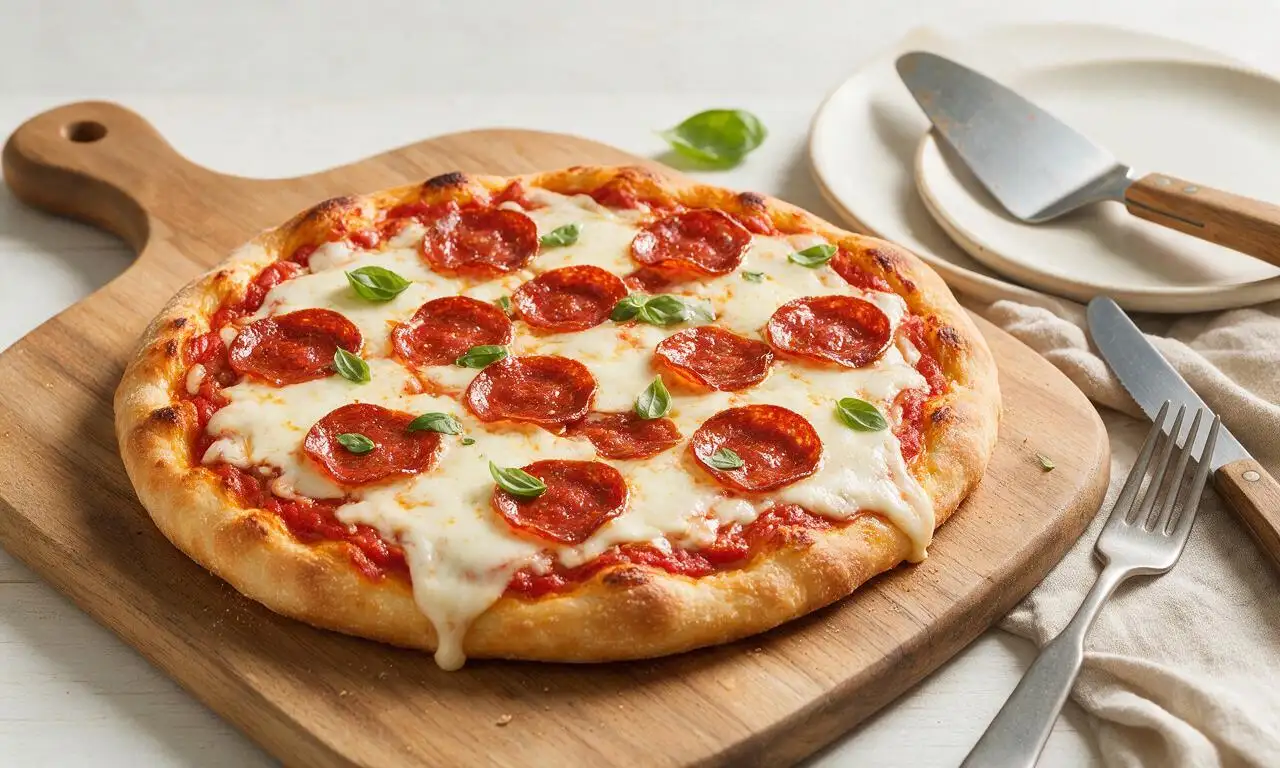
Crispy chewy crust, tangy tomato sauce, gooey melted mozzarella, and spicy curled pepperoni: this takeout favorite is simple to make perfectly at home.

⏱️ 35 minuteDinner ★ 4.9
Dinner
🍜 Italy

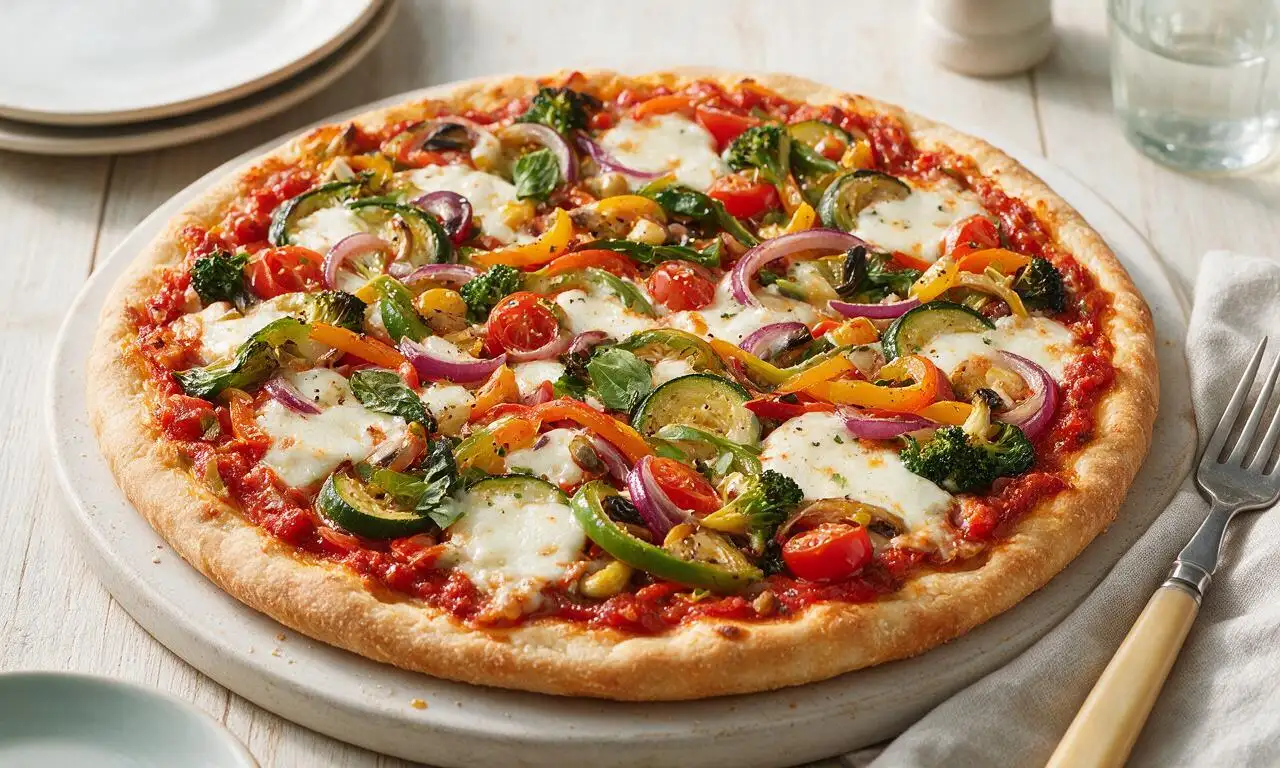
Crispy, chewy crust loaded with colorful fresh veggies, melted mozzarella, and zesty tomato sauce: a satisfying, crowd-pleasing meatless meal.

⏱️ 35 minuteDinner ★ 4.8

chicken parmesan sub:Frequently Asked Questions

1.How do I keep the breaded chicken and sub from getting soggy? ▾
Pat chicken completely dry before breading, use a 50/50 mix of panko and fine seasoned breadcrumbs for extra crunch, and cook until the crust is deeply golden and crisp. Toast your hoagie roll first to create a moisture barrier, and avoid dousing the chicken in marinara until you’re ready to assemble.
2.Can I use pre-made frozen breaded chicken to cut down on weeknight prep time? ▾
Absolutely, that’s a perfect weeknight shortcut! Look for thin, crispy frozen breaded chicken patties rather than thick, bulky strips, and cook them according to package directions until extra crisp. Add a light sprinkle of grated parmesan during the last 2 minutes of cooking to boost that classic parm flavor.
3.Why do you recommend low-moisture mozzarella instead of fresh mozzarella for this sub? ▾
Fresh mozzarella has very high water content that leaks out as it melts, turning your toasty hoagie roll soggy and diluting the bright tang of the marinara. Low-moisture mozzarella melts into that iconic stretchy, gooey texture without excess moisture, and it browns beautifully under a quick broil.
4.How do I toast the hoagie roll without it getting too hard or chewy? ▾
Split your hoagie rolls open, brush the cut sides lightly with a little olive oil or melted butter, and toast them cut-side down on a skillet or under the broiler for just 1 to 2 minutes until light golden. Don’t walk away while toasting—rolls go from perfectly crisp to rock-hard in seconds.
5.Can I make these subs ahead of time for meal prep or a casual party? ▾
I don’t recommend fully assembling these ahead, as the breading and roll will get soggy as they sit. You can prep components 2 days in advance: cook and cool the breaded chicken, warm the marinara, and shred your cheese. Assemble and broil for 2 to 3 minutes right before serving for the best texture.
6.How do I get perfectly melted, stretchy cheese without burning the roll? ▾
Once you’ve layered the cooked chicken, a thin spread of marinara, and mozzarella on the bottom half of your toasted roll, pop the open-faced sub under a high broiler 4 to 6 inches from the heat source for 1 to 2 minutes. Watch it closely, and pull it out as soon as the cheese is bubbly and lightly golden.
7.Can I make this sub gluten-free without losing that signature crispy texture? ▾
Absolutely! Swap regular hoagie rolls for your favorite soft gluten-free Italian rolls, and replace standard breadcrumbs and panko with gluten-free panko mixed with a quarter cup of finely grated parmesan for extra crunch. Double check that your marinara is certified gluten-free, then follow the standard breading and cooking steps.
8.What add-ons work well if I want to customize my chicken parm sub? ▾
You can layer in thin-sliced pepperoni or crispy prosciutto for extra savoriness, add a sprinkle of red pepper flakes for a little heat, or toss a handful of peppery arugula on top after broiling for fresh, bright contrast. Stick to low-moisture add-ons, and pat any fresh veggies completely dry before adding.
9.How thick should I prep the chicken breasts for the best sub texture? ▾
Pound your boneless, skinless chicken breasts to an even ½-inch thickness before breading. This ensures the chicken cooks quickly and evenly without drying out, creates the ideal ratio of crispy breading to tender chicken in every bite, and makes the sub easy to bite through without fillings squeezing out.

Comments (12)

2 days ago

OMG this was such a game changer for our busy weeknight dinner! My kids devoured these subs in 10 minutes flat, I didn’t even have time to snap a photo. The chicken got so crispy even with my janky old toaster oven, 10/10 will be making these every other week for sure. 20 minute cook time is not a lie, y’all — I timed it!

yesterday

Wait you used a toaster oven? I’ve been debating trying that instead of heating up my whole oven in this Arizona heat, that’s perfect to know!

yesterday

So glad the whole family loved them! The toaster oven method works amazing for extra crispy chicken too — just make sure to flip the cutlets halfway through for even crunch!

3 days ago

Made this in my dorm air fryer last night for me and my roommate and we were both stunned how good it turned out. No fancy ingredients, super cheap to throw together, and way better than the sub shop down the street that charges $14 for a chicken parm sub. Adding this to my permanent rotation

1 week ago

SO good! I prepped the crispy chicken cutlets on Sunday and assembled these for lunches all week, they held up way better than I thought they would. I did add a little extra mozzarella because duh, who doesn’t love extra cheese? Only note is I toasted the hoagie rolls for a couple minutes first so they didn’t get soggy from the marinara.

5 days ago

Great tip about toasting the rolls first! That’s such a smart move to prevent sogginess, especially when prepping ahead for the week. So happy this worked for your meal prep!

5 days ago

Wait, hold up — I’ve been making chicken parm subs for years and mine never get this crispy? What’s the trick? I always end up with soggy breading that slides right off the chicken when I take a bite. Super frustrating, would love to nail this for our next football watch party.

3 days ago

Dude I had the same problem until I made this! Make sure you pat the chicken completely dry before breading, and don’t douse it in marinara until right before you put it on the sub. Total game changer for no soggy breading!

3 days ago

Great advice from @GameDayGriller! Patting the chicken dry is key, and I also recommend letting the breaded cutlets rest for 2-3 minutes before cooking so the coating sticks better. Hope they’re a hit at your watch party!

2 weeks ago

I swapped the regular breadcrumbs for gluten free panko and used GF hoagie rolls and this turned out perfect! Didn’t even taste like a gluten free swap, my husband who eats literally anything didn’t even notice the difference. Will be bringing these to our next neighborhood potluck for sure.

yesterday

Made these after a long day of parent teacher conferences and I cannot stress enough how perfect this easy recipe was. Minimal cleanup, zero fancy steps, and it tasted like I ordered takeout from my favorite Italian spot. I even added a sprinkle of parmesan on the bread before toasting for extra nuttiness.

2 hours ago

Oh the parmesan on the bread trick sounds insane! I’m making these for my husband tonight, I’m definitely stealing that idea!

30 minutes ago

This tastes exactly like the crispy chicken parm subs I used to get at the old diner in my hometown growing up. Total nostalgia bomb. The breading is perfectly crunchy, the marinara to chicken to cheese ratio is spot on, zero notes. 10/10

5 minutes ago

Quick question — can I freeze the cooked breaded chicken cutlets to pull out for quick subs later? I try to stock my freezer with easy protein options for busy weeks, and these look like they’d be perfect for that.

just now

Great question! Yes, the cooked crispy cutlets freeze really well for up to 3 months. Just let them cool completely, store in an airtight bag with parchment between layers, and reheat in the oven or air fryer to crisp them back up when you’re ready to make subs!

1 week ago

Made these for our Sunday football watch party with the guys and everyone was raving. I set up a little build-your-own sub bar with extra marinara, melted provolone, pepperoncini, and garlic butter for the rolls, and people went back for seconds (and thirds). So easy to make for a crowd too!

5 days ago

The build your own bar idea is genius! I’m hosting the playoff watch party next weekend, I’m totally stealing that setup. Thanks for the inspo!

5 days ago

A build-your-own sub bar is such a fun call for game day! So happy these were a hit with your crew — pepperoncini is such an underrated topping for these, love that addition!

2 hours ago

I was worried this would be too much work for a quick weeknight meal but it was so straightforward! I pounded the chicken thin like the recipe said and it cooked in like 8 minutes total. My teen said it’s better than the fast food chicken sandwiches he begs for all the time, which is the highest possible praise in this house.

30 minutes ago

Love that teen-approved stamp of approval! Pounding the chicken thin is such a key step for fast, even cooking and extra crispy coating — so glad that tip worked out for you!

2 days ago

Added a drizzle of hot honey on top of mine after assembling and holy cow, that sweet-spicy kick took this sub to the next level. If you’re a heat person you have to try it, the sweetness pairs so well with the salty parmesan and tangy marinara. Can’t wait to make these again.

yesterday

Oh my gosh hot honey is such a good call! I put that on literally everything, can’t believe I didn’t think to add it to these subs. I’m making them tonight so I’m definitely grabbing my hot honey bottle on the way home from work.

yesterday

Hot honey is such a chef’s kiss upgrade for these! A little sprinkle of red pepper flakes with that hot honey takes the flavor up another notch too, if you want even more heat.

yesterday

First time making any kind of chicken parm and I was so nervous I’d mess it up, but this recipe was so easy to follow! My husband said it’s restaurant quality, which made me feel so proud. I did accidentally buy thin cut chicken breasts which cut down on prep time even more, total win.

2 hours ago

Aren’t thin cut chicken breasts the best time saver? I grab them every time I see them at the grocery store for exactly this recipe, no pounding required! So glad your first chicken parm turned out amazing, nothing beats that restaurant quality win at home.