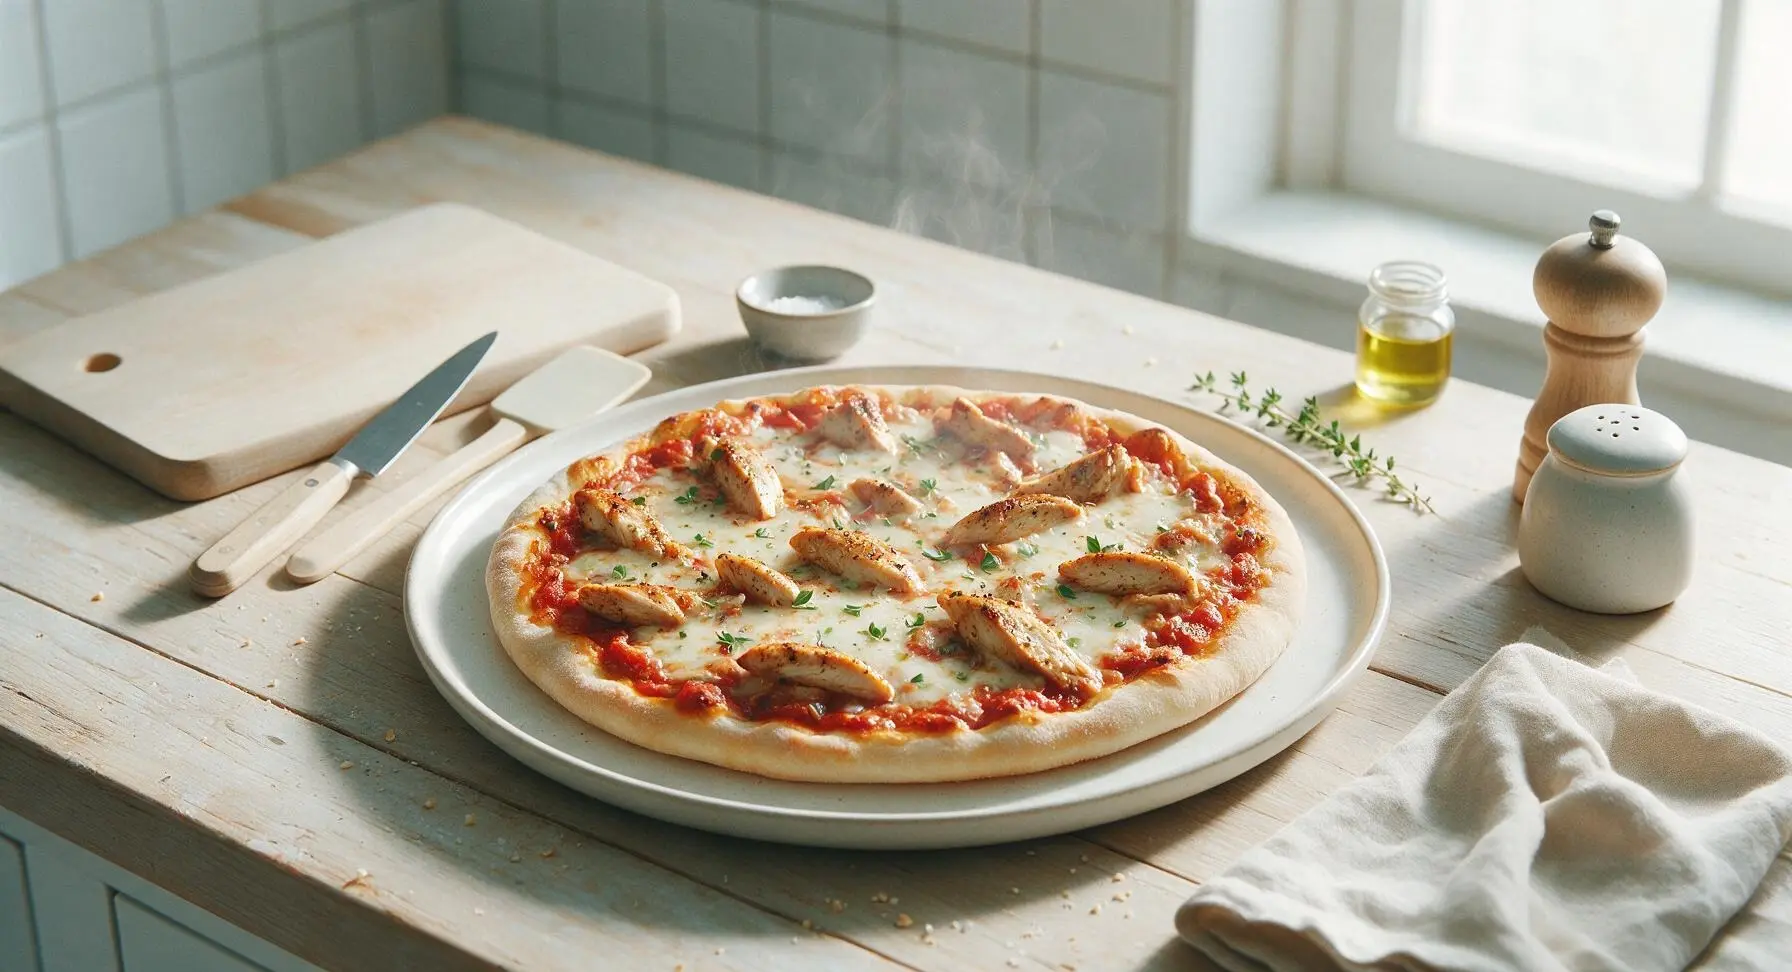
chicken pizza

title 1
chicken pizza
⏱️ cook time 22 minutes
🍽️ servings 4
⚡ Difficulty easy

intro

Crispy chewy crust, savory seasoned chicken, melty mozzarella, and bright tomato sauce come together in this easy, satisfying homemade pizza perfect for busy weeknights.

Ingredients
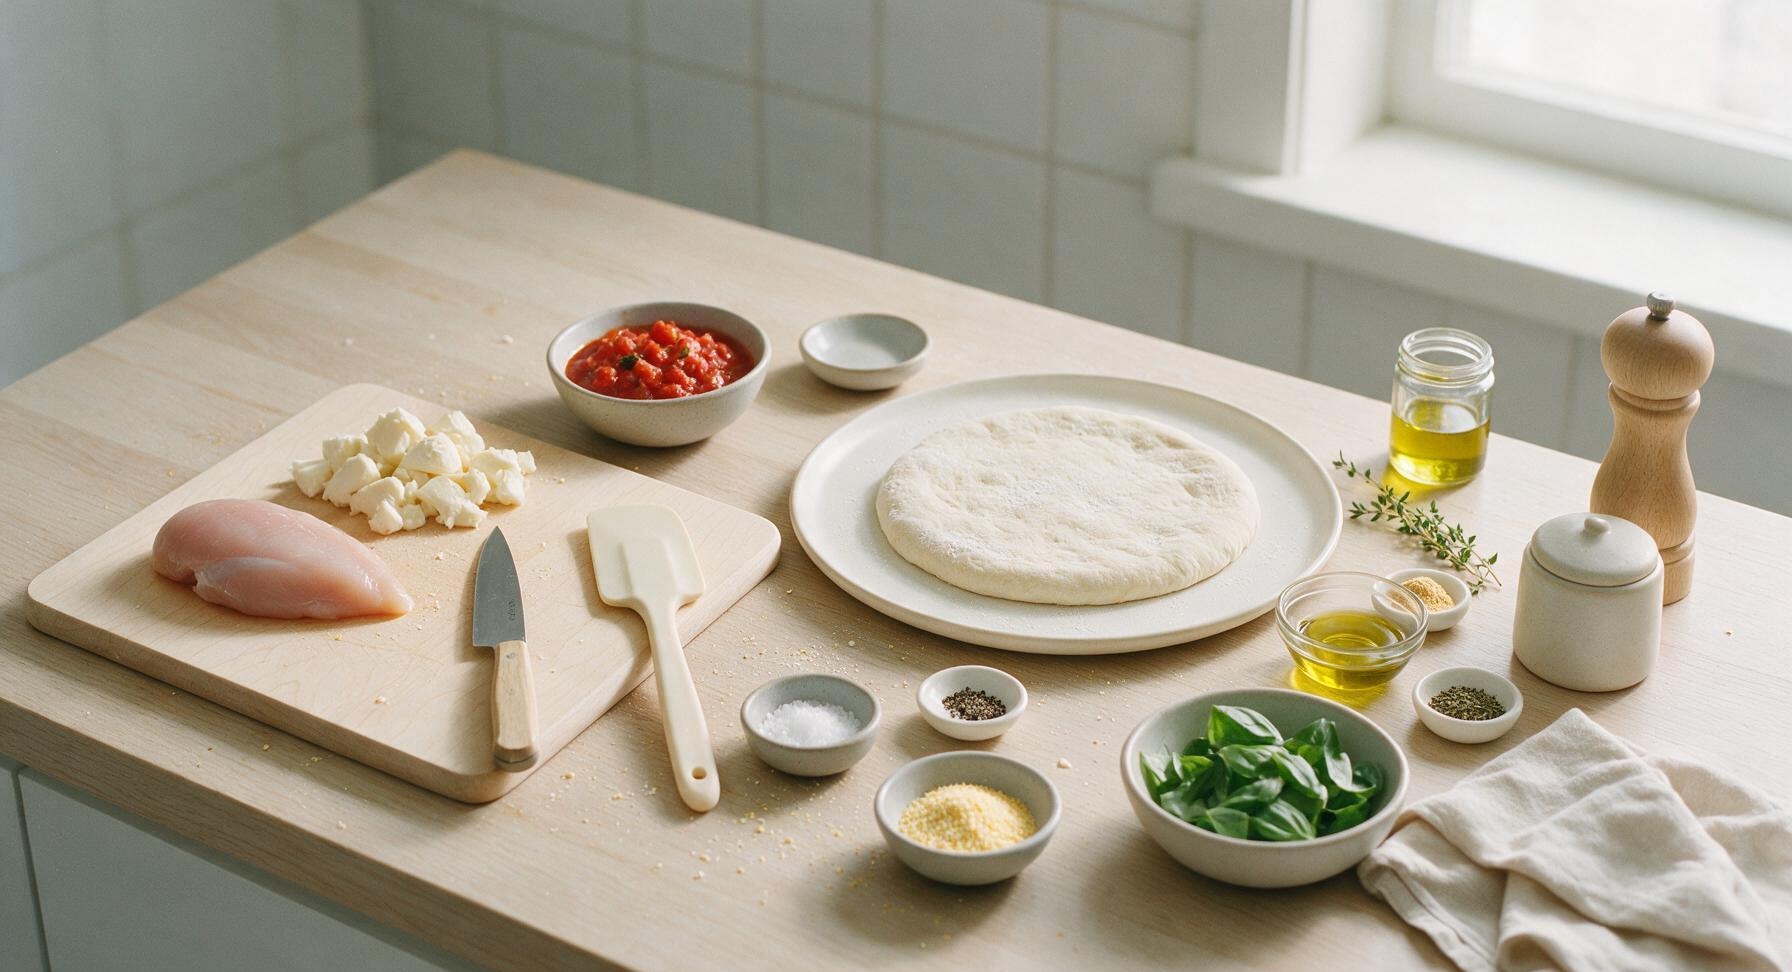
Refrigerated thin-crust pizza dough (brought to room temperature) 340g (12oz)
Boneless, skinless chicken breast 170g (6oz)
Low-moisture mozzarella cheese 170g (6oz)
Canned crushed San Marzano tomatoes 120g (1/2 cup)
Extra-virgin olive oil 2 tbsp (30ml)
Garlic powder 1 tsp
Dried oregano 1 tsp
Kosher salt 1 tsp
Freshly ground black pepper 1/2 tsp
Fresh basil leaves 1/4 cup (loosely packed)
Coarse cornmeal (for dusting) 1 tbsp

Steps

1

Preheat Oven, Season Chicken

Place an oven rack in the middle position and preheat your oven to 475°F (245°C). Set the 10-inch carbon steel skillet on the stovetop over medium-high heat to preheat. Place the boneless, skinless chicken breast on the oak cutting board, pat completely dry with paper towels, then rub all over with 1 teaspoon extra-virgin olive oil, ½ teaspoon garlic powder, ½ teaspoon dried oregano, ½ teaspoon kosher salt, and ½ teaspoon freshly ground black pepper. Let the seasoned chicken rest for 5 minutes as the oven and skillet preheat.

Step 1
step1:Preheat Oven, Season Chicken
2

Cook and Shred Chicken

Carefully lay the seasoned chicken breast in the preheated dry carbon steel skillet. Cook undisturbed for 4 minutes, until the first side is deep golden brown, then flip and cook 4 more minutes on the second side, until the internal temperature reaches 165°F (74°C) when checked with a meat thermometer. Transfer the cooked chicken back to the oak cutting board, let rest 3 minutes to retain juices, then use two forks to pull the meat apart into ¾-inch (2cm) bite-sized shredded pieces. Set aside.
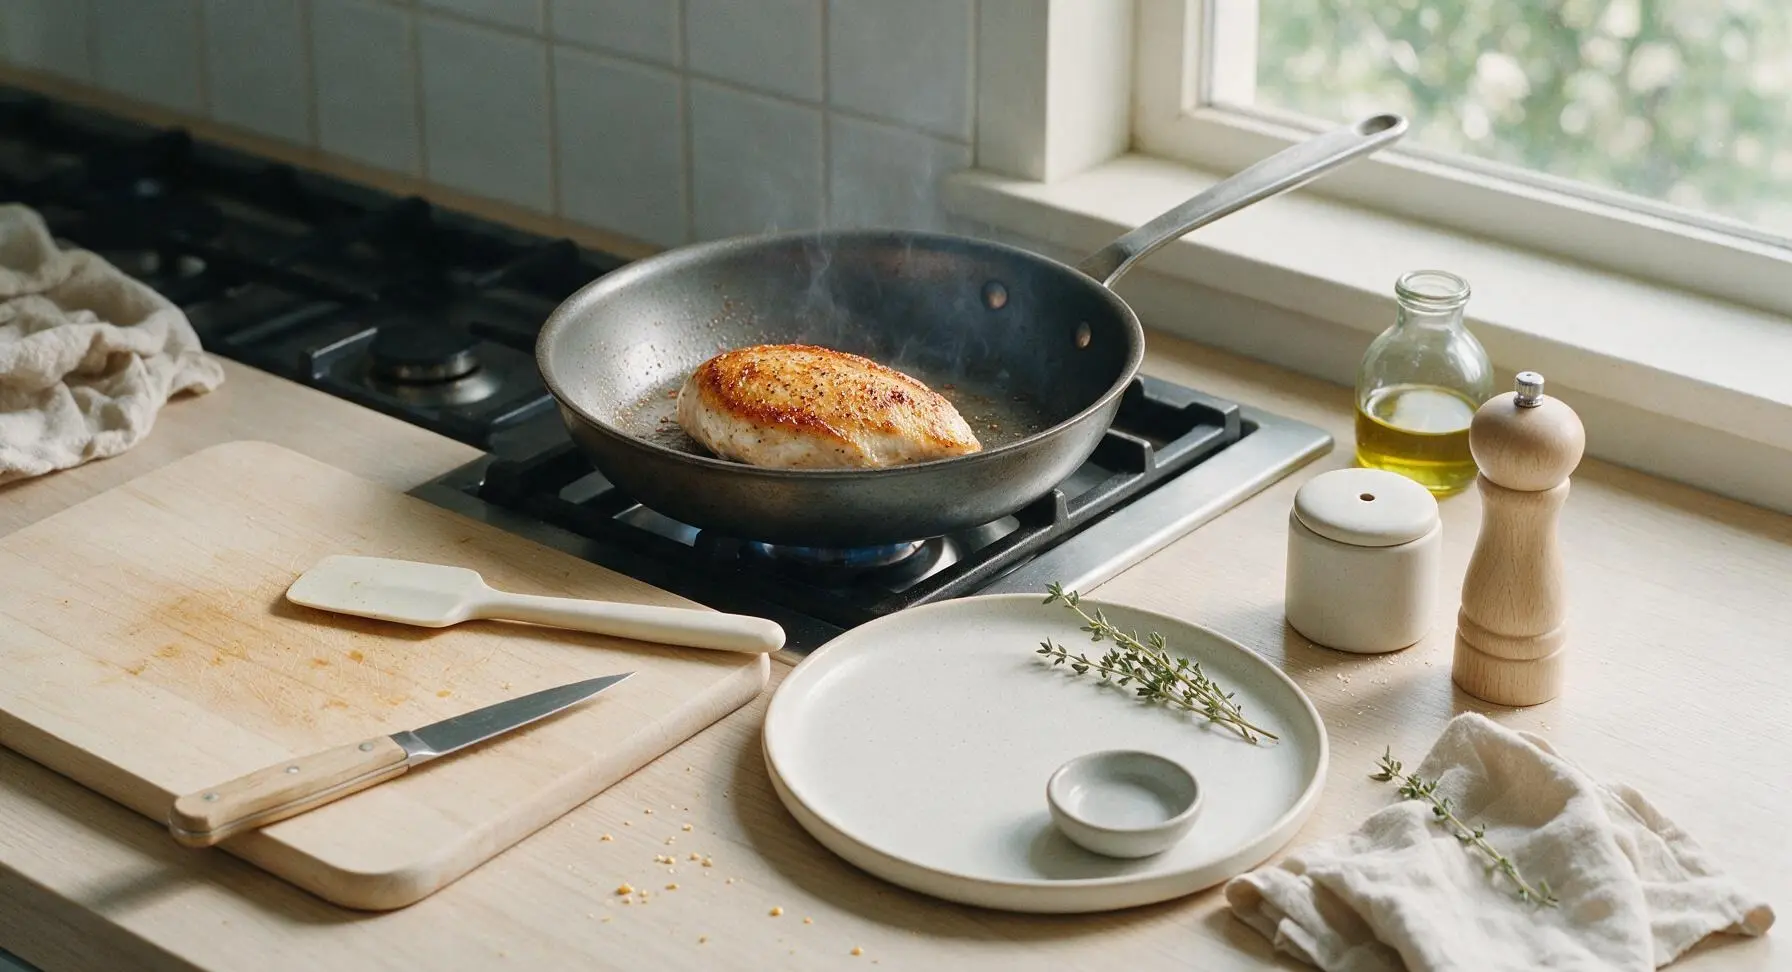
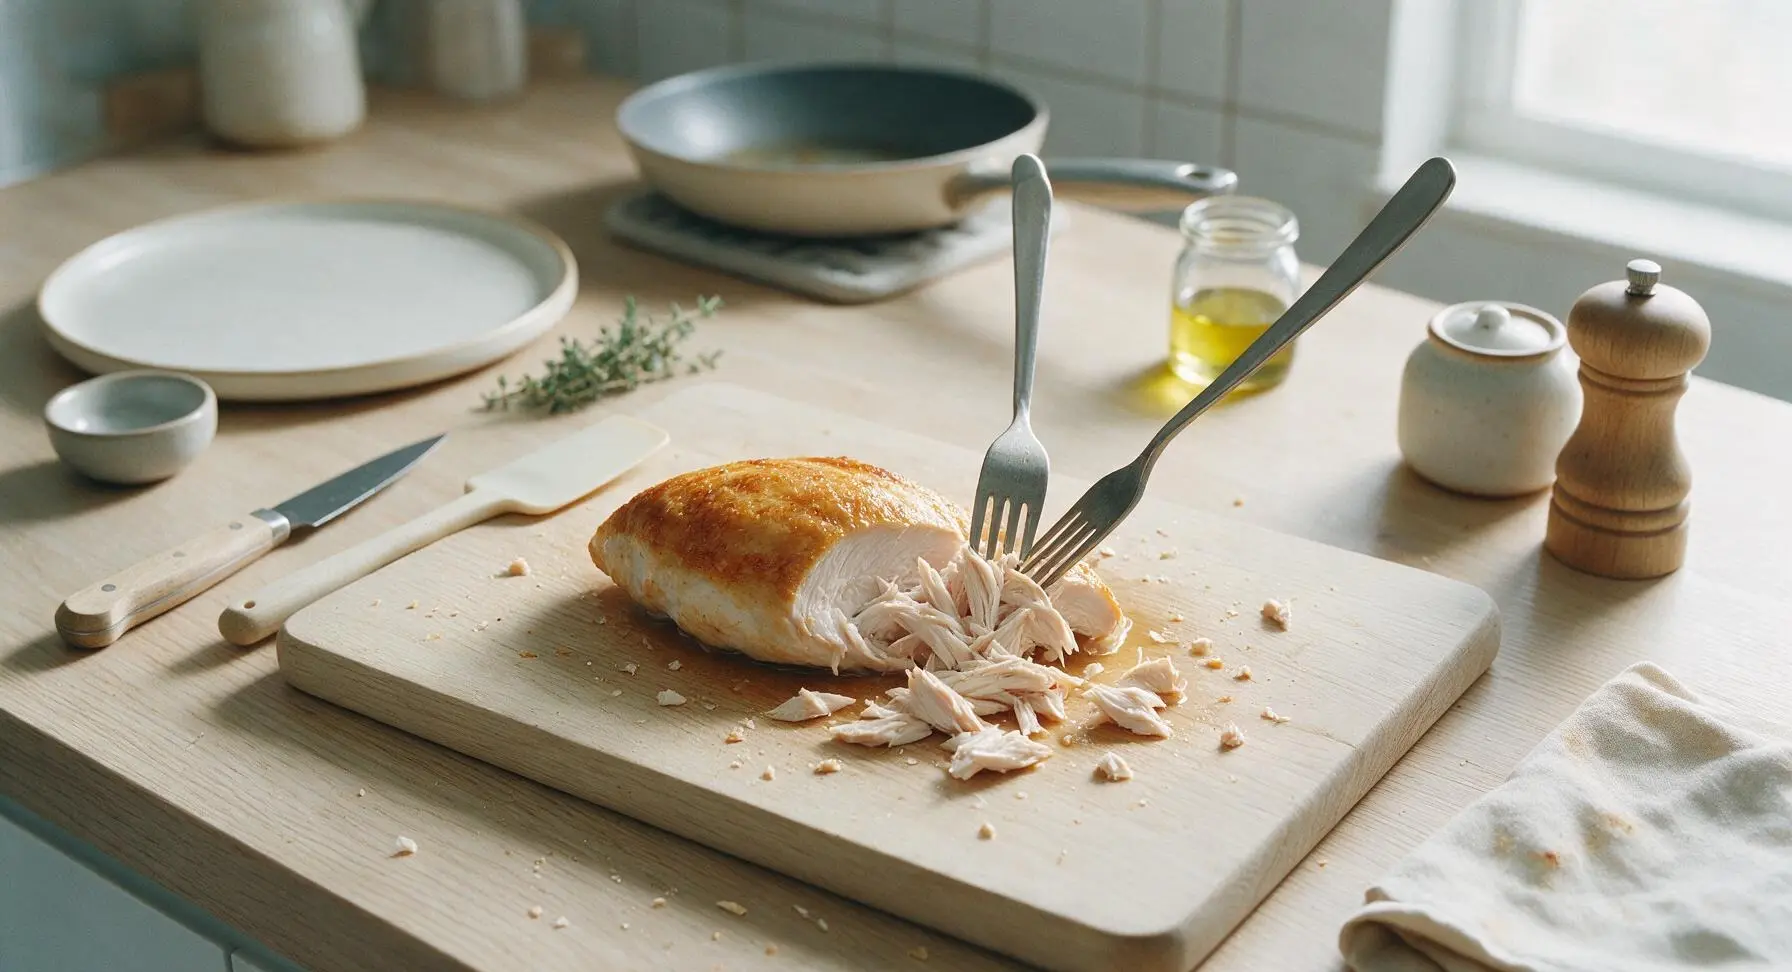
Step 2
step2:Cook and Shred Chicken
Step 2
step2:Cook and Shred Chicken
3

Shape Pizza Dough

Sprinkle 1 tablespoon of coarse yellow cornmeal evenly across the surface of the aluminum pizza peel to prevent the dough from sticking during transfer. Place the room-temperature pizza dough on the center of the peel. Use your fingertips to press the dough outward from the center, working gradually to form a 12-inch (30cm) rough round, leaving a ½-inch (1cm) thicker raised border for the crust. Use the stainless steel rolling pin to gently even out any thick spots, taking care not to press too hard and deflate the crust edge entirely. The finished shaped dough should be roughly ¼-inch (0.5cm) thick across the center.
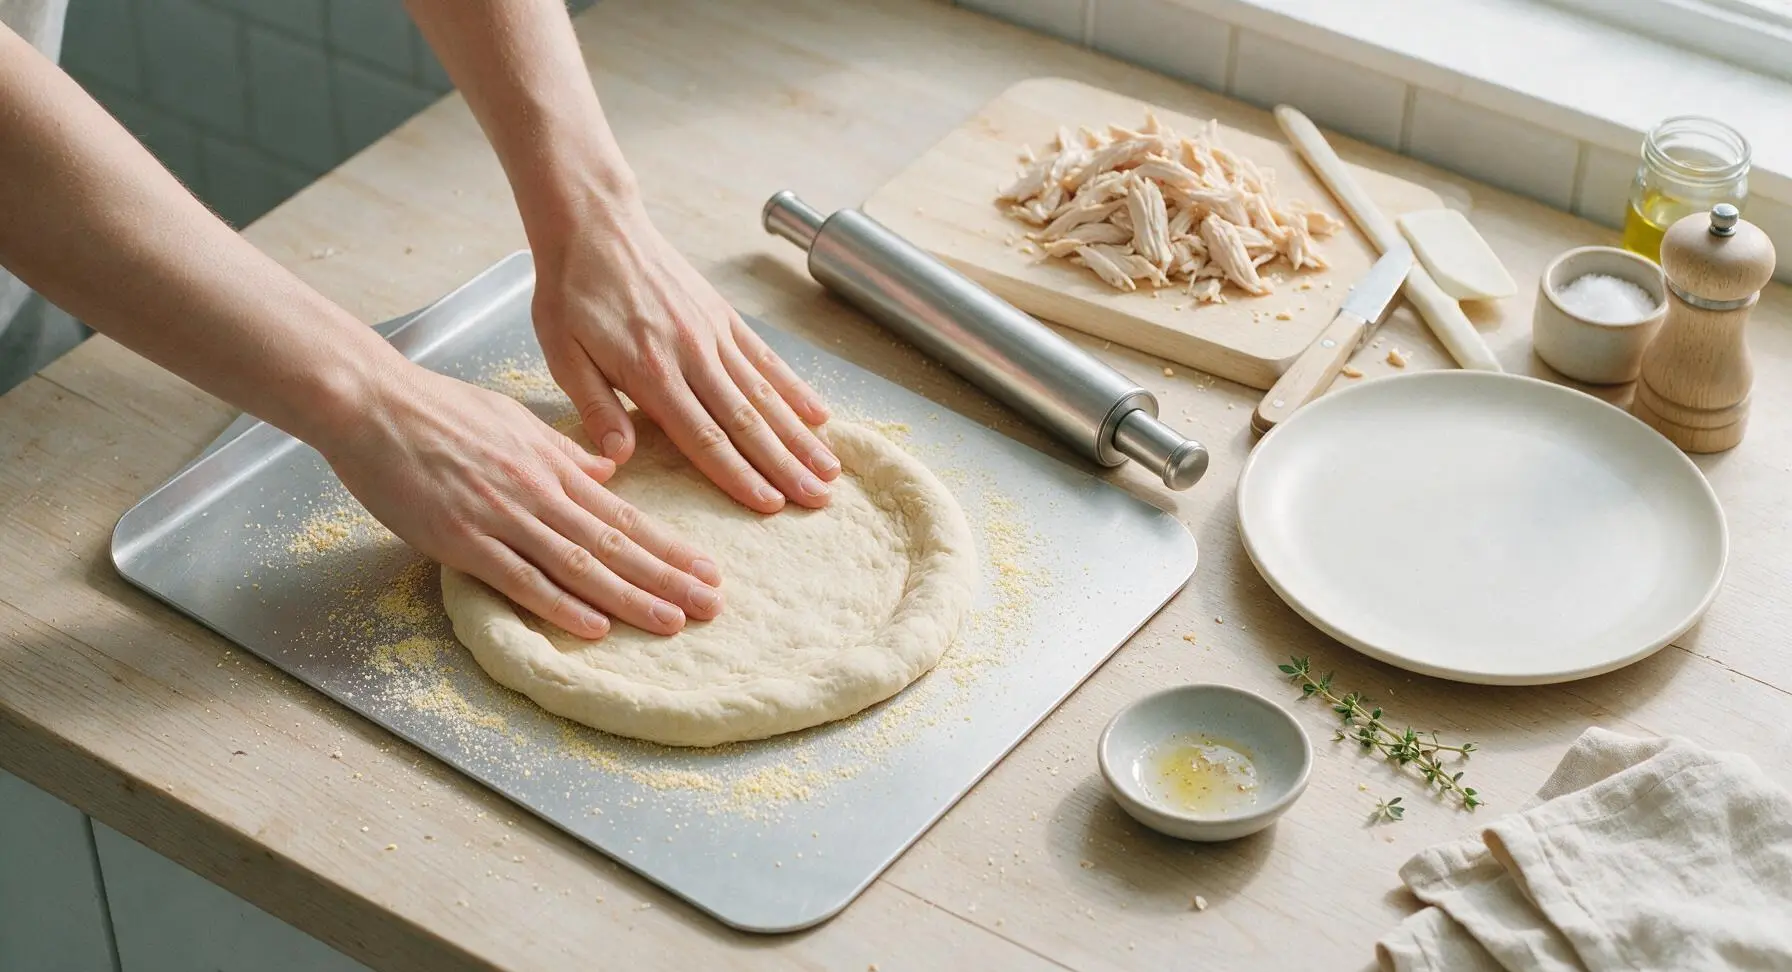
Step 3
step3:Shape Pizza Dough
4

Spread Sauce Base

Spoon ½ cup (120g) crushed San Marzano tomatoes onto the center of the shaped dough. Use the back of a metal spoon to spread the sauce in a thin, even layer across the center of the dough, stopping exactly at the raised crust border. Drizzle 1 teaspoon of olive oil over the sauce, then sprinkle with the remaining ½ teaspoon garlic powder and ½ teaspoon dried oregano. Avoid piling too much sauce in the center, as this will create a soggy crust.
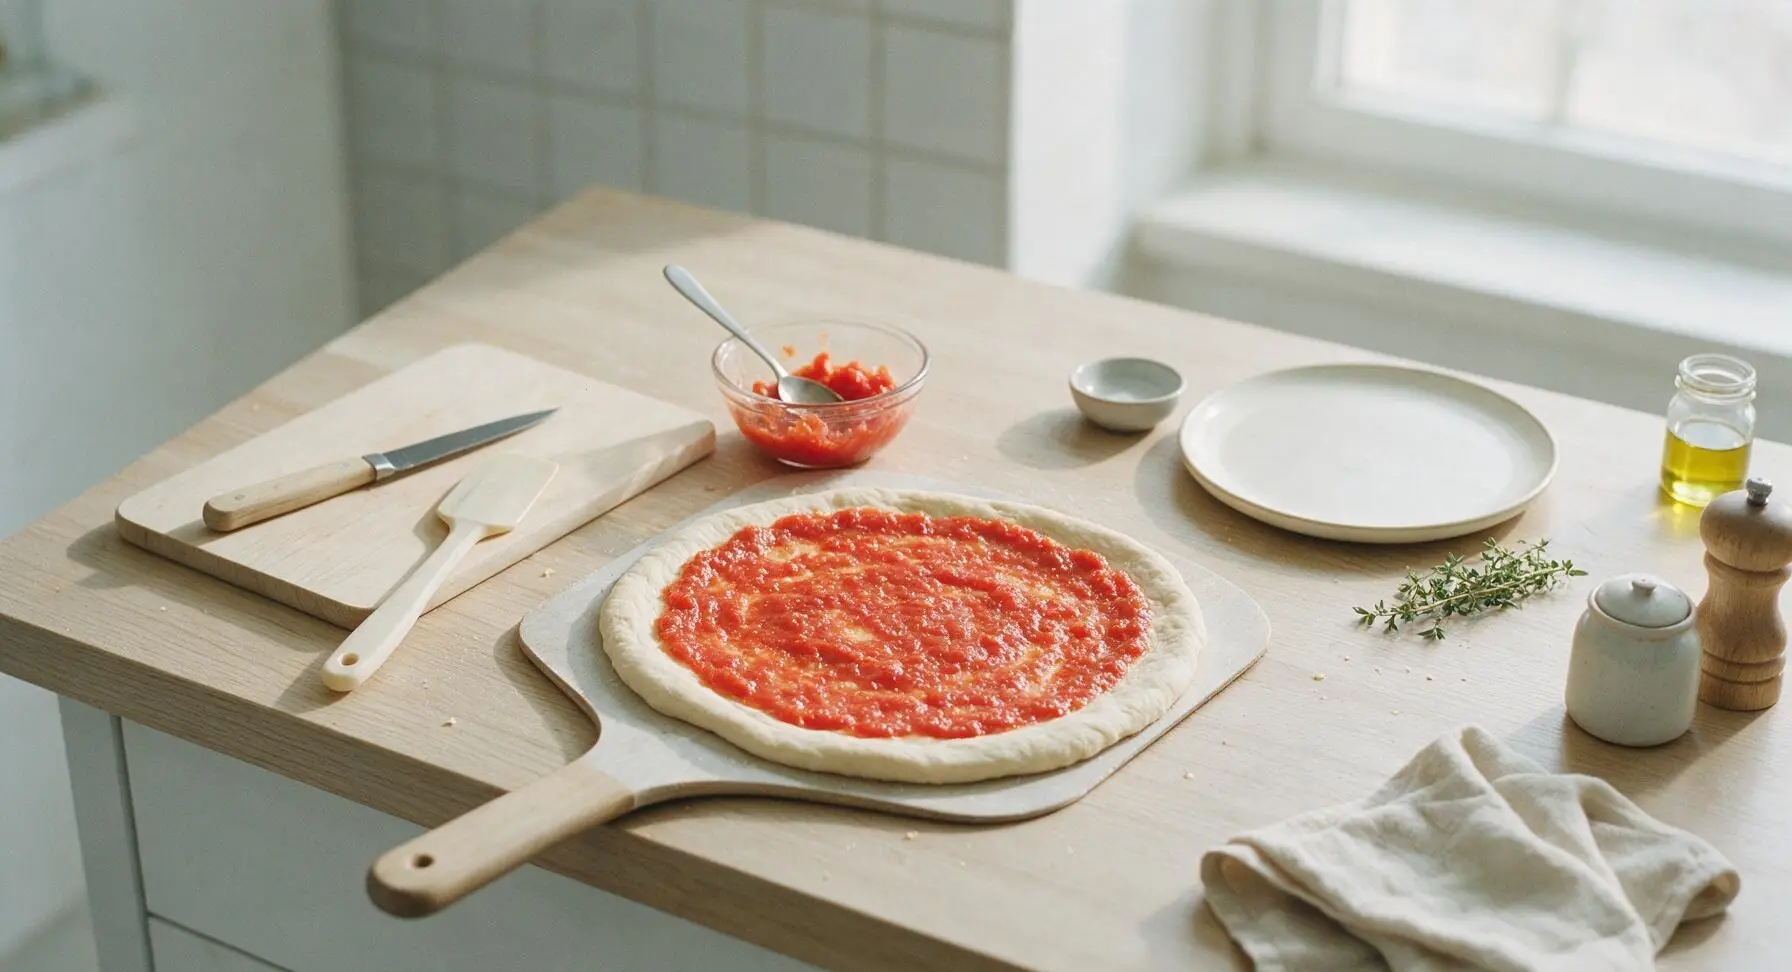
Step 4
step4:Spread Sauce Base
5

Add Cheese and Chicken

Use the 4-sided stainless steel box grater to shred the 170g (6oz) block of low-moisture mozzarella into coarse, even shreds. Scatter ¾ of the shredded mozzarella evenly over the sauced dough. Distribute all of the shredded seasoned chicken in an even layer across the cheese, then top with the remaining ¼ of the mozzarella to help anchor the chicken to the pizza during baking. Use the silicone pastry brush to brush the remaining 2 teaspoons of olive oil across the exposed raised crust border to encourage crisp, golden browning.
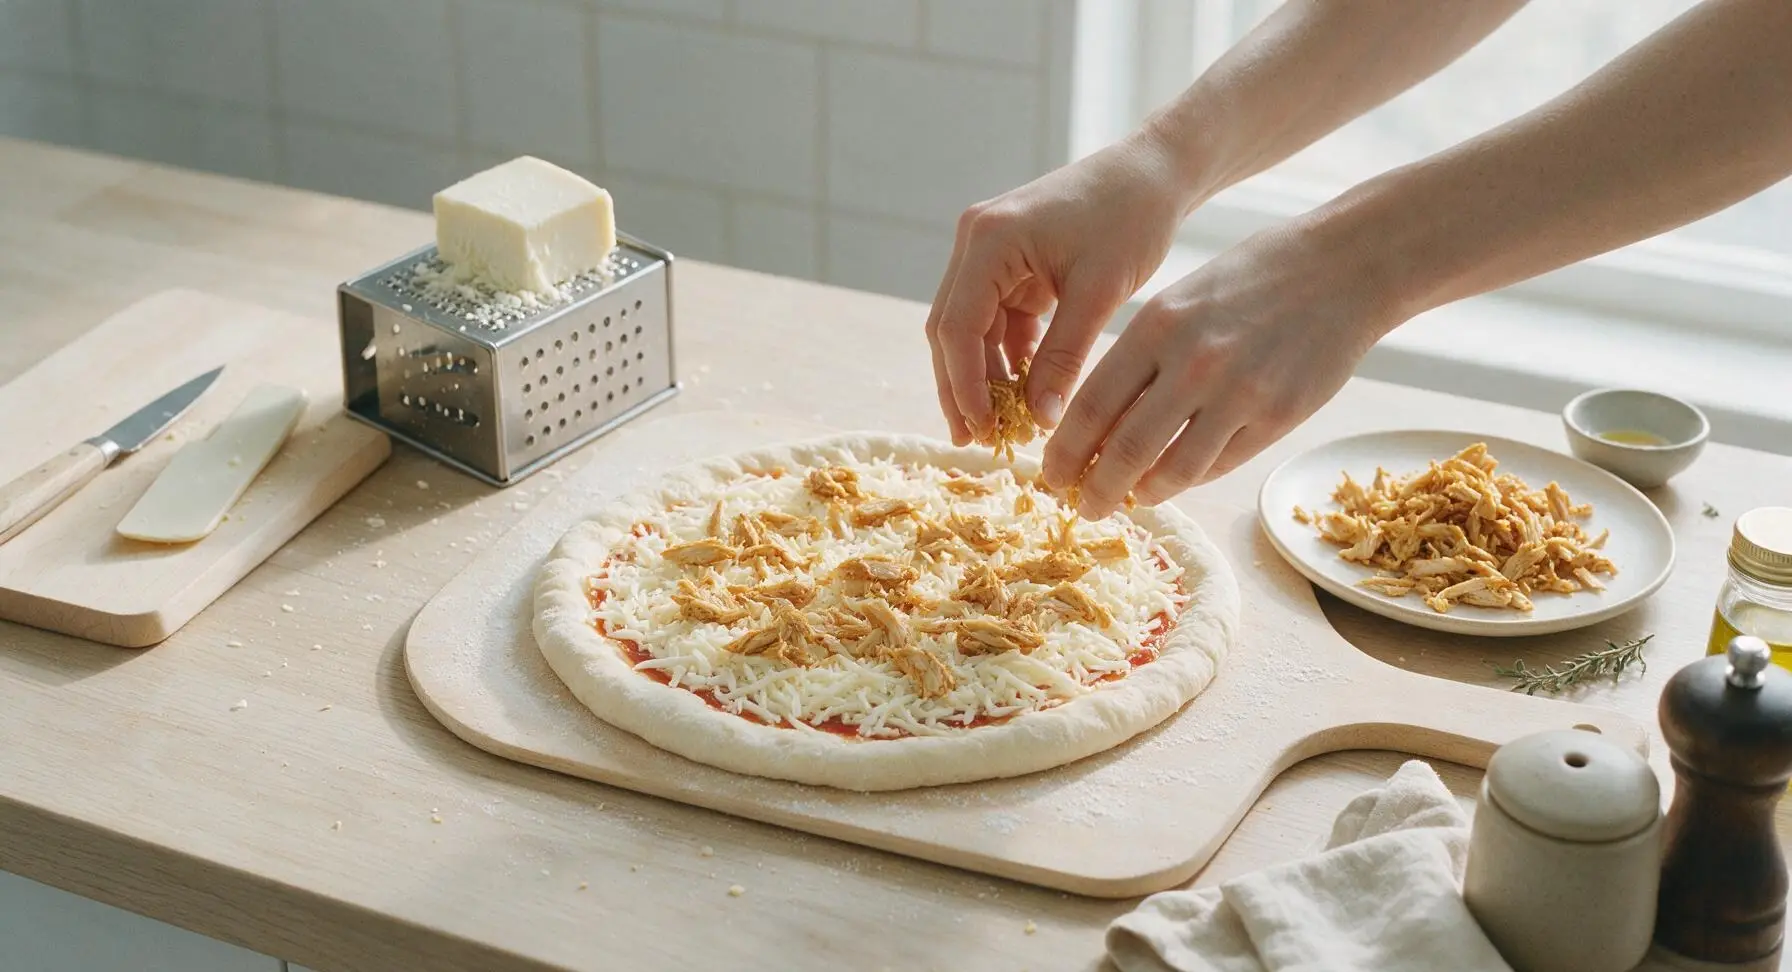
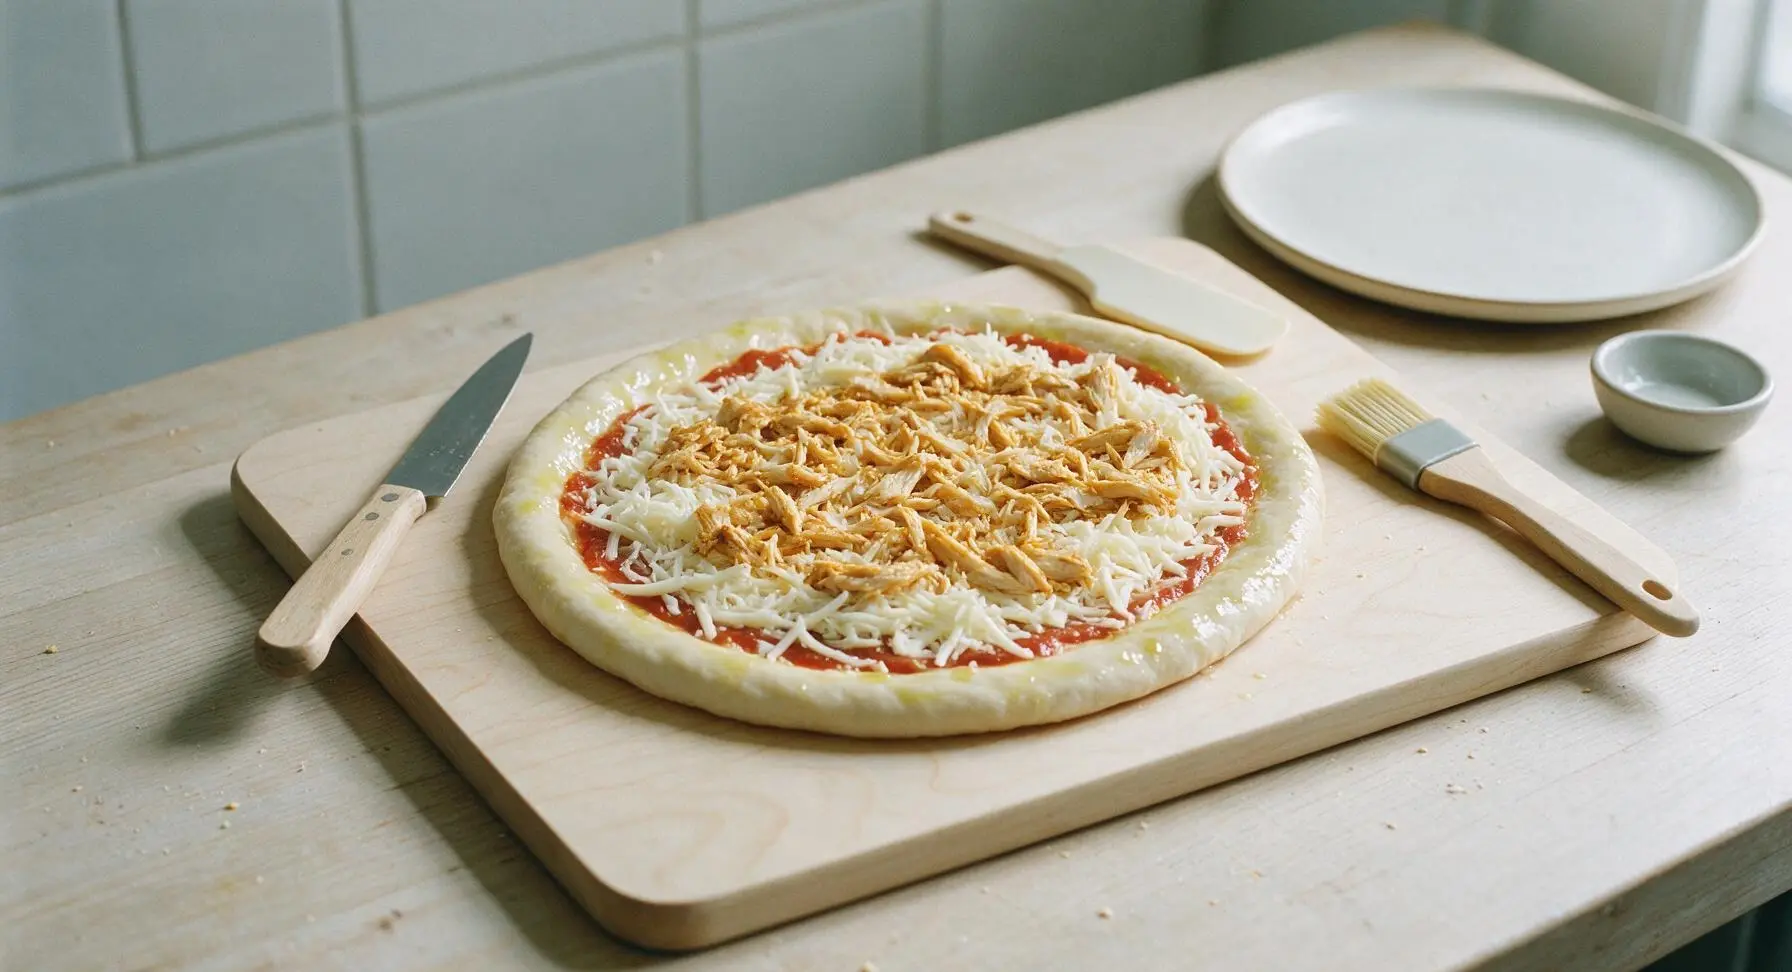
Step 5
step5:Add Cheese and Chicken
Step 5
step5:Add Cheese and Chicken
6

Bake Pizza Until Golden

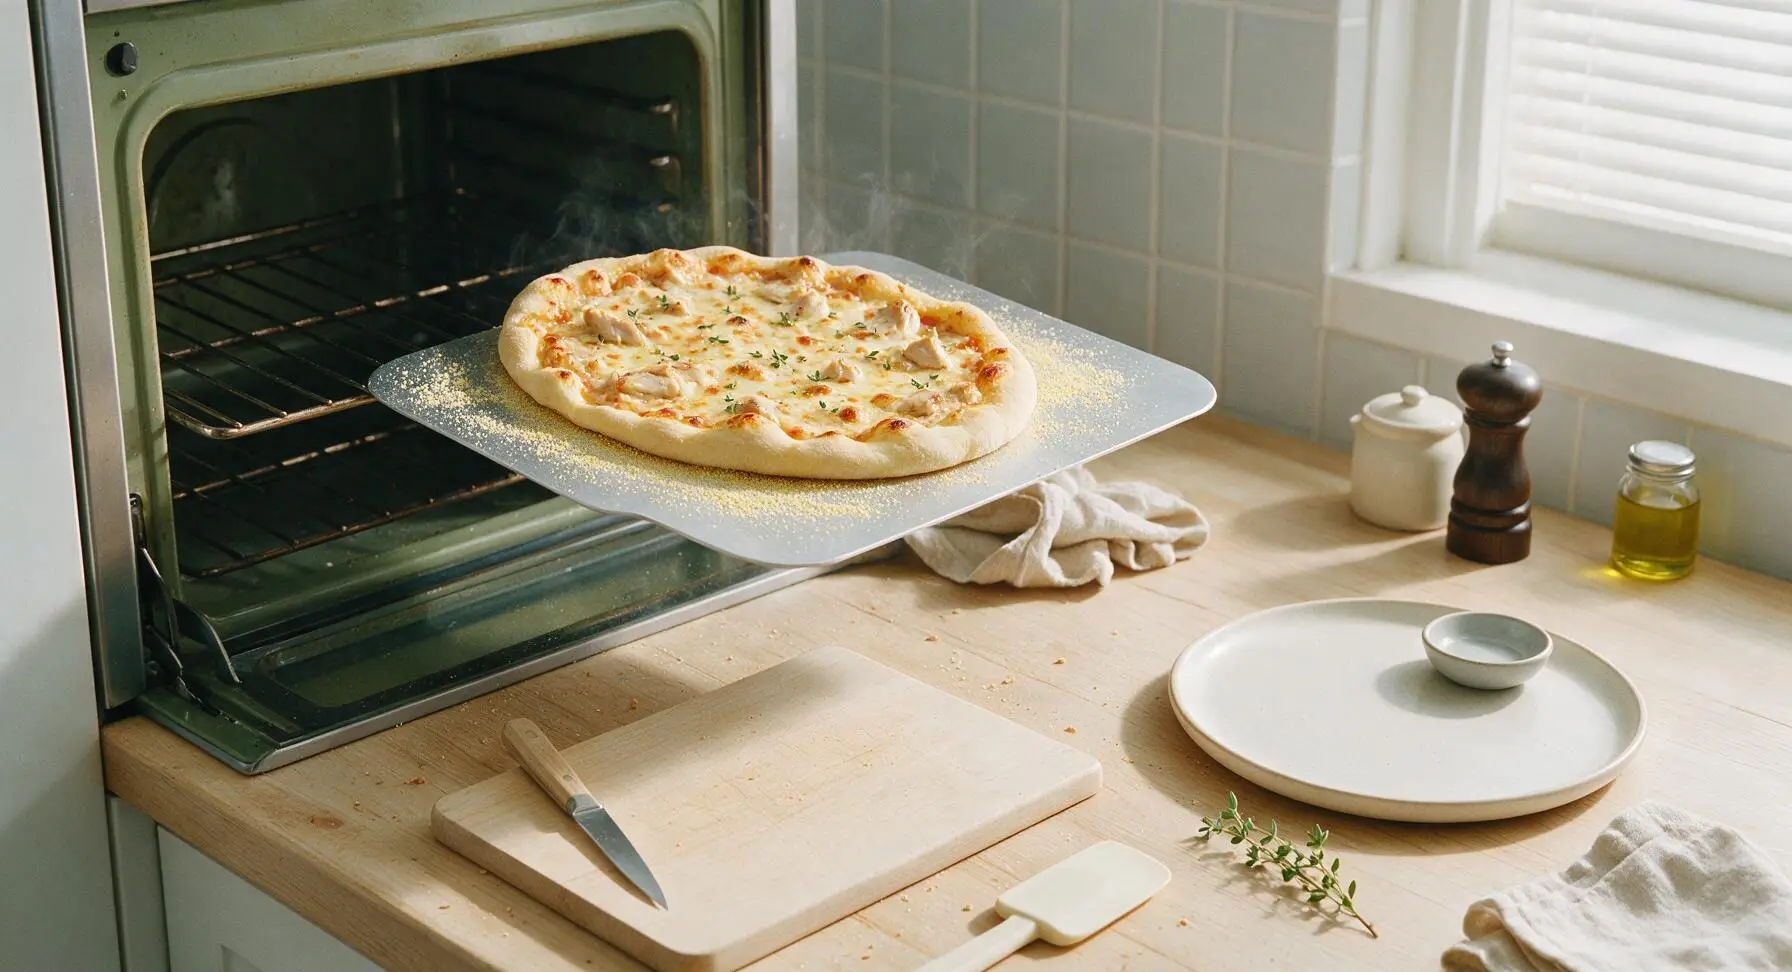
Hold the pizza peel at a slight angle to the open oven rack, then give the peel a quick, gentle forward-and-back jerk to slide the topped pizza directly onto the hot middle oven rack. Bake for 12-15 minutes total, rotating the pizza 180 degrees with the peel at the 7-minute mark to ensure even browning. The pizza is done when the crust edge is puffed and deep golden with small charred bubbles, the cheese is fully melted and bubbling across the entire surface, and the bottom of the crust is crisp when lifted with the peel.
Step 6
step6:Bake Pizza Until Golden
7

Garnish and Rest Pizza

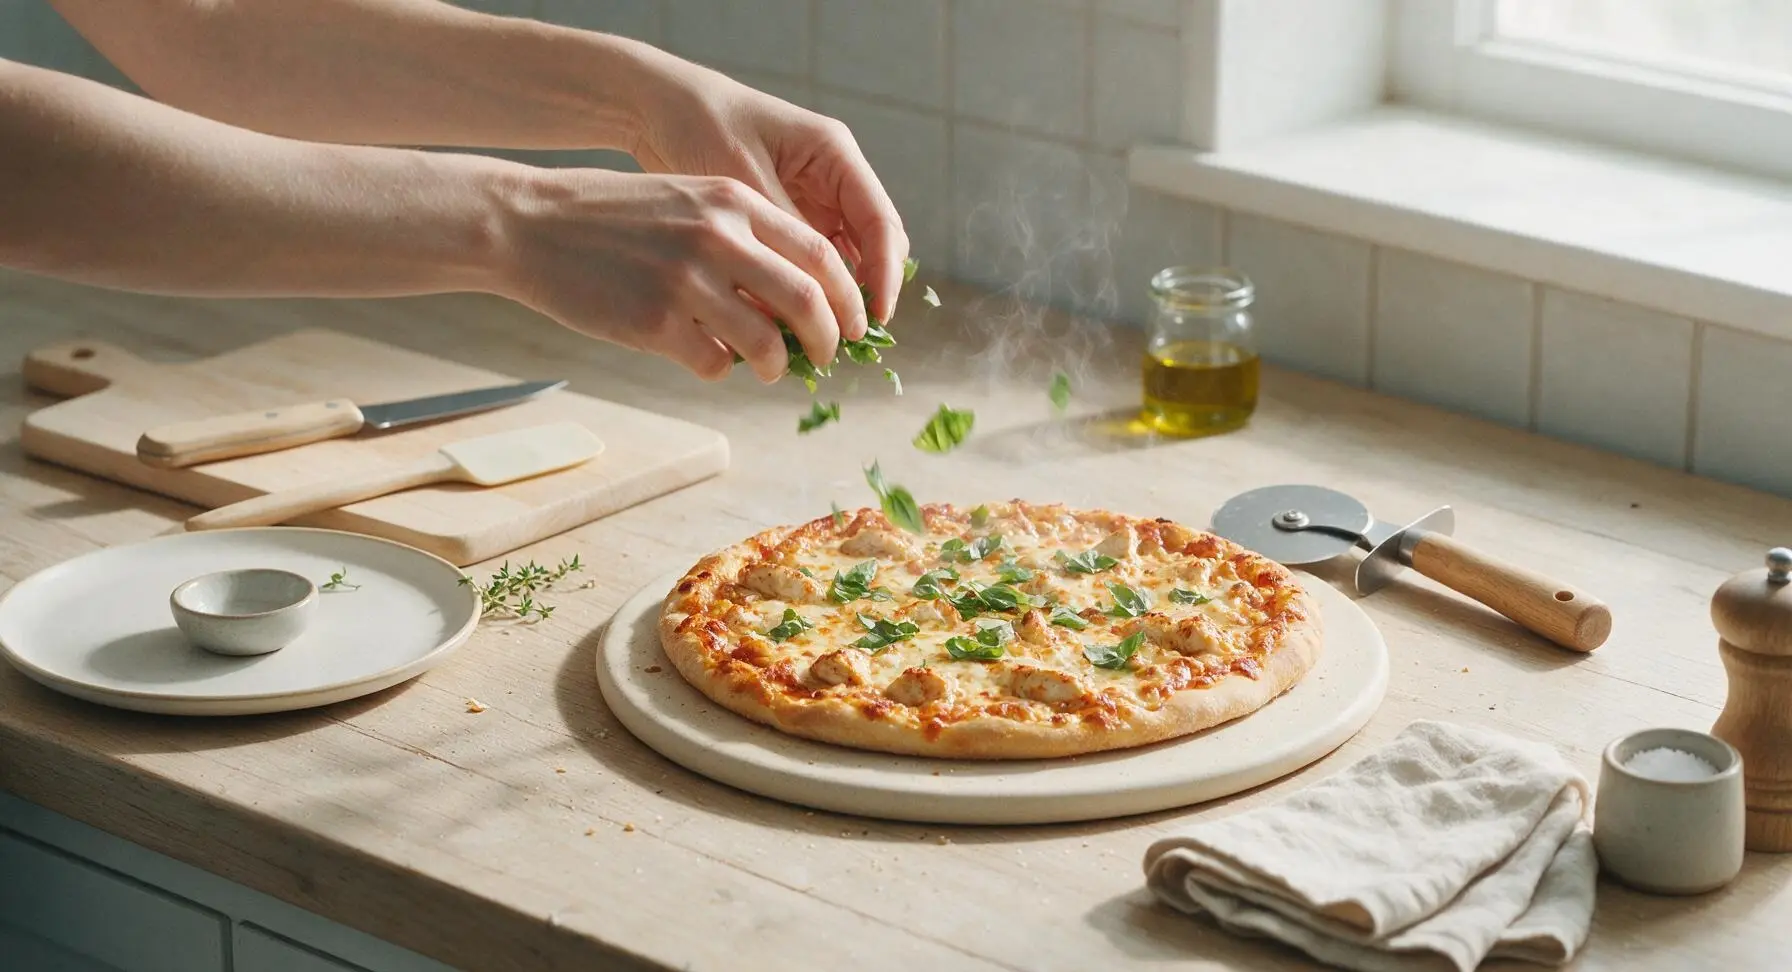
Use the pizza peel to carefully lift the fully baked pizza out of the oven, transferring it directly to the matte cream ceramic pizza serving stone on the counter. Let the pizza rest for 3 full minutes to allow the cheese to set, which prevents toppings from sliding off when sliced. Scatter loosely torn fresh basil leaves across the hot surface, sprinkle with a tiny pinch of flaky sea salt from the terracotta salt cellar, and add a light crack of black pepper if desired. Slice into 8 even wedges with the pizza wheel and serve immediately.
Step 7
step7:Garnish and Rest Pizza

Tips

1.Bring pizza dough to room temperature for 30 minutes before shaping: Cold dough will shrink back repeatedly as you press it out, making it hard to form a full 12-inch round without tearing. Room-temperature dough stretches easily and rises better in the oven for a lighter, chewier crust.
2.Stick to low-moisture mozzarella for this recipe: Fresh mozzarella has a very high water content that leaches out during high-heat baking, leaving the center of your pizza soggy. Low-moisture mozzarella melts smoothly into a stretchy, golden layer without excess moisture.
3.Let the baked pizza rest for 3 full minutes before slicing: This short rest allows the molten cheese to set slightly, so slices hold their shape and toppings don’t slide off onto your plate when picked up. It also prevents painful burns from overly hot, runny cheese.

✨ You May Also Like

Dinner
🍜 United States

A festive, hearty spread of classic Swedish small plates, featuring cured fish, tender meatballs, cheese, and seasonal sides, perfect for holiday gatherings.

⏱️ 2 hoursDinner ★ 4.8
Dinner
🍜 United States

Iconic Midwestern comfort meal pairing rich, spiced beef chili with soft, frosted cinnamon rolls for the perfect sweet-savory cold-weather bite.

⏱️ 1 hour 45Dinner ★ 4.7
Dinner
🍜 Canada

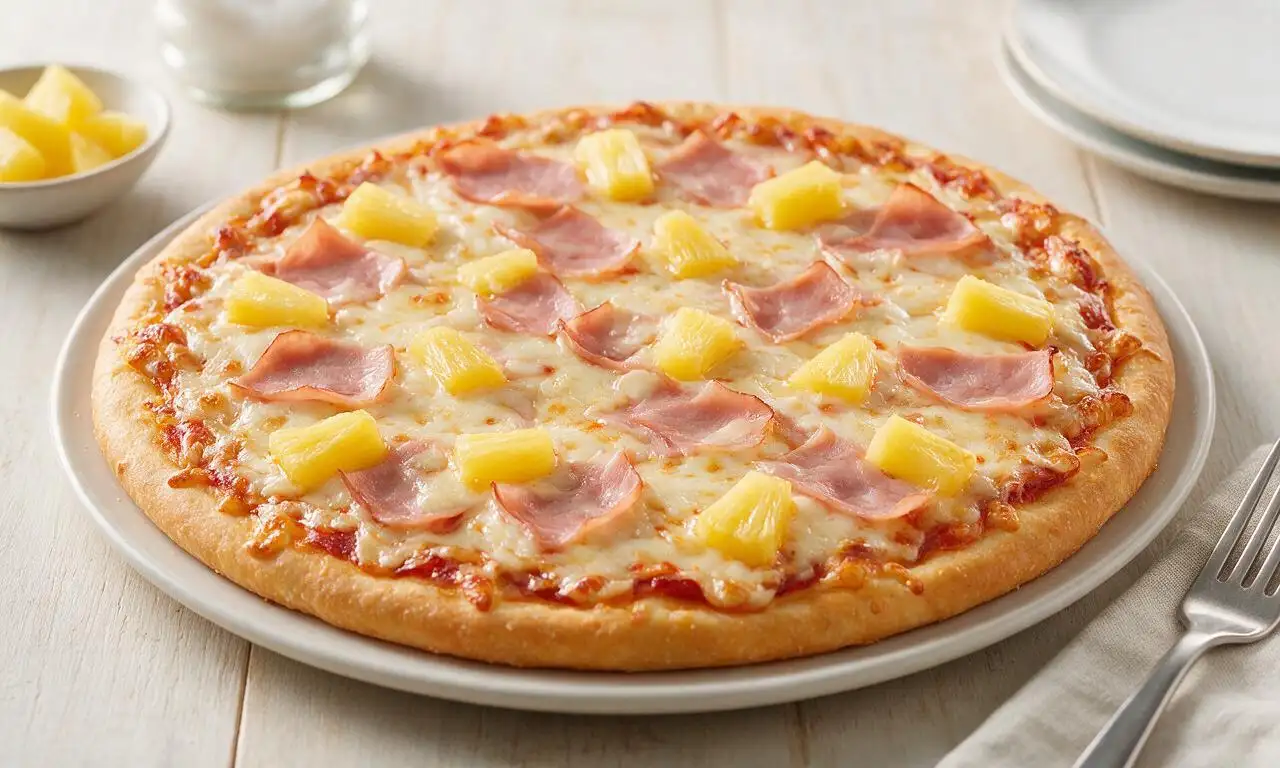
A beloved sweet-savory pizza loaded with smoky ham, juicy pineapple, and gooey melted cheese on a crisp golden crust, perfect for casual shared meals.

⏱️ 25 minuteDinner ★ 4.9
Dinner
🍜 United States

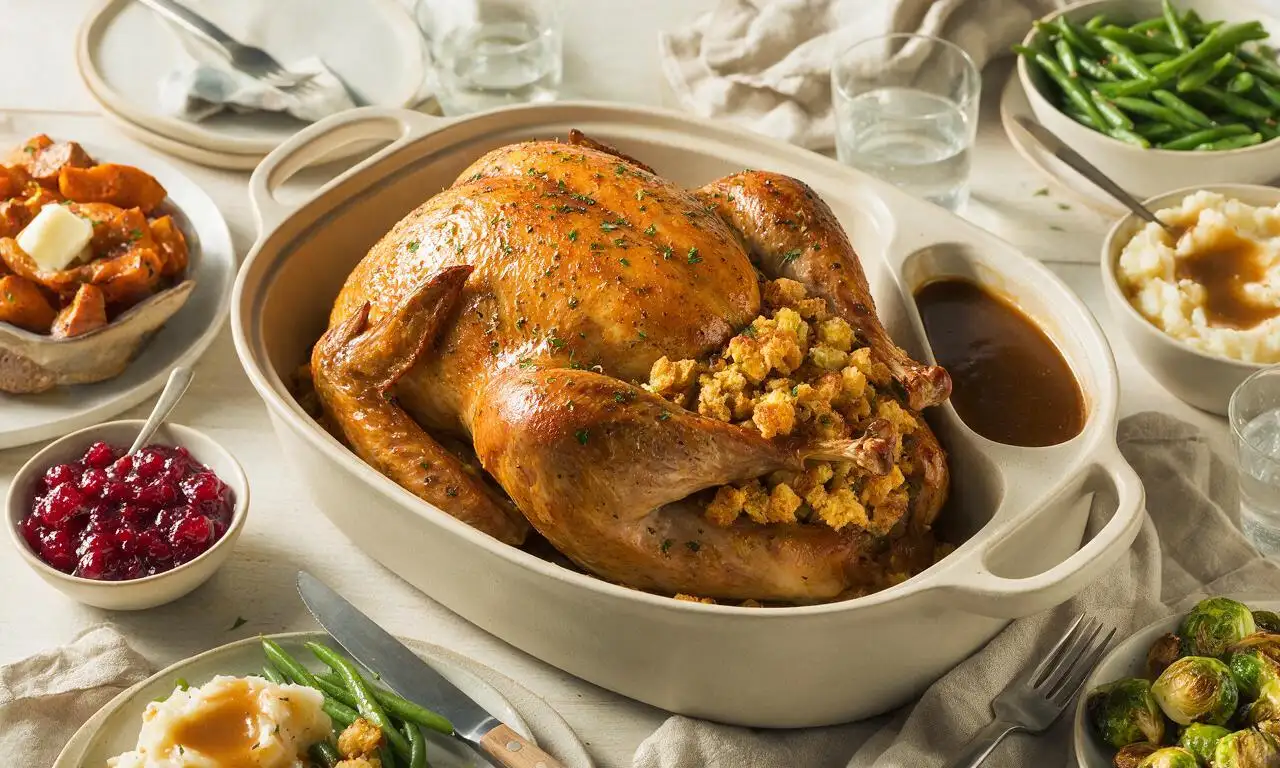
Juicy herb-roasted turkey with savory sourdough stuffing and rich pan gravy, the iconic cozy holiday meal made for gathering loved ones around the table.

⏱️ 4 hours 3Dinner ★ 4.9
Dinner
🍜 Italy

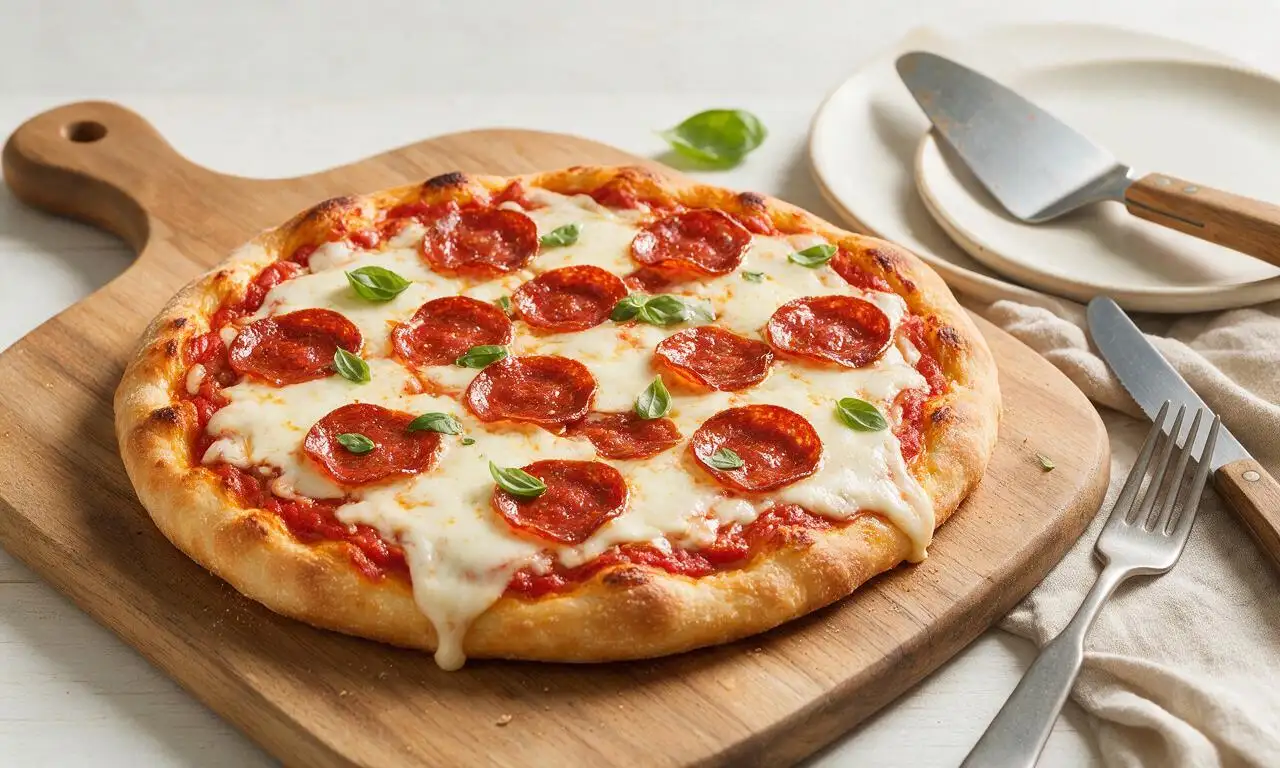
Crispy chewy crust, tangy tomato sauce, gooey melted mozzarella, and spicy curled pepperoni: this takeout favorite is simple to make perfectly at home.

⏱️ 35 minuteDinner ★ 4.9
Dinner
🍜 Italy

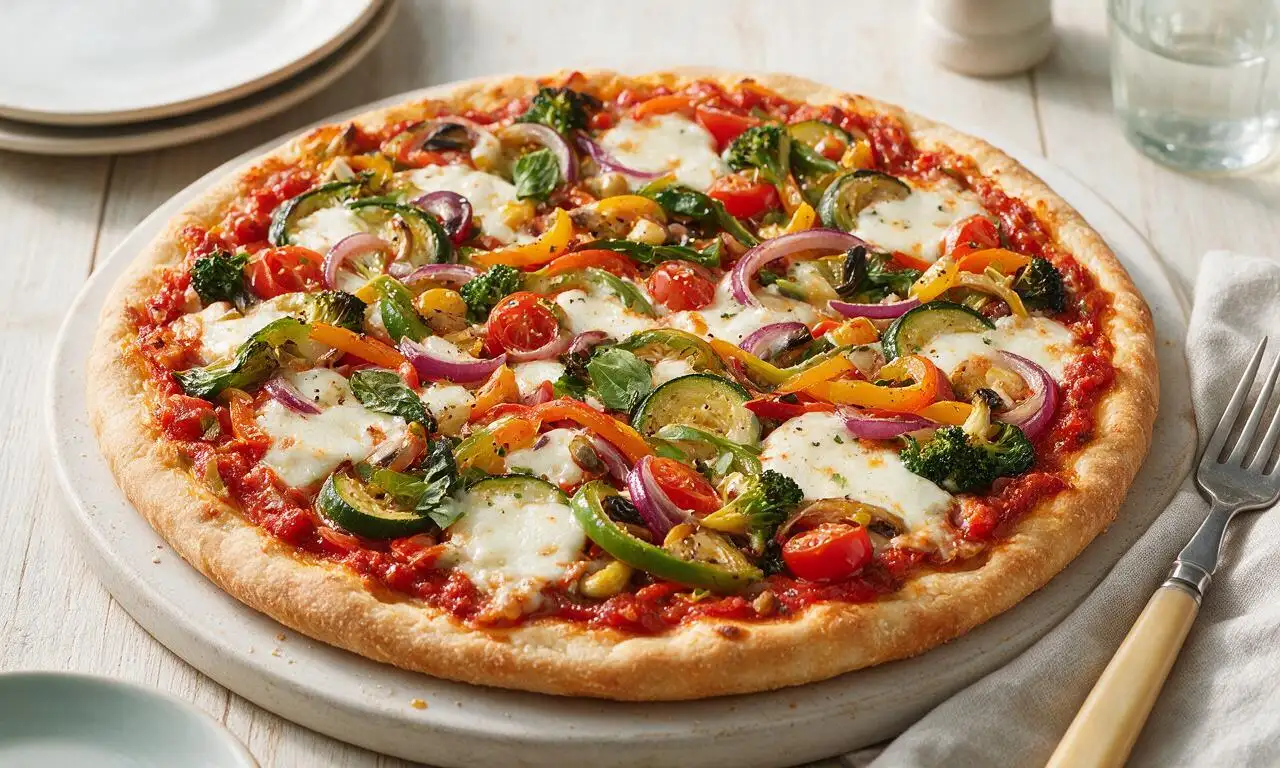
Crispy, chewy crust loaded with colorful fresh veggies, melted mozzarella, and zesty tomato sauce: a satisfying, crowd-pleasing meatless meal.

⏱️ 35 minuteDinner ★ 4.8

chicken pizza:Frequently Asked Questions

1.Can I use frozen pizza dough instead of the recommended refrigerated thin-crust dough? ▾
Absolutely! Thaw frozen dough completely in the fridge overnight, then let it rest at room temperature for 30 minutes before stretching so it doesn’t shrink back. Dock the surface lightly with a fork to prevent big air bubbles, and add 2 to 3 minutes to the initial par-bake time to keep the crust crispy, not soggy.
2.Why do I need to bring refrigerated pizza dough to room temperature before using it? ▾
Cold dough is tight with contracted gluten, which makes it nearly impossible to stretch without springing back or tearing as you shape it. Letting it sit at room temp for 20 to 30 minutes relaxes that gluten, so you can shape it easily into a thin, even crust for that perfect light, chewy final texture.
3.Can I substitute boneless, skinless chicken thighs for the chicken breast in this recipe? ▾
Definitely! Boneless, skinless chicken thighs work beautifully here—they have a richer, juicier flavor that holds up great against pizza sauce and cheese. Just dice them to the same ½-inch size as you would breast, and cook them a minute or two less, since thighs don’t dry out as quickly as lean breast meat.
4.How should I season the chicken so it doesn’t turn out bland on the pizza? ▾
Toss your diced raw chicken with ½ teaspoon garlic powder, ½ teaspoon dried oregano, ¼ teaspoon kosher salt, a pinch of red pepper flakes, and a light drizzle of olive oil before sautéing over medium heat for 3 to 4 minutes until just cooked through. Don’t overcook it, as it will finish baking on the pizza.
5.Why do you recommend low-moisture mozzarella instead of fresh mozzarella for this pizza? ▾
Fresh mozzarella has very high water content that leaks out as it melts, leaving your crust soggy and your pizza watery, even if you pat it dry. Low-moisture mozzarella melts into that perfect stretchy, gooey layer without excess moisture, with the classic mild, savory pizza cheese flavor everyone loves.
6.Can I use regular canned crushed tomatoes instead of San Marzano tomatoes? ▾
You absolutely can, but San Marzano tomatoes have a naturally sweeter, less acidic, brighter flavor that makes sauce taste fresher without extra added sugar. If you use regular crushed tomatoes, stir in a tiny pinch of sugar and ¼ teaspoon dried basil to balance any sharp, acidic bite before spreading it on the crust.
7.Do I need to cook the chicken before putting it on top of the pizza? ▾
Yes, always pre-cook your chicken for this recipe. Diced raw chicken releases lots of excess moisture as it cooks in the oven, leading to a soggy crust, and it may not cook all the way through in the short pizza bake time. Sauté it just until it’s no longer pink, as it will finish cooking slightly in the oven.
8.How do I keep my pizza crust from getting soggy under the toppings? ▾
Start with a quick 5-minute par-bake of your stretched crust at 475°F before adding any toppings. Don’t overload the crust with too much sauce or wet toppings, and make sure your oven is fully preheated before you slide the pizza in. A preheated baking sheet helps crisp the bottom fast, too.
9.What oven temperature works best for this easy homemade chicken pizza? ▾
Crank your oven to 475°F, and let it preheat for at least 20 minutes before baking—hot ovens are the secret to that crispy, chewy thin crust, just like you get at your favorite neighborhood pizzeria. If you have a pizza stone, place it on the middle rack while preheating for extra bottom crispness.
10.How long should I bake the pizza once all the toppings are added? ▾
After your 5-minute crust par-bake, add your sauce, cheese, and cooked chicken, then bake for 8 to 10 minutes total. You’ll know it’s done when the cheese is fully melted and bubbly, the crust edges are deep golden brown, and the bottom of the crust is crisp when you lift it with a spatula to check.
11.Can I add extra vegetable toppings to this chicken pizza? ▾
Of course! Just stick to low-moisture veggies, or pre-cook high-moisture options like mushrooms, bell peppers, or onions first to cook off excess water that would make the crust soggy. Great add-ins include sliced red onion, sautéed spinach, roasted red peppers, or a sprinkle of sliced black olives.
12.How thick should I spread the tomato sauce across the crust? ▾
Aim for a thin, even layer—about ¼ cup of sauce for a 12-inch pizza—leaving a ½-inch border around the edge for the crust. Too much sauce will make the center of your pizza soggy and weigh down toppings, so err on the lighter side; you can always dip crust in extra sauce if you want more.
13.Can I prep parts of this pizza ahead for extra-busy weeknights? ▾
You can prep components ahead to cut down on cook time! Cook and season the chicken 2 to 3 days in advance and store it in the fridge, or par-bake your crust 1 day ahead, wrap it tightly, and keep it chilled. Assemble and bake right before serving for the best crispy texture and melty cheese.
14.What’s the easiest way to stretch pizza dough without it tearing or springing back? ▾
Let the dough come fully to room temperature first, then gently press it out from the center with your fingertips on a lightly floured surface, leaving a slightly thicker edge for the crust. Skip the rolling pin, which pushes out air bubbles that give crust its chew; if it springs back, rest it 5 minutes and try again.
15.Is it okay to use pre-shredded mozzarella cheese for this recipe? ▾
You can, but know that pre-shredded mozzarella is coated in anti-caking agents like potato starch that can make it melt less smoothly and leave a slightly grainy texture. For the gooiest, best melt, shred your own low-moisture mozzarella from a block right before topping—it takes 2 extra minutes for a huge payoff.
16.How should I store leftover chicken pizza, and how long will it stay good? ▾
Let leftover pizza cool completely, then stack slices between sheets of parchment paper in an airtight container and store it in the fridge for up to 3 days. Reheat slices in a 400°F skillet or toaster oven for 3 to 4 minutes to crisp the crust again; microwaving leaves crust chewy and soggy, so skip that method if you can.
17.Do I need special equipment like a pizza stone or peel to make this easy recipe? ▾
Not at all! A standard rimmed baking sheet works perfectly for this weeknight pizza. Just flip the baking sheet upside down, lightly dust it with cornmeal or flour, and build your pizza right on top. The preheated inverted sheet gives you the same direct heat transfer as a stone for a crispy bottom without fancy gear.
18.Can I use leftover cooked chicken instead of cooking fresh chicken for this pizza? ▾
Absolutely! Leftover roasted or grilled chicken works perfectly here and cuts down on prep time, which is ideal for busy nights. Just dice it into ½-inch pieces, toss it with a pinch of oregano and garlic powder to boost flavor, and scatter it over the pizza before baking—no extra sautéing required.

Comments (15)

2 days ago

OMG this chicken pizza was a total game changer for our weekly family dinner! I used leftover rotisserie chicken to make it even faster, and my two picky kids ate every single bite. Cook time was actually 22 minutes like the recipe said, no joke. SO good, will be making this every other week for sure.

yesterday

Wait leftover rotisserie chicken is such a smart hack! I never thought to use that, I usually cook chicken fresh which adds so much time. Gonna try that next time I make this!

2 hours ago

So glad your family loved it, Sarah! The rotisserie chicken hack is one of our all-time favorite shortcuts for this recipe — it cuts down prep time so much on busy weeknights!

yesterday

Made this for my teen son and his friends after their soccer practice last night, and they demolished the whole thing in 10 minutes. I was worried it would be too much work on a school night but it was genuinely easy, even for someone who burns toast half the time. Only note: I added a little extra mozzarella because cheese is life.

2 hours ago

Love that extra cheese hack, Greg! We’re all for loading up on mozzarella over here too. So glad the team enjoyed it after practice — that’s exactly what this easy recipe is for!

30 minutes ago

10/10, made this in my tiny dorm oven with a pre-made store-bought crust I had stashed in my mini fridge. Total cost was like $6 total, way cheaper than ordering delivery pizza that takes 45 minutes to show up cold. Already added the ingredients to my weekly grocery list.

1 week ago

This is such a perfect meal prep recipe! I pre-cooked the chicken and chopped all the veggies on Sunday, then assembled and baked this for dinner Monday and Wednesday night. Held up great, didn’t get soggy at all even when I stored the toppings separate for the second bake. Only tiny gripe: I wish the recipe listed suggested veggie toppings, I had to guess what would pair well. Anyone else try this with whole wheat crust?

5 days ago

I used whole wheat crust last time I made it! Tastes amazing, just add an extra 2 minutes to the cook time so it gets nice and crispy around the edges. Definitely recommend!

3 days ago

Love that you’re using this for meal prep! Whole wheat crust works perfectly with this recipe, just like @FoodieInDenver said, a couple extra minutes in the oven gives it that perfect crisp. Great tip about storing toppings separately to avoid sogginess too!

5 days ago

Brought this to my neighborhood block party potluck last weekend and I swear people were asking for the recipe before they even finished their first slice. I added a little sprinkle of red pepper flakes for a tiny kick, which went over so well. Even the lady who brings "famous" pizza to every potluck asked how I made it!

3 days ago

The red pepper flakes addition is genius! I put that on literally every pizza I eat, can’t believe I didn’t think to add it when I made this last week. Gotta do that next time for sure.

2 hours ago

My husband is obsessed with this pizza! I’ve made it three times in the last two weeks since I found the recipe, and he keeps asking when I’m making it again. It’s so easy I don’t even mind making it that often, honestly. Perfect for our lazy Friday night movie nights.

3 days ago

Full transparency: I cannot cook. Like, at all. I once messed up boxed mac and cheese so bad the smoke alarm went off. But this recipe? I followed it step by step and it actually turned out perfect? The crust was crispy, the chicken was juicy, the cheese was melted just right. 10/10 for people who are cooking-challenged like me.

2 days ago

This makes us so happy to hear, Alex! This recipe was specifically designed to be super approachable for cooks of all skill levels, so we’re thrilled it turned out perfect for you. No smoke alarms required!

2 weeks ago

Tried this last night for game night with the guys, and I swapped the regular pizza sauce for BBQ sauce to make it a BBQ chicken version. Absolute hit. Cooked it on the pizza stone I got for Christmas and the crust was restaurant level crispy. Would recommend that swap for anyone who loves BBQ chicken pizza.

1 week ago

Dude the BBQ sauce swap is elite! I did that last month and added a little red onion and cilantro on top, tasted exactly like the BBQ chicken pizza from our favorite local spot. Saved like $20 making it at home too.

5 days ago

That BBQ swap is one of our favorite customizations for this recipe! We love adding a little chopped red onion and cilantro too, like Ryan mentioned — it elevates the whole pie so much. Sounds perfect for game night!

1 week ago

Made this for my daughter’s birthday sleepover last weekend, and my kid and all her friends loved it — they said it was better than the pizza place we usually order from. I let them add their own toppings (pepperoni for half, extra chicken for the rest) and they had a blast helping assemble them too. Such a fun, easy activity for kids.

5 days ago

What a fun idea to let the kids build their own! I’m gonna do that with my grandkids when they come to visit next month, I know they’ll love picking their own toppings. Thanks for the inspo!

5 minutes ago

Wait why did I sleep on homemade pizza for so long? This was so much better than takeout, and way less greasy too. I added a little garlic powder to the cheese blend and it gave it such a nice depth of flavor. Only reason I’m not giving 5 stars is I wish the recipe had a quick homemade sauce option instead of just suggesting store-bought. Will definitely be adding this to our regular weeknight rotation.

2 days ago

Quick question! Can I make the dough ahead of time and freeze it for later? I work weird shifts so I try to freeze as much pre-prepped food as I can to make weeknights easier. This pizza looks perfect for those nights I get home late and don’t want to cook something complicated.

yesterday

Great question, Jake! You absolutely can freeze homemade or store-bought pizza dough for this recipe — just let it thaw completely in the fridge overnight before you plan to assemble your pizza, and it’ll work perfectly. Hope this helps for those busy late shifts!

3 days ago

As someone who’s on a super tight grocery budget right now, this recipe is a lifesaver. I used canned chicken (don’t knock it till you try it!) and shredded cheese I got on sale, and the whole pizza cost me less than $5 to make. Tasted incredible, no weird canned chicken aftertaste once it’s baked with sauce and cheese.

2 days ago

Canned chicken?! I never would’ve thought that would work, but for $5 total? I’m absolutely trying that next week when my meal plan runs low and my bank account is looking sad. Thanks for the tip!

yesterday

So glad this recipe works for your budget, Mia! Canned chicken is such an underrated budget-friendly swap — we’ve tested it with this recipe multiple times and it works perfectly when you’re looking to save a little cash on groceries. Great tip!

just now

I was looking for a higher protein pizza option that didn’t taste like diet food, and this hit the spot! I used a high-protein crust, added extra chicken, and loaded up on veggie toppings, and it came out to like 40g of protein per slice. No guilt, all flavor. Will be making this every Sunday for my post-workout meal.

1 week ago

I’ve been making pizza from scratch for 40 years, and this chicken pizza recipe is now one of my go-tos! It’s simple, no fancy ingredients, and the seasoning on the chicken is just perfect. I added a little sprinkle of parmesan on top right when it came out of the oven, just like my mom used to do.

5 days ago

The parmesan sprinkle right out of the oven tip! I’m gonna steal that, I bet it adds that perfect salty, nutty kick. My husband is gonna lose his mind when I make it with that addition this weekend.

5 days ago

Tasted amazing! My only note is that if you’re using a gluten-free crust, you’ll need to adjust the cook time a little — my first attempt I followed the 22 minute cook time and the crust was still a little underdone in the middle. The flavor was chef’s kiss though, once I popped it back in for 5 extra minutes it was perfect.

3 days ago

Thank you so much for the gluten-free crust note! I’m celiac too and I almost never think to adjust cook time for GF crusts, I definitely would’ve ended up with a soggy middle if I hadn’t seen your comment. Appreciate you!

2 days ago

Thanks so much for the helpful feedback about gluten-free crusts! We’ll be sure to add that note to the recipe card soon — an extra 3-5 minutes in the oven for GF crust makes all the difference for that perfect crispy texture. So glad it turned out tasty for you once it cooked a little longer!