
chile relleno casserole

title 1
chile relleno casserole
⏱️ cook time 45 minutes
🍽️ servings 6
⚡ Difficulty easy

intro

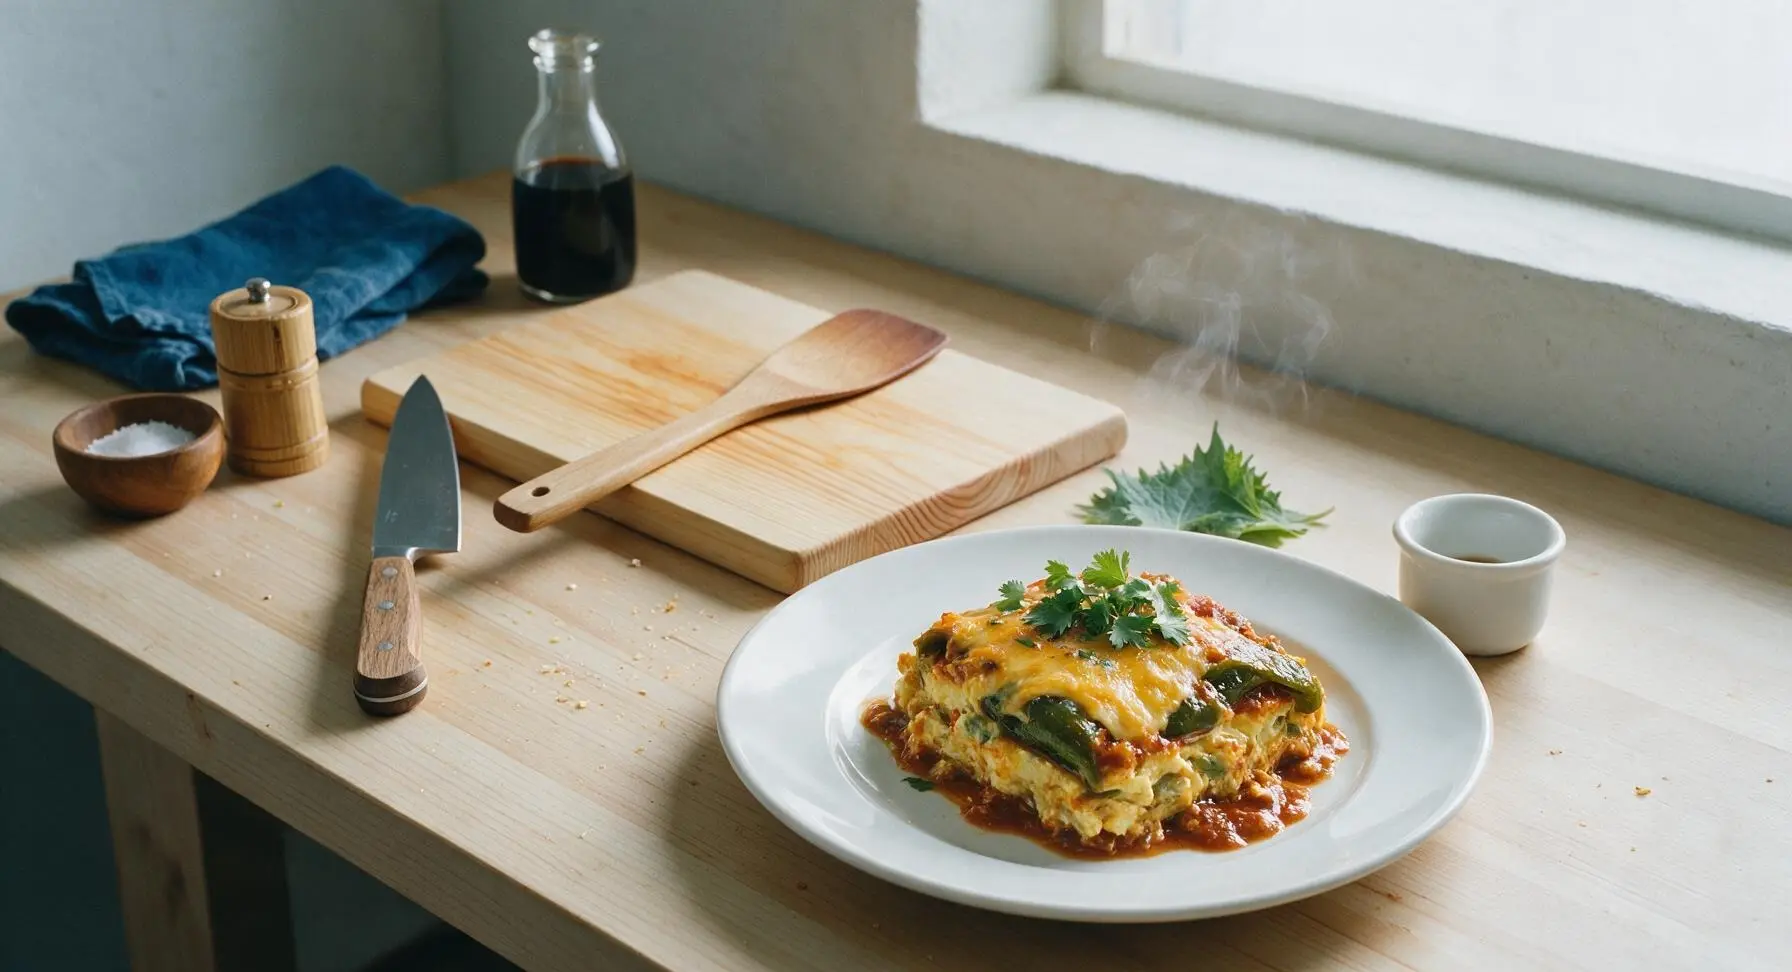
This easy, cheesy chile relleno casserole skips tricky batter frying, packing all the smoky, creamy, zesty flavor of classic chiles rellenos into a shareable, fuss-free bake.

Ingredients
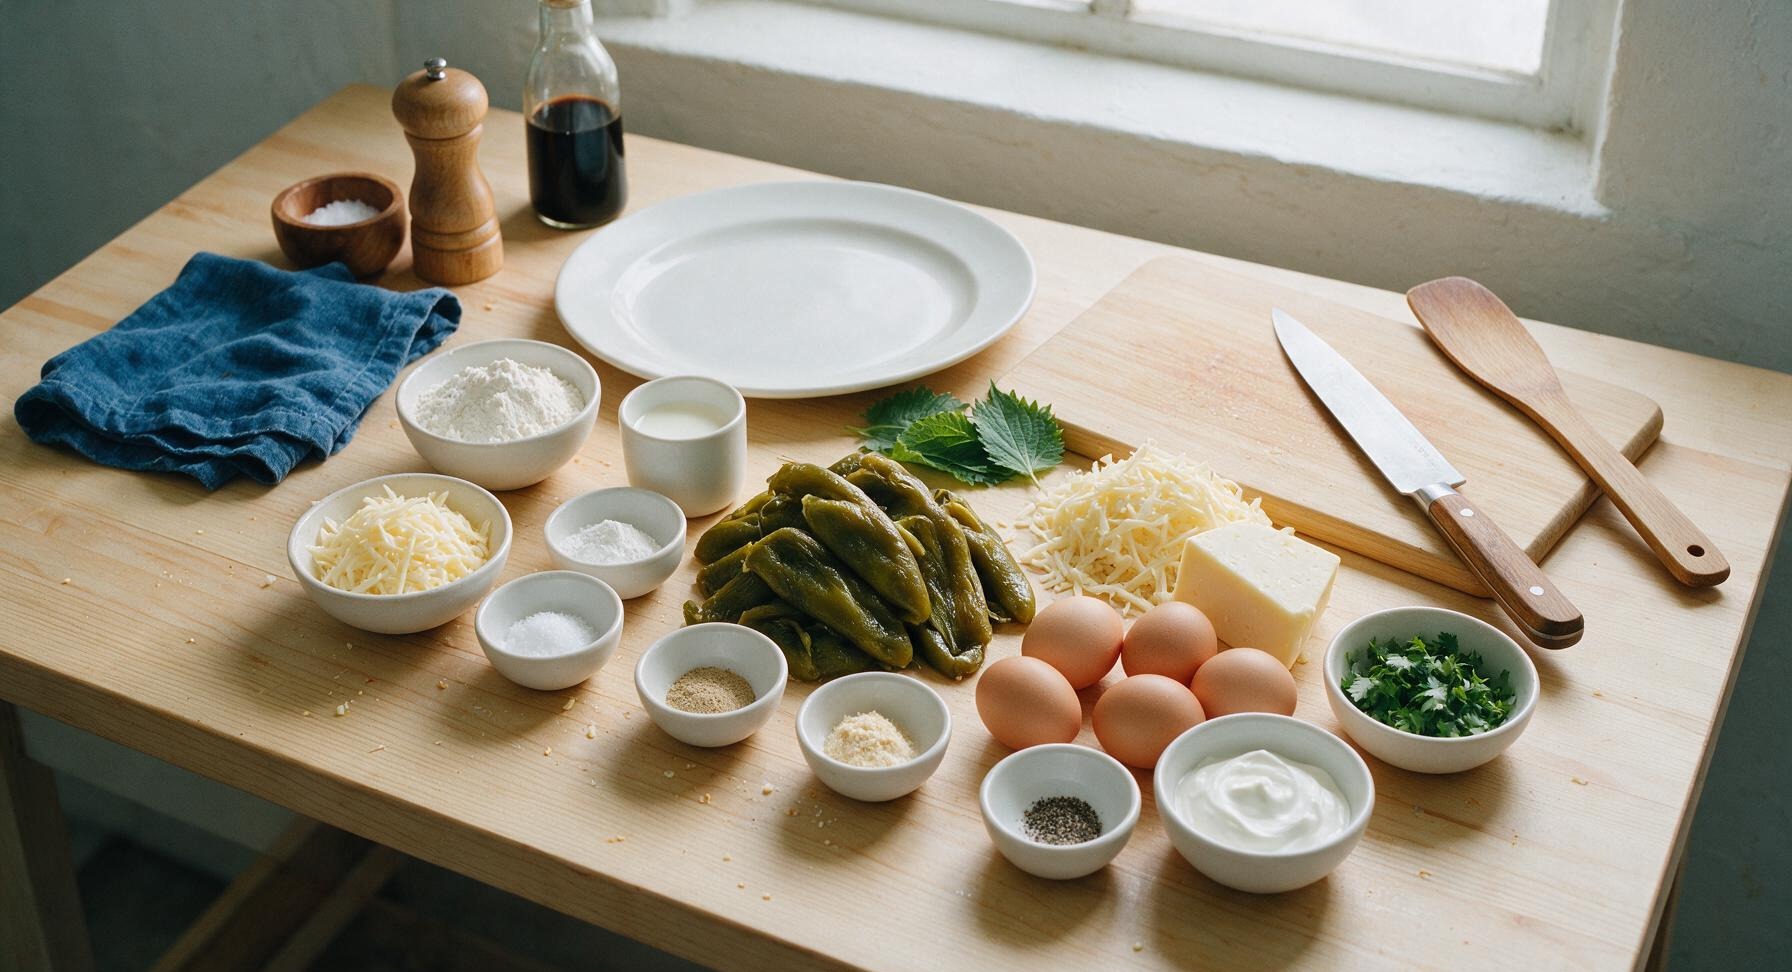
Whole roasted peeled green chiles (Anaheim/poblano, canned) 14 oz (two 7oz cans, drained)
Monterey Jack cheese 12 oz (block, shredded, divided)
Large eggs 6
Whole milk 1 cup
All-purpose flour 1/4 cup
Baking powder 1 tsp
Kosher salt 1 tsp
Ground cumin 1/2 tsp
Garlic powder 1/2 tsp
Freshly ground black pepper 1/4 tsp
Fresh cilantro 1/4 cup (chopped, for garnish)
Sour cream 1/2 cup (for serving)

Steps

1

Prep Chiles and Baking Dish

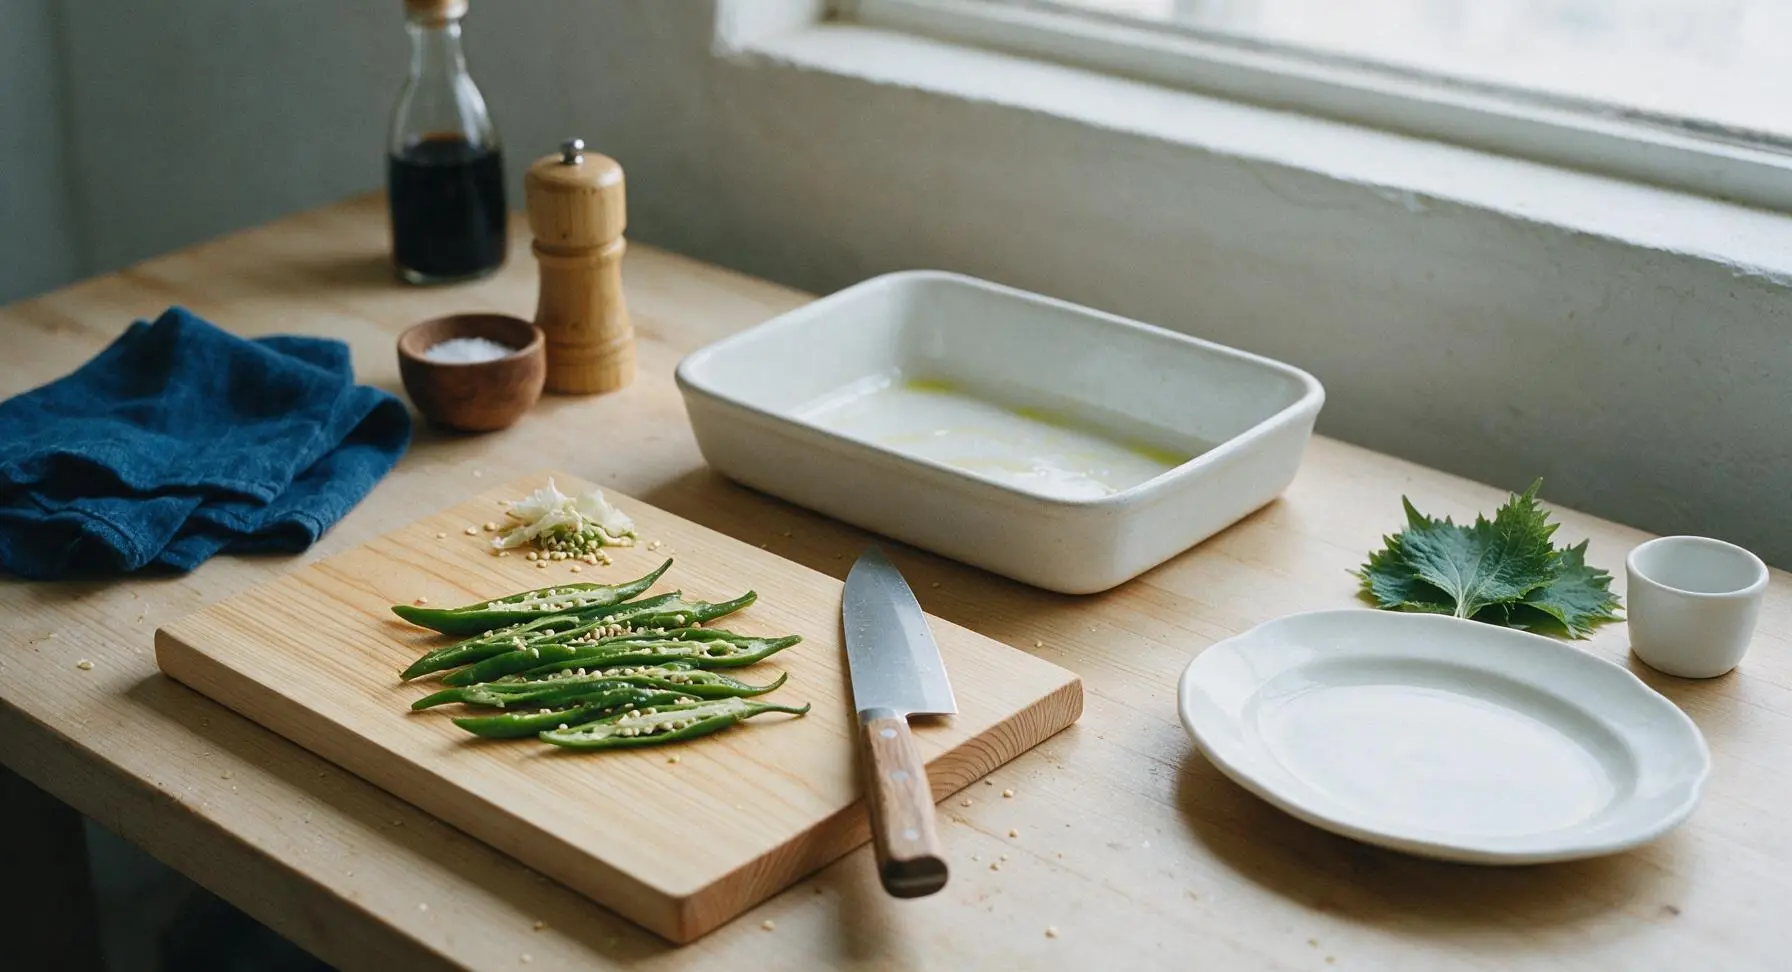
Preheat oven to 350°F (175°C). Drain the two 7oz cans of whole roasted green chiles, then transfer chiles to the acacia wood cutting board. Use the chef knife to gently split each chile open lengthwise, scraping out any remaining seeds and pale white membranes to keep heat mild and even. Lightly grease the interior of the 9x13 inch matte white stoneware baking dish with a thin coat of olive oil. Pat split chiles completely dry with paper towels to remove excess brine, which prevents a watery final bake. Chiles should feel dry to the touch, with no visible dripping brine, before layering.
Step 1
step1:Prep Chiles and Baking Dish
2

Layer Chiles and Cheese

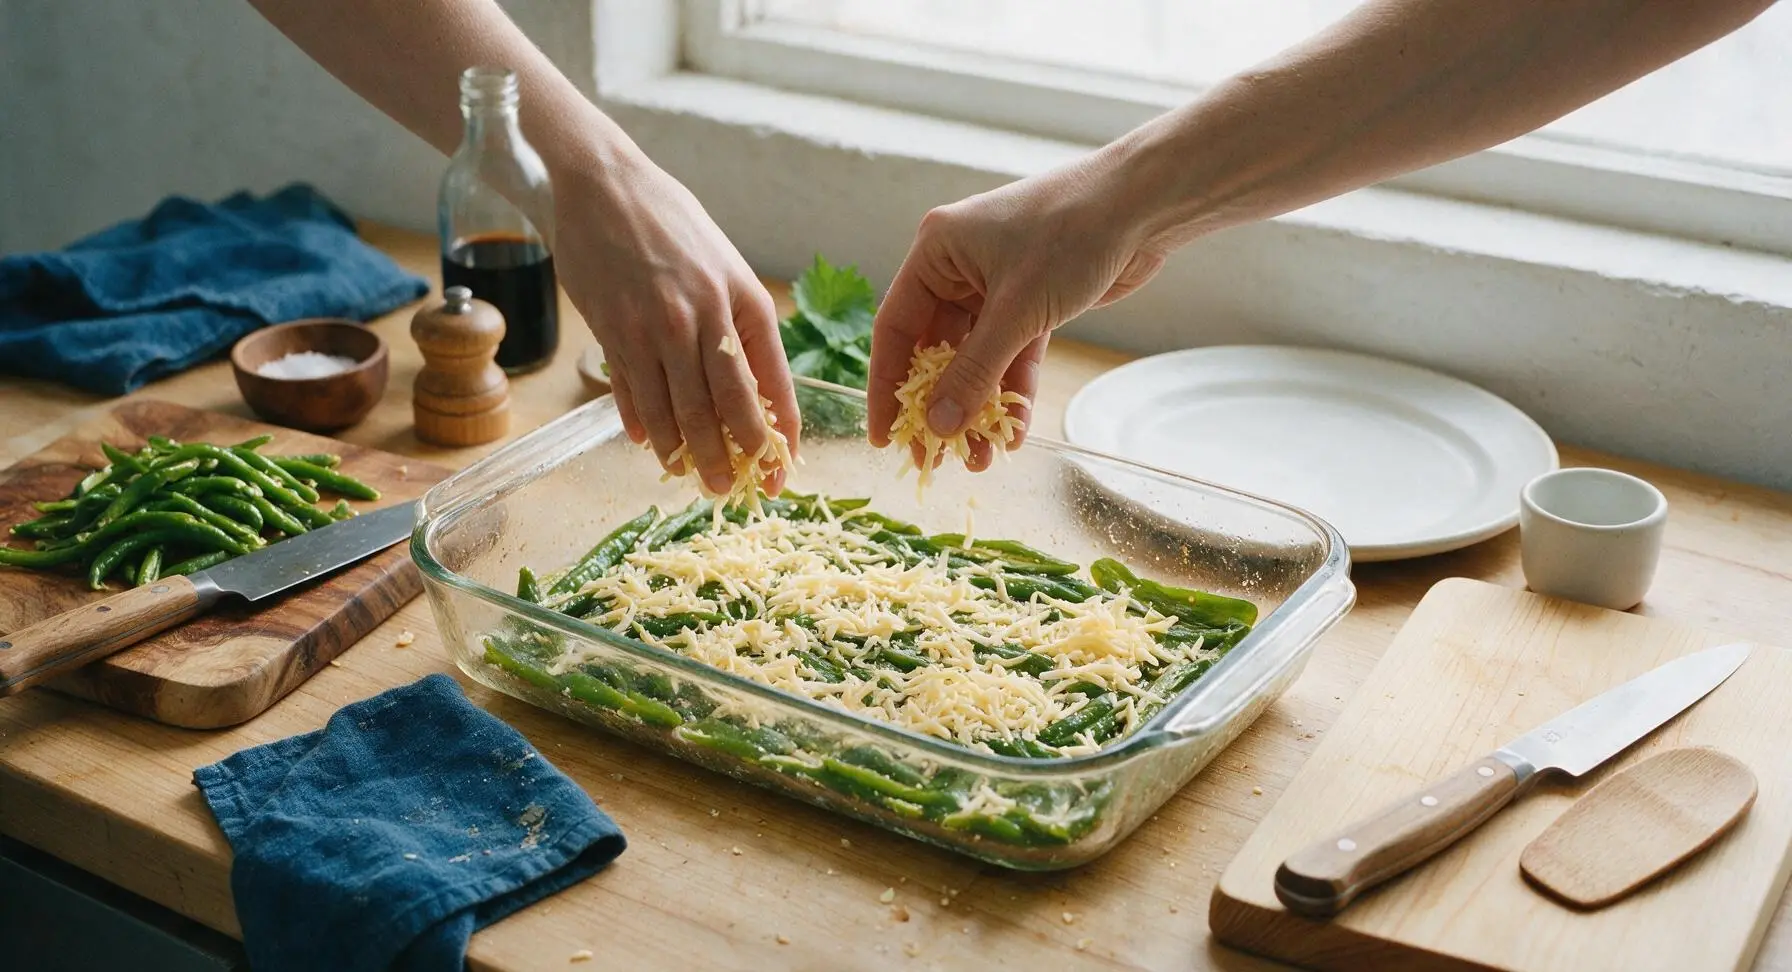
Arrange half of the split, dried green chiles in a single even layer across the bottom of the prepared baking dish, overlapping slightly as needed to cover the entire dish base. Sprinkle 8oz (2 cups) of the shredded Monterey Jack cheese evenly over the first chile layer, leaving a 1/4 inch border at the dish edges. Top the cheese layer with the remaining half of the split green chiles, arranged in a flat, even cover over the cheese. No large clumps of cheese or exposed gaps in the chile layers should remain before adding custard.
Step 2
step2:Layer Chiles and Cheese
3

Mix Egg Custard Base

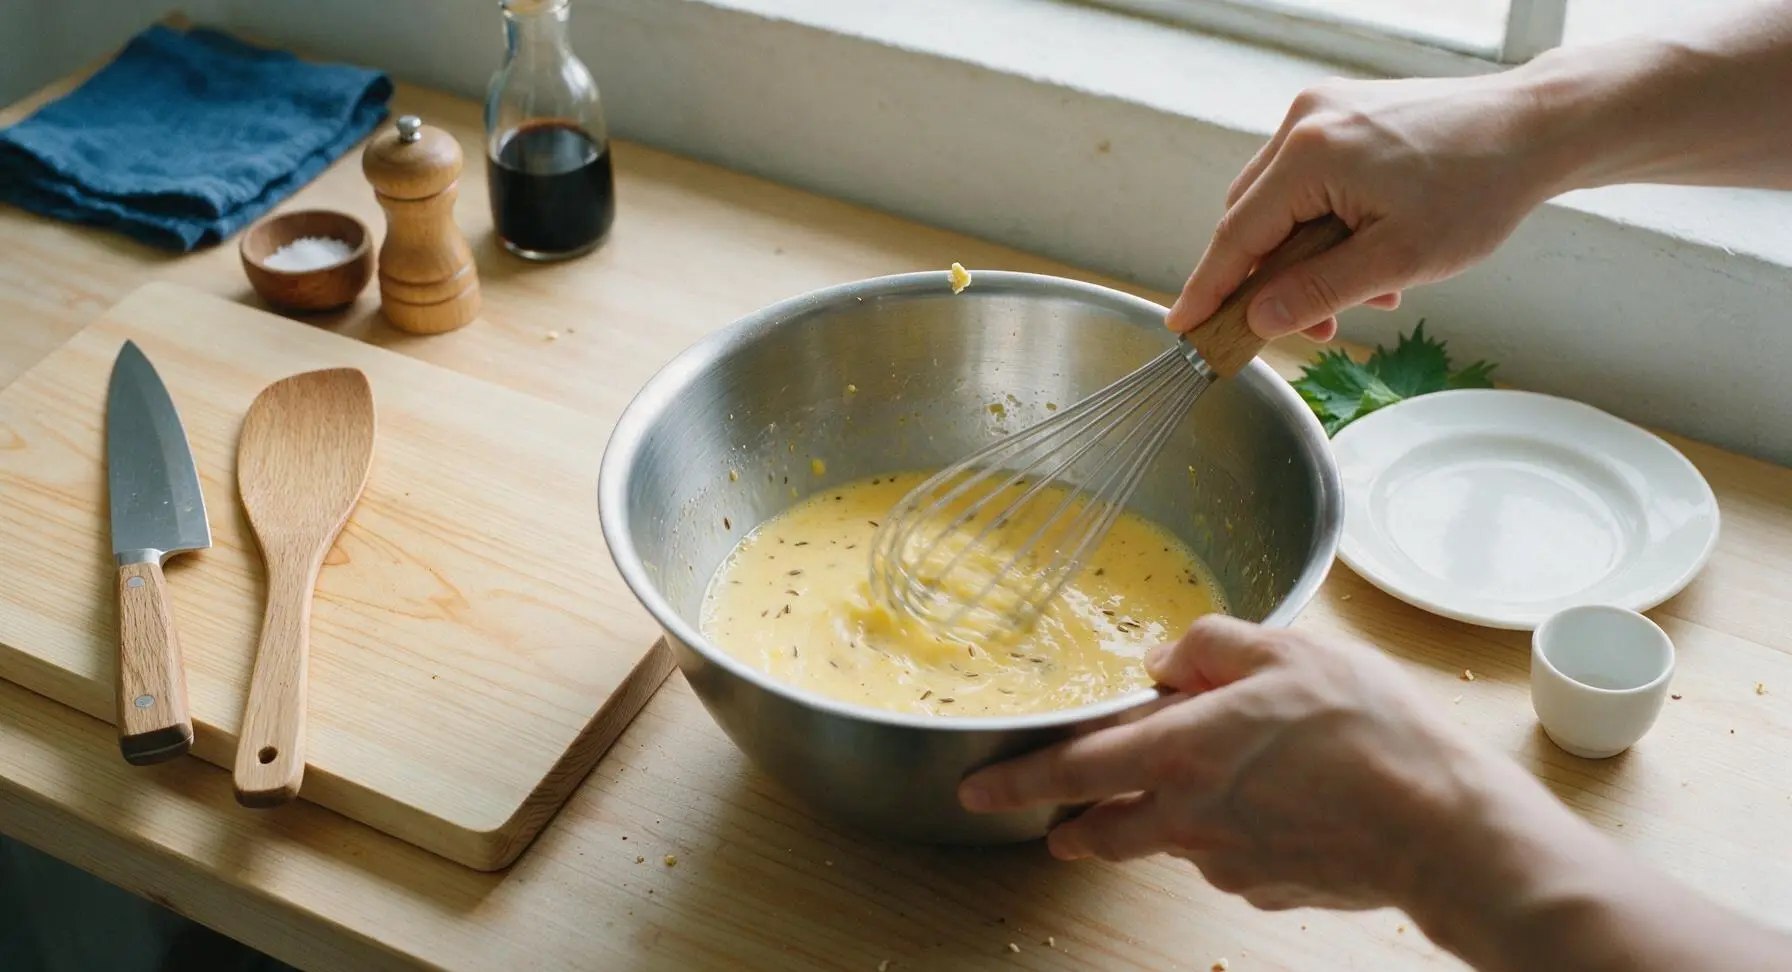
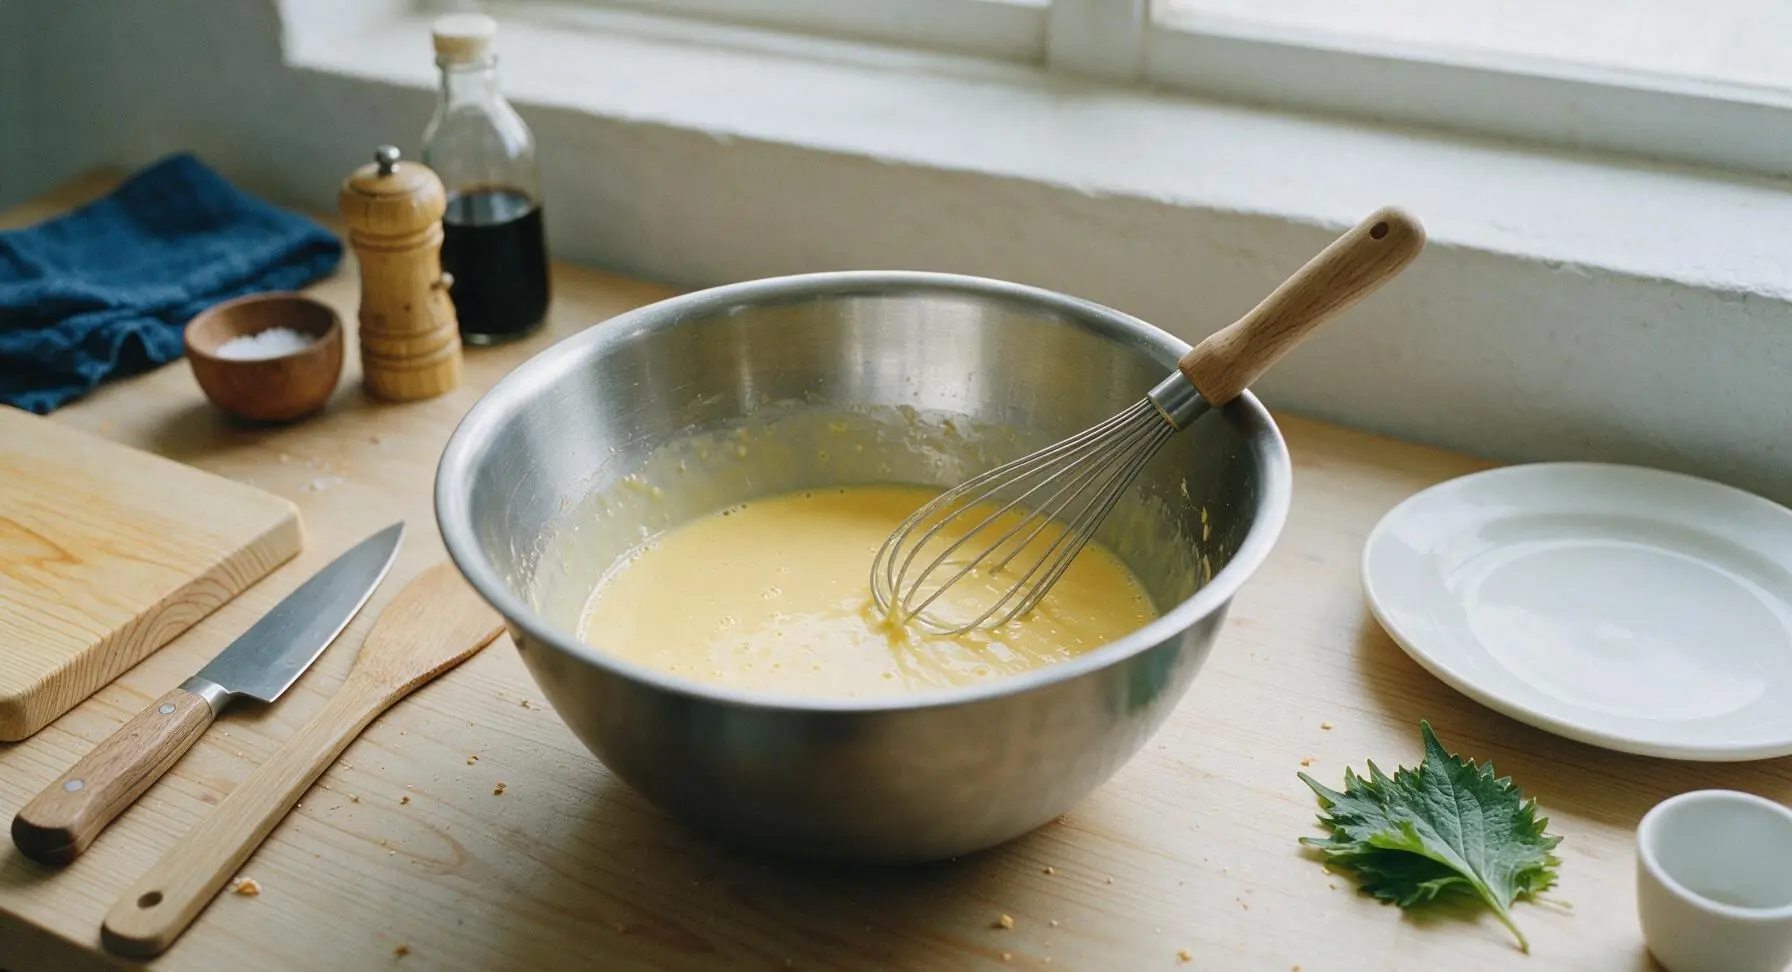
Crack all 6 large eggs into the large brushed stainless steel mixing bowl. Add 1 cup whole milk, 1/4 cup all-purpose flour, 1 tsp baking powder, 1 tsp kosher salt, 1/2 tsp ground cumin, 1/2 tsp garlic powder, and 1/4 tsp freshly ground black pepper. Use the stainless steel wire whisk with maple handle to mix vigorously for 45-60 seconds, until the mixture is a smooth, pale yellow, with no visible lumps of flour and evenly distributed spices.
Step 3
step3:Mix Egg Custard Base
Step 3
step3:Mix Egg Custard Base
4

Pour Custard Over Layers

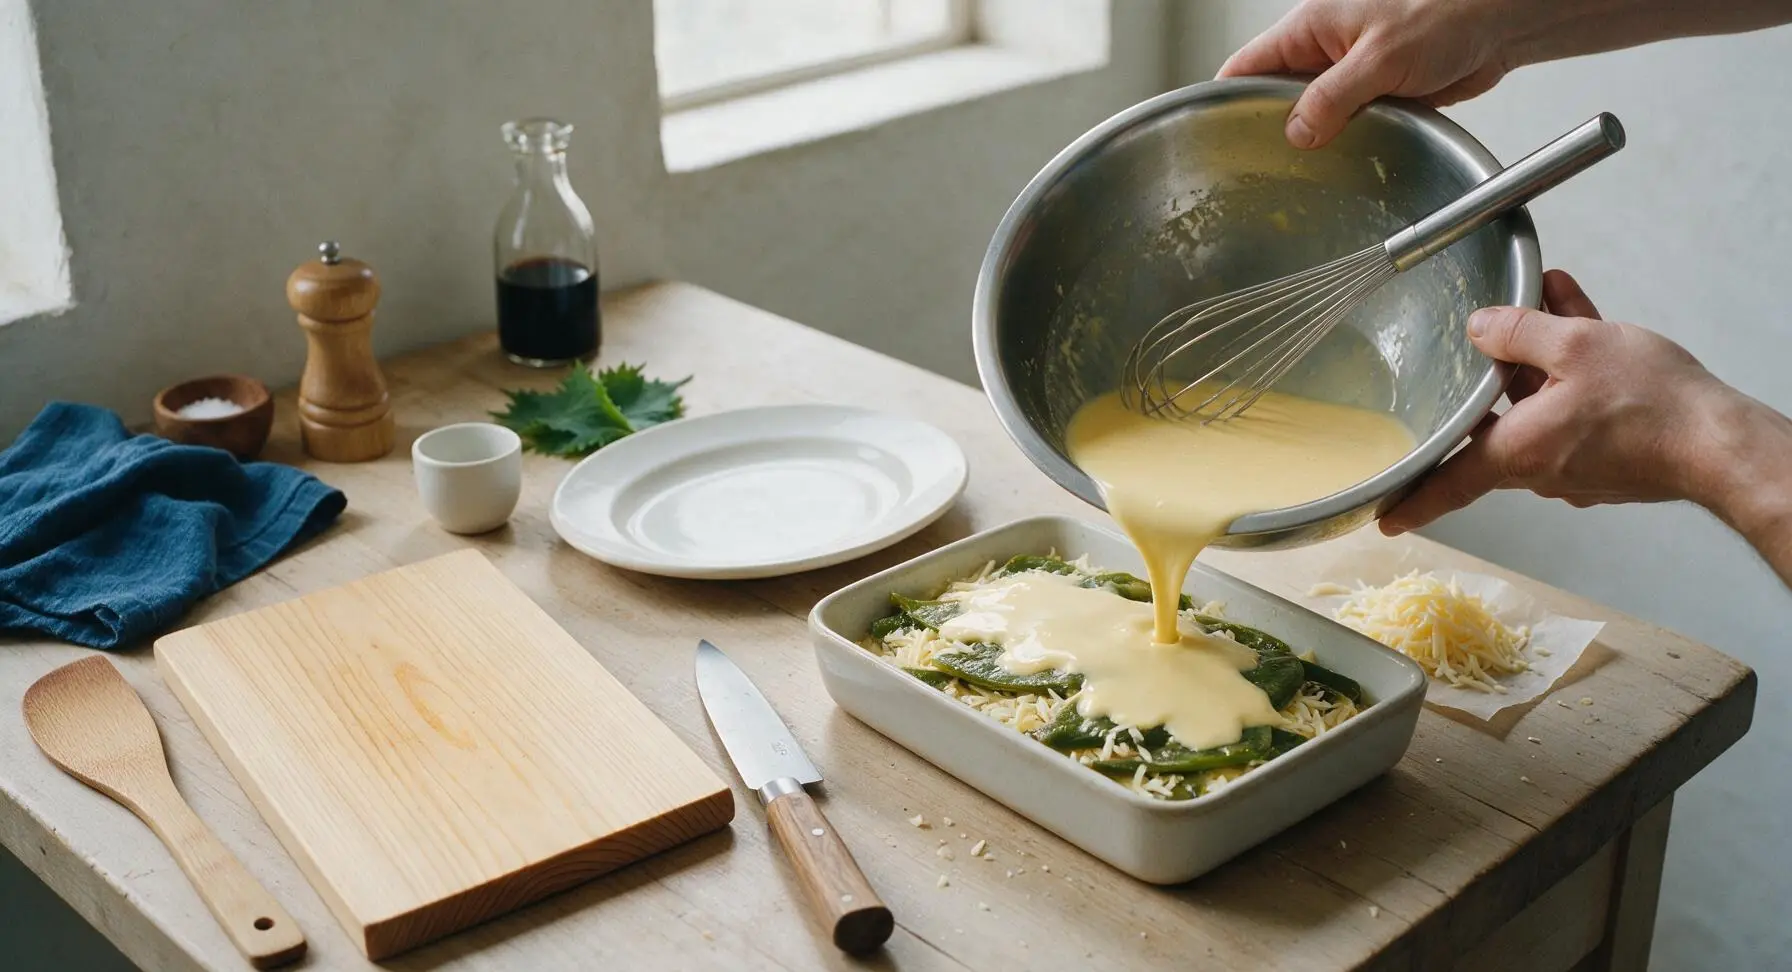
Slowly pour the entire smooth egg custard mixture evenly over the top chile layer in the baking dish. Gently jiggle the dish side to side to help the custard settle into all gaps between chiles and cheese, ensuring no dry pockets of cheese or chile sit above the custard line. Sprinkle the remaining 4oz (1 cup) of shredded Monterey Jack cheese evenly across the very top of the custard. Custard should reach 1/4 inch below the dish rim, with cheese distributed evenly for a uniform golden top.
Step 4
step4:Pour Custard Over Layers
5

Bake Until Golden Set

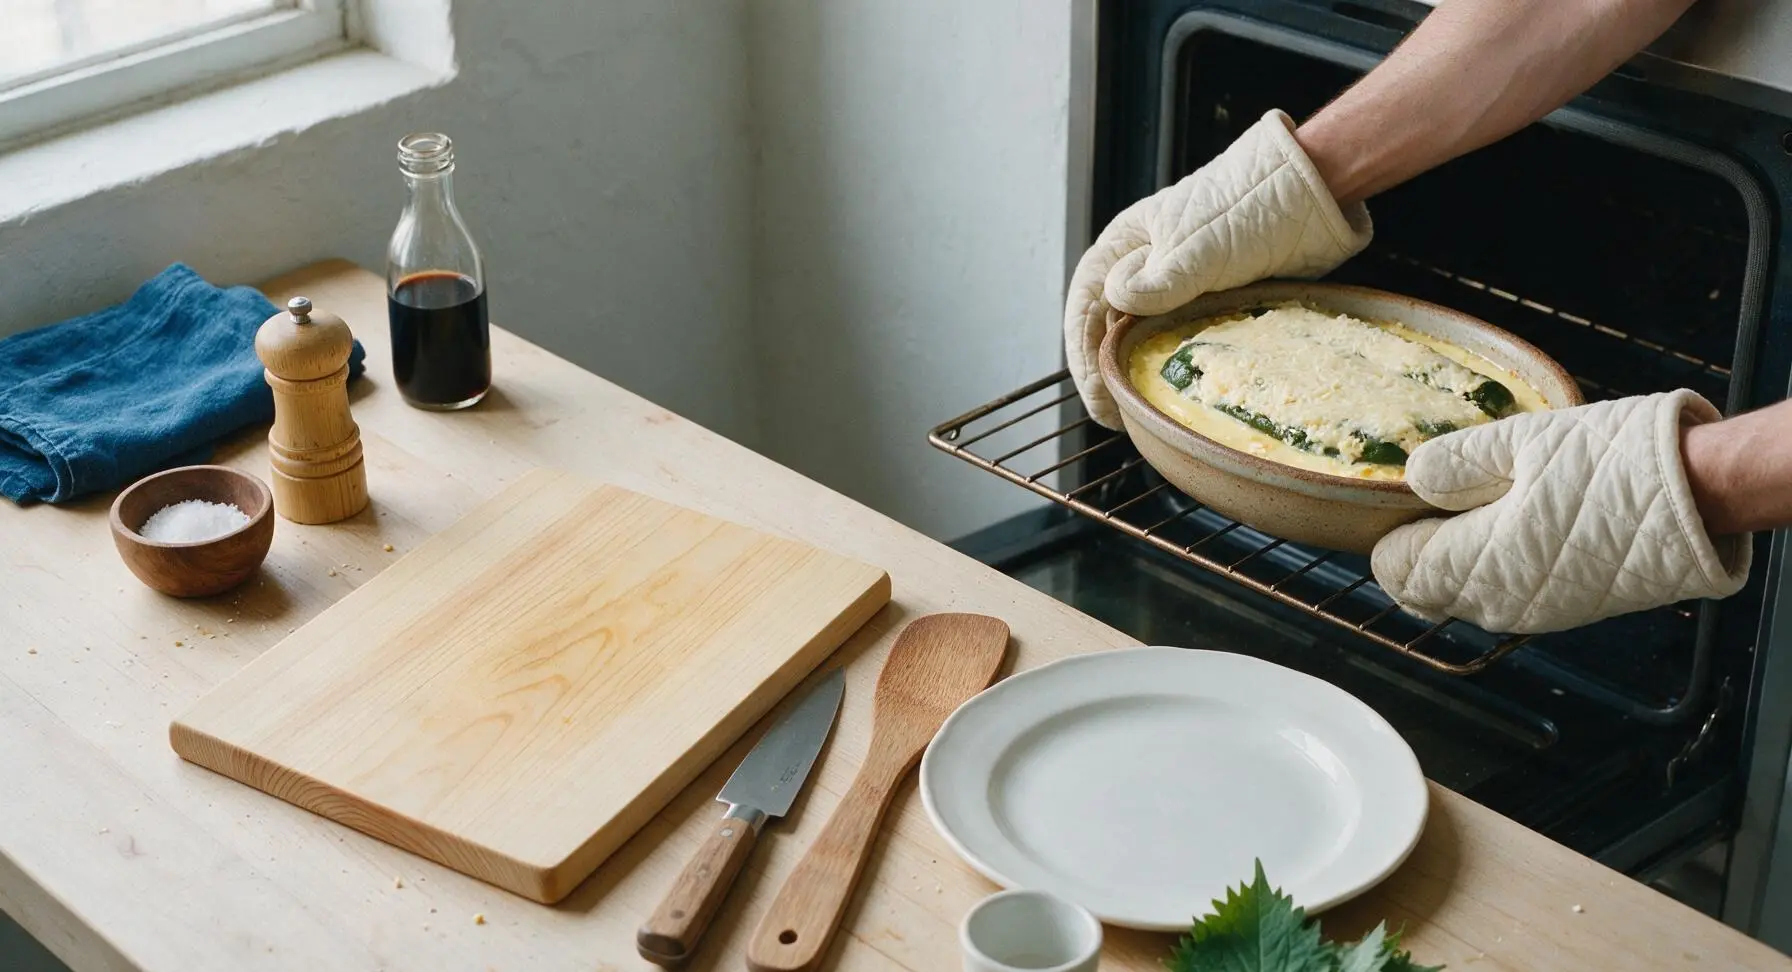
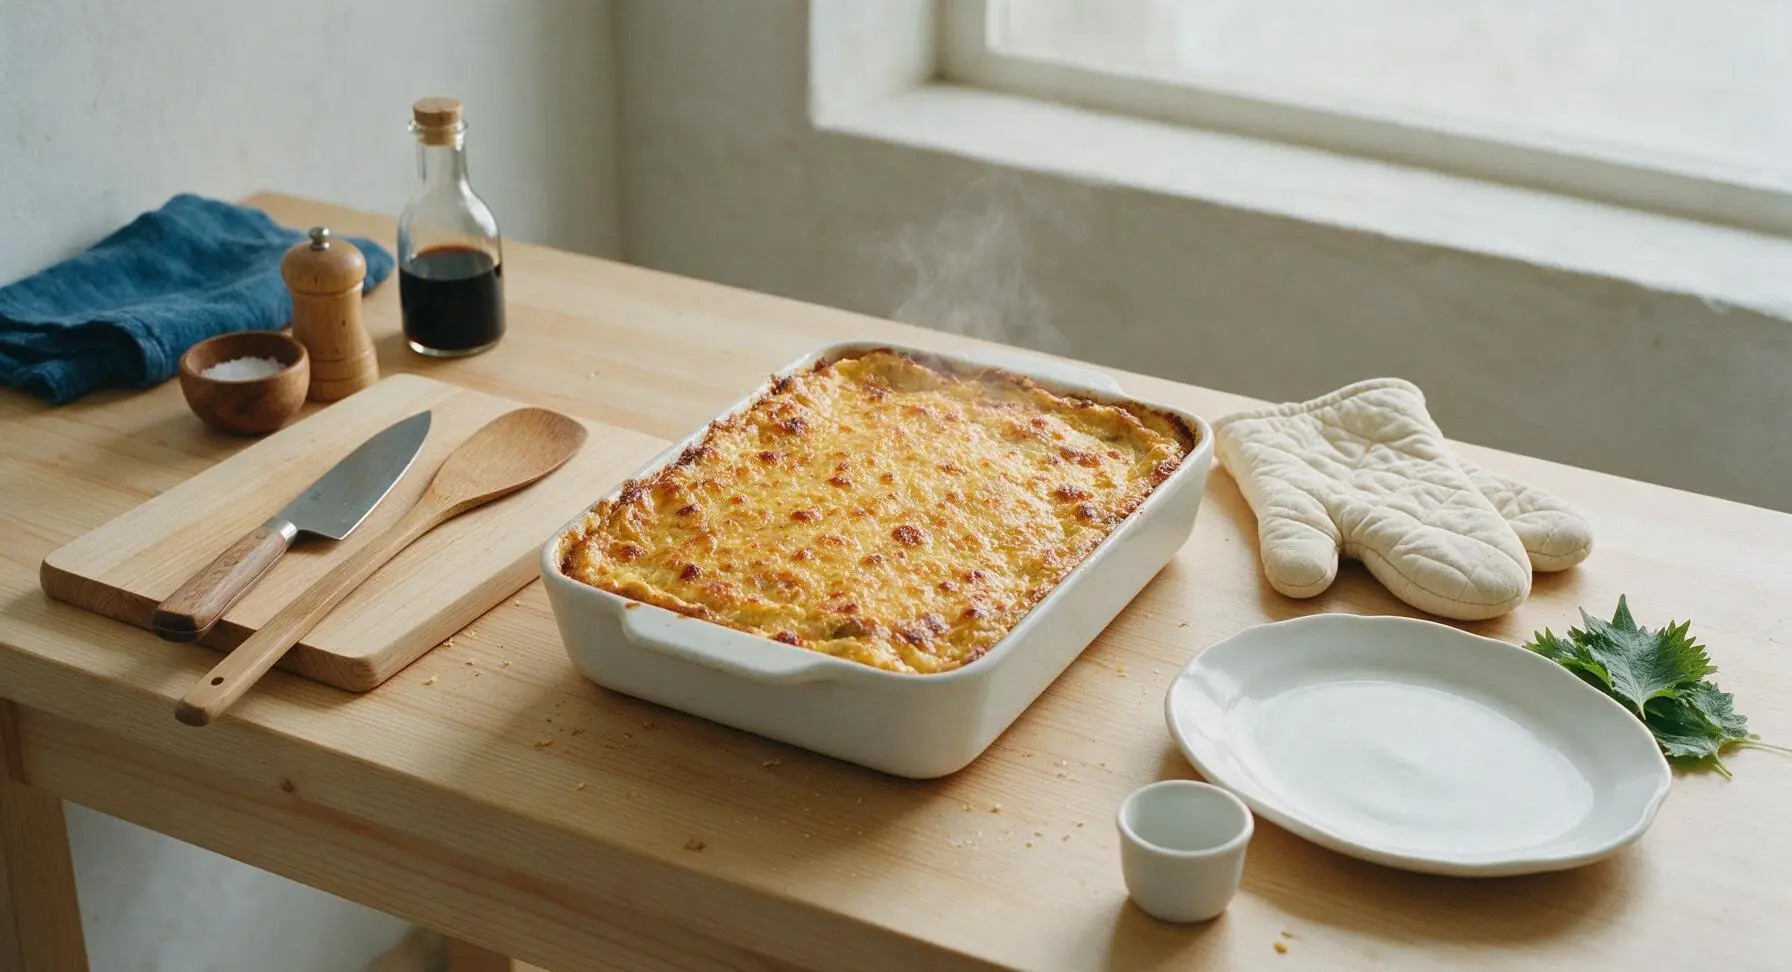
Carefully transfer the assembled baking dish to the middle rack of the preheated 350°F (175°C) oven. Bake for 40-45 minutes, until the edges are puffed and deep golden brown, the center is fully set with no liquid jiggle when you gently nudge the dish, and the top cheese is bubbly with scattered light browned spots. Remove from the oven using the quilted cream cotton oven mitts, and transfer to the counter to rest for 10 minutes before slicing—this resting step allows layers to firm for clean slices.
Step 5
step5:Bake Until Golden Set
Step 5
step5:Bake Until Golden Set
6

Slice and Plate Casserole

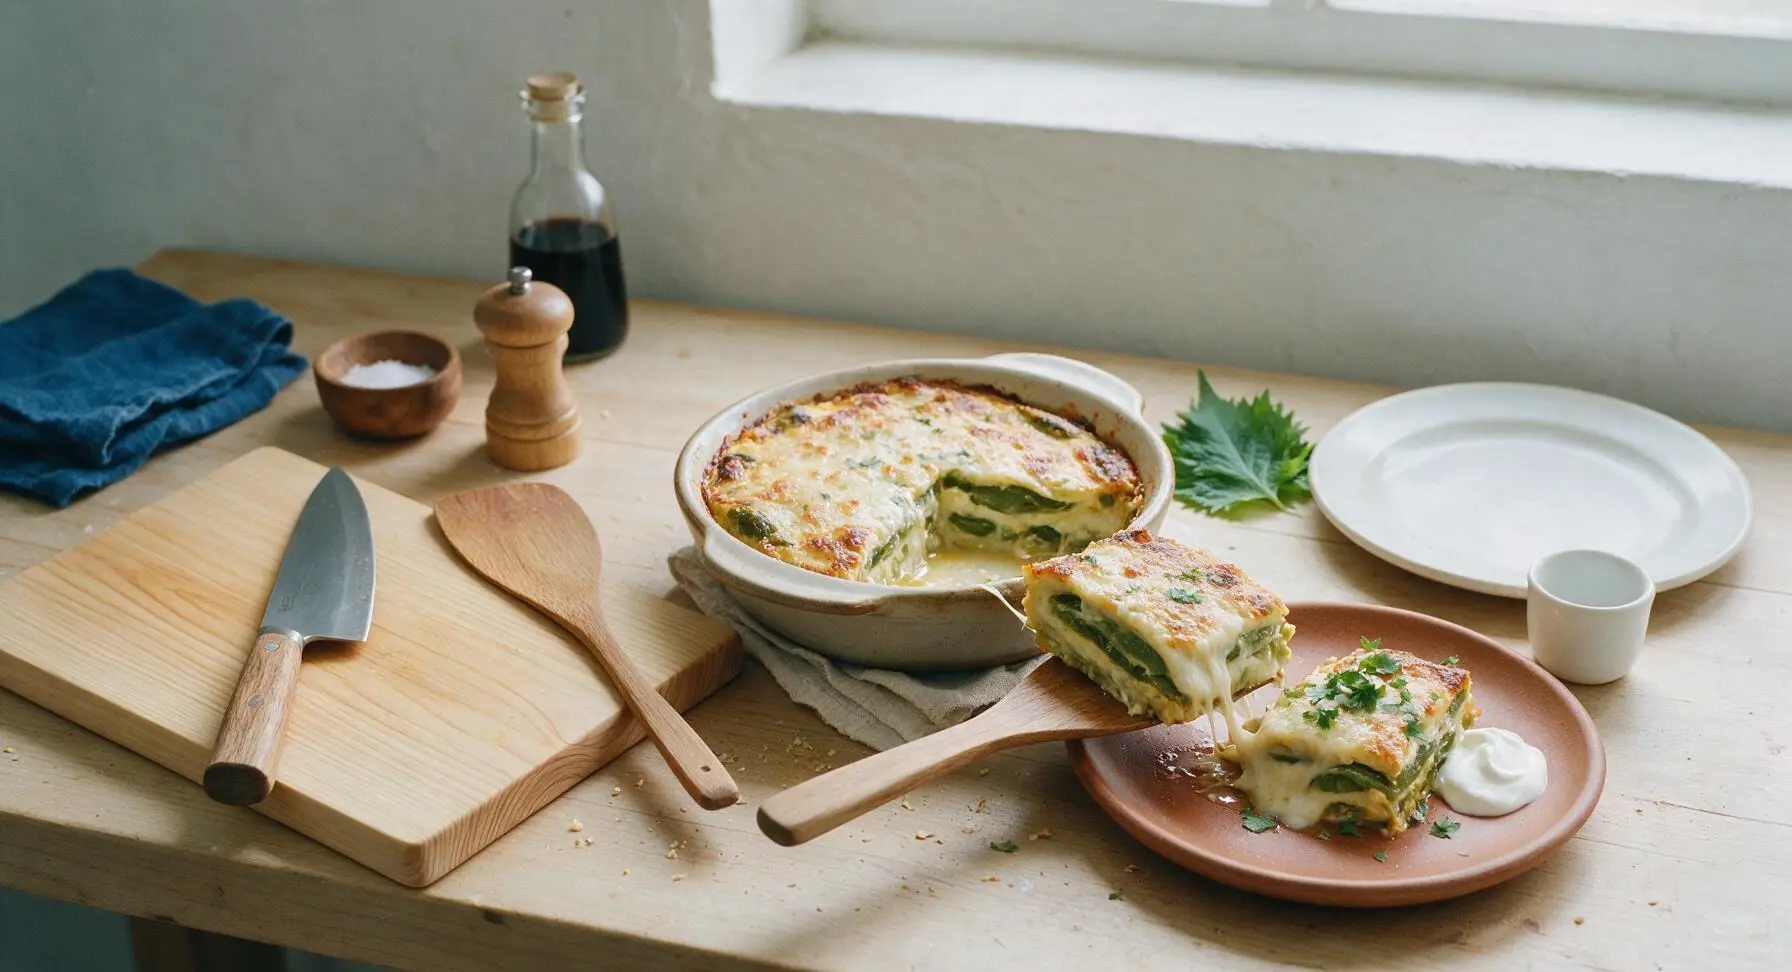
After the 10 minute rest, use the chef knife to cut the casserole into 6 even, square slices. Use a flat spatula to lift one thick slice, showing the distinct layered cross-section of chile and melted cheese, and place it centered on the matte terracotta dinner plate. Add a small dollop of sour cream to the plate beside the slice, and sprinkle chopped fresh cilantro over the top for bright, herby contrast. Slices should hold their shape when lifted, with stretchy melted cheese pulling slightly as you transfer them to the plate.
Step 6
step6:Slice and Plate Casserole

Tips

1.Pat canned chiles completely dry with paper towels after draining and seeding: excess brine and trapped moisture will make the casserole watery and prevent the egg custard from setting into a firm, sliceable texture.
2.Shred Monterey Jack cheese from a block instead of using pre-shredded cheese: pre-shredded cheese is coated in potato starch to prevent caking, which stops it from melting into the smooth, stretchy, cohesive cheese layers that define this dish.
3.Let the baked casserole rest for a full 10 minutes before slicing: the hot egg custard and melted cheese are loose immediately out of the oven, and the resting time allows layers to set for clean, neat slices that hold their shape on the plate.


✨ You May Also Like

Main Course
🍜 United Kingdom

A showstopping classic of tender seared beef, savory mushroom duxelles, and crisp prosciutto wrapped in flaky golden puff pastry, baked to juicy perfection.

⏱️ 2 hours 1Main Course ★ 4.7
Main Course
🍜 India

Tender charred marinated chicken simmered in a rich, spiced creamy tomato sauce, this iconic Anglo-Indian curry pairs perfectly with basmati rice or warm naan.

⏱️ 50 minuteMain Course ★ 4.6
Main Course
🍜 Thailand

Classic tangy, sweet, and savory Thai stir-fried rice noodles with shrimp, tofu, and crunchy garnishes, balancing all five core Thai flavor profiles.

⏱️ 30 minuteMain Course ★ 4.5
Main Course
🍜 United Kingdom

Crispy golden beer-battered cod and fluffy double-fried chips, served with tangy tartar sauce and malt vinegar: the timeless, beloved British pub comfort classic.

⏱️ 45 minuteMain Course ★ 4.7
Main Course
🍜 Mexico

Smoky, chile-marinated pork tacos with caramelized pineapple, fresh cilantro, and lime: a beloved classic Mexican street food perfect for casual summer gatherings.

⏱️ 1 hour 45Main Course ★ 4.8
Main Course
🍜 United States

Crunchy Fritos corn chips layered with savory beef chili and melted cheddar, topped with cool, zesty fixings for a beloved, cozy Tex-Mex comfort food.

⏱️ 35 minuteMain Course ★ 4.8

chile relleno casserole:Frequently Asked Questions

1.Can I use canned green chiles instead of roasting fresh ones for this casserole? ▾
Absolutely—canned whole roasted, peeled green chiles are actually ideal for this fuss-free recipe, since they cut out prep time entirely. Just be sure to drain them fully and pat them gently with paper towels first, so excess brine doesn’t make your casserole soggy. Stick to canned Anaheim or poblano varieties for that classic smoky, mild heat.
2.What cheese works best if I don’t have Monterey Jack on hand? ▾
Monterey Jack is perfect here because it melts ultra-smooth and has a mild, creamy flavor that doesn’t overpower the chiles. If you’re out, swap in mild white cheddar, Oaxaca, or asadero cheese for a similar melt. Skip crumbly cheeses like feta or extra-sharp cheddar, as they won’t give you that signature gooey, stretchy texture.
3.Why is there flour in this recipe if it’s not the traditional fried batter? ▾
Great question! The small amount of all-purpose flour here replaces the heavy fried batter from classic chiles rellenos. It helps bind the egg and milk custard together, gives the bake a light, tender structure instead of a watery texture, and creates a subtle, fluffy base that lets chile and cheese flavors shine without extra frying oil.
4.Can I make this casserole ahead of time for meal prep or a brunch potluck? ▾
You sure can! Assemble the fully layered casserole (don’t bake it yet), cover it tightly with plastic wrap, and store it in the fridge for up to 24 hours before baking. When you’re ready to serve, pull it out 15 minutes to take the chill off, then bake as directed for an easy, crowd-pleasing dish perfect for brunch, weeknights, or potlucks.
5.How do I keep my chile relleno casserole from turning out soggy? ▾
Sogginess almost always comes from excess moisture in your chiles or over-measuring milk. First, drain canned chiles really well and pat them dry with paper towels before layering. Don’t overpour the custard, and make sure your oven is fully preheated before baking, so the custard sets quickly instead of sitting and absorbing extra liquid as it heats.
6.Is this casserole spicy, or can I make it mild for kids? ▾
The base recipe uses mild Anaheim or poblano chiles, which have a gentle, smoky heat most kids and spice-averse eaters enjoy. If you want zero heat, swap regular canned chiles for canned mild green chiles labeled “no heat,” and skip any optional hot pepper add-ins. For extra kick, toss in a small can of diced spicy green chiles.
7.Can I add meat to this casserole to make it a heartier main dish? ▾
Absolutely! This cheesy base works beautifully with added protein for a more filling meal. Try layering in 1 cup of cooked, crumbled chorizo, ground beef, or shredded chicken between the chile and cheese layers—just make sure any cooked meat is fully drained of excess grease before adding, so you don’t end up with a greasy, heavy final bake.
8.What’s the best way to layer the ingredients for even flavor in every bite? ▾
For consistent flavor in every bite, start with a thin layer of custard on the bottom of your greased baking dish to prevent sticking. Next, add a single layer of patted-dry whole chiles, a thick layer of shredded Monterey Jack, repeat the chile and cheese layers once, then pour remaining custard evenly over the top.
9.Do I need to peel the chiles if I roast fresh ones instead of using canned? ▾
Yes, you’ll want to peel fresh roasted chiles for the best texture. Roast fresh poblanos or Anaheims under the broiler until skins are blackened and blistered all over, then seal them in a bowl for 10 minutes to steam—this makes papery skins slide right off. Leaving skins on gives the casserole a tough, unpleasant papery texture.
10.Can I use dairy-free milk and cheese to make this casserole vegan? ▾
You can adapt this for dairy-free and vegan diets pretty easily! Swap whole milk for unsweetened oat milk (it has the creamiest, closest texture to dairy milk), use a plant-based Monterey Jack-style shred that melts well, and replace eggs with 1 cup chickpea flour mixed with 1 ½ cups water for a set, custard-like texture.
11.How do I know when the casserole is fully done baking? ▾
You’ll know the casserole is done when the edges are golden and slightly puffed, the center is fully set (no jiggling when you nudge the dish), and a toothpick inserted into the middle comes out clean with just a bit of melted cheese, no runny raw egg custard. Let it rest 10 minutes before slicing for clean cuts.
12.Can I freeze leftover chile relleno casserole? ▾
Yes, this casserole freezes really well! Let fully baked leftovers cool completely, then slice into individual portions, wrap each tightly in plastic wrap and foil, and freeze for up to 3 months. Reheat slices in a 350°F oven for 20 to 25 minutes (or microwave for 2 to 3 minutes) until heated through for quick, easy meals.
13.Why do my eggs sometimes curdle when I make egg-based casseroles like this? ▾
Curdling usually happens if your oven temperature is too high, or if you use too much milk relative to the eggs and flour. Stick to the recipe ratio of eggs, whole milk, and flour to stabilize the custard, and bake at 375°F—higher heat makes eggs cook too fast, separate, and turn rubbery or curdled instead of smooth and creamy.
14.What are good serving sides to pair with this casserole? ▾
This zesty, cheesy casserole pairs perfectly with light, fresh sides to cut through the richness. Try serving it with a simple side salad dressed with lime vinaigrette, cilantro-lime rice, refried beans, fresh pico de gallo, sliced avocado, or a dollop of sour cream. It also works great as a brunch dish alongside crispy hash browns or fresh fruit.
15.Can I use low-fat milk instead of whole milk for a lighter version? ▾
You can use 2% milk if that’s what you have on hand, but I don’t recommend skim milk or non-dairy creamer for this recipe. Whole milk gives the custard a rich, creamy, smooth texture that holds its shape; lower-fat milks will make the custard thinner, more watery, and less flavorful, which can lead to a soggy, less satisfying final bake.
16.Do I need to grease my baking dish before adding the ingredients? ▾
Definitely! The melted cheese in this casserole is super sticky, so give your 9x13 inch baking dish a thorough coating of nonstick cooking spray, butter, or a light rub of oil before you start layering. This prevents cheese and chiles from gluing to the bottom and sides, so you’ll get clean slices and way easier cleanup after baking.
17.Can I add extra veggies to this casserole without ruining the texture? ▾
You can absolutely add extra veggies, as long as you cook high-moisture options first to avoid sogginess. Sautéed diced bell peppers, sweet corn, caramelized onions, or roasted zucchini all work beautifully—just cook them first and drain off any excess liquid before layering, so they don’t leach water into the custard as it bakes.
18.How long will leftovers stay good in the refrigerator? ▾
Properly stored in an airtight container, leftover baked chile relleno casserole will stay fresh in the refrigerator for 3 to 4 days. When you’re ready to reheat, warm individual slices in the microwave for 60 to 90 seconds, or in a 350°F oven for 10 minutes, until cheese is melty and the center is heated all the way through.

Comments (17)

2 hours ago

OMG this chile relleno casserole is a total game changer for busy weeknights! I threw it together after work in 10 minutes, popped it in the oven, and the whole family was raving 45 minutes later. My picky 7 year old asked for seconds, which never happens. SO good!

30 minutes ago

So happy to hear your kiddo loved it! It’s such a great weeknight pick for exactly that reason — minimal prep, maximum flavor 😊

3 days ago

Made this for our weekly Taco Tuesday spread last night and it stole the show! I added a little extra cotija cheese on top before baking and it was chef’s kiss. Perfect level of heat from the chiles, not too overwhelming for people who don’t love super spicy food.

1 week ago

I’ve been meal prepping this every Sunday for the past month! It reheats so well in the microwave, I just cut a square for lunch each day and my coworkers keep asking where I got the recipe. Way easier than stuffing individual chiles, that’s for sure.

5 days ago

Wait does it get soggy when you reheat it? I’ve had bad luck with casserole meal prep turning mushy midweek!

3 days ago

Great question! If you let it cool completely before portioning and storing in airtight containers, it stays perfectly firm for 4-5 days in the fridge. I recommend reheating at 50% power in the microwave to keep the texture nice!

5 days ago

Brought this to my office potluck last week and the pan was completely scraped clean in 10 minutes! Only reason I’m not giving 5 stars is I wish it had a little more cheese — next time I’ll double the Monterey Jack like my abuela used to add.

3 days ago

I doubled the jack cheese last time I made it and it was INCREDIBLE, highly recommend that tweak! It gets all gooey and stretchy in the best way.

2 weeks ago

As someone who grew up eating homemade chile rellenos at every family dinner, I was skeptical a casserole version could live up. Y’all. This is so close to the real thing, and 100x easier. No messy batter, no frying, just all that smoky chile and cheesy goodness I crave.

1 week ago

Do you use canned whole chiles or roast your own fresh ones? I’ve never worked with chiles before and don’t want to mess it up!

5 days ago

Canned whole green chiles work perfectly here for a super easy prep, but if you have extra time to roast fresh poblano peppers, that adds a wonderful smoky depth too! Either way turns out delicious.

yesterday

Made this for my three teen boys after football practice and they ate half the pan in one sitting. Love that it’s hearty enough for growing kids, doesn’t require a million ingredients, and clean up is a breeze since it’s all one dish. 10/10 will be in the regular rotation.

2 days ago

So happy I found this! It’s naturally gluten free as long as you double check your enchilada sauce label, which is perfect for my dietary needs. I served it with a side of cilantro lime rice and it felt like a restaurant meal at home.

yesterday

Love that you pointed that out for our gluten free readers! The cilantro lime rice side sounds like the perfect pairing, I’ll have to try that next time I make it myself.

3 days ago

This is a solid easy recipe! I added a layer of seasoned ground beef between the chiles and cheese to make it a little more filling for my grandkids when they visited over the weekend. Everyone went back for seconds, even the picky ones.

2 days ago

I wonder if black beans would work as a vegetarian swap for the ground beef? That sounds like such a good add!

yesterday

I added a can of rinsed black beans and a handful of corn last time and it was chef’s kiss! Super hearty even without meat, you should totally try it.

30 minutes ago

Pretty good! I mixed in a can of diced green chiles with a little diced jalapeño to kick the heat up a notch, since the regular chiles are pretty mild for my taste. Next time I might even add a dash of hot sauce to the egg mixture for an extra zing.

5 minutes ago

Wait this is so easy even I can make it in my tiny dorm oven??? I only have like 3 ingredients max in my mini fridge usually but this looks doable. No fancy skills required? Sign me up, I’m so sick of microwave ramen.

just now

You’ve got this! It’s so beginner friendly — no fancy techniques or special equipment needed, just a baking dish and an oven. Let us know how it turns out if you give it a try!

1 week ago

Made this for our neighborhood block party last weekend and I must have given out the recipe to at least 10 people. It’s the perfect crowd pleaser because you can set out toppings like sour cream, salsa, avocado, and lime wedges so people can customize their slice.

5 days ago

The topping bar idea is genius! I’m hosting a backyard BBQ next weekend and this is going straight on the menu.

3 days ago

Love the build-your-own topping bar idea! It’s such a fun way to serve this for a crowd, I’m definitely stealing that for my next summer get together.

2 days ago

Who knew this worked for brunch??? I made it for my girls’ brunch last Sunday, served it with mimosas and some fresh fruit, and everyone was obsessed. It’s eggy and cheesy enough to feel like breakfast food, but hearty enough that no one left hungry. Game changer brunch hack!

yesterday

Leftovers of this are even better the next day, I swear. The flavors meld together so much after sitting in the fridge overnight. I had a slice for breakfast this morning with a little hot sauce on top and it hit so different.

2 hours ago

Wait eating it for breakfast is such a move! I never thought to have it outside of dinner, but that makes total sense with the egg base. Trying that tomorrow!

2 weeks ago

This is my new go-to vegetarian main for family dinners! So many casseroles are loaded with meat and leave me picking around it, but this is perfectly satisfying on its own. The melted cheese and tender chiles are such a perfect combo, I don’t even miss the meat at all.

1 week ago

I’m a total meat and potatoes guy and I didn’t even notice there was no meat when my wife made this last week. It’s that filling!

5 days ago

That makes me so happy to hear! It’s totally customizable too — if you ever want to bulk it up more, roasted veggies or black beans fit right in without overpowering that classic chile relleno flavor.

3 days ago

Made this for my shift at the fire station last night and the whole crew gave it a 10/10. It’s easy to make a big pan, it holds up well during calls if we have to jump up mid-meal, and it’s filling enough to keep us going through long shifts. Already added it to our station recipe book.

1 week ago

I’ve been making a much more complicated chile relleno casserole for Sunday dinner for years, and this recipe is so much simpler and tastes just as good! I love that it only takes 45 minutes total, so I don’t have to spend half my Sunday in the kitchen. The whole family prefers this version now, oops.

5 days ago

That’s the highest compliment! I’m all for cutting down on unnecessary kitchen time without sacrificing flavor, especially on lazy Sundays. So glad your family loves it.

2 hours ago

Super solid recipe! My only note is that I had to bake mine about 8 minutes longer than the recipe said because my oven runs a little cool, so just keep an eye on it to make sure the egg is fully set in the middle. Other than that, it was cheesy, flavorful, and so easy to throw together.

30 minutes ago

Thanks for the heads up! My oven is also weirdly cold, I’ll add extra time when I make it this weekend so I don’t end up with a runny middle.



