
chilli chicken stir fry

title 1
chilli chicken stir fry
⏱️ cook time 12 minutes
🍽️ servings 4
⚡ Difficulty easy

intro

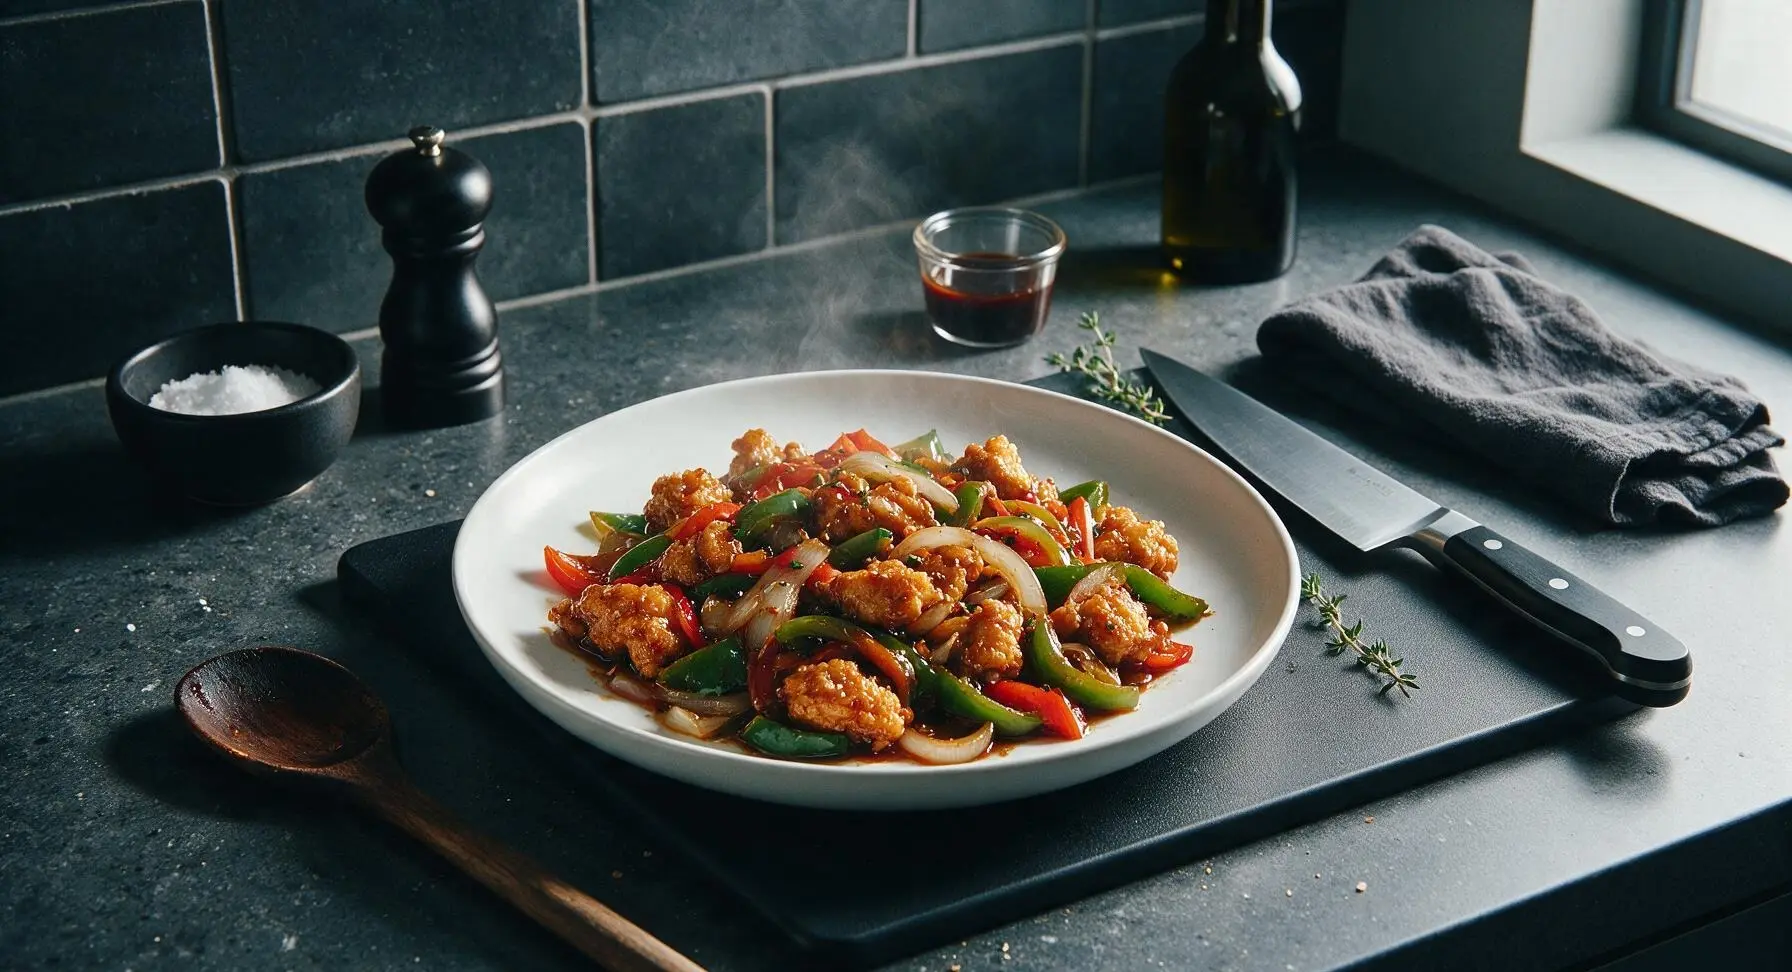
Crispy golden chicken tossed in a sticky, spicy-savoury sauce with crisp-tender peppers and onions, this Indo-Chinese stir fry is faster and fresher than takeout.

Ingredients
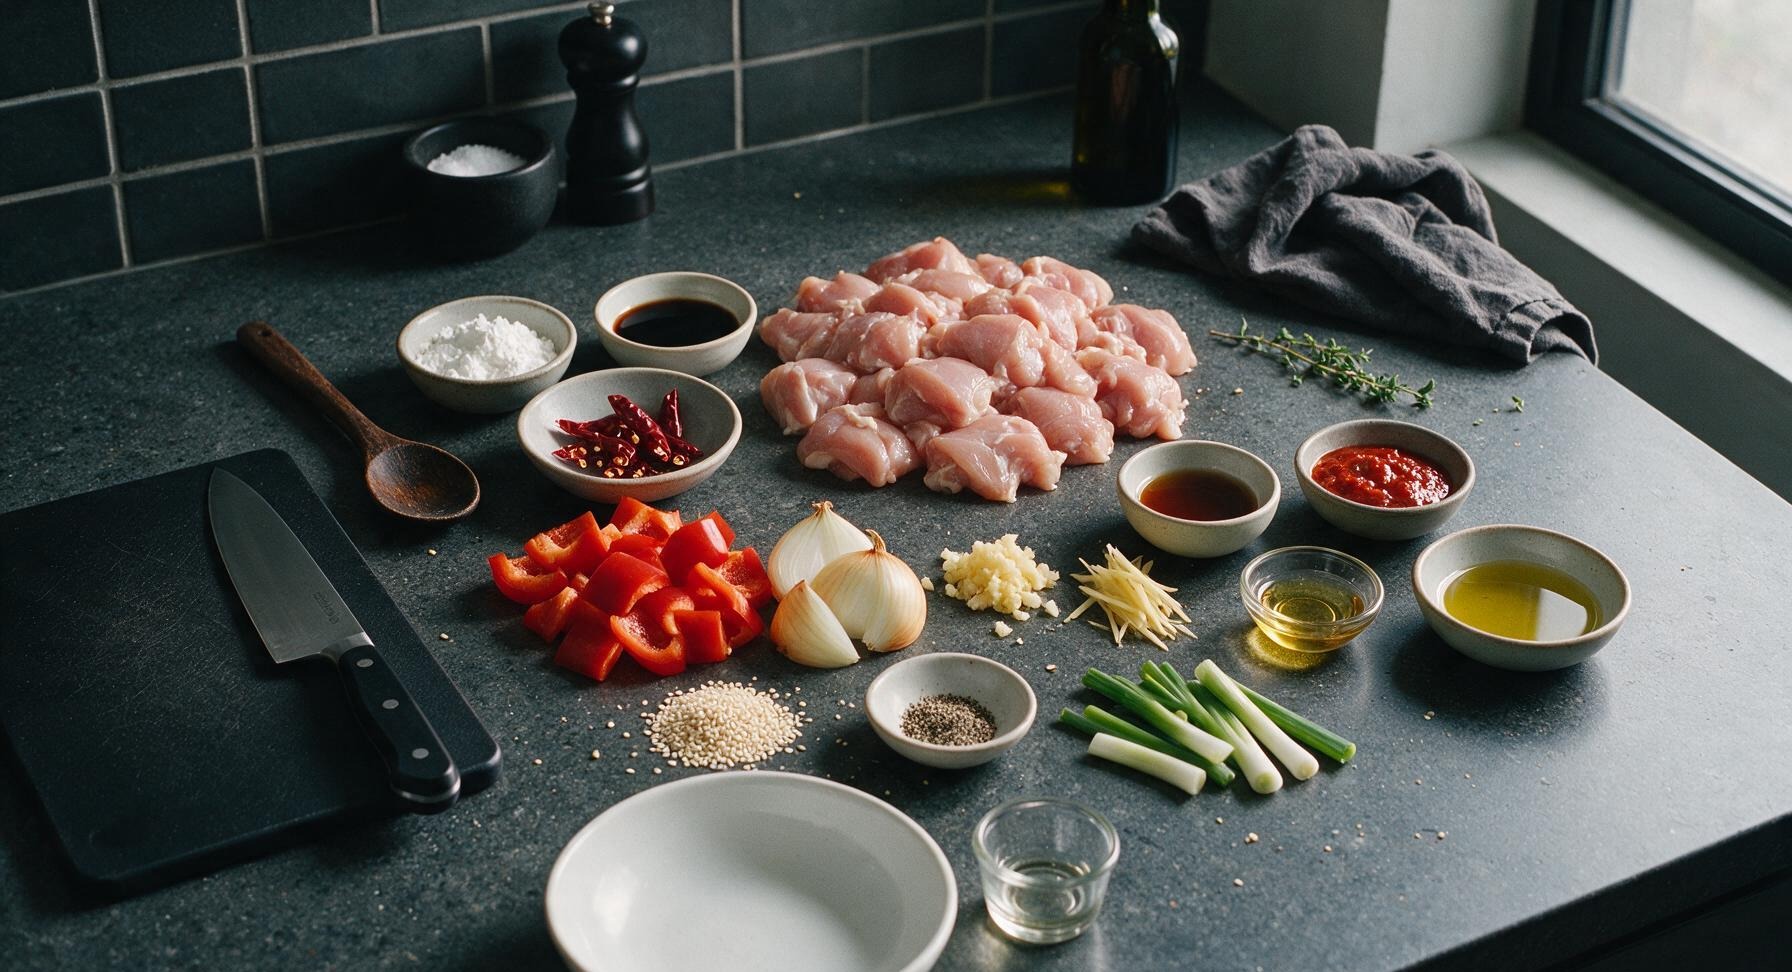
Boneless skinless chicken thighs, cut into 2.5cm cubes 500g
Cornstarch 3 tbsp
Light soy sauce 3 tbsp, divided
Red bell pepper, cut into 2.5cm chunks 1 medium (150g)
Yellow onion, cut into 2.5cm wedges 1 small (120g)
Garlic, finely minced 4 cloves (12g)
Fresh ginger, cut into thin matchsticks 1 tbsp (10g)
Dried red chillies, broken into pieces (seeds removed for less heat) 5 whole
Rice vinegar 1 tbsp
Chilli garlic sauce 2 tbsp
Toasted sesame oil 1 tsp
Neutral cooking oil (canola or avocado) 3 tbsp, divided
Spring onions, cut into 5cm segments, green and white parts separated 4 stalks
Toasted white sesame seeds 1 tsp
Freshly ground black pepper 1/4 tsp

Steps

1

Coat chicken pieces

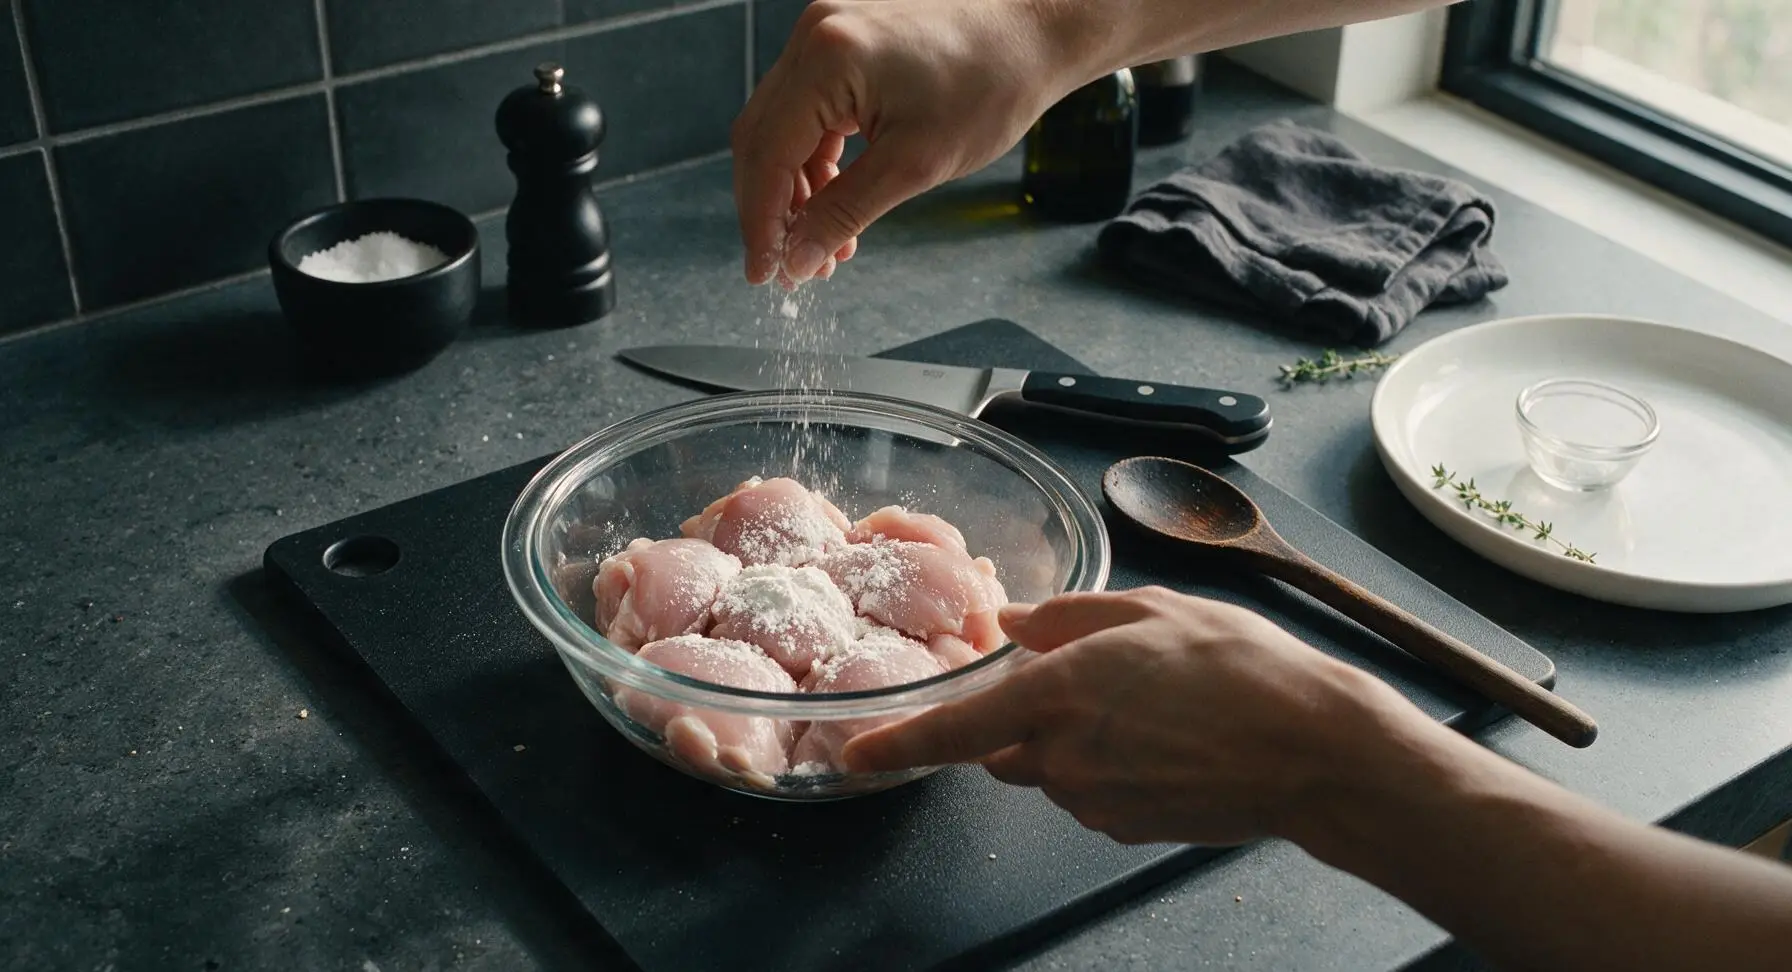
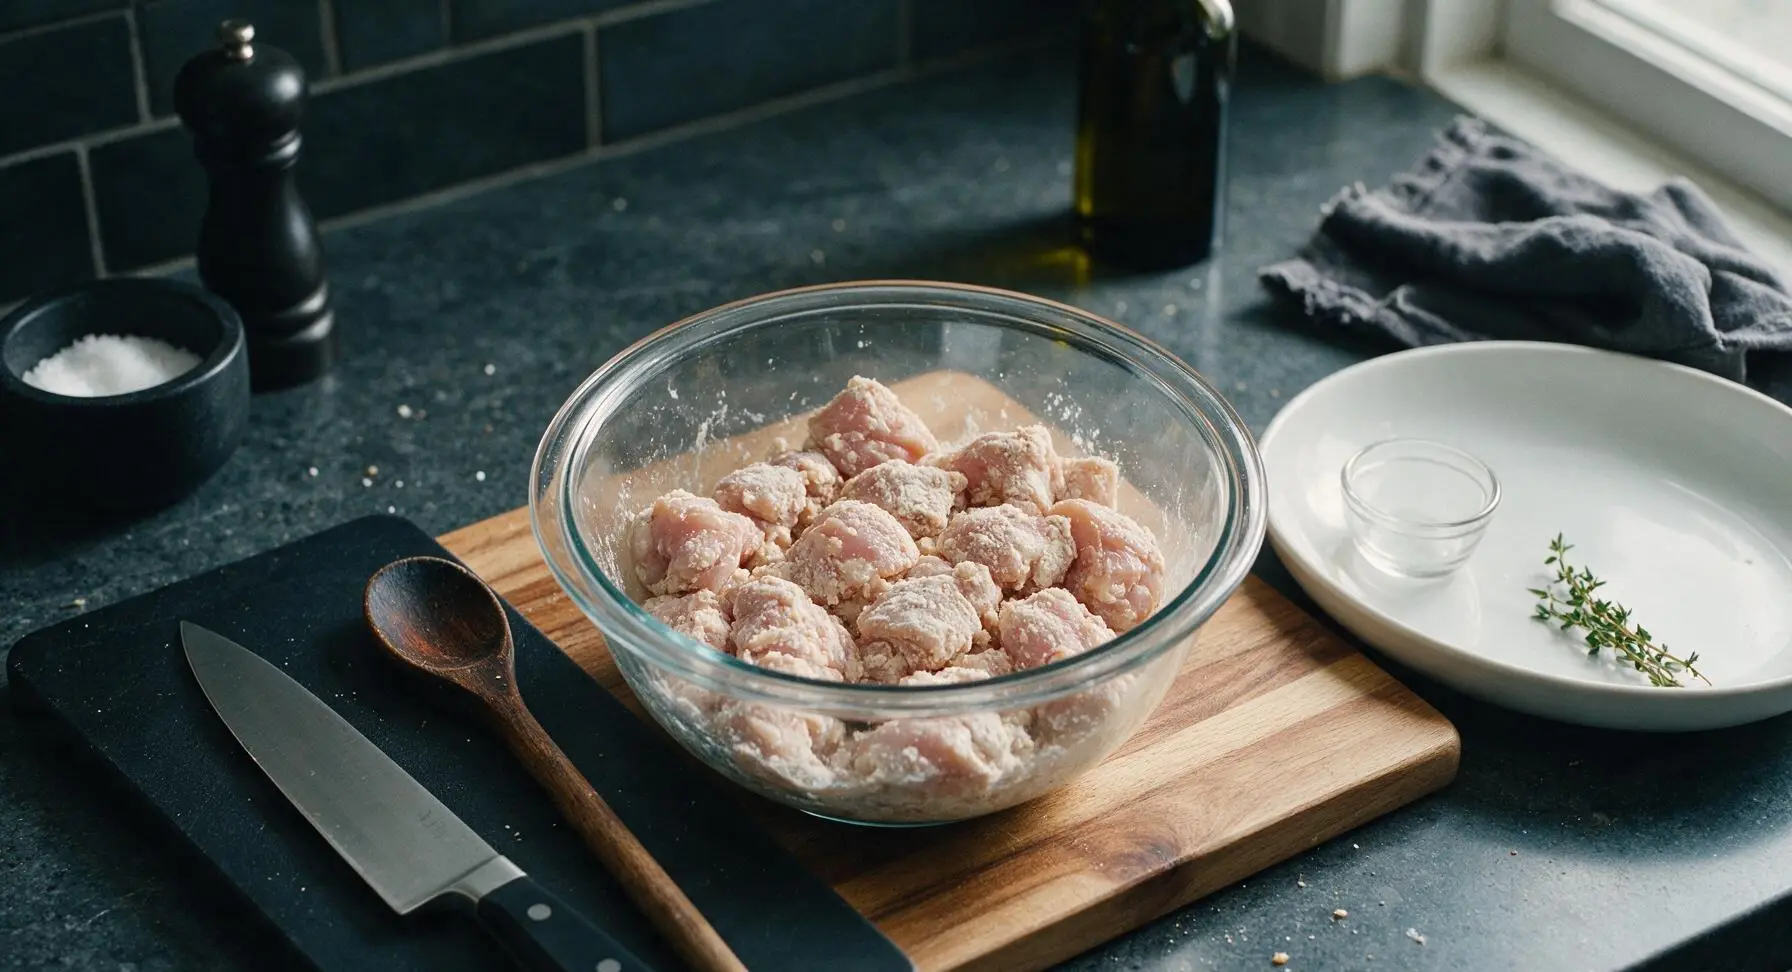
Place 500g of 2.5cm cubed boneless chicken thighs on the acacia wood cutting board. Pat pieces completely dry with the corner of the indigo kitchen towel, then transfer to a clear glass prep bowl. Add 3 tablespoons cornstarch, 1 tablespoon light soy sauce, and 1/4 teaspoon freshly ground black pepper. Toss gently until every chicken piece is covered in a thin, even, matte coating with no sticky clumps, then let rest 5 minutes to let the coating adhere firmly.
Step 1
step1:Coat chicken pieces
Step 1
step1:Coat chicken pieces
2

Prep veggies and aromatics

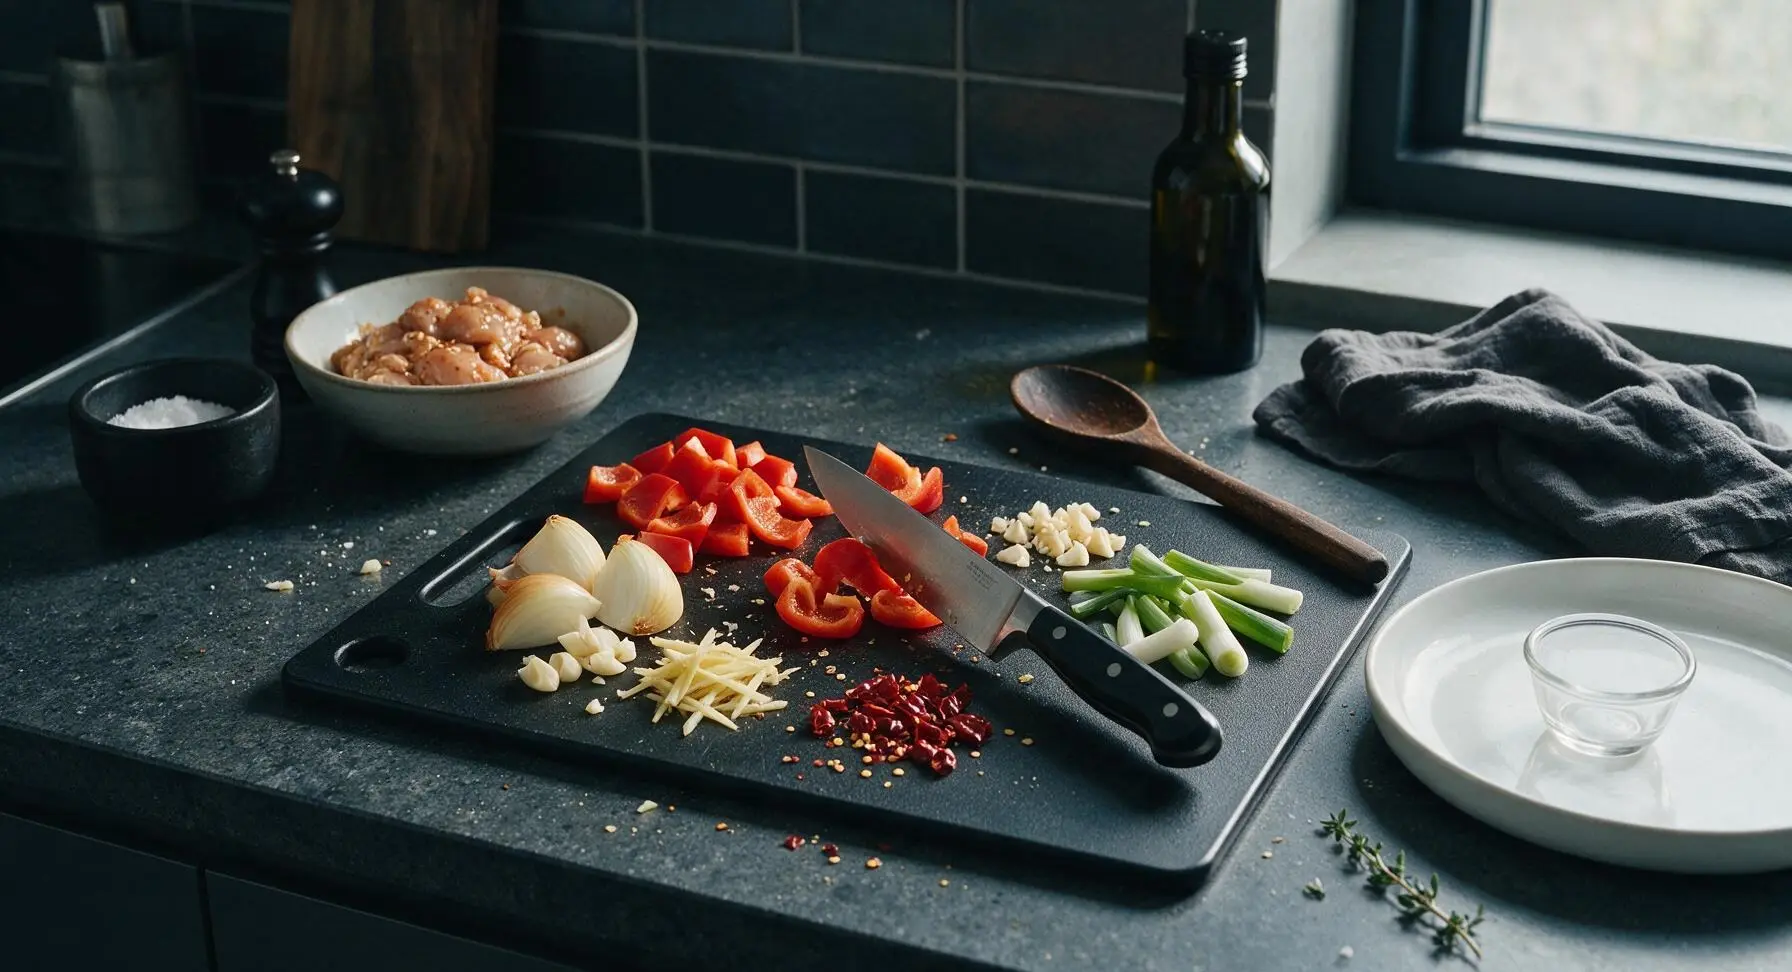
Use the chef knife on the acacia wood cutting board to cut 1 medium red bell pepper into 2.5cm chunks, 1 small yellow onion into 2.5cm wedges, mince 4 garlic cloves, slice 10g ginger into thin matchsticks, and break 5 dried red chillies into 2cm pieces (scrape out seeds for milder heat). Cut 4 spring onions into 5cm segments, separating firm white parts from tender green parts. Arrange each prepped ingredient in small separate piles on the edge of the cutting board for quick access during cooking.
Step 2
step2:Prep veggies and aromatics
3

Whisk stir-fry sauce

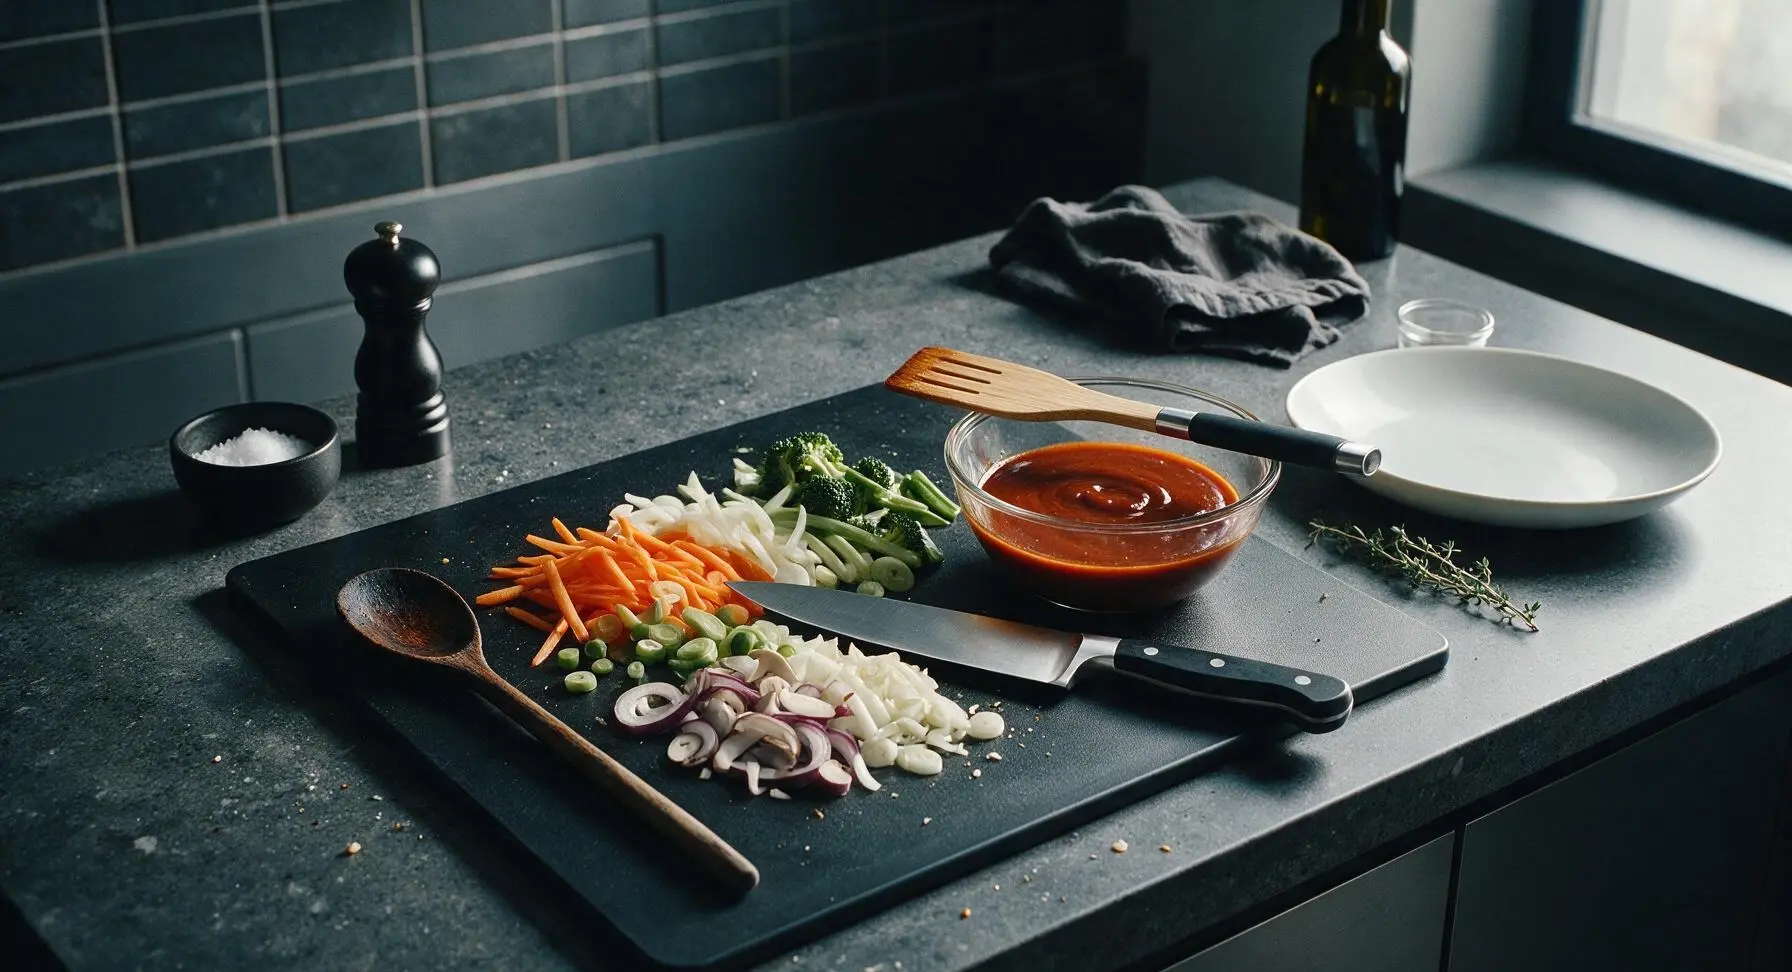
In a spare clear glass prep bowl, combine the remaining 2 tablespoons light soy sauce, 1 tablespoon rice vinegar, 2 tablespoons chilli garlic sauce, and 1 teaspoon toasted sesame oil. Stir with the tip of the bamboo turner until the mixture is smooth and uniform deep reddish-brown, with no streaks of separate oil or vinegar. Set the bowl within arm’s reach of the cooking area—stir fry moves too quickly to measure ingredients once cooking starts.
Step 3
step3:Whisk stir-fry sauce
4

Sear chicken until crispy

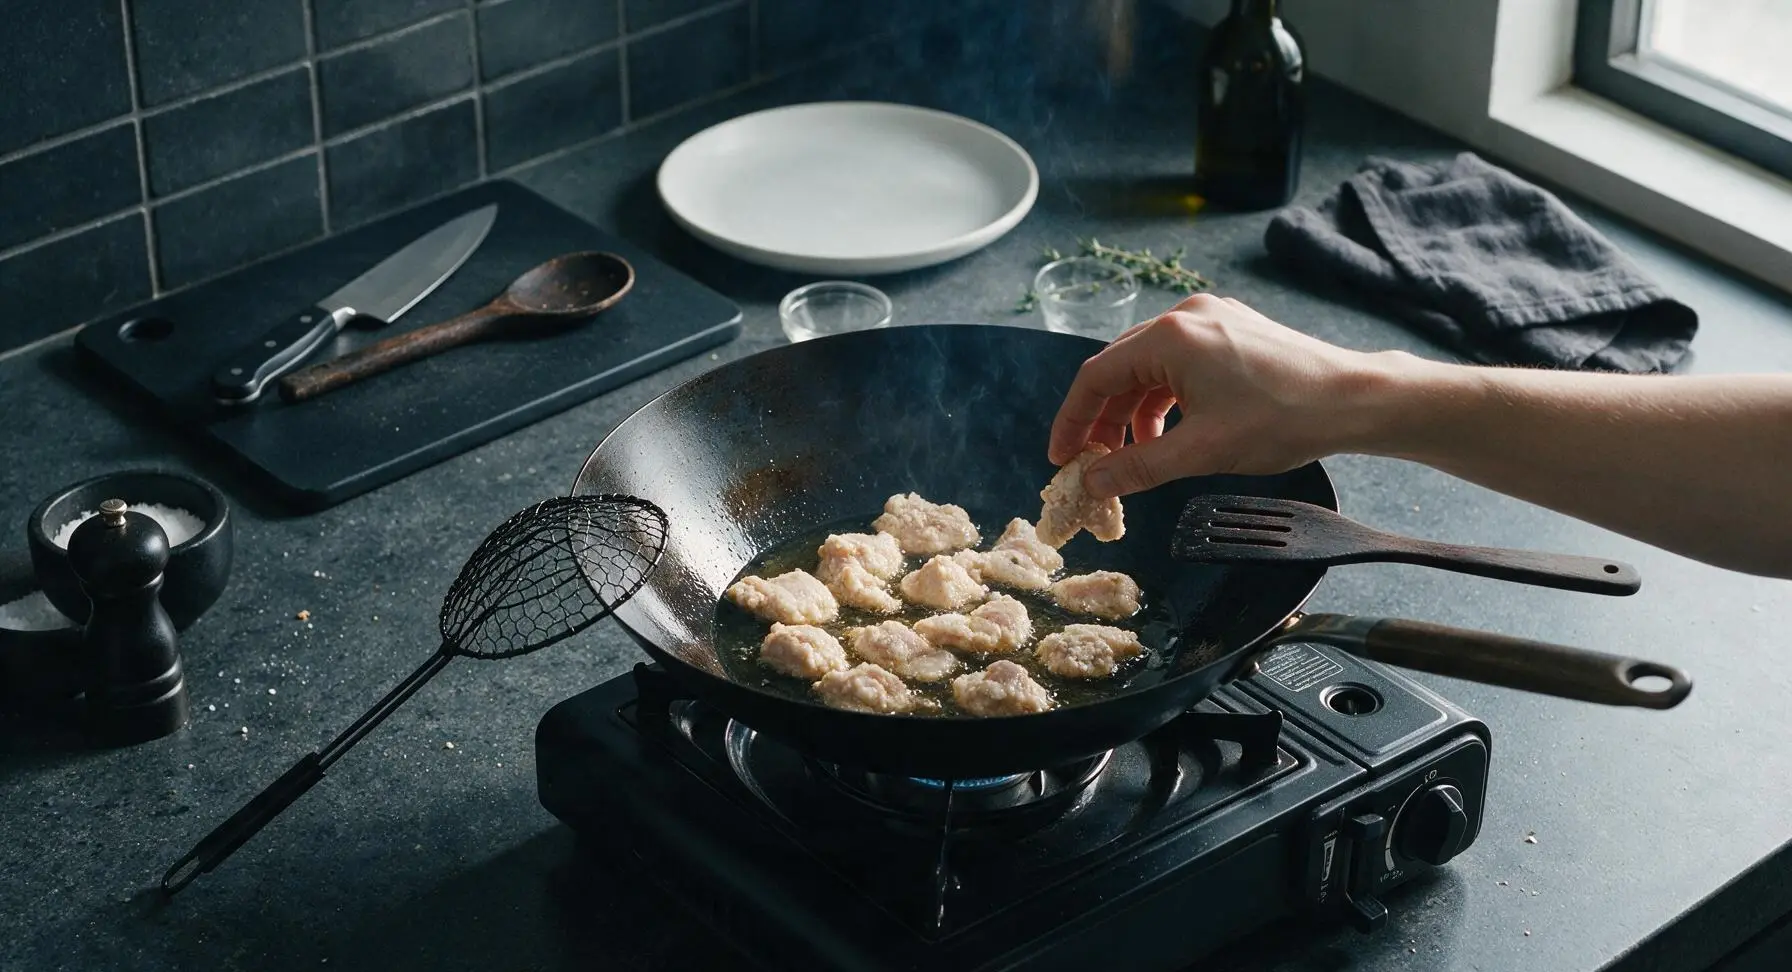
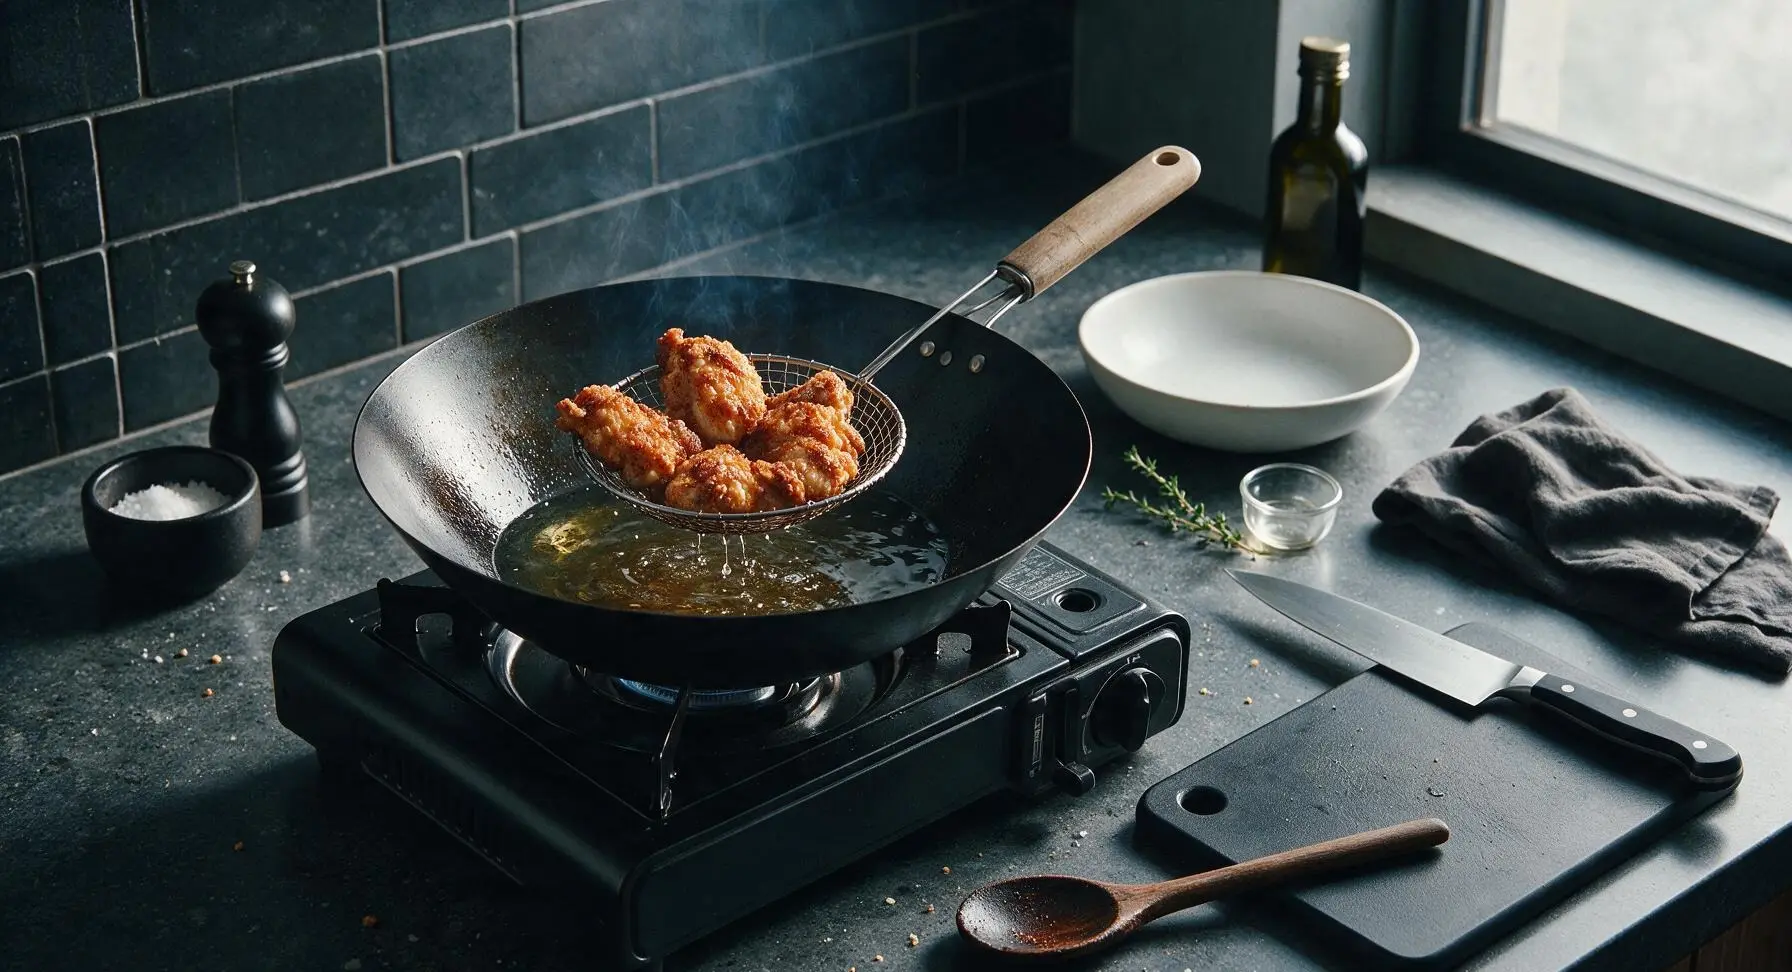
Place the portable matte black butane stove center-frame, set the 30cm carbon steel wok on top, and turn heat to high. Add 2 tablespoons of neutral cooking oil, and heat until the oil shimmers and just starts to send up thin wisps of smoke (around 190C/375F). Working in two batches to avoid crowding the pan, add half the coated chicken pieces in a single layer. Sear for 2 minutes per side without moving, until deep golden and crispy on all sides, then use the wire skimmer to transfer cooked chicken to a clean plate. Repeat with the second batch, adding 1 more tablespoon of oil if needed. Do not stir the chicken too early, as this will knock off the crispy cornstarch coating.
Step 4
step4:Sear chicken until crispy
Step 4
step4:Sear chicken until crispy
5

Stir-fry veggies and aromatics

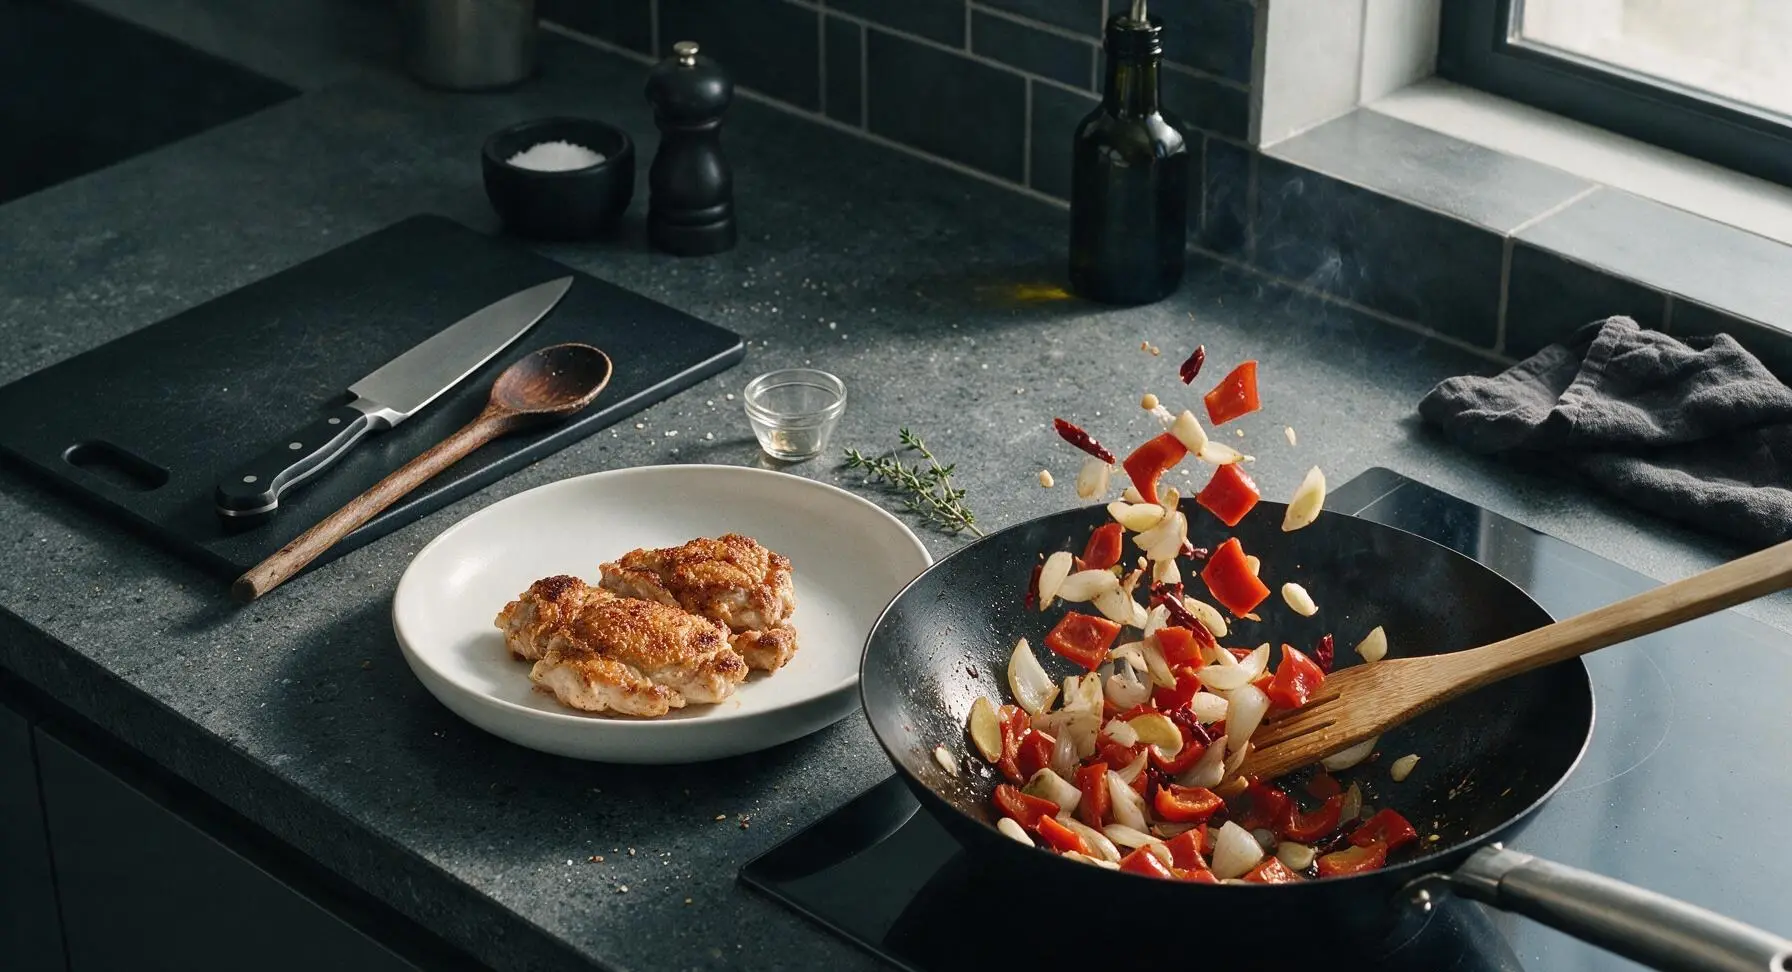
Leave 1 tablespoon of oil in the wok, reduce heat to medium-high. Add the dried red chilli pieces, ginger, garlic, and white parts of the spring onions. Stir constantly with the bamboo turner for 30 seconds, until fragrant—do not let the garlic burn, as it will turn bitter. Add the bell pepper chunks and onion wedges, and stir-fry for 2 minutes, until the vegetables are crisp-tender with slightly charred edges, but still bright and crunchy, not soft and mushy.
Step 5
step5:Stir-fry veggies and aromatics
6

Toss chicken with sauce

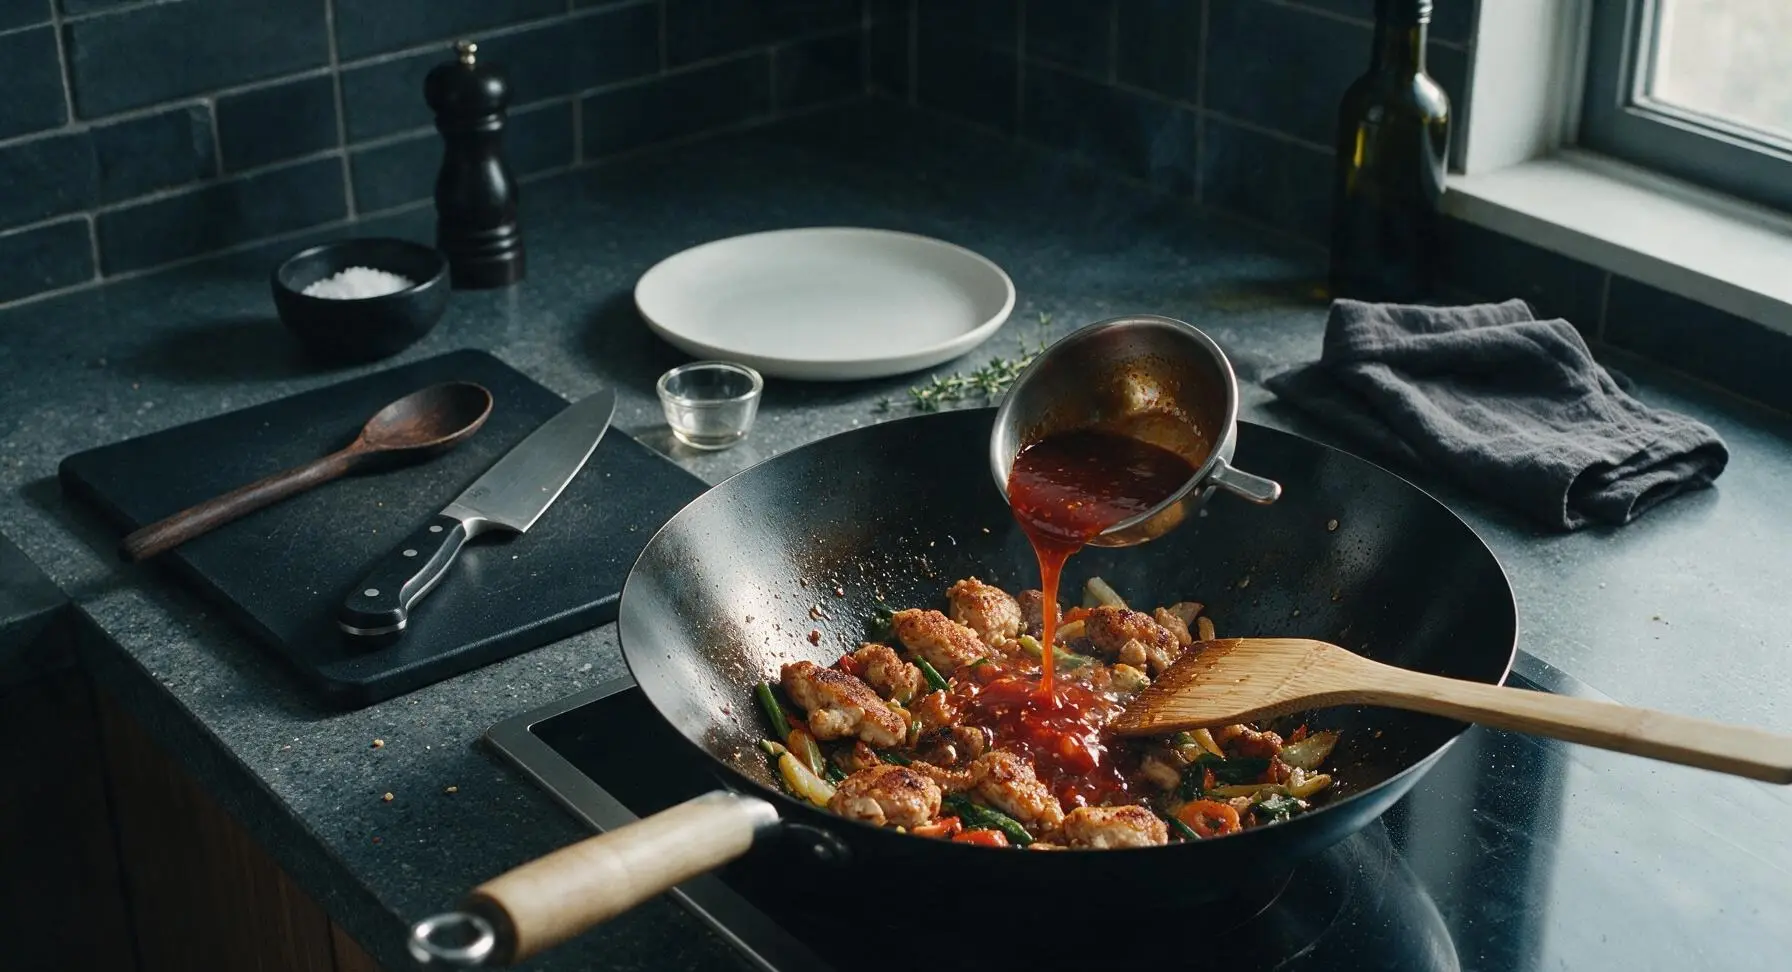
Return all the crispy seared chicken to the wok with the vegetables. Pour the pre-mixed stir-fry sauce over the top, then toss continuously with the bamboo turner for 1 minute, until every piece of chicken and vegetable is evenly coated in the glossy, thickened sauce. The sauce will bubble and stick to the crispy chicken coating, creating a sticky, shiny layer. Turn off the heat immediately once coated to avoid overcooking the chicken or making the veggies soggy.
Step 6
step6:Toss chicken with sauce
7

Plate and garnish dish

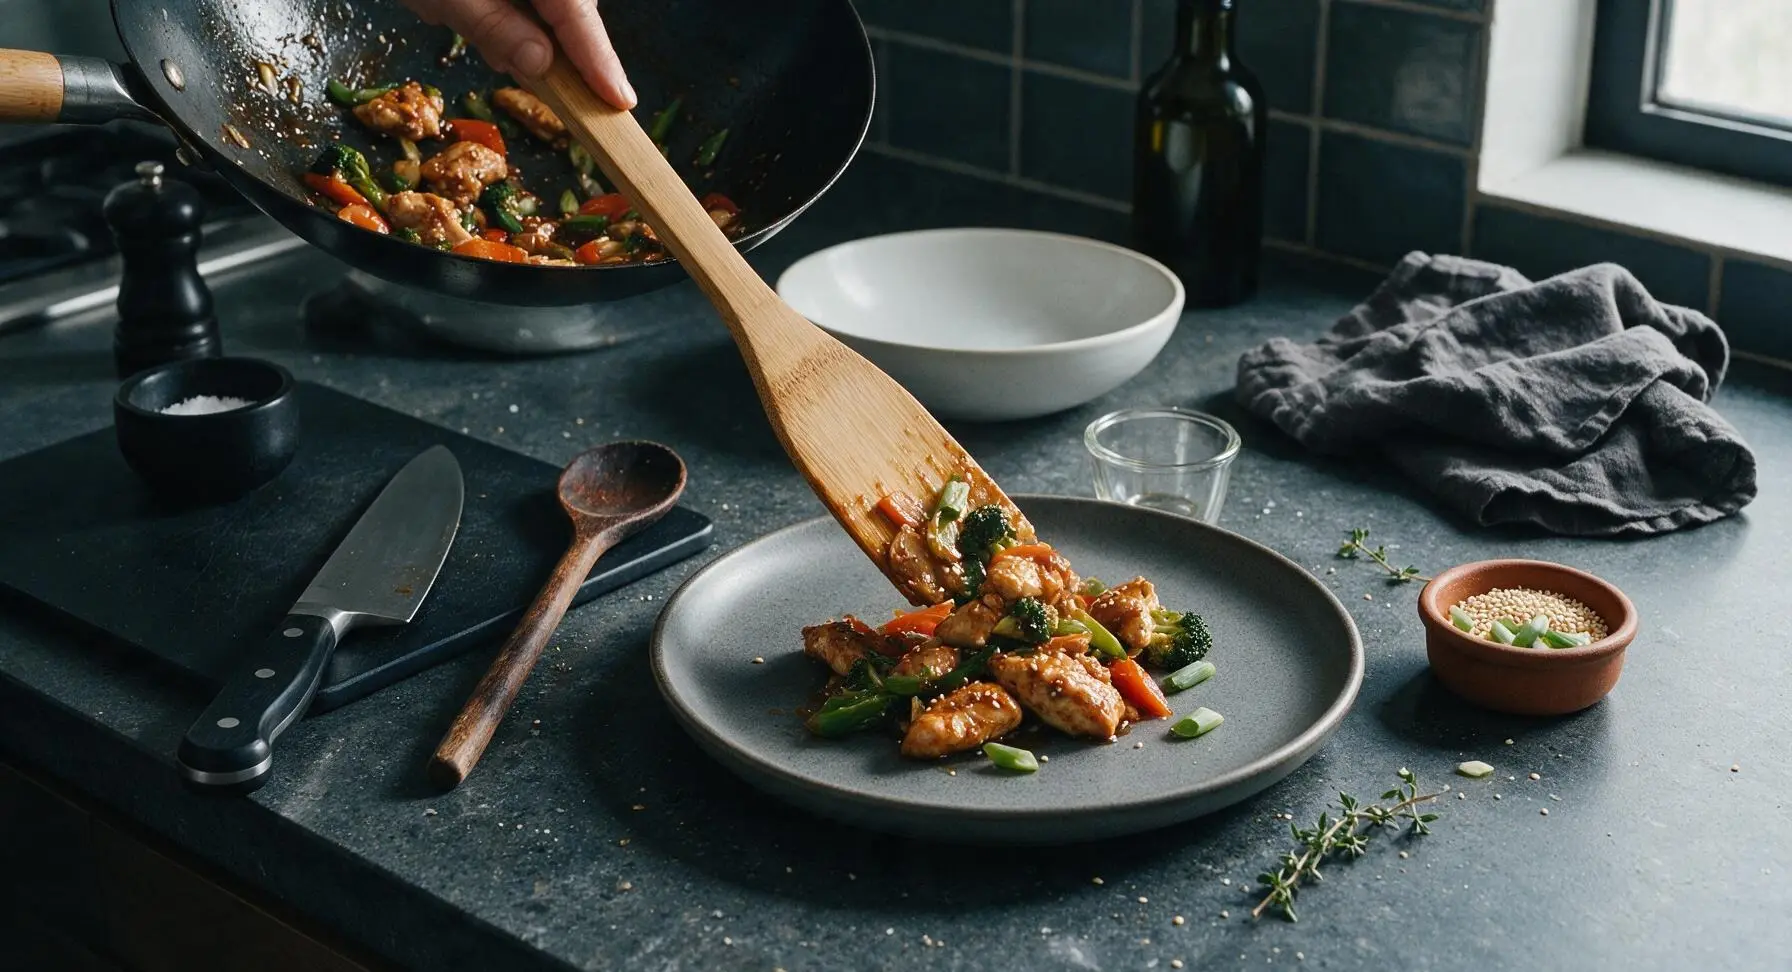
Turn off the stove heat, then carefully transfer the glossy sauced chicken and vegetable mixture from the wok to the matte charcoal grey stoneware dinner plate (moved from the top of the plate stack to center frame). Sprinkle 1 teaspoon of toasted white sesame seeds and the reserved tender green spring onion segments evenly over the top. Serve immediately, while the chicken coating remains crisp and vegetables retain their bright crunch.
Step 7
step7:Plate and garnish dish

Tips

1.Opt for boneless skinless chicken thighs instead of breast: Thighs retain juiciness even at the high heat required for stir-frying, while breast meat can dry out and turn rubbery if overcooked by as little as 30 seconds.
2.Sear chicken in small batches: Overcrowding the wok drops the pan temperature dramatically, causing the cornstarch coating to steam rather than crisp, leading to soggy, greasy chicken instead of crunchy golden pieces.
3.Complete all prep before heating the wok: Stir-fry cooking moves extremely quickly (total cook time is only 12 minutes), and pausing to chop vegetables or mix sauce mid-cook will lead to burnt garlic, overcooked mushy vegetables, or a soggy chicken coating.


✨ You May Also Like

Main Course
🍜 United Kingdom

A showstopping classic of tender seared beef, savory mushroom duxelles, and crisp prosciutto wrapped in flaky golden puff pastry, baked to juicy perfection.

⏱️ 2 hours 1Main Course ★ 4.7
Main Course
🍜 India

Tender charred marinated chicken simmered in a rich, spiced creamy tomato sauce, this iconic Anglo-Indian curry pairs perfectly with basmati rice or warm naan.

⏱️ 50 minuteMain Course ★ 4.6
Main Course
🍜 Thailand

Classic tangy, sweet, and savory Thai stir-fried rice noodles with shrimp, tofu, and crunchy garnishes, balancing all five core Thai flavor profiles.

⏱️ 30 minuteMain Course ★ 4.5
Main Course
🍜 United Kingdom

Crispy golden beer-battered cod and fluffy double-fried chips, served with tangy tartar sauce and malt vinegar: the timeless, beloved British pub comfort classic.

⏱️ 45 minuteMain Course ★ 4.7
Main Course
🍜 Mexico

Smoky, chile-marinated pork tacos with caramelized pineapple, fresh cilantro, and lime: a beloved classic Mexican street food perfect for casual summer gatherings.

⏱️ 1 hour 45Main Course ★ 4.8
Main Course
🍜 United States

Crunchy Fritos corn chips layered with savory beef chili and melted cheddar, topped with cool, zesty fixings for a beloved, cozy Tex-Mex comfort food.

⏱️ 35 minuteMain Course ★ 4.8

chilli chicken stir fry:Frequently Asked Questions

1.Why do you use boneless skinless chicken thighs instead of chicken breast for this stir fry? ▾
Boneless, skinless chicken thighs stay juicy and tender even through the high-heat searing needed to get that signature crispy golden crust, unlike breast which easily dries out. The small amount of natural fat in the thighs also adds extra savoriness. If you substitute breast, cut it slightly smaller (around 2cm instead of 2.5cm), and don’t overcook past 165°F internal temp to avoid toughness.
2.How do I get my chicken crispy instead of soggy when making this stir fry? ▾
First, pat your cubed chicken completely dry with paper towels before tossing it with cornstarch—any excess moisture will steam the chicken instead of crisping it. Don’t overcrowd the pan when searing; work in 2 batches if needed so each piece makes direct contact with hot oil. Wait to toss the chicken with sauce until the last 30 seconds of cooking to keep the crust intact.
3.Can I prep ingredients for this chili chicken ahead of time for weeknight meals? ▾
Absolutely! Cut your chicken, bell pepper, and onion up to 2 days in advance, storing them in separate airtight containers in the fridge. You can even pre-mix your stir fry sauce and keep it jarred in the fridge for up to a week. Wait to toss the chicken with cornstarch until 30 minutes before cooking, though, to avoid a gummy, damp coating.
4.What’s a good substitute for light soy sauce if I don’t have any on hand? ▾
If you don’t have light soy sauce, use 3 parts low-sodium tamari mixed with 1 part water as a direct 1:1 swap for a gluten-free option. Avoid dark soy sauce as a straight substitute, since it’s thicker, saltier, and will turn the dish an overly dark color. Coconut aminos work too, just add a tiny pinch of extra salt to match soy’s savoriness.
5.How do I keep the peppers and onions crisp-tender instead of mushy? ▾
The trick is to cook your veggies over the highest heat possible, and don’t add them to the pan until your seared chicken is removed first. Toss the pepper and onion chunks constantly for just 2 to 3 minutes, until they have slightly charred edges but still snap when you bite into them. Don’t cover the pan while they cook, as trapped steam will turn them soft fast.
6.Is this chili chicken very spicy, and can I adjust the heat level? ▾
The base recipe balances gentle warm spice with sweet and savory notes, so it’s not overwhelmingly spicy for most eaters. To turn up the heat, add 1/4 to 1/2 teaspoon of red chili flakes, a tablespoon of chili garlic sauce, or a few sliced fresh Thai chilis when cooking veggies. For a mild version, skip extra hot add-ins for a family-friendly dish.
7.Why do the recipe instructions say to cut all ingredients to the same 2.5cm size? ▾
Cutting chicken, peppers, and onions to a matching 2.5cm size does two key things: first, it ensures every ingredient cooks at an even, consistent rate, so you won’t end up with undercooked chicken next to mushy, overdone veggies. Second, it makes the stir fry easy to eat, with every bite getting a perfect mix of chicken, pepper, and onion.
8.Can I adapt this chili chicken stir fry to be gluten-free? ▾
This recipe is super easy to adapt for a gluten-free diet. The only swap you need to make is replacing regular light soy sauce with certified gluten-free low-sodium tamari, since standard soy sauce is brewed with wheat. Double check that any extra add-ins like chili sauce don’t contain hidden wheat, and keep all core ingredients as written for the same great takeout-style flavor.
9.What are the best sides to serve with this chili chicken stir fry? ▾
This stir fry pairs perfectly with fluffy steamed jasmine rice, which soaks up that sticky, spicy-savory sauce beautifully. For a lower-carb option, serve it over cauliflower rice or crisp shredded cabbage. You can also add a side of steamed edamame or roasted broccoli for extra veggies, or top with crispy fried chow mein noodles for classic takeout crunch.

Comments (6)

2 days ago

OMG this chilli chicken stir fry was such a game changer for our weeknight family dinner! I was scrambling to throw something together after soccer practice and saw the 12 minute cook time and thought no way, but it actually came together that fast? My kids devoured it, even my super picky 8 year old who turns his nose up at anything with veggies. 10/10 will be adding this to our regular meal prep rotation!

yesterday

Wait did you use fresh or frozen veggies for this? I only have a frozen stir fry mix in my freezer right now and wondering if that’ll work without getting all mushy?

2 hours ago

So glad your family loved it! Frozen stir fry veggies work perfectly here—just toss them straight into the hot pan from the bag, no need to thaw first, and they’ll stay nice and crisp-tender. Happy cooking!

5 minutes ago

SO good! I added an extra tablespoon of chilli flakes and a dash of Sichuan peppercorn oil to give it a little extra numbing spice kick, and it was chef’s kiss. Perfect easy recipe for when I don’t feel like spending an hour in the kitchen after work. Will definitely make this again for my next potluck with the apartment crew!

1 week ago

I made a big batch of this on Sunday for my weekly meal prep and it held up so well all week in the fridge! The chicken stayed tender, the sauce didn’t get all gummy, even after reheating in the office microwave. Only thing I changed was swapping regular soy sauce for low-sodium, and it was still packed with flavor. Knocked off one star only because I wish the sauce recipe made a little more to coat the jasmine rice I served it with, otherwise perfect!

5 days ago

Great call with the low-sodium swap, Jess! If you want extra sauce next time, just double the sauce ingredients (soy, chilli sauce, garlic, honey, vinegar) and you’ll have plenty to drizzle over rice or noodles. Thanks for the great feedback!

yesterday

Literally saved me last night when I had friends over for a last minute game night. I only had chicken thighs, a random bell pepper, and some onions in the fridge, and this recipe came together with stuff I already had in my pantry. Everyone asked for the recipe before they left! So easy even a broke college student can pull it off no problem.

5 days ago

I made this last night using gluten free tamari instead of regular soy sauce because I’m gluten intolerant, and it was incredible! I was worried the sauce would be off, but it tasted exactly like the chilli chicken I get at my local takeout spot, but way less greasy. My roommate who isn’t gluten free even said it was better than takeout!

3 days ago

Wait how does it compare texture-wise to takeout? I feel like my homemade stir fries always have chicken that’s too tough, did you do anything special to the chicken before cooking?

2 days ago

So happy the tamari swap worked out for you! For anyone wondering about tough chicken: make sure you cut the chicken into uniform bite-sized pieces, and don’t overcrowd the pan when cooking—cook in batches if you need to, that way it gets nice and seared instead of steaming. That’ll get you that perfect takeout texture!

30 minutes ago

Made this for my date night last night and my partner thought I ordered in! I served it over crispy chow mein noodles instead of rice and it was chef’s kiss. Only note is that I used chicken breast instead of thighs because that’s what I had, and it was still juicy as long as you don’t overcook it. So easy, zero stress, perfect for impressing someone without spending all night in the kitchen.

5 minutes ago

Ooh serving it over crispy chow mein is such a good call! I’ve been serving mine over white rice this whole time, definitely trying that next time I make it this weekend.



