
Chimichanga
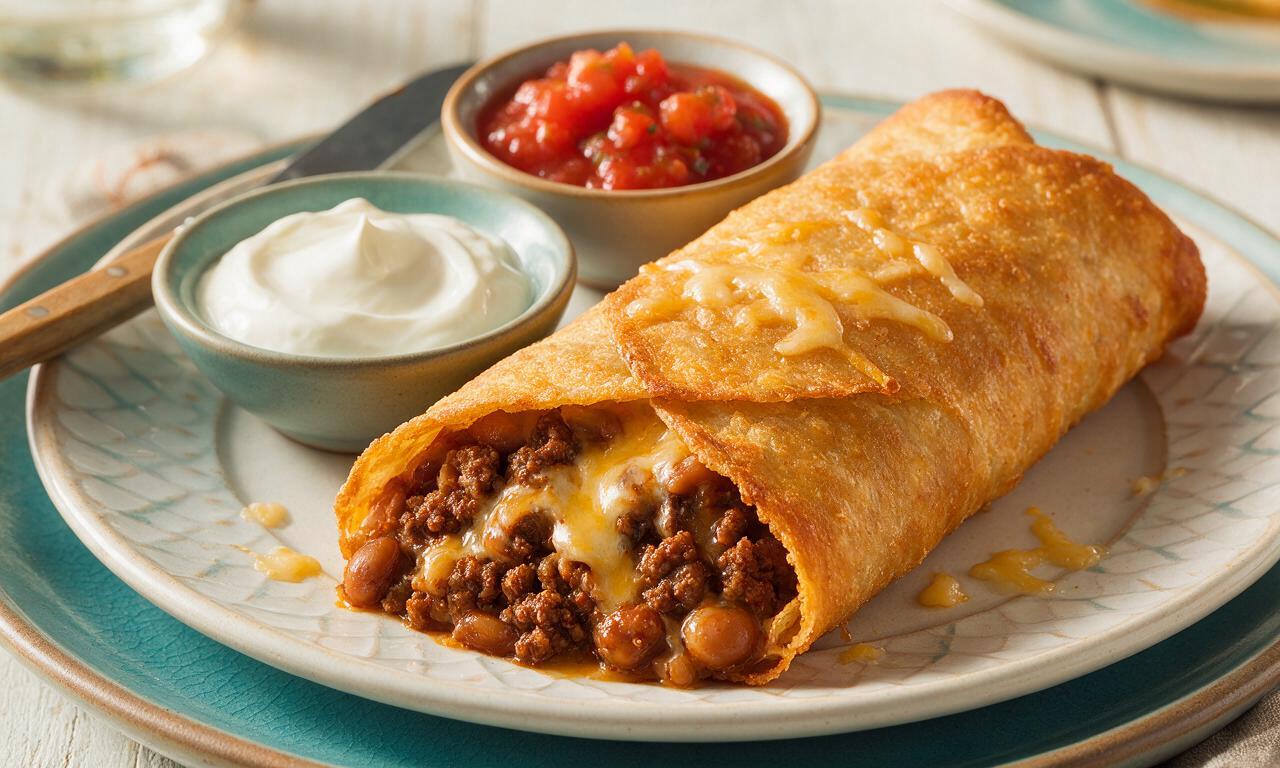
intro
Crispy golden fried burritos stuffed with spiced ground beef, melted cheese, and beans, served with cool sour cream and zesty salsa for a hearty, satisfying meal.
Ingredients
Steps
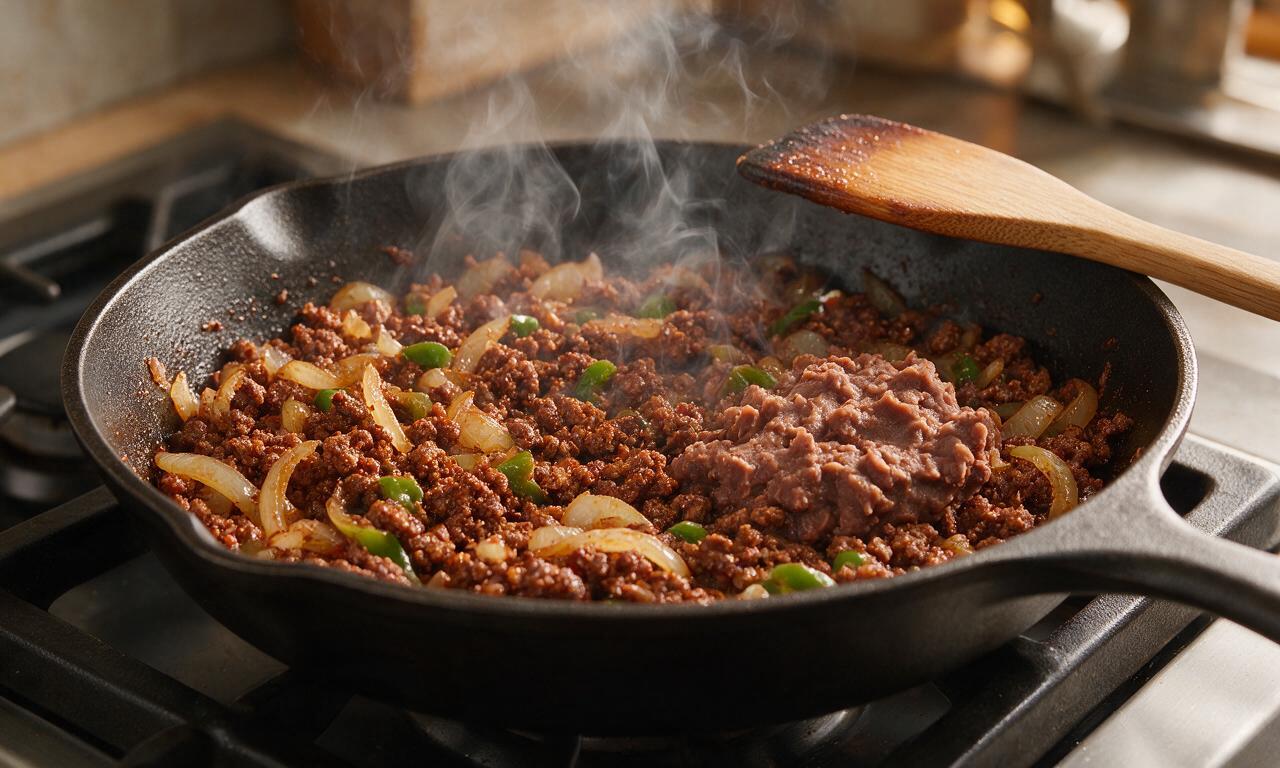
Cook spiced beef filling
Heat 1 tablespoon of vegetable oil in a large skillet over medium heat (175°C/350°F stovetop). Add diced onion, sauté for 3 minutes until soft and translucent, then add minced garlic and cook 30 seconds until fragrant. Add 450g ground beef, break apart with a spatula, and cook for 6-7 minutes until fully browned with no pink remaining. Drain excess grease, then stir in 2 tablespoons taco seasoning, drained green chiles, and refried beans, cooking 2 more minutes until evenly combined. Remove from heat and let cool 5 minutes.
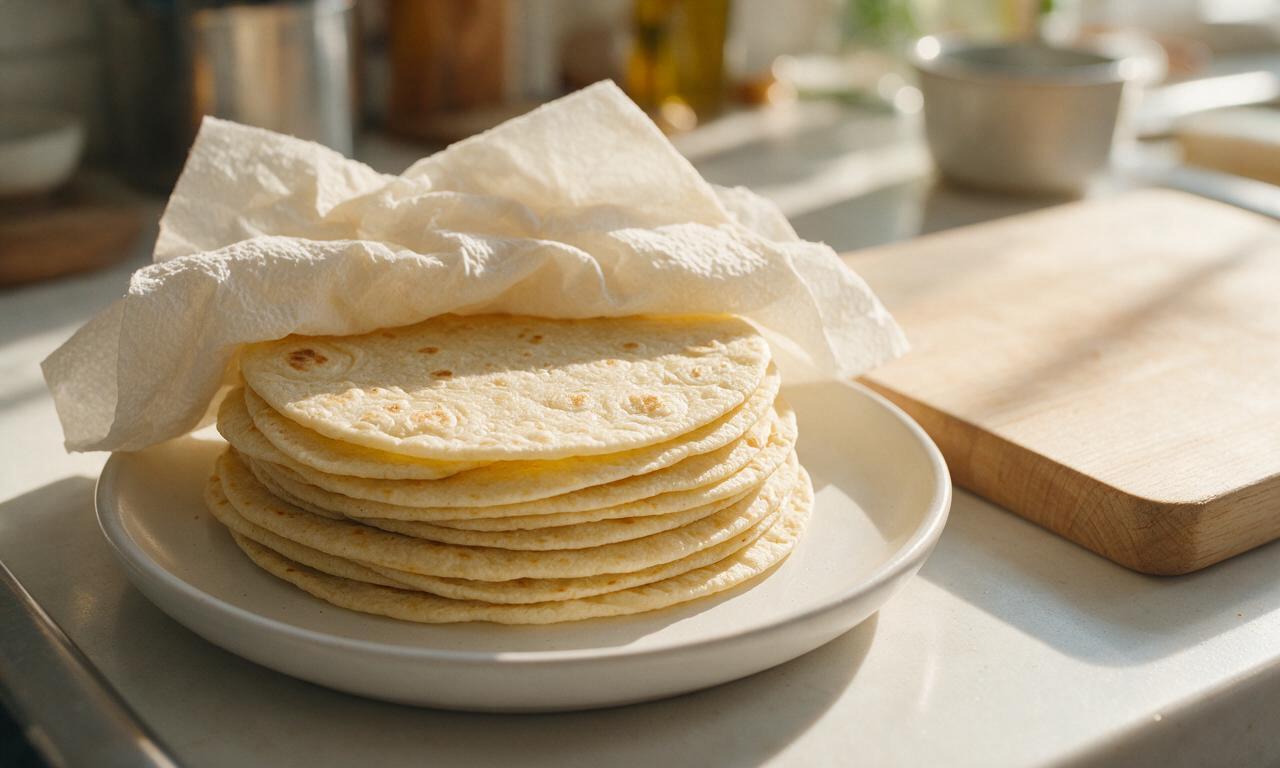
Warm tortillas for folding
Stack the 4 10-inch flour tortillas on a microwave-safe plate, cover with a damp paper towel, and microwave on high for 30 seconds until soft and pliable to prevent cracking during folding. Lay one warm tortilla flat on a clean cutting board, keeping the remaining tortillas covered with the damp towel to stay warm and flexible.
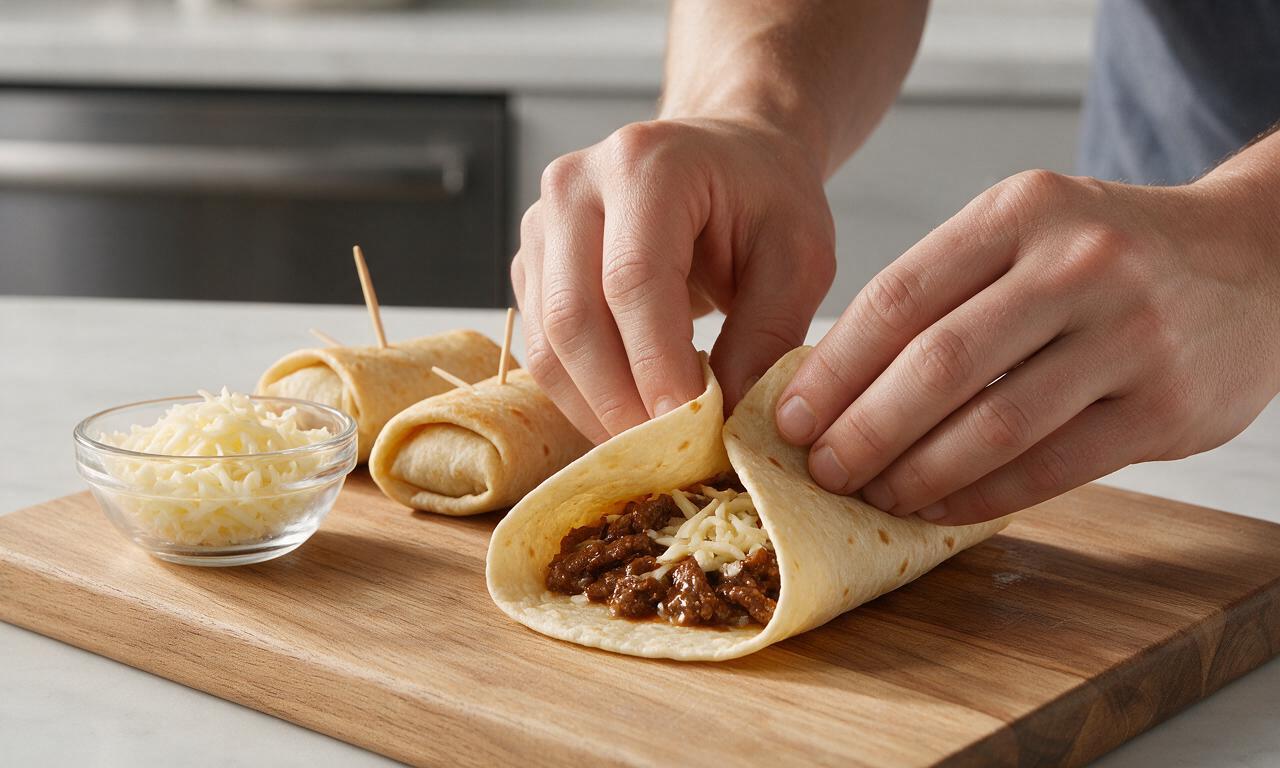
Fill and fold chimichangas
Scoop 1/4 of the cooled beef filling (roughly 150g) into the center of each tortilla, then top with 1/2 cup (56g) of shredded Monterey Jack cheese. Fold the left and right sides of the tortilla in toward the center over the filling, then roll tightly from the bottom edge up to fully enclose the filling in a sealed burrito shape. Secure each rolled chimichanga with 2 wooden toothpicks to prevent unrolling during frying.
Heat frying oil
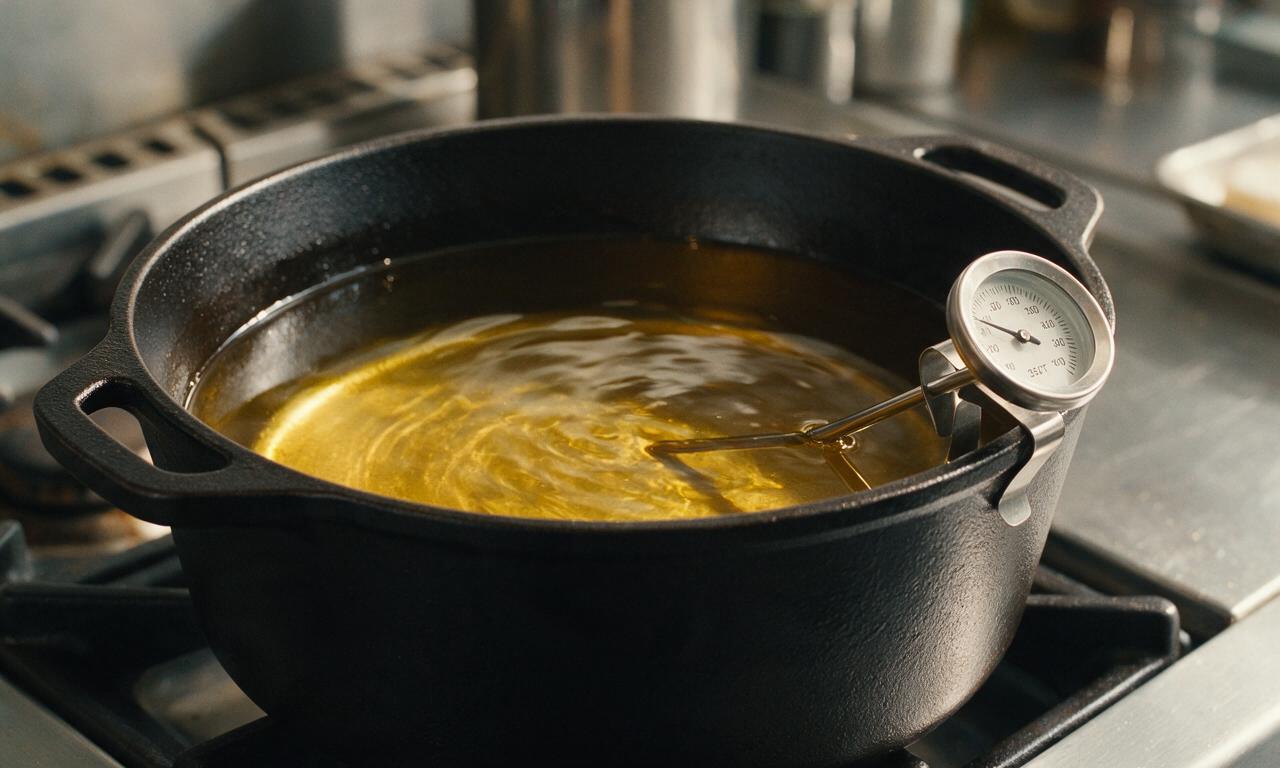
Pour 750ml neutral vegetable oil into a deep, heavy-bottomed pot or Dutch oven, attaching a candy thermometer to the side to monitor temperature. Heat the oil over medium-high heat until it reaches 180°C/350°F, adjusting stovetop heat as needed to maintain a steady temperature, avoiding overheating that will burn tortillas or underheating that leads to greasy, soggy shells.
Fry until golden crispy
Carefully lower 2 chimichangas into the hot oil at a time, seam-side down, using long metal tongs to avoid hot oil splashes. Fry for 2-3 minutes total, turning once halfway through cooking, until the entire exterior is deep golden brown and evenly crispy. Remove cooked chimichangas from the oil with tongs, and place them on a wire rack set over a paper-towel-lined baking sheet to drain excess oil for 2 minutes. Repeat with the remaining 2 chimichangas, removing all toothpicks before serving.
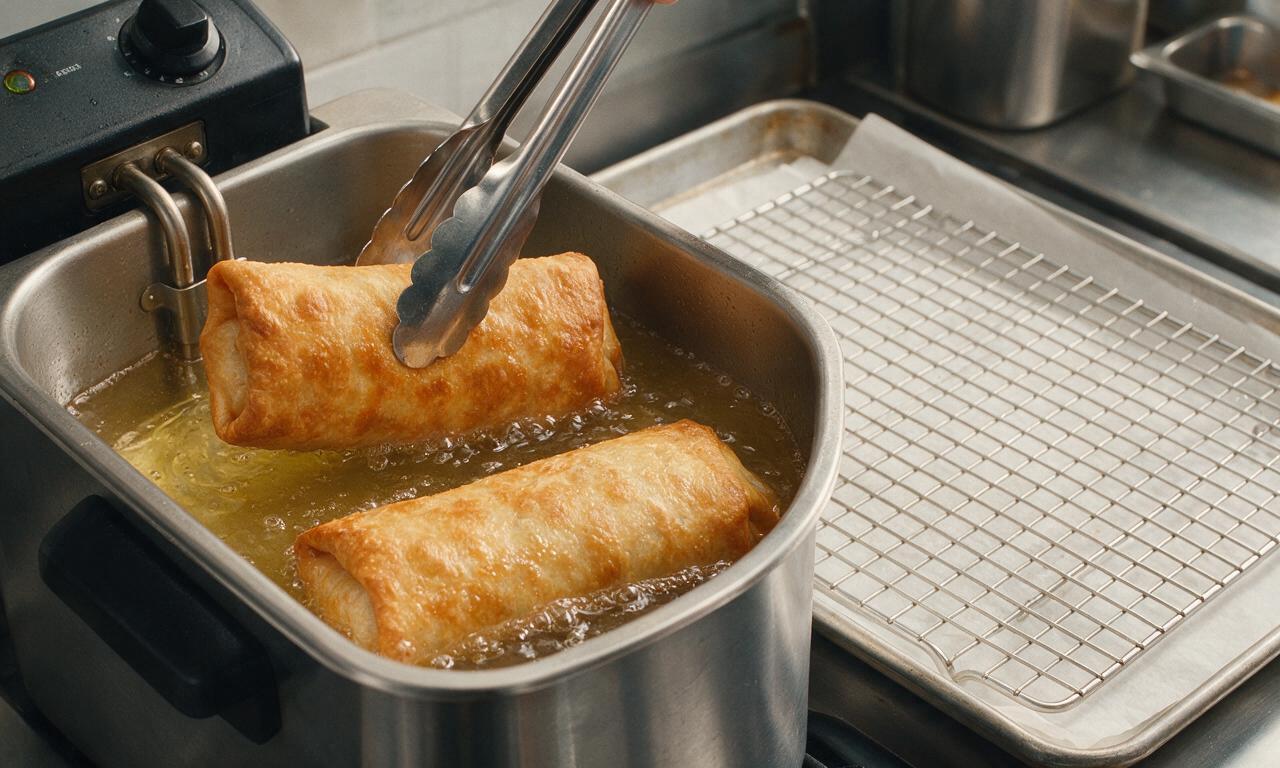
Plate and serve
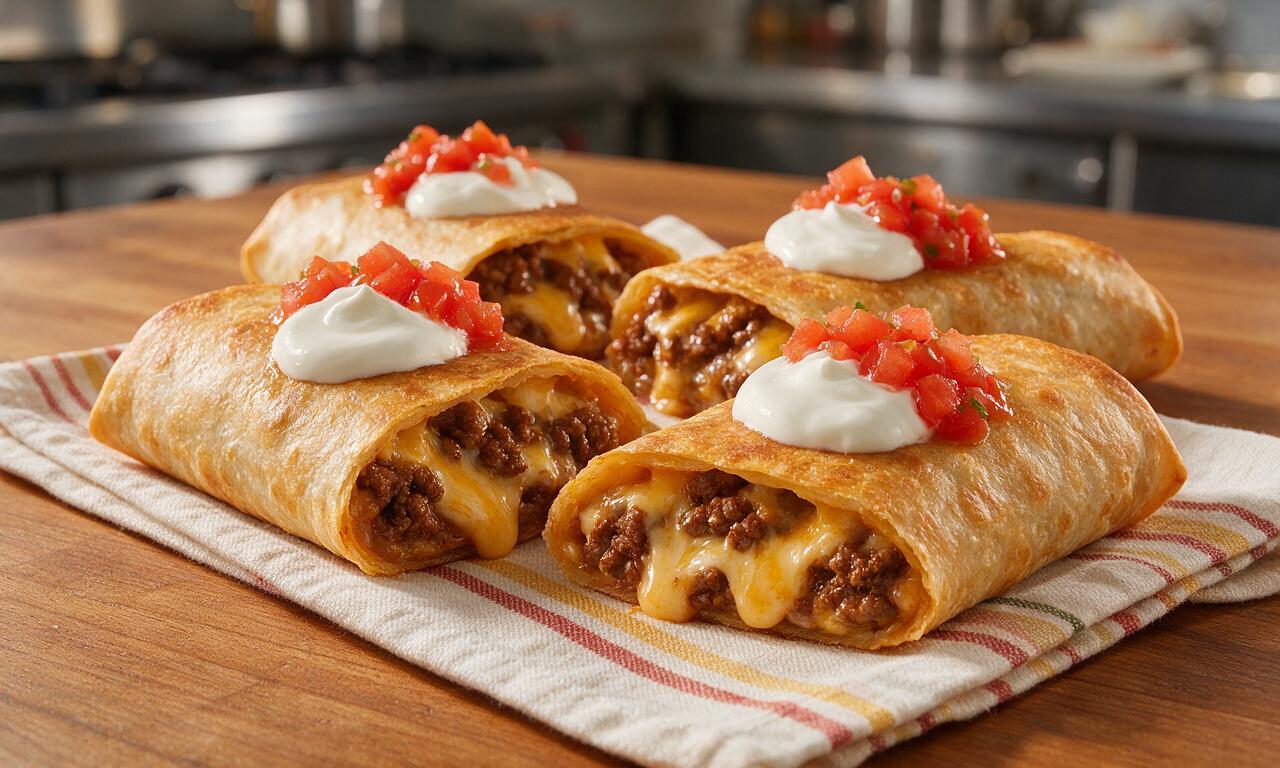
Arrange 1 drained chimichanga on each of 4 plates, slicing diagonally down the center if desired to expose the melted filling. Top each with 2 tablespoons (30g) of sour cream and 2 tablespoons (30g) of roasted tomato salsa, or serve the dips on the side. Serve immediately while the tortilla is crisp and the cheese filling is fully melted.
Tips
2.Do not overcrowd the frying pot, as adding too many chimichangas at once will drop the oil temperature sharply and result in soggy, greasy, unevenly cooked shells.
3.For a lighter alternative to deep frying, brush rolled chimichangas with 2 tablespoons of oil and bake on a sheet pan at 200°C/400°F for 18-20 minutes, flipping halfway through, until golden and crispy.






OMG these chimichangas were a total game changer for our taco night last weekend! The crispy shell was perfectly crunchy, not greasy at all, and the beef and cheese filling was so flavorful my kids asked for seconds before they even finished their first serving. I added a little extra pickled jalapeño on the side for my husband who loves extra heat, and he said these are better than the ones at our local Mexican spot. 10/10 will be making these for our next potluck too!
Pretty solid recipe! I prepped a batch of these on Sunday for my weekly meal prep, and they held up way better than I expected in the fridge. The only reason I’m not giving 5 stars is that I found the cook time a little longer than 40 minutes for me — took closer to an hour from start to finish because I was making 8 at once for the week. The flavor is on point though, the melted cheese pull is unreal. Pro tip: let them cool a couple minutes before biting into them, I burned the roof of my mouth so bad on the first one lmao
SO good. I added a handful of chopped chipotle peppers in adobo to the beef filling and it kicked the flavor up so much. The crust gets so shatteringly crispy if you make sure to seal the tortillas really tight with a little egg wash before cooking — I had one leak a little cheese out the side on my first try, but the rest were perfect. Served with a side of sour cream and guac, absolute chef’s kiss.
I brought these to our neighborhood block party last weekend and they were the first dish gone! People were coming up to me asking for the recipe all night, I felt like a celebrity. I will say I used ground turkey instead of beef because a couple of our neighbors don’t eat red meat, and it still worked perfectly. The crispiness was still there even after transporting them in a foil tray for 15 minutes!
Taste was great, but I had a really hard time getting the tortillas to fold without cracking when I rolled them up. I used regular 10 inch flour tortillas like the recipe said, but they kept splitting when I tried to tuck the ends in, so half my filling fell out while frying. Bummed because the ones that did stay together tasted amazing.
First time ever making chimichangas and these turned out way better than I thought they would! I was intimidated because the recipe says medium difficulty, but the steps were really straightforward. I think I put a little too much filling in a couple of them so they oozed a bit, but even the messy ones were delicious. Will definitely be making these again soon, next time I’ll measure the filling better lol
Perfect weeknight dinner! I thought 40 minutes sounded too good to be true for crispy chimichangas, but it was exactly right for 4 servings. My 7 year old is super picky and he ate two of these without complaining, which is basically a miracle in our house. We dipped them in queso and it was *chef’s kiss*.
Wait a second, these are the best chimichangas I’ve ever made at home? The cheese melts perfectly into the beef, and the crispy outside is so satisfying to bite into. I used a blend of Oaxaca and cheddar cheese instead of just cheddar, and the pull was insane. My roommate walked in while I was cooking and immediately asked if I was making enough for two, haha.
Made these for our family Sunday dinner last night and everyone raved! I topped mine with a little homemade salsa and a dollop of sour cream, and the crunch was out of this world. I was worried they’d be too heavy, but the seasoning in the beef is balanced so well it didn’t feel like a greasy gut bomb like takeout chimichangas sometimes do. Already sent the recipe to my sister who’s always looking for easy kid-friendly dinners!