chinese brown sauce

title 1
chinese brown sauce
⏱️ cook time 3 minutes
🍽️ servings 4
⚡ Difficulty easy

intro

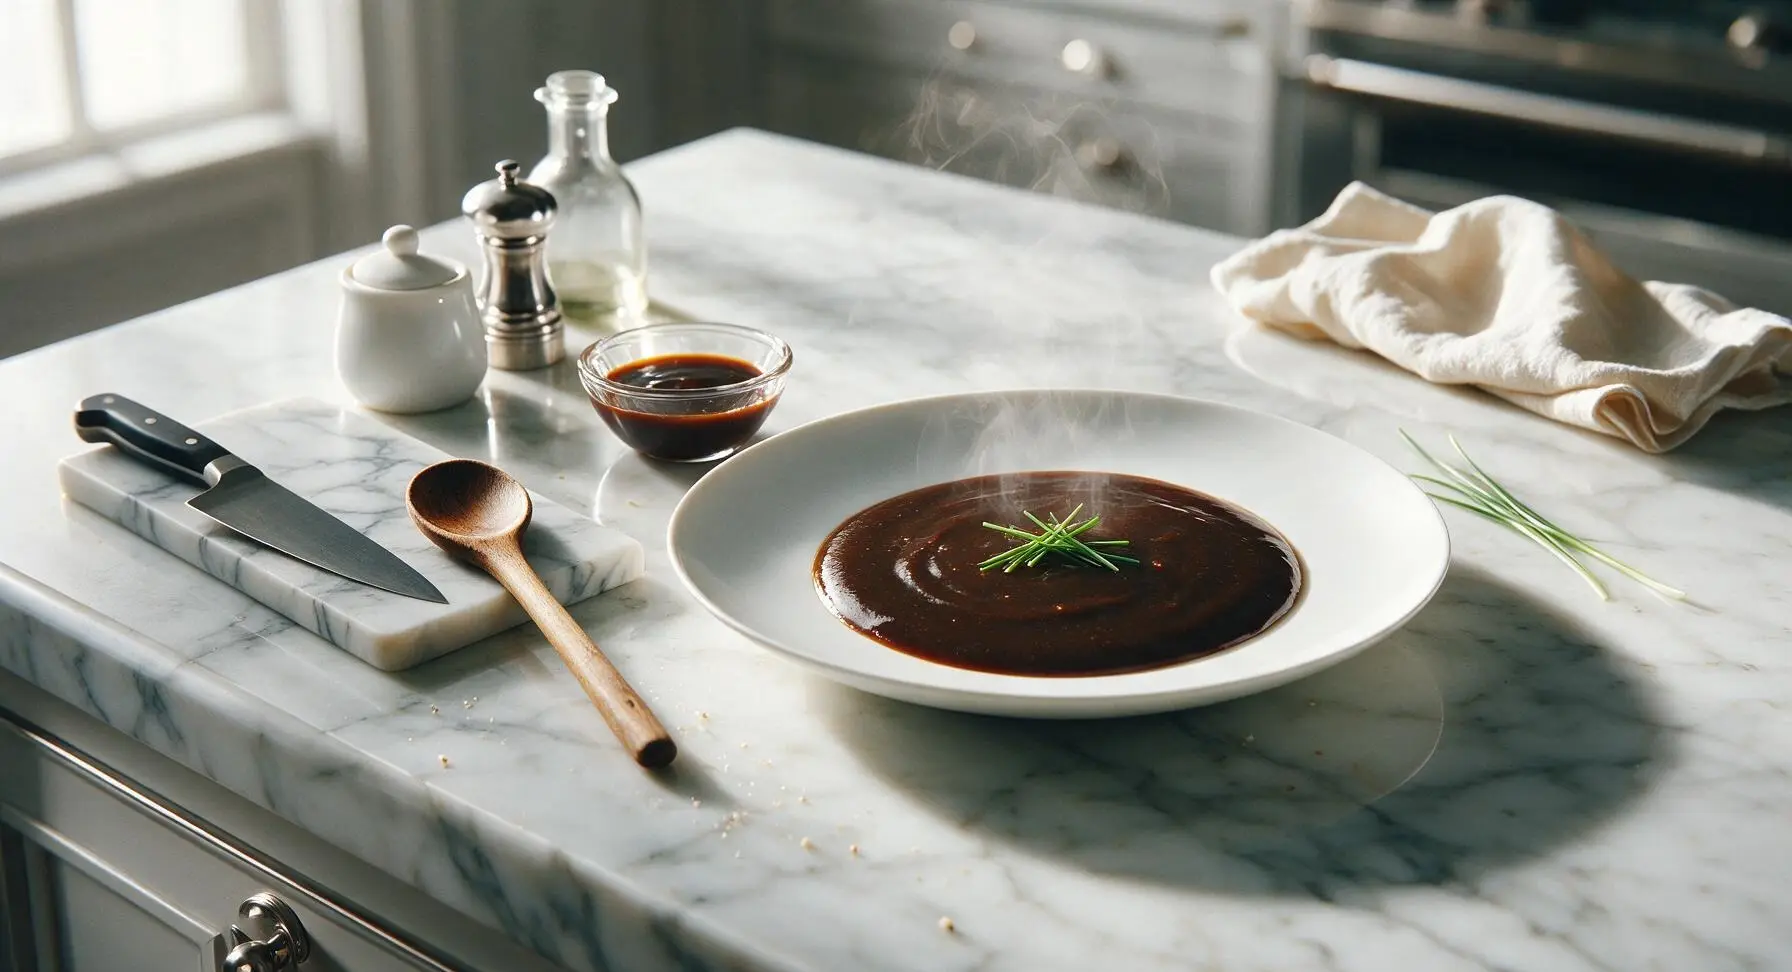
The glossy, umami-packed all-purpose stir-fry sauce behind your favorite takeout dishes, balanced with savory, subtly sweet notes perfect for tossing with veggies, meat, or noodles.

Ingredients
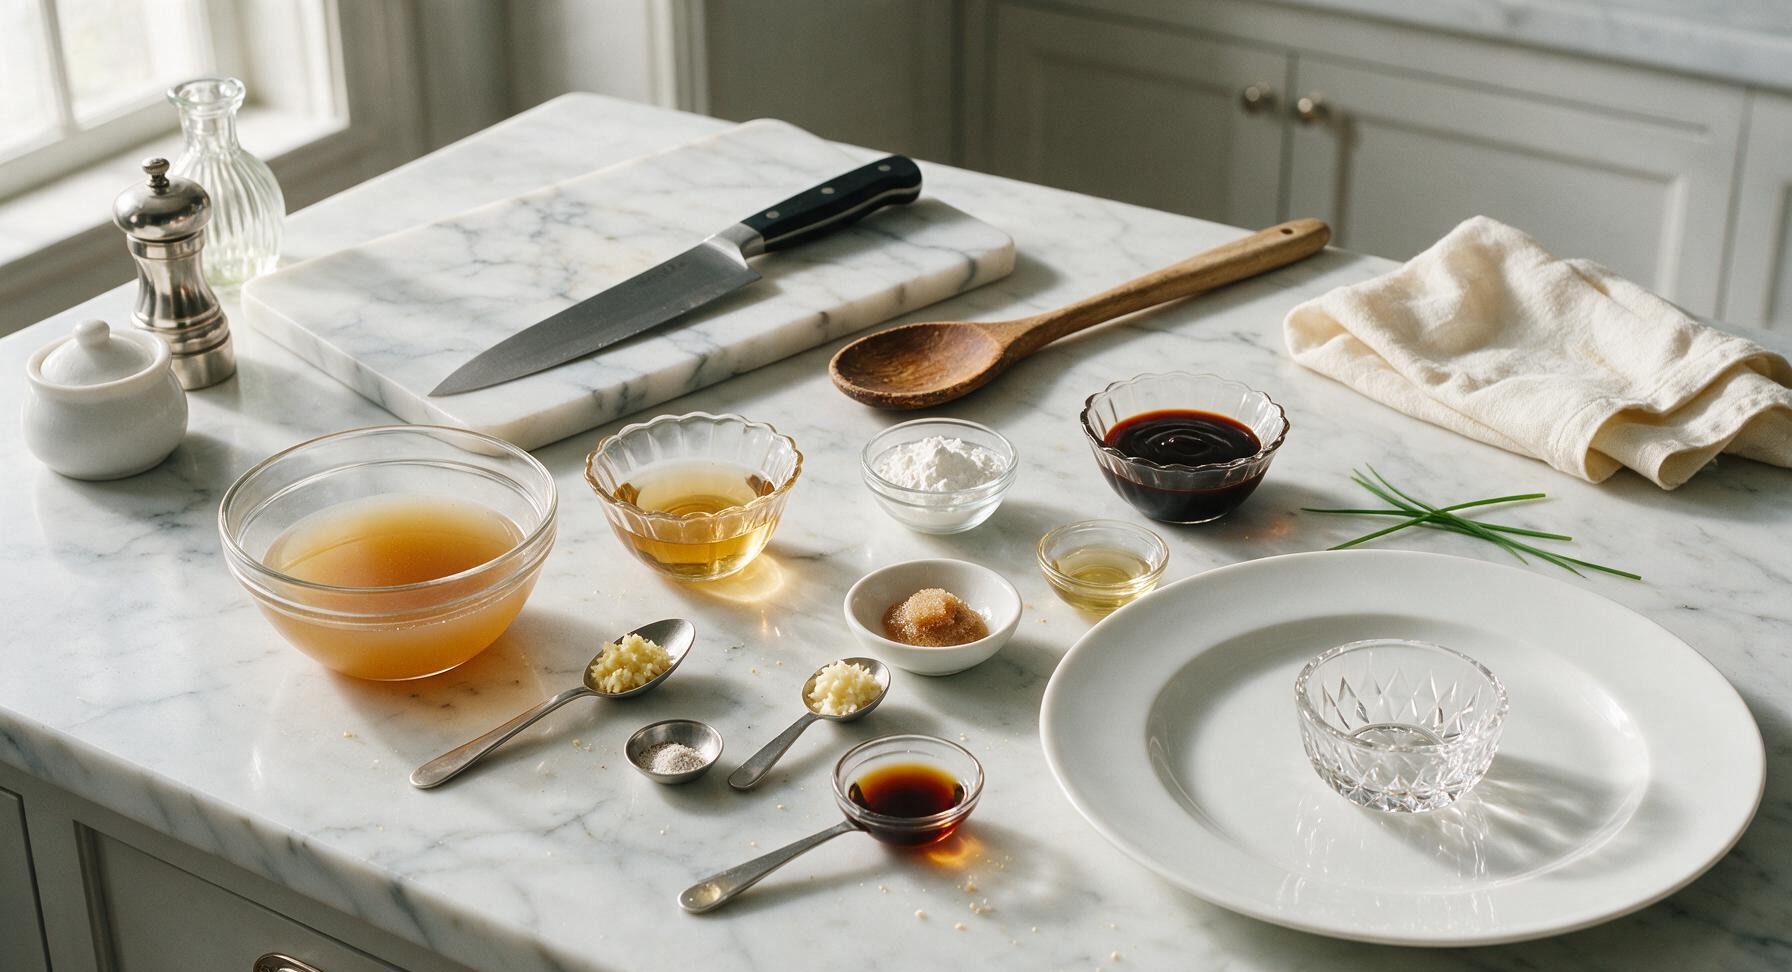
Low-sodium chicken broth 1/2 cup
Low-sodium light soy sauce 3 tbsp
Oyster sauce 2 tbsp
Cornstarch 1 tbsp
Shaoxing rice wine 1 tbsp
Light brown sugar 1 tsp
Fresh ginger 1 inch knob (1 tsp minced)
Garlic 2 cloves (1 tsp minced)
Ground white pepper 1/4 tsp
Toasted sesame oil 1 tsp
Neutral canola oil 1/4 tsp

Steps

1

Prep Ginger and Garlic

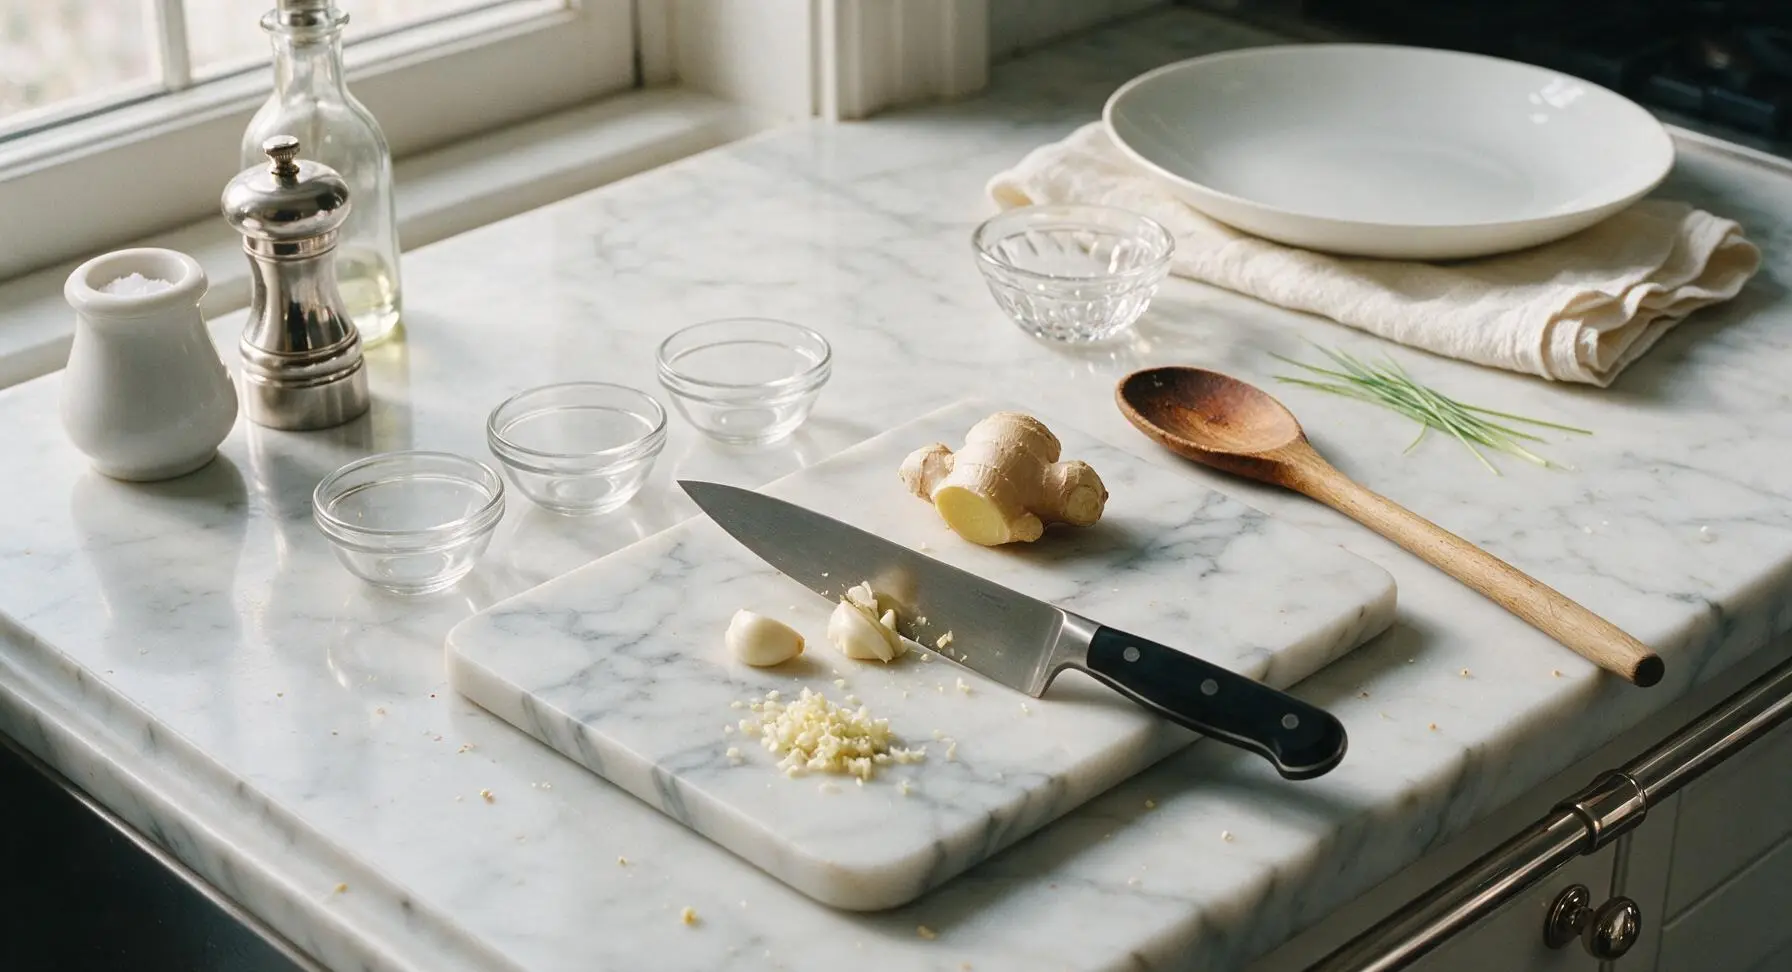
Place the 2 peeled garlic cloves and 1-inch peeled fresh ginger knob on the honey beech wood cutting board. Use the 8-inch chef knife to finely mince both aromatics into uniform 1mm pieces, taking care not to crush the garlic (which releases bitter compounds). Set the minced aromatics aside in one of the small clear glass prep bowls. The finished mince should be fragrant, with no large chunks visible.
Step 1
step1:Prep Ginger and Garlic
2

Combine Liquid Base

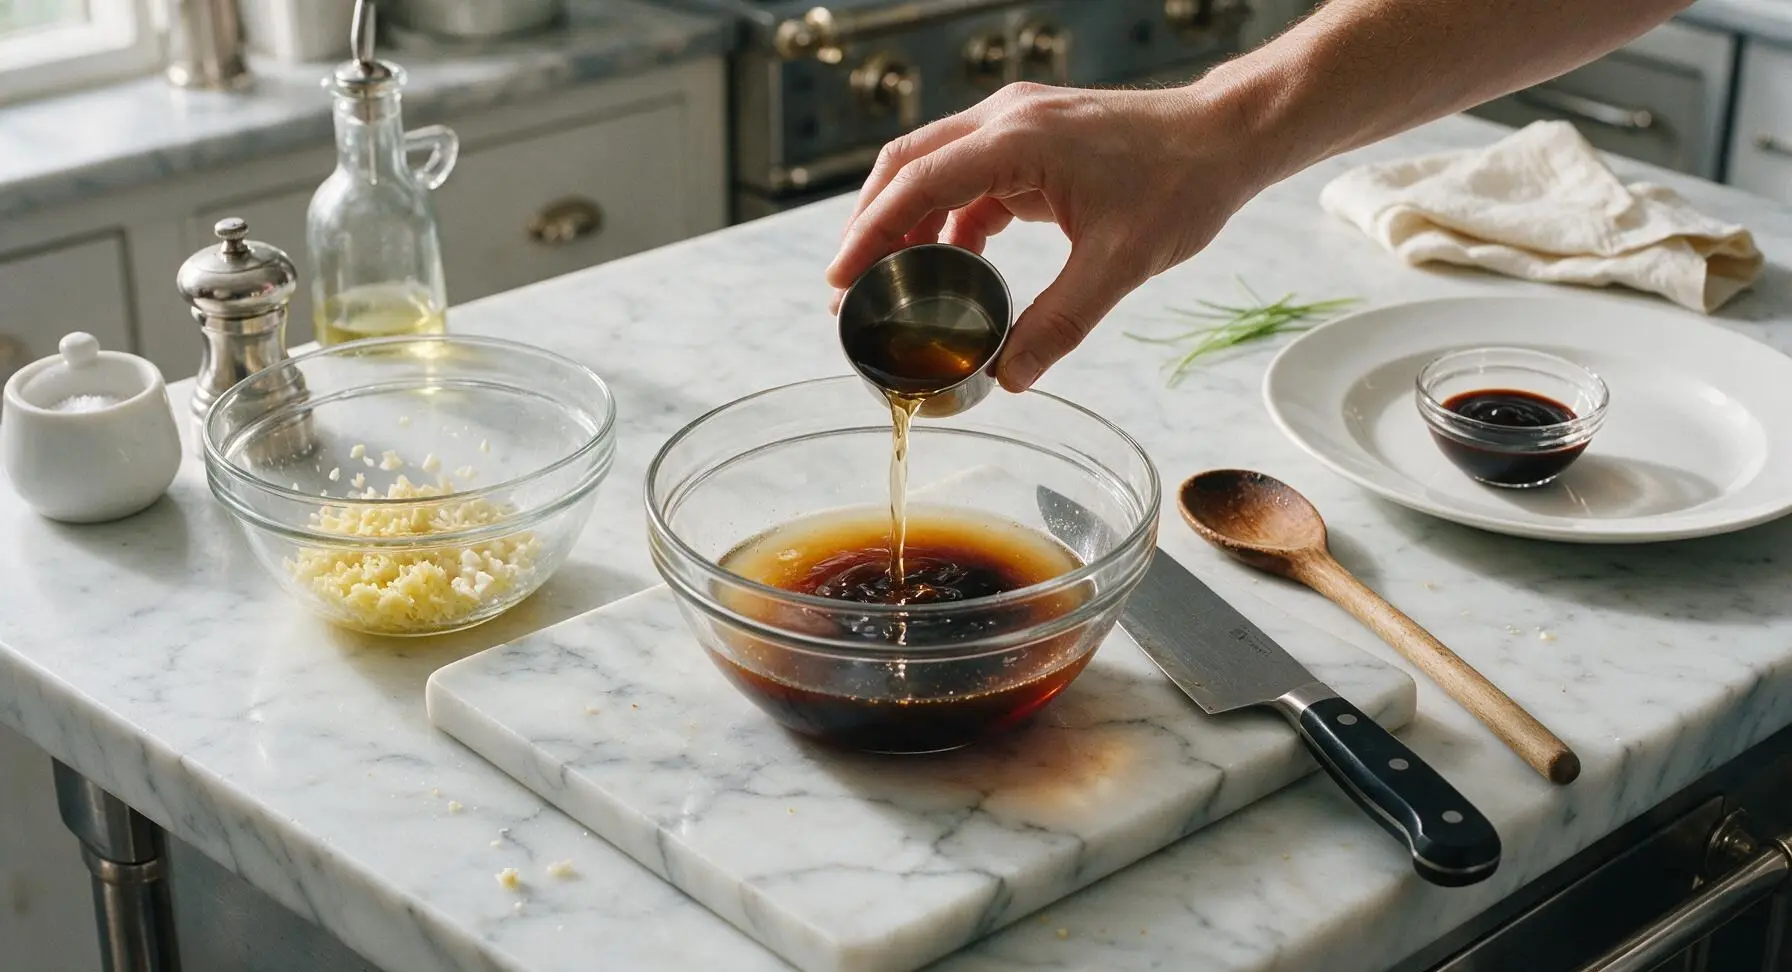
In a second clear glass prep bowl, measure and combine 1/2 cup low-sodium chicken broth, 3 tablespoons low-sodium light soy sauce, 2 tablespoons oyster sauce, and 1 tablespoon Shaoxing rice wine. Stir gently with the tip of the chef knife to combine, taking care not to slosh liquid over the bowl edge. The mixture will be a deep, translucent brown at this stage.
Step 2
step2:Combine Liquid Base
3

Mix Cornstarch Slurry

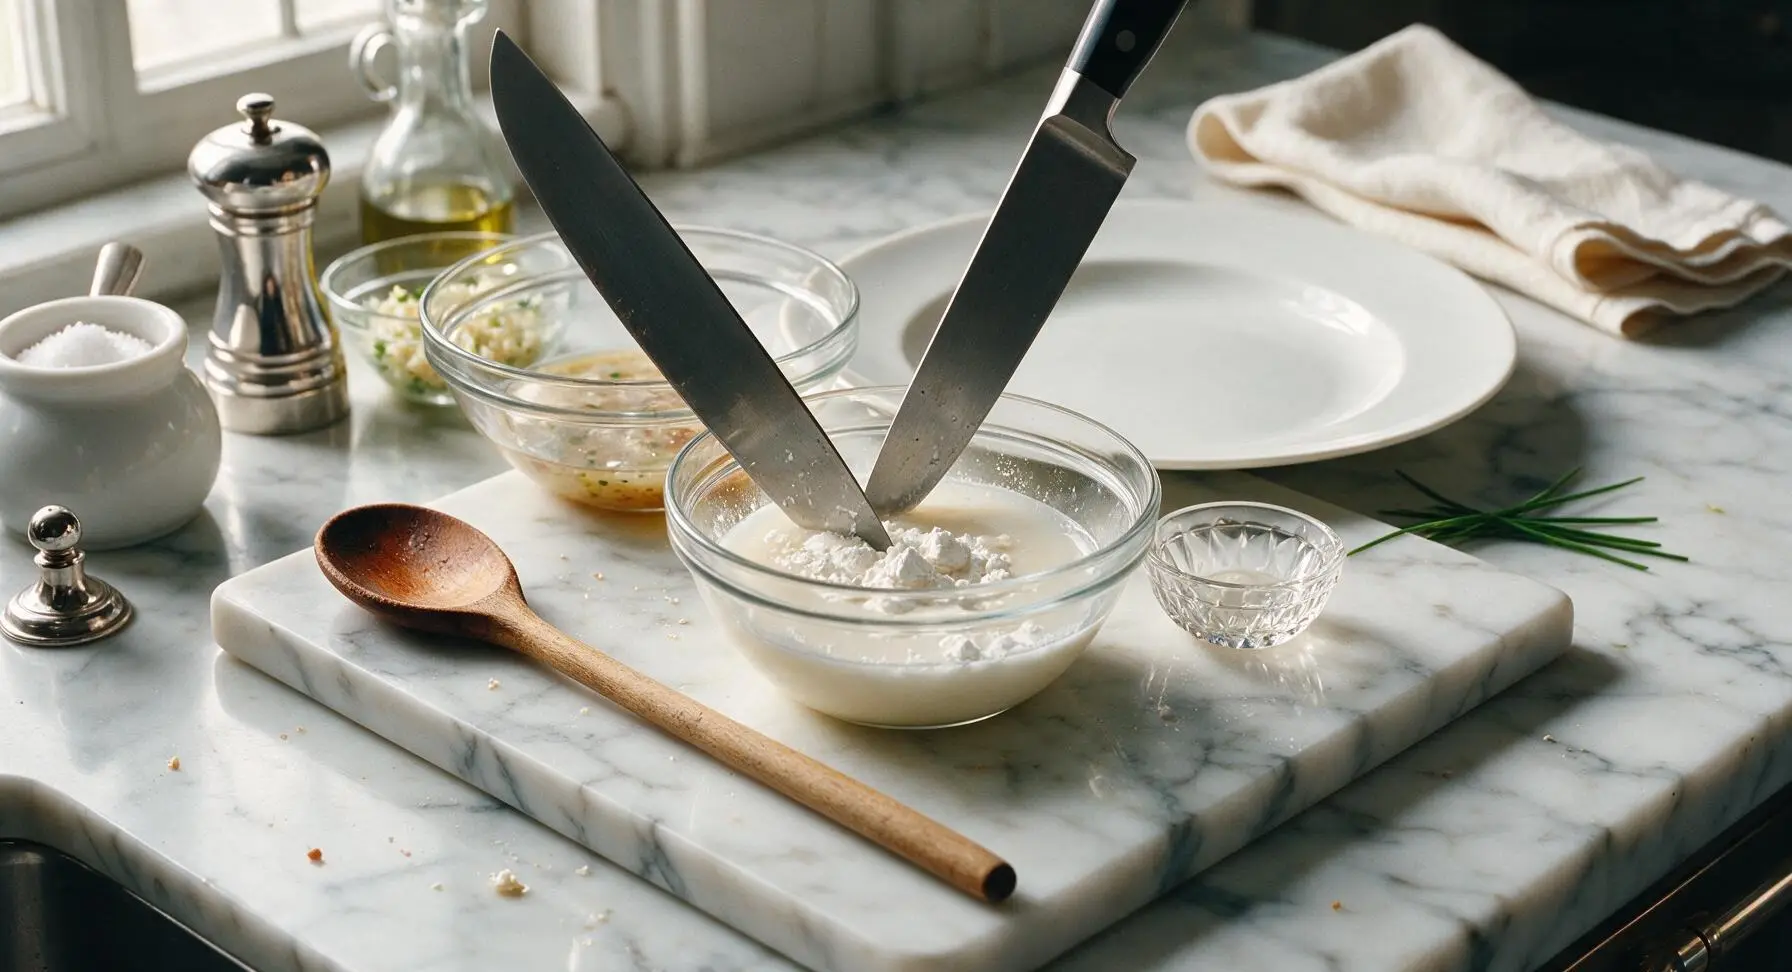
In a third small glass prep bowl, combine 1 tablespoon cornstarch with 2 tablespoons of the cold liquid base, stirring vigorously with the tip of the chef knife until no lumps remain. The slurry should be smooth, opaque, and pale milky brown, with no dry cornstarch clumps stuck to the bottom of the bowl. Set this aside—this will thicken the sauce to a perfect glossy consistency.
Step 3
step3:Mix Cornstarch Slurry
4

Sauté Minced Aromatics

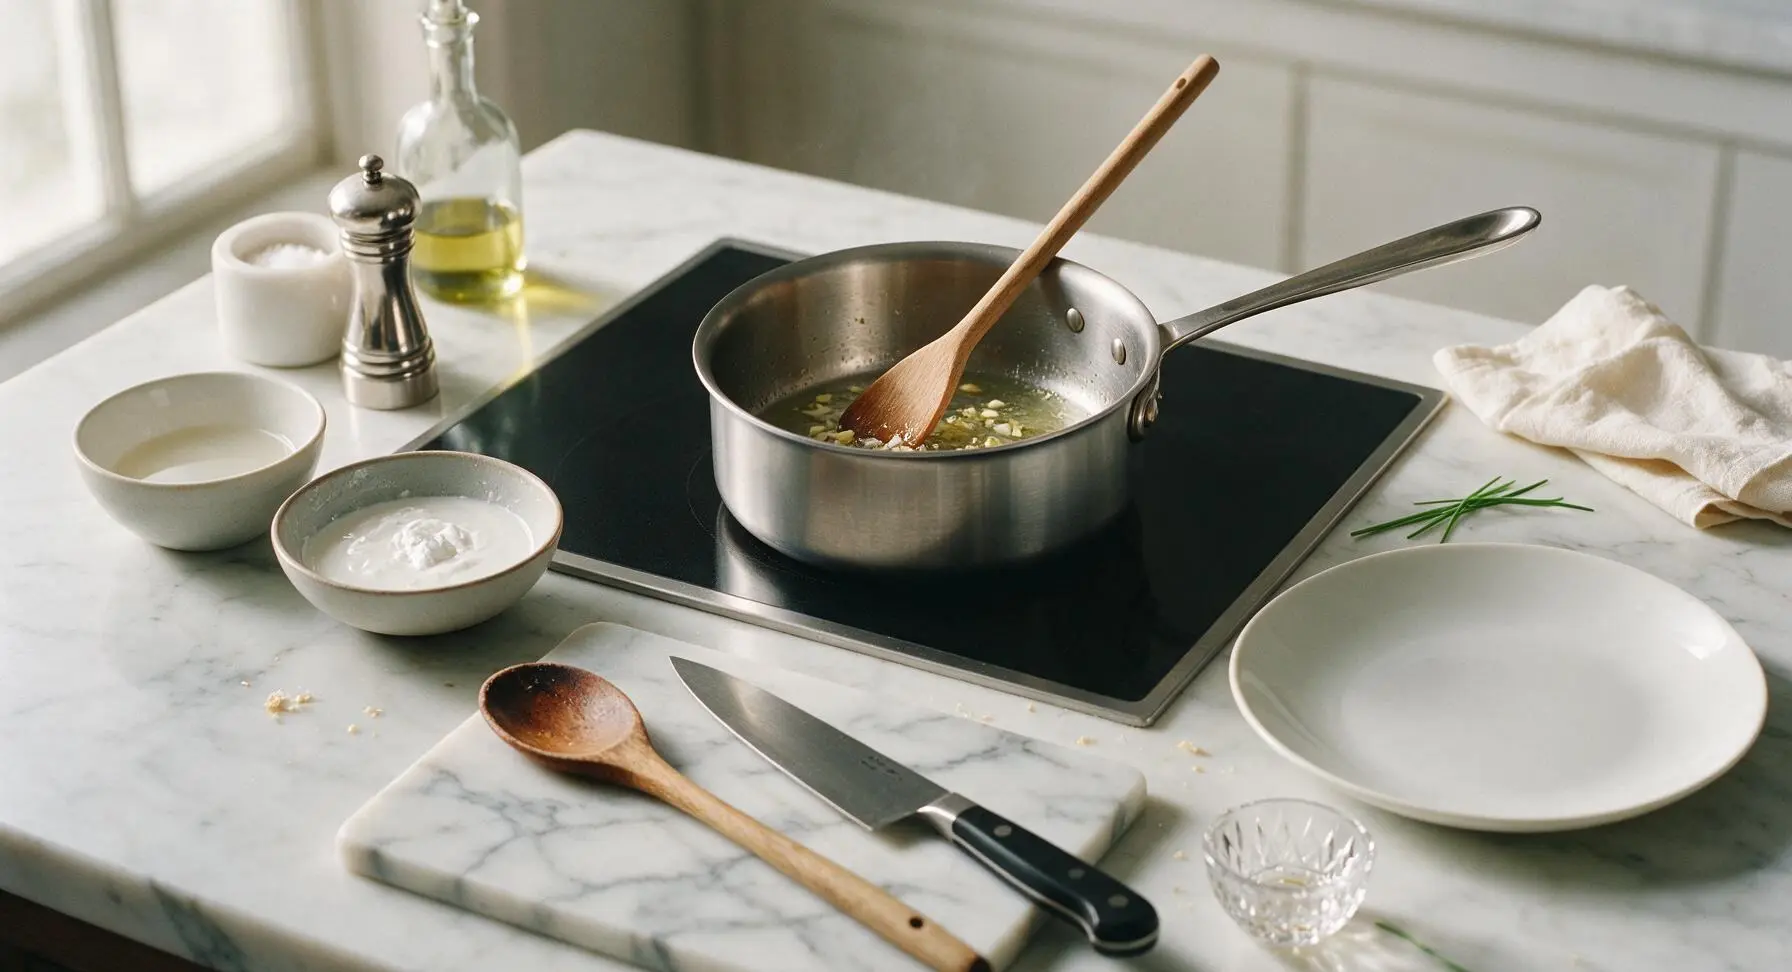
Place the 1-quart brushed stainless steel saucepan on the matte black induction cooktop, set to medium-low heat (300°F). Add 1/4 teaspoon neutral canola oil, then toss in the minced ginger and garlic. Sauté for 15-20 seconds, stirring constantly with the long beech wood spoon, until the aromatics release a bright, fragrant smell—do not let them brown or burn, as this will make the sauce bitter.
Step 4
step4:Sauté Minced Aromatics
5

Simmer Sauce Base

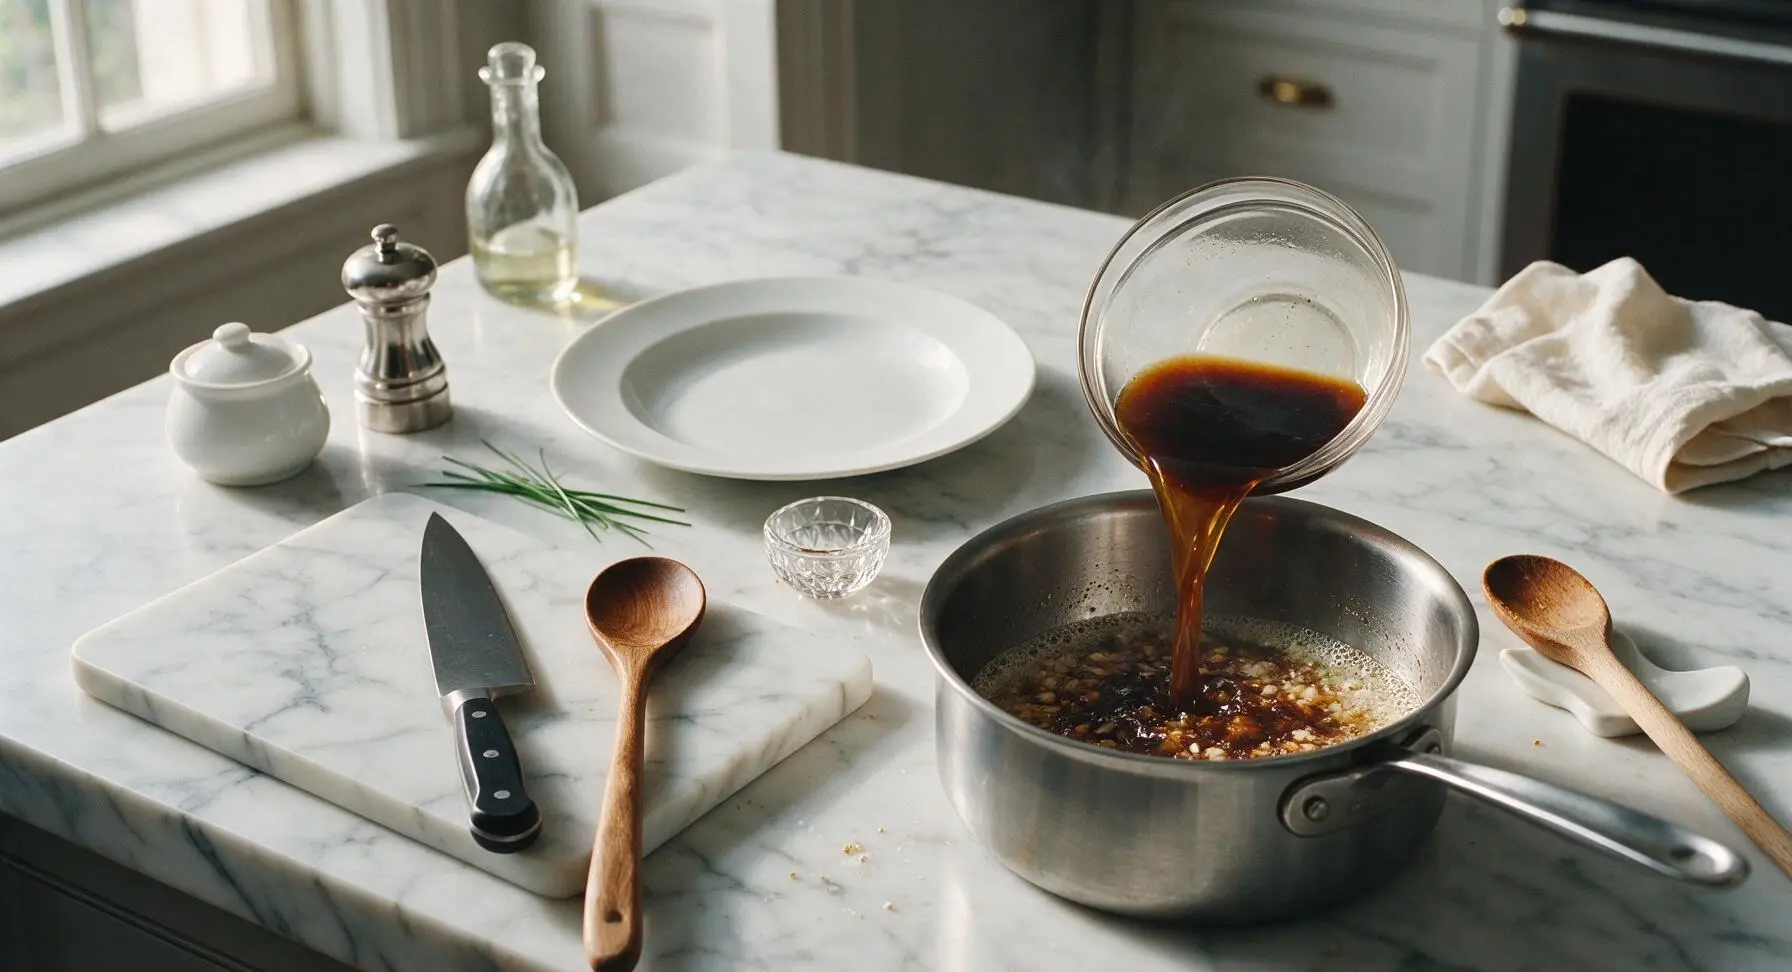
Pour the combined liquid base (broth, soy sauce, oyster sauce, Shaoxing wine) into the saucepan with the sautéed aromatics. Add 1 teaspoon light brown sugar and 1/4 teaspoon ground white pepper, stirring to dissolve the sugar. Bring the liquid to a gentle simmer (small bubbles breaking at the edge, not a rolling boil) over medium heat, which will take about 1 minute.
Step 5
step5:Simmer Sauce Base
6

Thicken Sauce to Gloss

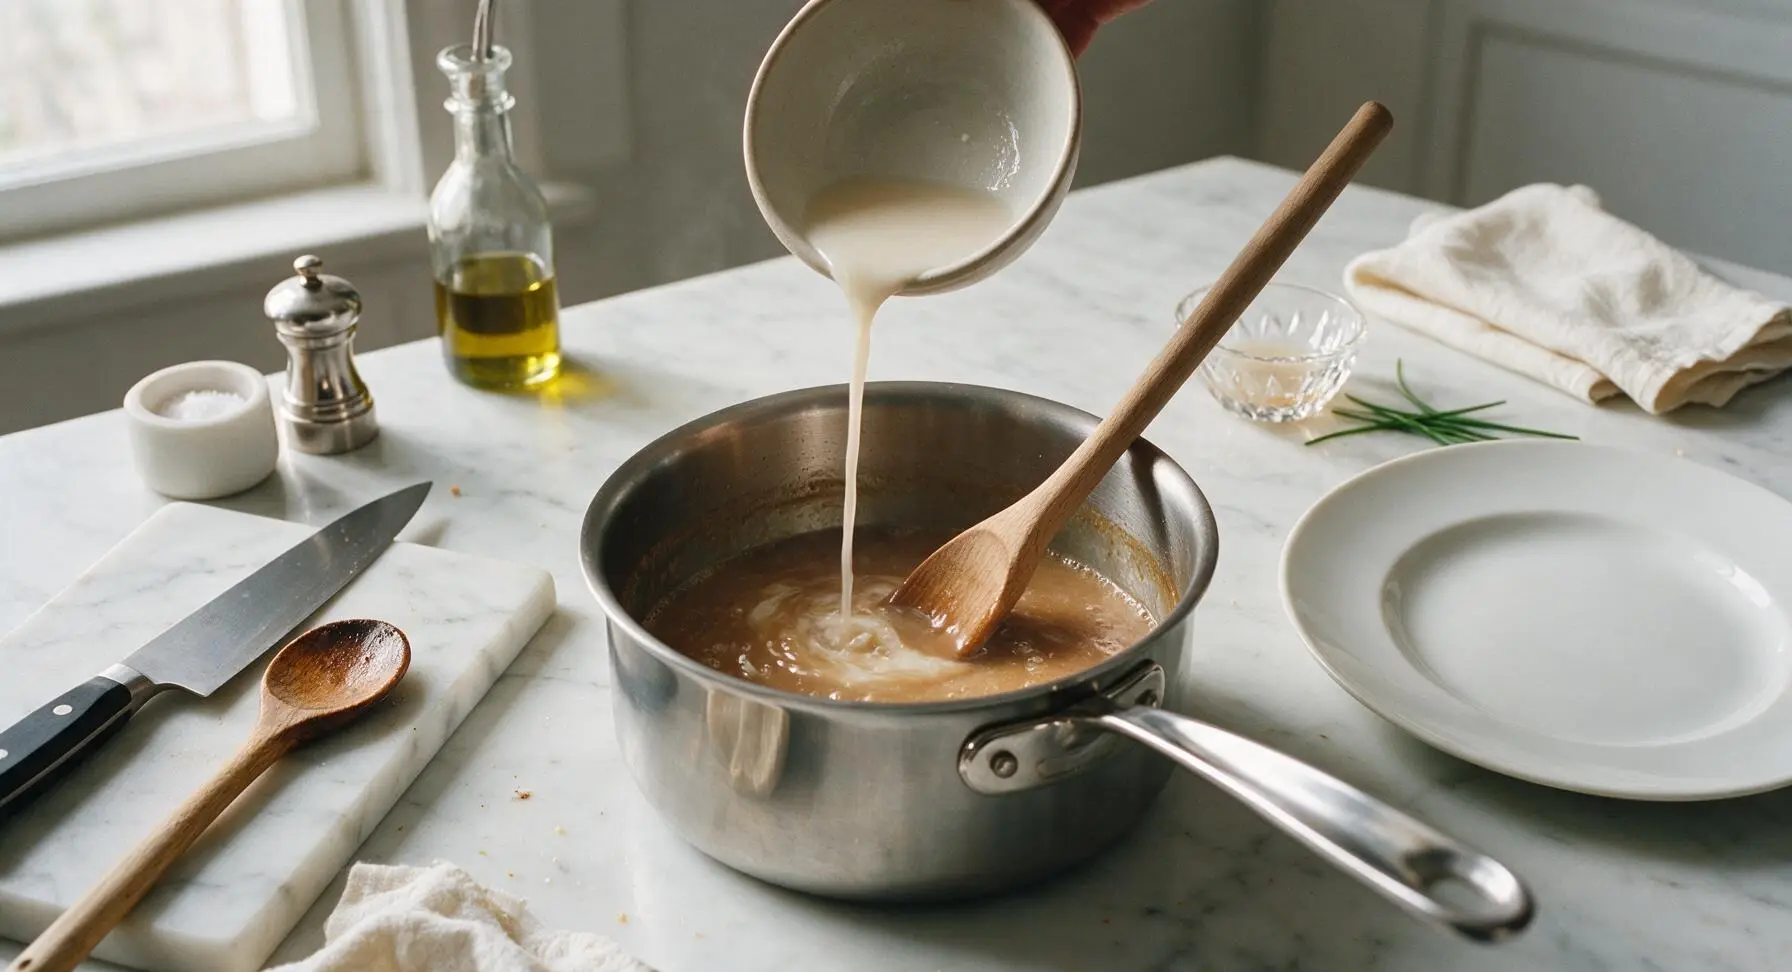
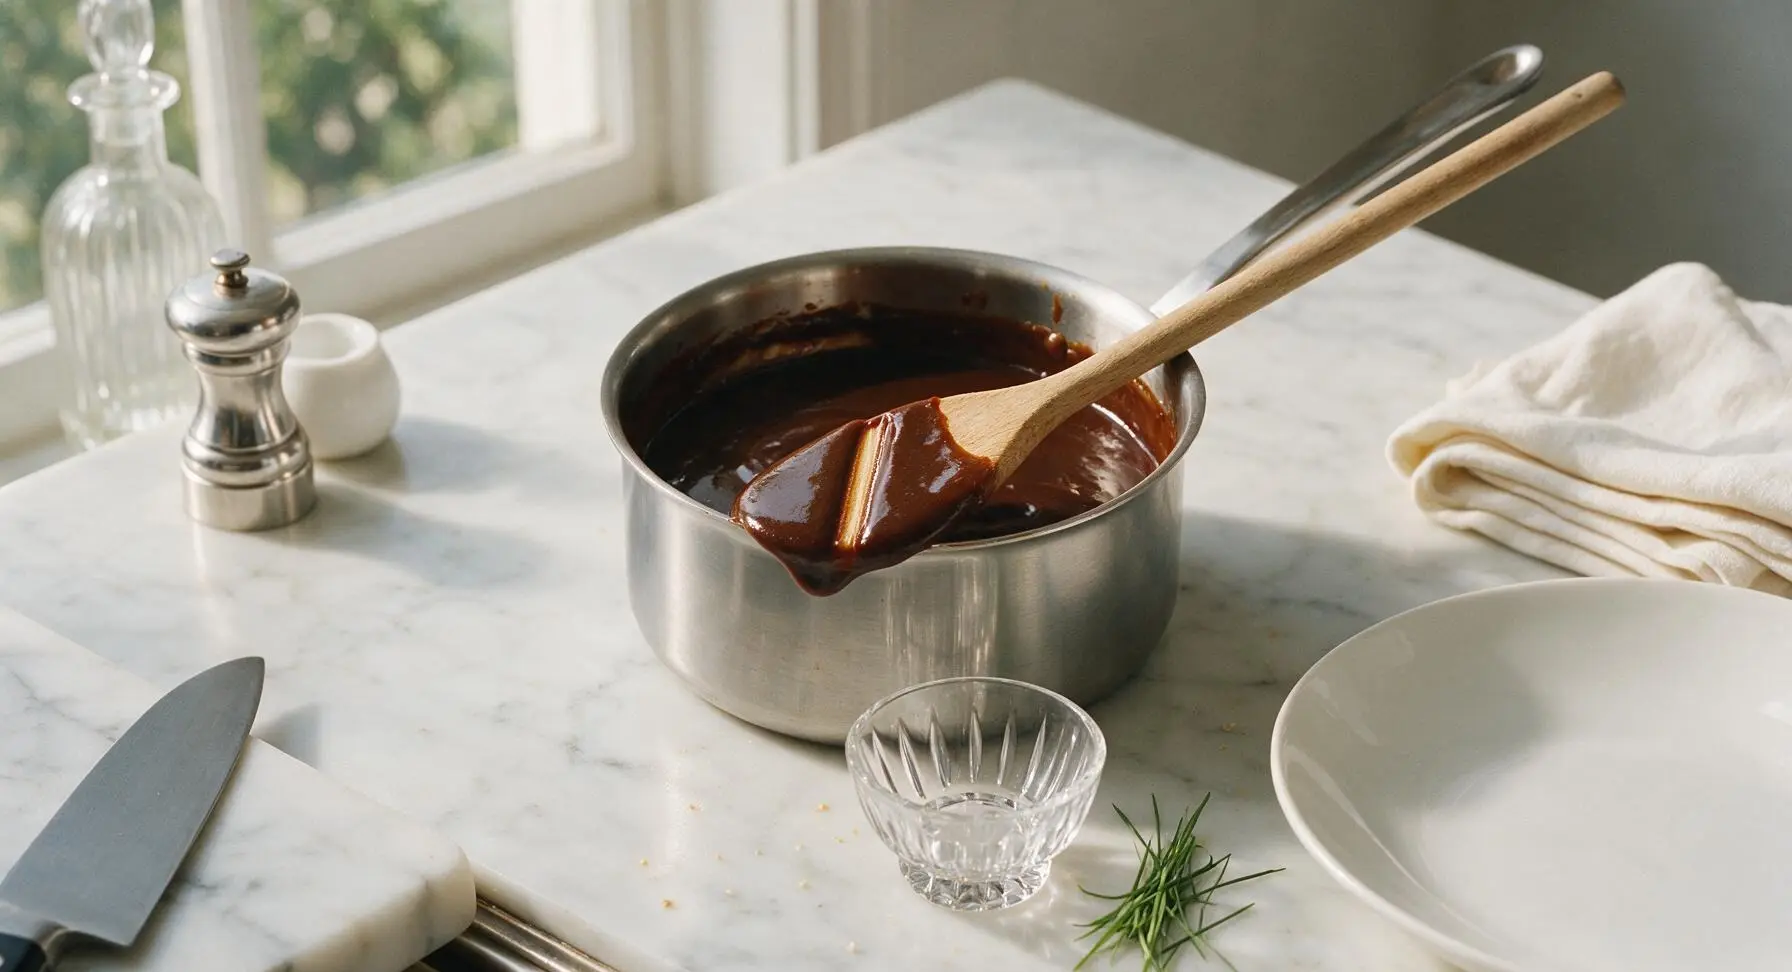
Stir the cornstarch slurry thoroughly to re-mix (cornstarch settles quickly to the bottom of the bowl), then pour it slowly into the simmering liquid while stirring constantly in a slow circular motion with the beech wood spoon. Continue stirring for 30-45 seconds, until the sauce thickens to a smooth, glossy consistency that coats the back of the spoon—if you run your finger across the coated spoon, the line should hold cleanly without running.
Step 6
step6:Thicken Sauce to Gloss
Step 6
step6:Thicken Sauce to Gloss
7

Finish With Sesame Oil

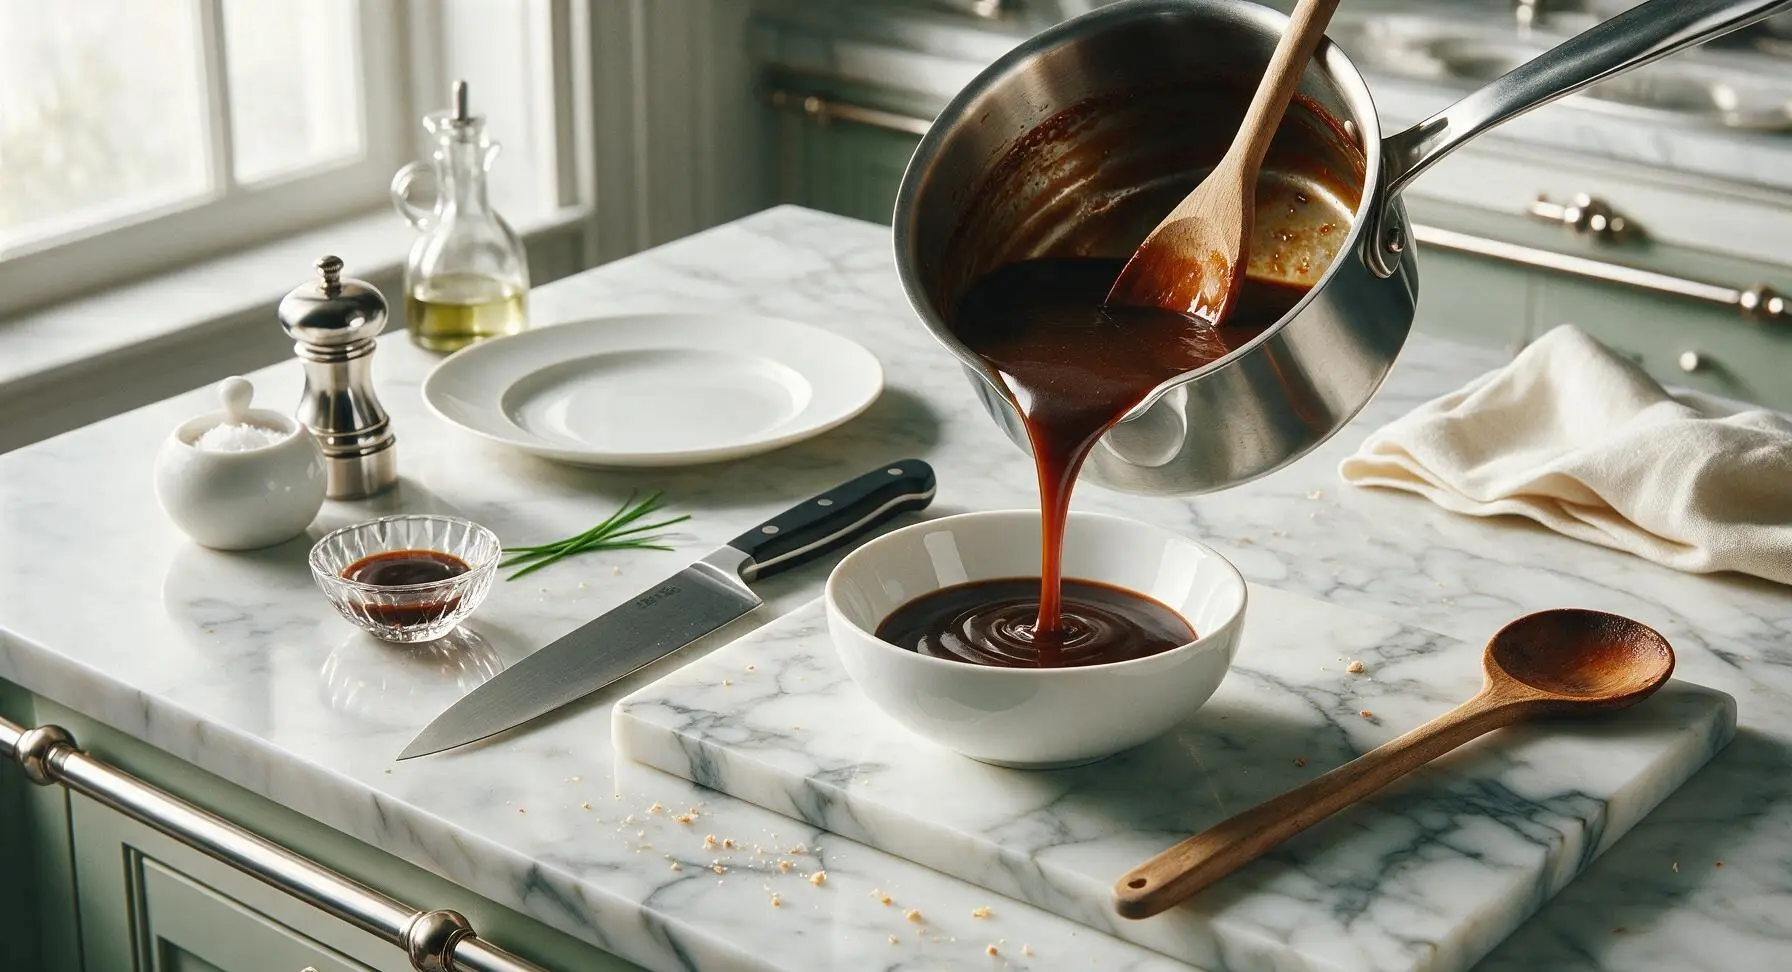
Turn off the heat on the induction cooktop. Stir in 1 teaspoon toasted sesame oil to add a final nutty aroma, then pour the finished sauce into the glossy white ceramic serving bowl. Use immediately for stir fries, tossing with cooked protein and vegetables, or let cool completely and store in an airtight glass jar in the refrigerator for up to 1 week. This recipe makes 1 cup of sauce, enough for 4 servings of stir fry.
Step 7
step7:Finish With Sesame Oil

Tips

1.Always re-stir your cornstarch slurry immediately before adding it to hot liquid: cornstarch sinks and settles into a dense paste at the bottom of the bowl within 2-3 minutes, and skipping this step will result in a thin, watery sauce with a clump of undissolved starch left in your prep bowl.
2.Keep heat to medium-low when sautéing garlic and ginger: allicin in garlic turns sharp and bitter when heated above 325°F, so if you spot golden edges forming on the aromatics, pull the pan off the burner for 10 seconds to cool slightly, to keep the sauce bright and savory instead of acrid.
3.For a vegan/vegetarian version, swap chicken broth for low-sodium vegetable broth and oyster sauce for vegetarian mushroom oyster sauce; if using hoisin as an oyster sauce substitute, cut it with 1 teaspoon of water to avoid an overly thick, cloyingly sweet sauce that masks the classic umami balance.
✨ You May Also Like

Dinner
🍜 United States

A festive, hearty spread of classic Swedish small plates, featuring cured fish, tender meatballs, cheese, and seasonal sides, perfect for holiday gatherings.

⏱️ 2 hoursDinner ★ 4.8
Dinner
🍜 United States

Iconic Midwestern comfort meal pairing rich, spiced beef chili with soft, frosted cinnamon rolls for the perfect sweet-savory cold-weather bite.

⏱️ 1 hour 45Dinner ★ 4.7
Dinner
🍜 Canada

A beloved sweet-savory pizza loaded with smoky ham, juicy pineapple, and gooey melted cheese on a crisp golden crust, perfect for casual shared meals.

⏱️ 25 minuteDinner ★ 4.9
Dinner
🍜 United States

Juicy herb-roasted turkey with savory sourdough stuffing and rich pan gravy, the iconic cozy holiday meal made for gathering loved ones around the table.

⏱️ 4 hours 3Dinner ★ 4.9
Dinner
🍜 Italy

Crispy chewy crust, tangy tomato sauce, gooey melted mozzarella, and spicy curled pepperoni: this takeout favorite is simple to make perfectly at home.

⏱️ 35 minuteDinner ★ 4.9
Dinner
🍜 Italy

Crispy, chewy crust loaded with colorful fresh veggies, melted mozzarella, and zesty tomato sauce: a satisfying, crowd-pleasing meatless meal.

⏱️ 35 minuteDinner ★ 4.8

chinese brown sauce:Frequently Asked Questions

1.Can I make this all-purpose brown sauce vegetarian or vegan? ▾
Absolutely! Swap the low-sodium chicken broth for equal parts low-sodium vegetable broth, and replace regular oyster sauce with mushroom-based vegetarian oyster sauce to keep that deep umami flavor. The rest of the ingredients work as-is, and you’ll end up with a sauce that works just as well for veggie and tofu stir-fries as the original.
2.How long will pre-mixed, uncooked brown sauce stay fresh in the refrigerator? ▾
Stored in a tightly sealed, airtight glass jar, it will stay good for 5 to 7 days in the fridge. Always give it a vigorous shake right before using, because the cornstarch will settle into a thick paste at the bottom of the jar after a few hours, and discard it immediately if you notice off odors or fuzzy mold.
3.Why does the recipe call for low-sodium broth and soy sauce instead of regular versions? ▾
Oyster sauce already packs a good amount of salty, umami flavor, so using regular full-sodium broth and soy sauce can easily lead to an overly salty final dish, especially when the sauce reduces as it simmers. Low-sodium bases let you adjust salt levels to taste, rather than being stuck with a too-salty stir-fry.
4.What’s the best substitute for Shaoxing rice wine if I don’t have any? ▾
Dry sherry is the closest 1:1 swap, as it has the same nutty, fermented depth that Shaoxing adds to the sauce. Skip sweet rice wines like mirin, which will throw off the savory-sweet balance, and avoid plain white wine or white vinegar, as their sharp, bright flavor doesn’t match the warm, rounded profile of Shaoxing.
5.Why does my sauce turn out lumpy when I add it to the pan? ▾
Lumps almost always form because you didn’t stir or shake the pre-mixed sauce right before pouring it in—cornstarch sinks to the bottom of the container extremely fast. To fix lumps, quickly whisk the sauce in the pan over low heat for 10 to 15 seconds, and remember to give your pre-mix a vigorous shake right before use next time.
6.How do I adjust the sauce thickness for different dishes? ▾
Stick to the base cornstarch measurement for a light, thin coating that works for delicate veggie stir-fries. For a thicker, glossier glaze for noodles or crispy fried meat, add an extra ½ teaspoon of cornstarch to the mix. If your sauce thickens too much, stir in extra chicken broth 1 tablespoon at a time until you hit your ideal consistency.
7.Can I freeze this sauce to speed up weeknight meal prep? ▾
You definitely can! Pour the fully mixed, uncooked sauce into silicone ice cube trays, freeze until solid, then transfer the cubes to a labeled freezer bag for up to 3 months. You don’t even need to thaw them first—just toss the number of cubes you need straight into your hot stir-fry and stir until the sauce thickens.
8.Is this the same brown sauce used for takeout dishes like beef and broccoli? ▾
This is exactly the foundational sauce behind most of your favorite American-Chinese takeout dishes, from beef and broccoli to chicken with mixed veggies, lo mein, and even moo shu pork. You can customize it with a pinch of garlic powder, ginger, or red pepper flakes to match the exact flavor of your go-to local takeout spot.
9.Do I need to pre-cook the sauce before adding it to my stir-fry? ▾
No pre-cooking is required! Just mix all the ingredients together really well right before you’re ready to finish your stir-fry, then pour it in once your protein and veggies are almost fully cooked. It will thicken into that signature glossy coating in 30 to 60 seconds as it simmers, so you don’t want to add it too early.
10.What’s a good shellfish-free swap for oyster sauce for people with allergies? ▾
Mushroom-based vegetarian oyster sauce is the best swap, as it has the same rich, deep umami and subtle sweetness as regular oyster sauce, and works as a 1:1 replacement. If you don’t have that, add 1 extra tablespoon of light soy sauce plus ¼ teaspoon of sugar to mimic oyster sauce’s flavor profile, and skip brinier fish sauce.

Comments (4)

2 days ago

OMG this brown sauce is a total game changer!!! I’ve been buying jarred stuff for years for my weekly stir fry meal prep and this takes literally 3 minutes to throw together? I tossed it with broccoli, chicken, and rice last night for family dinner and my picky 8 year old asked for seconds! SO much better than takeout, no weird additives either. 10/10 will be making a big batch every Sunday from now on.

yesterday

Right?! I made it last week for a potluck and people were begging me for the recipe, nobody believed it was that easy! I added a tiny pinch of Sichuan peppercorn powder for a little extra zing, chef’s kiss.

2 hours ago

So thrilled this sauce is working so well for your family meal prep, Mia! It holds up perfectly in an airtight container in the fridge for up to a week, so making a big batch on Sundays is such a smart call. And Stan, that Sichuan peppercorn add sounds amazing — I’ll have to try that next time I make it for a little numbing spice kick!

2 hours ago

Super easy recipe, but quick question — can I use low sodium soy sauce instead of regular? I’m watching my salt intake but don’t want to mess up the flavor balance. I tested a tiny batch with regular soy last night when I was prepping and it was incredible tossed with beef and bell peppers, just a touch saltier than I’d like for regular weeknight use.

30 minutes ago

Great question, Jake! Low-sodium soy sauce works perfectly here — you won’t throw off the flavor balance at all, and it’ll cut the salt level exactly how you want. If you want an extra pop of deep color and umami, you can swap 1 tablespoon of soy for dark soy sauce, but that’s totally optional!

1 week ago

Brought meatballs glazed with this sauce to my neighborhood block party last weekend and people swarmed the platter! I was so nervous to make it since I’m still pretty new to cooking Chinese food, but 3 minutes of cook time? I couldn’t believe how simple it was. I saved the leftover sauce to toss with lo mein earlier this week and it worked perfectly. Already sent the recipe link to four of my neighbors who asked for it.

yesterday

Total game changer!!! I used to stress so hard about weeknight stir fries because I could never nail the sauce — it was either too bland, too vinegary, or so thick it turned into glue. This recipe comes out perfect every single time! My kids actually cheer when I tell them we’re having “fake takeout night” at home now, and it costs a fraction of what delivery runs us. I stirred in an extra splash of oyster sauce last batch because we love that rich umami flavor, 10/10 recommend that tweak.

2 hours ago

That oyster sauce add is chef’s kiss! I did the same thing last week plus a little grated fresh garlic and ginger, and it tasted exactly like the brown sauce from our favorite local takeout spot. I’ve already saved $40 on delivery fees this month by making this instead of ordering out, no joke.