
chinese chicken
intro
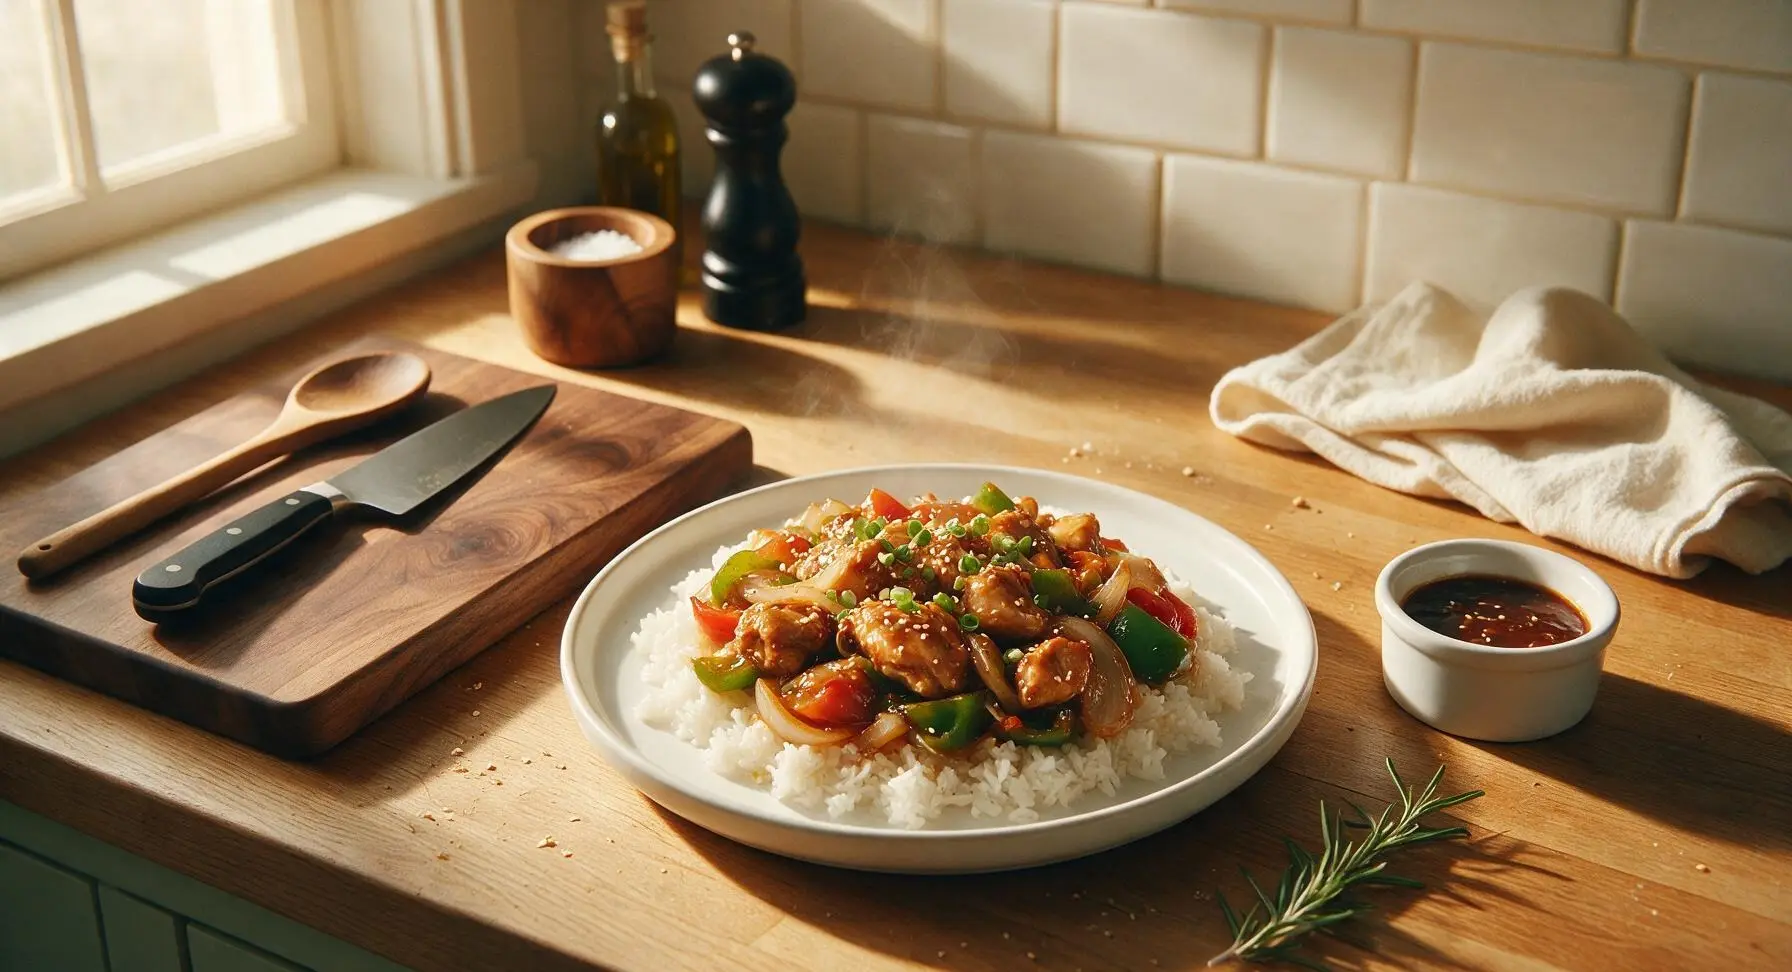
Tender, juicy chicken coated in a glossy savory-sweet soy-ginger glaze, paired with crisp-tender bell peppers and onion. A beloved takeout classic made simple for home cooking, perfect over steamed rice.
Ingredients
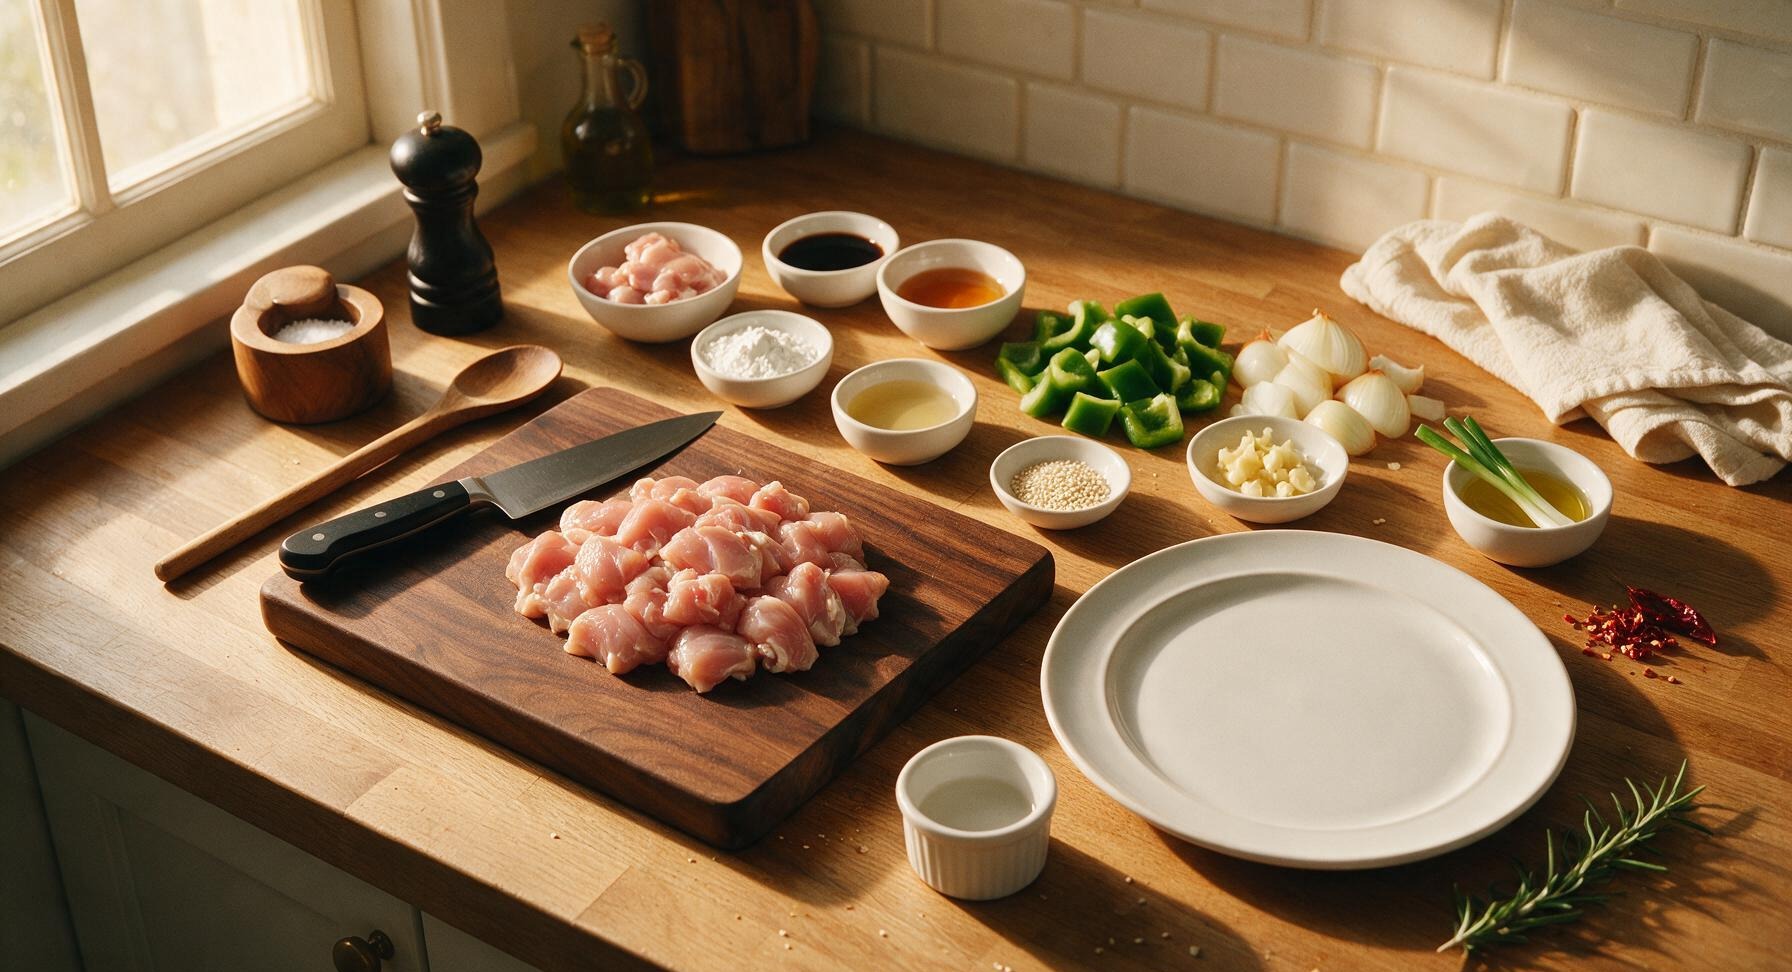
Steps
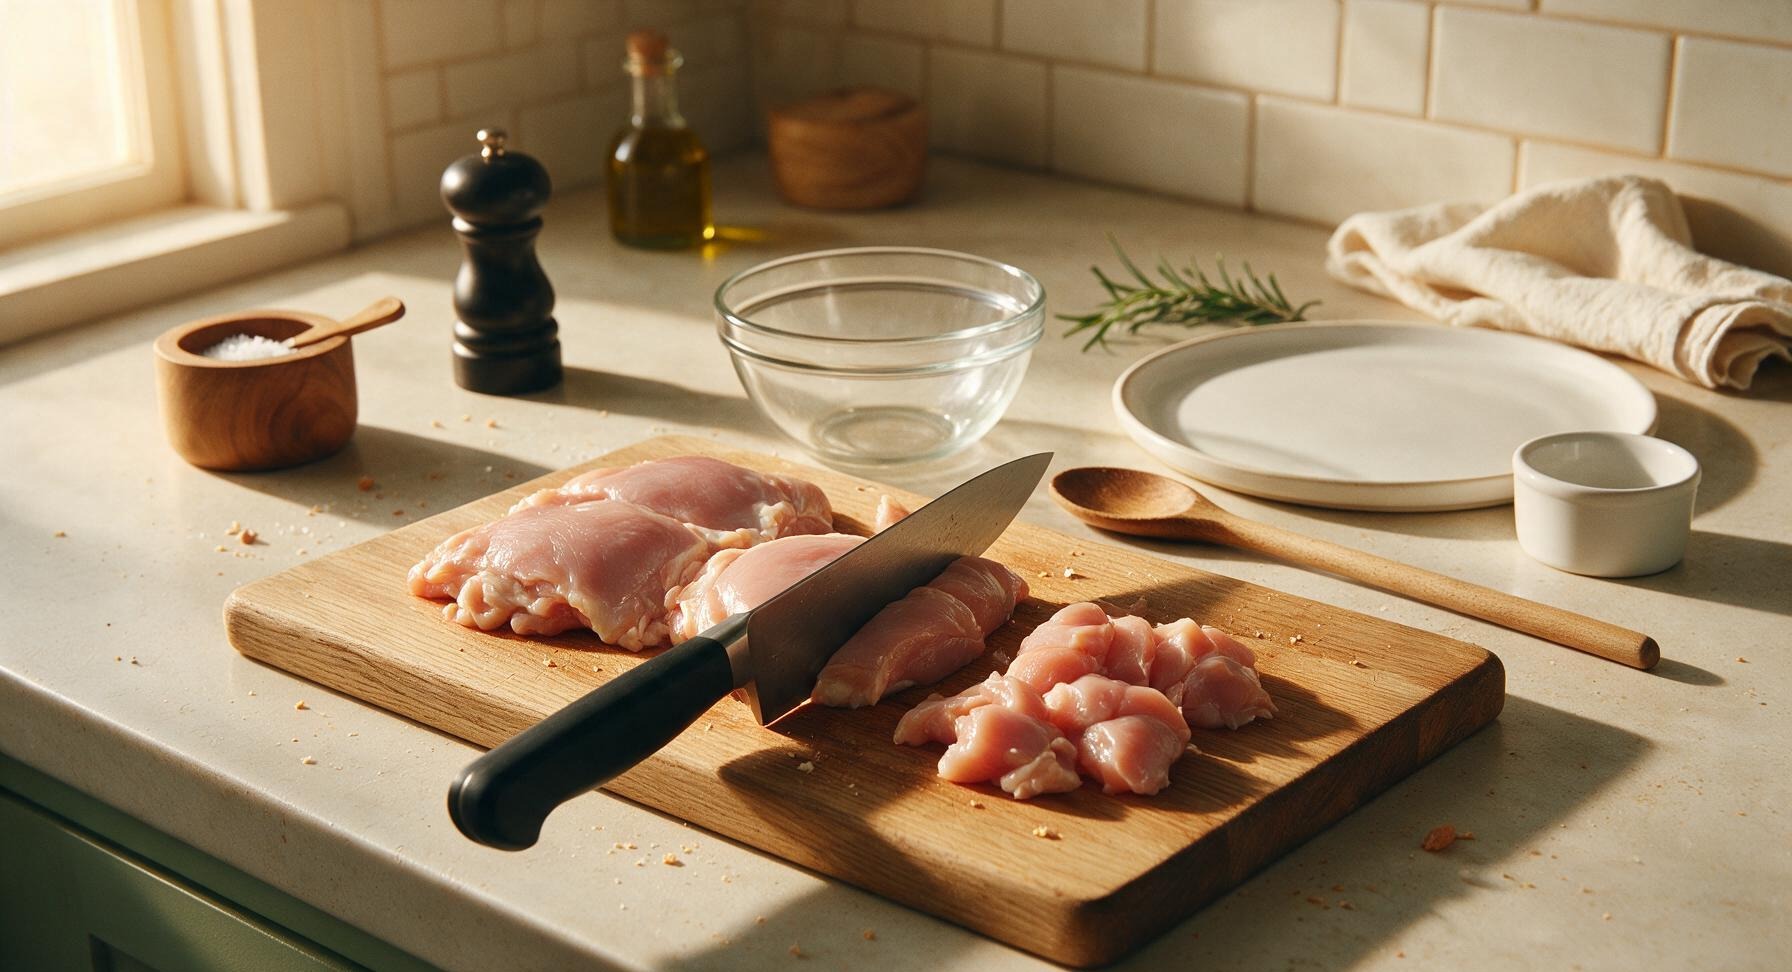
Cut Chicken into Bites
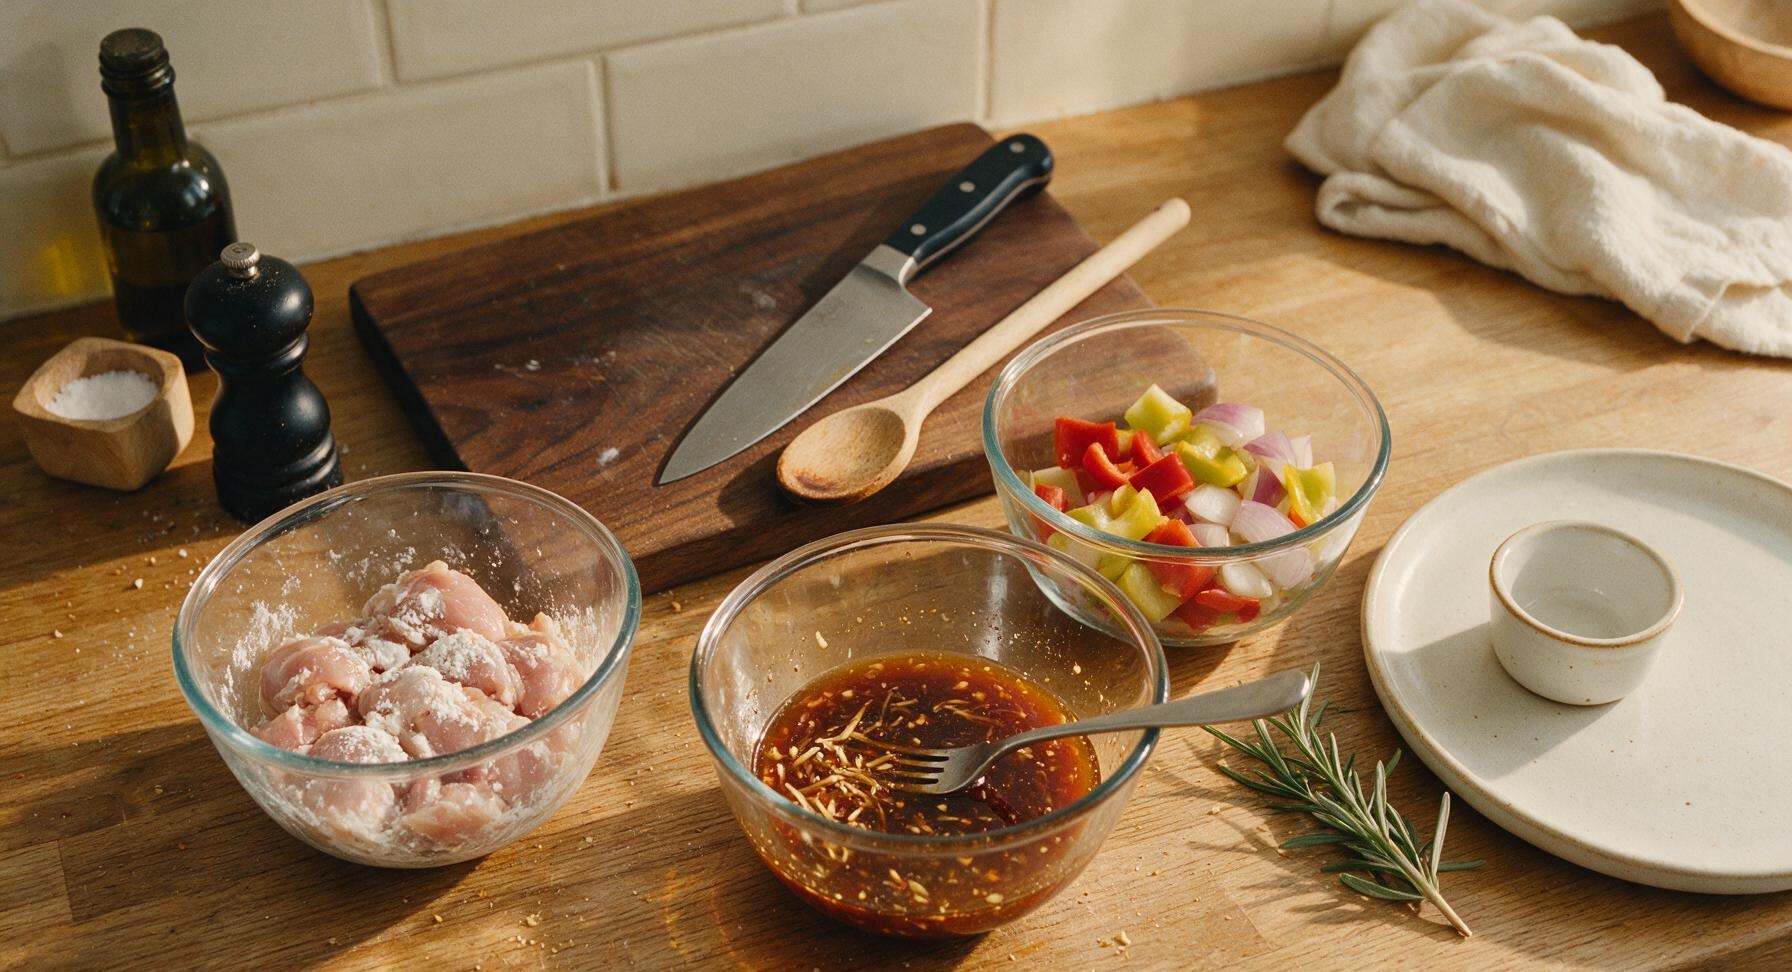
Place the boneless, skinless chicken thighs on the bamboo cutting board. Use the chef knife to trim any excess visible fat or silver skin, then cut the chicken into uniform 2.5cm (1-inch) bite-sized pieces. Uniform size ensures even cooking, with no undercooked large pieces or overcooked tiny bits. Transfer cut chicken to one of the small glass prep bowls when done.
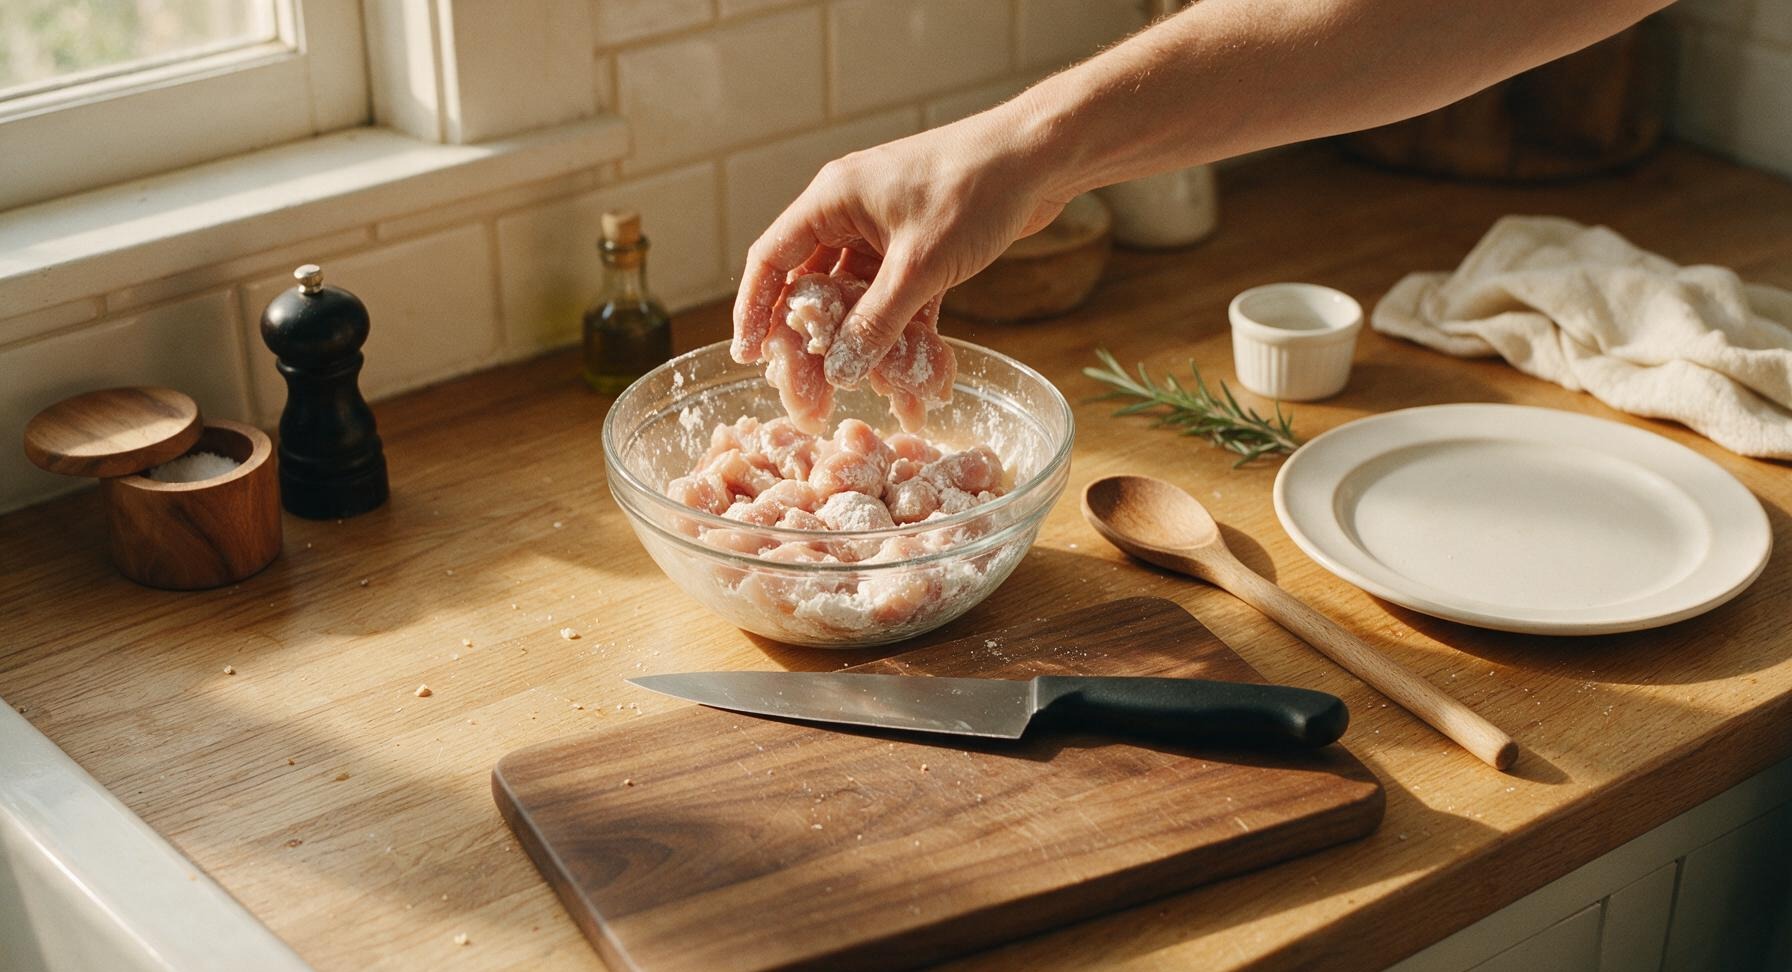
Toss Chicken with Cornstarch
Add the 2 tablespoons of cornstarch to the prep bowl with the cut chicken. Toss thoroughly until every chicken piece is lightly and evenly coated in a thin, dry dusting of cornstarch, with no clumps of dry cornstarch left at the bottom of the bowl. Set the coated chicken aside for 10 minutes at room temperature; the cornstarch will create a light, crisp outer layer that locks in juiciness and helps the glaze stick to each piece.
Whisk Soy Glaze Mixture
In the second small glass prep bowl, combine 3 tablespoons low-sodium soy sauce, 2 tablespoons raw honey, 1 tablespoon unseasoned rice vinegar, grated fresh ginger, minced garlic, and crushed dried red chili (if using for mild heat). Whisk with a small fork until the honey is fully dissolved, and the mixture is a smooth, uniform amber color with no separated honey pooled at the bottom of the bowl. Prepped bell pepper and onion chunks go in the third prep bowl, set within easy reach of the stovetop.
Sear Chicken Until Golden
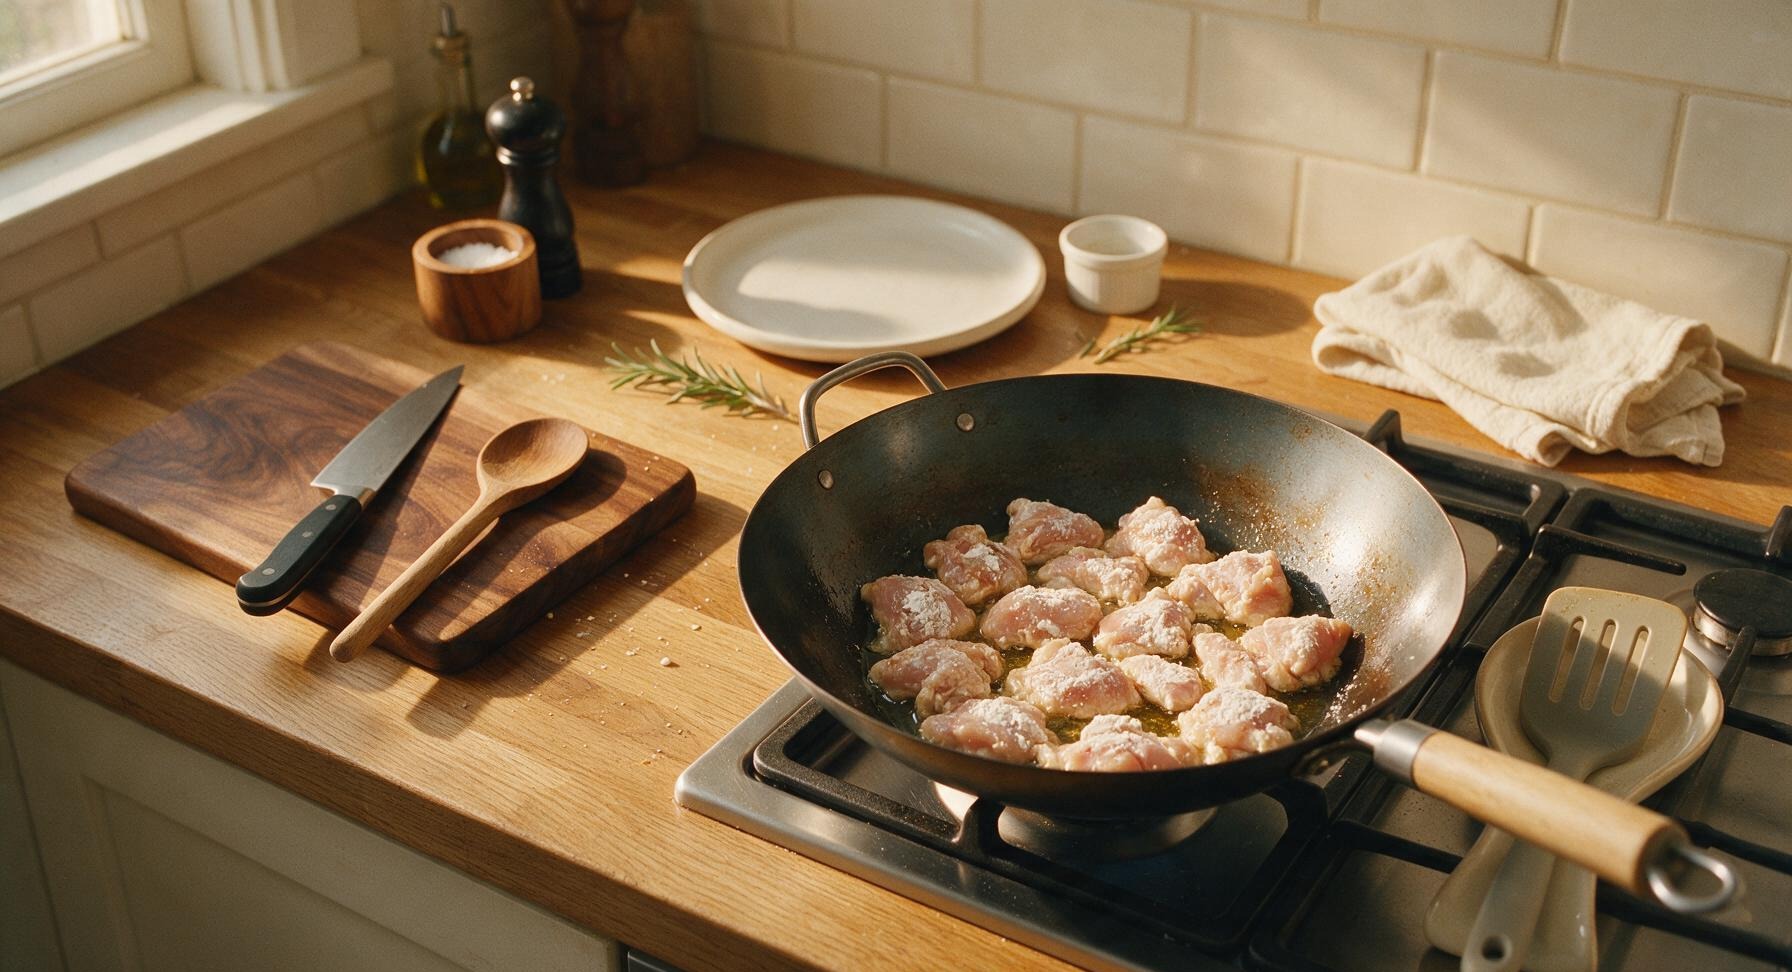
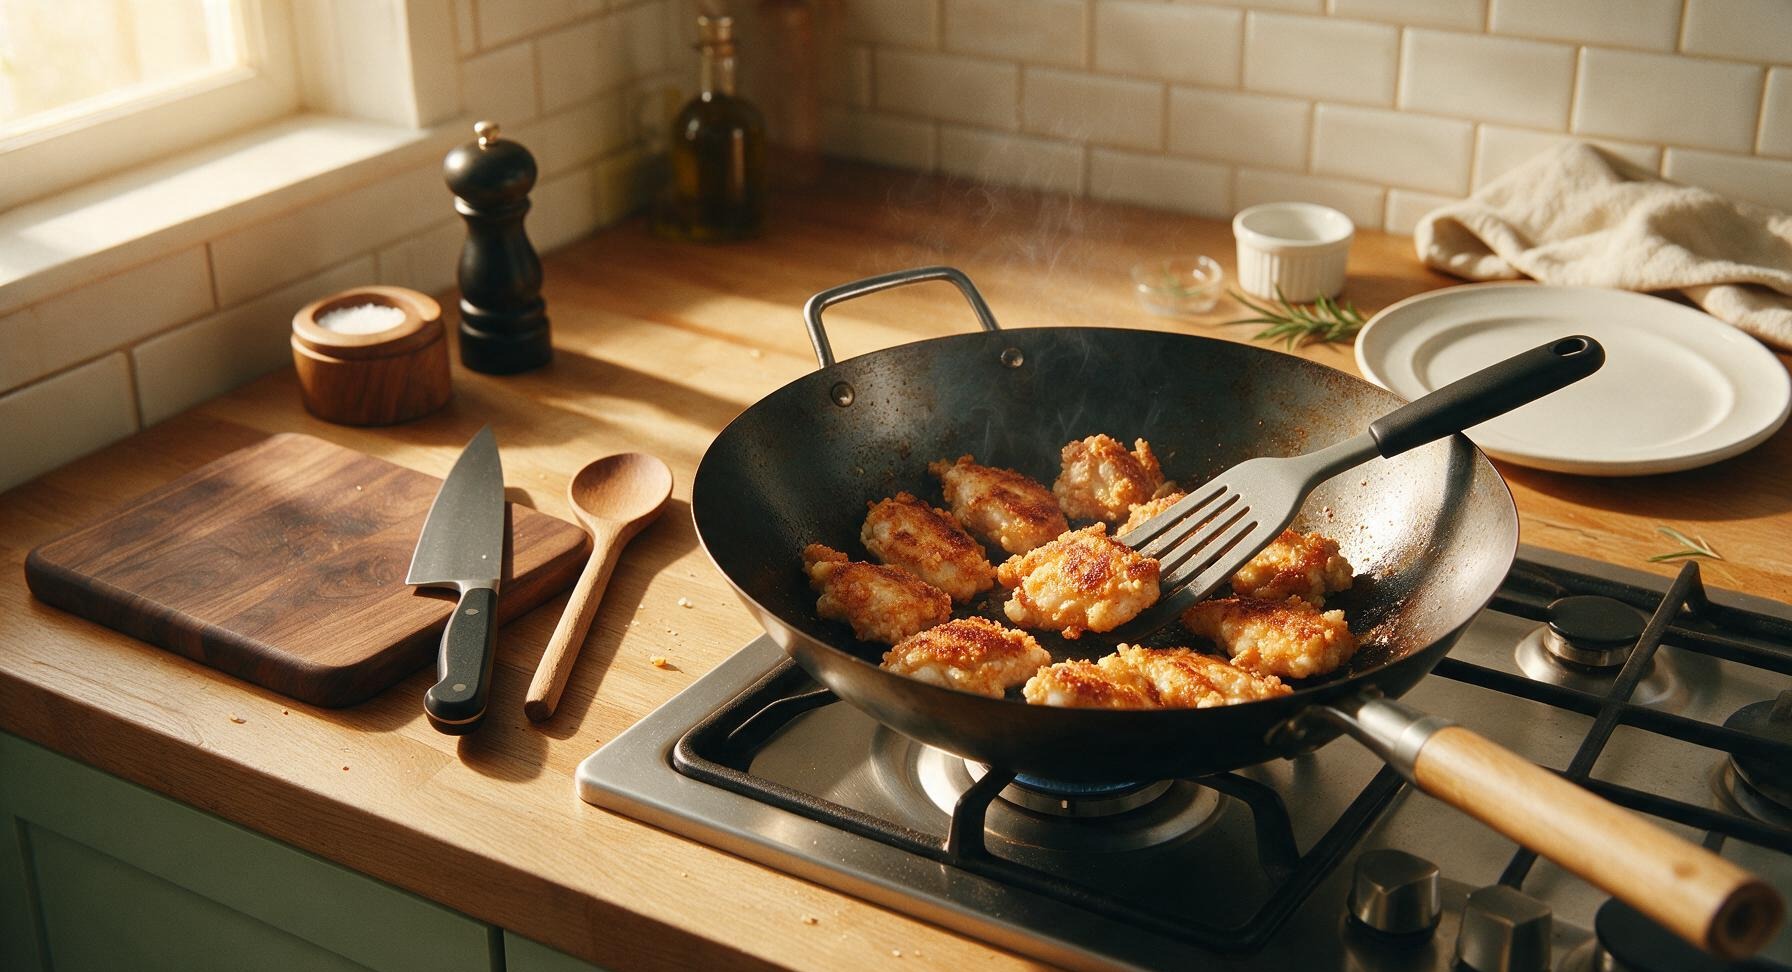
Place the seasoned carbon steel wok on the center-right stovetop burner, turn heat to medium-high, and add 2 tablespoons of neutral cooking oil. Once the oil shimmers (approximately 2 minutes, 190C/375F), add the cornstarch-coated chicken pieces in a single layer, working in two batches if needed to avoid crowding the pan. Sear for 3-4 minutes per side, until the chicken is golden brown and crisp on the outside, and reaches an internal temperature of 74C/165F. Use the slotted silicone spatula to turn the chicken pieces as they cook.
Stir-Fry Fresh Vegetables
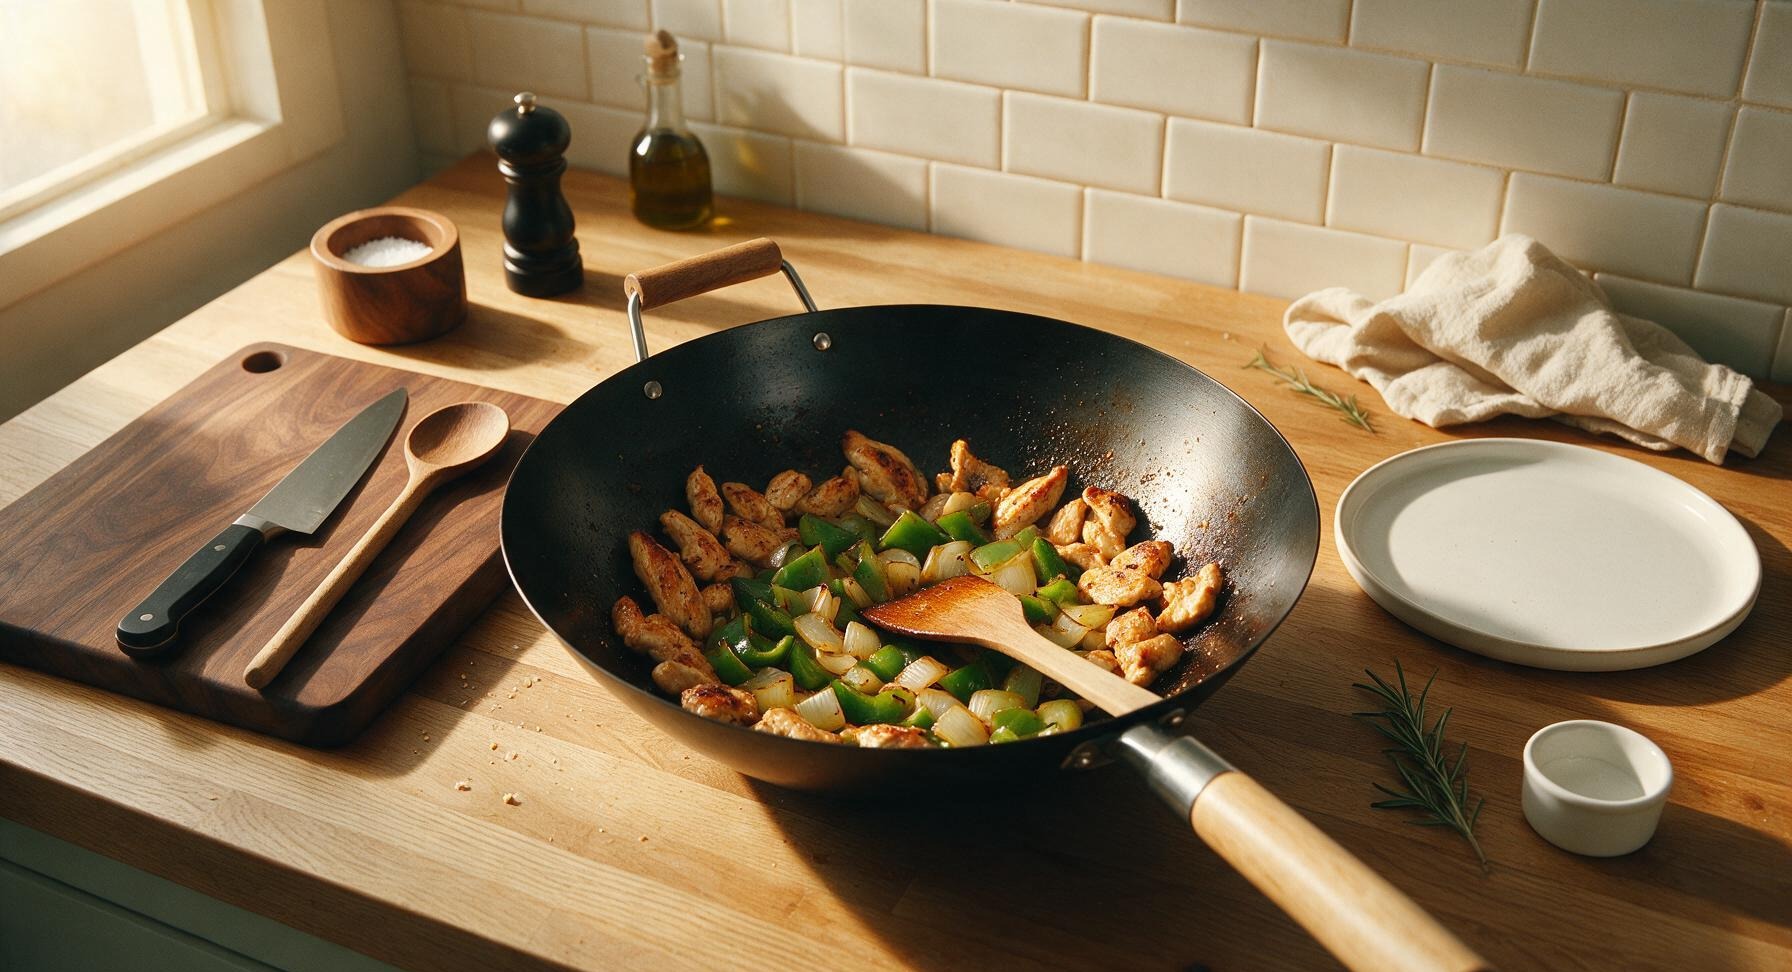
Push the seared chicken pieces to the outer sloped edges of the wok, leaving the center of the pan empty. Add the diced green bell pepper and yellow onion chunks to the center of the wok, stir-frying for 2 minutes over high heat. The vegetables should be bright in color, crisp-tender, with slightly charred edges, not soft or mushy. Toss the vegetables once or twice with the silicone spatula to coat them lightly in residual pan oil.
Toss in Glaze to Coat
Pour the pre-mixed soy-ginger glaze over the chicken and vegetables in the wok. Turn the heat down to medium, and toss continuously with the silicone spatula for 1-2 minutes, until the glaze bubbles and thickens into a glossy coating that clings to every chicken and vegetable piece. There should be no runny glaze pooling at the bottom of the wok when done; the cornstarch coating on the chicken will thicken the glaze naturally as it heats.
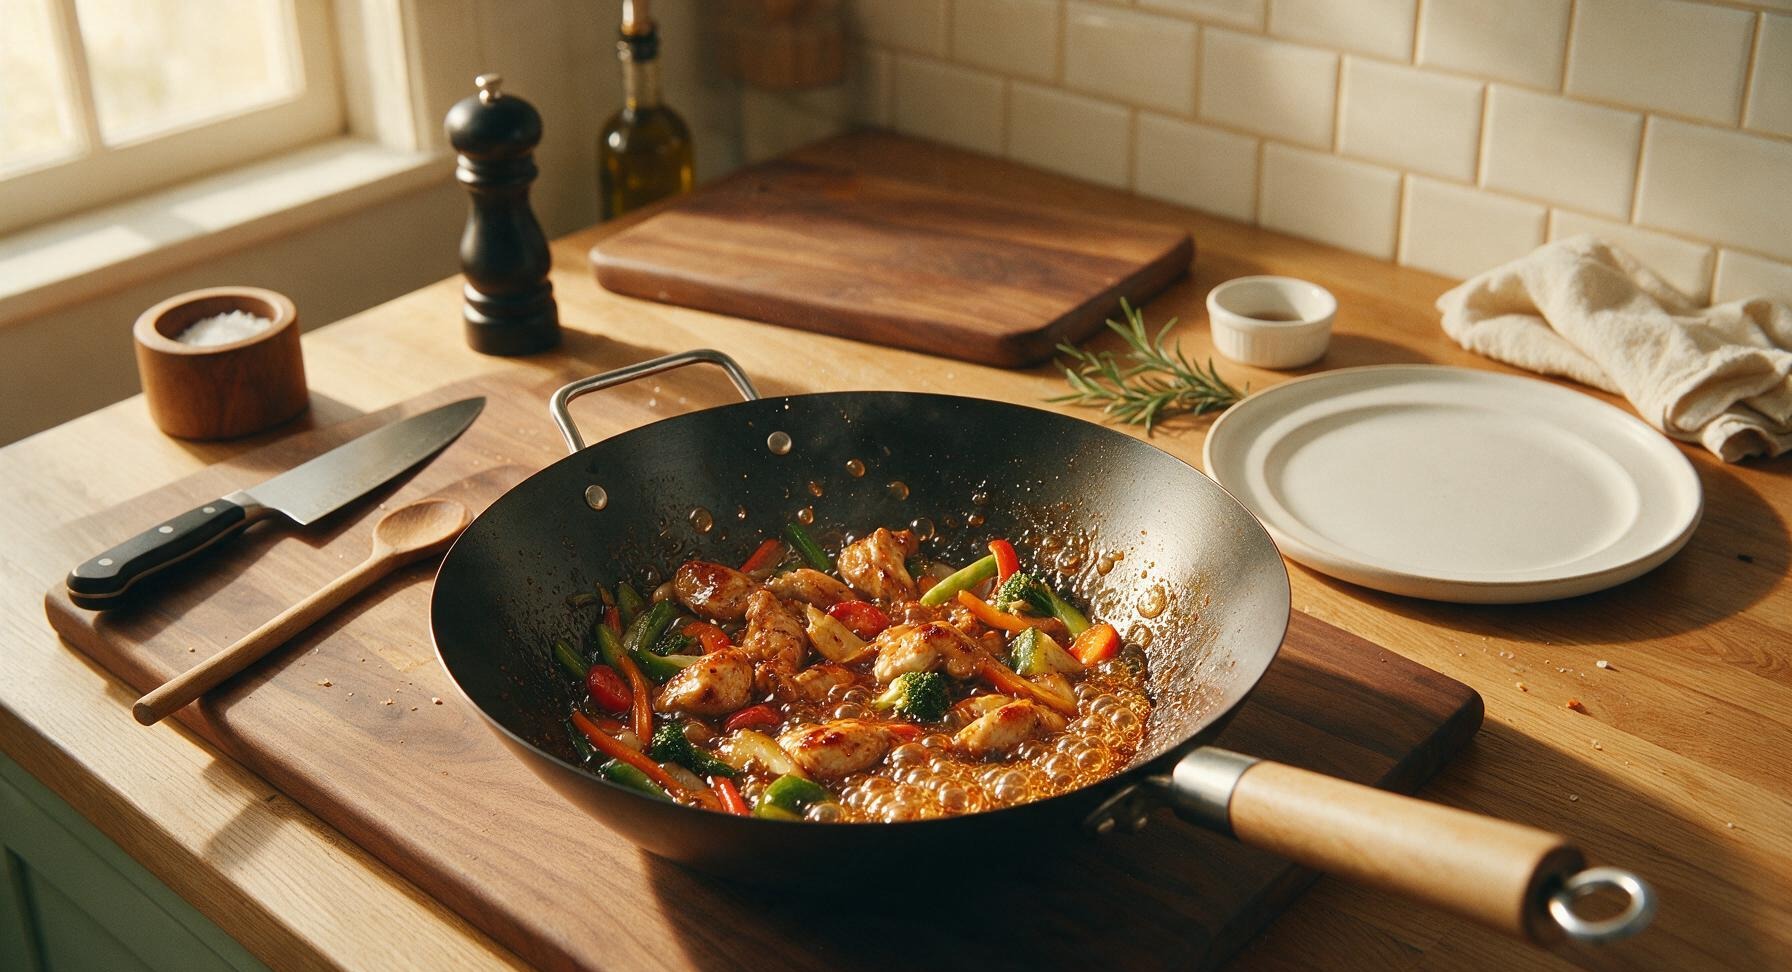
Plate and Garnish Chicken
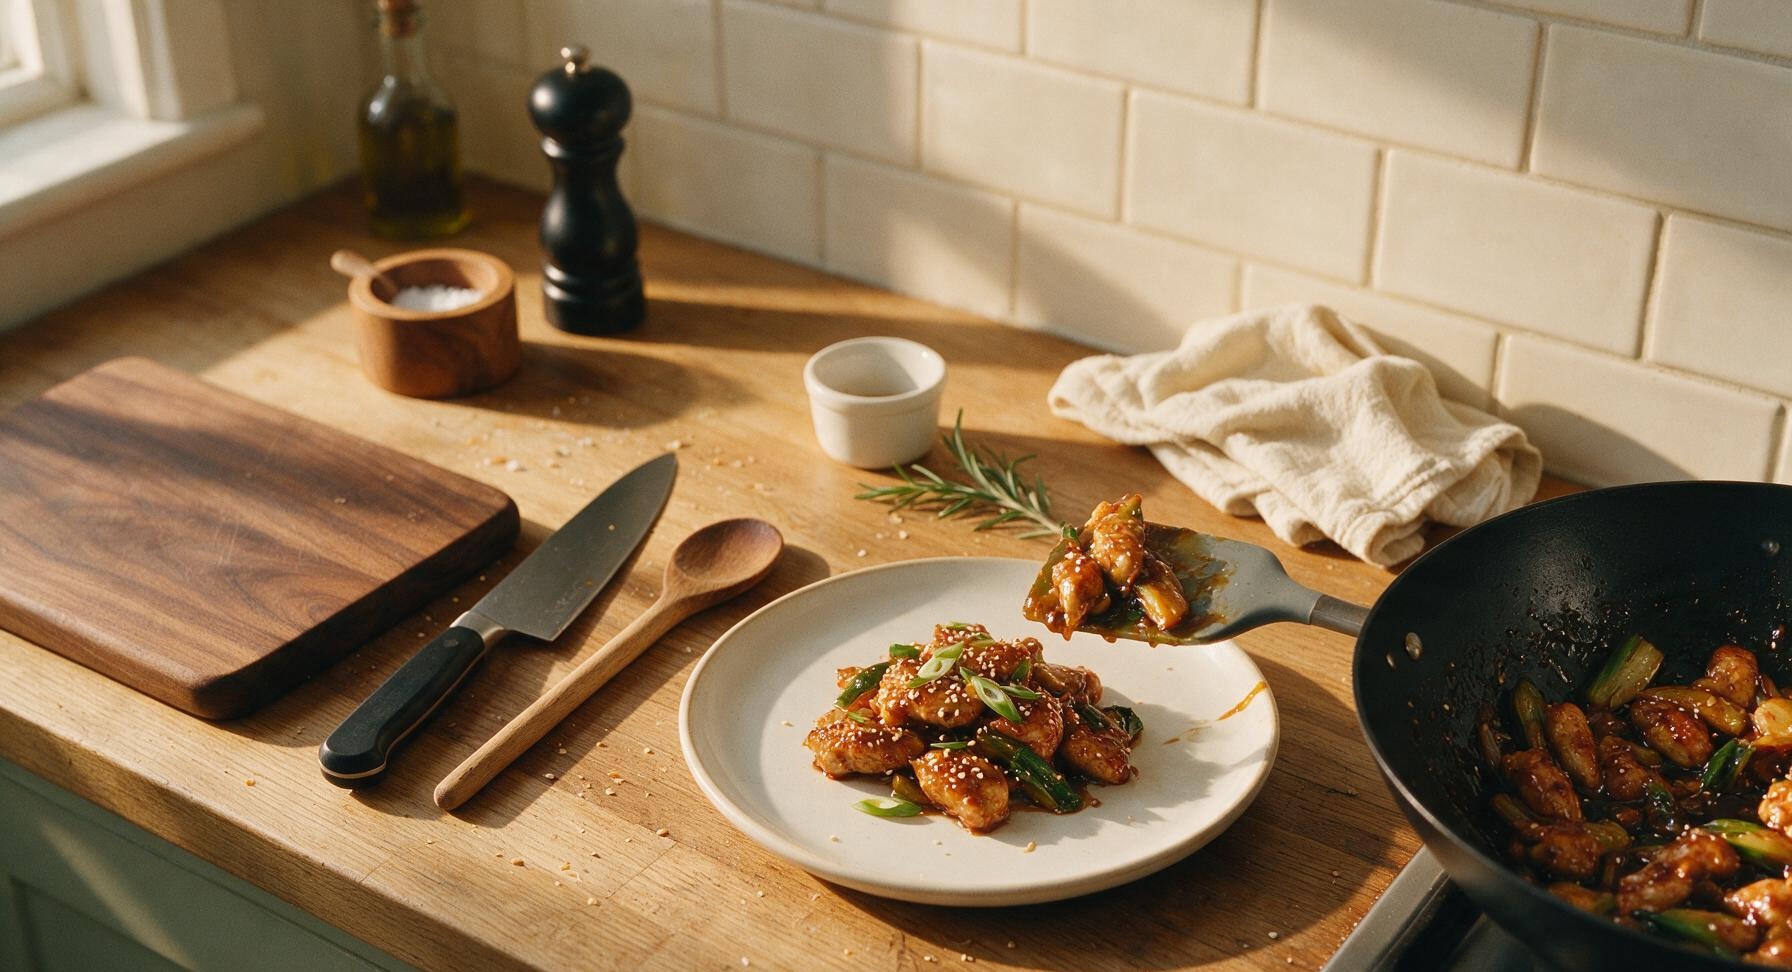
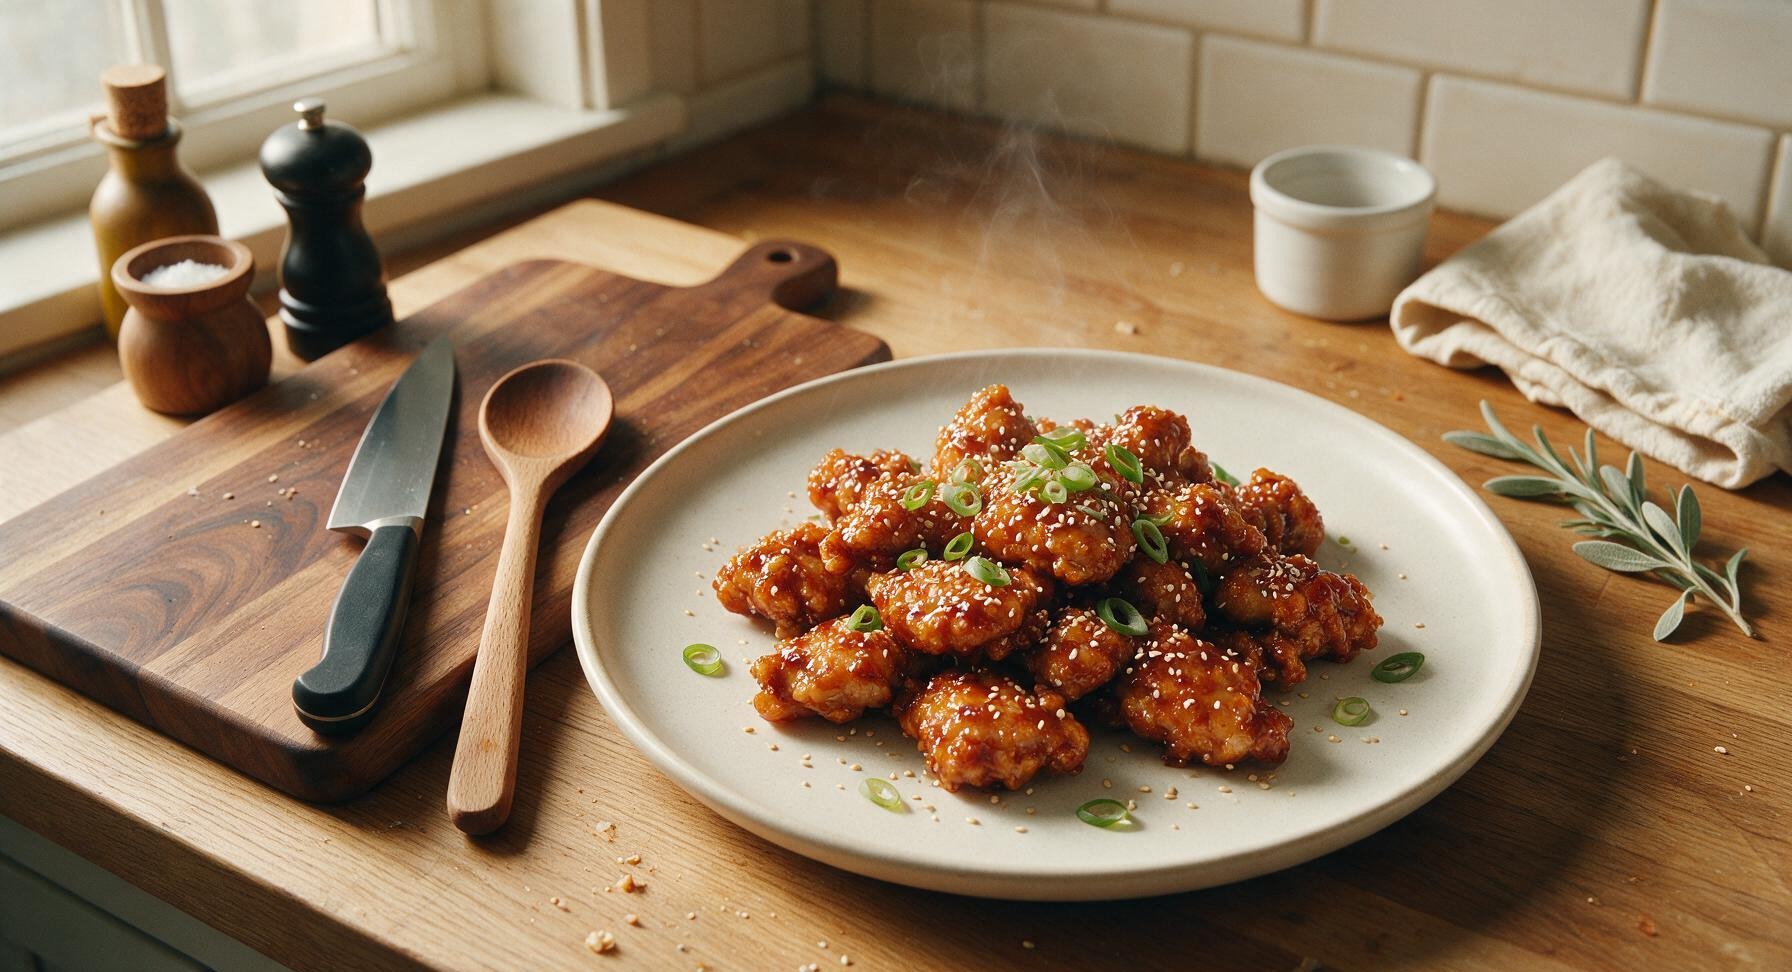
Turn off the stovetop heat. Use the silicone spatula to transfer the glazed chicken and vegetables from the wok to the waiting matte warm white ceramic dinner plate, piling the mixture loosely in the center of the plate. Sprinkle the top evenly with 1 teaspoon toasted white sesame seeds and the reserved sliced green onion tops for garnish. Serve immediately while hot, alongside steamed white rice if desired.
Tips
2.Avoid crowding the wok when searing chicken: Piled or tightly packed chicken will steam instead of developing a light, crisp cornstarch crust. Cook in two equal batches if using a wok smaller than 12 inches, adding a ½ teaspoon extra oil between batches if needed.
3.Pre-mix the full glaze before heating the wok: Stir-fry cooking progresses very quickly once heat is applied, and pre-combining sauce ingredients eliminates the risk of burning food while you measure and mix components mid-cook.






Brought this to my neighborhood block party potluck last weekend and people were begging for the recipe before I even left! I doubled the batch because I knew it’d be a hit, and there were literally zero leftovers. The sticky glaze gets that perfect little caramelized edge on the chicken if you let it sit in the pan for an extra minute, chef’s kiss. So easy to make for a crowd too, no fancy steps.
Made this for my date night last week and it was a total hit! I served it over jasmine rice with some roasted bok choy on the side, and my date said it was better than any restaurant version we’ve had. Only note: make sure you don’t walk away from the pan once you add the sauce, it thickens super fast and can burn if you’re not paying attention (learned that the hard way with my first batch lol).
I am literally obsessed with this recipe! I used to order sticky chicken from my local Chinese takeout spot every single Friday, but this tastes exactly like it — if not better! I saved so much money making it at home, and it took less time than waiting for delivery. My husband said it’s the best thing I’ve ever cooked lmao.
Does anyone know if this works with gluten free soy sauce? I have celiac so I can’t do regular soy sauce, but this looks too good to pass up for our Friday family dinner night!
Made this for my kid’s post-soccer practice dinner earlier this week and wow, even my teenager who only eats pizza and chips went back for seconds! I added a little extra sriracha to the sauce to give it a tiny kick because my family loves spice, and it was chef’s kiss. So quick to make even when we’re rushing between activities.
Guys I am NOT a good cook at all, like I burn toast half the time, and this turned out perfect first try??? The instructions are so straightforward, no weird techniques, and the sauce measurements are impossible to mess up. My roommate thought I ordered takeout lmao. 10/10 for beginner cooks.
Wait, can I use chicken thighs instead of breast for this? I only have thighs in my freezer right now and don’t feel like running to the grocery store after class lol. Looks so good I don’t wanna wait to make it!
Total game changer for my Sunday meal prep! I made a big batch over the weekend, portioned it out with rice and steamed broccoli, and it held up perfectly all week in the fridge. The sauce doesn’t get soggy or weird when reheated, which is my biggest pet peeve with meal prep chicken recipes. Super easy, minimal cleanup, way better than the sad takeout I usually grab for lunch. Will be a permanent rotation recipe!
OMG this was SO good! I threw this together tonight for family dinner after a long work day and both my picky toddlers cleaned their plates! The sticky sauce is perfectly sweet and salty, no weird fancy ingredients needed. 20 minute cook time is no joke, I had it on the table faster than takeout would’ve arrived. 10/10 will be making this every other week for sure!