
chinese roast pork
intro
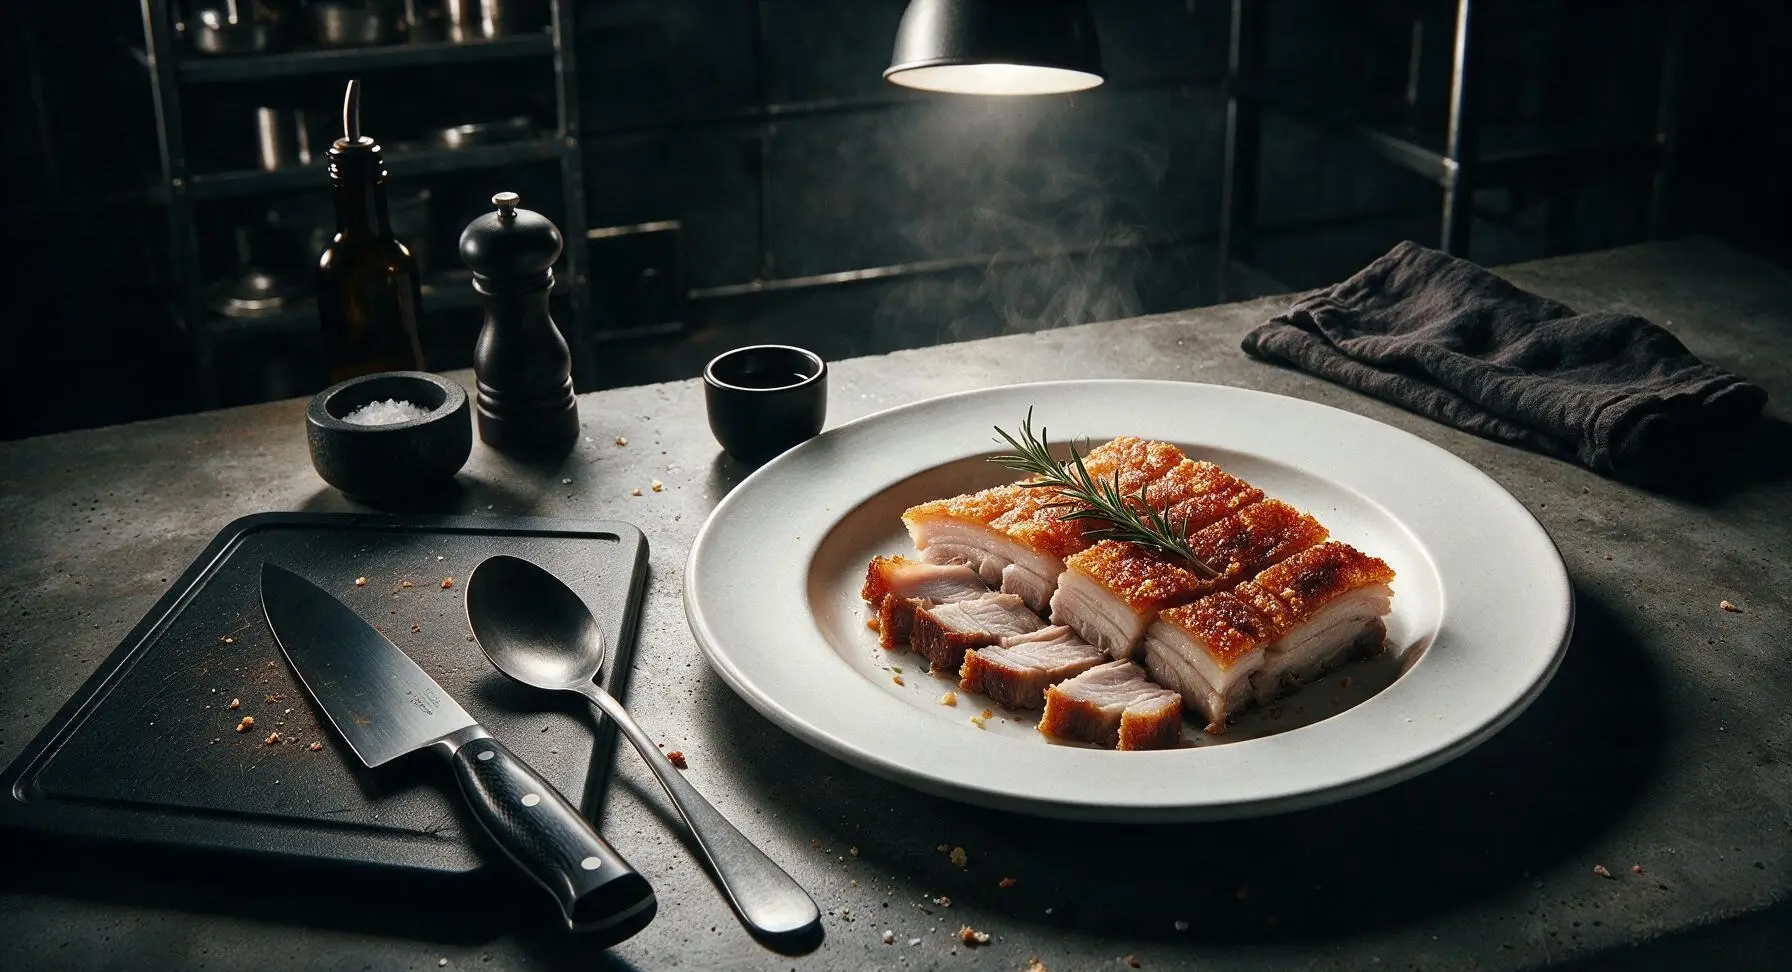
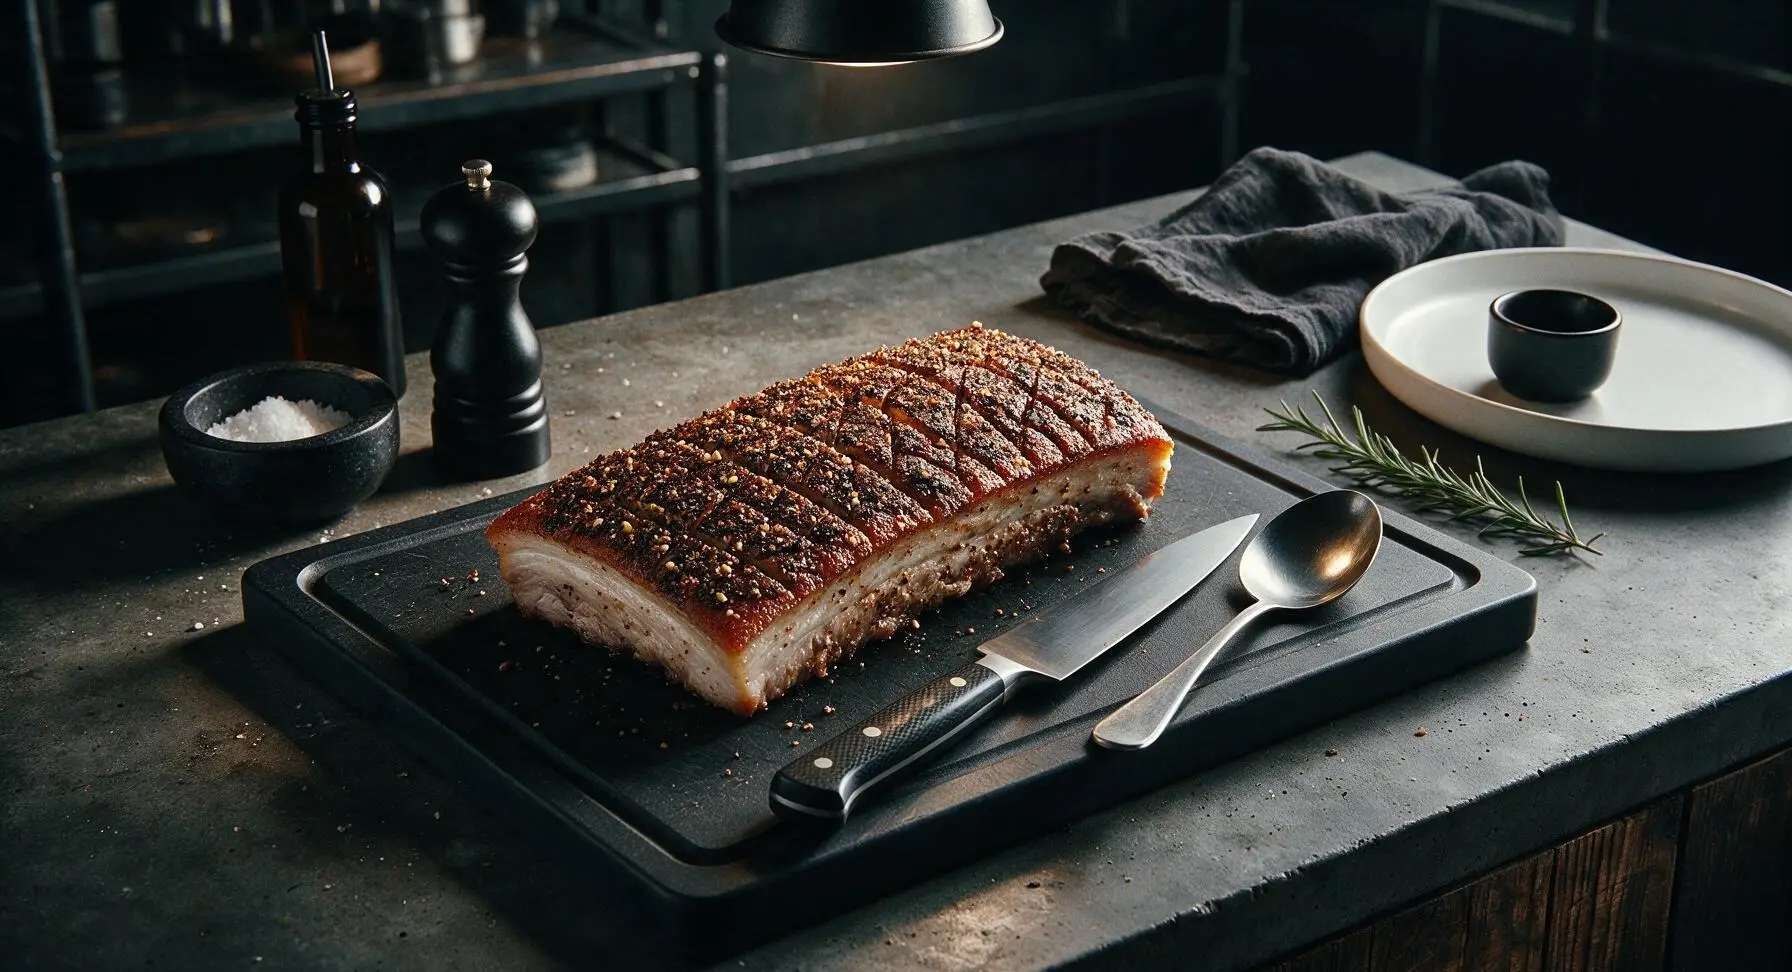
Shatteringly crisp golden crackling gives way to tender, juicy layered pork belly in this iconic celebratory Cantonese roast, a showstopping centerpiece with unbeatable textural contrast.
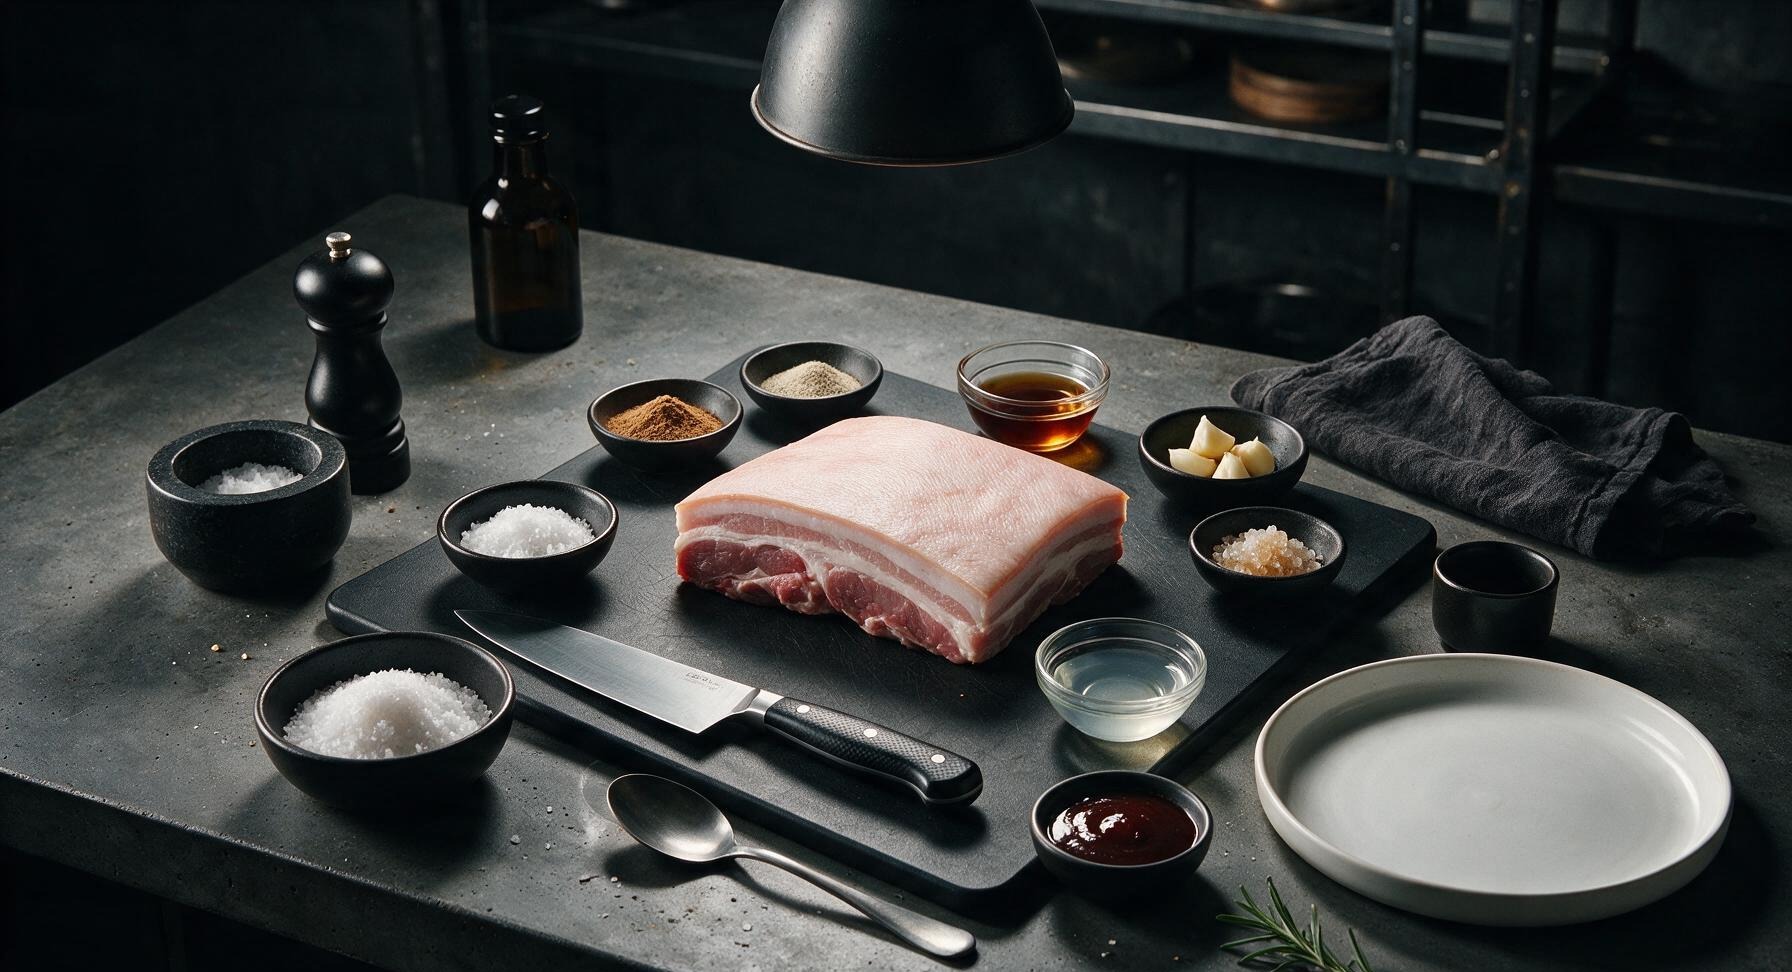
Ingredients
Steps
Prep the pork slab
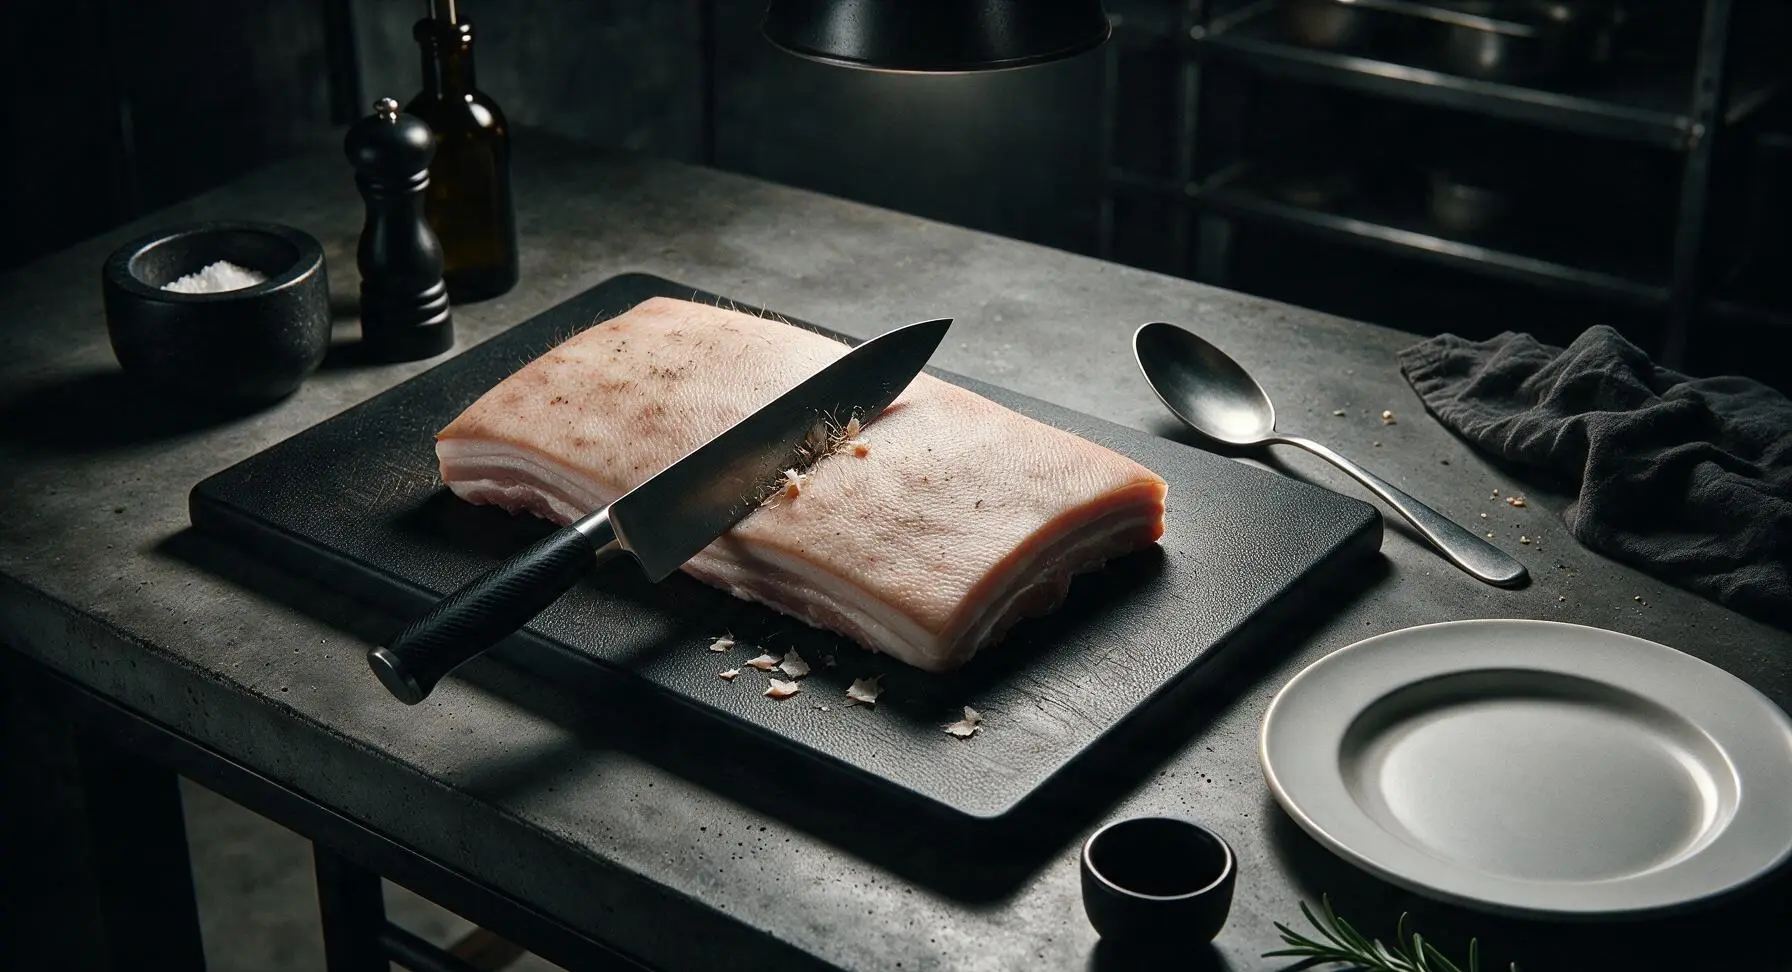
Rinse the 1.2kg skin-on pork belly slab under cold running water, pat completely dry with the oatmeal linen towel, and place it skin-side up on the acacia wood cutting board. Use the walnut-handled chef knife to hold the blade at a 45-degree angle and scrape any remaining hair, scurf, or debris from the skin surface, then trim any overly ragged edges from the meat side to create a neat, even slab. Take care not to cut through the skin during trimming.
Season the meat side
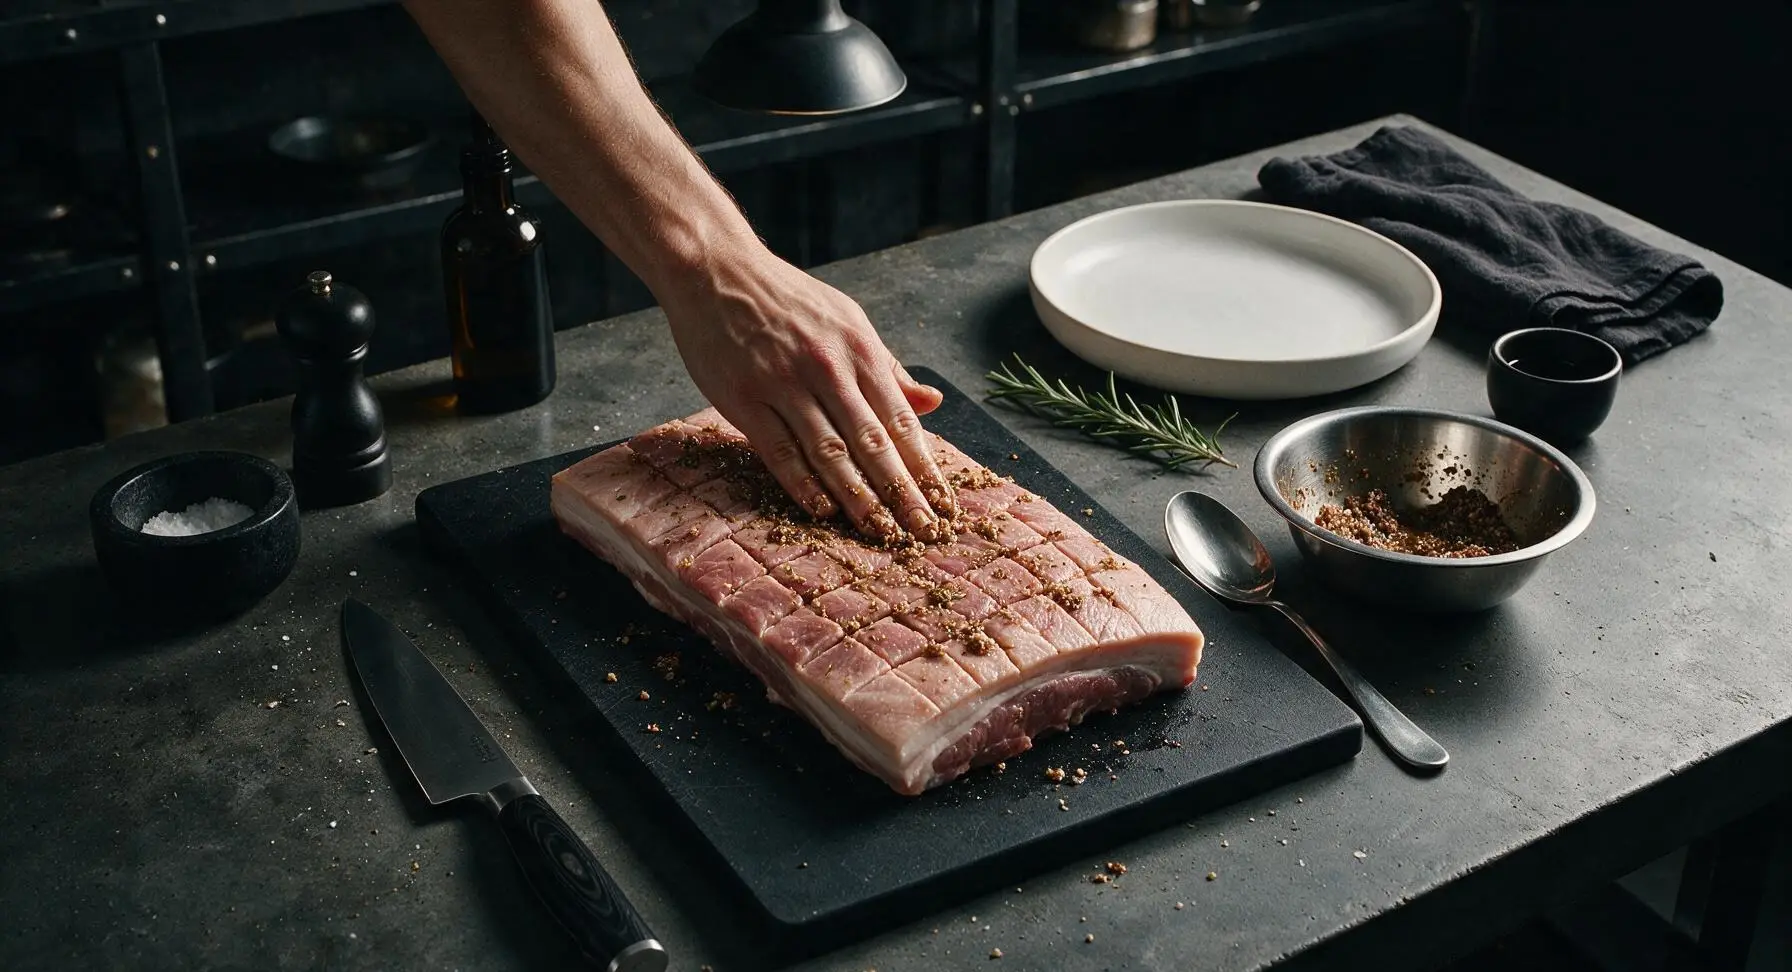
Flip the pork so it rests skin-side down on the cutting board. Use the chef knife to make 2cm deep crosshatch cuts across the meat and fat layer, taking extreme care not to pierce through the skin. Mix 2 tsp coarse sea salt, 1 tsp five-spice powder, 1 tsp white pepper, 3 crushed garlic cloves, 2 tbsp Shaoxing wine, and 1 tsp crushed rock sugar in the small stainless steel mixing bowl, then rub the mixture thoroughly into all the cut surfaces and meat sides of the pork. Leave the skin completely unseasoned at this stage, as seasoning on the skin will prevent crisping.
Prick the pork skin
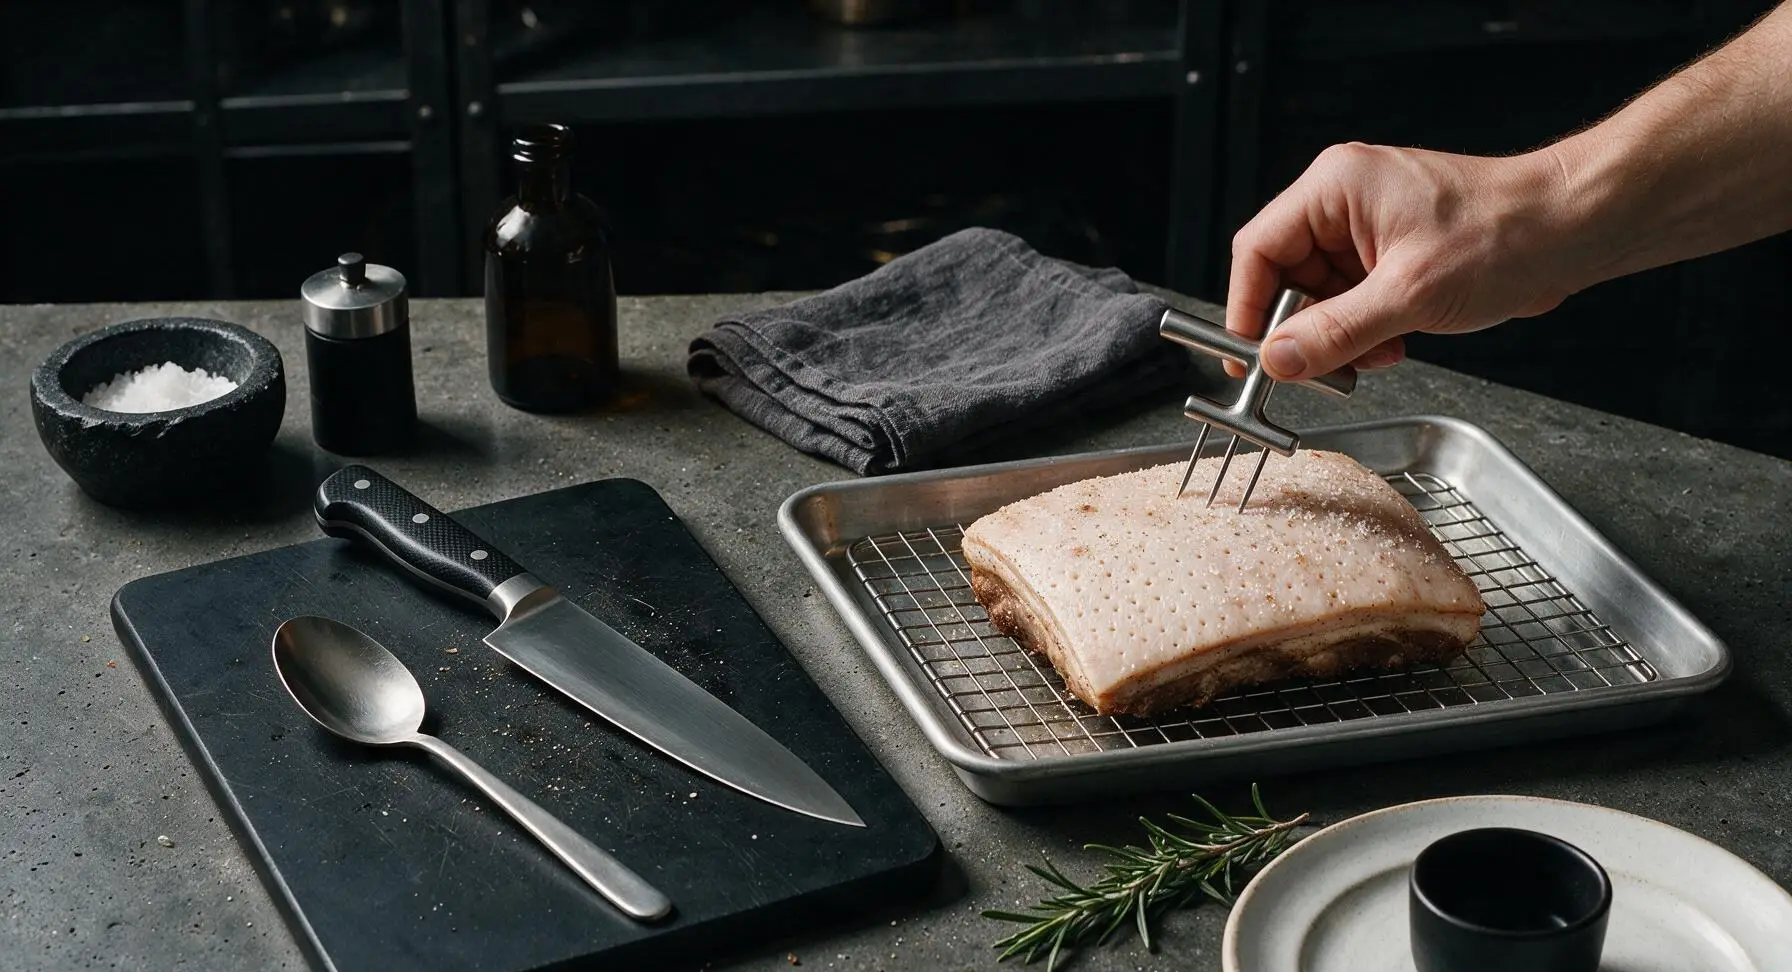
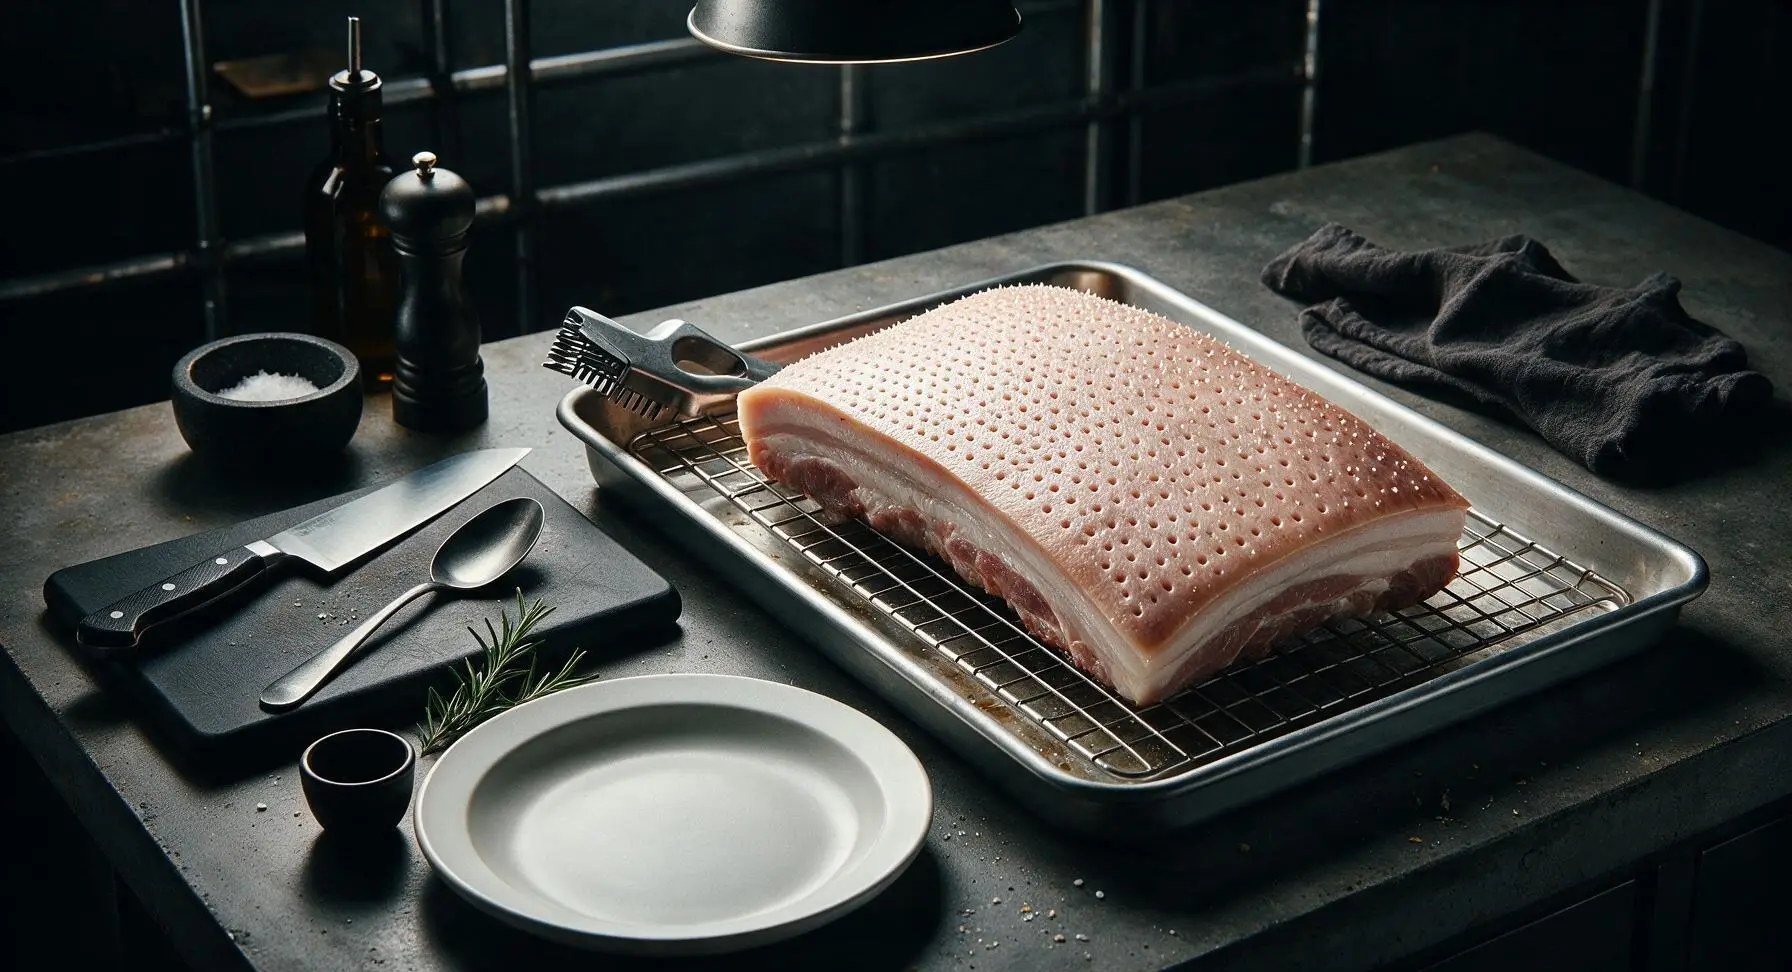
Flip the pork back to skin-side up, and transfer it to the stainless steel wire rack nested inside the aluminum baking sheet, positioned to the right of the cutting board. Use the stainless steel meat pricker to poke dense, tiny, deep holes all across the entire skin surface, piercing straight through the skin into the fat layer but not down into the meat. Aim for a hole every 2-3mm across the whole skin; even, dense pricking is the key to evenly puffed crackling.
Coat skin with vinegar
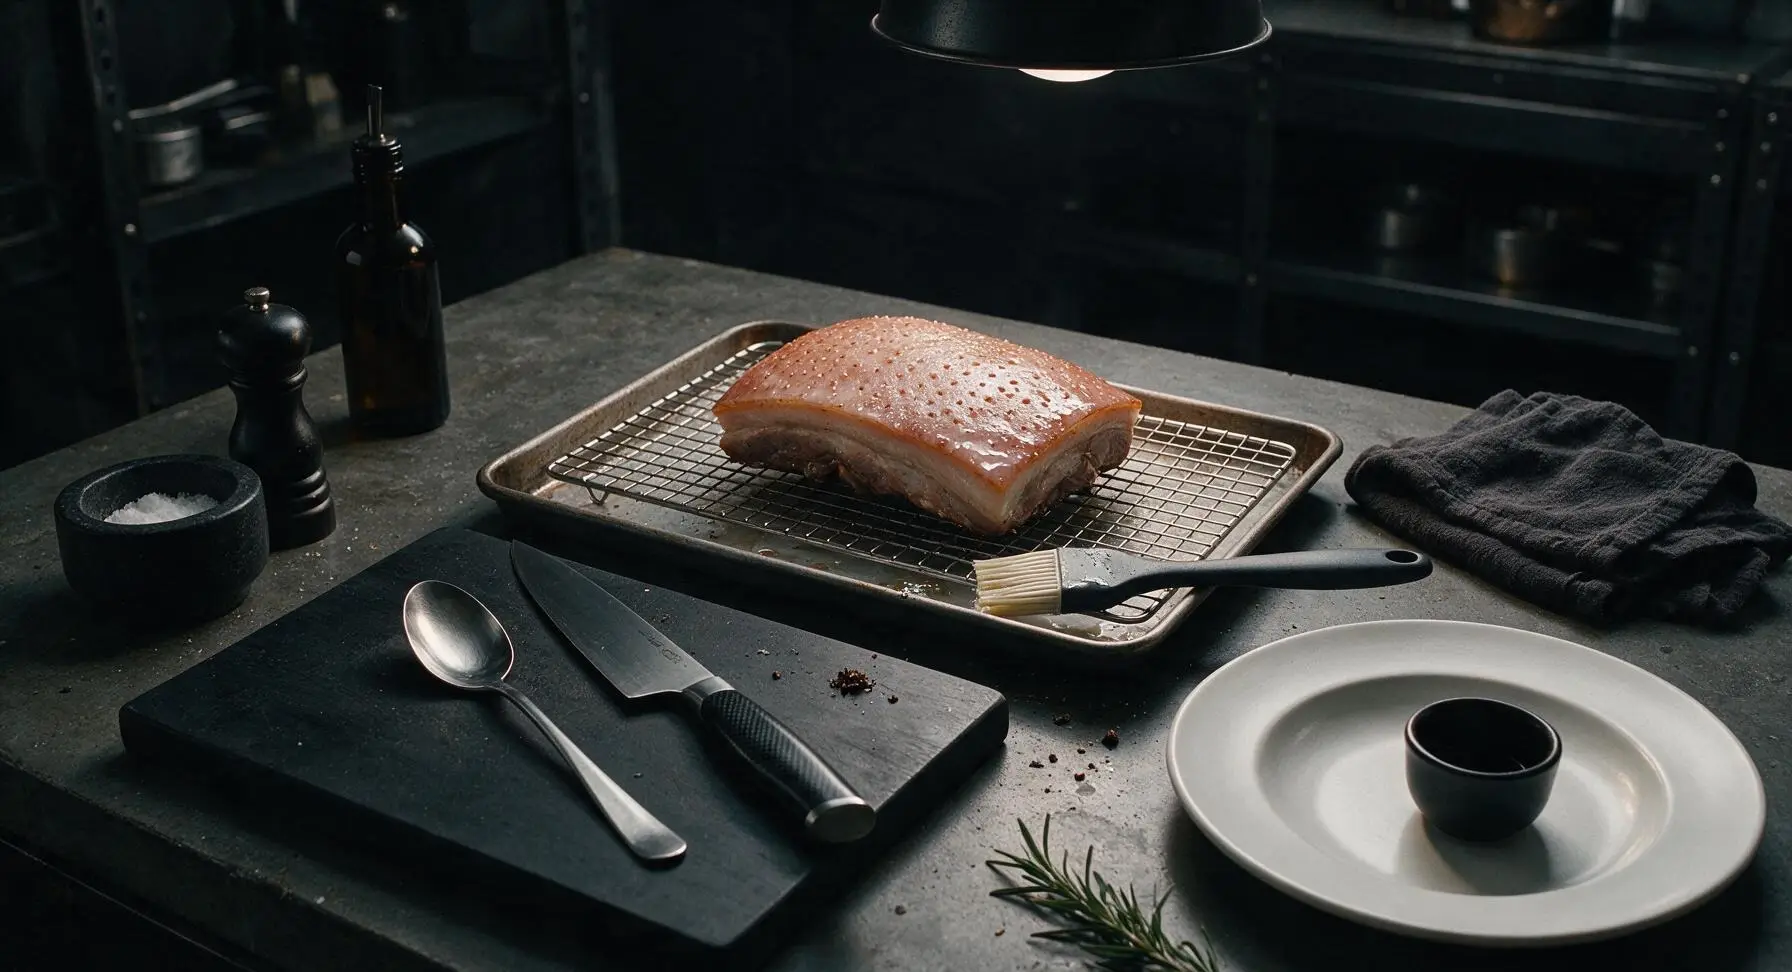
Use the silicone basting brush to spread the 1 tbsp white vinegar evenly across the entire pricked skin surface. Transfer the whole rack and baking sheet with the pork, uncovered, to the refrigerator to dry for a minimum of 4 hours (up to 12 hours overnight) until the skin feels completely dry, papery, and slightly tacky to the touch with no visible surface moisture.
Apply salt crust
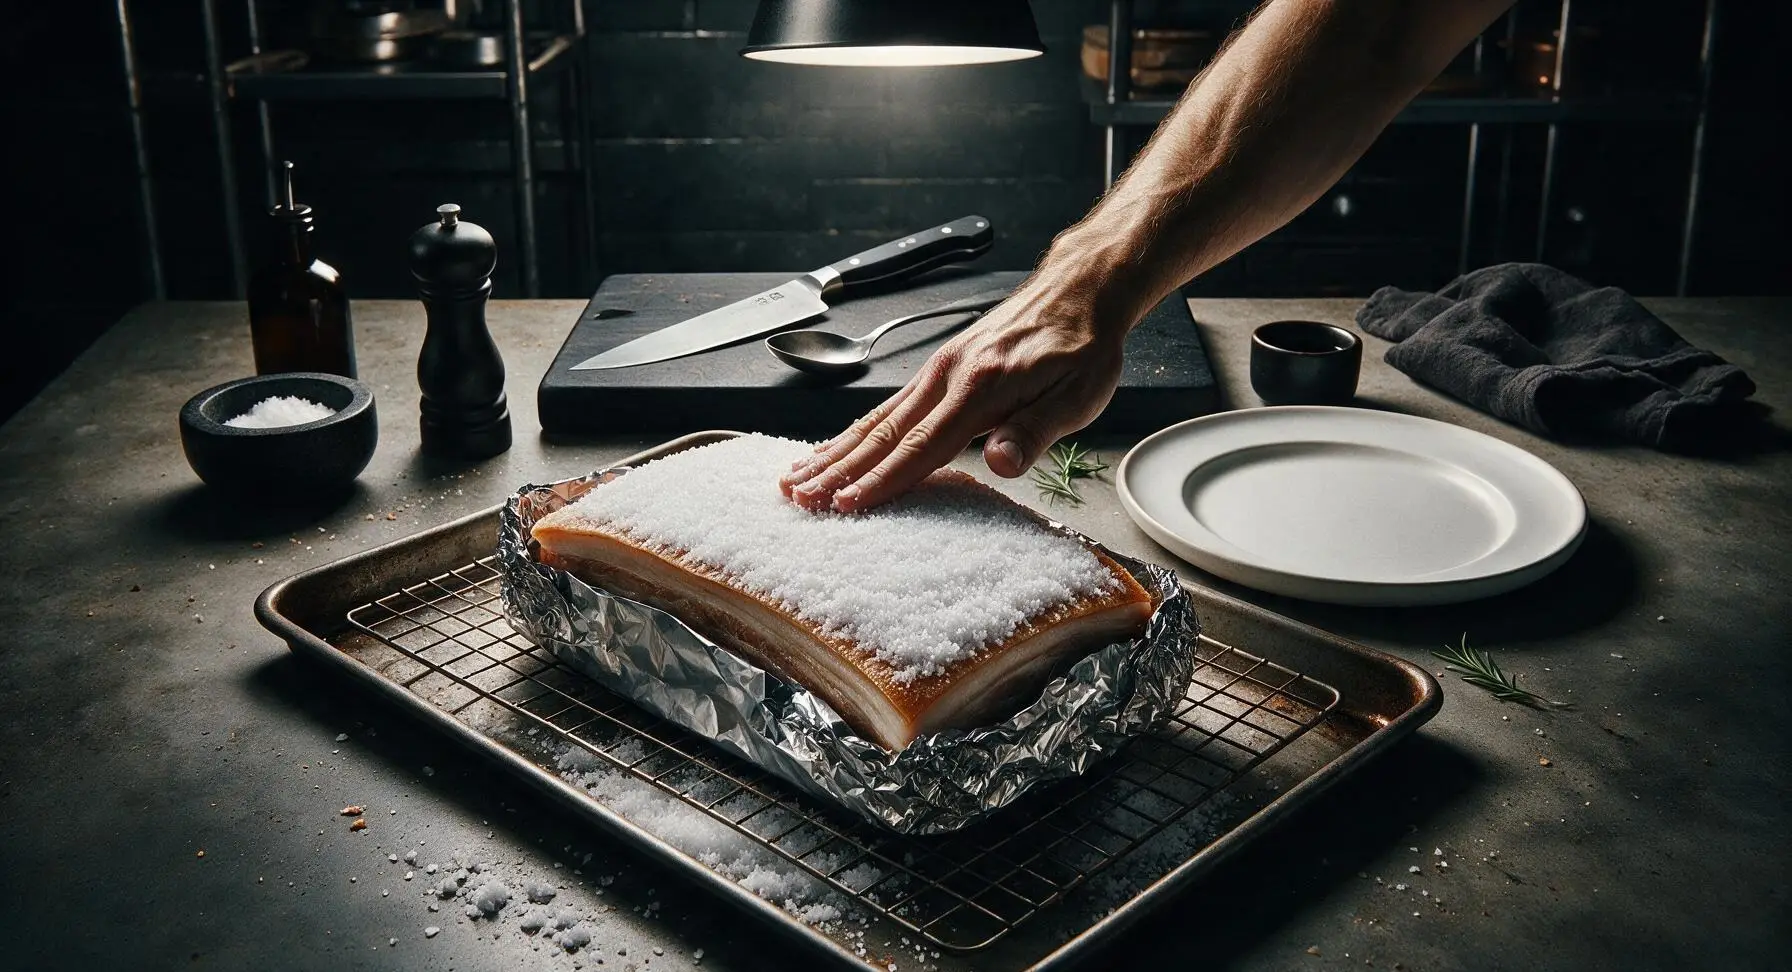
Preheat oven to 180°C (350°F). Remove the fully dried pork from the fridge, and wrap the meat sides and bottom of the slab tightly with aluminum foil, leaving only the dry skin surface exposed. Pile 1.5 cups of kosher salt across the exposed skin, pressing gently to form a solid, even 1cm thick salt crust that covers every bit of skin with no gaps.
Roast to cook meat
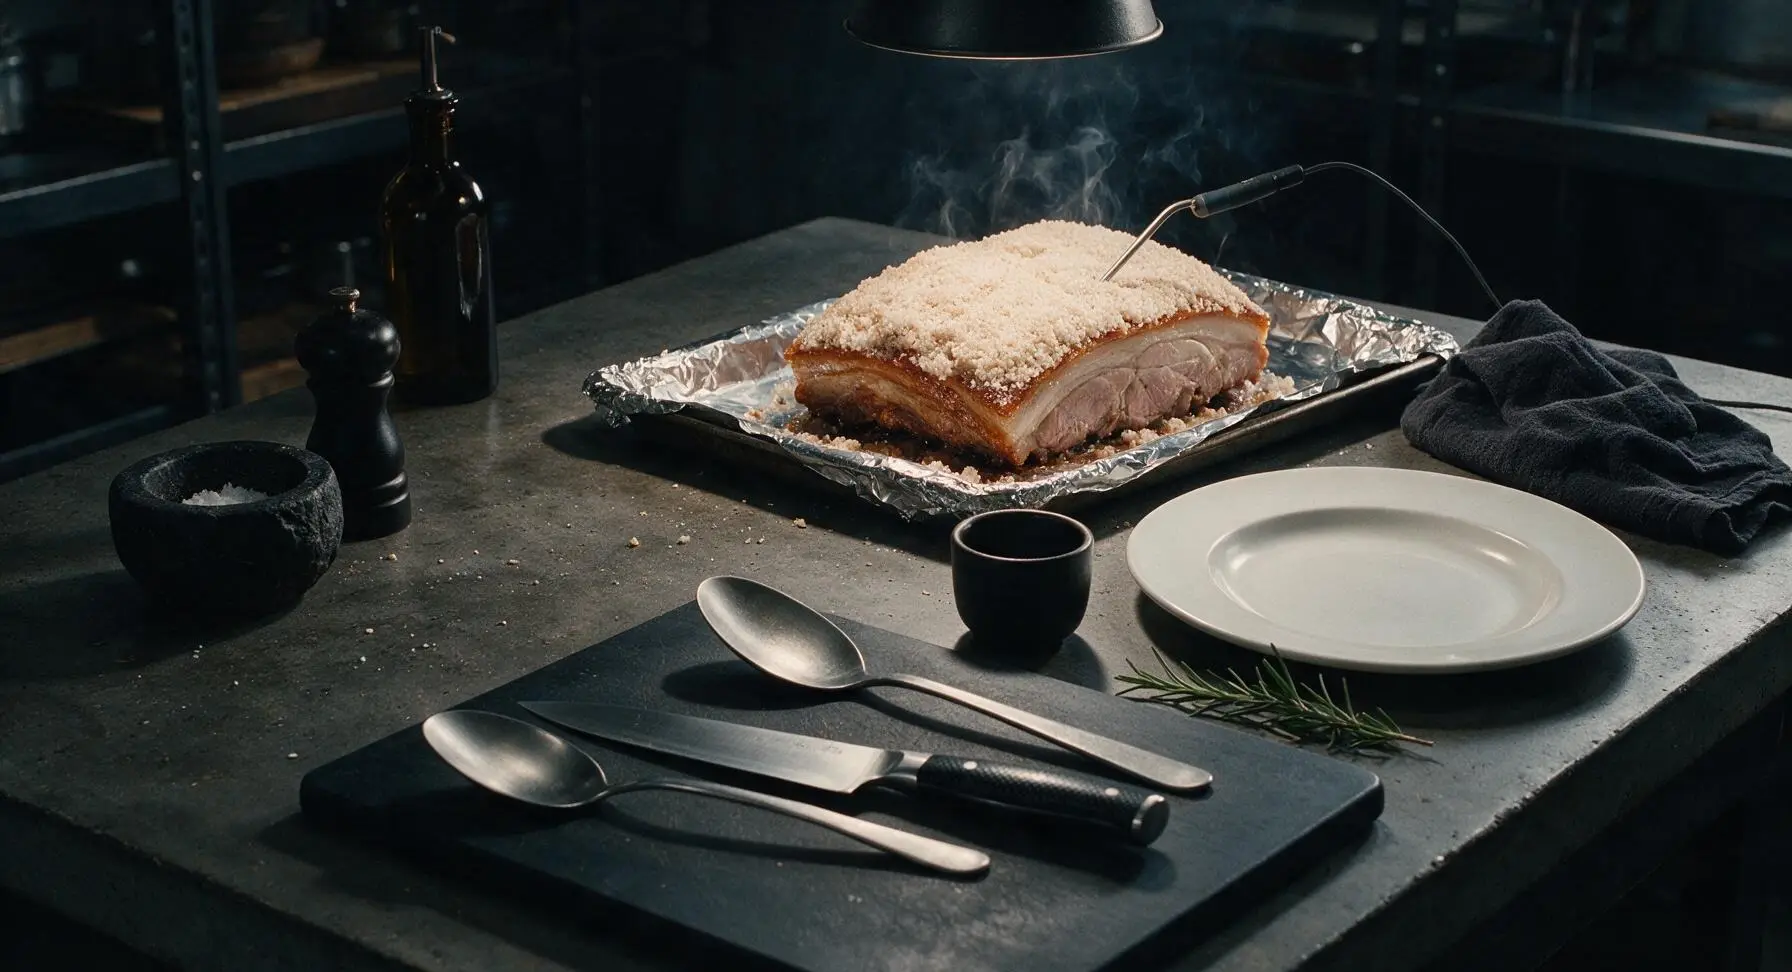
Place the baking sheet with the salt-crusted pork on the middle oven rack, and roast for 50 minutes at 180°C (350°F). The salt crust will harden and turn pale beige as the pork cooks, and the meat will reach an internal temperature of 71°C (160°F) when checked with the digital instant-read probe.
Blast to crisp skin
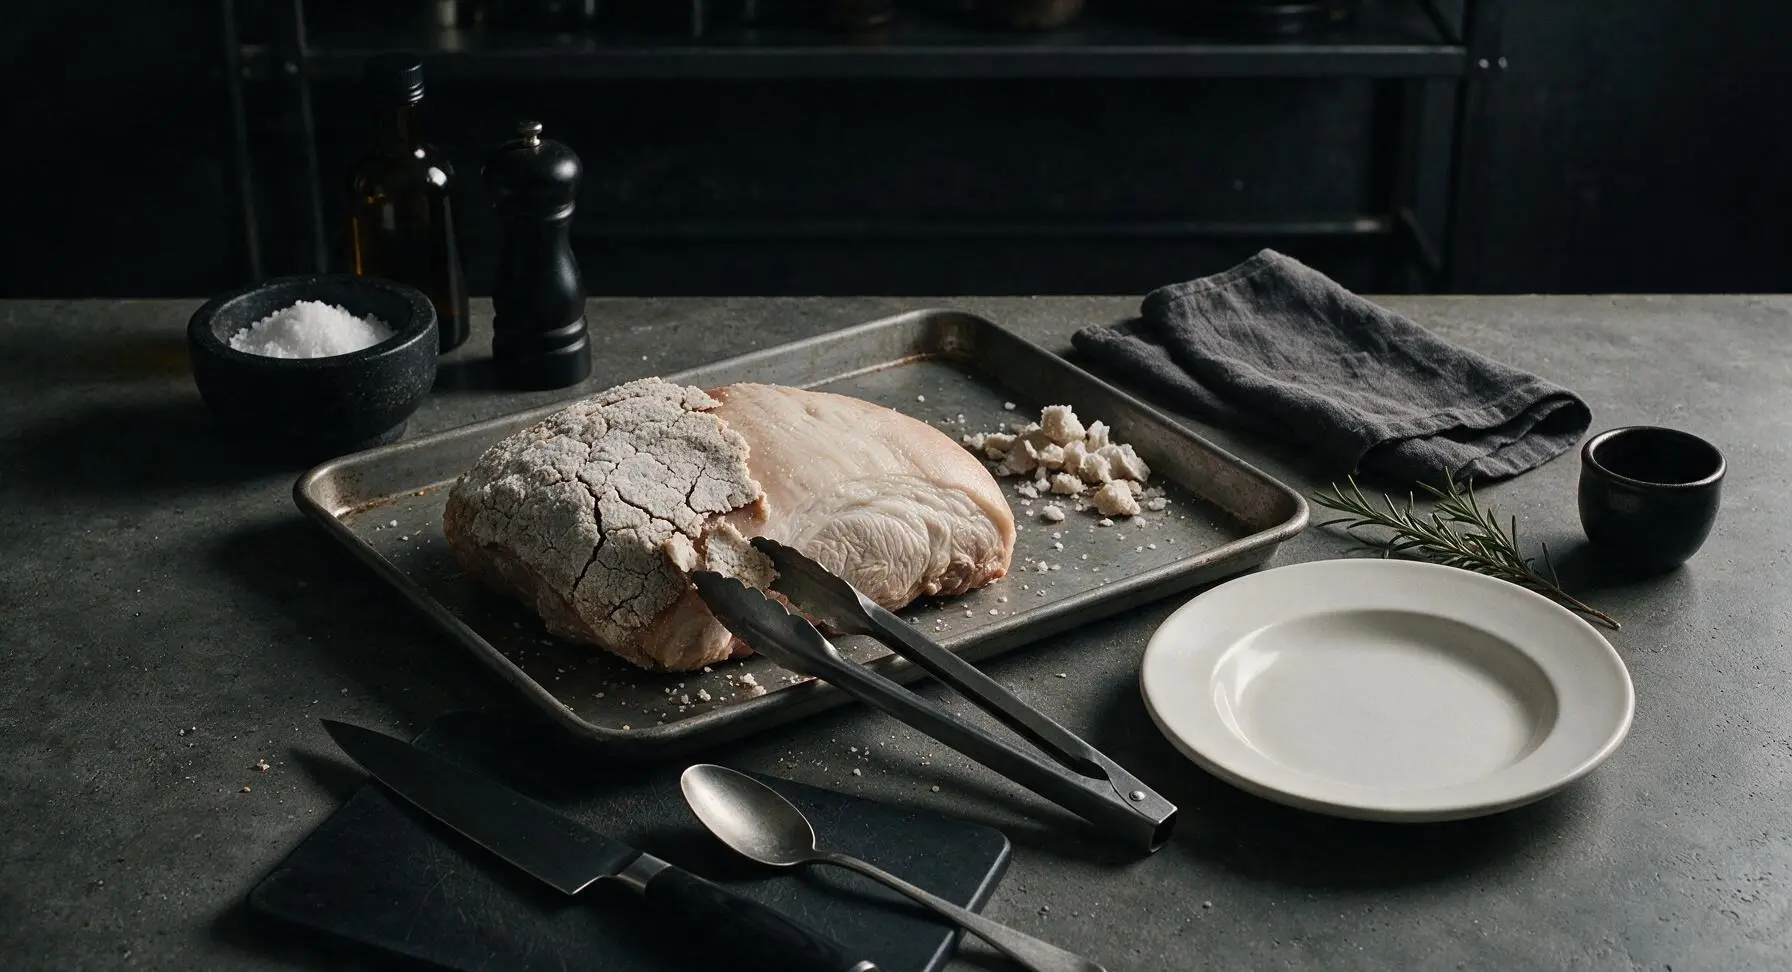
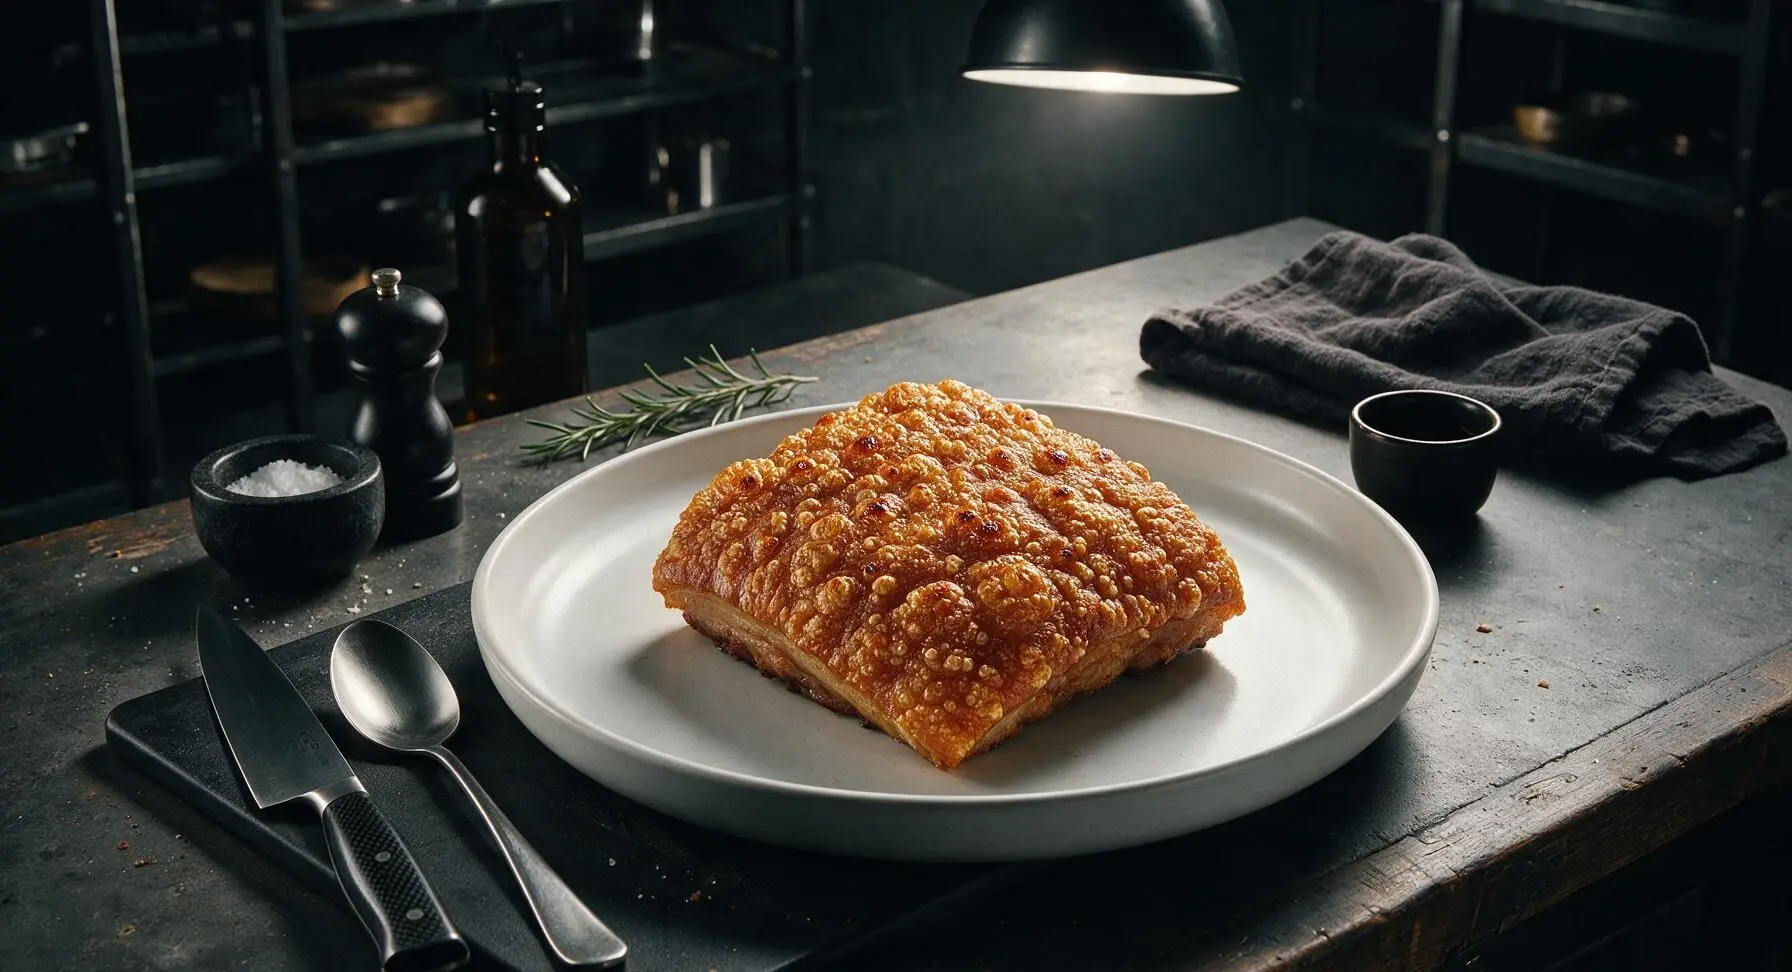
Use the stainless steel tongs to carefully crack and peel off the hardened salt crust from the pork skin, brushing away any remaining loose salt granules. Increase oven temperature to 240°C (465°F), return the unwrapped pork (still on the wire rack) to the oven, and roast for 15-20 minutes. Watch closely as the skin puffs, bubbles, and turns a deep golden crackling all over, rotating the tray once halfway for even browning, and removing immediately if any spots start to char.
Rest, chop, and serve
Remove the crisped roast pork from the oven, transfer it back to the acacia wood cutting board, and rest for 10 minutes skin-side up. Do not cover the pork while resting, as condensation will soften the crackling. Use the chef knife to chop the pork into 4cm wide chunks, then arrange on the matte white serving platter. Serve hot, with plum sauce in the small white ramekins for dipping.
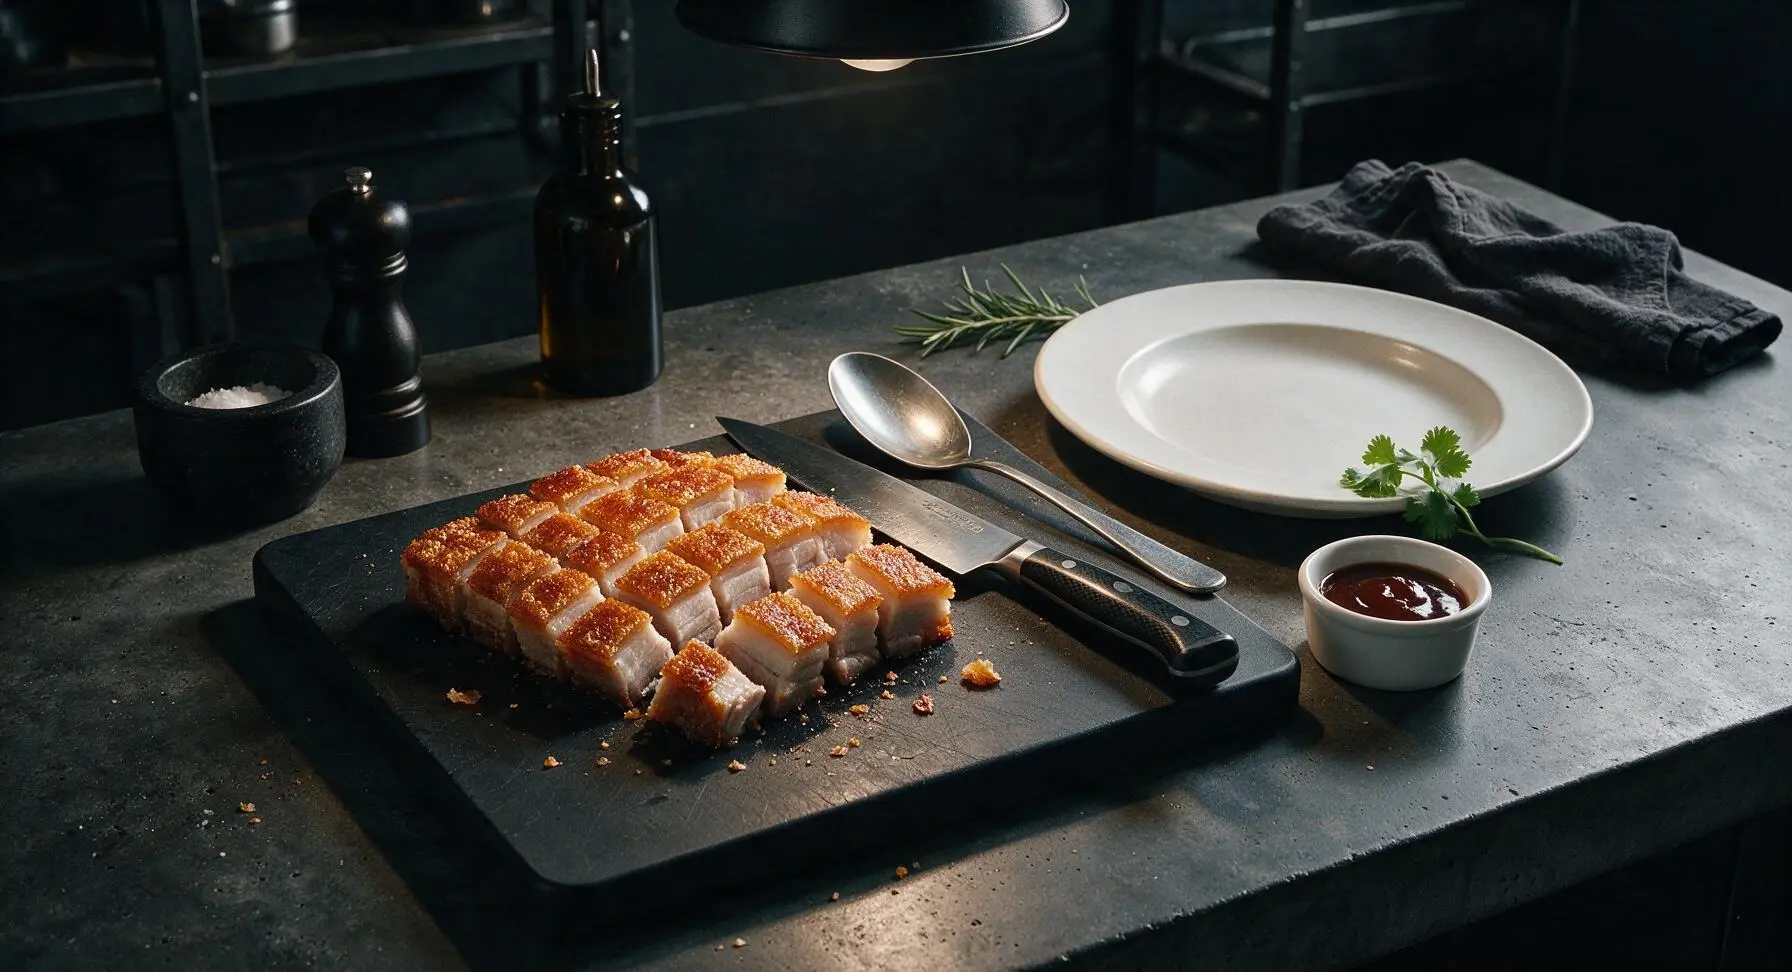
Tips
2.Do not skip the long skin drying step: any remaining surface moisture on the skin will cause it to steam instead of crisp, leading to rubbery skin rather than light, airy, bubbly crackling. For restaurant-quality results, leave the pork uncovered in the fridge overnight for fully papery dry skin.
3.Always rest and serve the pork uncovered: trapping the pork under foil, a lid, or even a paper towel will create condensation that softens crispy crackling within minutes. Chop the pork immediately before serving to preserve crunch for as long as possible.






OMG this recipe is an absolute game changer! I've been scared to try making siu yuk at home for years because I thought that perfect crispy skin was only something restaurants could pull off, but following every step here gave me that shatteringly crisp, crackly crust I crave from our local dim sum spot. Served it for our extended family Sunday dinner and everyone went back for seconds, even my super picky 7-year-old who turns her nose up at most pork dishes. SO good, already planning to make a double batch for our neighborhood potluck next month!
Took me a minute to track down the five spice powder at my regular grocery store, but it was so worth the trip. Cook time was spot on, the meat was juicy and flavorful, my only tiny note is that the skin didn't crisp up quite as evenly as I wanted on the edges, but the middle was perfect. Still a 4 star recipe for sure, will adjust my oven rack position next time!
Made this for meal prep this week and it reheats so much better than I expected! I crisp the skin up for 2 minutes in the air fryer when I'm ready to eat and it tastes just as good as the day I made it. Served with rice and steamed bok choy for easy weeknight lunches, 10/10.
Made this for my partner's birthday dinner since he's been obsessed with siu yuk ever since our trip to San Francisco last year. He said it tasted exactly like the stuff we got at that tiny Chinatown spot we waited 2 hours in line for! I was worried I'd mess up the salt crust step but it peeled right off perfectly after roasting. Obsessed.
Brought this to my office potluck yesterday and it was the first dish completely gone! People were asking me for the recipe before I even set the platter down. Only thing is I accidentally used kosher salt instead of coarse sea salt for the skin rub, and it was a little saltier than I would've liked, but no one else seemed to mind at all.
SO. CRISPY. I can't stop eating the skin straight off the roast before I even get to slice it properly. My roommate thinks I'm insane but he's also stealing pieces so he can't talk. 5 stars no notes.
I've tried 3 different siu yuk recipes in the last 6 months and this one is by far the easiest to follow and has the best flavor. The five spice and Shaoxing wine marinade is perfectly balanced, not too overpowering like other recipes I've tried that dump way too much five spice in. Definitely my go-to from now on.
I'm a total beginner cook and I was so nervous to try this since it says medium difficulty, but the step-by-step instructions were so clear I actually pulled it off! My roommates were shocked I made something that tasted like takeout, they thought I ordered it in until I showed them the dirty roasting pan. Only thing is I burned the very bottom of the meat a little because my oven runs hot, oops.
Served this with some hoisin dipping sauce and steamed buns for make-your-own bao night with my friends and it was chef's kiss. Everyone got to stack their own buns with pork, pickled veggies, and cilantro, it was such a fun interactive dinner. The pork was the star of the show for sure!
My dad is from Guangzhou and he's super picky about siu yuk, he says most restaurant versions here don't taste like the ones he grew up eating. I made this for our family dinner last night and he said it was legit, even asked me to send him the recipe. Highest possible praise if you ask me!
I made this gluten free by swapping the regular soy sauce for tamari and it worked perfectly! The skin was crispy, the meat was juicy, I didn't notice any difference in flavor at all. So glad I can enjoy one of my favorite takeout dishes at home without worrying about gluten.
Tried making this on my pellet grill instead of in the oven because I love cooking outside, and it turned out way better than I expected! I upped the temp a little at the end to get the skin to puff up right, and it had that perfect smoky note that paired so well with the five spice marinade. 10/10 will be making this on the grill from now on.
I made this last night and I swear I heard an actual crunch when I bit into the skin. I felt like I was in a food ASMR video. So worth every minute of prep, no regrets even though I had to clean pork fat splatters off my oven walls.
Total brain fart moment when I forgot to prick the skin before roasting, I realized 10 minutes into cook time, pulled it out, pricked it like crazy, and tossed it back in. Shockingly the skin still got crispy! Don't be like me and forget that step, but if you do, all hope is not lost apparently.
Made this for our Lunar New Year dinner last week and my in-laws were so impressed! They usually bring store-bought siu yuk to every family gathering but they said my homemade version was better. I will absolutely be bragging about that for the next year. The only heads up is that you definitely want to line your roasting pan with foil or you'll be scrubbing burnt fat for days, trust me.
Great high protein meal prep option! I portion it out with jasmine rice and broccoli for 4 days of lunches, and it keeps me full all afternoon. The fat from the pork belly makes it way more satisfying than boring old chicken breast, I don't know why I didn't think to add this to my rotation sooner.
My three boys are going through a massive growth spurt right now and they ate almost the entire roast in one sitting! I cut the five spice a tiny bit because my youngest doesn't love strong spices, and it was still super flavorful. Served with some fried rice and it was the easiest Sunday dinner I've made in months.
Just pulled this out of the oven and it looks incredible! Quick question though: when you peel the salt crust off, do you have to wipe any remaining salt off the skin before you do the final high heat roast? I brushed most of it off but there are a few little salt granules left, and I don't want the skin to be too salty once it crisps up.