
Chive Scrambled Eggs

title 1
Chive Scrambled Eggs
⏱️ cook time 3 minutes
🍽️ servings 2
⚡ Difficulty easy

intro

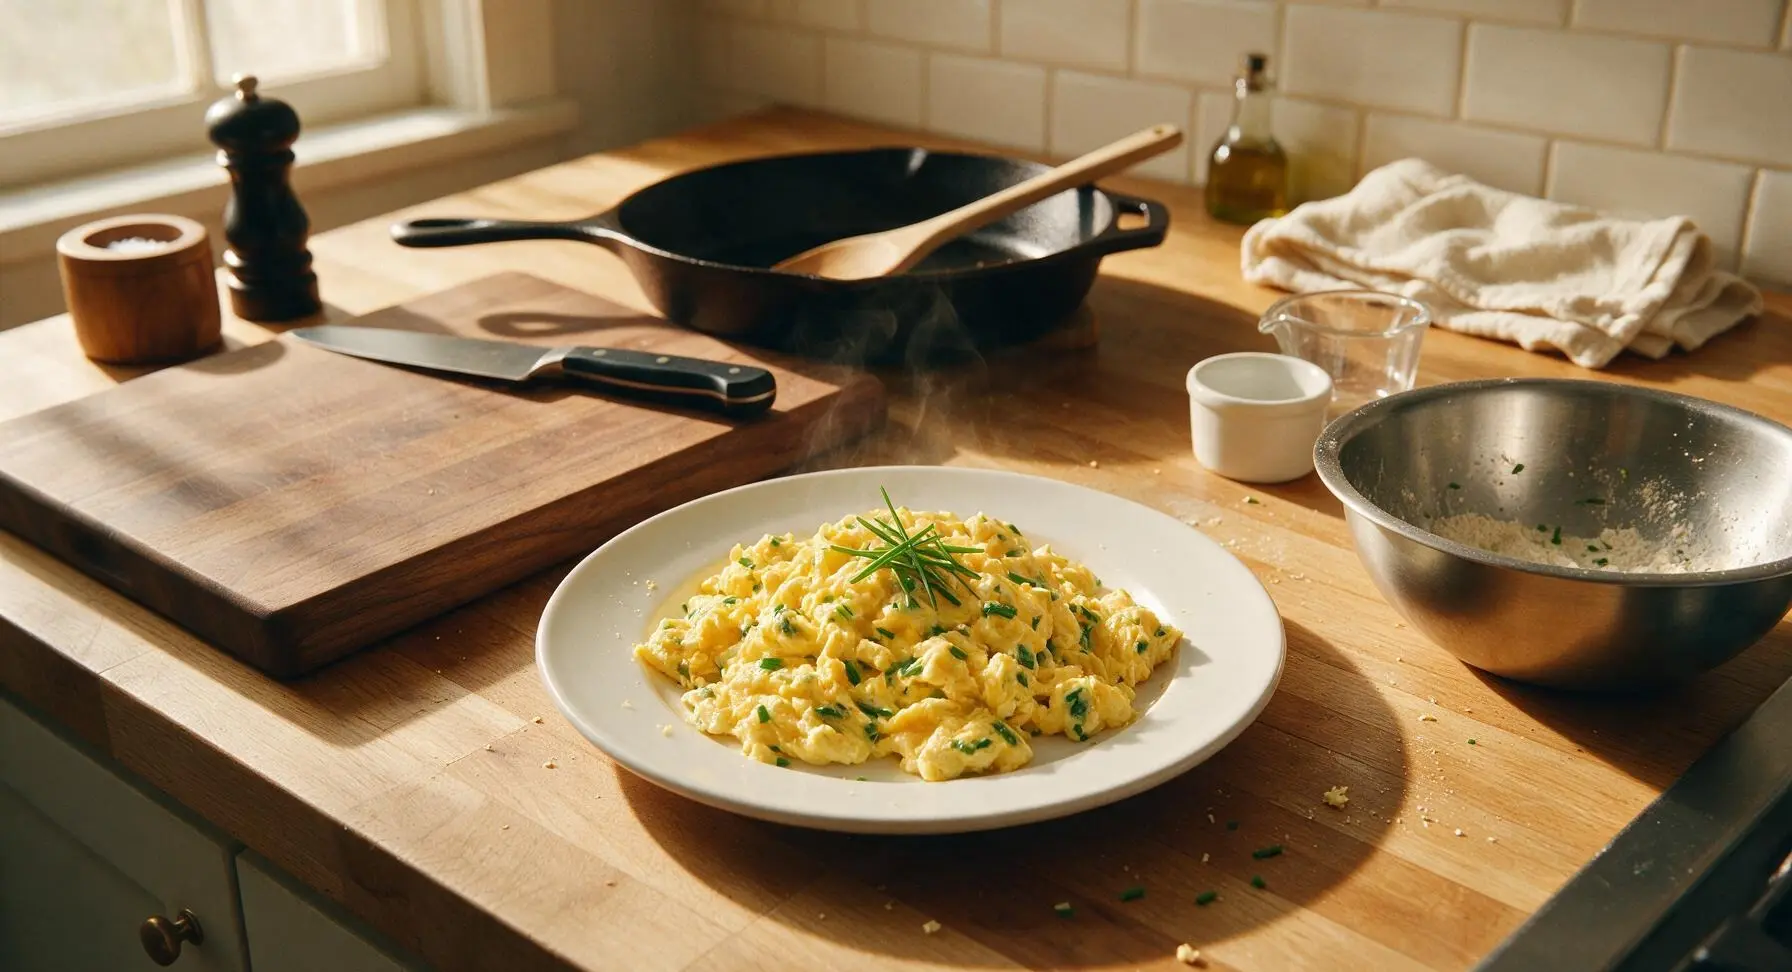
Tender, buttery soft scrambled eggs tossed with bright, grassy spring chives—this 8-minute Chinese home-style dish is light, flavorful, and perfect for fast, satisfying weeknight meals.

Ingredients
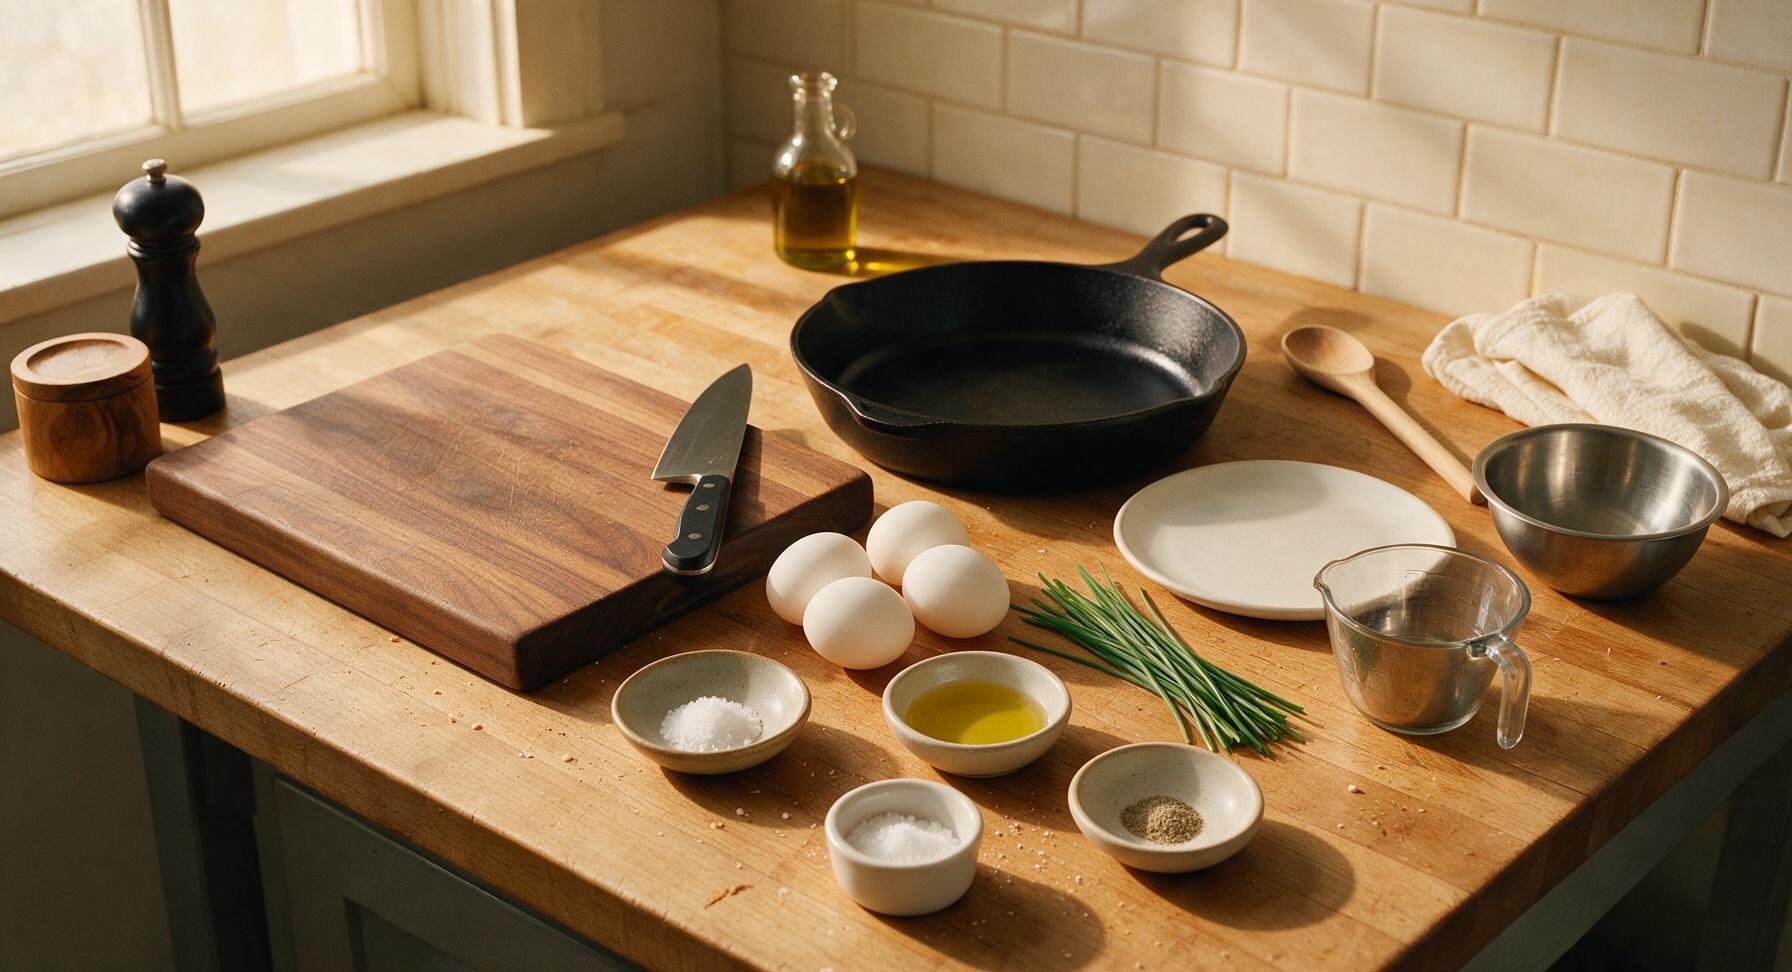
Large eggs 4 large
Fresh chives 50g (1 small bunch)
Neutral canola oil 1 tablespoon
Kosher salt 1/2 teaspoon
Ground white pepper 1/4 teaspoon

Steps

1

Wash and chop chives

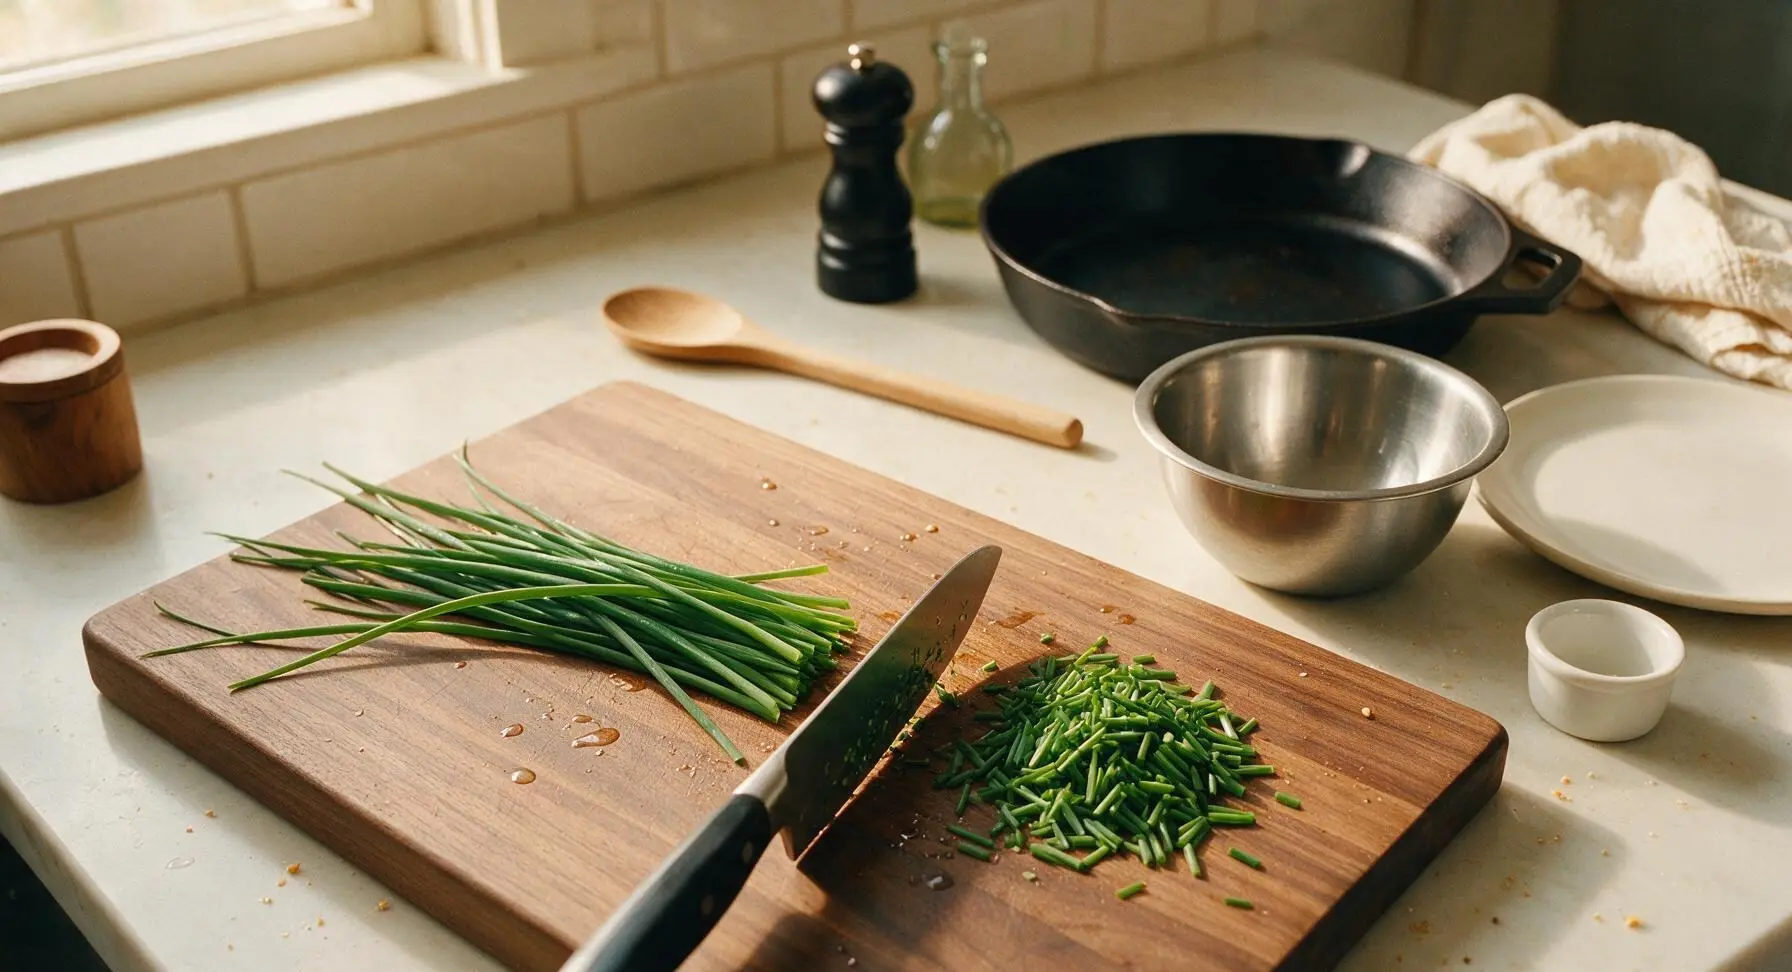
Rinse the 50g bunch of chives under cool running water, shake off excess moisture, and pat dry gently with the corner of the linen towel. Lay the chives on the beech wood cutting board, and use the Santoku knife to chop them into 1cm (1/2 inch) even segments, discarding any tough, woody root ends. Transfer the chopped chives to a neat small pile on the edge of the cutting board.
Step 1
step1:Wash and chop chives
2

Crack and season eggs

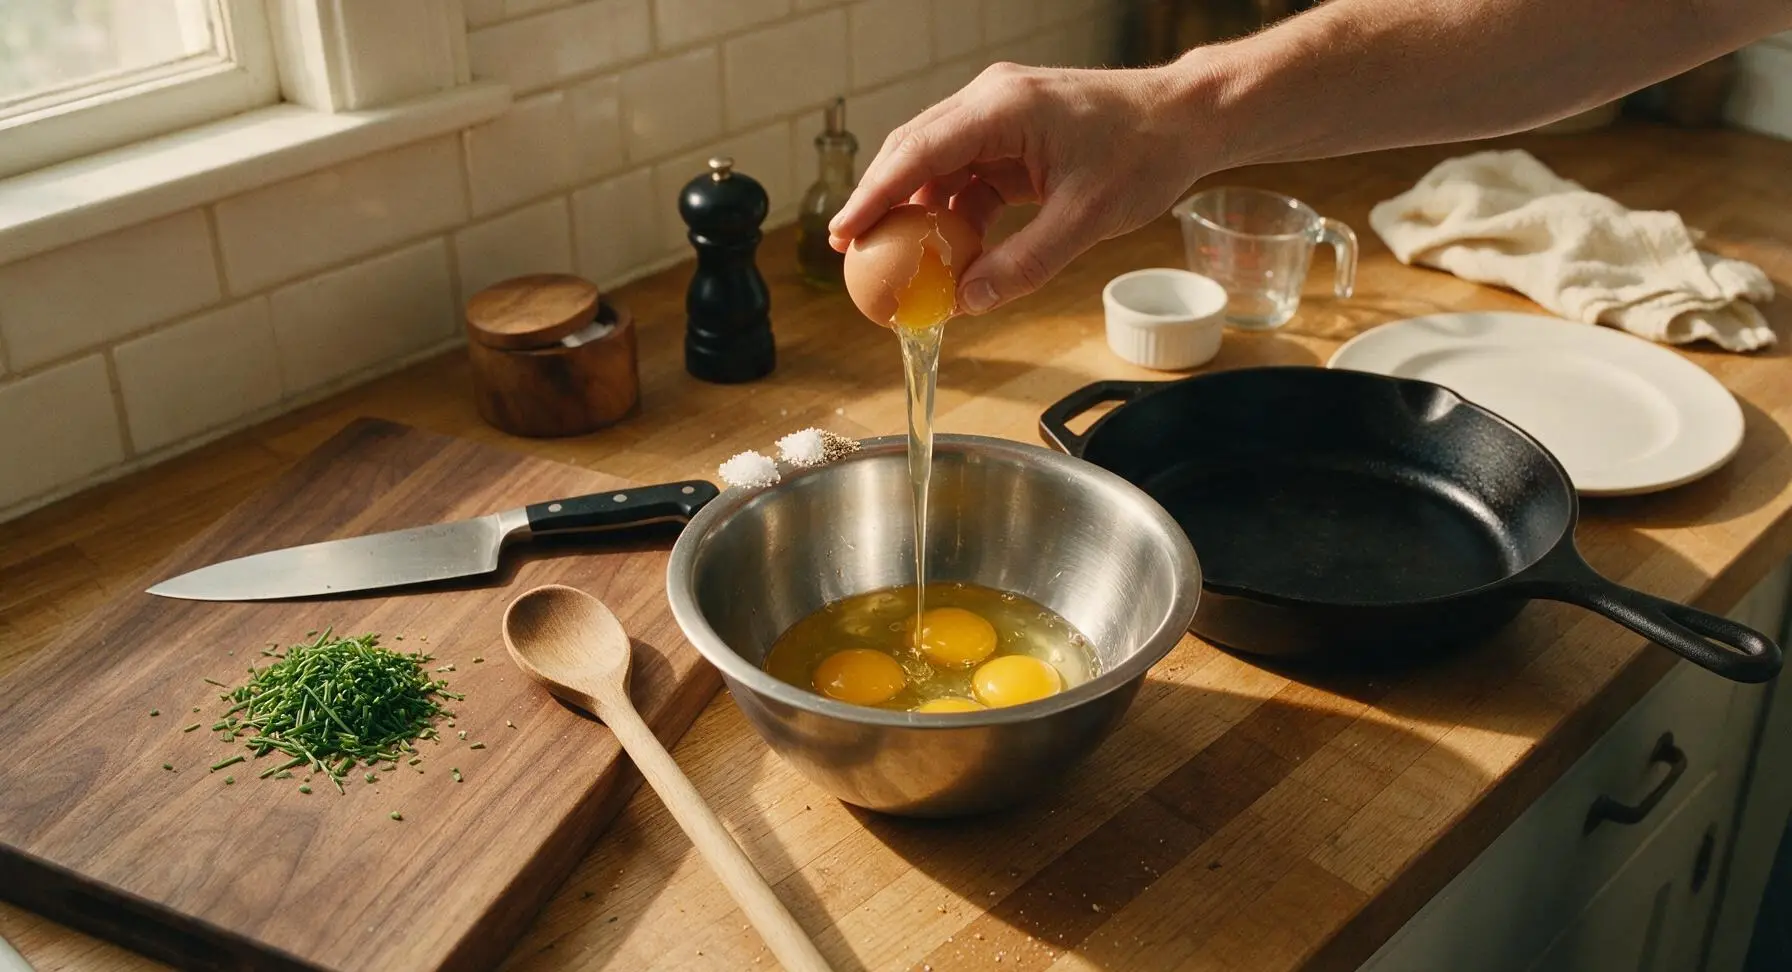
Crack all 4 large eggs into the medium stainless steel mixing bowl. Add 1/2 teaspoon kosher salt and 1/4 teaspoon ground white pepper to the eggs. Do not add milk or water, as this will make the eggs tough and dilute the delicate chive flavor.
Step 2
step2:Crack and season eggs
3

Beat eggs until smooth

Use the bamboo chopsticks to beat the eggs and seasonings together for 30-45 seconds, until the yolks and whites are fully combined with no streaks of clear white remaining, and a thin layer of small bubbles forms on the surface of the egg mixture. Stir half of the chopped chives into the beaten eggs, reserving the other half on the cutting board for finishing.
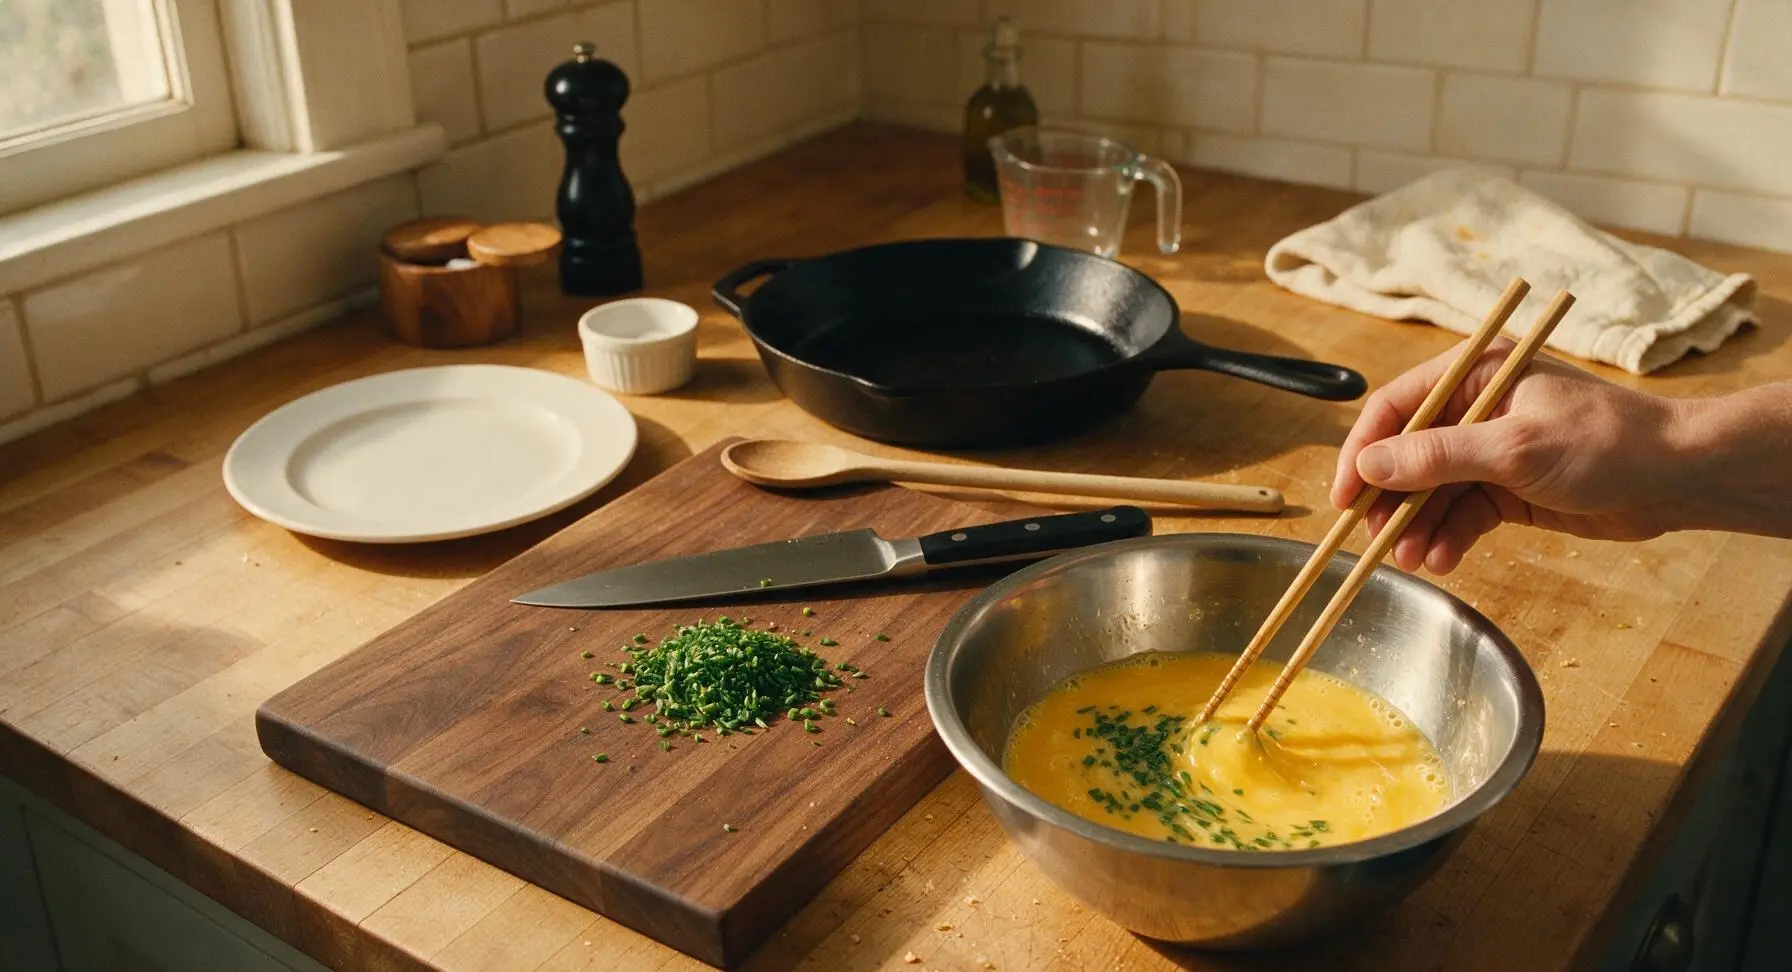
Step 3
step3:Beat eggs until smooth
4

Heat oil in wok

Place the 10-inch carbon steel wok on the central induction cooktop, turn heat to medium-high, and add 1 tablespoon of neutral canola oil from the glass bottle. Heat the oil for 45 seconds, until it shimmers slightly but is not smoking (oil temperature ~160C/320F). Swirl the wok to coat the bottom and lower sides evenly with oil.
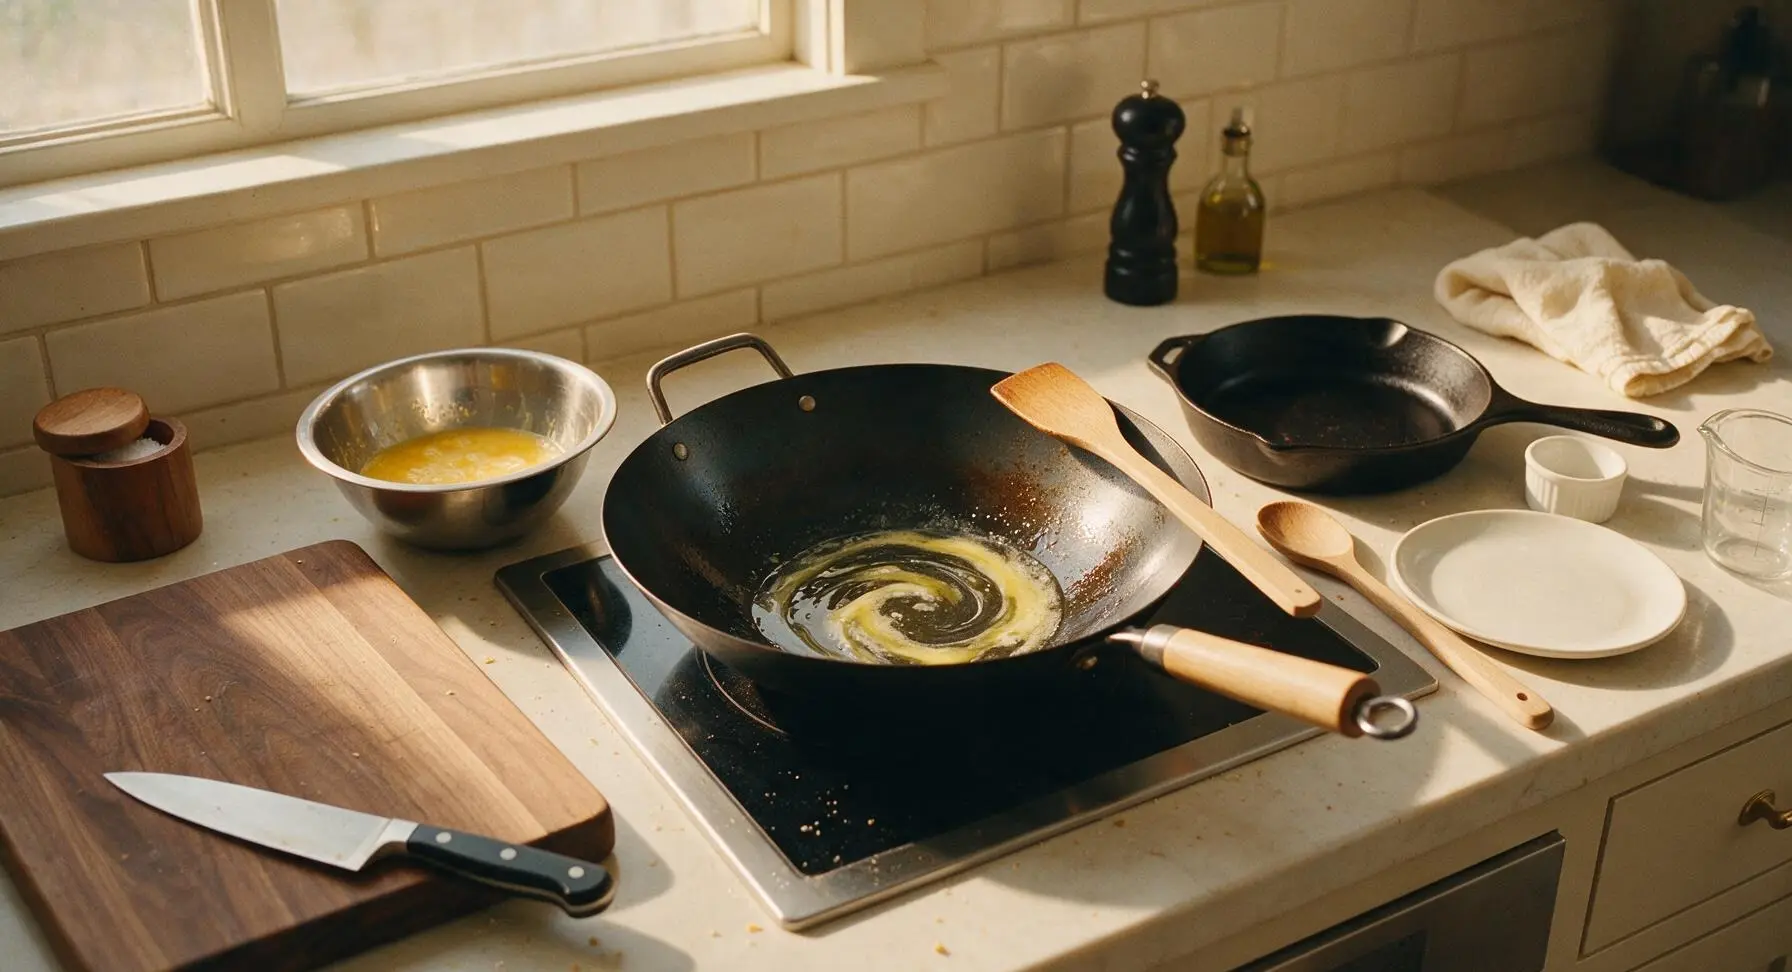
Step 4
step4:Heat oil in wok
5

Pour in egg mixture

Pour the beaten egg and chive mixture into the hot wok in one steady pour. Let the eggs sit undisturbed for 10 seconds, until the edges touching the wok start to set into pale golden, slightly puffed curds.
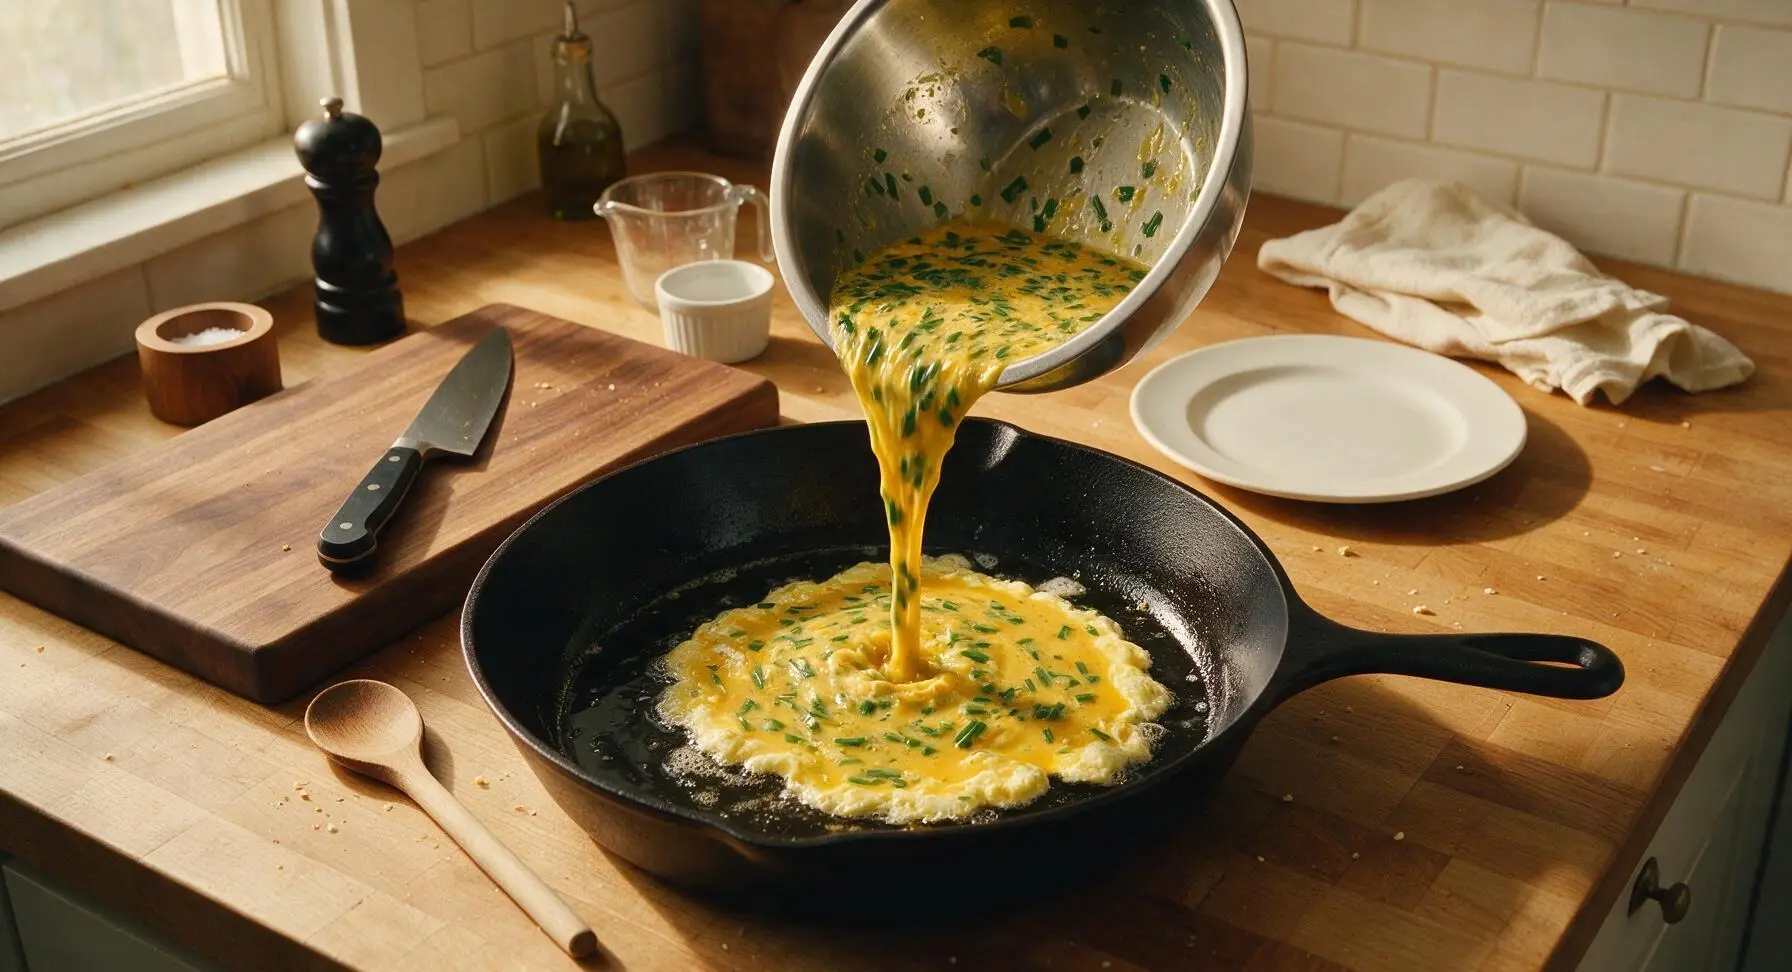
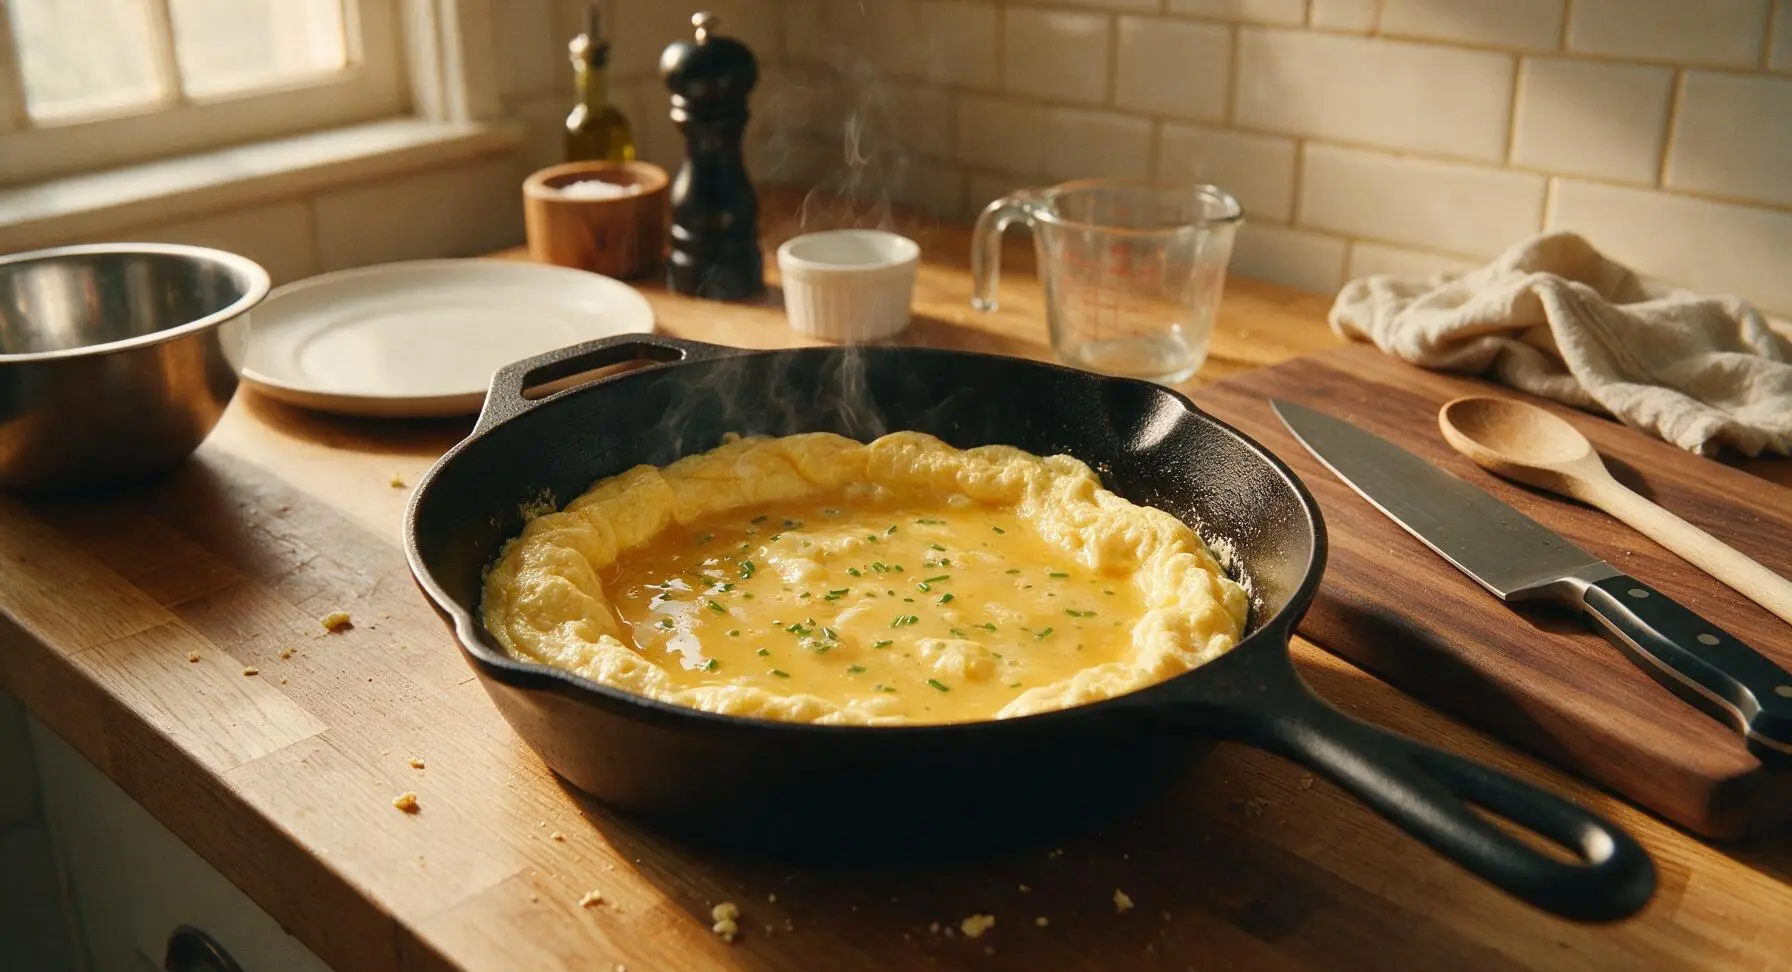
Step 5
step5:Pour in egg mixture
Step 5
step5:Pour in egg mixture
6

Scramble to soft curds

Use the slotted beech wood spatula to gently push the set egg edges from the sides of the wok toward the center, tilting the wok to let uncooked egg flow into the empty hot spaces. Continue this gentle pushing motion for 45-60 seconds, until the eggs form soft, large, moist curds, and are just set but still slightly runny in the center—do not stir rapidly or break curds into small pieces.
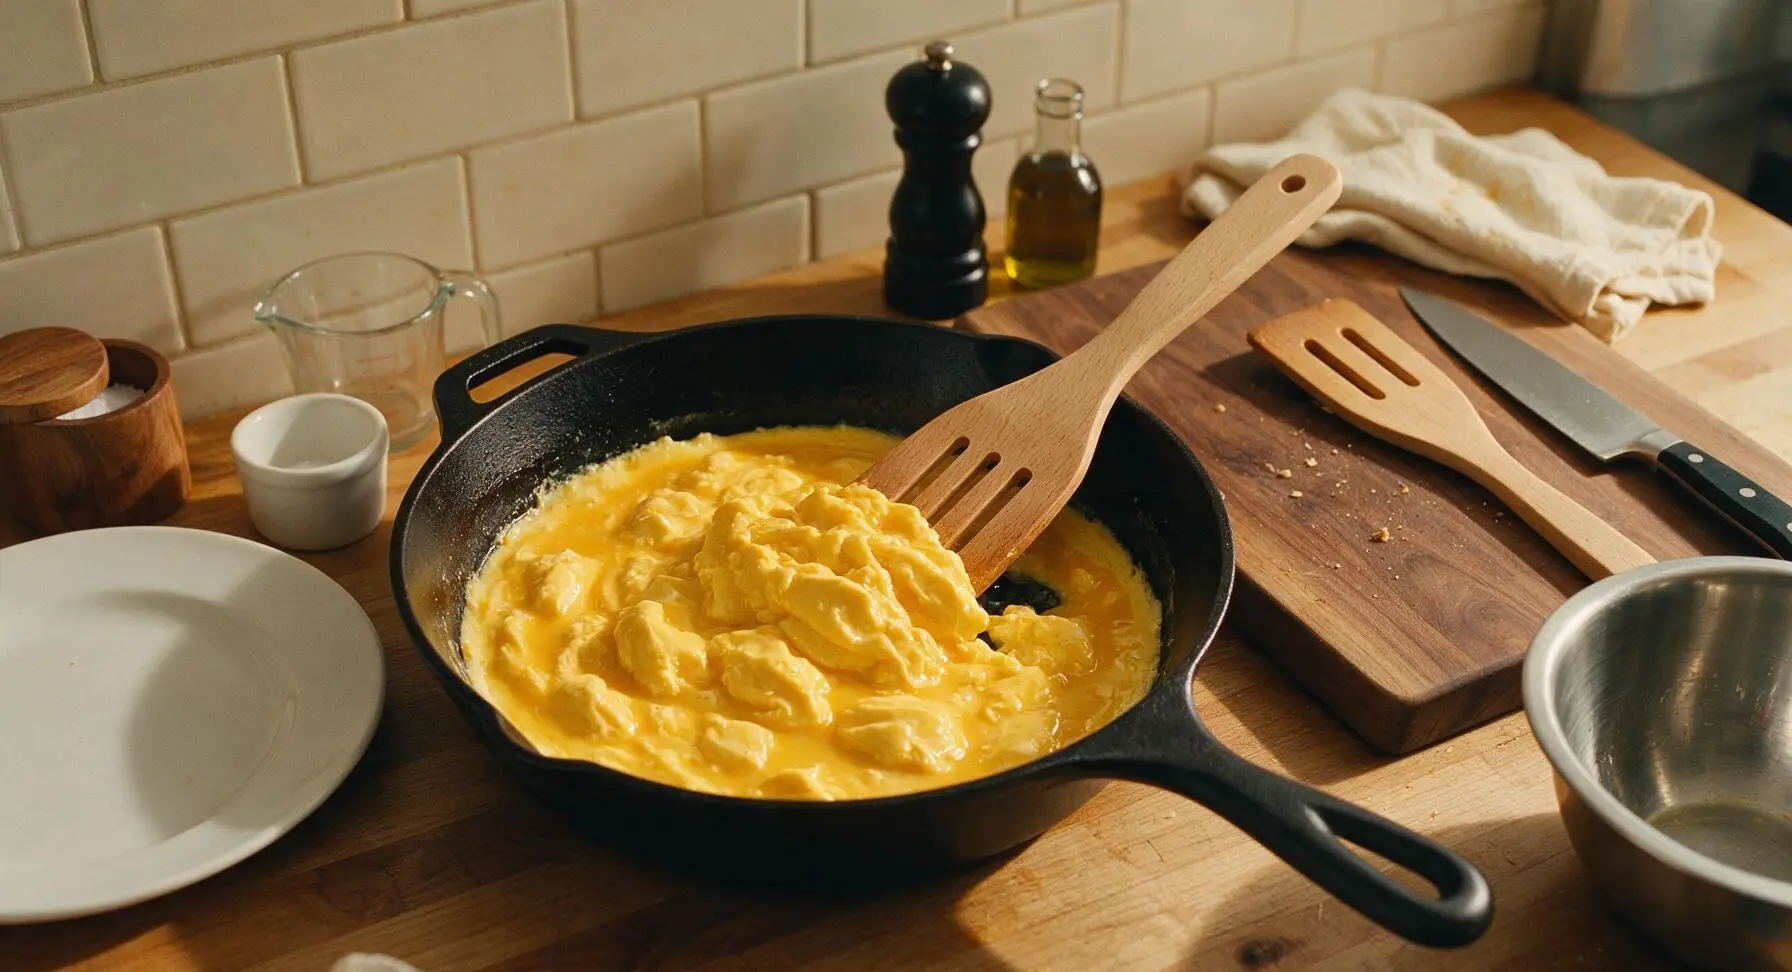
Step 6
step6:Scramble to soft curds
7

Toss with remaining chives

Add the reserved half of the chopped chives from the cutting board to the wok, and toss gently with the spatula for 10 seconds, just until the chives wilt slightly and release their fresh, grassy aroma. Turn off the heat immediately to avoid overcooking the chives or making the eggs rubbery.
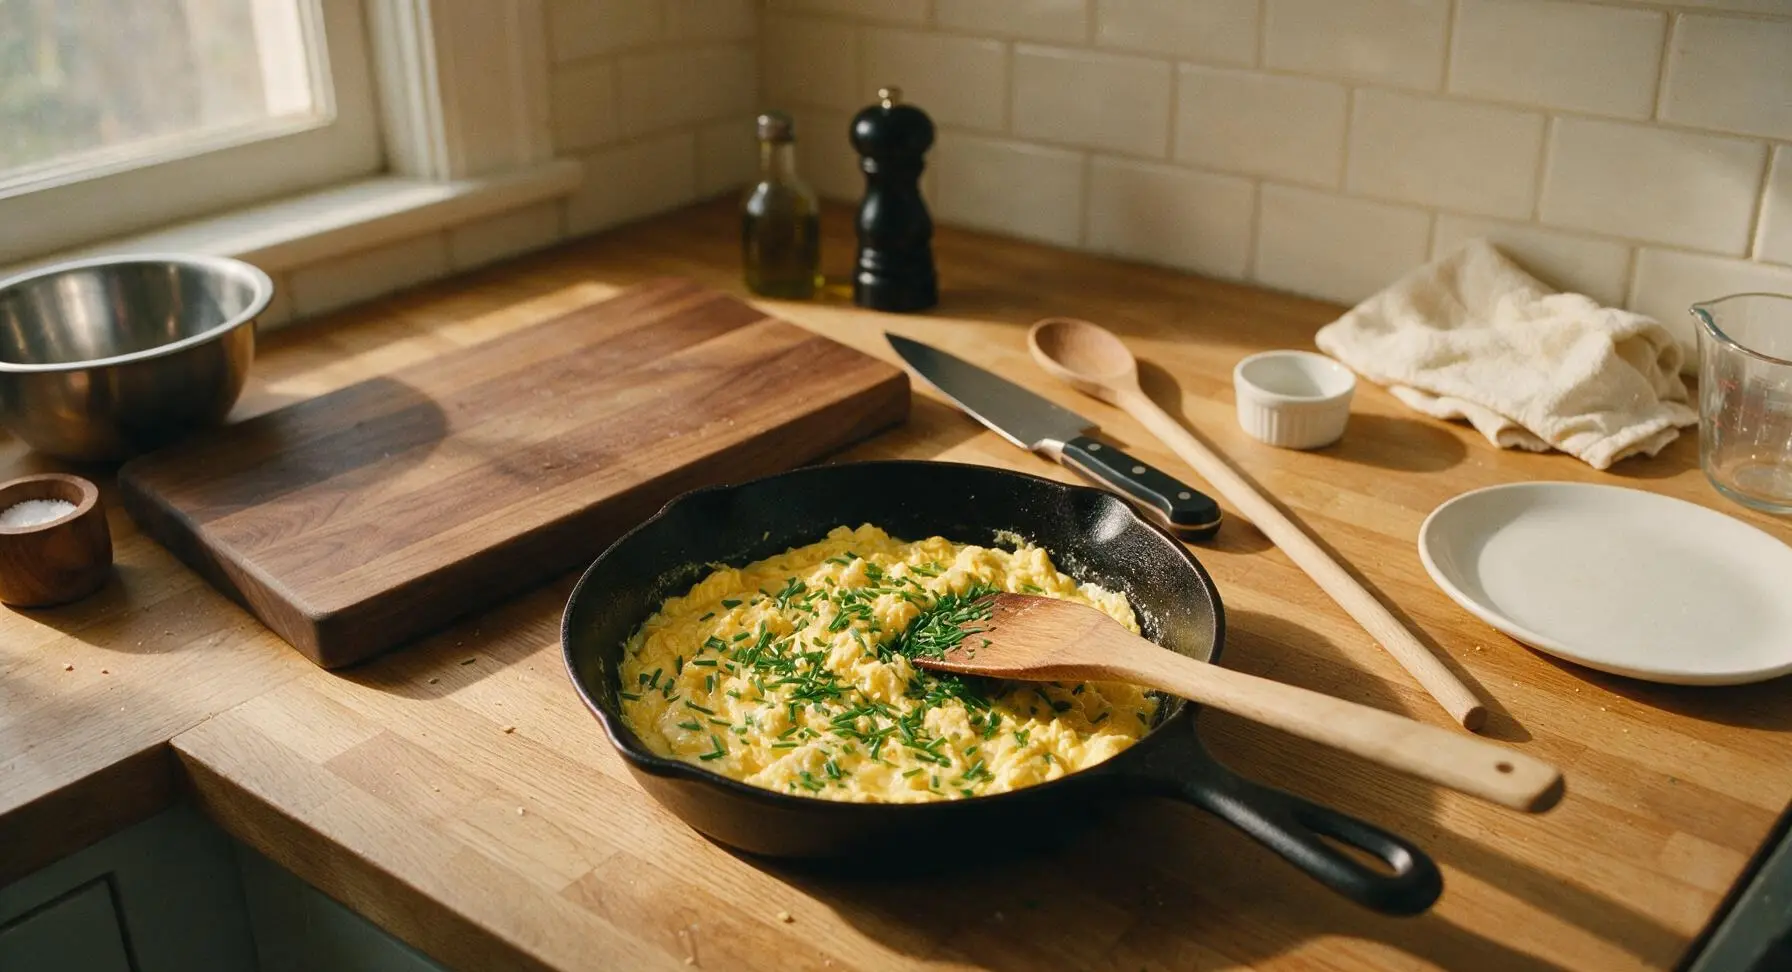
Step 7
step7:Toss with remaining chives
8

Plate and serve immediately

Slide the finished chive scrambled eggs from the wok directly onto the matte off-white ceramic dinner plate, mounding them gently in the center. Do not press the eggs down, as this will squeeze out moisture and make them dense. Serve immediately while hot, as eggs lose their soft texture quickly as they cool.
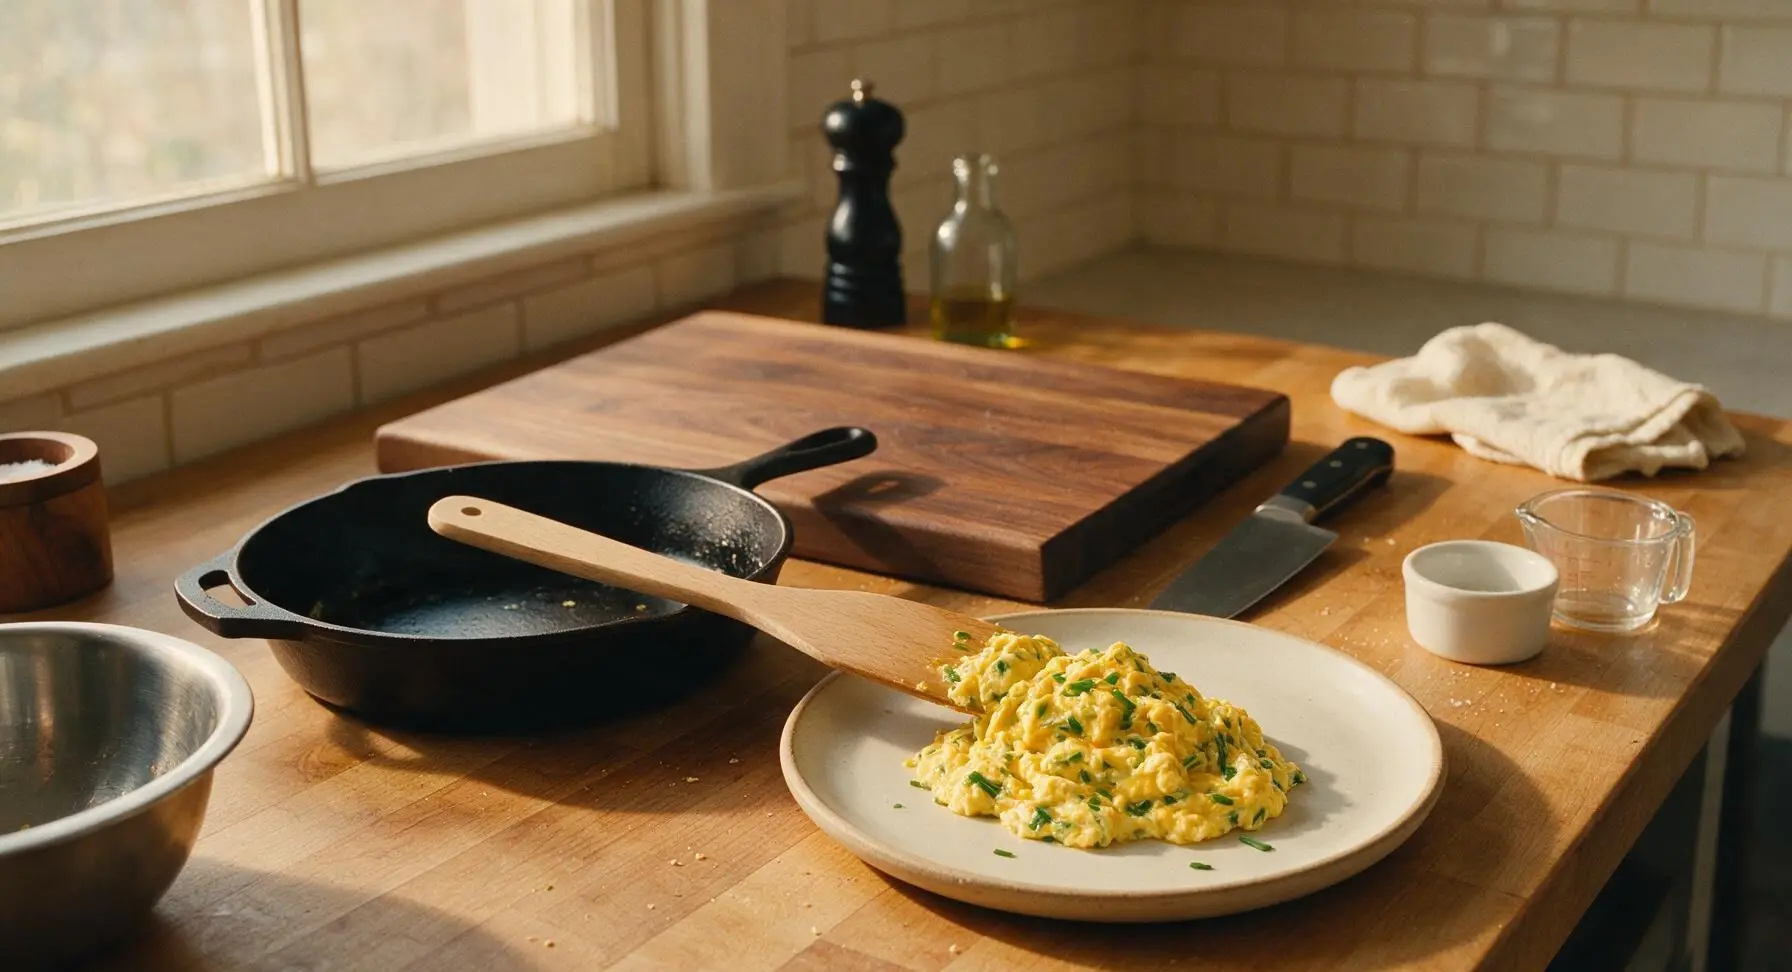
Step 8
step8:Plate and serve immediately

Tips

1.Skip adding milk, cream, or water to the egg mixture. Added liquid dilutes the rich egg flavor and creates watery, rubbery curds as the liquid evaporates during cooking, rather than the tender, moist curds that define this dish.
2.Reserve half the chives to add at the end of cooking. Adding all chives at the start overcooks them, turning them dull olive green and mushy, while finishing with fresh chives preserves their bright color and sharp, grassy aroma.
3.Turn off the heat when the eggs are slightly undercooked in the center. Residual heat from the hot wok and eggs will continue to cook the curds for 30-60 seconds after plating, preventing dry, crumbly eggs with browned, crispy edges.


✨ You May Also Like

Main Course
🍜 United Kingdom

A showstopping classic of tender seared beef, savory mushroom duxelles, and crisp prosciutto wrapped in flaky golden puff pastry, baked to juicy perfection.

⏱️ 2 hours 1Main Course ★ 4.7
Main Course
🍜 India

Tender charred marinated chicken simmered in a rich, spiced creamy tomato sauce, this iconic Anglo-Indian curry pairs perfectly with basmati rice or warm naan.

⏱️ 50 minuteMain Course ★ 4.6
Main Course
🍜 Thailand

Classic tangy, sweet, and savory Thai stir-fried rice noodles with shrimp, tofu, and crunchy garnishes, balancing all five core Thai flavor profiles.

⏱️ 30 minuteMain Course ★ 4.5
Main Course
🍜 United Kingdom

Crispy golden beer-battered cod and fluffy double-fried chips, served with tangy tartar sauce and malt vinegar: the timeless, beloved British pub comfort classic.

⏱️ 45 minuteMain Course ★ 4.7
Main Course
🍜 Mexico

Smoky, chile-marinated pork tacos with caramelized pineapple, fresh cilantro, and lime: a beloved classic Mexican street food perfect for casual summer gatherings.

⏱️ 1 hour 45Main Course ★ 4.8
Main Course
🍜 United States

Crunchy Fritos corn chips layered with savory beef chili and melted cheddar, topped with cool, zesty fixings for a beloved, cozy Tex-Mex comfort food.

⏱️ 35 minuteMain Course ★ 4.8

Chive Scrambled Eggs:Frequently Asked Questions

1.How do I keep my scrambled eggs tender instead of rubbery for this recipe? ▾
The key is to cook over medium-low, never high, heat, and pull the pan off the stove the second the eggs form soft, slightly wet curds—residual heat will finish cooking them in 30 seconds. Resist the urge to stir nonstop, as that breaks curds into tiny, tough bits, and never leave eggs unattended on the heat, since they overcook in seconds.
2.Can I use dried chives instead of fresh chives for this dish? ▾
Dried chives work in a pinch, but they won’t have the bright, grassy pop of fresh. If you use dried, swap 1 teaspoon of dried chives for every 1 tablespoon of fresh called for, and stir them in 1 minute before the eggs finish cooking to let them rehydrate slightly. Fresh chives are always preferred for that signature light, springy flavor, though.
3.Why does this recipe call for ground white pepper instead of black pepper? ▾
White pepper has a milder, earthier, less sharp heat than black pepper, and it won’t leave dark specks that distract from the pale yellow eggs and bright green chives. It’s a staple in Chinese home cooking for delicate egg dishes, since it doesn’t overpower the subtle, buttery, fresh flavors that make this recipe so satisfying.
4.How many servings does this recipe make, and what pairs well with it? ▾
This quick 8-minute recipe makes 2 generous main-dish servings paired with steamed white rice and quick pickled cucumbers, or 4 smaller side servings alongside congee, stir-fried bok choy, or buttered breakfast toast. It’s versatile enough for fast weeknight dinners, casual brunches, or even light meal prep lunches.
5.Do I need to add milk or cream to the eggs for extra softness? ▾
You actually don’t—dairy can dilute the rich, pure egg flavor and make curds watery if you add too much. For this Chinese home-style version, the soft texture comes from gentle, low-heat cooking and a small amount of oil, rather than added dairy, which keeps the flavor clean and bright to let the chives shine.
6.How should I prep chives to keep them from getting slimy when cooked? ▾
First, pat washed chives completely dry with a paper towel before chopping, since excess water will make them slimy and turn the eggs watery. Chop them into ¼-inch pieces, and toss them into the eggs during the last 30 seconds of cooking—they only need a quick toss to wilt slightly and release their flavor, no long cooking required.
7.Can I add other mix-ins without ruining the classic chive and egg flavor? ▾
Absolutely! Stick to mild, quick-cooking mix-ins to keep the dish light: a tiny handful of diced cooked shrimp, a sprinkle of toasted sesame seeds, a tablespoon of finely diced firm tofu, or a pinch of MSG for extra umami work great. Avoid heavy, wet mix-ins like raw tomatoes or thick cheese, which weigh down the soft egg curds.
8.What type of pan works best for perfectly cooked chive scrambled eggs? ▾
A well-seasoned 8-inch carbon steel or nonstick skillet works best, since it prevents delicate egg curds from sticking and lets you easily scrape the pan as soft curds form. Skip uncoated stainless steel if you’re a beginner, since eggs are prone to sticking there even with oil, leading to overcooked, uneven, crispy bits.
9.How long should I whisk the eggs before adding them to the pan? ▾
Whisk just until the yolks and whites are fully combined, with no streaks of clear white left—about 20 to 30 seconds of gentle whisking. Don’t over-whisk until the eggs are frothy, because that incorporates too much air, which can make curds tough, spongy, and prone to breaking apart when you toss in the chives.
10.How do I store leftovers, and will they reheat well? ▾
Store cooled leftover eggs in an airtight container in the fridge for up to 2 days. To reheat without making them rubbery, warm them in a small pan over the lowest heat for 1 to 2 minutes, stirring gently, or microwave in 20-second bursts, stopping to stir between bursts. Never reheat on high heat, as that turns eggs tough very quickly.
11.Can I use a different oil if I don’t have neutral canola oil on hand? ▾
Yes—any neutral, high-smoke-point oil works, including regular vegetable oil, avocado oil, or light olive oil. Avoid strongly flavored oils like toasted sesame oil, bold extra-virgin olive oil, or chili oil as your main cooking oil, since they will overpower the delicate chive and egg flavor; you can drizzle a tiny drop of sesame oil on top at the end if you like.
12.What makes this a Chinese home-style dish instead of Western chive scrambled eggs? ▾
Unlike Western soft scrambled eggs, which are often cooked with butter at very low heat for ultra-rich, creamy curds, this Chinese home-style version uses neutral oil, white pepper, and a slightly quicker cook for lighter, fluffier curds designed to pair with steamed rice, rather than toast or traditional American breakfast sides.
13.When is the best time to add salt to the eggs for ideal texture? ▾
Add a pinch of kosher salt right before you pour the whisked eggs into the pan, rather than salting them 10 or more minutes ahead of cooking. Salting eggs too early breaks down delicate egg proteins and can lead to watery, tough curds, while salting right before cooking seasons eggs evenly without ruining that soft, tender bite.
14.Can I use garlic chives instead of regular chives for this recipe? ▾
You absolutely can—garlic chives (jiu cai) have a mild, garlicky, more robust flavor that pairs beautifully with eggs, and they’re a classic regional variation of this home-style dish. Just note they’re slightly firmer than regular chives, so chop them a bit finer and toss them in 10 seconds earlier to let them soften just enough.

Comments (7)

2 hours ago

OMG this is my new go-to busy weekday breakfast! 3 minutes flat? No fancy ingredients? My two picky toddlers gobbled these up and asked for seconds, I didn’t even have to beg them to eat. The chive adds such a bright pop without being overpowering, SO good. I added a tiny pinch of garlic salt per my husband’s request and it was chef’s kiss.

30 minutes ago

Wait the garlic salt addition sounds genius! I’ve been making these plain for weeks, gotta try that trick tomorrow. Do you use salted or unsalted butter?

5 minutes ago

So glad your whole family loved it! The garlic salt hack is such a great call — for anyone curious, low and slow heat is the secret to getting that soft, fluffy curd every time, even when you’re crunched for time on school mornings.

yesterday

Total game changer for my weekly meal prep! I used to think scrambled eggs were boring and got rubbery when I stored them, but these stay fluffy even after a quick reheat at the office. I pre-chopped a whole bunch of chives on Sunday so I can whip this up every morning before my commute without any extra hassle. 10/10.

yesterday

So happy to hear this works for your meal prep routine! Pro tip: let the eggs cool completely before storing in an airtight container, and they’ll hold that fluffy texture for up to 3 days in the fridge.

3 days ago

I made these for our neighborhood potluck last weekend (yes, breakfast for dinner potluck, best theme ever) and people were hounding me for the recipe all night! It’s so easy I almost felt silly saying it only takes 3 minutes, but sometimes the simplest dishes are the biggest hits. I topped them with a little extra chopped chive for garnish so they looked fancy, no one had to know how low-effort it was.

5 days ago

Wait, is it normal if my eggs came out a little watery? I followed the cook time exactly but maybe I had the heat too high? Flavor was amazing even if the texture was off, I just wanna nail it next time because my roommate said these smelled incredible and asked me to make them for him too.

3 days ago

I had that issue my first try too! Turned out I was adding the chives too early and they were releasing extra water into the eggs. Toss them in right at the end and it fixes the problem 100%

2 days ago

Great tip from HomeCookHarry! Watery eggs usually come from too-high heat or adding watery mix-ins too early. Keep your stove on medium-low, pull the eggs off right when they’re just set (they’ll keep cooking a little from residual heat!) and you’ll get perfect fluffy eggs every time.

1 week ago

SO good!!! I’ve been paying $14 for chive scrambled eggs at my local brunch spot every weekend and I can make these at home in 3 minutes for literal pennies? Why did I wait so long to try this? I served them with a side of sourdough toast and avocado and it tasted exactly like restaurant quality, no cap.

5 days ago

Right?! I stopped going out for brunch entirely once I mastered this recipe, I save like $50 a month minimum. The trick is a tiny pat of cream cheese melted into the eggs if you want that extra rich restaurant texture, trust me.

just now

Made these for my kid before his early soccer practice this morning, he said they’re ‘better than the diner eggs we get after games.’ High praise coming from a 10 year old who thinks every food I make is ‘mid.’ Win for dad cooking.

2 weeks ago

I added a little sprinkle of nutritional yeast and a handful of extra finely chopped chives, and this hit so different. It’s so easy even I can’t mess it up, and I burn toast 50% of the time. Perfect quick meal for late nights when I get home from class and don’t have the energy to cook anything elaborate.

2 weeks ago

The nutritional yeast addition sounds delicious — it adds such a great savory, umami kick! So glad this recipe works for those busy late nights when you need something fast and filling.



