1.Can I substitute milk chocolate for the 70% cacao dark chocolate in this recipe?
▾
You absolutely can, but make one quick adjustment first: cut 2 tablespoons of the granulated sugar from the custard base to account for milk chocolate’s higher added sugar content. Skip filled or flavored milk chocolate bars (like those with caramel or nougat) — those additives will break the silky, smooth custard texture and leave odd lumps.
2.Why did my chocolate crème brûlée come out grainy instead of silky?
▾
Grainy custard almost always stems from two common missteps: either you overheated the cream when melting the chocolate, causing it to seize, or you cooked egg yolks too fast, creating tiny curdled bits. Strain your finished custard through a fine-mesh sieve before baking, and bake low and slow at 325°F for the silkiest result.
3.Do I really need a kitchen torch to make the caramelized sugar top?
▾
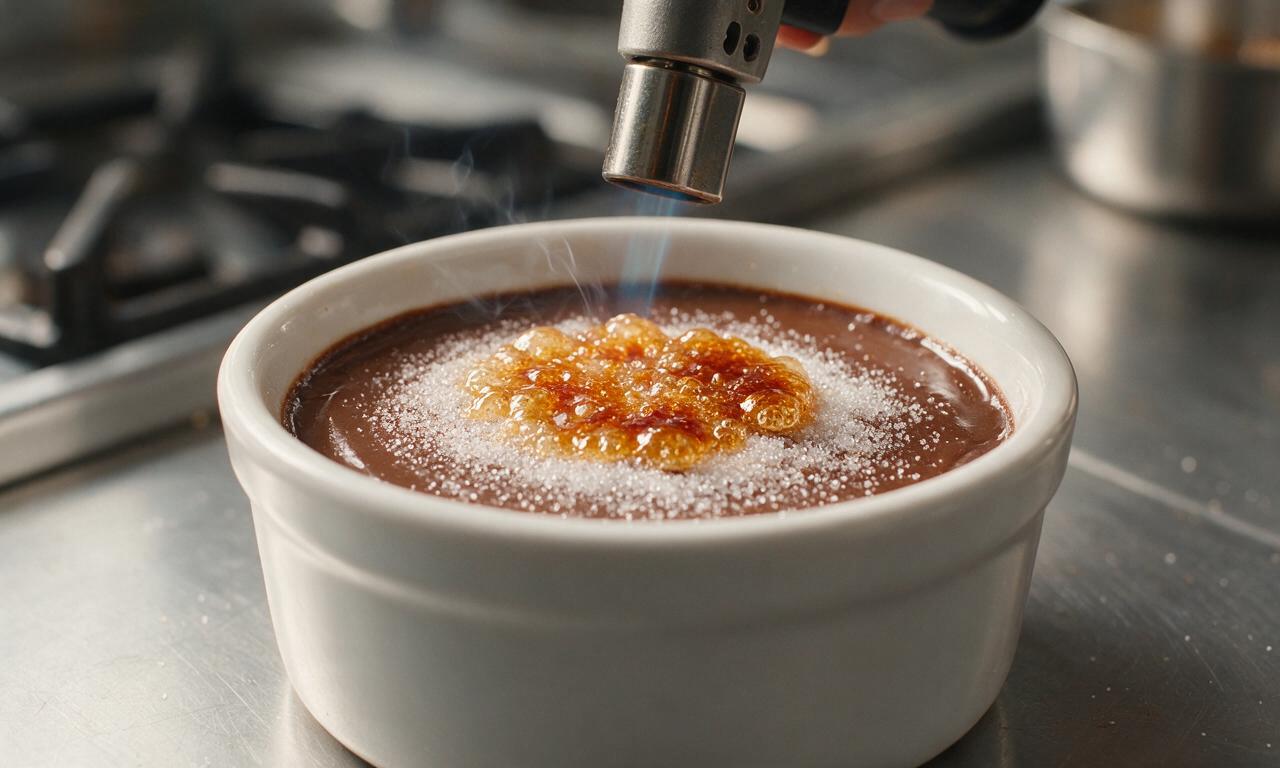
A kitchen torch gives the most even, shatteringly crisp crust without warming up the cold custard underneath, but you can use your oven’s broiler if you don’t have one. Sprinkle sugar in an even layer, set ramekins on the top rack 2-3 inches from the broiler, and watch closely for 30-60 seconds until sugar turns amber.
4.How far in advance can I make this crème brûlée before serving?
▾
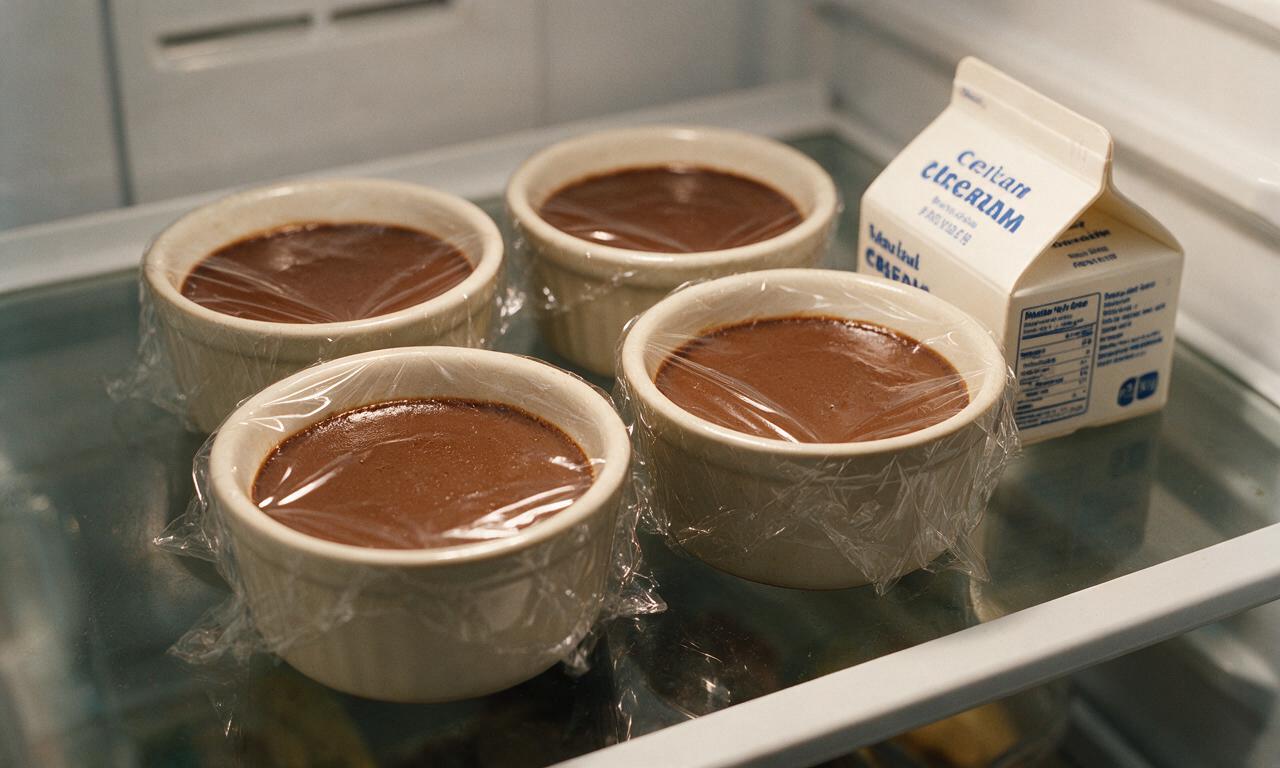
Baked, un-topped custards hold beautifully in the fridge for up to 3 days, covered tightly with plastic wrap pressed directly to the surface to prevent a tough skin from forming. Wait to add the sugar crust until right before serving, though — caramel will soften and turn sticky if it sits in the fridge longer than 30 minutes.
5.Can I use half-and-half instead of heavy whipping cream for a lighter version?
▾
You can swap up to half the heavy cream for half-and-half to cut richness, but don’t replace all of it. Heavy cream’s high fat content is what gives this dessert its signature velvety, melt-in-your-mouth texture; using all half-and-half leads to watery, less silky custard that won’t set firmly even after full chilling.
6.Why do I need to bake crème brûlée in a water bath?
▾
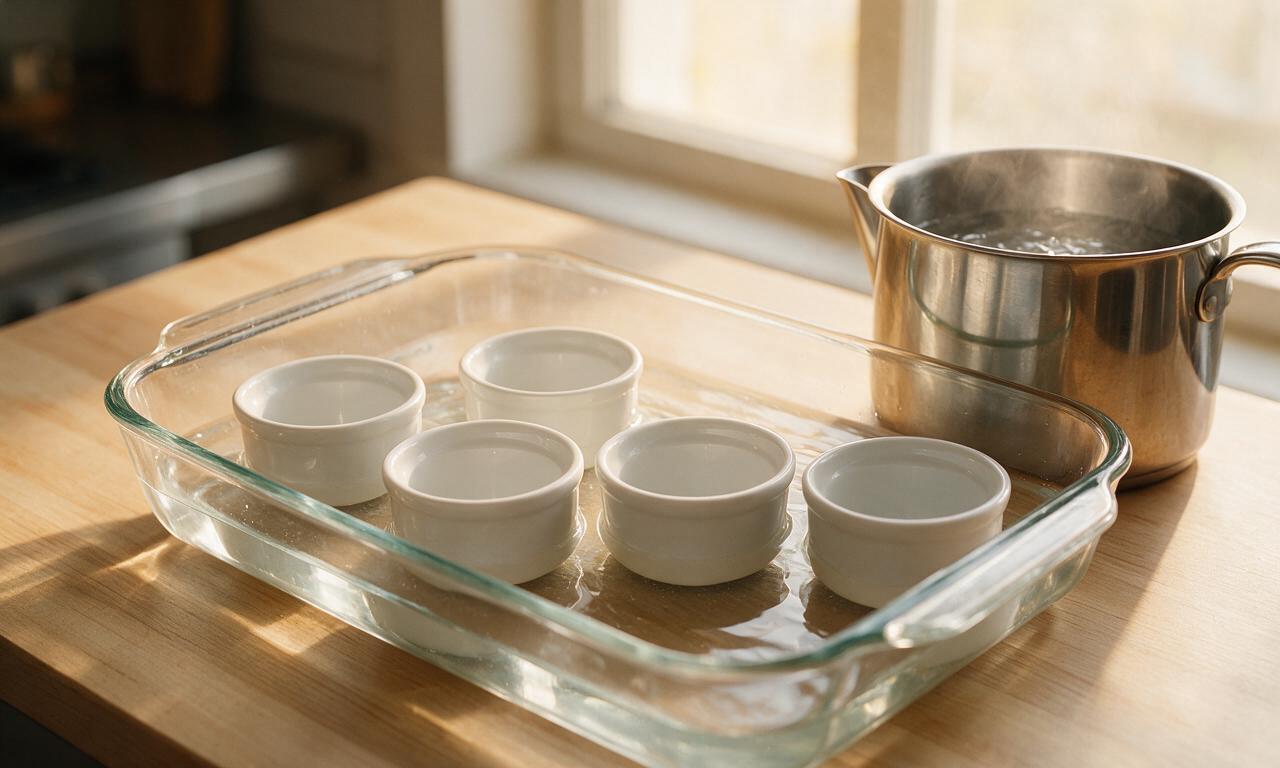
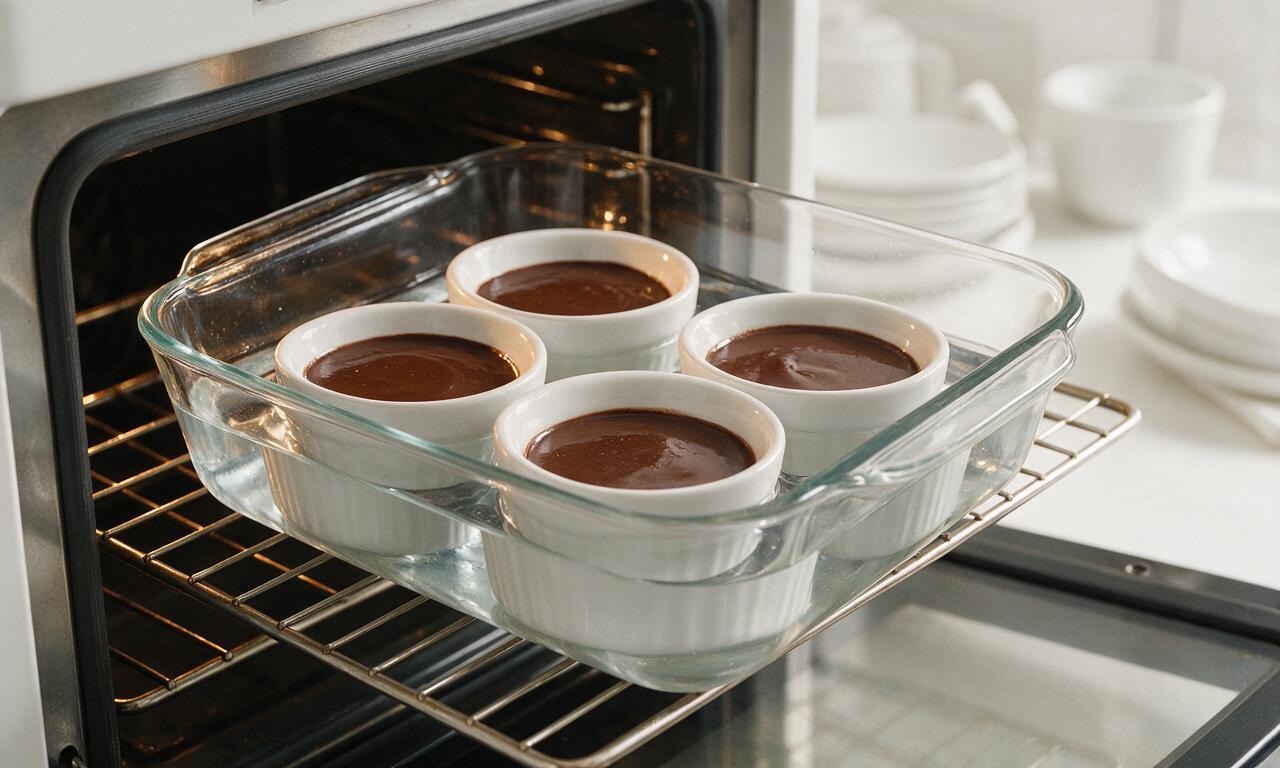
The water bath (or bain-marie) creates gentle, even, moist heat around the ramekins as they bake, which prevents custard from curdling, cracking on top, or developing rubbery overcooked edges. Pour hot (not cold) water into the baking pan to come halfway up the ramekin sides for consistent results every time.
7.How do I know when the custards are done baking so I don’t overcook them?
▾
Give the side of a ramekin a gentle nudge when the timer goes off: the custard edges should be fully set, but the very center 1 inch will jiggle slightly like Jell-O, not slosh like loose liquid. Residual heat will finish setting the center as it chills — waiting for the whole custard to firm in the oven leads to rubbery results.
8.Can I use imitation vanilla extract instead of pure vanilla extract?
▾
You can use it in a pinch, but pure vanilla extract gives a much warmer, rounded depth that balances the bitter notes of 70% dark chocolate perfectly. Imitation vanilla has a slightly artificial, sharp aftertaste that comes through clearly in the delicate, creamy custard, so it’s worth reaching for the pure stuff if you have it.
9.What’s the best sugar to use for the caramelized top crust?
▾
Plain granulated sugar works perfectly, as its small, uniform crystals melt quickly and evenly into a smooth, hard crust without burning too fast. Avoid coarse raw sugar or brown sugar for the top: raw sugar has large crystals that take longer to melt (heating custard below) and brown sugar makes the crust chewy instead of crisp.
10.My chocolate seized when I stirred it into the hot cream — what did I do wrong?
▾
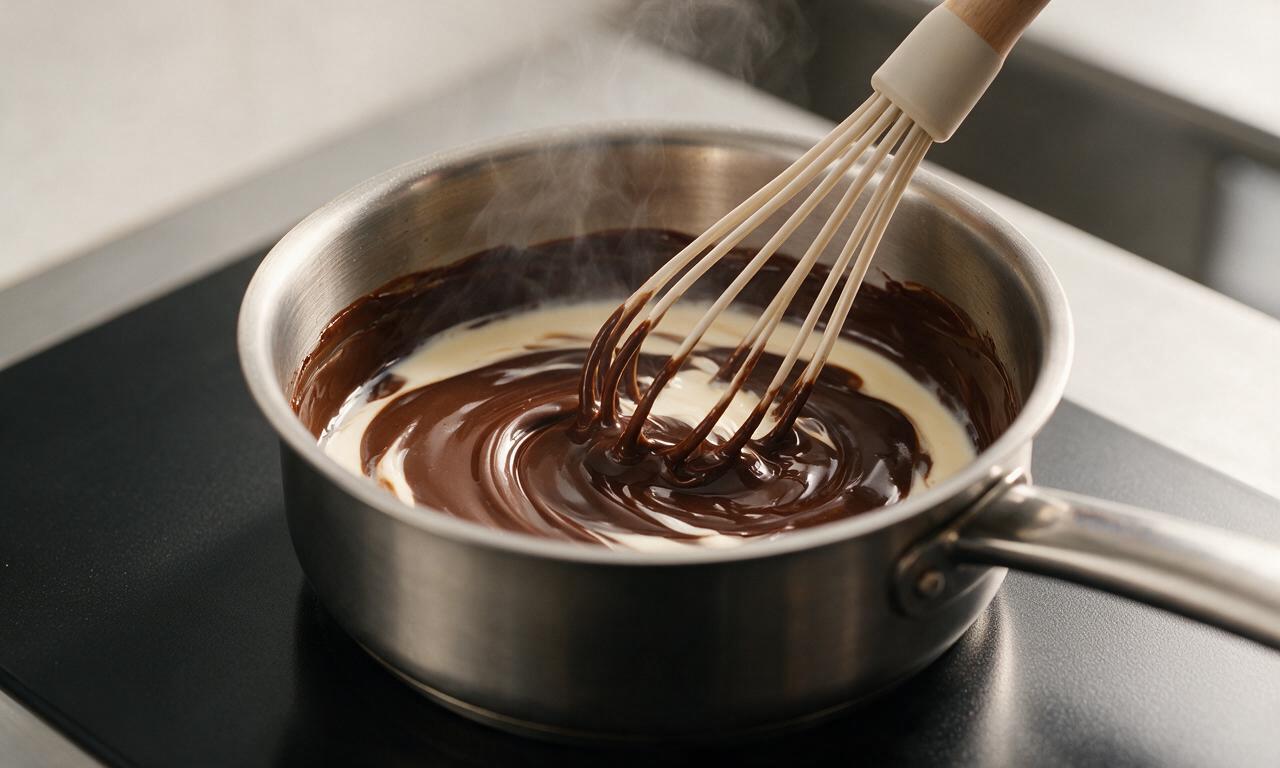
Chocolate seizes when it’s hit with sudden high heat, or if even a tiny drop of water gets into the melting chocolate. Make sure your bowl and utensils are completely dry when chopping chocolate, and take cream off the heat right as it reaches a gentle simmer before pouring it over chocolate to let it melt slowly, no boiling required.
11.How much sugar should I use for the caramel top per ramekin?
▾
Use about 1 teaspoon of granulated sugar per 4-oz ramekin — that’s just enough to create a thin, even layer that shatters when you tap it with a spoon. Using more creates a thick, hard candy shell that’s hard to crack through, and leaves you with overly sweet caramel that overpowers the rich chocolate custard underneath.
12.Can I add extra flavors, like espresso or orange zest, to the custard?
▾
Absolutely! A teaspoon of instant espresso powder stirred into the hot cream amplifies dark chocolate’s depth without making the custard taste like coffee, or a teaspoon of finely grated orange zest adds a bright, citrusy twist. Just skip chunky add-ins like nuts or chocolate chips, as those break the smooth, silky texture.
13.Why is there a tough, rubbery skin on top of my chilled custards?
▾
That skin forms when the custard surface is exposed to cold fridge air as it cools. Prevent it by pressing a piece of plastic wrap directly onto the surface of each warm custard right after pulling them from the water bath, before refrigerating. If a skin does form, gently scrape it off with a spoon before adding the sugar top.
14.What size ramekins work best for this recipe?
▾
Standard 4-oz (½ cup) ceramic ramekins are ideal, as they hold the perfect individual portion and bake evenly in the water bath. If you use larger 6-oz ramekins, add 5-7 minutes to the bake time, and keep a close eye on that signature center jiggle to avoid over- or under-cooking the custard as it sets.
15.Can I freeze leftover chocolate crème brûlée?
▾
I don’t recommend freezing this dessert. The high fat content in the heavy cream and egg yolks causes the custard to separate and turn grainy as it thaws, and any caramelized sugar top will turn into a sticky, syrupy mess. It keeps so well in the fridge for 3 days that freezing is totally unnecessary for make-ahead prep.
16.Why did my caramel top turn bitter when I torched it?
▾
Bitter caramel happens when you heat sugar past the deep amber stage, burning it instead of caramelizing it. Keep the torch moving constantly 2-3 inches above the sugar surface, and stop as soon as sugar is fully melted and a rich golden-amber — don’t wait for dark brown, as sugar keeps cooking for seconds after you pull the torch away.
17.Do I need to temper the egg yolks before adding them to the hot cream?
▾
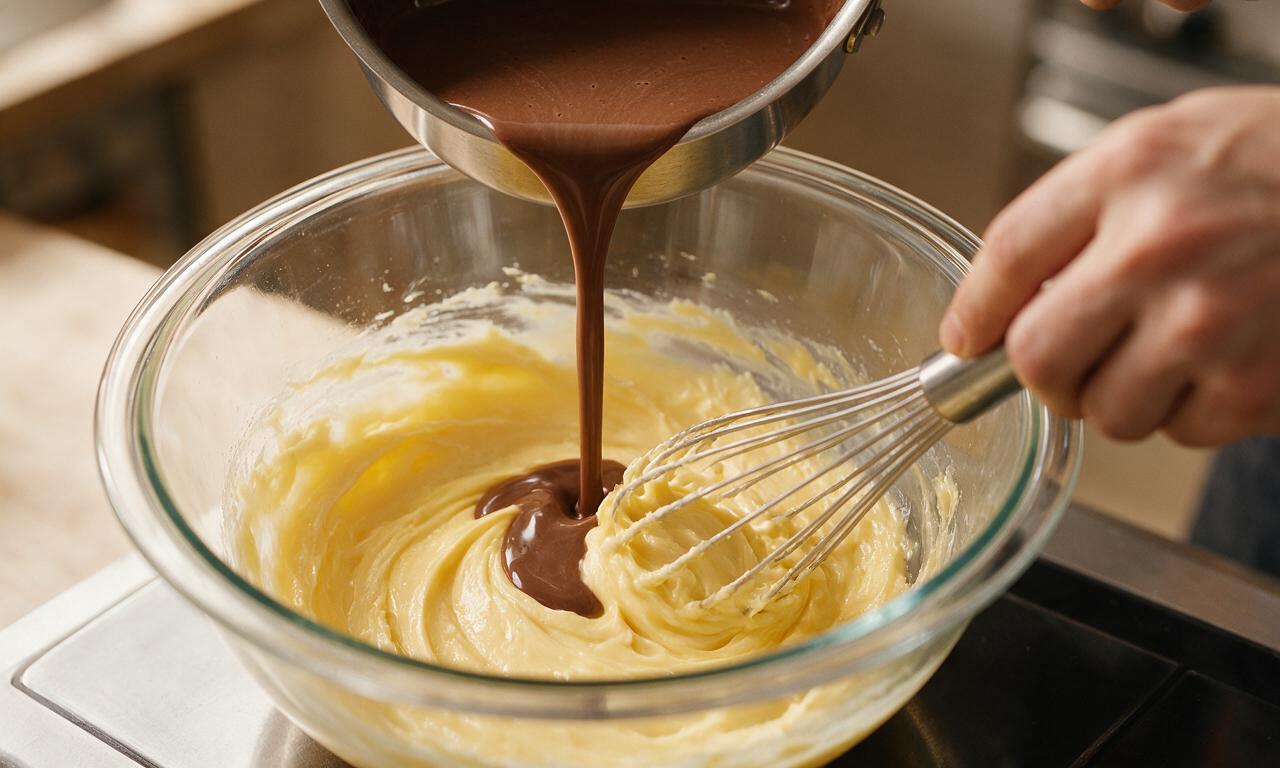
Yes, that step is non-negotiable to avoid ending up with sweet chocolate scrambled eggs! Slowly pour about ½ cup of the warm chocolate cream into the whisked egg yolks while whisking constantly to gently raise the yolk temperature, then stir that warmed mixture back into the rest of the cream to prevent curdling.
18.Can I use Dutch-processed cocoa powder instead of chopped dark chocolate?
▾
I don’t recommend swapping in cocoa powder for the chopped 70% dark chocolate. Cocoa powder doesn’t have the rich cocoa butter that gives dark chocolate its luxe, melt-in-your-mouth texture, so your custard will turn out drier, less silky, and have a flat, powdery chocolate flavor instead of the deep, rich profile this recipe is designed for.
19.How long do I need to let the custards chill after baking?
▾
Let them cool to room temperature for 30 minutes first, then chill in the fridge for a minimum of 4 hours, ideally overnight. Rushing the chill time means the custard won’t be fully set, and it will be too soft to hold up to the warm caramel top — you might even melt the top custard layer when you torch the sugar.
20.My custards have tiny air bubbles on the surface after baking — how do I prevent that?
▾
Those bubbles come from whisking the custard base too vigorously, which traps air, and pouring the base into ramekins too fast. After mixing the base, let it sit for 10 minutes to let bubbles rise to the surface, then skim them off with a spoon before pouring. Pour slowly down the side of each ramekin to avoid creating new bubbles.

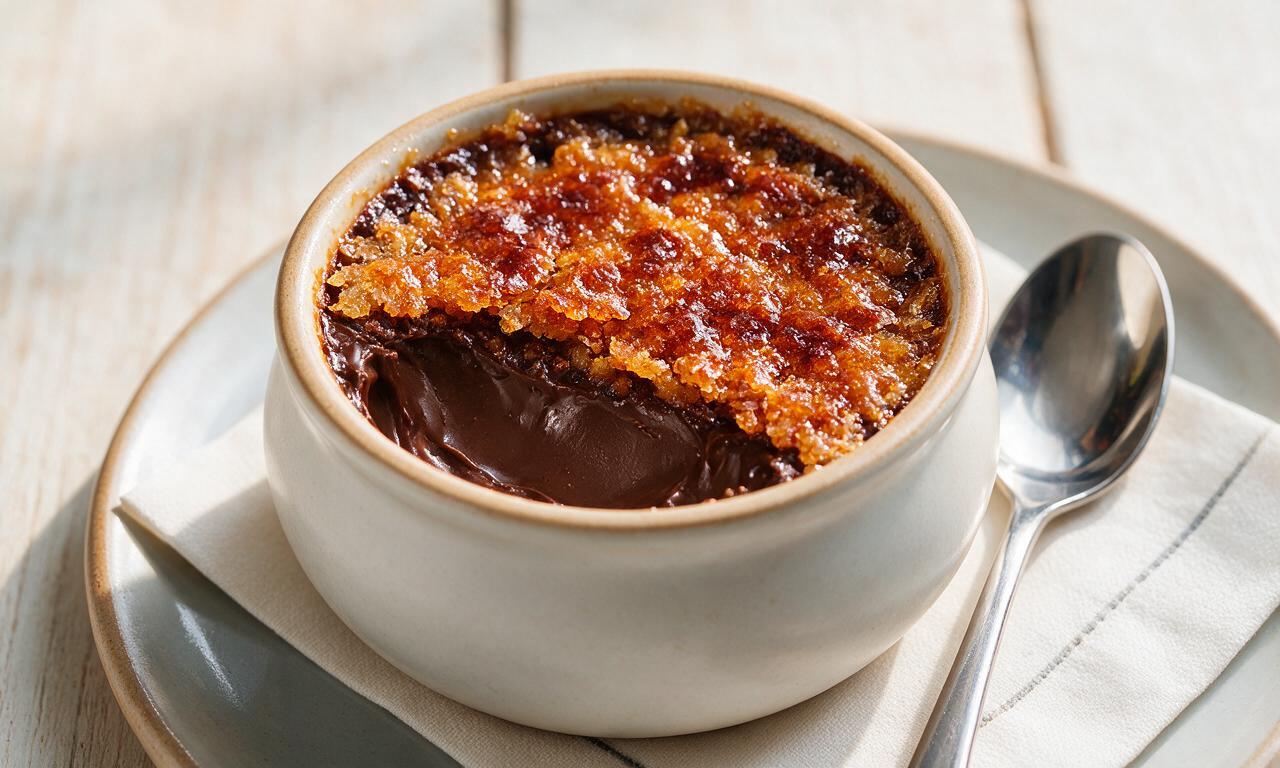






OMG this is the silkiest chocolate crème brûlée I’ve ever made! Brought it to my friend’s potluck last weekend and everyone was begging for the recipe. The crack on that torched sugar top was *chef’s kiss*, no weird grainy texture at all. 10/10 would make again for date night this Friday!
Tried this for my wife’s birthday dinner and she said it’s better than the version we got at that fancy French restaurant downtown for our anniversary. The dark chocolate depth is insane, not too sweet either which I love. Only note: don’t skip the chilling time! I tried cutting it short by an hour once (don’t be like me) and the texture was way too runny.
My kids went absolutely crazy for this! I was worried the dark chocolate would be too bitter for them, but I used semi-sweet chips like the recipe note suggested and they licked every ramekin clean. Served it after our Sunday family dinner and even my picky 7 year old asked for seconds. SO good!
Medium difficulty is no joke, y’all. I messed up the tempering step the first time and ended up with chocolate scrambled eggs (gross). Second time around I went slow, poured the hot cream into the egg yolks a tiny bit at a time while whisking nonstop, and it came out perfectly silky. Worth the extra effort!
Made this for a post-hike dinner party with my trail crew, and everyone raved. It’s rich so you don’t need a huge serving, which is perfect for when you’re serving a crowd. I added a tiny pinch of flaky sea salt on top of the sugar crust and it was a total game changer, trust me.
Super excited to try this for my upcoming dinner party! Quick question: can I make the custard base 2 days ahead and keep it covered in the fridge, then torch the sugar right before serving? I’m trying to knock out as much meal prep as I can early this week.
I’ve made regular vanilla crème brûlée a dozen times but never thought to add chocolate—this is life changing. The texture is so velvety, no weird rubbery edges like some custard recipes I’ve tried. My only complaint is I wish I made a double batch because it was gone in 10 minutes flat at my book club meetup.
Made this last night for my partner’s promotion celebration and he said it’s the best dessert I’ve ever made. I added a little espresso powder to the cream while it heated to amp up the chocolate flavor, and wow—if you love mocha, do not sleep on that hack. It’s so easy and makes the chocolate taste so much richer.
Wait, do I have to use heavy cream? I have half and half in the fridge and I don’t feel like running to the grocery store in this Florida rain lol. Has anyone tried swapping it?
First time making any kind of custard ever and this turned out way better than I expected! I was so nervous I’d mess it up, since medium-skill desserts usually stress me out, but the step by step instructions were super clear and the 55 minute cook time went by way faster than I thought. The only misstep I made was torching the sugar too far ahead of serving, so the crust got soft by the time we ate it. Still tasted amazing though!
I made the regular version for my roommates last week and we all ate way too much of it—it’s SO good! Quick question though: has anyone tried making this with dairy-free swaps? My sister is vegan and she’s coming to town next week, I’d love to make a version she can eat too.