
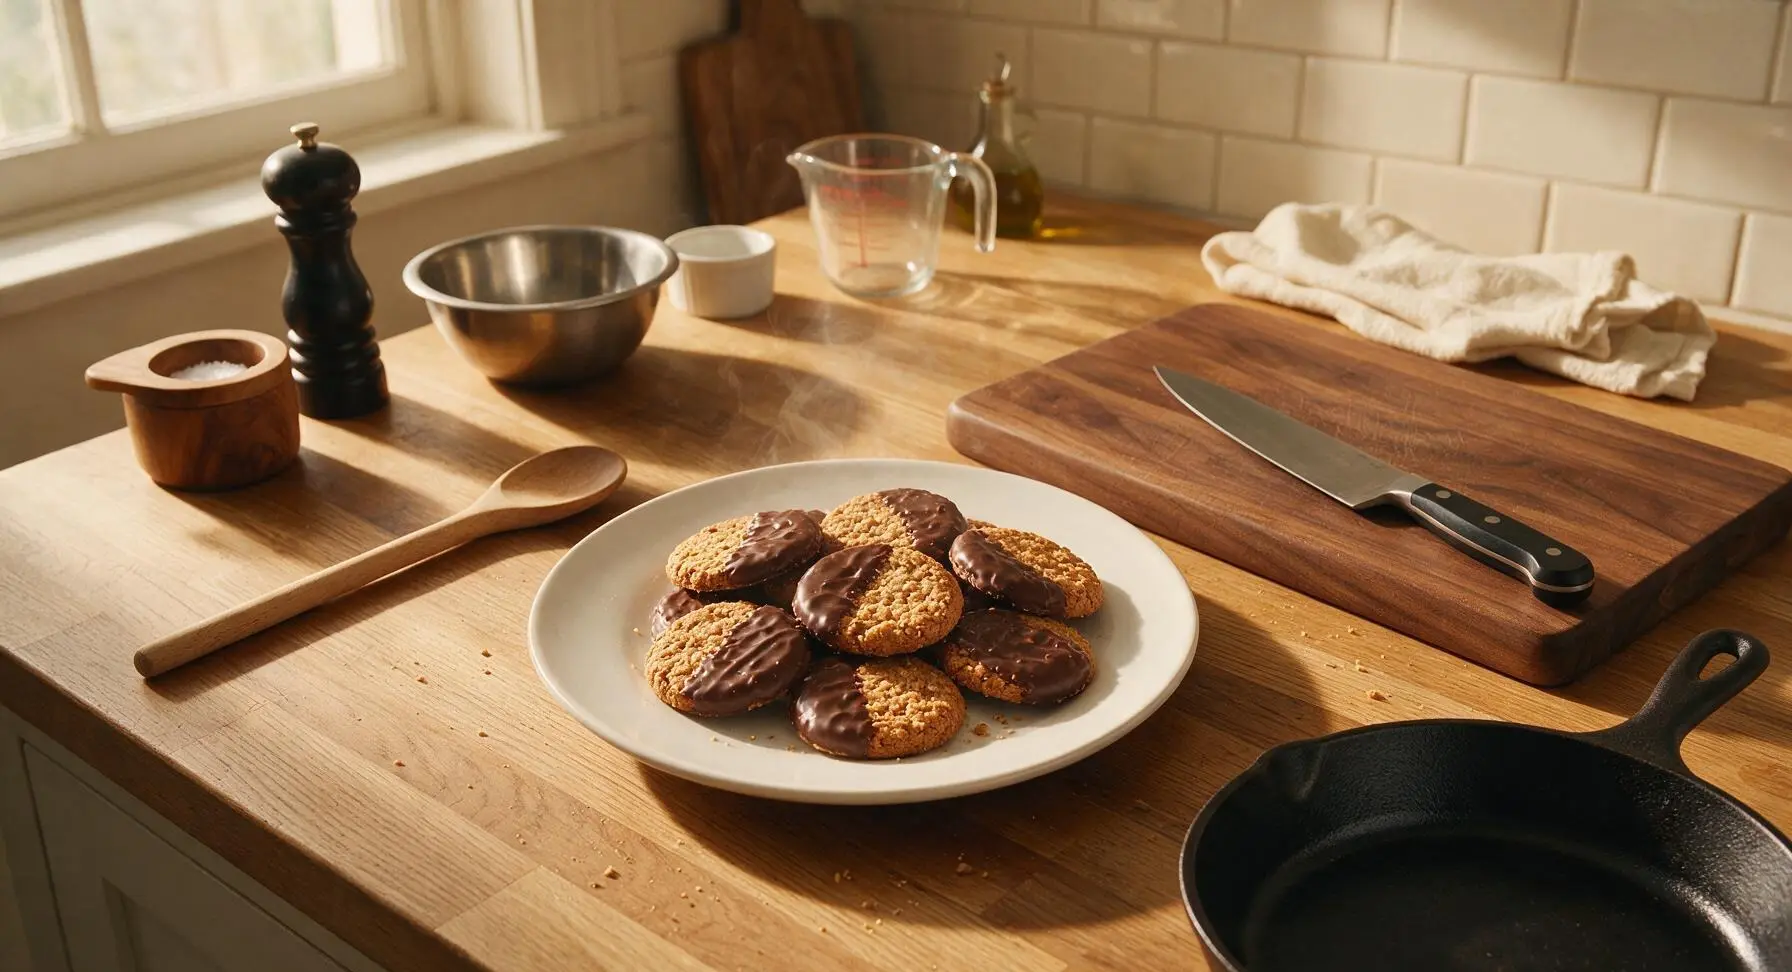
Chocolate Hobnobs

title 1
Chocolate Hobnobs
⏱️ cook time 14 minutes
🍽️ servings 16
⚡ Difficulty easy

intro

Crunchy, buttery oaty British biscuits half-coated in rich dark chocolate, with the classic crumbly texture perfect for pairing with a cup of hot tea.

Ingredients
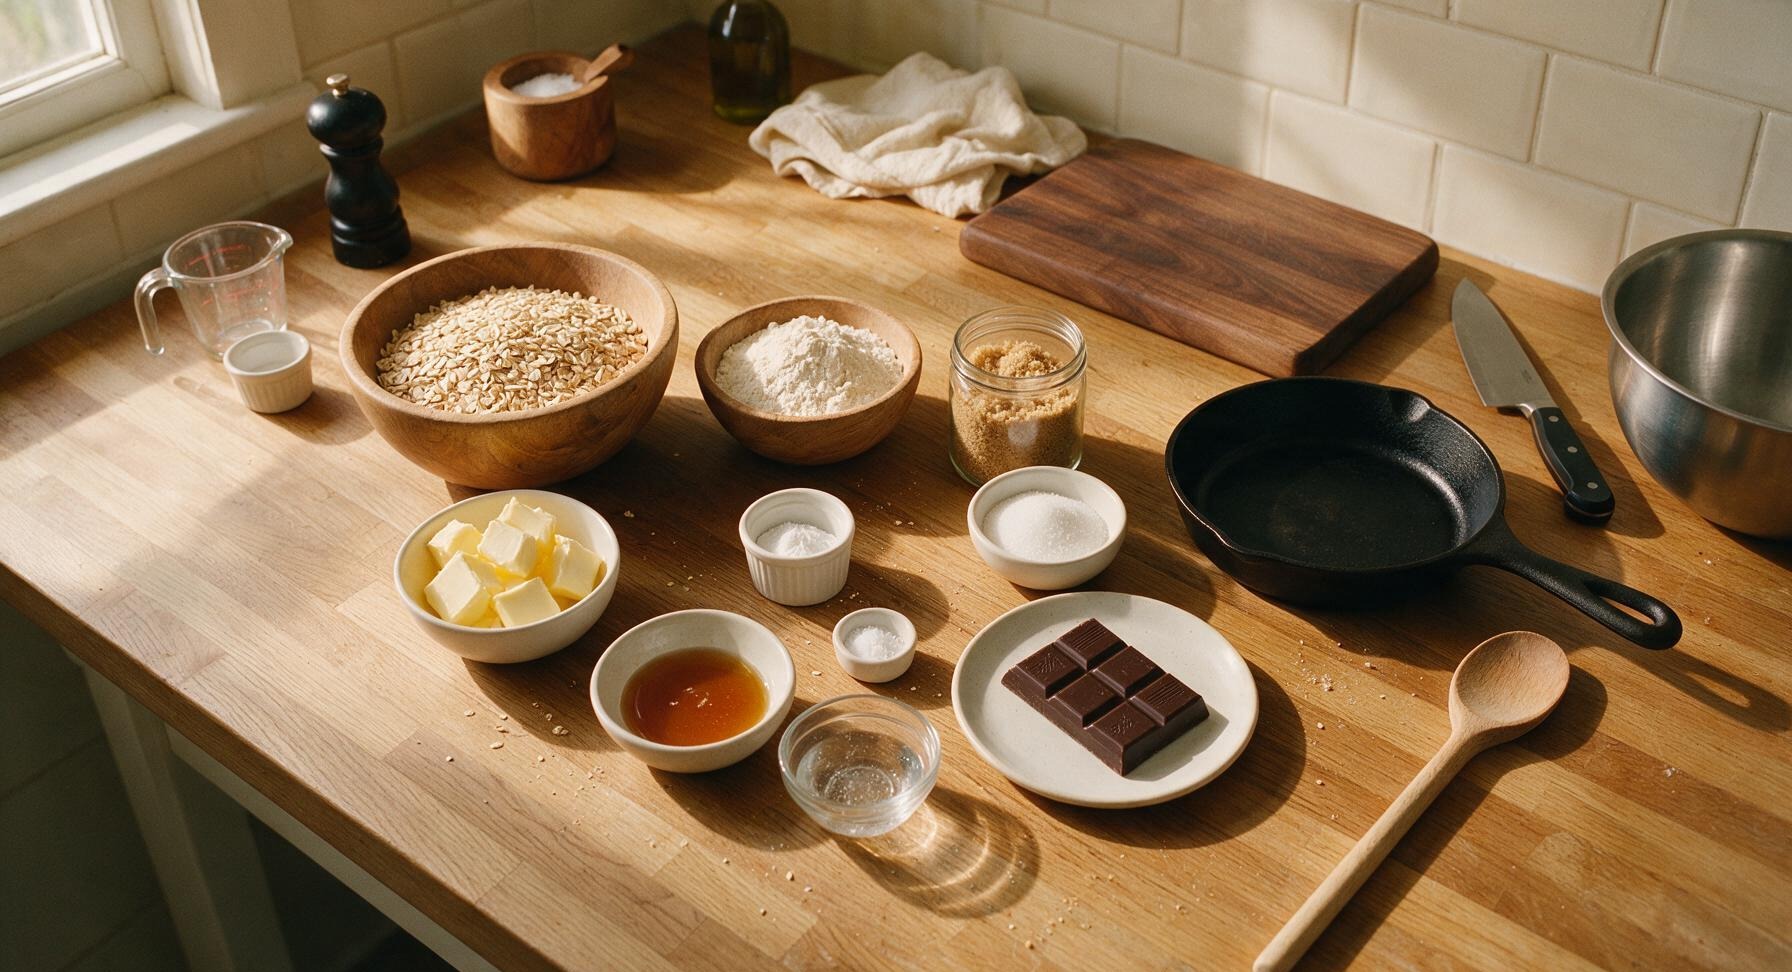
Traditional rolled oats 150g
Unsalted butter 100g
Dark chocolate (70% cacao) 150g
Plain (all-purpose) flour 100g
Light brown soft sugar 75g
Caster sugar 50g
Golden syrup 2 tbsp (40g)
Bicarbonate of soda 1 tsp
Fine sea salt 1/4 tsp
Boiling water 1 tbsp

Steps

1

Prep Baking Tray

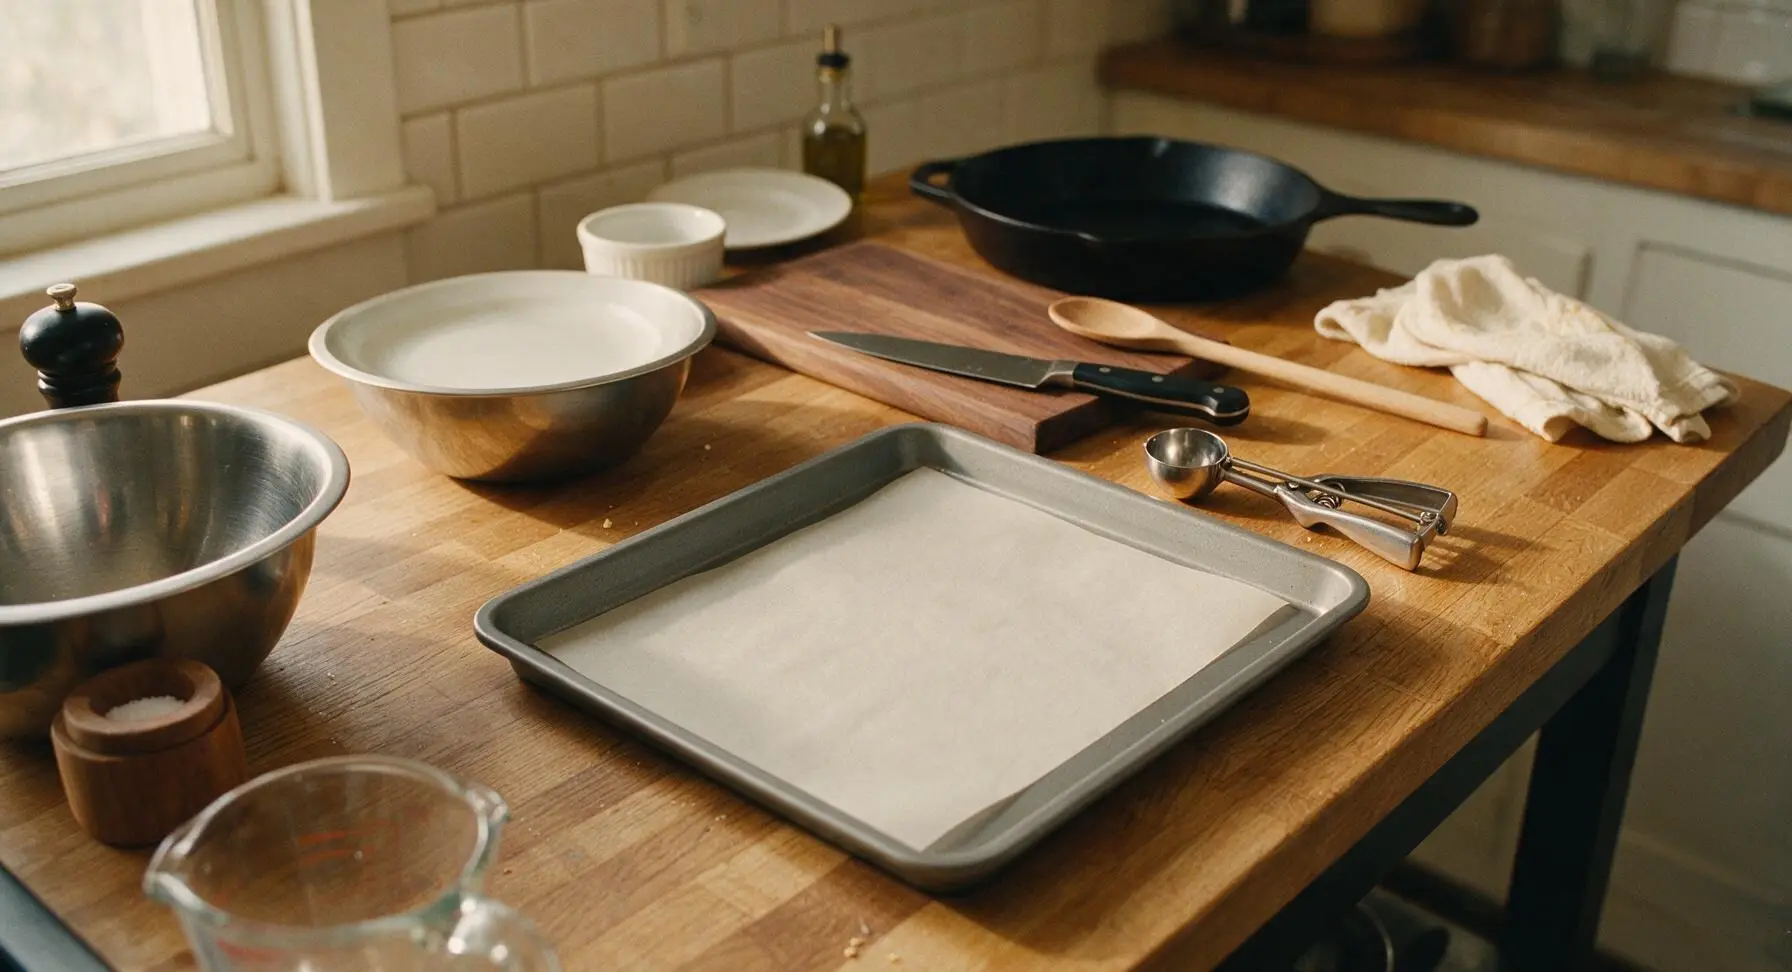
Preheat your oven to 180°C (350°F / Gas Mark 4). Line the heavy gauge carbon steel baking sheet with a sheet of unbleached parchment paper, smoothing it flat so there are no wrinkles or air bubbles. Set the prepared tray in the center of the oak counter, with the spring-loaded cookie scoop placed to its right.
Step 1
step1:Prep Baking Tray
2

Melt Butter Base

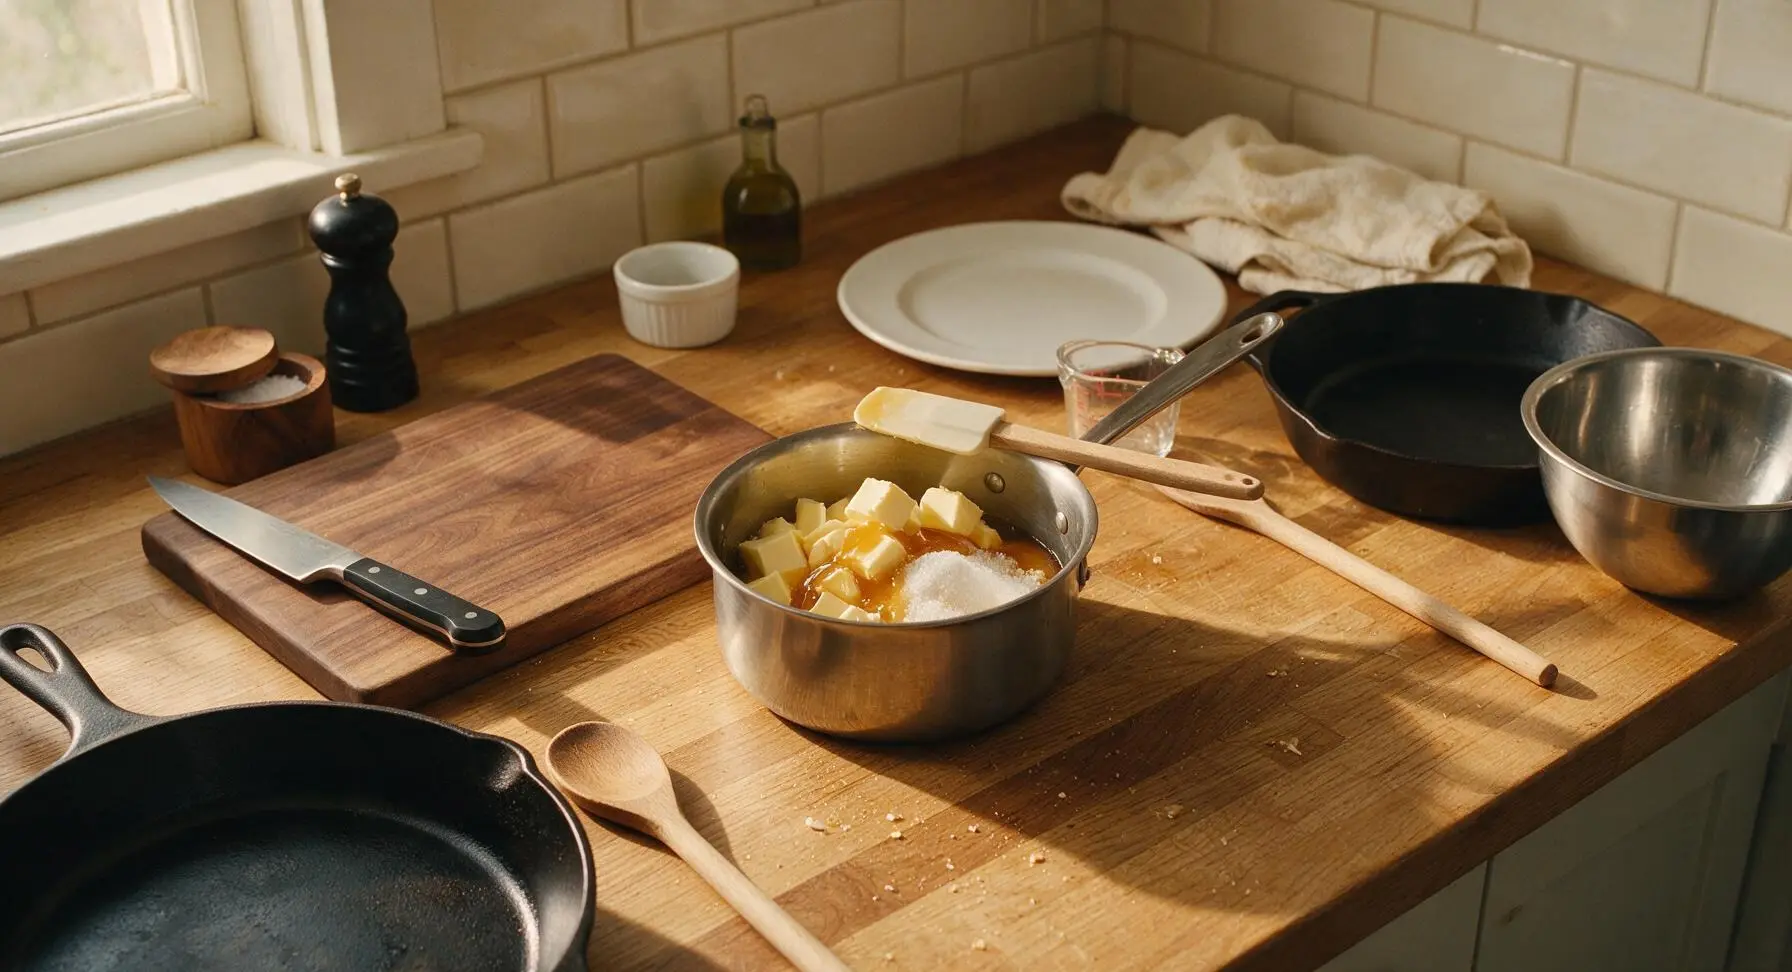
Cut the 100g unsalted butter into 2cm cubes and add to the small stainless steel saucepan along with the 75g light brown soft sugar, 50g caster sugar, and 2 tbsp golden syrup. Set the pan over low heat, stirring gently with the silicone spatula for 3-4 minutes until the butter is fully melted, sugar dissolves, and the mixture forms a smooth golden amber liquid. Do not bring the mixture to a boil, as this will make the biscuits too hard.
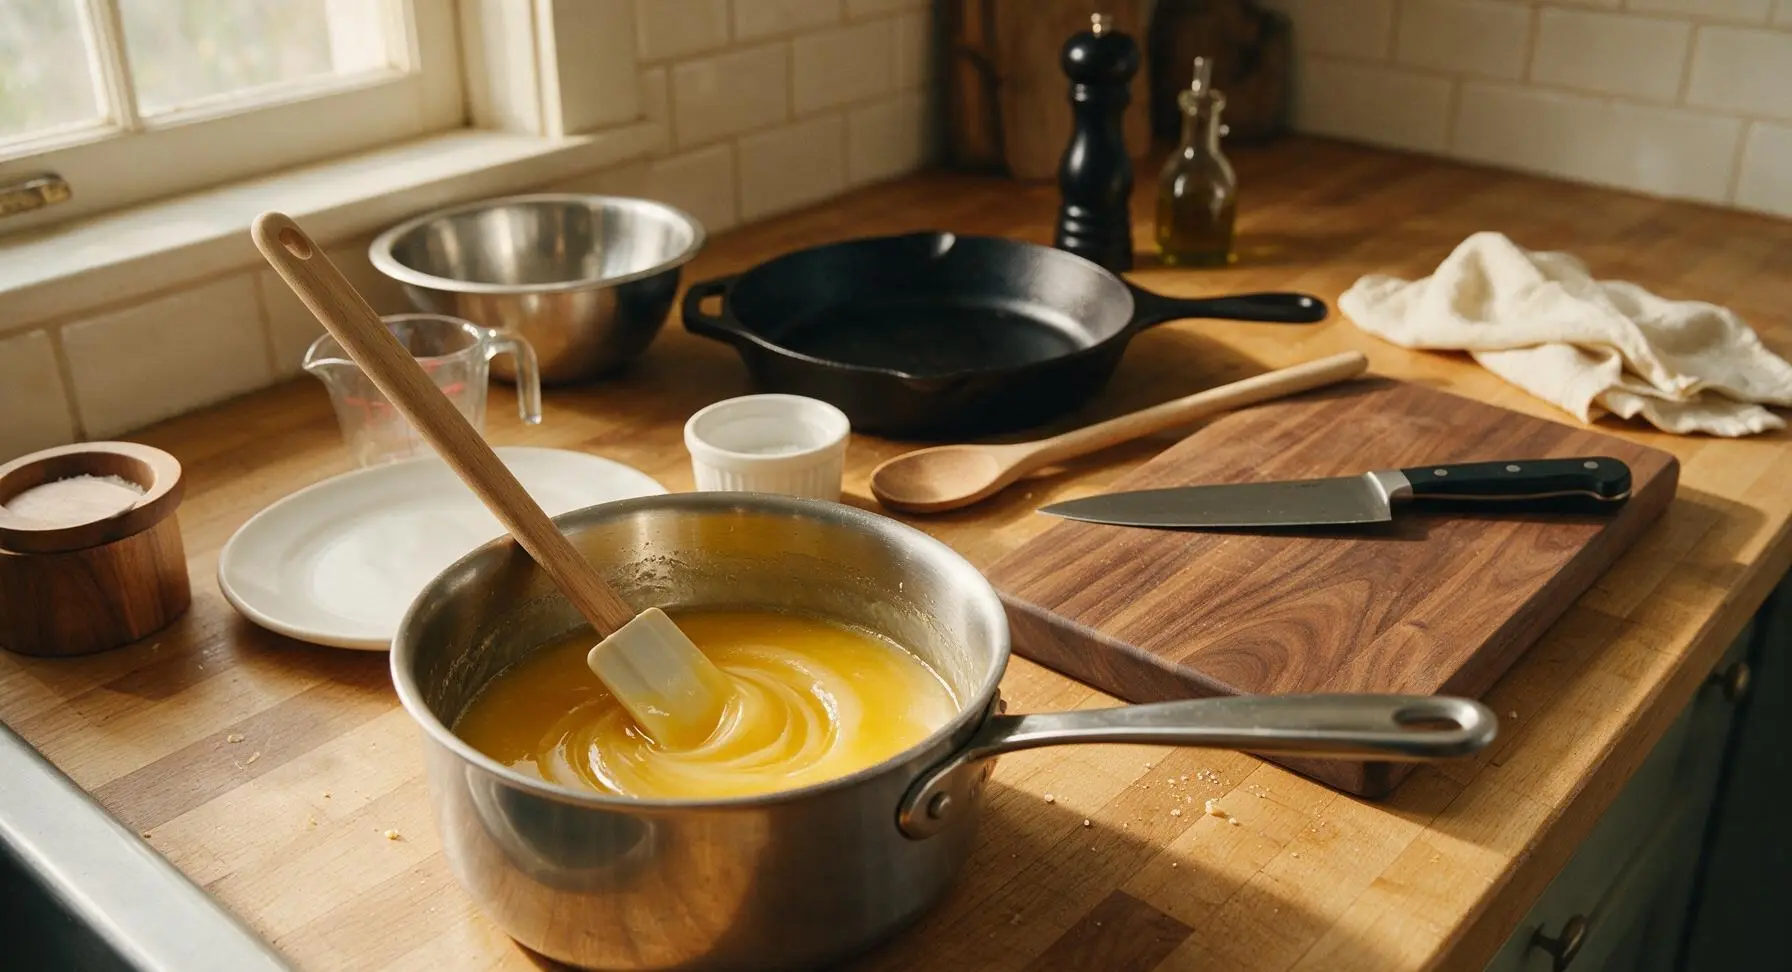
Step 2
step2:Melt Butter Base
Step 2
step2:Melt Butter Base
3

Combine Dry Ingredients

Add 150g rolled oats, 100g plain flour, and 1/4 tsp fine sea salt to the large stainless steel mixing bowl, stirring with the stainless steel whisk until evenly combined with no clumps of flour. Measure 1 tbsp boiling water into one small glass ramekin, stir in 1 tsp bicarbonate of soda until fully dissolved.
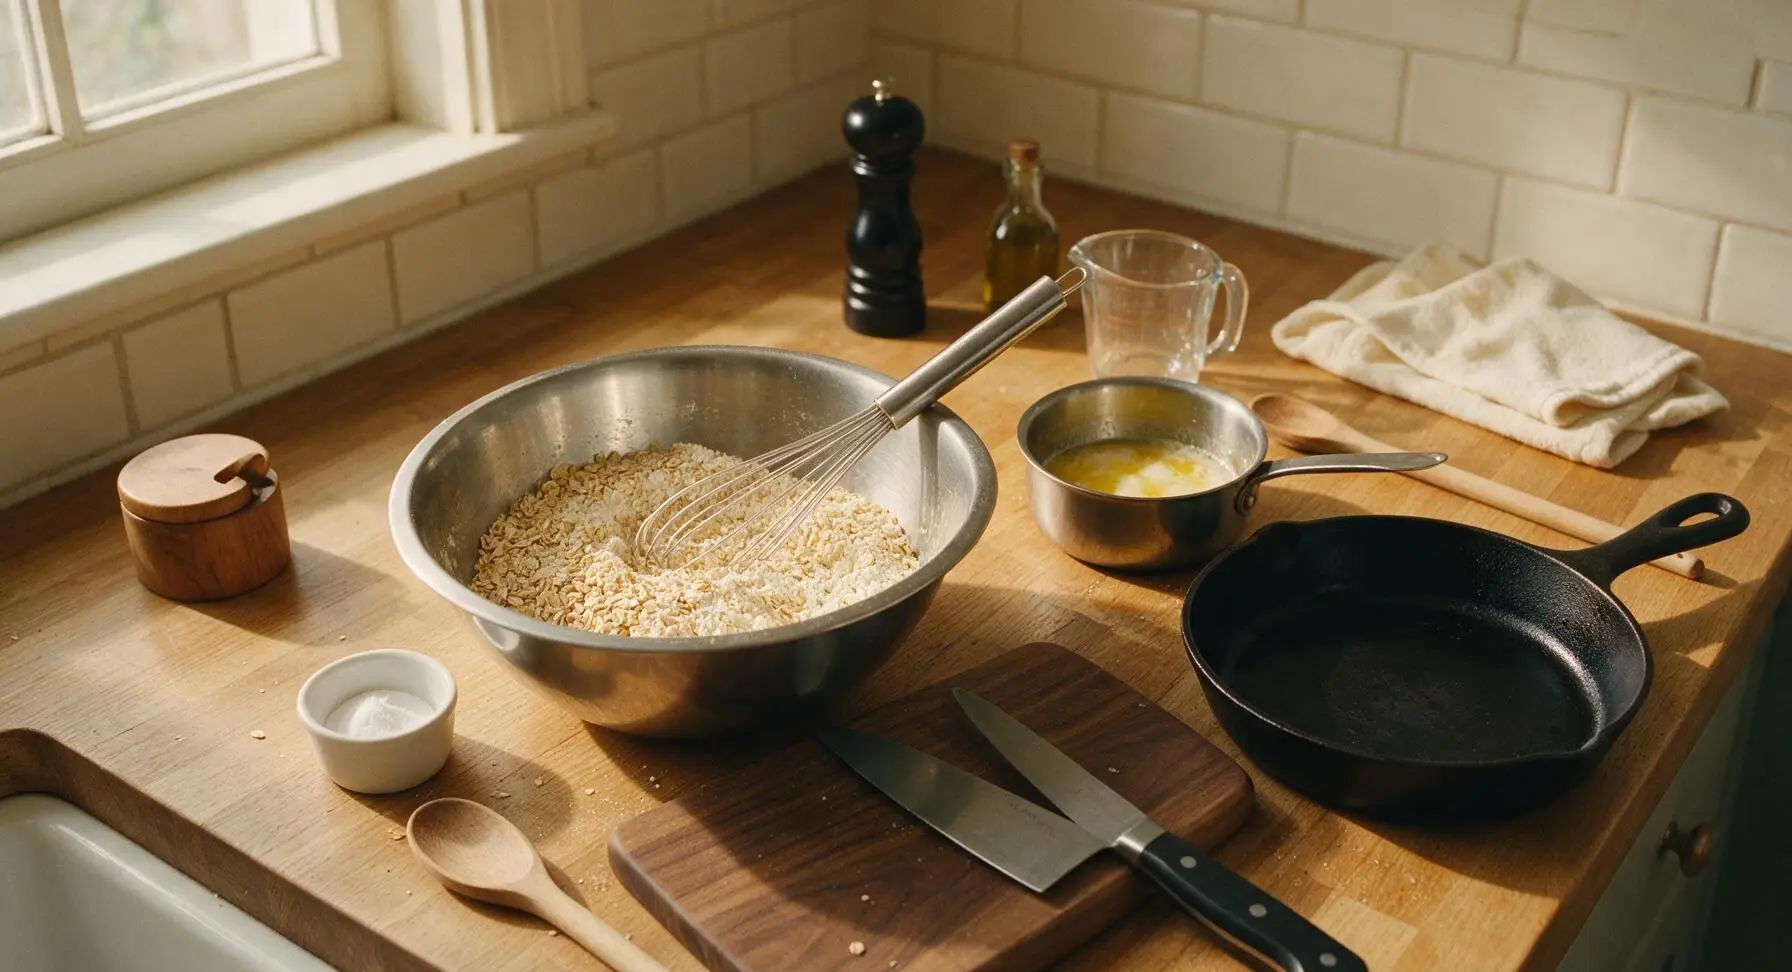
Step 3
step3:Combine Dry Ingredients
4

Mix Biscuit Dough

Pour the warm melted butter mixture from the saucepan into the dry ingredient bowl, followed by the dissolved bicarbonate of soda solution. Stir thoroughly with the silicone spatula for 1 minute until every oat is evenly coated in the buttery liquid, forming a thick, clumpy, slightly sticky dough that holds together when pressed. Let the dough rest for 5 minutes at room temperature to allow oats to absorb moisture and prevent excessive spreading during baking.
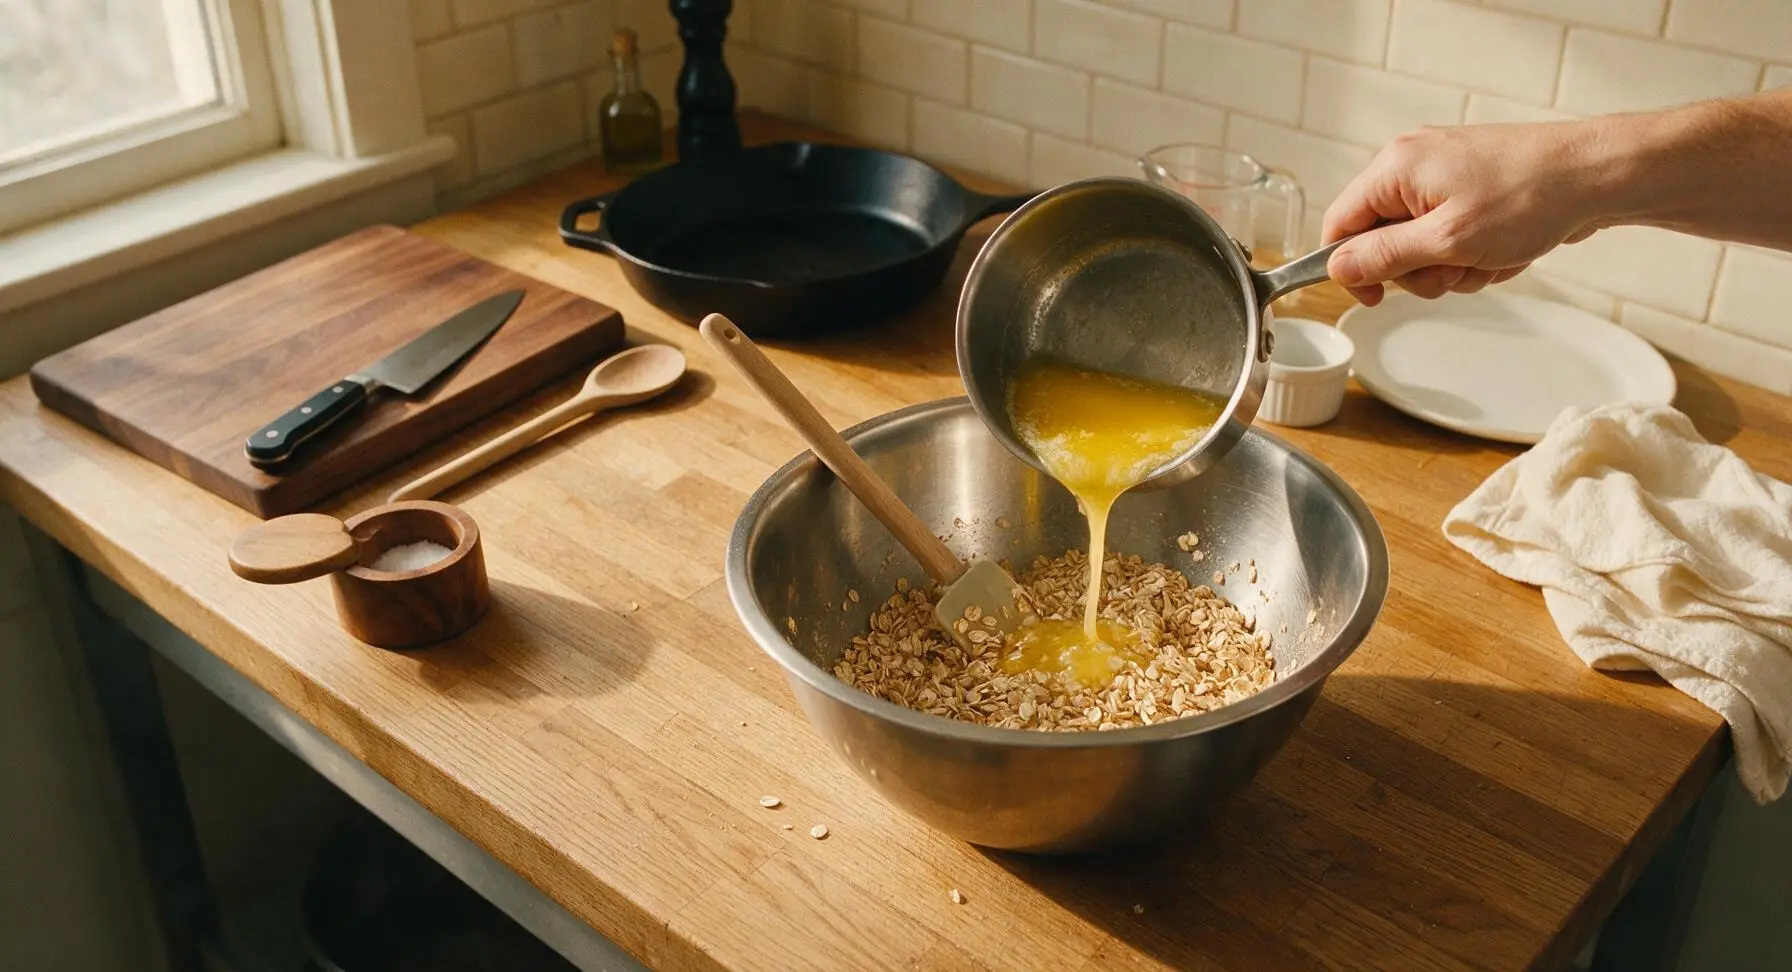
Step 4
step4:Mix Biscuit Dough
5

Portion Dough Scoops

Use the 1-tablespoon spring-loaded cookie scoop to drop level scoops of dough onto the parchment-lined baking sheet, leaving 5cm of clear space between each scoop to allow for spreading as the biscuits bake. This will yield 16 even portions total. Gently press the top of each scoop with the flat back of the silicone spatula to flatten to a uniform 1cm thickness; do not press thinner than 1cm or the biscuits will become overly crisp and fragile.
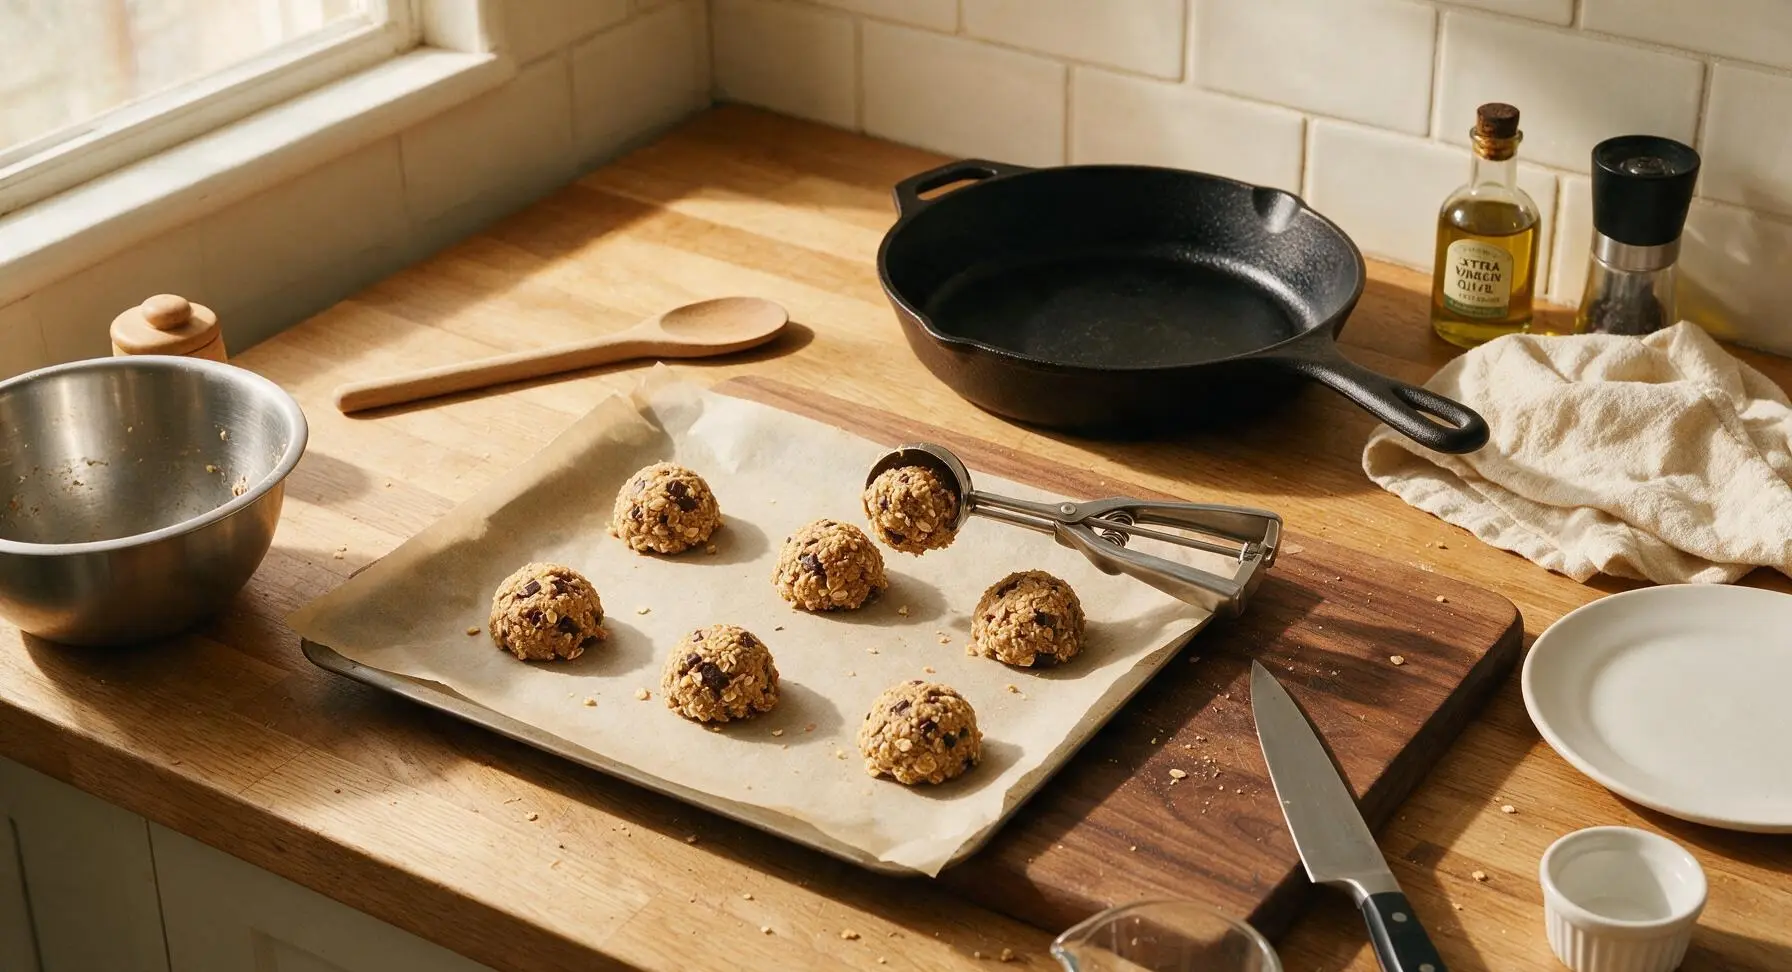
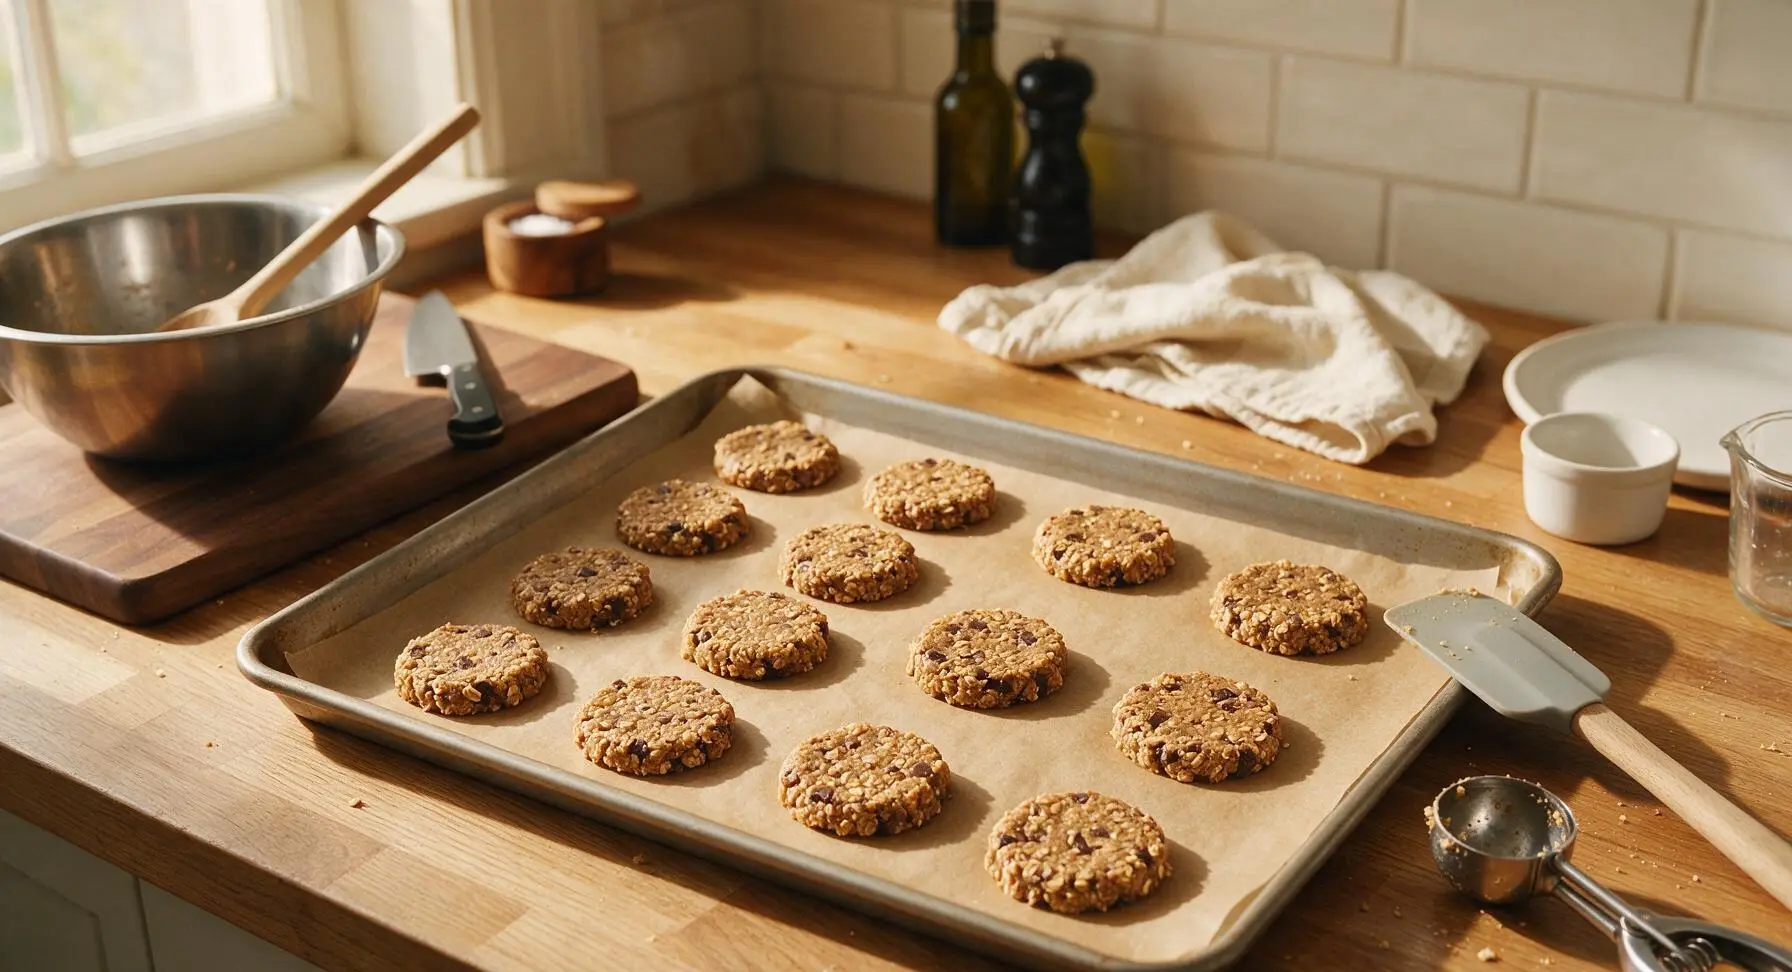
Step 5
step5:Portion Dough Scoops
Step 5
step5:Portion Dough Scoops
6

Bake Until Golden

Carefully slide the baking sheet onto the middle shelf of the preheated 180°C oven and bake for 12-14 minutes, until the biscuit edges turn a deep caramelized golden brown and the centers are just set. The biscuits will be extremely soft to the touch when removed from the oven, so resist moving them immediately. Let them rest on the hot baking sheet for 5 minutes to firm up.
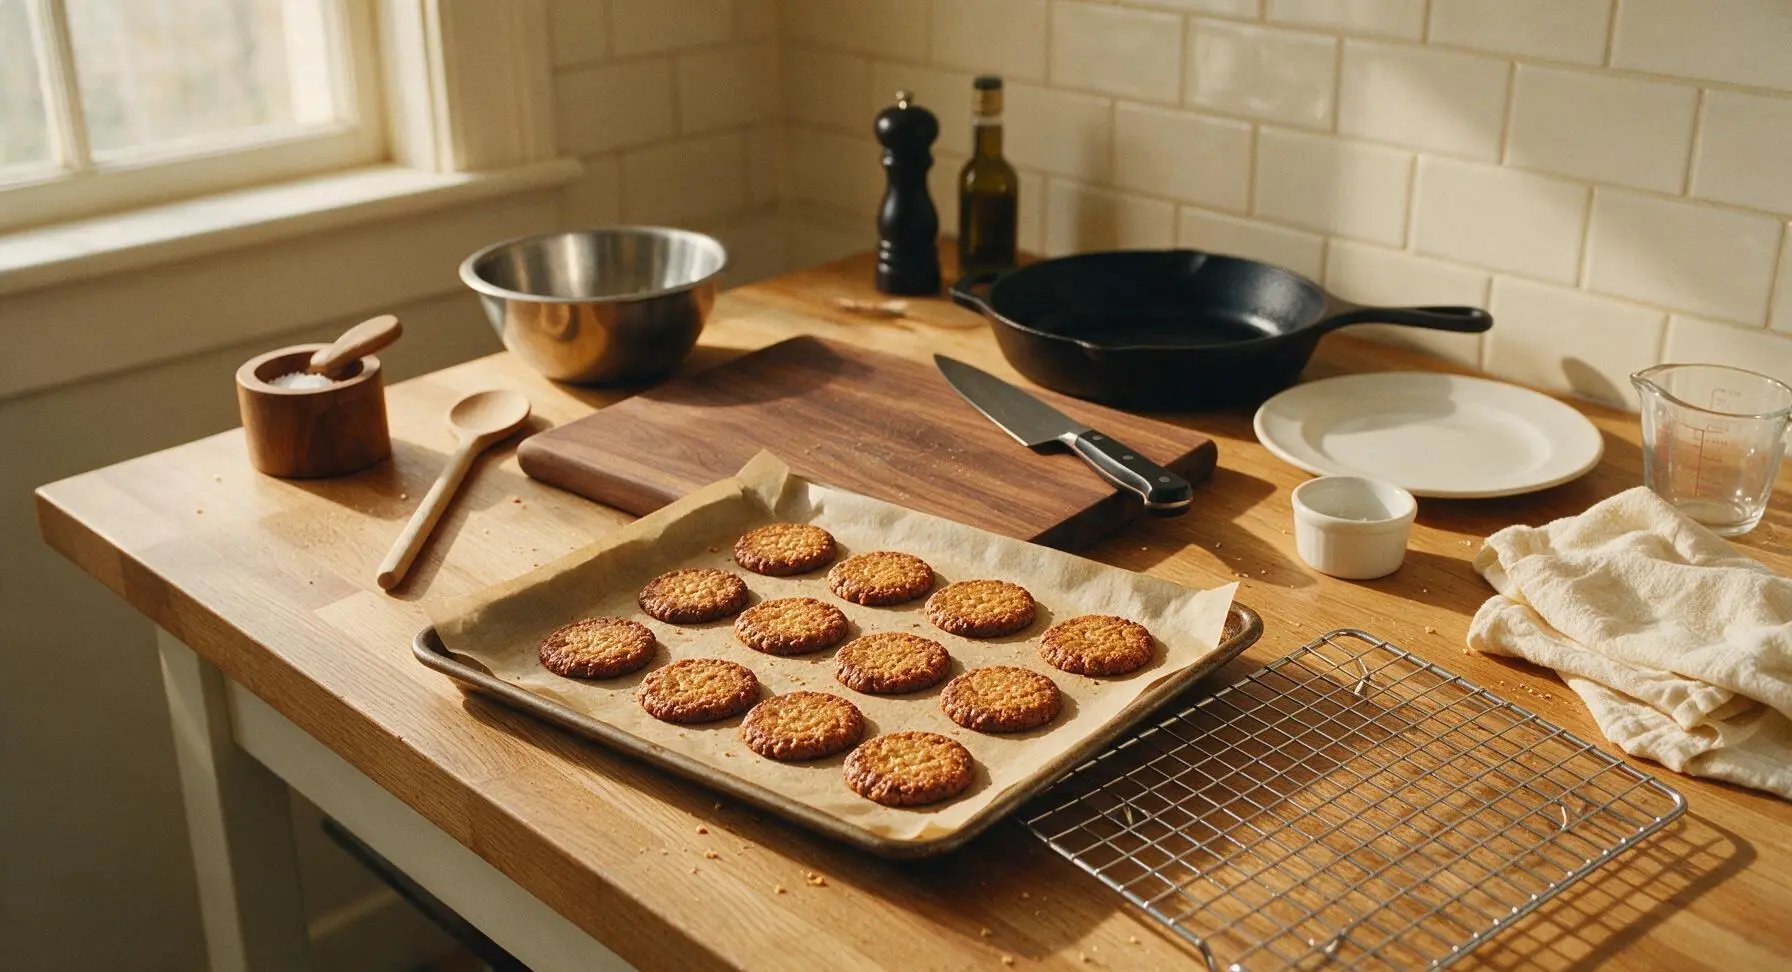
Step 6
step6:Bake Until Golden
7

Cool Biscuits Fully

After the 5-minute rest on the hot tray, use the small offset spatula to carefully lift each biscuit and transfer it in a single layer to the wire cooling rack. Let the biscuits cool completely to room temperature for 20 minutes before adding chocolate; coating warm biscuits will cause chocolate to melt, slide off, and set with a dull finish.
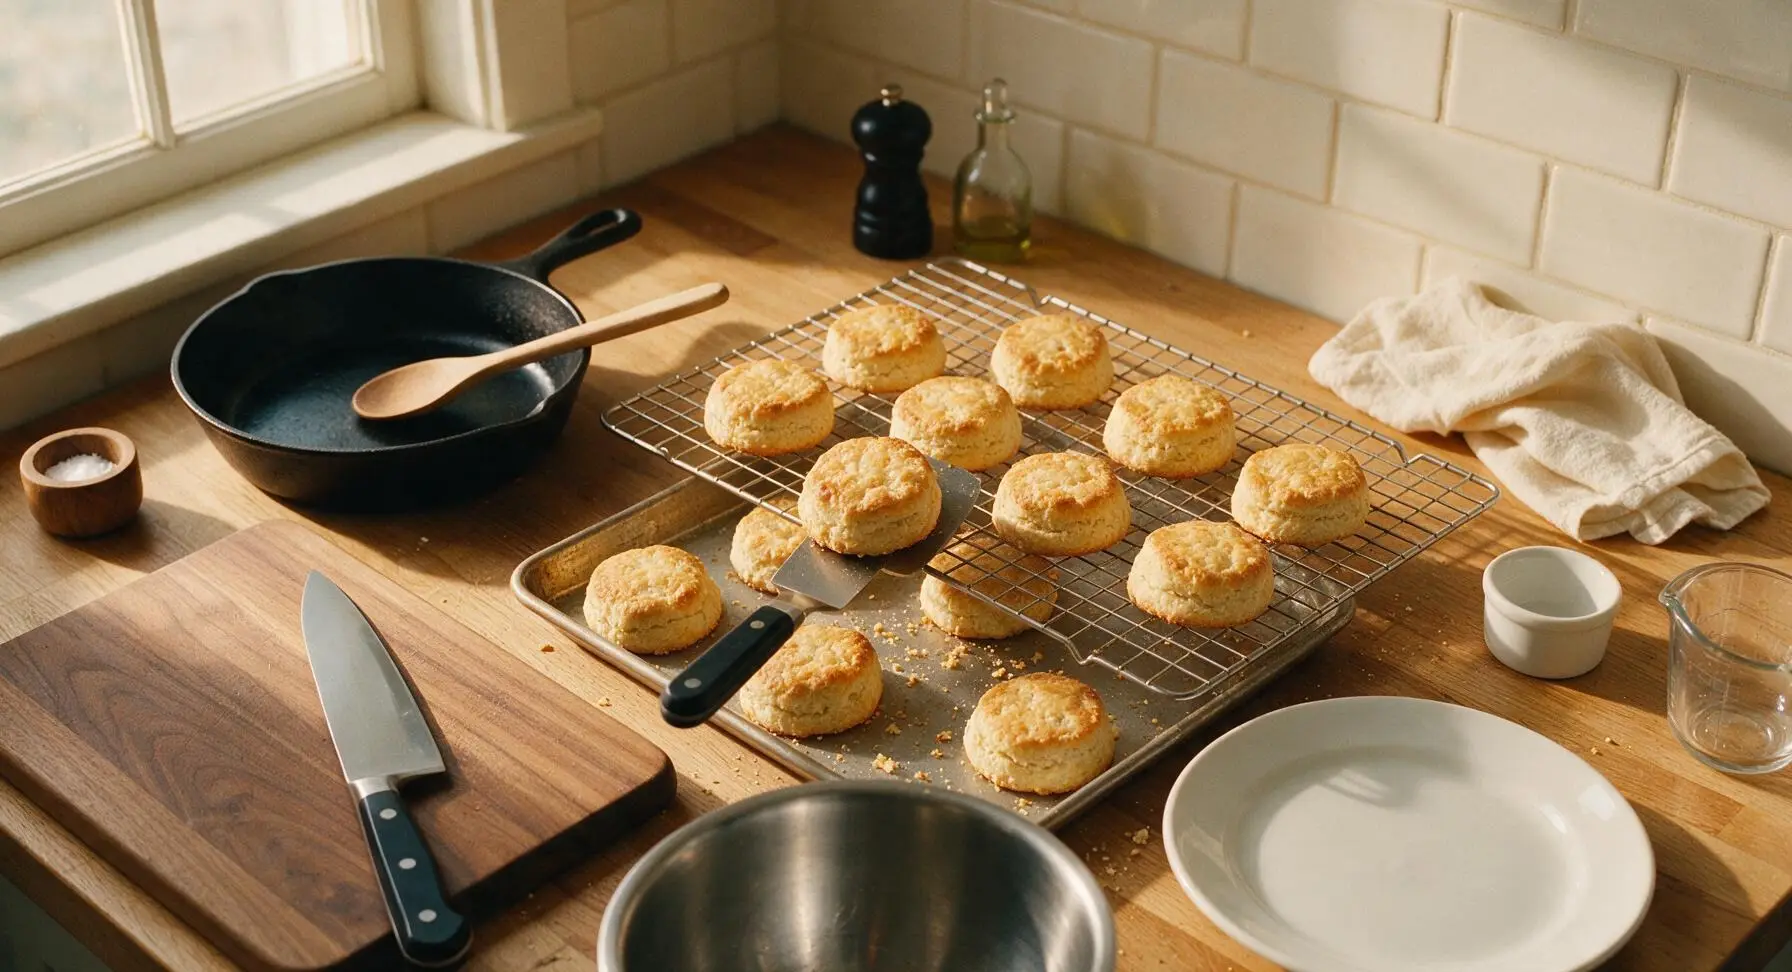
Step 7
step7:Cool Biscuits Fully
8

Coat in Dark Chocolate

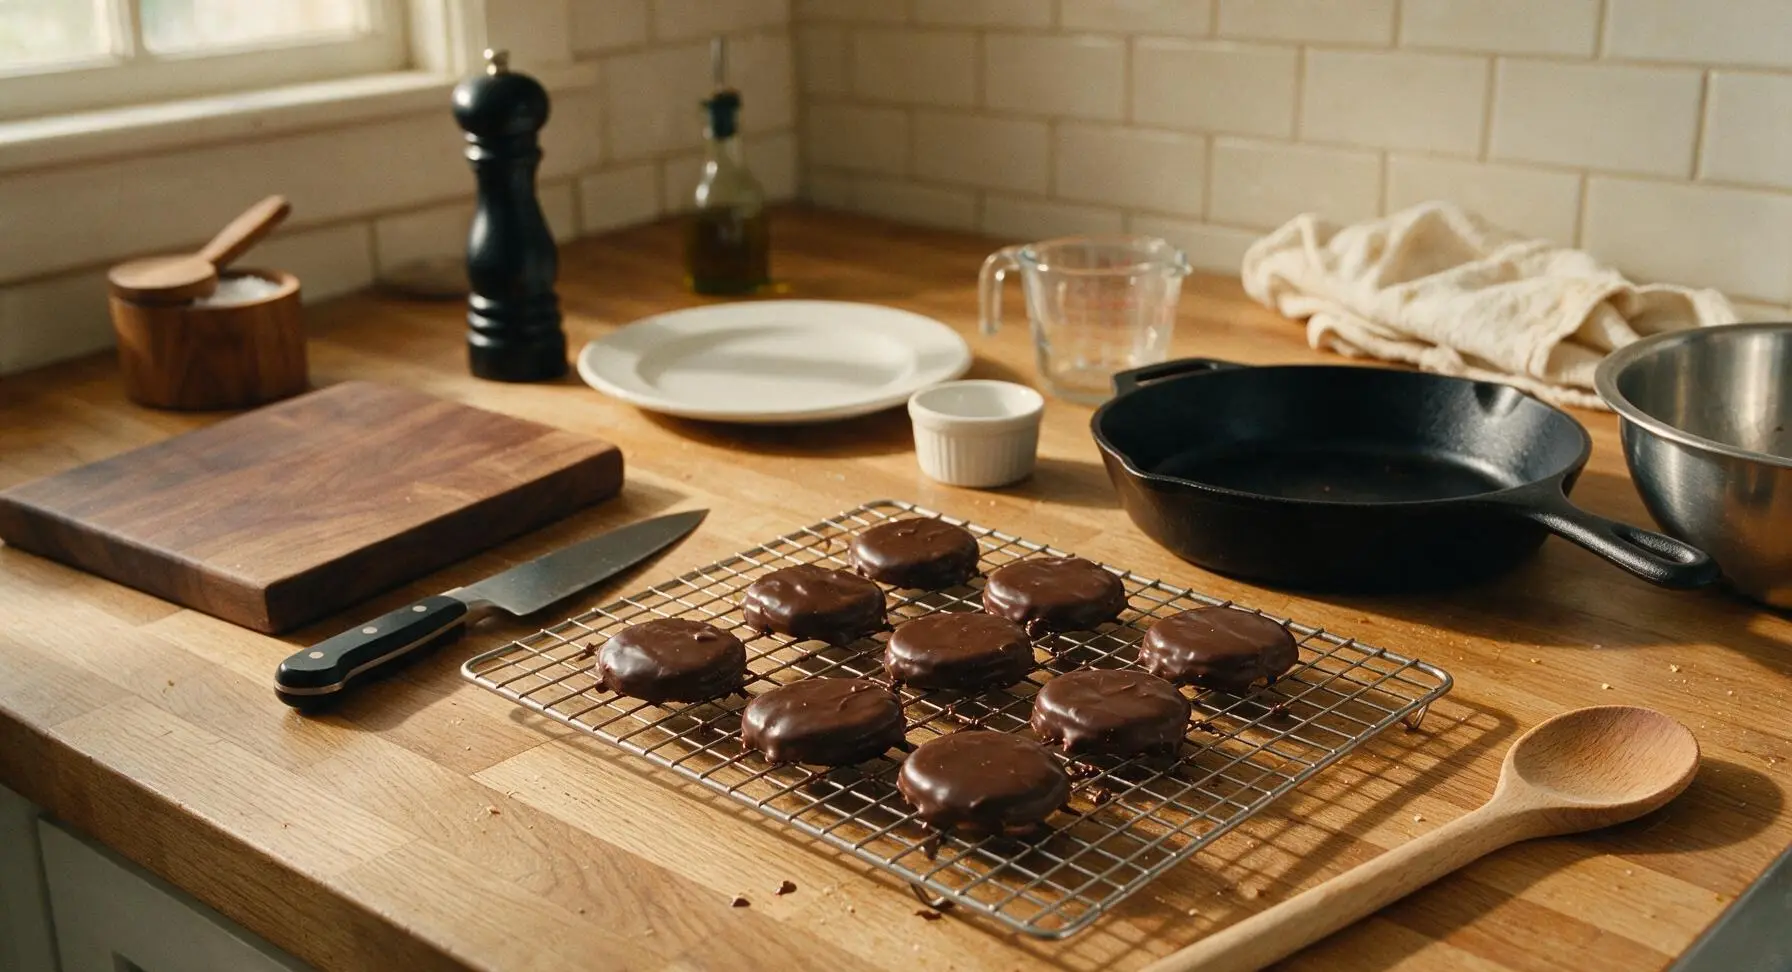
Wipe the small stainless steel saucepan clean and dry, then break the 150g dark chocolate into small even pieces and add to the pan. Set over the lowest possible heat, stirring constantly with the silicone spatula until 90% of the chocolate is melted. Remove the pan from heat and continue stirring until the chocolate is completely smooth and glossy. Hold each cooled biscuit by the edge, dip the flat underside into the melted chocolate to coat half the biscuit thickness, then scrape excess chocolate off on the pan edge. Place biscuits chocolate-side up on the cooling rack and let set for 15 minutes at cool room temperature.
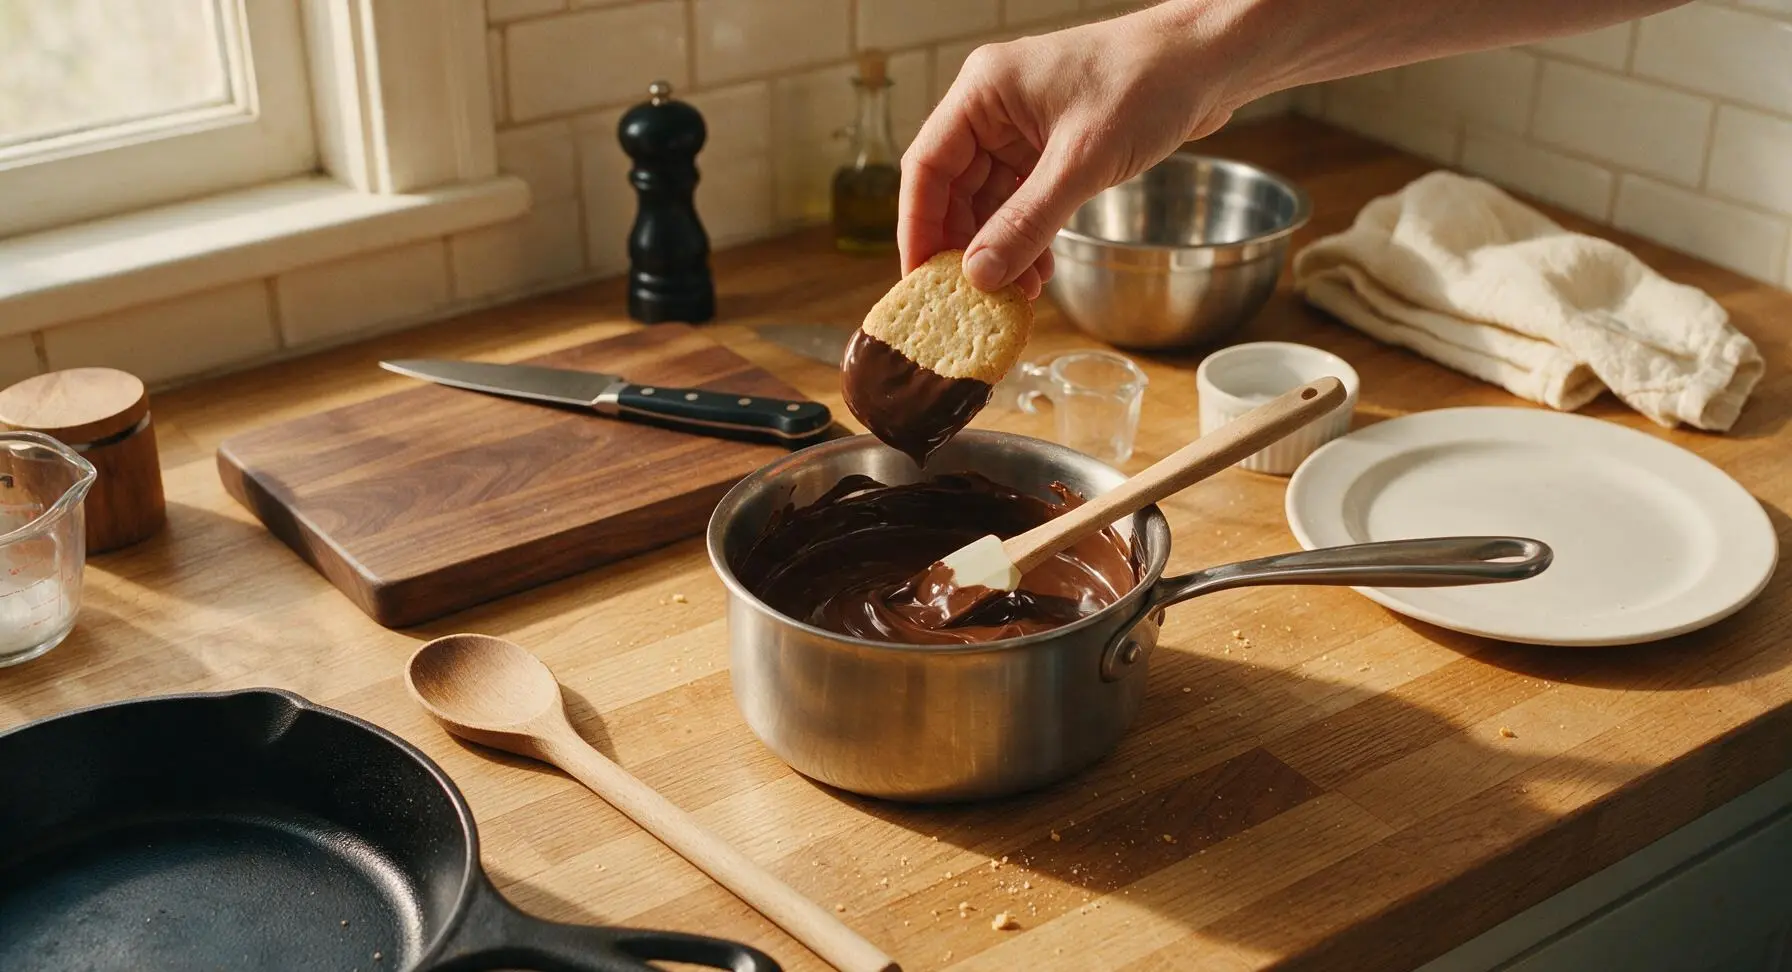
Step 8
step8:Coat in Dark Chocolate
Step 8
step8:Coat in Dark Chocolate

Tips

1.Avoid using instant/quick rolled oats for this recipe: traditional thick rolled oats create the signature chewy-crunchy hobnob texture, while finer instant oats will produce mushy, overly soft biscuits that lack structure.
2.Do not skip the 5-minute dough rest before scooping: this gives the oats time to absorb moisture from the melted butter, which reduces excessive spreading in the oven and helps the biscuits hold their classic round shape.
3.Let chocolate set at cool room temperature (16-18°C / 60-65°F) instead of in the refrigerator: cold fridge temperatures cause chocolate to develop a dull, streaky white 'sugar bloom' on the surface, rather than the smooth, glossy finish of traditional chocolate hobnobs.


✨ You May Also Like

Desserts & Baking
🍜 Italy

Creamy, coffee-kissed classic Northern Italian no-bake dessert, with layers of rum-spiked mascarpone cream, soft ladyfingers, and a rich cocoa dusting.

⏱️ 4 hours 3Desserts & Baking ★ 4.7
Desserts & Baking
🍜 France

Flaky, shatteringly crisp, buttery French croissants with golden exteriors and soft, airy layered interiors, perfect for pairing with coffee for a special morning treat.

⏱️ 12 hours Desserts & Baking ★ 4.5
Desserts & Baking
🍜 United States

Warm, spiced baked apples topped with a fluffy golden biscuit crust, this cozy dessert pairs perfectly with vanilla ice cream for cool-weather comfort.

⏱️ 55 minuteDesserts & Baking ★ 4.6
Desserts & Baking
🍜 United States

A star-spangled classic American blueberry pie with buttery flaky crust and bright sweet-tart filling, perfect for summer patriotic gatherings.

⏱️ 1 hour 25Desserts & Baking ★ 4.7
Desserts & Baking
🍜 United States

A beloved no-bake regional Maine candy with a chewy coconut-potato center coated in rich dark chocolate, a New England holiday staple since the 1870s.

⏱️ 2 hours 3Desserts & Baking ★ 4.8
Desserts & Baking
🍜 France

Luxuriously creamy, floral frozen custard made with aromatic Tahitian vanilla beans, boasting a smooth, rich texture that melts slowly on the tongue.

⏱️ 3 hours 3Desserts & Baking ★ 4.5

Chocolate Hobnobs:Frequently Asked Questions

1.What exactly are Chocolate Hobnobs? ▾
Chocolate Hobnobs are a beloved classic British oaty biscuit, known for their ultra-crunchy, buttery, slightly crumbly texture and half-coating of rich dark chocolate. Unlike chewy American oatmeal cookies, they’re thin, crisp, and not overly sweet, making them the ideal pairing for a hot mug of black tea or coffee.
2.Can I use quick oats instead of traditional rolled oats for this recipe? ▾
I don’t recommend swapping quick oats for traditional rolled oats here. Quick oats are cut finer and pre-steamed to cook faster, which will produce dense, overly soft biscuits without the signature hearty, rough oaty crunch that makes hobnobs so satisfying. Stick to full rolled oats for the best texture.
3.Why do my hobnobs spread too much when I bake them? ▾
Excess spread usually traces back to two common culprits: your butter was too warm when you mixed the dough, or you skipped chilling the dough for 15 to 20 minutes before scooping. Use butter softened just to room temperature (not melted or greasy) and chill scooped dough briefly to help biscuits hold their shape.
4.Do I have to use 70% cacao dark chocolate for the coating? ▾
70% cacao dark chocolate is traditional because its deep, slightly bitter sweetness perfectly balances the buttery, oaty, caramelized notes of the biscuit, but you don’t have to stick to it. You can use milk chocolate, semi-sweet, or even white chocolate if you prefer—just skip filled chocolates that won’t set smoothly.
5.What’s the difference between hobnobs and regular oatmeal cookies? ▾
The biggest difference is texture and flavor profile. Classic American oatmeal cookies are often thick, chewy, and loaded with mix-ins like raisins or cinnamon, while hobnobs are thinner, uniformly crisp all the way through, caramel-forward from light brown sugar, and finished with a half-coating of chocolate rather than mixed-in add-ins.
6.Can I make these Chocolate Hobnobs gluten-free? ▾
You absolutely can make gluten-free Chocolate Hobnobs with one simple swap: replace the plain all-purpose flour with a 1:1 gluten-free all-purpose baking blend that contains xanthan gum. Make sure your rolled oats are certified gluten-free to avoid cross-contamination, then follow the rest of the recipe exactly as written.
7.How thick should I shape the dough to get the classic crisp hobnob texture? ▾
For that signature crisp hobnob texture, scoop dough into 1-tablespoon balls, then flatten them to about ¼-inch thick on your lined baking sheet, leaving 2 inches of space between each to account for spread. If you leave them too thick, the centers will stay soft and chewy instead of crisping fully as they cool.
8.Why are my hobnobs soft instead of crunchy after they cool? ▾
If your hobnobs stay soft, they likely needed 1 to 2 extra minutes of bake time, or you stored them before they cooled completely. Remember that biscuits crisp up as they rest on the tray for 10 minutes after baking; if they’re still soft after that, pop them back in a 350°F oven for 2 minutes to crisp up.
9.How do I get a smooth, snappy chocolate coating that doesn’t crack when I bite into it? ▾
Temper your 70% dark chocolate gently before dipping, either in a double boiler or in 30-second microwave bursts, stirring until it hits 88 to 90°F. Dip the flat bottom of each fully cooled biscuit halfway up the side, let excess drip off, then set chocolate-side up on parchment to set at cool room temp.
10.Can I use salted butter instead of unsalted butter in this recipe? ▾
You can use salted butter if that’s what you have on hand, just cut out any small pinch of added salt the recipe calls for to avoid overly salty biscuits. Unsalted butter lets you control exact salt levels to complement the sweet oaty base and bitter dark chocolate, but salted works perfectly in a pinch.
11.How long should I bake these hobnobs for the perfect texture? ▾
Bake them in a preheated 350°F (175°C) oven for 10 to 12 minutes, until the edges are a deep golden brown and the centers look just set. Don’t overbake them to the point they turn dark brown all over, as that will create a burnt, bitter flavor instead of the warm, buttery, caramelized taste you want.
12.Can I add mix-ins like raisins or chocolate chips to the biscuit dough? ▾
Traditional hobnobs don’t have mix-ins in the dough itself, but you can add ¼ cup of add-ins per batch for a fun twist. Mini chocolate chips, finely chopped toasted walnuts, or a pinch of flaky sea salt on top work great, but skip large, wet add-ins like raisins that will make the texture soggy.
13.What’s the best way to store finished Chocolate Hobnobs? ▾
Once the chocolate coating is fully set, store hobnobs in an airtight container at cool room temperature, separated by layers of parchment paper if stacking, for up to 1 week. Don’t store them in the fridge, as condensation will make biscuits go soggy and cause the chocolate to develop a dull, frosty bloom.
14.Can I freeze these biscuits to enjoy later? ▾
Yes, Chocolate Hobnobs freeze beautifully! Let them cool fully and let the chocolate set completely, then stack them in a freezer-safe container with parchment between layers to prevent sticking. They’ll keep for up to 3 months in the freezer; just thaw at room temperature for 15 minutes before serving.
15.Why does my chocolate coating look dull and streaky after it sets? ▾
That dull, streaky finish is called chocolate bloom, and it happens when chocolate gets too hot while melting, or if you set dipped biscuits in a too-cold space like the fridge to set. Melt chocolate gently, avoid overheating it, and let it set at 65 to 70°F room temp for a shiny, snappy finish.
16.Can I use dark brown sugar instead of light brown soft sugar? ▾
Dark brown sugar has a higher molasses content, which will give your hobnobs a deeper, more intense molasses flavor and slightly chewier texture than the traditional light, caramel-forward, crisp result. If you only have dark brown sugar, mix it 50/50 with granulated sugar to get closer to the classic profile.
17.Do I really need to leave space between dough balls on the baking sheet? ▾
Yes, you absolutely need to leave 2 inches of space between each dough ball. As the butter melts in the oven, the dough spreads out into thin, round biscuits; if they’re too close together, they’ll merge into one big, uneven sheet of oaty cookie instead of forming neat, individual hobnobs with crisp edges.
18.Are these supposed to be sturdy enough to dip into tea without falling apart? ▾
That’s exactly the mark of a proper hobnob! When baked correctly to that full crisp texture, they’re sturdy enough to dip into a hot mug of tea for 2 to 3 seconds to soak up a little tea without disintegrating, which is the classic British way to enjoy them. Just don’t leave them submerged too long.

Comments (17)

2 hours ago

OMG these chocolate hobnobs are SO good! I whipped them up for my kid’s after-school snack and they were gone in 10 minutes flat — my kids loved them! 14 minute cook time? Total game changer for busy weeknights, no fancy ingredients needed either.

3 days ago

Made these for our neighborhood potluck last weekend and everyone asked for the recipe! I was worried they’d be too crumbly but they held up perfectly, and the chocolate layer on top is chef’s kiss. So easy even my 10 year old helped mix the dough!

2 days ago

So glad they were a potluck hit! It’s such a fun recipe to make with kids, thanks for sharing how it went!

1 week ago

Wait, these taste exactly like the fancy imported hobnobs I used to splurge on at the grocery store? For a fraction of the cost and 14 minutes in the oven? I’m never buying store-bought again. Perfect for dipping in my morning latte.

5 days ago

Right?! I was shocked too, I added a tiny sprinkle of flaky sea salt on top of the chocolate and it took them to the next level!

4 days ago

Love the flaky sea salt tip! That sweet-salty combo is unbeatable, so glad you’re enjoying the recipe!

5 days ago

I made these to pack on our day hike last weekend and they were the perfect energy boost! The oaty base is hearty, the chocolate doesn’t melt too easily if you keep them in a baggie, and they’re way less messy than granola bars. Only reason I’m not giving 5 stars is I wish the chocolate layer was a little thicker, but that’s an easy fix next time!

3 days ago

Such a good hiking snack idea! I’m making a double batch for our backpacking trip next month, thanks for the inspo!

yesterday

First baking project I’ve ever done that didn’t turn out burnt or lumpy! The instructions were so straightforward, 14 minutes was exactly the right cook time for my oven, and my roommates are already begging me to make another batch.

30 minutes ago

Quick question: can I make the dough ahead of time and keep it in the fridge for a couple days before baking? I want to prep these for my book club meeting on Thursday but I’m swamped Monday and Tuesday.

20 minutes ago

I did that last week! Kept the dough in the fridge for 3 days, scooped them straight onto the baking sheet and added 2 extra minutes to the cook time, turned out perfect.

10 minutes ago

Seconding this! I even froze scoops of dough for a month and baked them off when I had last minute guests, zero issues.

2 weeks ago

I doubled the chocolate layer because my family is obsessed with all things chocolate, and honestly? No regrets. These are crispy, chewy, everything I want in a cookie, and they were the perfect sweet finish to our Sunday family dinner. My wife said they’re better than the ones we had on our trip to London years ago!

1 week ago

Doubling the chocolate is always a good call in our book! We love that they measured up to the London versions you two enjoyed on your trip, that’s the highest compliment!

2 days ago

I swapped the regular flour for a 1:1 gluten free baking flour and these turned out absolutely perfect! I’ve missed hobnobs so bad since going gluten free, and this recipe is a total dream. Crispy around the edges, chewy in the middle, perfect chocolate coating.

5 minutes ago

Made these in my tiny dorm oven last night and they were a hit with my whole floor! Super cheap ingredients, no fancy equipment needed, and 14 minutes cook time means I don’t have to wait forever for a snack while I’m studying for midterms.

just now

Wait how did I not think of this? I’m so tired of eating vending machine cookies during study sessions, I’m grabbing the ingredients tomorrow!

just now

So cool that these worked out in a dorm oven! Best of luck with your midterms, hope the cookies make study sessions a little sweeter.

1 week ago

Served these alongside a pot of coffee and some fruit at my brunch last weekend and everyone raved. They’re not too sweet, which is perfect for people who don’t like super sugary morning treats. 10/10 will be in my regular rotation.

5 days ago

I brought these to my brunch too! People kept going back for seconds, I had zero leftovers by the end of the meal.

3 days ago

I was worried these would be too soft because I love super crunchy cookies, but if you leave them on the baking sheet for 5 minutes after taking them out of the oven they get that perfect crisp snap. Knocked one star off because I found them a touch sweeter than I prefer, but that’s just my personal taste! So good with a cold glass of milk after work.

2 weeks ago

Made 4 dozen of these for my kid’s school bake sale and they sold out in the first 20 minutes! I priced them at a dollar each and made enough to cover the whole 5th grade field trip fund. Can’t recommend this easy recipe enough for busy parents.

2 weeks ago

Wow, that’s amazing! So glad these helped with the field trip fund, you just can’t beat a crowd-pleasing cookie for a bake sale.

yesterday

Okay, confession: I accidentally left these in the oven 3 minutes too long because I got distracted by my dog barking at the mailman, and they were still good? Like, really good. If I can mess up the timer and they still turn out tasty, this recipe is basically foolproof.

2 hours ago

Relatable! My dog constantly distracts me mid-bake too, it’s nice to have a recipe that doesn’t punish you for a tiny timer mishap.

1 hour ago

Foolproof is exactly what we aim for! Next time if you do go a couple minutes over just keep an eye on the edges so they don’t get too dark, but we’re glad they still turned out great for you.

2 days ago

I used 70% dark chocolate for the topping instead of milk chocolate, and it balanced the sweet oaty base so well. If you’re a dark chocolate fan, definitely give that swap a shot, you won’t regret it.

1 day ago

I did the exact same swap! Next time I’m going to try adding a little orange zest to the chocolate for that chocolate-orange vibe, I feel like it’ll pair perfectly with the oats.

1 week ago

I make a batch of these every Sunday for the week’s lunch box treats, and they hold up perfectly all 5 days in an airtight container. Way cheaper and tastier than the pre-packaged cookie packs I used to buy, and my kids love picking out what sprinkles to put on top of the chocolate sometimes.

30 minutes ago

I’ve never made cookies from scratch before, I always used the pre-made refrigerated dough, and these were so easy! The instructions were super clear, I didn’t have to guess at anything, and they looked just like the photo when they were done. I felt like a real baker!

20 minutes ago

That makes us so happy to hear! There’s nothing better than nailing a first from-scratch bake, we can’t wait to hear what you make next.

just now

Brought these in for my team at work today and they’re already gone. People kept stopping by my desk to ask where I bought them, they couldn’t believe I made them at home! 14 minute cook time is perfect for weeknight baking when I don’t feel like spending hours in the kitchen after work.

just now

I need to start bringing baked goods in to my office, everyone always brings boring store-bought donuts. These look way better.

just now

I make these for my virtual team meetings and hold them up to the camera to make everyone jealous, lmao. They’re just that good.



