
Chocolate lava cake / Molten chocolate cake
intro
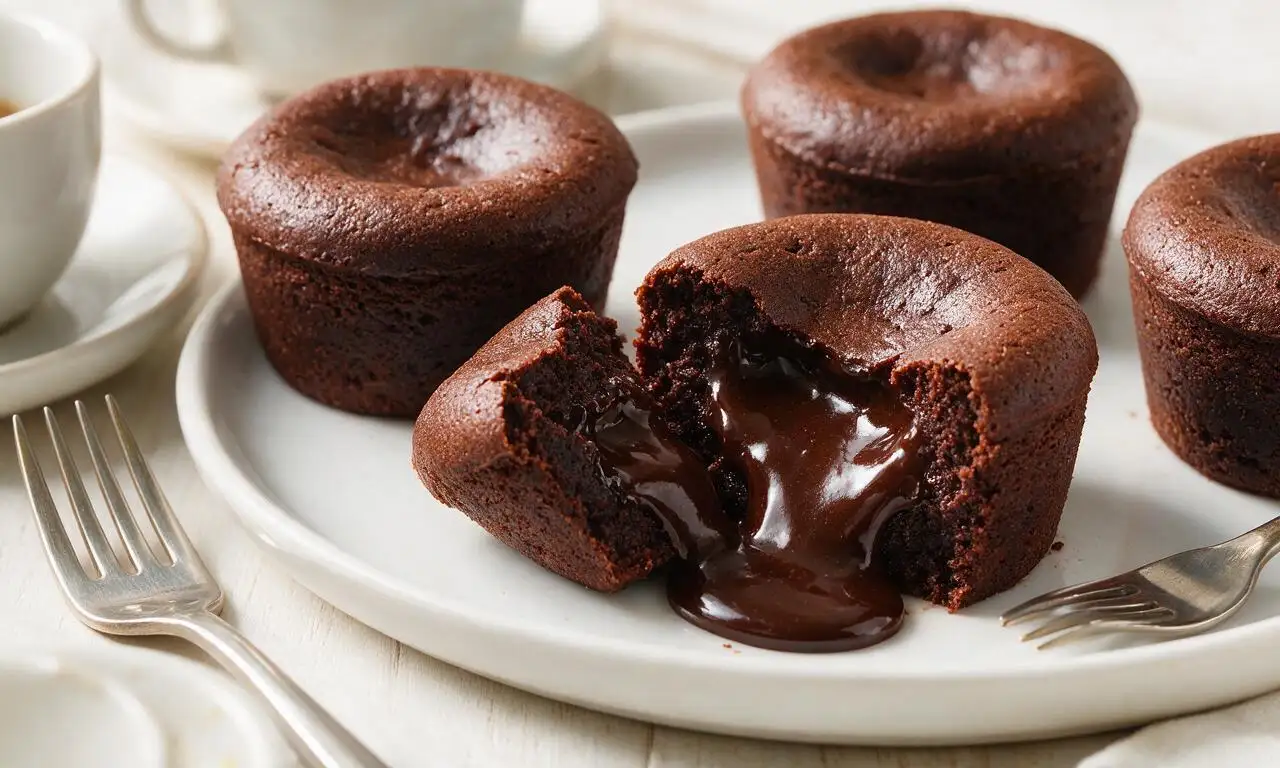
Warm, individual chocolate cakes with a silky, flowing molten center: a luxuriously indulgent treat that feels fancy but requires simple prep.
Ingredients
Steps
Prep oven and ramekins
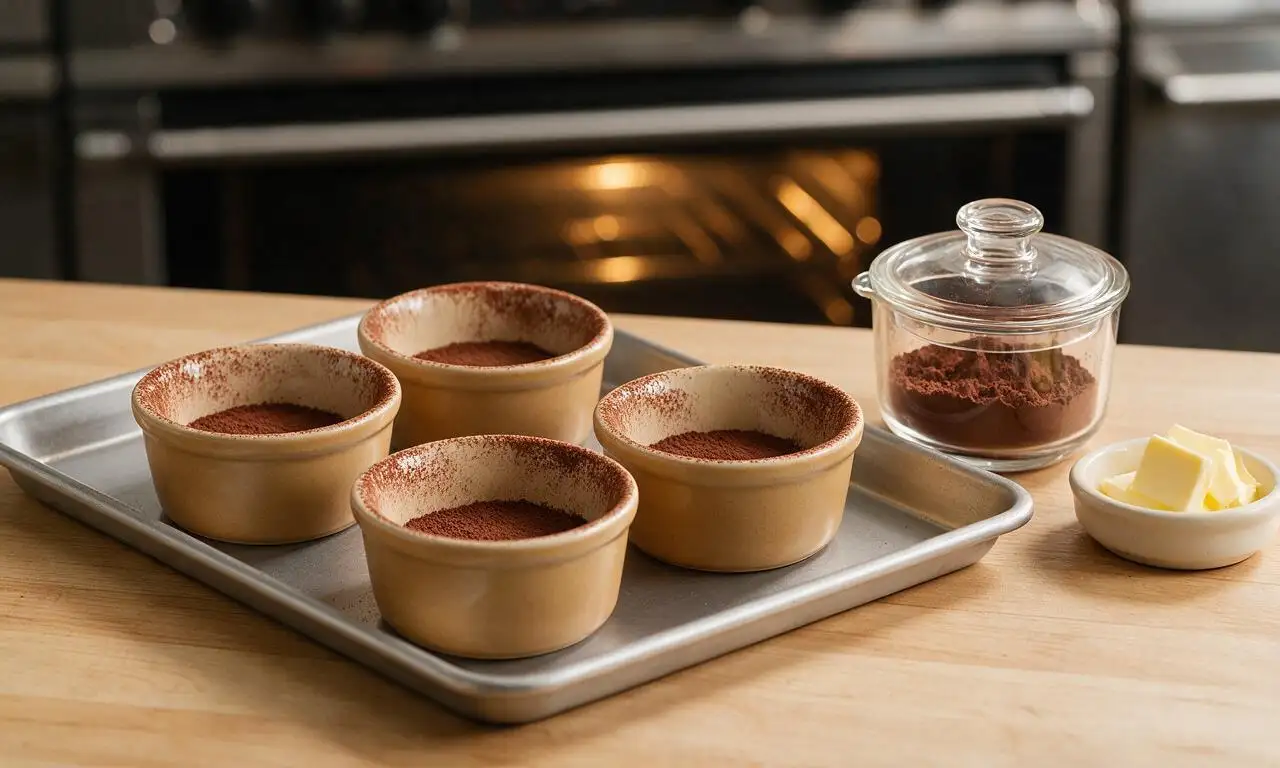
Preheat your oven to 220°C (425°F) with a rack positioned in the middle. Grease the interior of four 177ml (6 oz) ceramic ramekins evenly with 1 tablespoon softened butter, then dust each inside surface with 1/4 teaspoon cocoa powder, tapping out excess to fully coat sides and bottom. Set ramekins on a small rimmed baking sheet for easy transfer.
Melt chocolate and butter
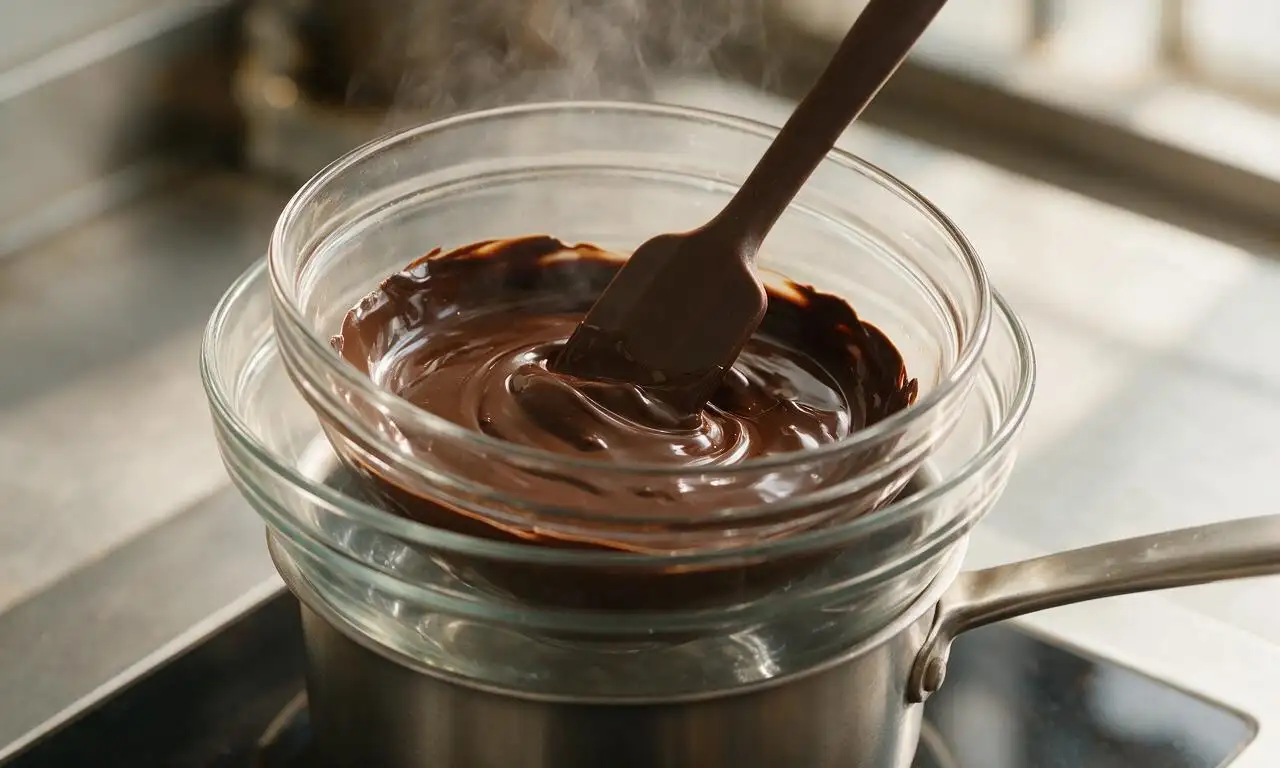
Place finely chopped 170g dark chocolate and cubed 113g unsalted butter in a heatproof glass bowl. Set the bowl over a saucepan of gently simmering water (double boiler, ensure the bowl does not touch the water) and stir constantly with a silicone spatula over medium-low heat for 2-3 minutes until completely smooth and melted. Remove the bowl from heat and let cool for 3 minutes.
Whisk egg sugar base
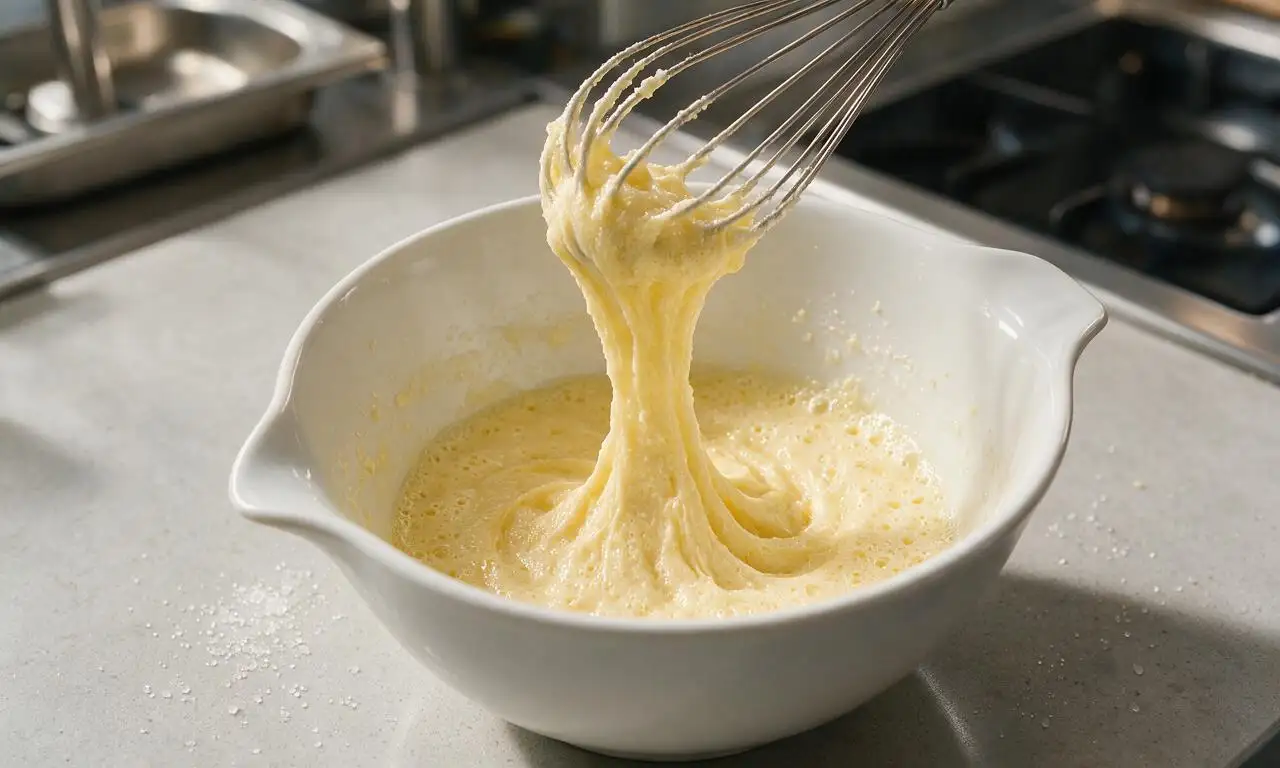
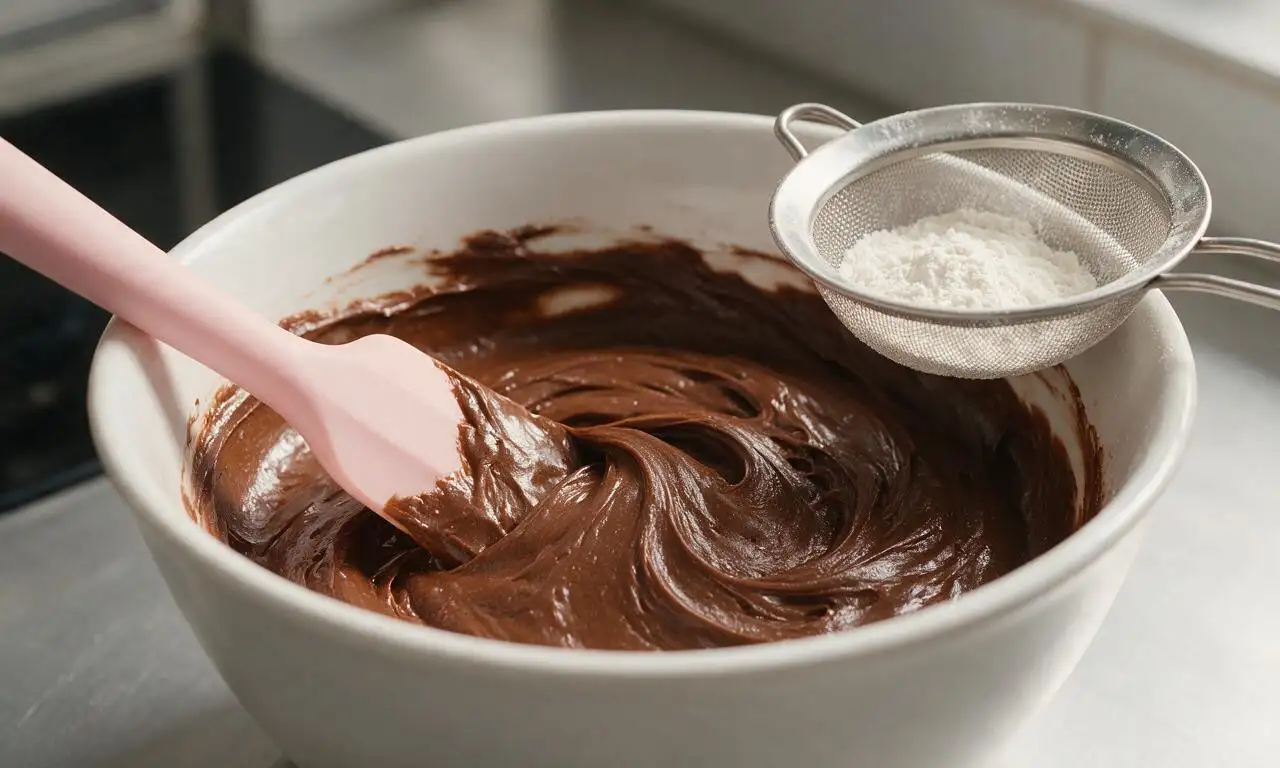
In a medium white mixing bowl, combine 2 whole large eggs, 2 large egg yolks, 50g granulated sugar, 1 teaspoon vanilla extract, and 1/4 teaspoon fine sea salt. Whisk vigorously by hand for exactly 2 minutes until the mixture turns pale yellow, thickens slightly, and leaves a slow, thin ribbon when the whisk is lifted 5cm above the bowl surface.
Fold batter components
Slowly pour the slightly cooled melted chocolate mixture into the egg base, stirring gently with a silicone spatula until fully combined with no light yellow streaks remaining. Sift 30g all-purpose flour evenly over the top of the mixture, then fold with light, turning motions just until no dry flour is visible. Do not overmix, as this will create a tough, dense cake.
Bake to perfect doneness
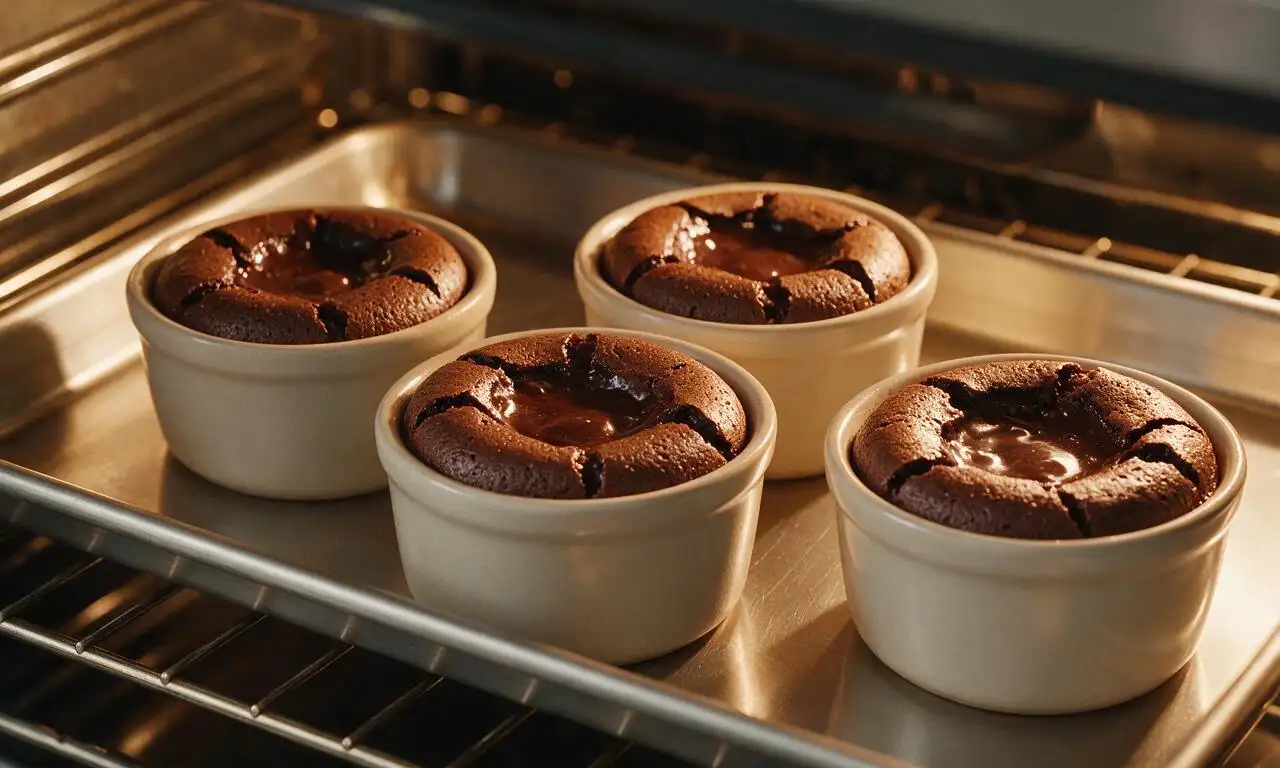
Divide the batter evenly between the four prepared ramekins, filling each to 3/4 of its total capacity. Bake on the middle oven rack at 220°C (425°F) for 10-12 minutes: the cake edges will be fully set and firm to a light touch, while the very 2cm center will look slightly jiggly and underbaked (this is the molten core). Do not bake longer than 12 minutes, as the center will set completely.
Unmold and serve warm
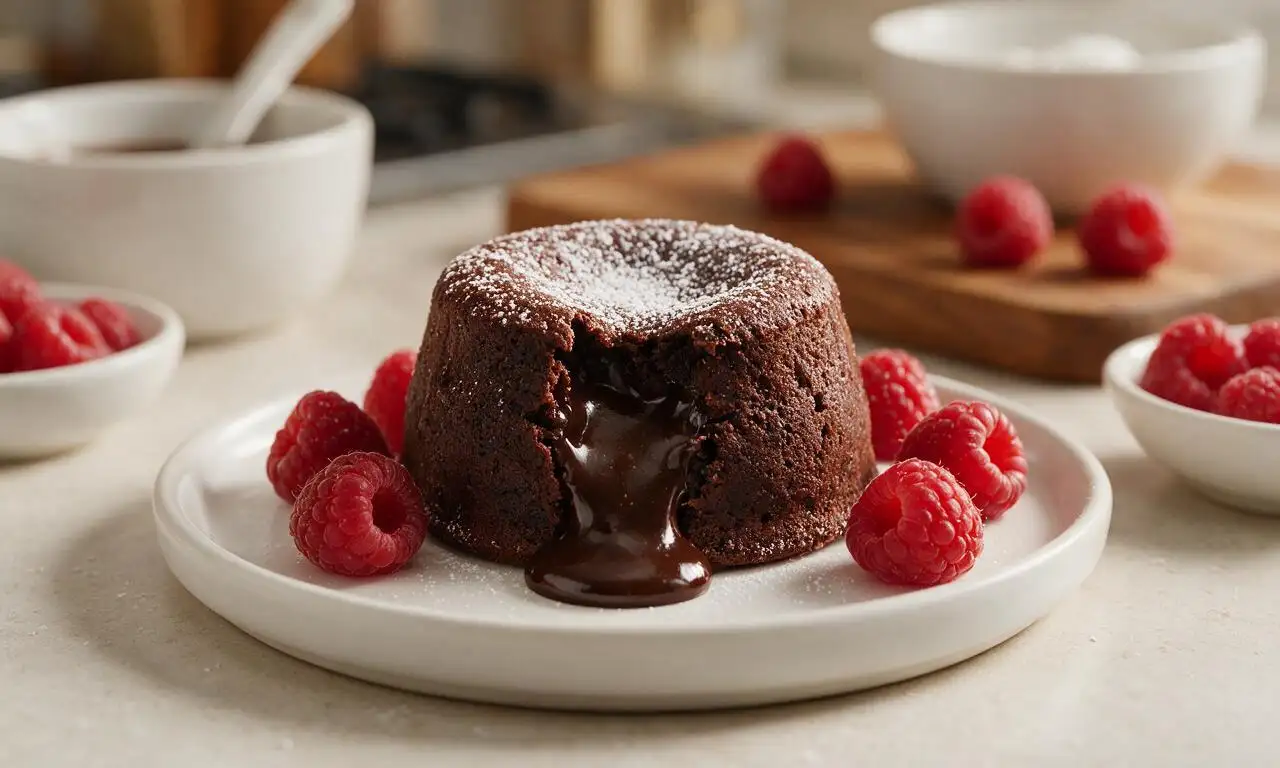
Remove the baking sheet from the oven and let cakes rest in ramekins for exactly 1 minute (longer resting will let residual heat set the molten center). Place a small dessert plate upside down over each ramekin, grip the plate and ramekin firmly with oven mitts, and flip quickly in one smooth motion. Let sit 10 seconds, then lift the ramekin straight up to release the cake. Dust tops with 1 tablespoon powdered sugar if desired, and serve immediately.
Tips
2.Avoid using chocolate chips for this recipe: They contain added waxes and stabilizers that prevent smooth melting and create a grainy center. Opt for high-quality 60-70% cacao dark baking chocolate, chopped into small even pieces, for the silkiest lava.
3.Timing is non-negotiable: Set a kitchen timer as soon as you place the cakes in the oven. Even 2 minutes of extra bake time will fully set the center, eliminating the signature molten lava texture.






OMG y’all, this lava cake was an absolute game changer for my anniversary dinner last night! The center was perfectly gooey, not runny enough to make a mess but just molten enough to feel decadent. Served it with a scoop of vanilla bean ice cream and fresh raspberries, my partner literally asked if I ordered it from a fancy steakhouse. 10/10 will make again for every special occasion!
Made these for my kids’ after-school treat this week and they went INSANE for them. I was worried the difficulty marked medium would mean I’d mess it up, but the steps were so straightforward! Even my 10 year old helped stir the batter, no spills, no lumps, perfect molten center every time. We skipped the fancy garnish and just added a dollop of whipped cream, SO good.
Solid lava cake recipe! Mine came out a tiny bit more set in the center than I wanted, probably left them in the oven 2 minutes too long, but the flavor was spot on. Rich, chocolatey, not too sweet. Will definitely set a timer for 11 minutes next time instead of 13 like I did.
Wait, quick question—can I make the batter ahead of time and refrigerate it until I’m ready to bake? I’m having friends over for game night and don’t want to be stuck in the kitchen mixing batter while everyone’s hanging out. Tasted the test batch I made last night and it was chef’s kiss, just trying to plan ahead!
Made these for a dinner party with my hiking crew last weekend and every single person asked for the recipe. I used 70% cacao dark chocolate instead of semi-sweet because I love that deep, bitter-sweet chocolate flavor, and it paired amazing with the salted caramel sauce I drizzled on top. Absolute crowd pleaser.
Just pulled these out of the oven 10 minutes ago and I’m already halfway through mine. No joke, this is better than the lava cake I paid $14 for at the fancy Italian place downtown last month. The texture is perfect, the chocolate flavor is so rich, I can’t believe how easy it was to pull off for a weeknight treat.
Flavor was great, but I tried swapping in a 1:1 gluten free flour blend and the texture was a little grainy. Wondering if I did something wrong, or if there’s an adjustment I need to make for GF flour? I baked them for the exact time listed too.
Guys. I’m a broke college student with literally zero fancy baking equipment, no ramekins even, and I made these in greased mugs in my little toaster oven! 12 minutes, came out perfect. My roommates are losing their minds, we already ate two batches. Game. Changer.
Made these for my book club meeting last week, paired with a bold cabernet sauvignon, and it was the perfect pairing. Everyone was raving so much we barely talked about the book! The cook time was exactly 30 minutes start to finish, which was perfect because I was running late from work and didn’t have time for a complicated dessert.
I was so intimidated to make lava cake because I thought you had to be a trained pastry chef to get that molten center right, but this recipe was foolproof! I followed the directions exactly, set my timer, didn’t peek while they baked, and they came out perfect on the first try. Served them with powdered sugar and strawberries for my mom’s birthday dinner, she cried a little (happy tears, promise).
Really great recipe! I added a pinch of cayenne pepper to the batter for a little Mexican chocolate kick, and it was so good with the cinnamon whipped cream I made to go with it. Only reason it’s 4 stars instead of 5 is I wish the recipe had a note about adjusting baking time for different sized ramekins, I used slightly bigger ones and had to add 3 minutes.
Just made these for a quick date night in with my girlfriend, and she said it’s better than any dessert we’ve gotten on our dates out. I didn’t have any ice cream so I used the leftover chocolate hazelnut spread I had in the pantry as a little center dollop, and it oozed out so perfectly. Will be making this every Friday night from now on tbh.
Okay so full transparency, I forgot to butter and flour my ramekins the first time I made these, and they completely stuck when I tried to flip them onto plates. Ended up just eating them straight out of the ramekins with a spoon, and they still slapped. Tried again yesterday, properly prepped the ramekins, flipped them perfectly, and they looked just like the photos. Don’t skip the prep step y’all, learn from my mistake!
Brought these to my neighborhood potluck last Saturday and they were gone in literally 5 minutes. People were coming up to me for the recipe before I even finished setting up my side dish! I dusted them with a little cocoa powder instead of powdered sugar for a deeper chocolate look, and they looked so fancy on the platter.
Added a teaspoon of instant espresso powder to the batter to amp up the chocolate flavor, and holy cow that was the best decision I’ve made all week. The espresso doesn’t make it taste like coffee, it just makes the chocolate taste so much richer and deeper. Served it with a side of cold brew, perfect weekend pick-me-up dessert.
Made these as the first dessert in my new kitchen after getting married last month, and my husband said I’m officially banned from ever making a different dessert again. They were so fluffy on the outside, gooey on the inside, exactly what a lava cake should be. The 30 minute cook time was perfect for a weeknight when we both got home late from work.
Made these with my 7 year old, and we used milk chocolate instead of dark/semi-sweet because that’s what we had in the house. They were a little sweeter than we expected, but my kid absolutely devoured his, so that’s a win in my book! Wondering if I mix half milk and half semi-sweet next time if that’ll balance the sweetness out a bit?
I’m not much of a baker, usually I just order takeout for every meal, but I decided to try this for my roommate’s birthday since lava cake is his favorite. Followed the directions word for word, didn’t cut any corners, and it came out perfect. He thought I bought it from the fancy bakery down the street, I’m never telling him how easy it was. 😉
I know lava cake is supposed to be a treat, but I swapped the regular sugar for monk fruit sweetener and used whole wheat pastry flour, and it still came out insanely good! Perfect for when I’m craving something chocolatey but don’t want to totally derail my meal prep for the week. Topped it with a little Greek yogurt instead of ice cream, no regrets.