
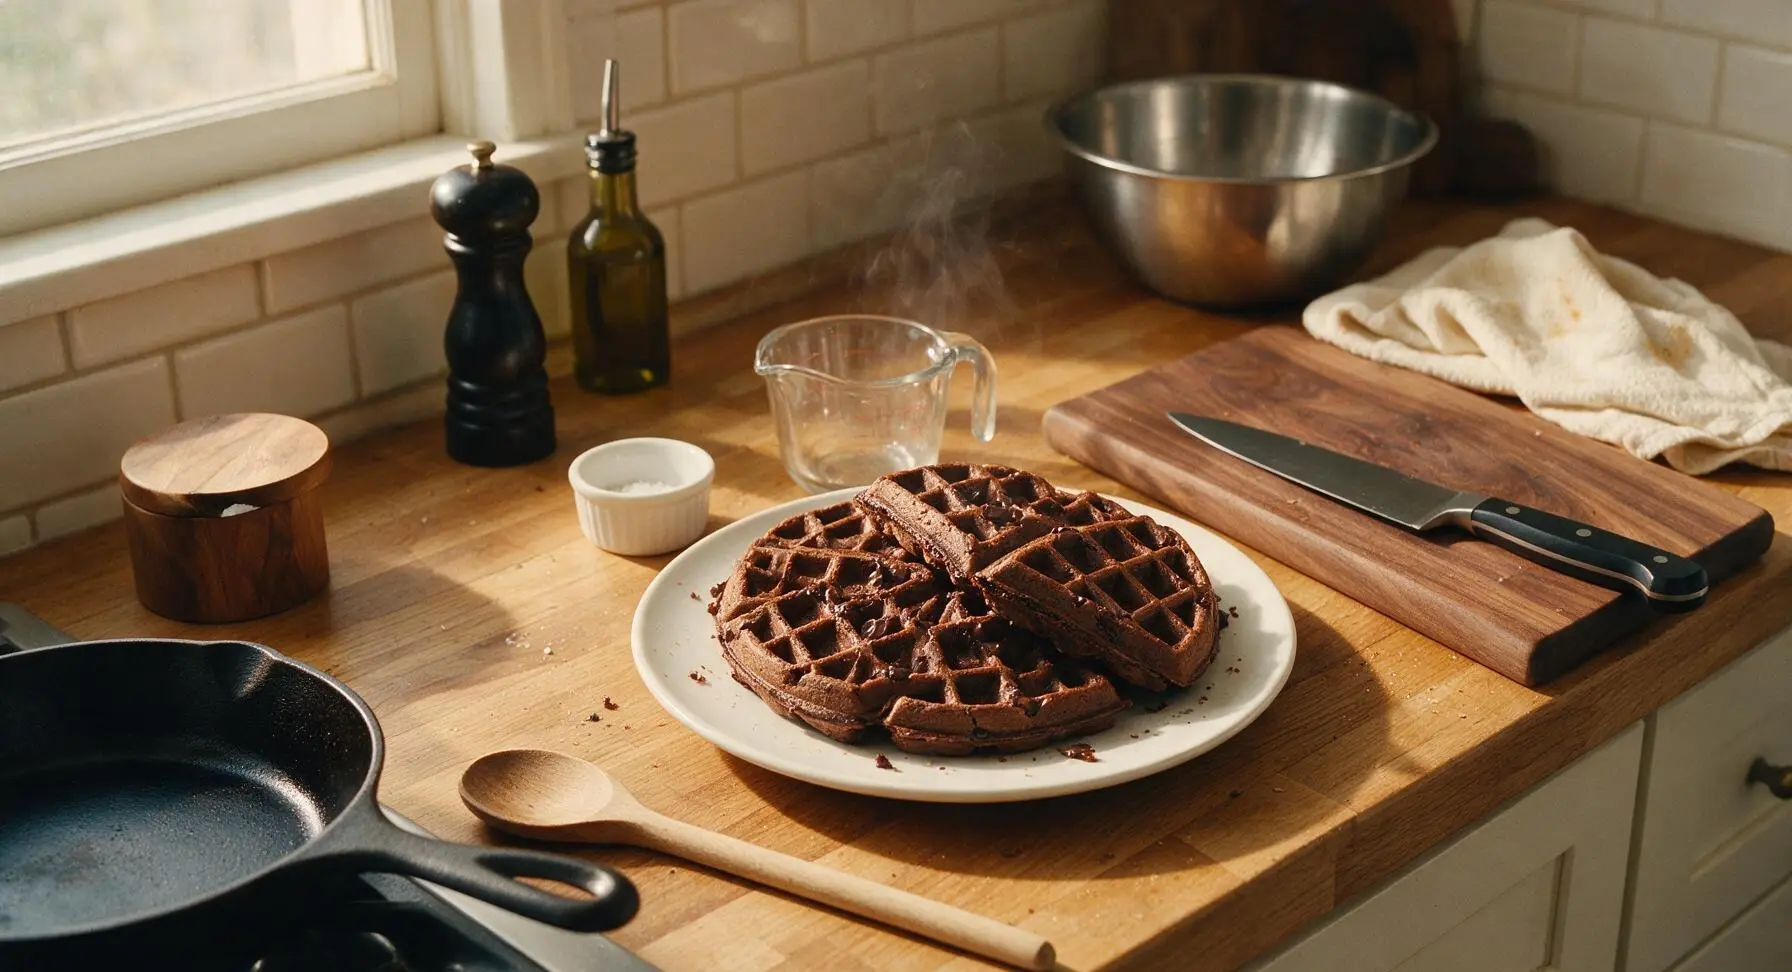
Chocolate Waffle

title 1
Chocolate Waffle
⏱️ cook time 15 minutes
🍽️ servings 4
⚡ Difficulty easy

intro

Crisp-edged, fluffy, deeply chocolatey diner-style waffles, warm from the iron with melted chocolate bits, perfect for a quick, cozy weeknight treat.

Ingredients
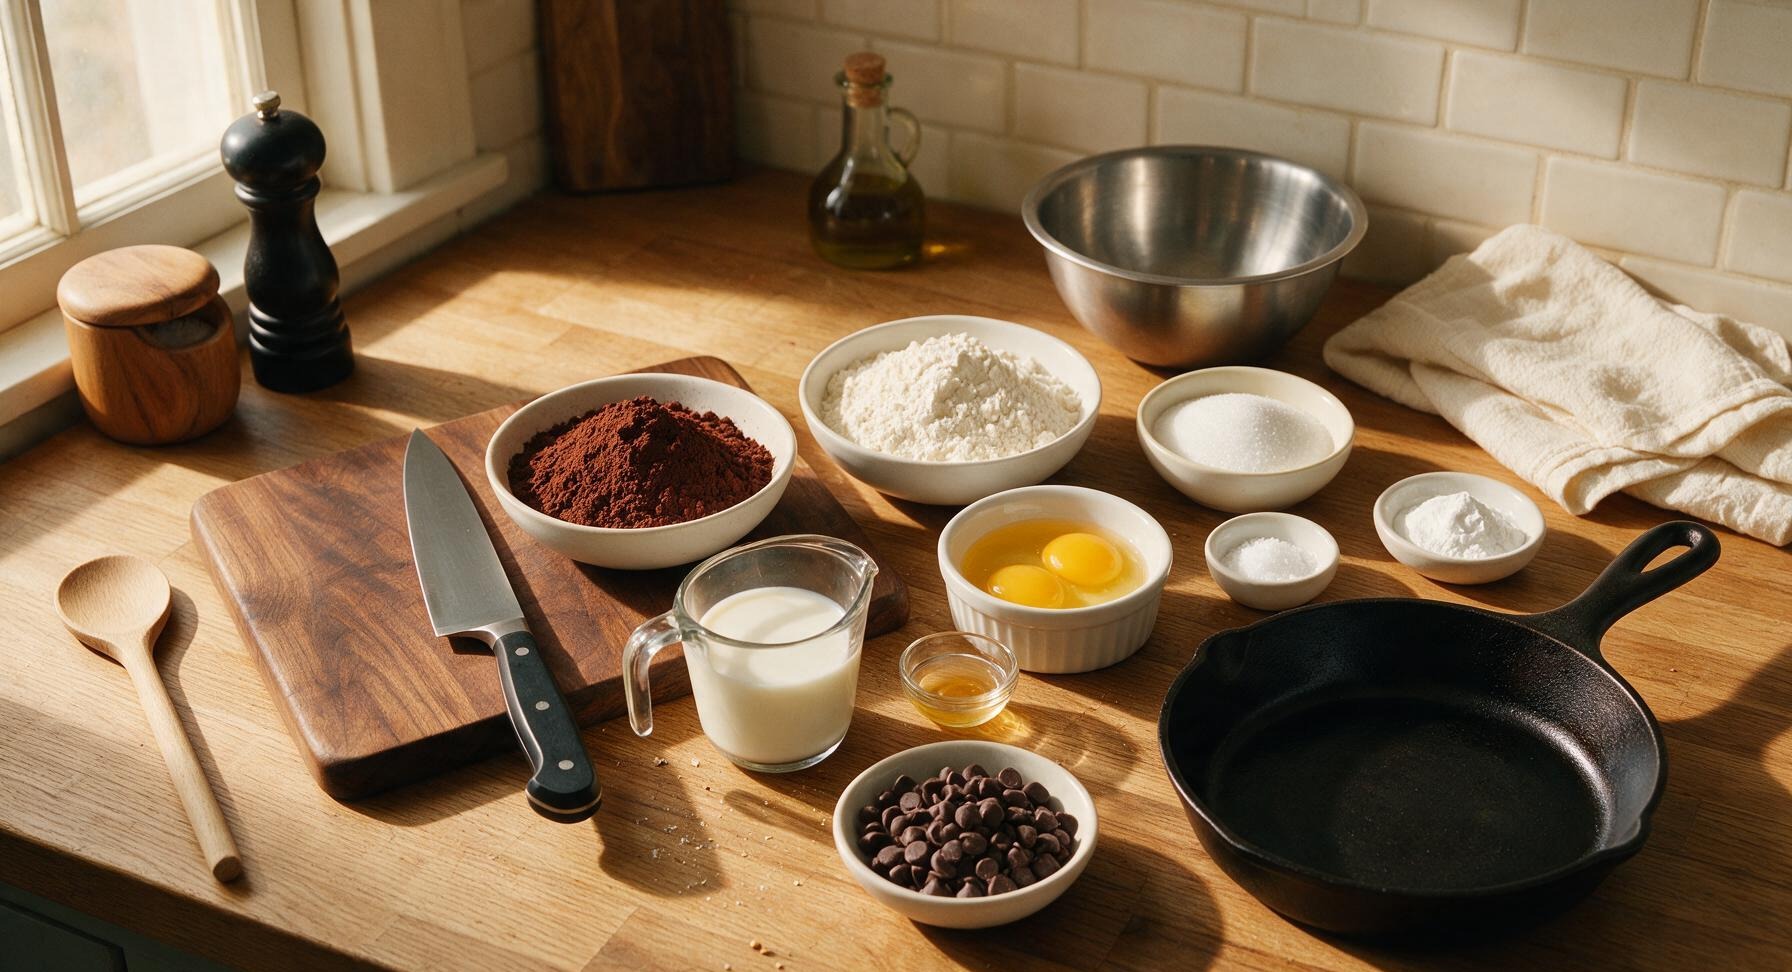
All-purpose flour 180g (1.5 cups)
Dutch-processed unsweetened cocoa powder 50g (1/2 cup)
Granulated sugar 50g (1/4 cup)
Baking powder 2 tsp
Baking soda 1/2 tsp
Fine sea salt 1/4 tsp
Large eggs 2 whole
Whole milk 240ml (1 cup)
Unsalted butter, melted and cooled 57g (4 tbsp)
Pure vanilla extract 1 tsp
Semi-sweet chocolate chips 85g (1/2 cup)

Steps

1

Preheat Waffle Iron

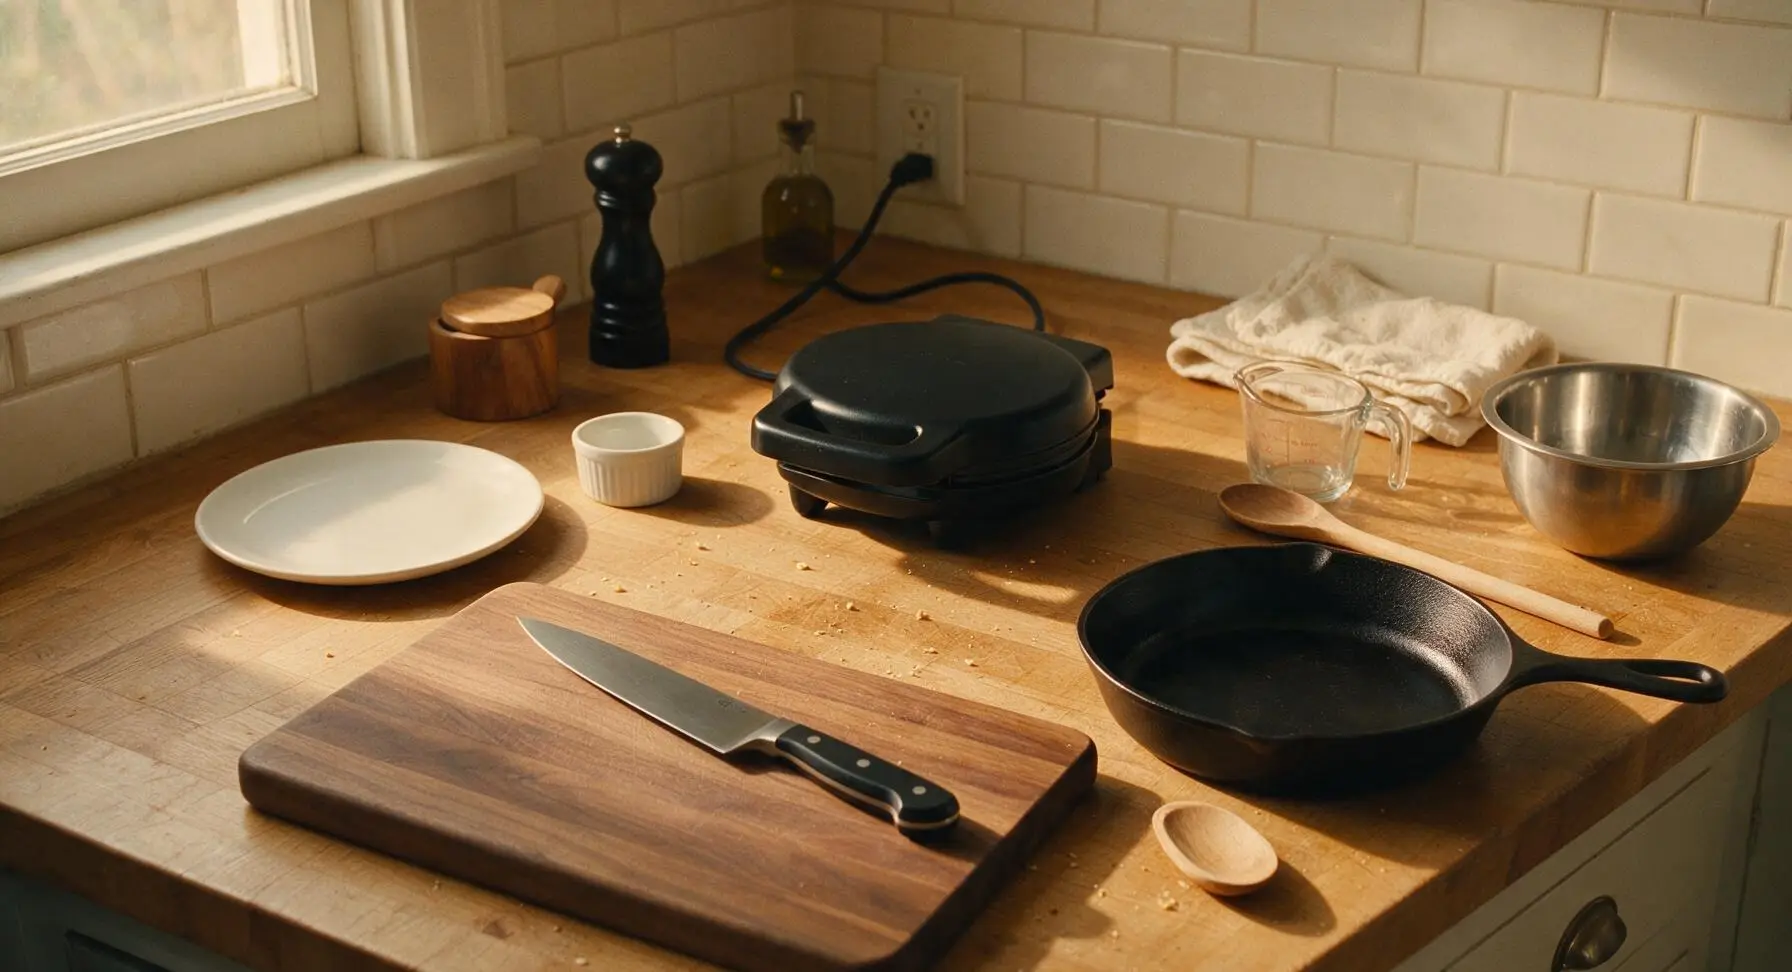
Remove the matte black waffle iron from lower cabinet storage, place it at center-back of the counter, and plug it in to preheat to medium-high setting (375°F / 190°C). The iron is ready when a drop of water sizzles and evaporates within 2 seconds of hitting the plate; this takes approximately 5 minutes. Lightly coat non-stick plates with a thin layer of melted butter only if you notice sticking in past uses.
Step 1
step1:Preheat Waffle Iron
2

Whisk Dry Ingredients

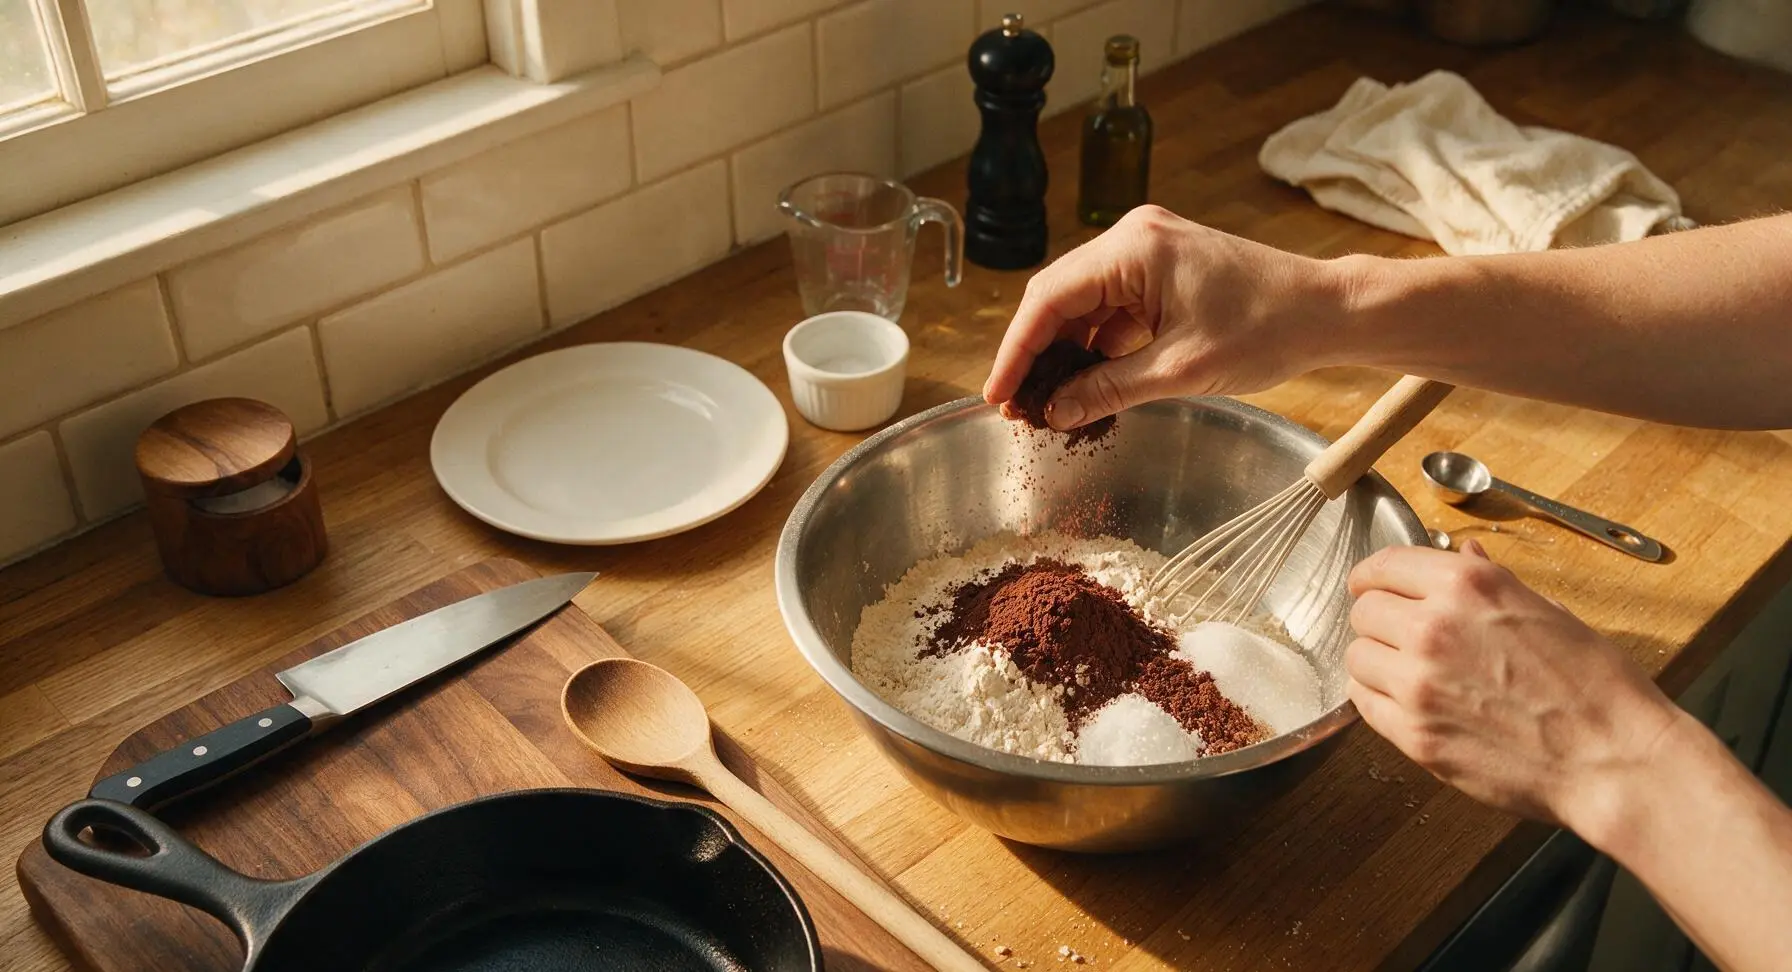
Place the large stainless steel mixing bowl in the center of the counter. Add all-purpose flour, Dutch-processed cocoa powder, granulated sugar, baking powder, baking soda, and fine sea salt to the bowl. Use the silicone whisk to stir the dry ingredients together for 30 seconds until fully combined, with no visible clumps of cocoa powder remaining. Break up any small cocoa lumps against the side of the bowl as you stir.
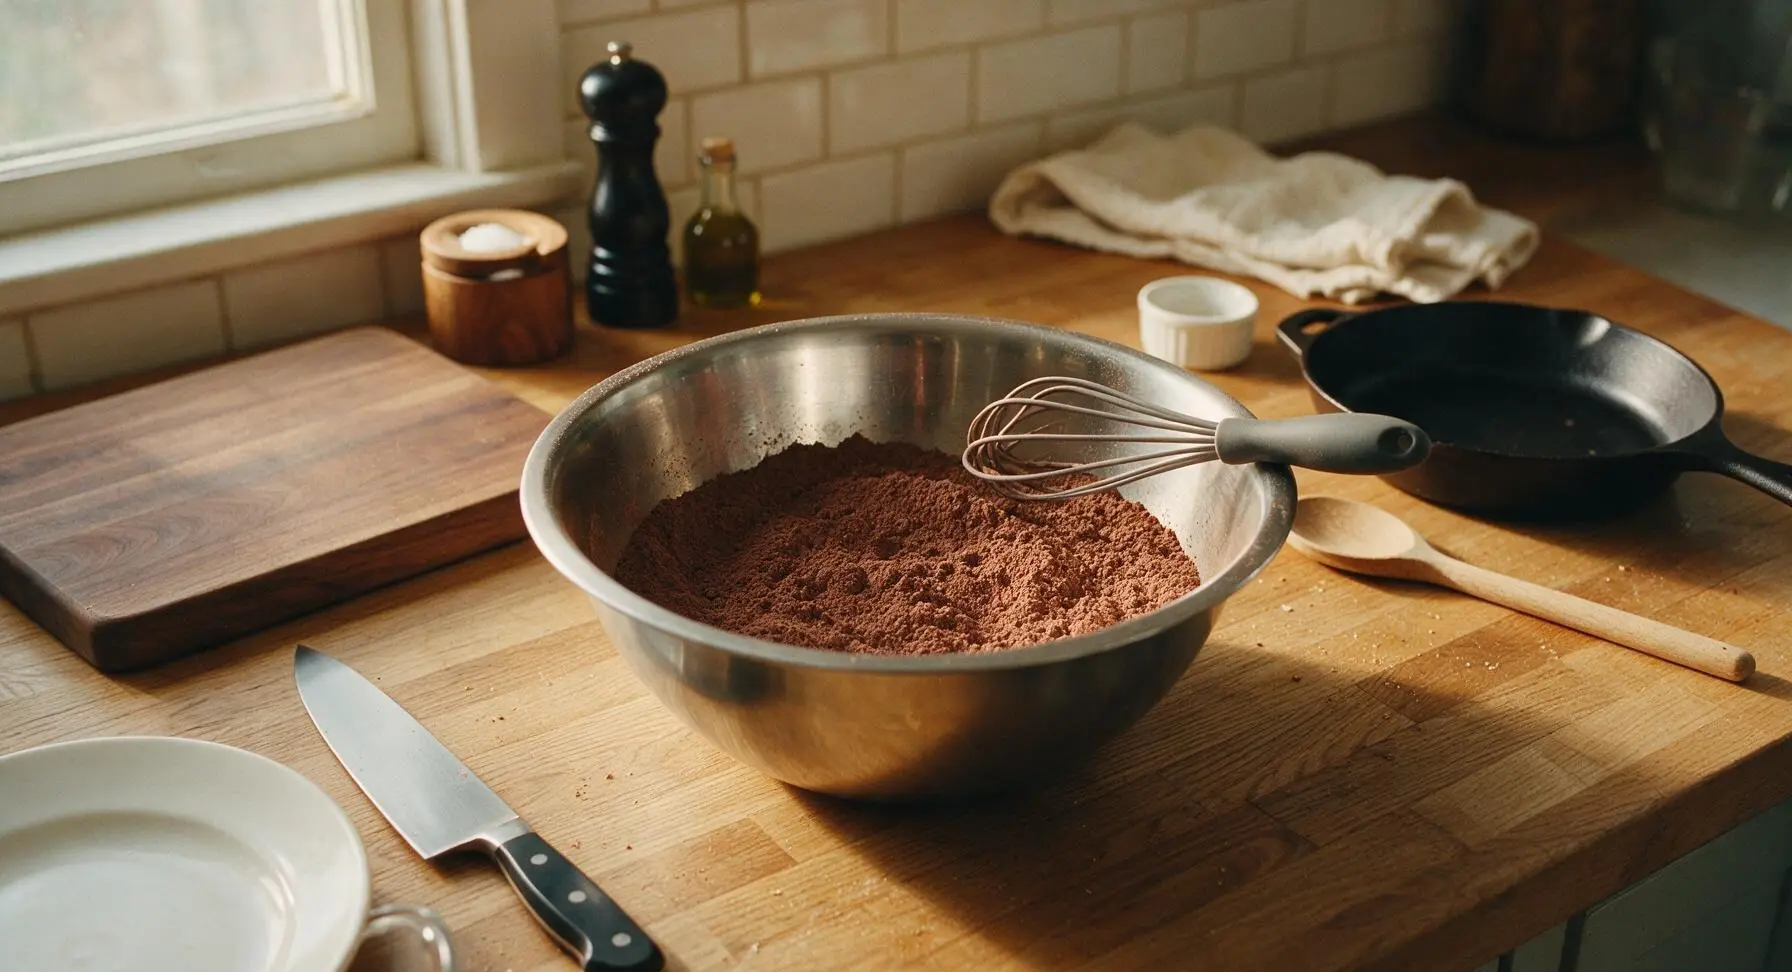
Step 2
step2:Whisk Dry Ingredients
Step 2
step2:Whisk Dry Ingredients
3

Combine Wet Ingredients

Place the medium stainless steel mixing bowl to the left of the large dry-ingredient bowl. Crack 2 large eggs into the medium bowl, then add whole milk, cooled melted unsalted butter, and pure vanilla extract. Use the same silicone whisk to beat the wet ingredients for 20 seconds until the eggs are fully incorporated, the mixture is smooth, and no streaks of egg yolk remain.
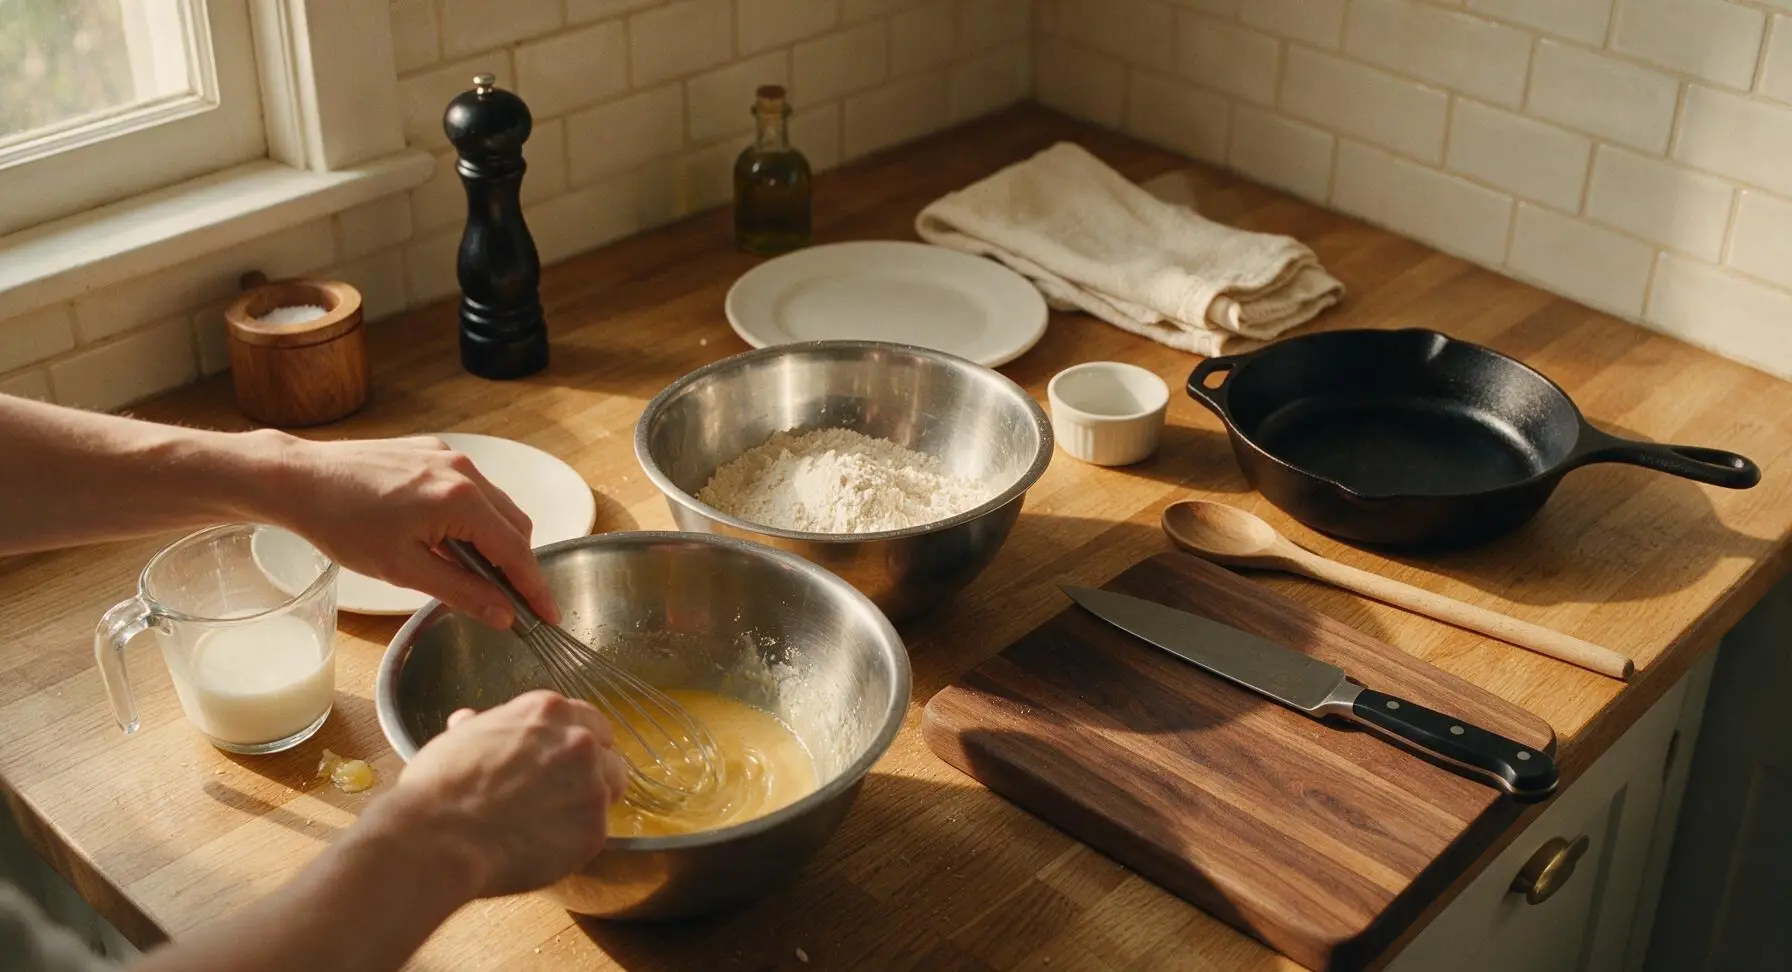
Step 3
step3:Combine Wet Ingredients
4

Fold Batter Together

Pour the entire wet ingredient mixture into the large bowl of dry ingredients. Use the silicone spatula to gently fold the ingredients together, stirring only until no large dry flour streaks remain. The batter will be thick, slightly lumpy, and deep chocolate brown; do not overmix, as this will make tough waffles. Fold in semi-sweet chocolate chips with 2-3 gentle turns of the spatula.
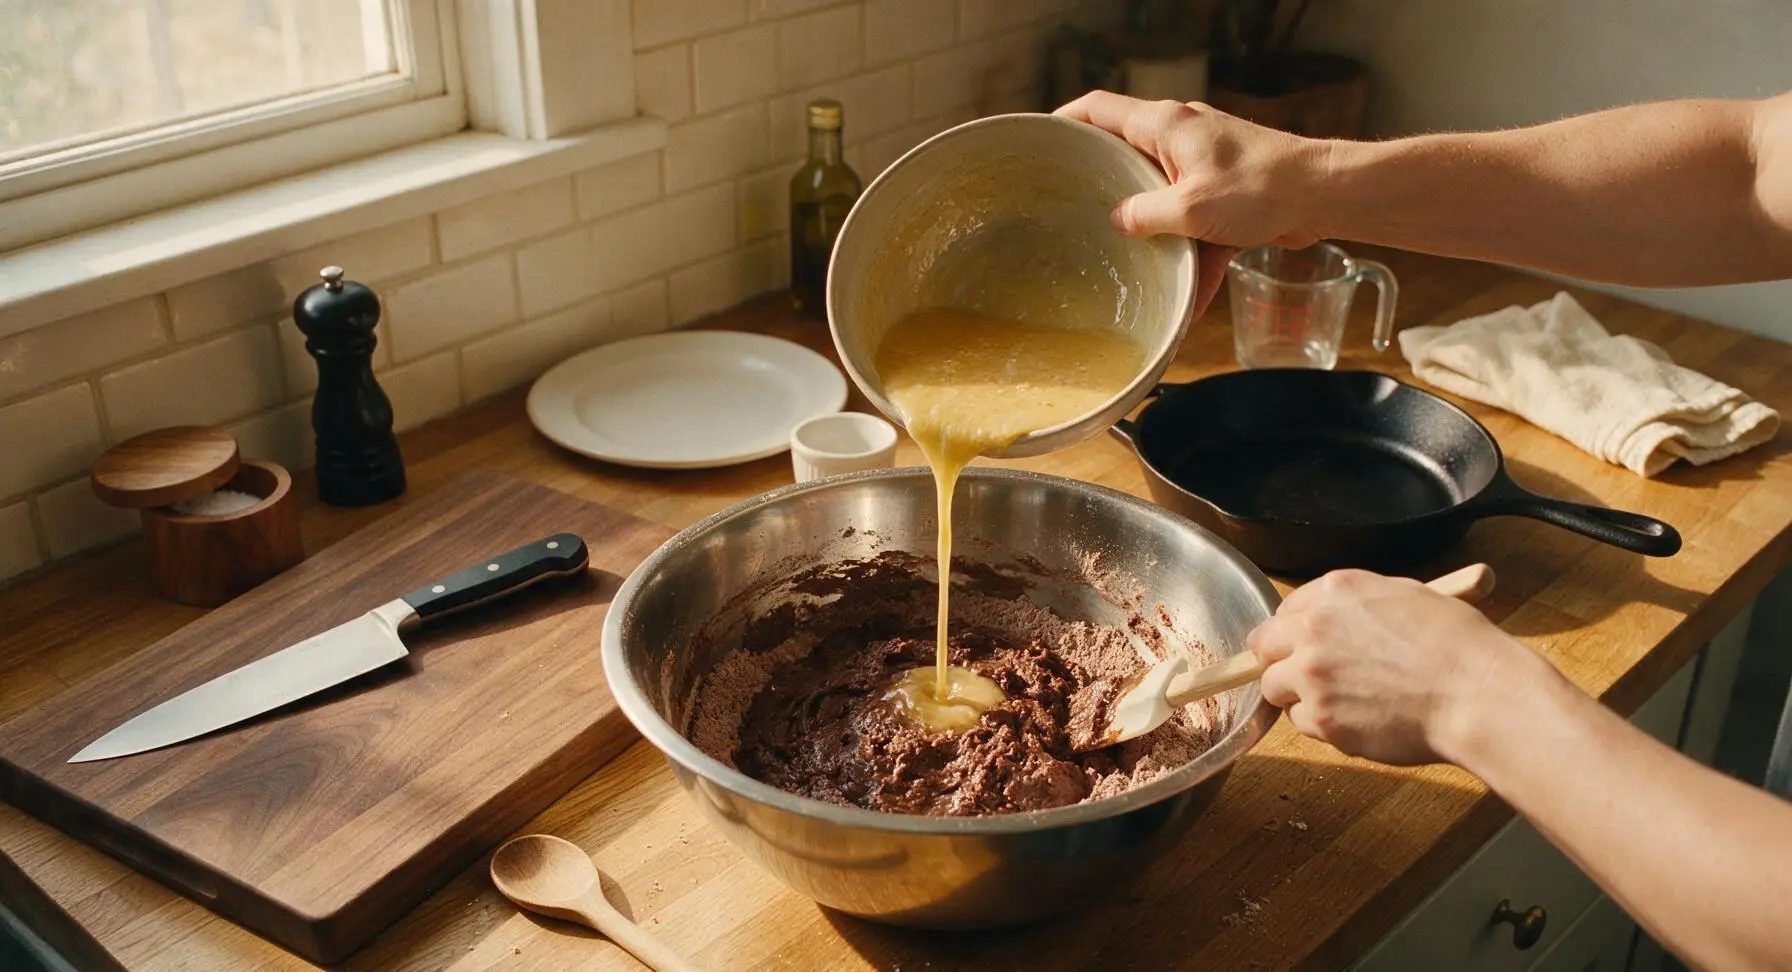
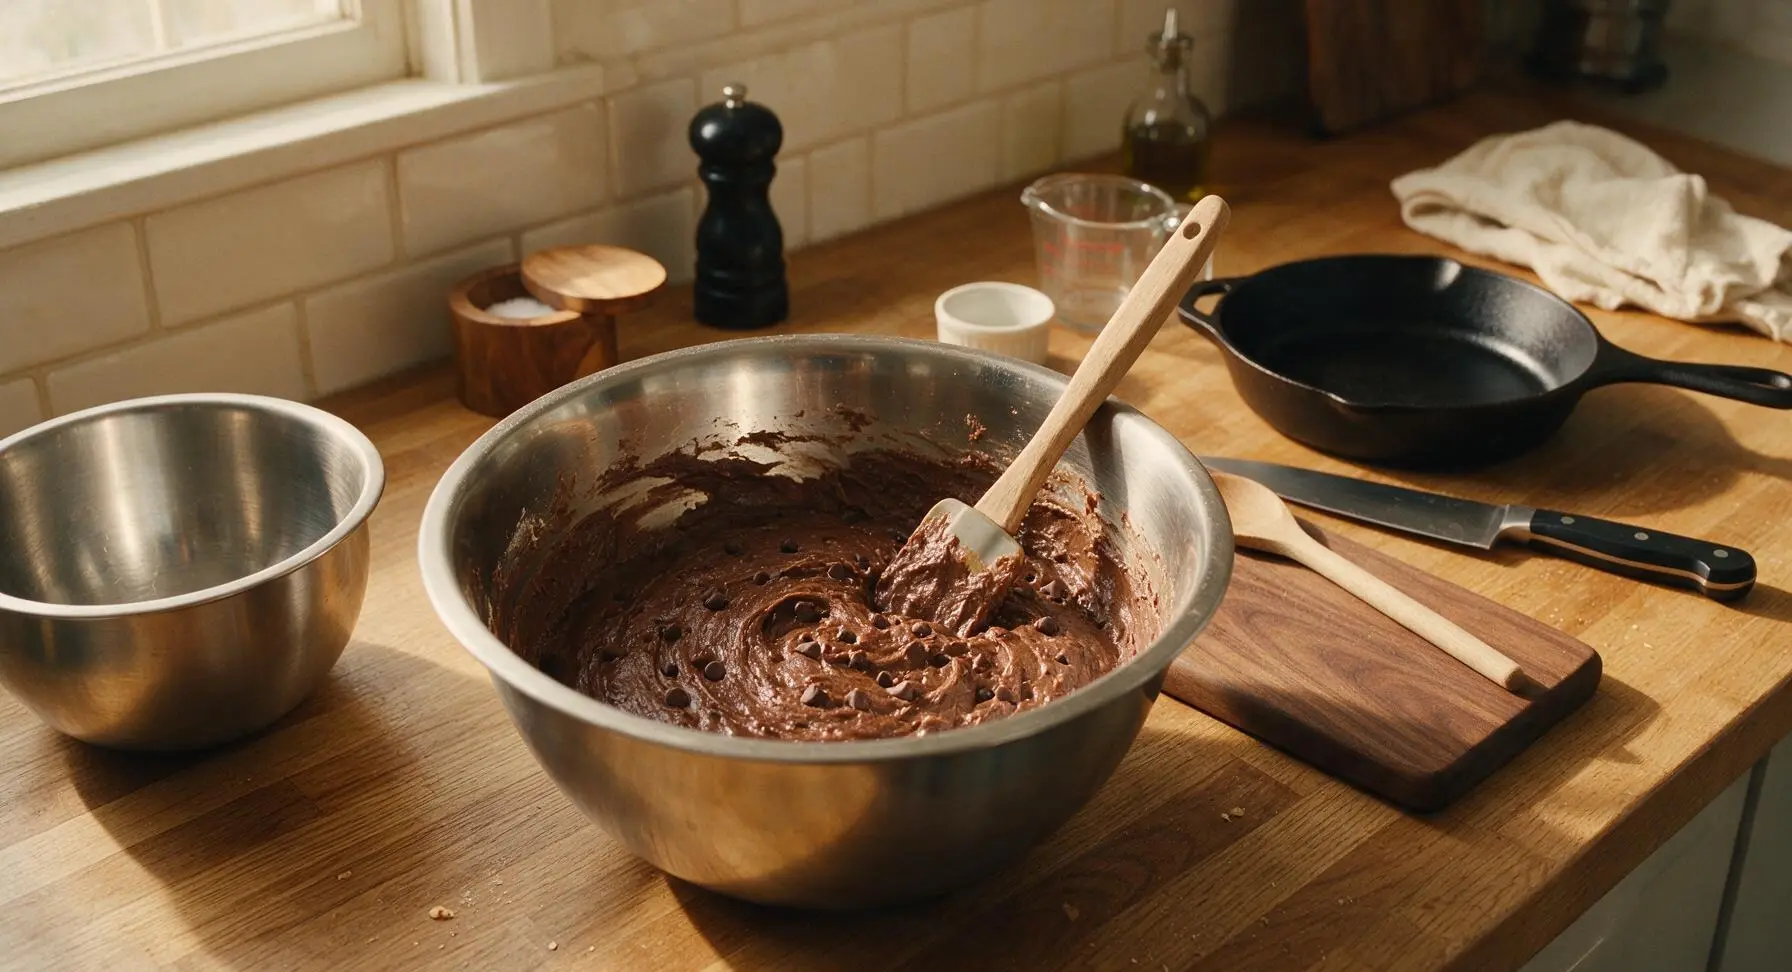
Step 4
step4:Fold Batter Together
Step 4
step4:Fold Batter Together
5

Cook Waffles Until Crisp

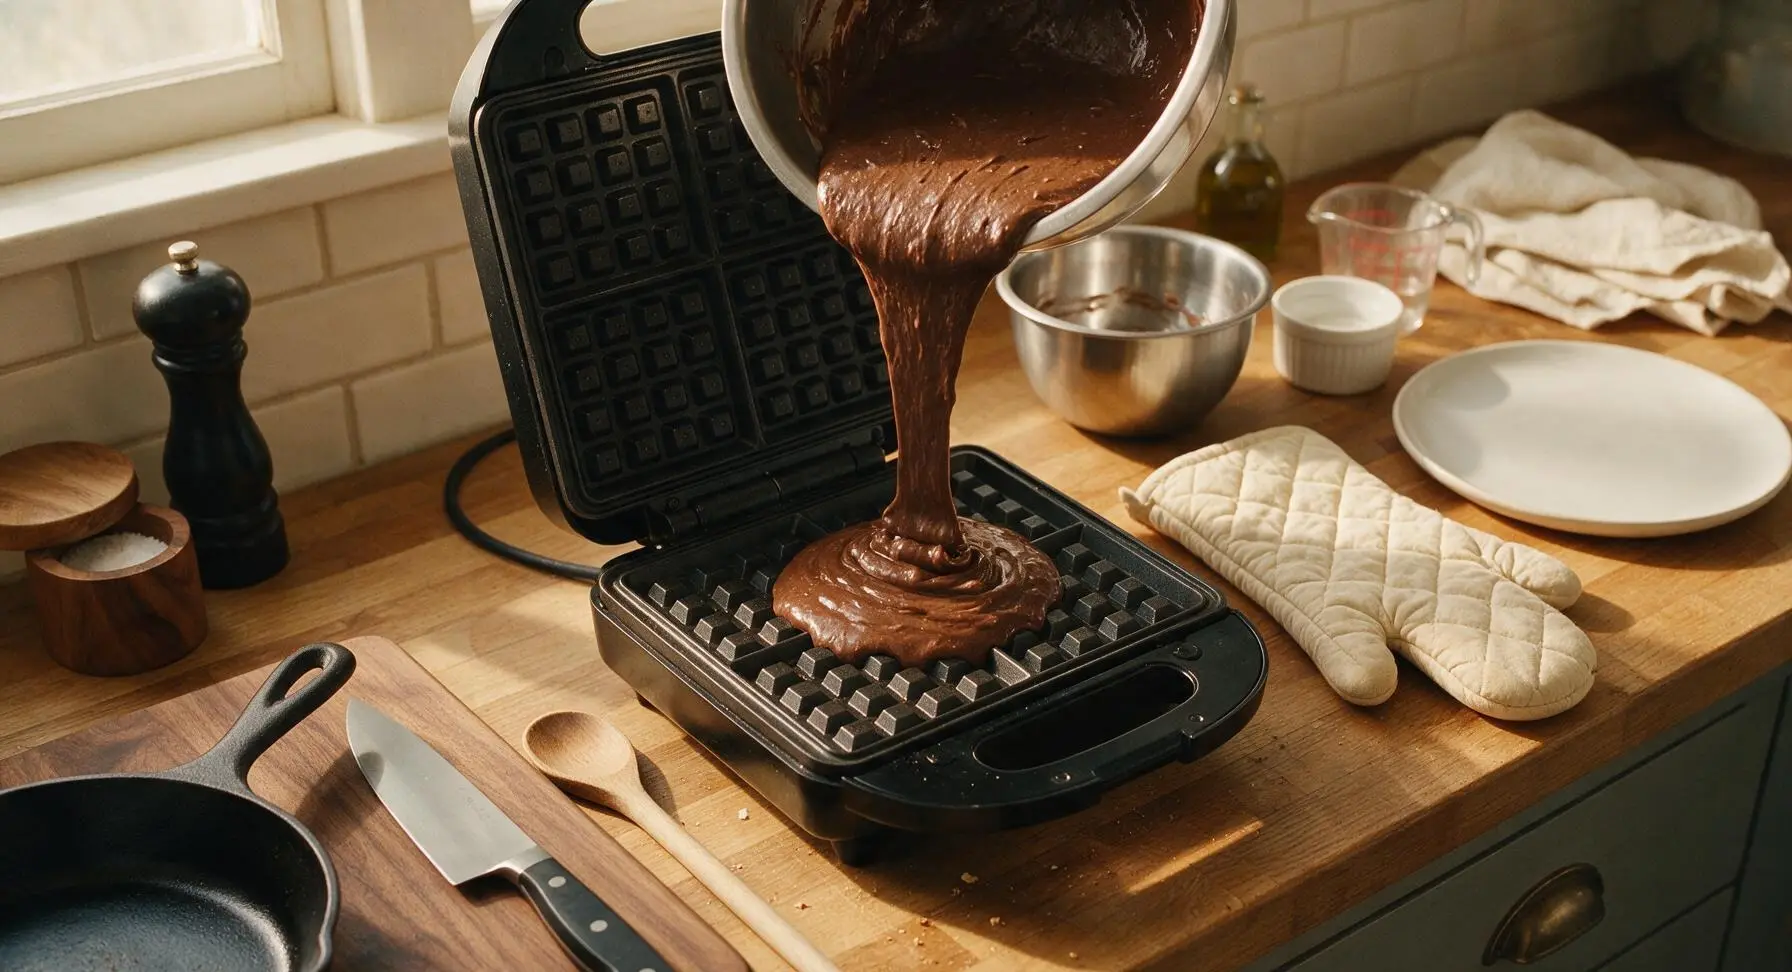
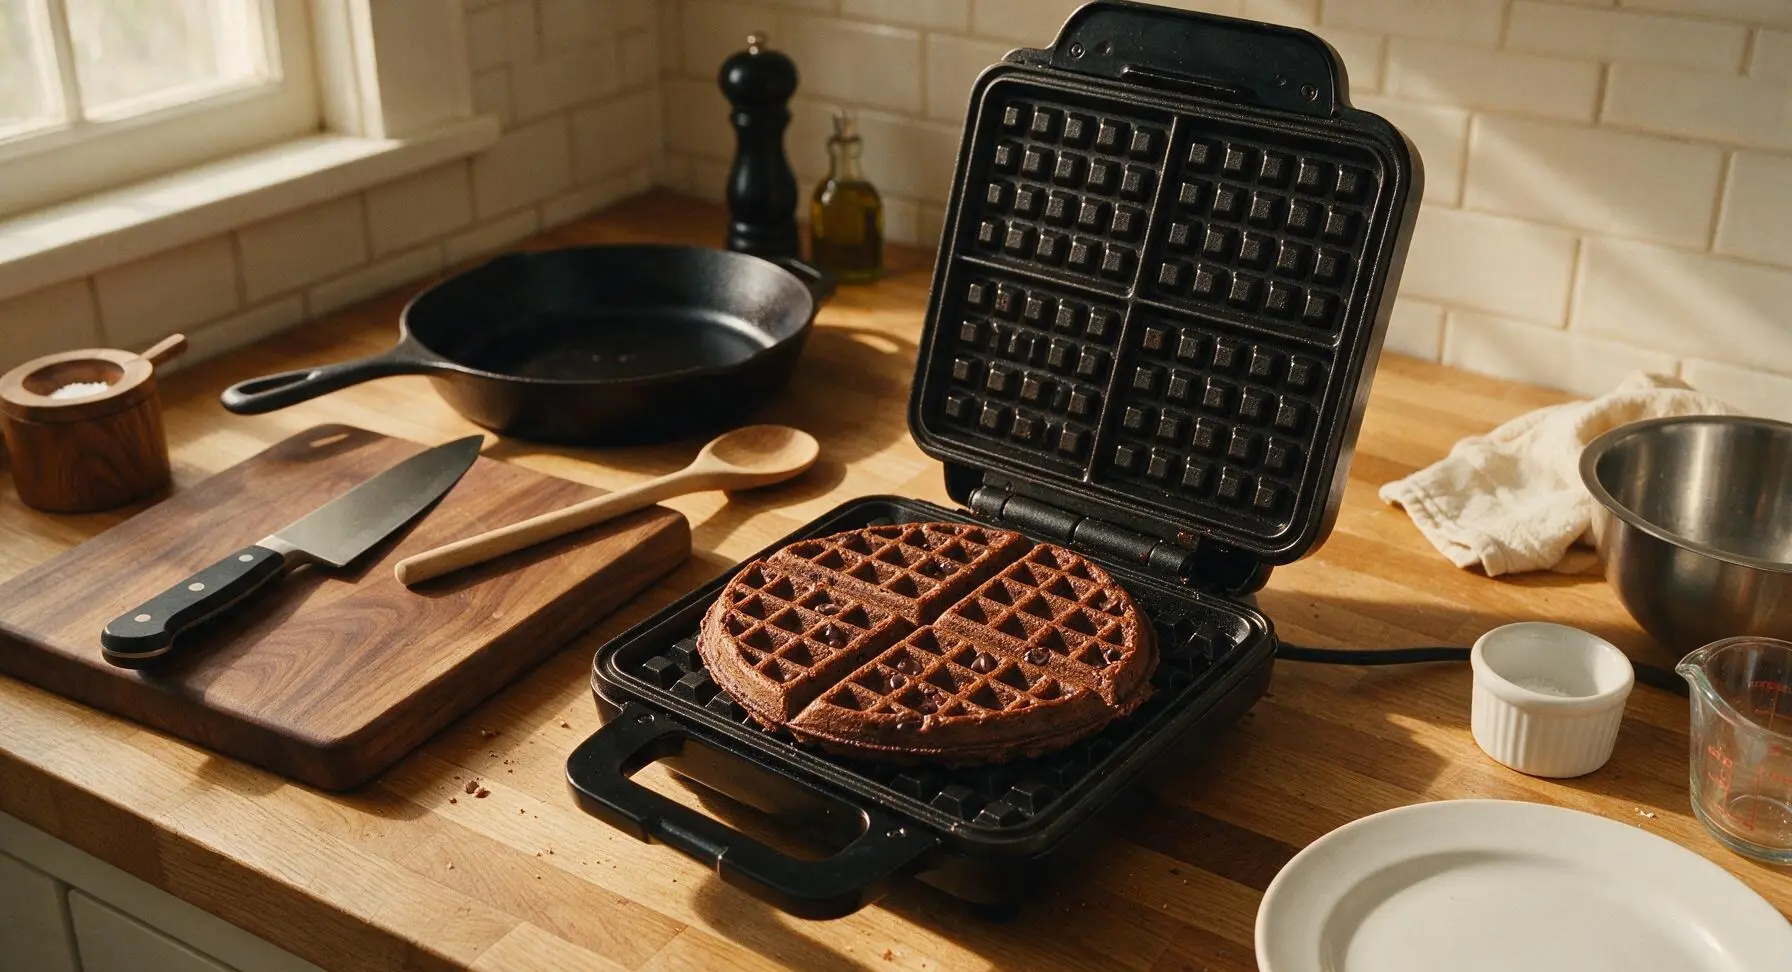
Once the waffle iron is preheated, open it and lightly coat the plates if needed. Pour 3/4 cup (approx 180ml) of batter into the center of the bottom waffle plate, spreading it slightly with the spatula to within 1cm of the edges. Close the lid and cook for 3.5 to 4 minutes, until the waffle is crisp around the edges, set in the center, and no steam escapes from the iron edges. Use the quilted cream oven mitt to carefully lift the lid to avoid burns.
Step 5
step5:Cook Waffles Until Crisp
Step 5
step5:Cook Waffles Until Crisp
6

Rest Waffles on Rack

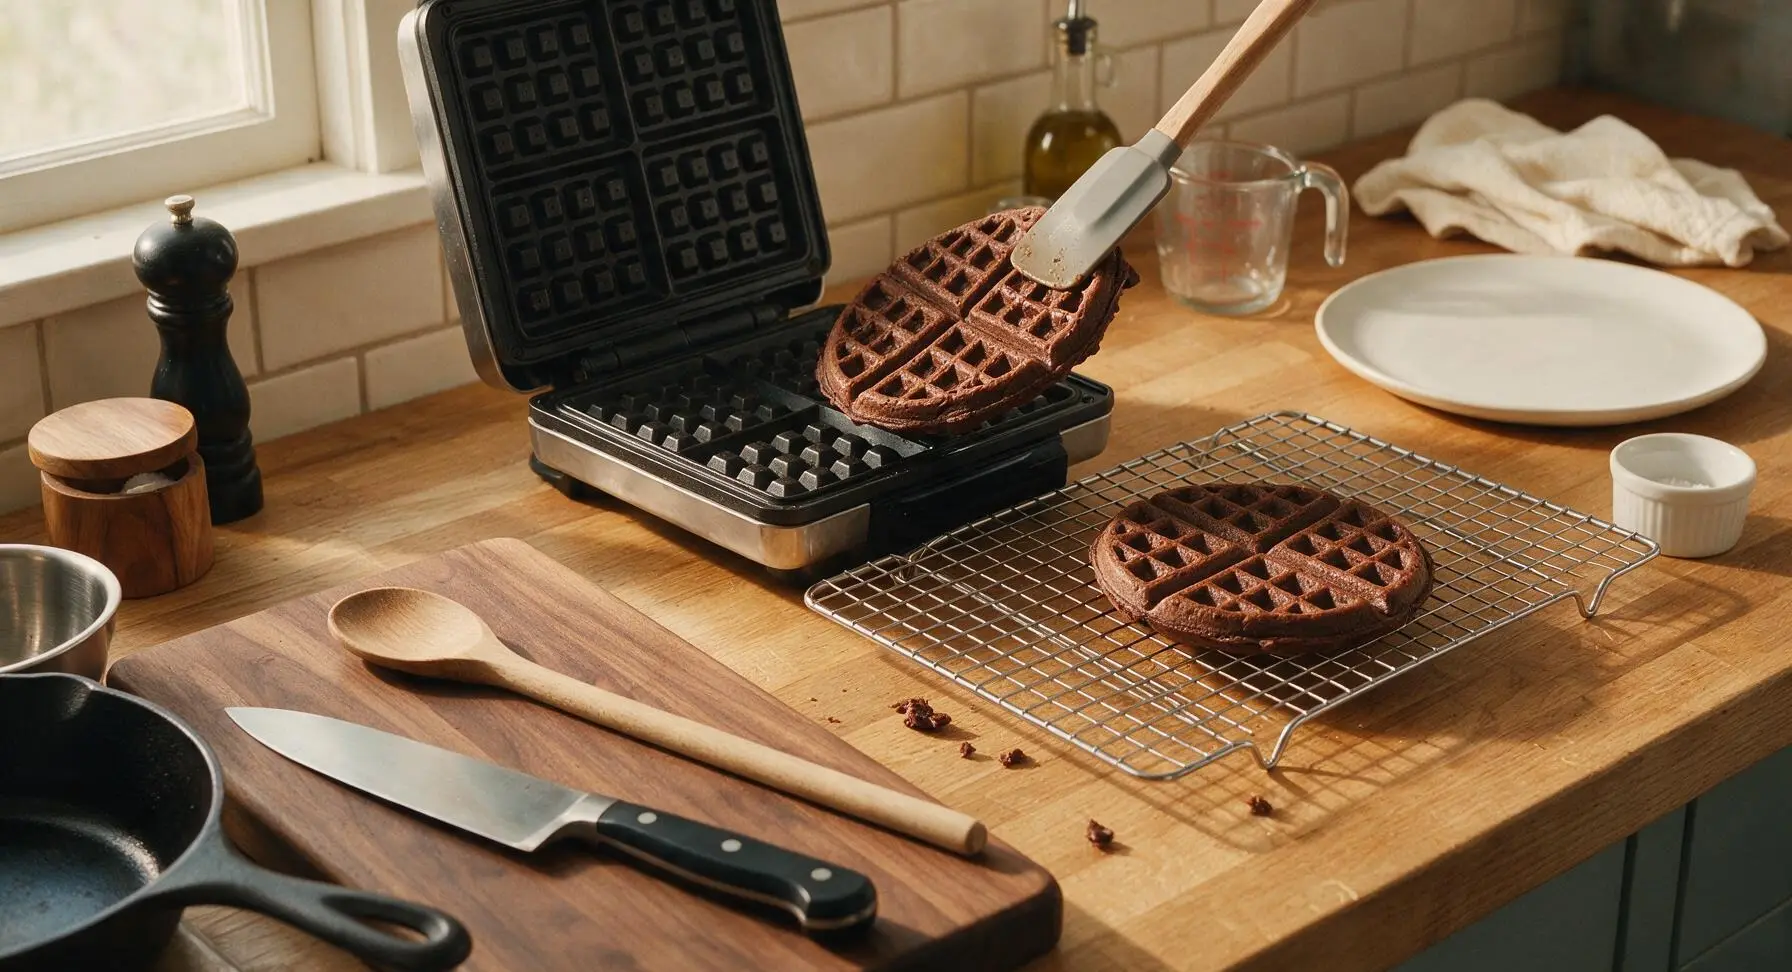
Use the silicone spatula to lift the cooked waffle from the iron, and transfer it to the chrome wire cooling rack positioned to the right of the waffle iron. Do not stack waffles directly on top of each other while resting, as this will make them soggy; place them in a single layer on the rack while you cook the remaining 3 waffles with the remaining batter, repeating the cooking process for each.
Step 6
step6:Rest Waffles on Rack
7

Plate and Garnish Waffles

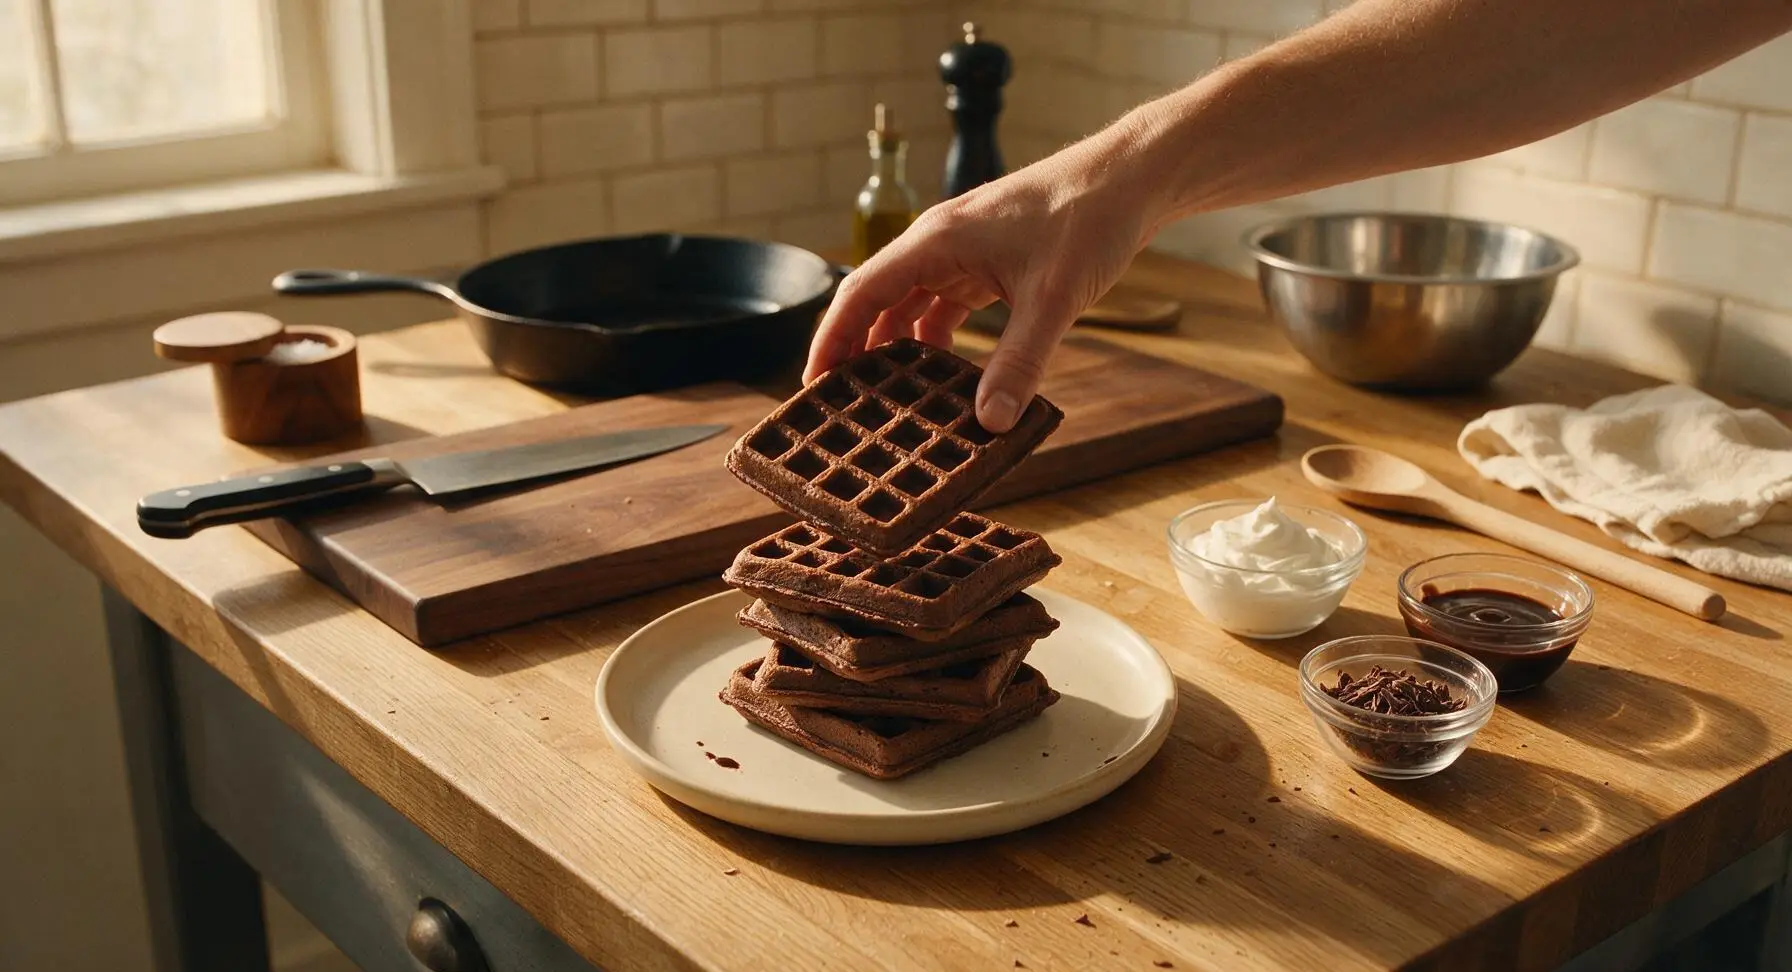
Once all waffles are cooked, stack 4 waffles in a neat square stack centered on the matte cream ceramic dinner plate. Top the stack with a 2-tbsp dollop of freshly whipped cream, drizzle with 1 tbsp dark chocolate syrup in a loose zig-zag pattern, and sprinkle a pinch of chocolate shavings over the top for garnish. Serve immediately while warm.
Step 7
step7:Plate and Garnish Waffles

Tips

1.Avoid overmixing the batter: small lumps are expected and desirable, as overstirring develops wheat gluten that leads to tough, dense waffles instead of light, fluffy interiors with crisp edges.
2.Rest cooked waffles on a wire rack rather than a solid plate: trapping hot steam under a waffle on a plate turns crisp edges soggy in 60 seconds or less. For batch cooking, keep waffles warm on the rack in a 200°F (95°C) oven until all are cooked.
3.Opt for Dutch-processed cocoa for the deepest, smoothest chocolate flavor and rich dark color; if using natural unsweetened cocoa, add an extra 1/8 tsp baking soda to balance the cocoa's natural acidity for proper rise.


✨ You May Also Like

Breakfast
🍜 United States

Crisp-edged, fluffy lard griddle cakes are a nostalgic homestyle staple, with rich savoriness from rendered lard, perfect topped with maple syrup or savory gravy.

⏱️ 25 minuteBreakfast ★ 4.8
Breakfast
🍜 United States

Flaky, buttery homemade buttermilk biscuits smothered in creamy, peppery pork sausage gravy: a beloved, hearty Southern American comfort food classic.

⏱️ 35 minuteBreakfast ★ 4.8
Breakfast
🍜 United States

Golden, custardy brioche stuffed with sweet cream cheese and fresh berries, pan-fried to crisp perfection. An indulgent, cozy breakfast perfect for slow weekend mornings.

⏱️ 30 minuteBreakfast ★ 4.7
Breakfast
🍜 United States

Flaky, buttery Southern-style biscuits stuffed with savory salty country ham, a portable, satisfying classic perfect for casual on-the-go meals.

⏱️ 25 minuteBreakfast ★ 4.8
Breakfast
🍜 United States

Iconic puffy baked pancake popularized in Seattle, with crisp golden edges and soft custardy center, served warm with classic sweet toppings.

⏱️ 35 minuteBreakfast ★ 4.6
Breakfast
🍜 United States

Fluffy, golden pancakes studded with juicy peak-summer mixed berries, drizzled with maple syrup for a bright, comforting, crowd-pleasing family breakfast.

⏱️ 25 minuteBreakfast ★ 4.7

Chocolate Waffle :Frequently Asked Questions

1.Can I use regular unsweetened cocoa powder instead of Dutch-processed cocoa for these waffles? ▾
You absolutely can, though you’ll notice a slight difference in flavor. Dutch-processed cocoa has a smoother, deeper, less bitter chocolate taste that matches classic diner waffles. If using natural unsweetened cocoa, add 1/8 teaspoon of cream of tartar per 3 tablespoons of cocoa to balance its higher acidity, so your leaveners work correctly for a light, fluffy rise.
2.Why do my chocolate waffles turn out soggy instead of crisp on the edges? ▾
The two most common causes are trapped steam and an underheated iron. Don’t stack fresh waffles directly on a plate right out of the iron—set them on a wire rack for 1 minute to let excess steam escape instead. Always wait until your waffle iron is fully preheated (most indicator lights turn off when ready) before pouring batter to get that signature crisp, diner-style edge.
3.When should I add mix-ins like chocolate chips or nuts to the batter? ▾
Fold in ½ to ¾ cup of your chosen mix-ins—think semi-sweet chocolate chips, chopped pecans, or even crushed toffee bits—right after you combine the wet and dry ingredients, immediately before cooking. Don’t add them earlier, as extra stirring will overwork the flour’s gluten and lead to tough waffles, and skip more than ¾ cup total mix-ins so waffles hold their shape.
4.Can I mix up this waffle batter the night before to save time on busy mornings? ▾
You can prep the dry ingredients and wet ingredients separately in sealed containers in the fridge overnight, but don’t combine them or add the baking powder and baking soda until right before you cook. Both leaveners start activating as soon as they hit wet ingredients, so adding them too early will result in flat, dense waffles instead of light, fluffy ones.
5.Why do my waffles stick to the iron even when I use nonstick spray? ▾
Pouring batter onto a cold, not fully preheated iron is the number one cause of sticking. If you have an older cast iron or well-used nonstick iron, skip the nonstick spray (it leaves a sticky, gummy residue over time) and brush plates lightly with melted butter instead. Wait until thick steam stops escaping from the iron before lifting the lid, so the waffle is fully set.
6.Can I make these chocolate waffles gluten-free without ruining their fluffy texture? ▾
Absolutely! Swap the all-purpose flour for a 1:1 gluten-free all-purpose baking blend that includes xanthan gum for the closest texture match. Skip single gluten-free flours like almond or coconut flour used alone, as those create dense, crumbly waffles. You won’t need to adjust any other ingredient measurements or cooking times for great results.
7.What’s the best way to reheat leftover waffles so they don’t get rubbery or soggy? ▾
Skip the microwave, which turns waffles soft and rubbery fast. For crisp, just-made texture, reheat waffles directly on the rack of a 350°F oven for 5 to 7 minutes, or pop them back in a preheated waffle iron for 1 to 2 minutes. Leftovers keep for 3 days in the fridge, or 3 months frozen, and you can reheat frozen waffles directly without thawing.

Comments (15)

2 hours ago

OMG these were SO good! Woke the kids up early Saturday and made these before their soccer games, they devoured every single bite and asked for seconds before I even sat down. So easy too, I didn’t have to drag out a million ingredients, zero fancy prep required. Perfect lazy weekend breakfast!

yesterday

Game changer! I’ve been messing up chocolate waffles for months, they always come out too dry or not chocolatey enough. This recipe was foolproof, even for a terrible cook like me. Topped mine with vanilla ice cream and hot fudge for a late night snack, chef’s kiss.

2 hours ago

So stoked this recipe worked for you, Jake! That vanilla ice cream and hot fudge topping combo sounds next-level, we’re definitely testing that on our next batch.

3 days ago

Super easy, 15 minutes is no joke! I meal prepped these on Sunday, popped them in the toaster all week for quick breakfasts before work. Only thing I added was a handful of mini chocolate chips to the batter, 10/10 would make again.

2 days ago

Wait freezing these for quick toaster breakfasts? That’s such a smart hack! I never thought to prep waffles ahead for busy work mornings, I’m absolutely stealing that trick for next week.

1 week ago

Really solid recipe! I used Dutch process cocoa instead of regular because that’s what I had in the pantry, and the flavor was great. My only note is that my waffle iron runs hot, so I had to cook them a minute less than the recipe said to avoid burning. Still tasty though!

3 days ago

Made these for my office potluck last week and they were gone in 10 minutes! People kept hounding me for the recipe, I can’t believe how simple they were to throw together. I set up a little topping bar with whipped cream, rainbow sprinkles, and strawberry compote to go with them, total hit.

2 days ago

The topping bar idea is so cute! I have a potluck coming up next week and I was stuck on what to bring, this is perfect. Do you think these hold up okay if I make them the night before?

yesterday

They hold up great stored in an airtight container overnight, just pop them in the waffle iron for 30 seconds to crisp them back up before serving! Hope your potluck is a hit.

5 days ago

Wait a second, these taste exactly like the chocolate waffles I used to get at my grandma’s house when I was little! I didn’t think I’d ever find a recipe that nailed that nostalgic, rich chocolate flavor without being too sweet. My whole family was obsessed at breakfast this morning.

3 days ago

Oh my gosh same! I’ve been chasing that grandma’s kitchen waffle flavor for years, I’m so glad I’m not the only one who thinks these hit that exact note. Gotta make these this weekend now.

2 weeks ago

Bro I made these in my tiny dorm waffle maker last week and they slapped. I didn’t even have all the fancy ingredients, just used regular grocery store cocoa powder and topped ‘em with peanut butter. So easy even a college kid with zero cooking skills can pull it off. 10/10

2 days ago

Wait, has anyone tried making these with a 1:1 gluten free flour blend? I’m dying to make these for my daughter’s birthday brunch but we’re both gluten free, don’t want to waste ingredients if it doesn’t turn out!

yesterday

I made them last week with Bob’s Red Mill 1:1 GF flour and they turned out perfectly! No weird texture or gritty aftertaste, my non-GF husband didn’t even notice the difference.

2 hours ago

So glad it worked well with GF flour! We’ve tested this recipe with a few 1:1 blends and had great results too, just make sure you don’t overmix the batter to keep them light and fluffy.

5 minutes ago

Just pulled these off the waffle iron and HOLY COW. The smell alone is enough to make my mouth water, they’re so chocolatey and crisp on the outside, fluffy in the middle. No notes, zero complaints, this is going in my permanent recipe rotation.

just now

Right?! I made them last weekend and I’m already craving them again, the crisp outside/fluffy inside combo is unbeatable.

3 days ago

Great base recipe! I swapped a quarter of the flour for whole wheat, cut the sugar a tiny bit, and added a scoop of chocolate protein powder to bump up the protein for post-gym breakfasts. Turned out way better than I expected, will definitely be making these regularly.

2 days ago

Oh that protein powder swap is genius! Do you think vanilla protein would work too, or would that mess up the chocolate flavor?

30 minutes ago

Vanilla works great! I’ve done it before, it just makes the chocolate a little milder, still totally delicious. I’d just add an extra tablespoon of cocoa if you want that deeper chocolate flavor.

5 days ago

Tried these for my weekly Sunday brunch with my roommates and everyone went back for thirds. We added a splash of espresso powder to the batter like we do for our brownies and it made the chocolate taste so much richer, 10/10 hack if you have it on hand.

3 days ago

Espresso powder in chocolate baked goods is the best kept secret! It doesn’t make it taste like coffee, it just makes the chocolate hit so much harder, I’m so glad you tried that here.

yesterday

Love that espresso powder hack! We do that with our chocolate cake recipe too, it’s such an easy way to amp up the chocolate flavor without extra work. We’ll have to add that as a tip in the recipe notes!

1 week ago

I’m literally 19 and have never cooked anything more complicated than microwave mac and cheese, and these turned out perfect on the first try! I was so nervous I’d mess them up, but the instructions were so clear and straightforward. My roommate thought I ordered takeout lmao

yesterday

Made these for my daughter’s sleepover breakfast and all the little girls were screaming about how good they were. Even my wife, who makes fun of me for burning everything, said they were restaurant quality. Total dad win, can’t lie.

2 hours ago

Dude this gives me hope! I burn pancakes 90% of the time, I might have to test these out for my kid’s next sleepover too. Any tip for not messing up the cook time?

5 minutes ago

Such a fun win! The easiest way to check doneness is to wait until the waffle iron stops steaming, that usually means they’re crisp on the outside and fully cooked inside, no burnt edges required!

5 days ago

These are good, but I felt like they were a tiny bit too sweet for my taste. Next time I make them I’ll cut the granulated sugar by a tablespoon, but otherwise the texture was perfect and they cooked really evenly in my old hand-me-down waffle iron.

2 days ago

I did the exact same thing! Cut the sugar by a tablespoon and added extra cocoa powder, it was perfect for people who don’t love super sweet breakfasts. Great call.

2 hours ago

Made these for a cozy at-home date night with my partner last night, we had them for dessert with whipped cream and raspberry sauce. It was such a fun little activity to make together, way better than going out for overpriced dessert honestly.

30 minutes ago

At home waffle date night is the best! My partner and I do themed breakfast for dinner nights all the time, these chocolate waffles are going straight to the top of our list.



